Sharpie Reindeer Pillow
DIY Sharpie Reindeer Pillow: No-sew project, using an inexpensive pillow and a sharpie marker to make your own custom Christmas pillow.
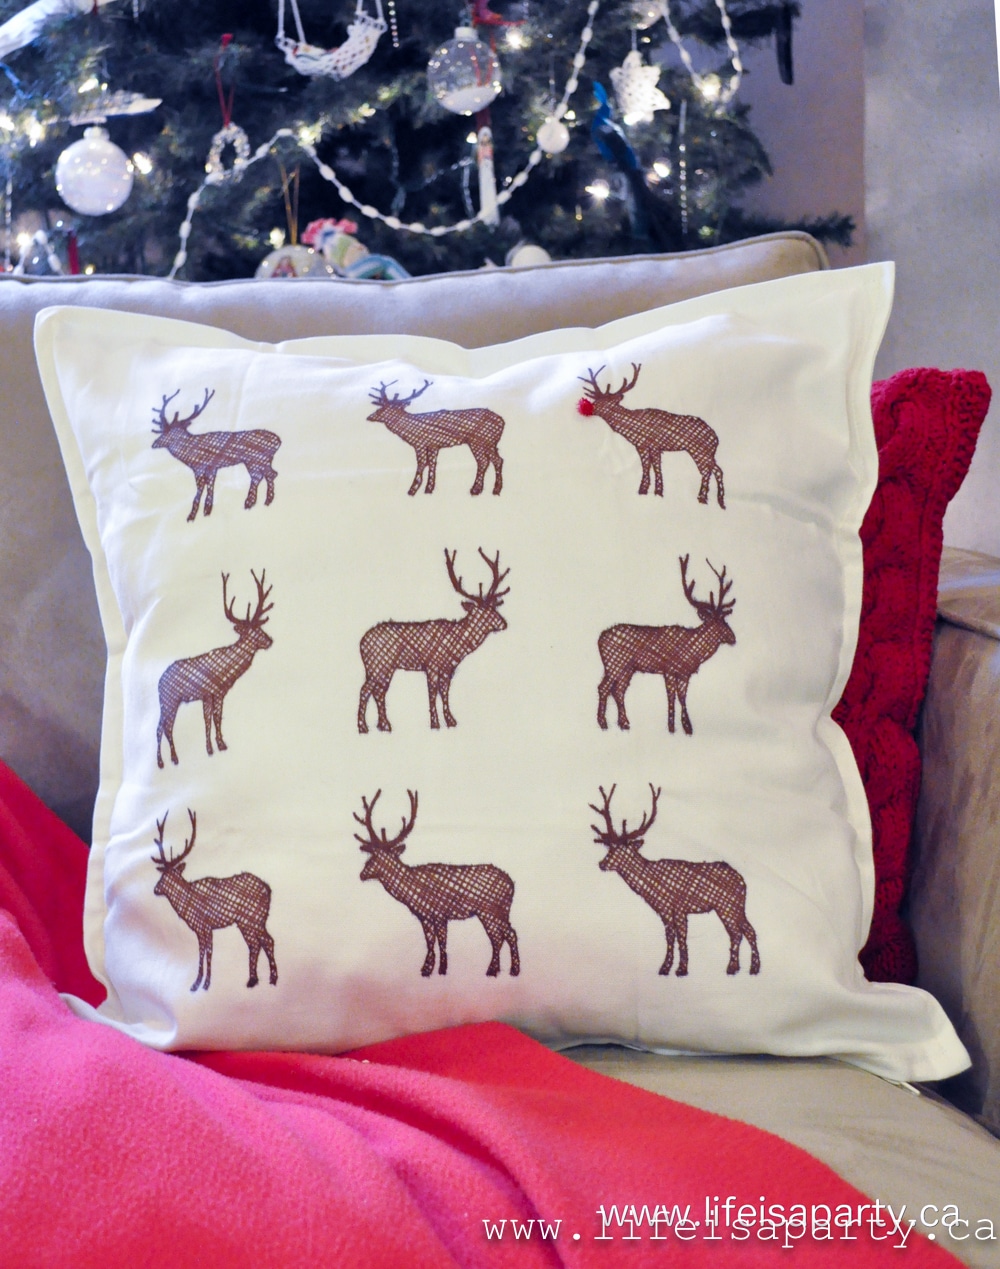
I wanted to add a deer pillow to my Christmas decor but couldn’t find the perfect one, or one that fit my budget. What’s a girl to do, make her own!
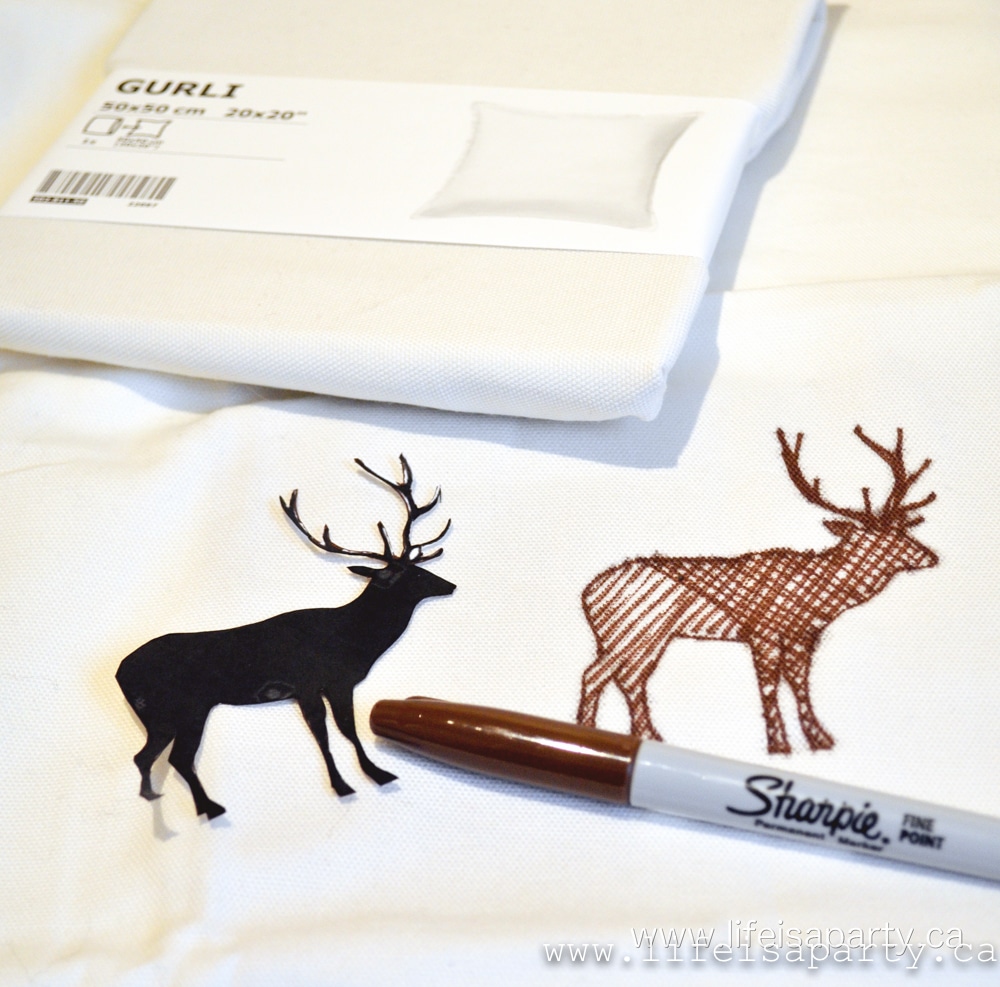
Materials:
- plain pillow case
- sharpie marker
- reindeer cut out
- tiny red Pom Pom
- red thread and needle
- cardboard inside the pillow
To start with I was planning to stitch up a quick cushion cover with some muslin fabric, but then I found a plain off-white pillow cover at IKEA for $4.99 (it’s the Gurli incase you’re looking too). Sold. I had a pillow insert already that I could use. I also picked up a brown permanent Sharpie marker.
How To Make A Sharpie Pillow:
1. I found an image of a simple reindeer that I liked on-line, and printed it out in the size I needed to fit 3 rows of 3 reindeer. After I printed the image, I cut it out and used it as a pattern.
2. Next I CAREFULLY traced the deer pattern, onto the cushion fabric with the Sharpie marker.
Be sure to use some cardboard inside the cushion to ensure the marker doesn’t bleed through the fabric and leave a mark on the back.
Once the reindeer was outlined, I removed the pattern and filled in the image with some rough crosshatching.
I used a ruler to help space out the other 8 reindeer -with each row changing direction.
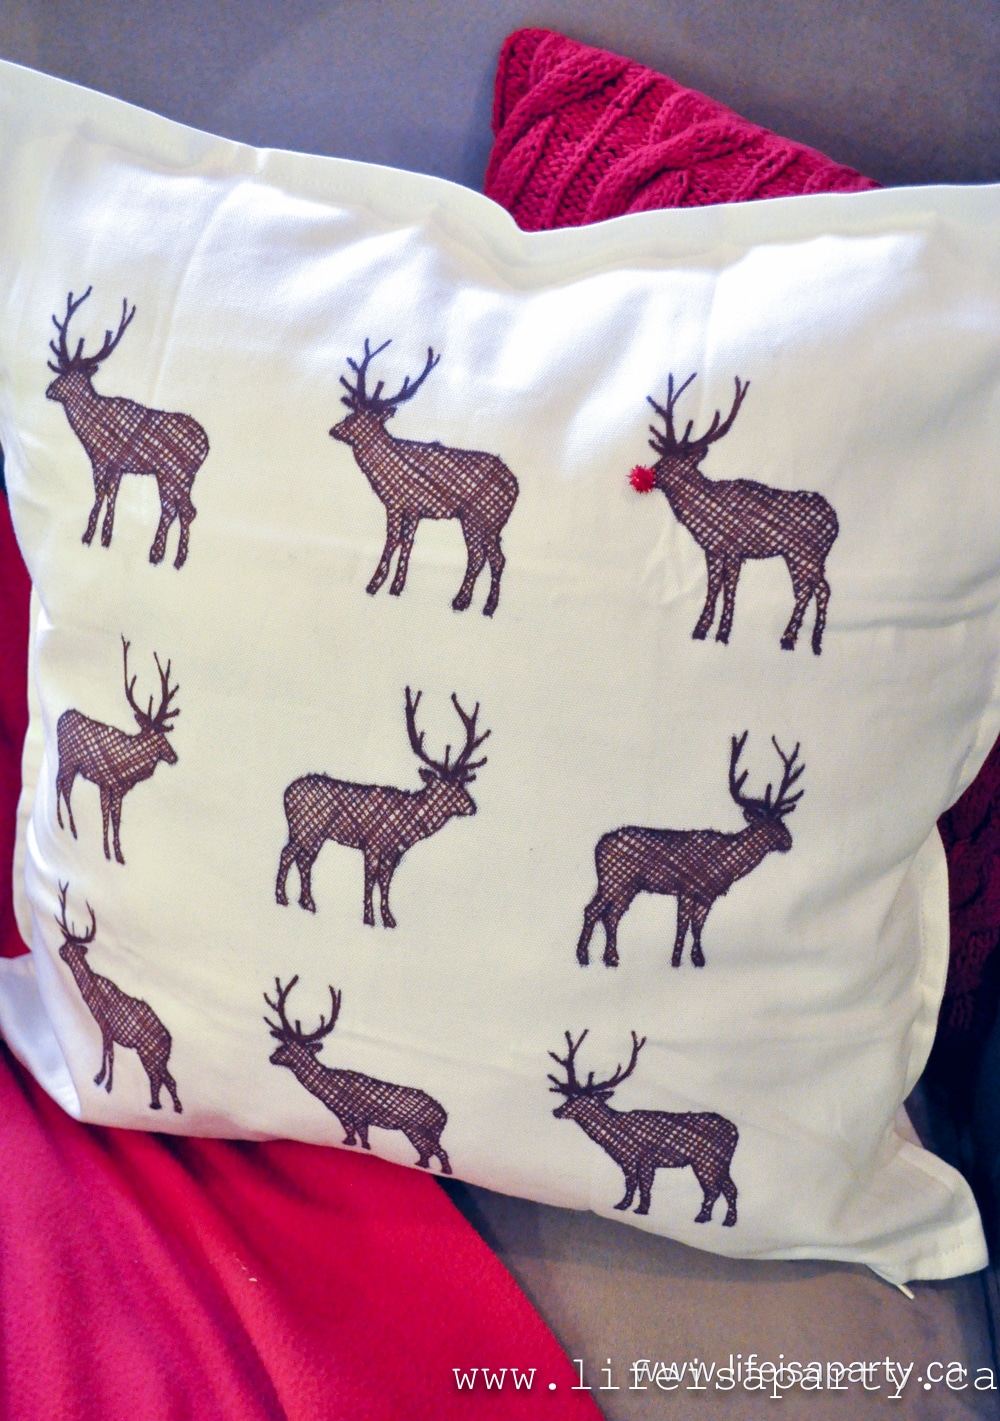
3. When I was done, I chose one reindeer and stitched a tiny, sparkly red pom-pom nose on (I could remove it after Christmas if I wanted).
I have to say I was a little nervous using a permanent marker on fabric, and kept worrying thoughout the whole project that I”d make a mistake and ruin it, but it turned out great. It did bleed a little, but I like how it doesn’t look too perfect.
Love how it turned out, and love the price too. There are endless possiblities too, any pattern could work. I was thinking a cookie cutter or stencil would work too.
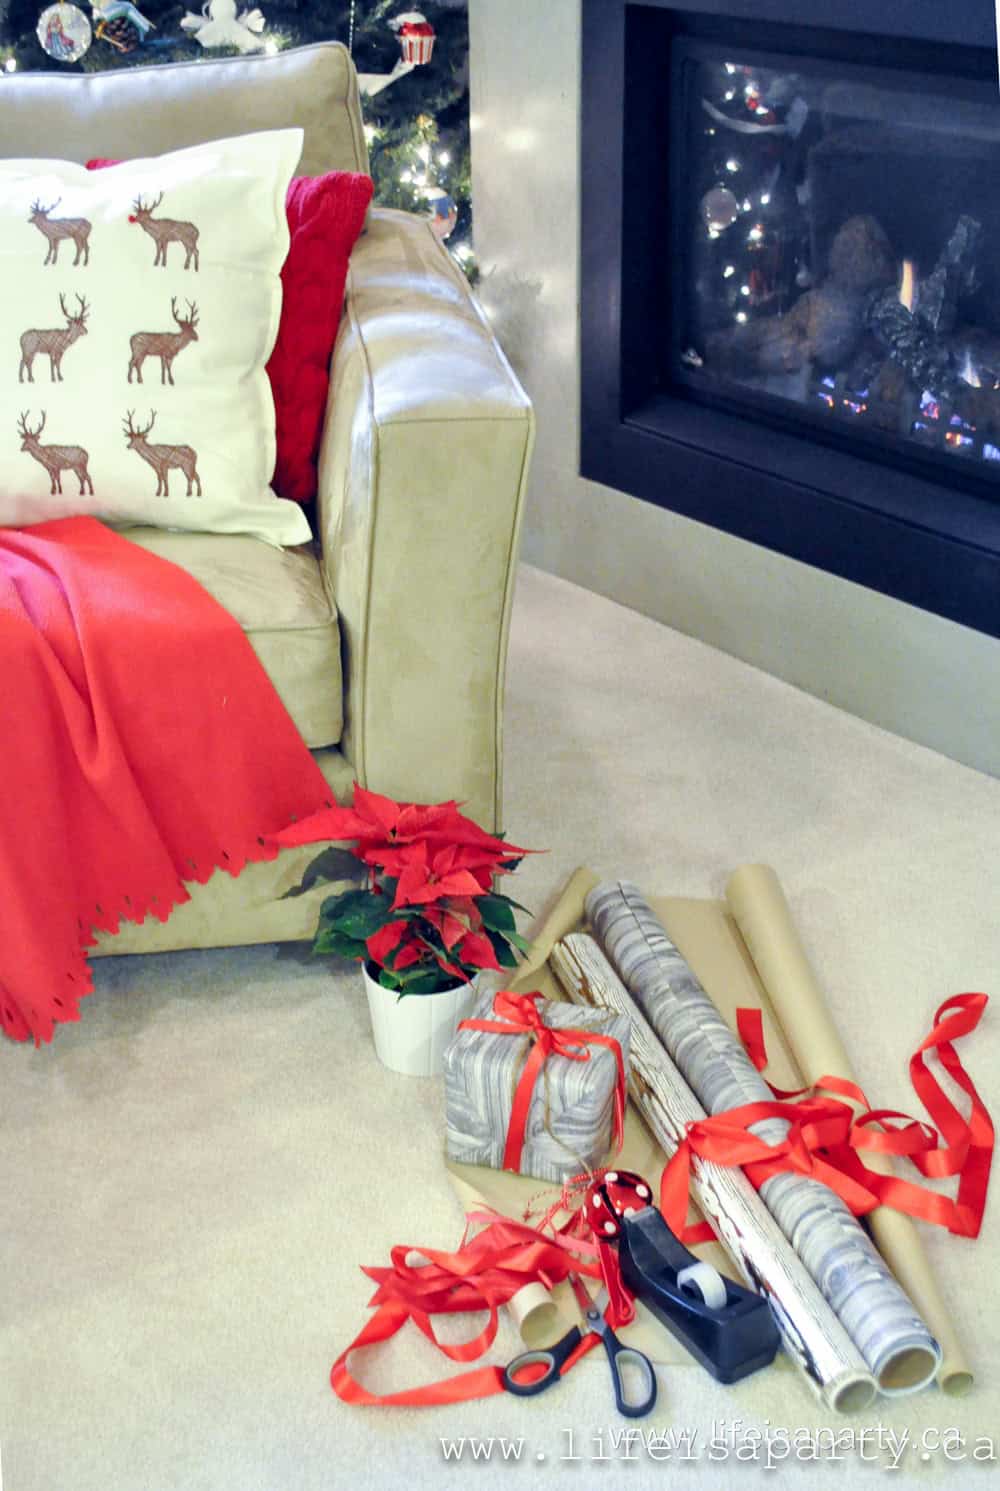
With a DIY Sharpie Pillow, life really is a party.
PS. I made another one with letter stencils that you’ll get to see on my Christmas home tour here.
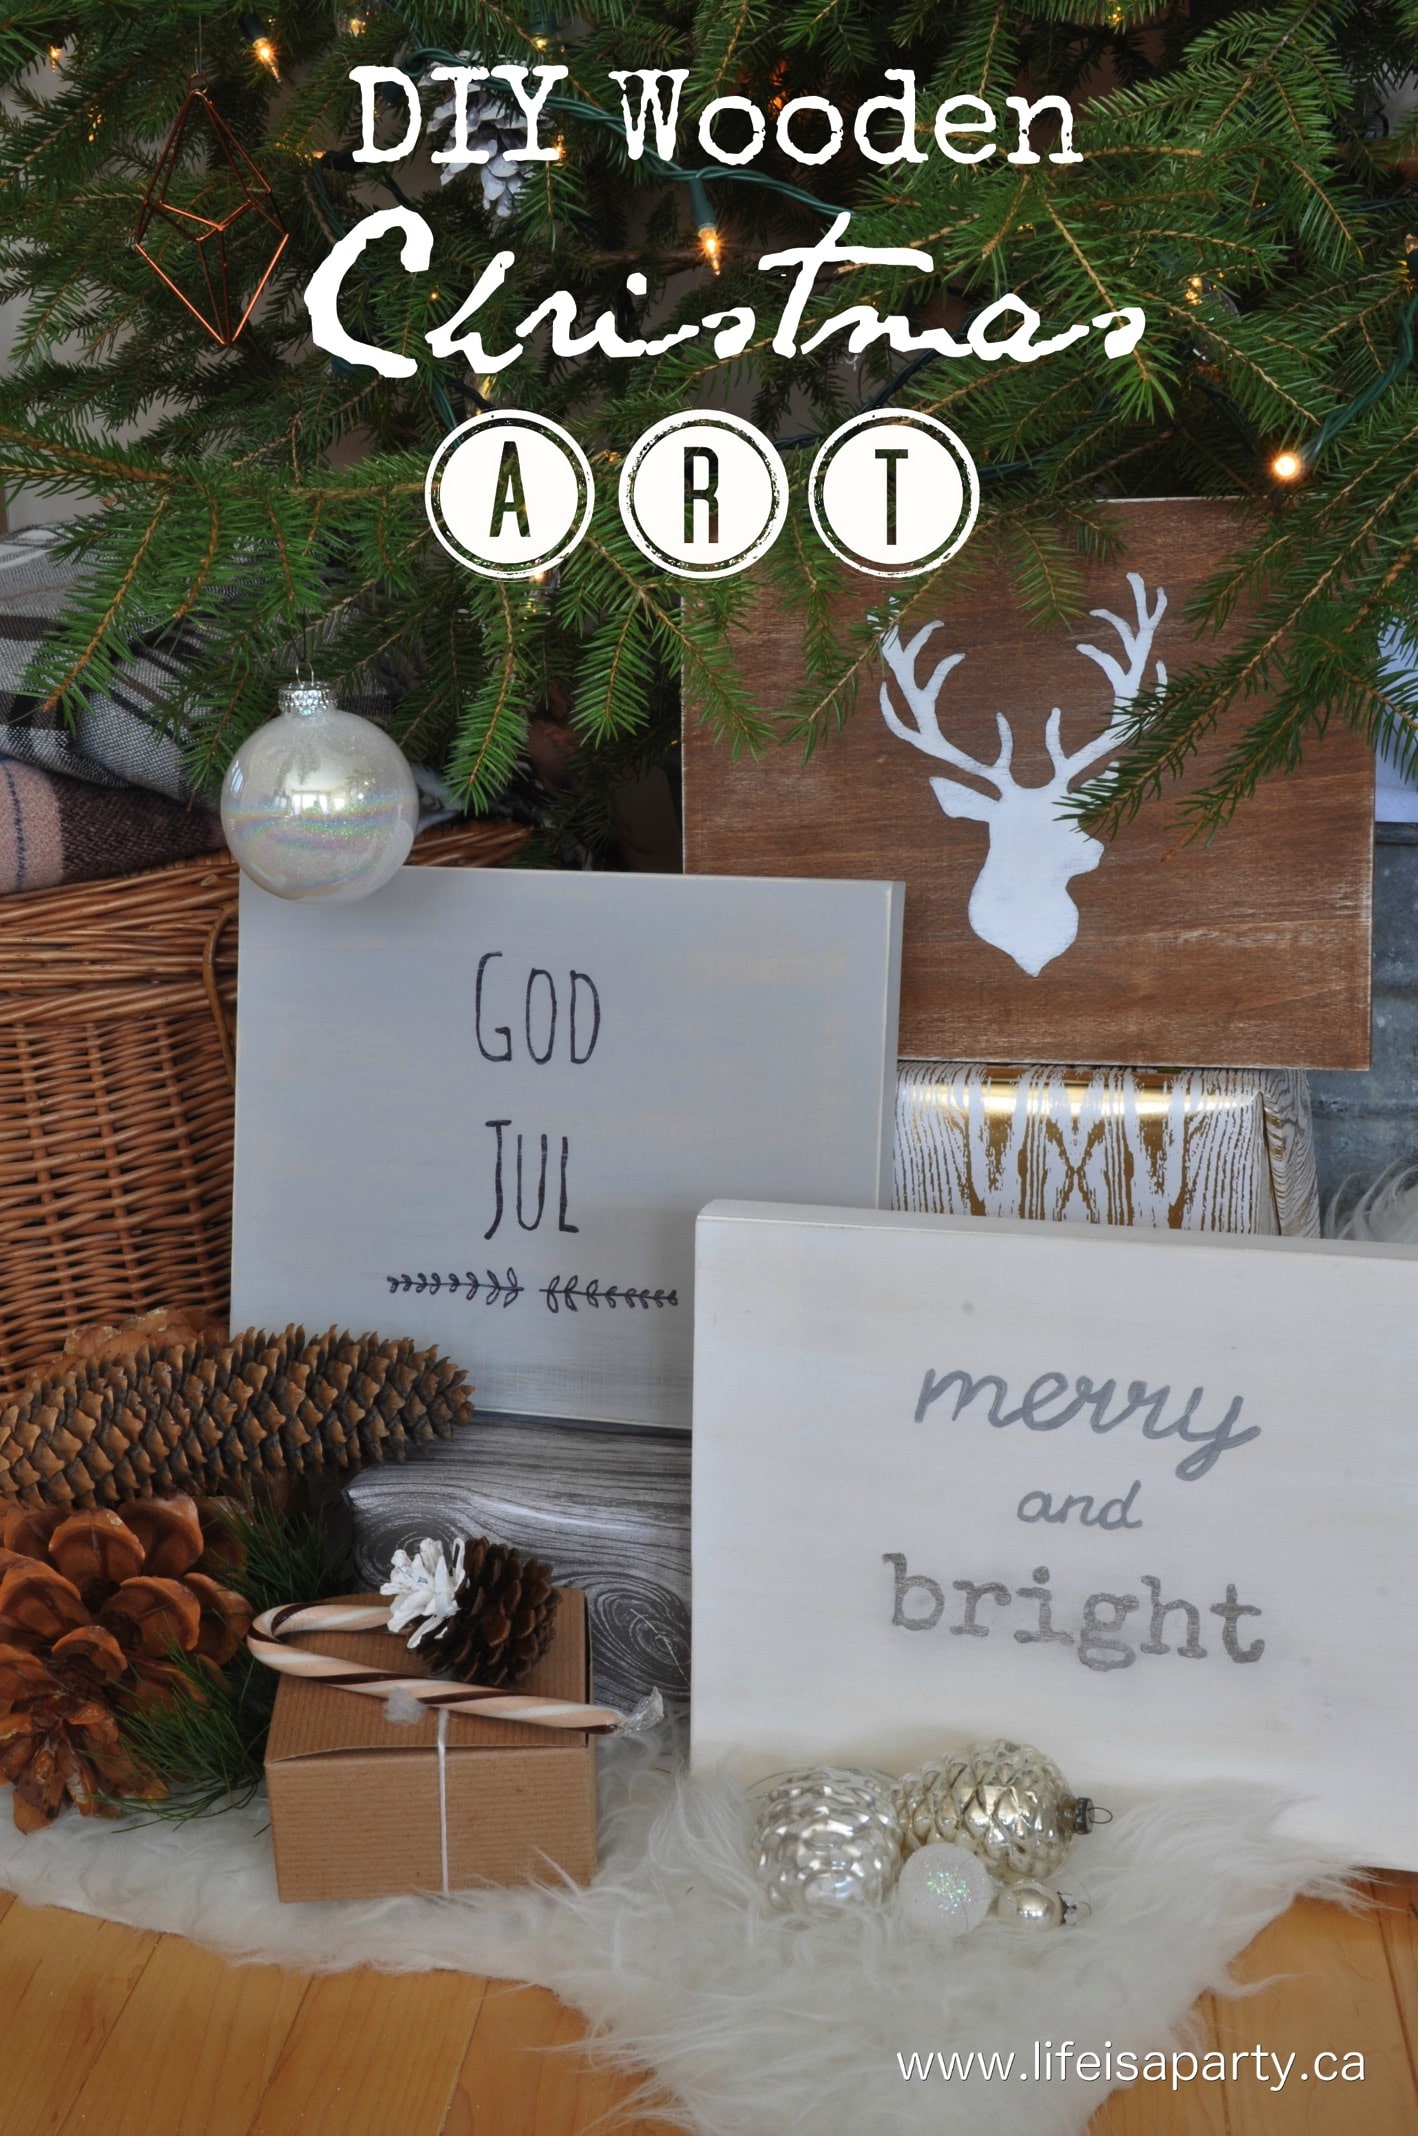
You might also like DIY Christmas Wall Art here.
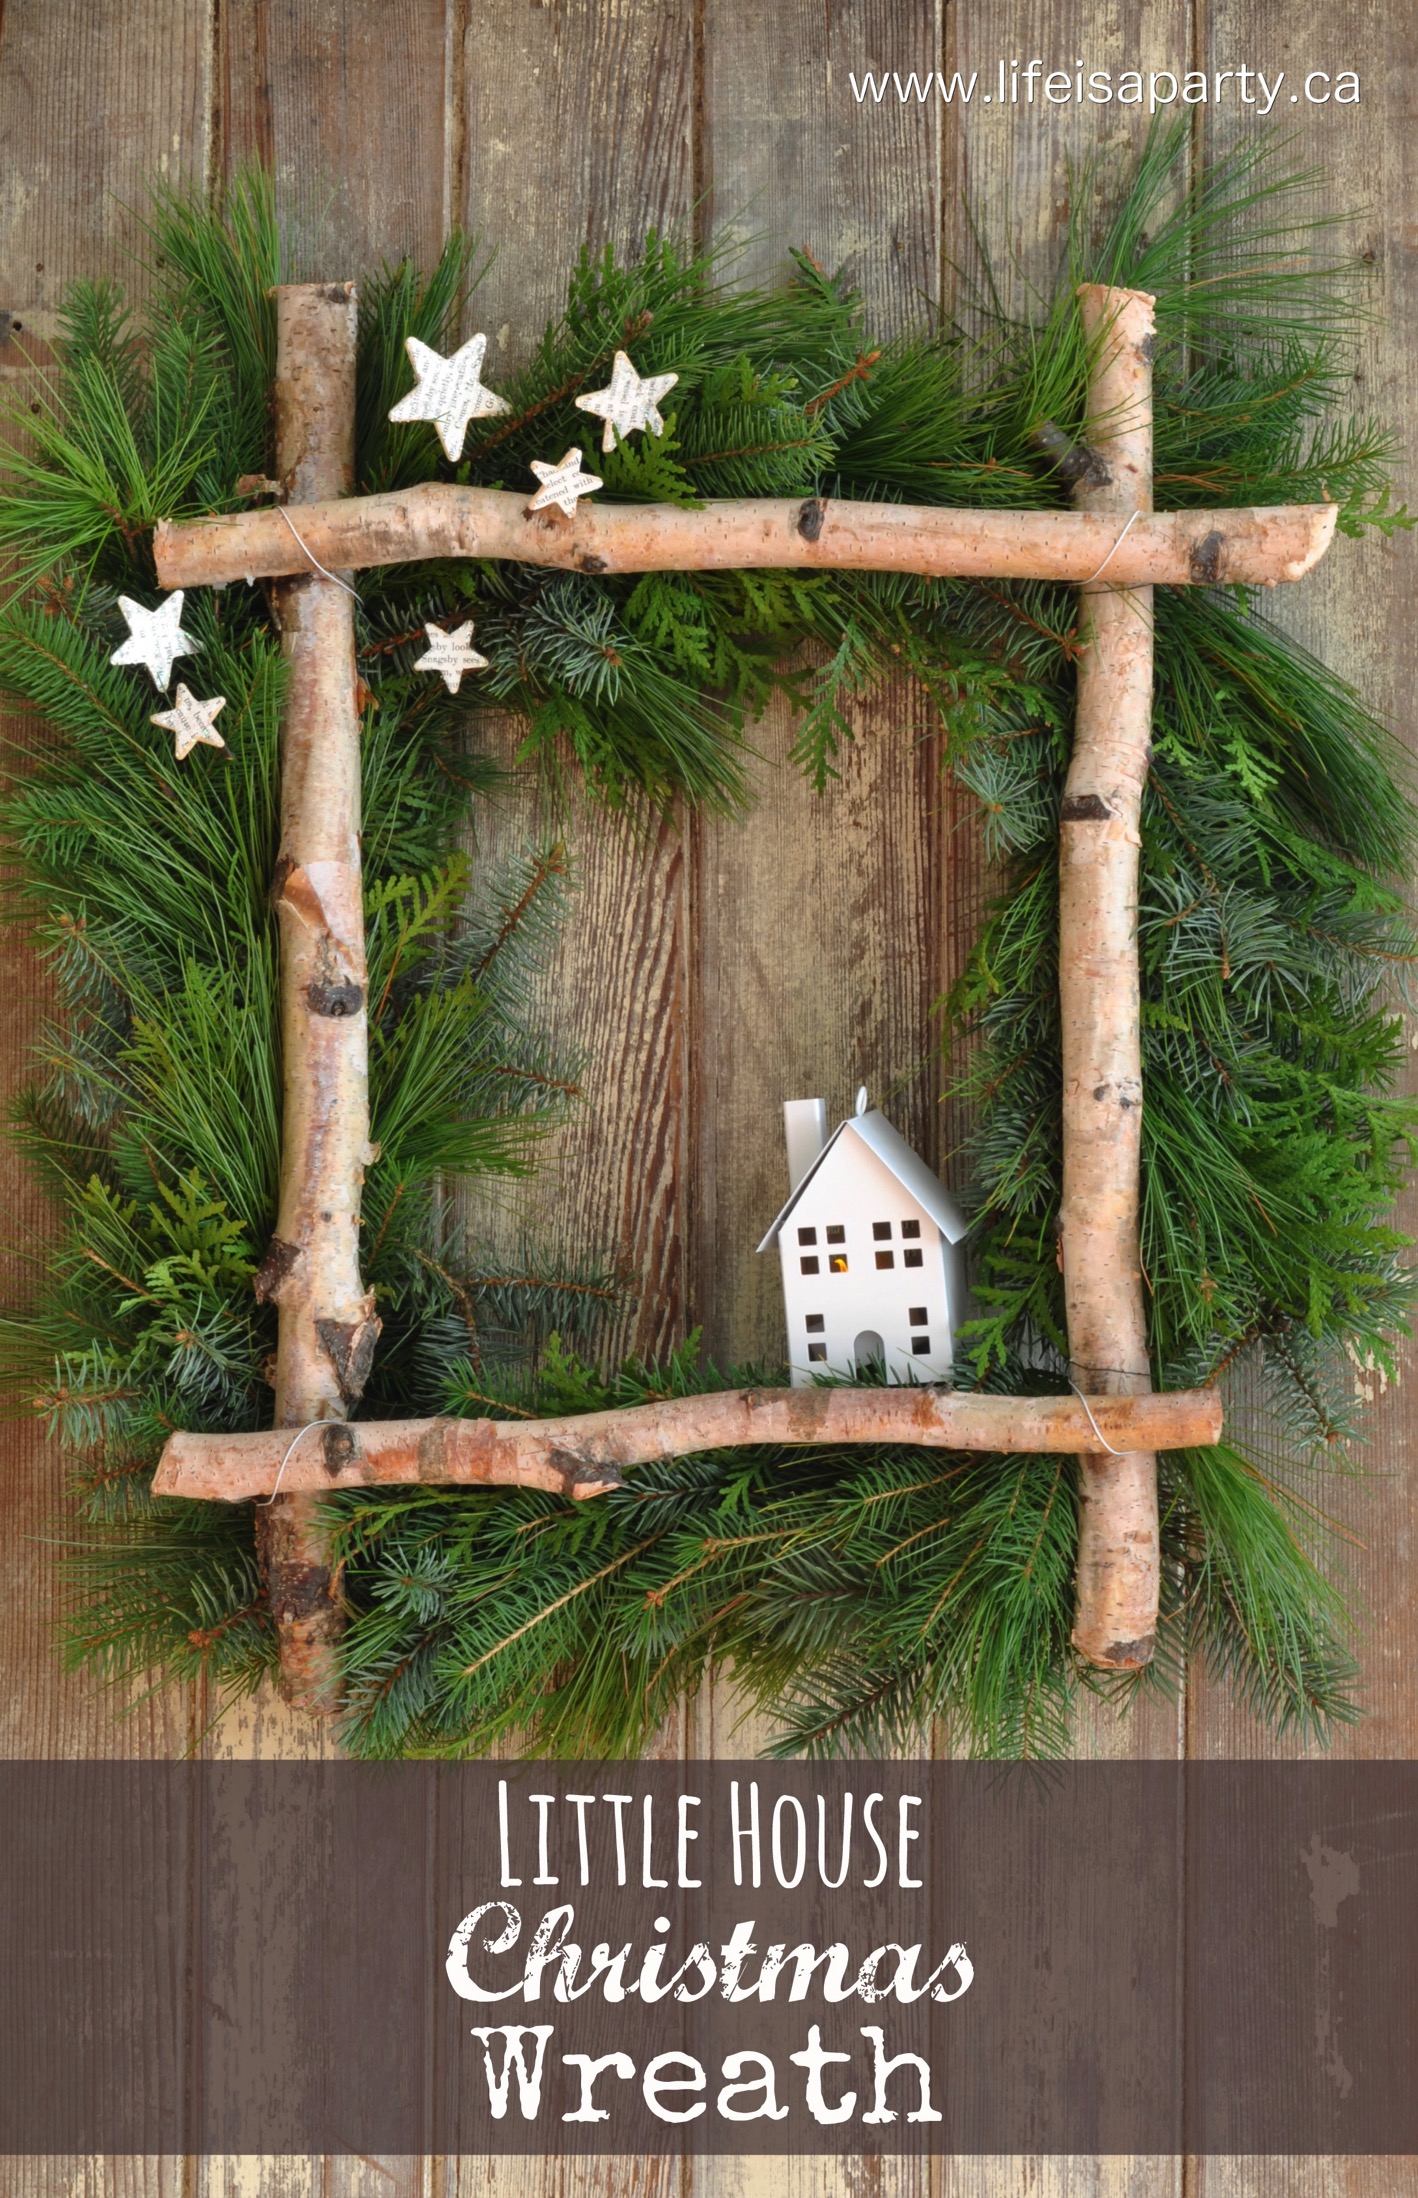
Also check out Birch Christmas Wreath here.
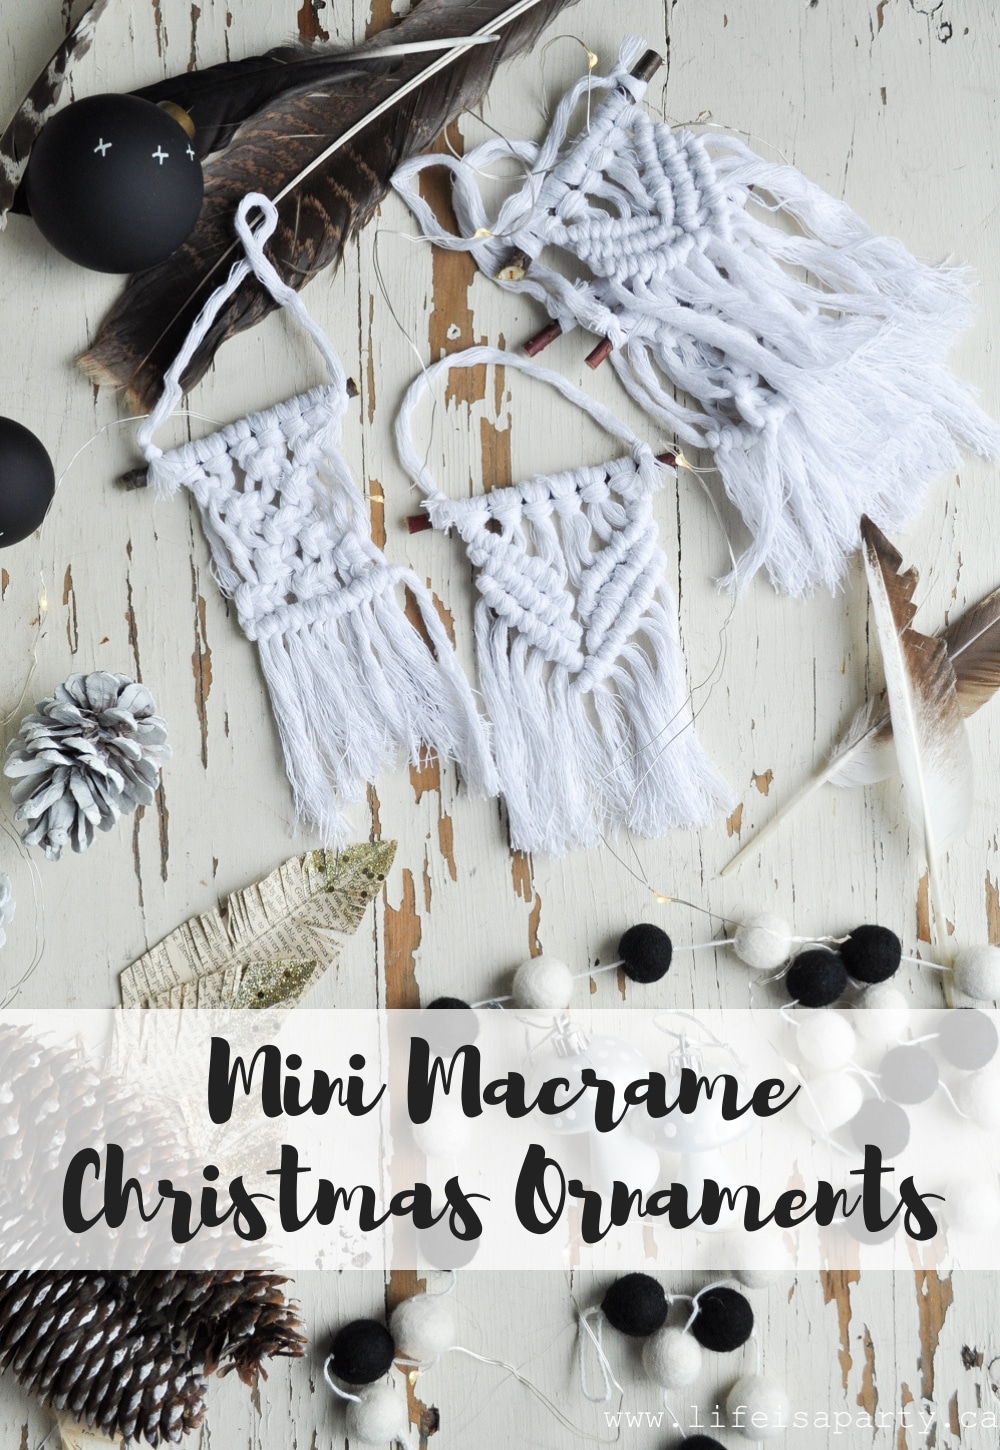
You might also enjoy Mini Macrame Christmas Ornaments here.
Turned out terrific!
Thanks Heather, and it was so easy too!
Dannyelle