How To Mount A Staghorn Fern
How To Mount A Stag Horn Fern: great tutorial to take a potted stag horn fern and mount it onto wood so it can hang. Beautiful addition to any home.

These mounted Staghorn Ferns add a little green to any room, look great in a grouping, and are easy to make. I made these for my Rustic Scandinavian Living Room Makeover Reveal last week -see it here if you missed it, and I wanted to share How To Mount a Staghorn Fern. I think this unique fern adds a rustic feel, and are a great way to create the feel of a deer head, in a more updated way.

Materials:
- Staghorn Fern
- wooden tree slice
- picture hanger
- green wire
- four screws
- screwdriver
- moss

How To Mount A Staghorn Fern:
1. Add A Hanger To A Wood Slice
These Stag Horn Ferns are called this because their beautiful fonds remind people of deer horns. They look great mounted on a wall growing from wood plaques or any mounting board, or even a piece of driftwood. It’s easy to take them from a potted fern to a mounted fern. The first step is adding a hanger to the back of the mount or wooden plaque so that you can easily hang it somewhere when you’re finished. I used a couple of picture hangers that screwed into the back.

2. Add Screws To The Front
Next, you want to add the screws to the front of the wood base. These will hold the base of the fern in place so you want them to be placed in the piece of wood to create an area a little larger than the base of the plant. Screw them into the wood, but make sure about a 1/2 inch is exposed, so you can wrap the wire around it easily.

3. Remove Excess Dirt
The first thing to do to the plant is to remove the loose soil from the roots of the stag head fern. Use your fingers to gently pull away any extra dirt, without damaging the root ball. You want to leave just a small amount of dirt around the roots. The roots will be wrapped up in moss to keep them from drying out.

4. Position The Staghorn Fern
You must determine the top of the fern. Each plant will have a small rounded leaf at the top -this are the basal fronds and they resemble a small flat shield. The fern will survive best if these leaves is are at the top when it’s hanging. This most closely resembles its natural habitat. These tropical plants grow in tree trunks of the oak tree in South America.
They prefer a warm growing season, since they’re from a tropical climate, but do well indoors as a houseplant just about anywhere. The stag horn fern naturally grow in partial shade on the sides of trees and don’t like direct sunlight.
The mature larger plant has three different types of leaves in total, the basal rounded shield fronds, these are sterile leaves. Then the stag horn type antler fronds that grow upward, and then the less jagged flat leaves that grow facing down.

5. Attach To The Wood
Wrap the surface area of the roots of the plant in sheet moss, including the back of the plant that will be right against the wooden tree slice. Then set the plant in place against the wooden base and use wire to tightly attach the plant to the backing, wrapping it around the screws to secure it. You could also use a strong fishing line for this step instead.

6. Hide Screws With Moss
Use a little extra moss as the best way to cover the screws with a mound of moss.
7. How To Water
To water the mounted staghorn fern, it’s recommended that you take the fern down and submerge the top of the moss and entire plant in a kitchen sink, bucket of water, or tub of luke warm water for about half and hour and then let it drip dry awhile before hanging it back up. They’d be even happier with rain water, if you have any available. These plants are naturally grown in high humidity and indirect light, They don’t like to dry out. You may find that the best place for a staghorn fern is in a room like a bathroom with a shower where there are more humid conditions.

How To Mount A Staghorn Fern

Materials
- Staghorn Fern
- wooden tree slice
- picture hanger
- green wire
- four screws
- moss
Tools
- screwdriver
Instructions
- Prepare your wood piece by adding a hanger to the back of it, so that you can easily hang it when you’re finished. Use a two picture hangers and screw them into the back of the wood.
- Next, you want to add screws to the front. These will hold the base of the fern in place so you want them to be placed in the piece of wood to create an area a little larger than the base of the plant. Screw them into the wood, making sure that about a 1/2 inch is exposed, so you can wrap the wire around it easily.
- Next remove the loose soil from the roots of the stag head fern. Use your fingers to gently pull away any extra dirt, without damaging the root ball.
- Determine the top of the fern, which has small rounded leaves called the basal fronds. The fern will survive best if these leaves is are at the top when it’s hanging.
- Wrap the roots of the plant in sheet moss, including the back of the plant that will be right against the wooden tree slice. Then set the plant in place against the wooden base and use wire to tightly attach the plant to the backing, wrapping it around the screws to secure it.
- Use a little extra moss as the best way to cover the screws with a mound of moss.
- To water the mounted staghorn fern, it’s recommended that you take the fern down and submerge the entire plant in lukewarm water for about half and hour. Then let it drip dry before hanging it back up
I’m really pleased my staghorn fern mount. This is the first time I’ve tried to grow them, and I’m not sure how easy they are to keep alive. Mine here inexpensive -around $7 each at my local nursery, so they weren’t a huge investment. Look for them at a big box store too, where they should also be quite inexpensive. I thought they were comparable to cut flowers, so if they last longer than cut flowers, we’ve got our money’s worth. I’ll try my best to the keep the little guys alive. 😉 I love the way they look, especially all grouped together. They’re like wall art. I love their natural and rustic look.
With easy Mounted Staghorn Ferns, life really is a party.
More DIY Craft Project Inspiration
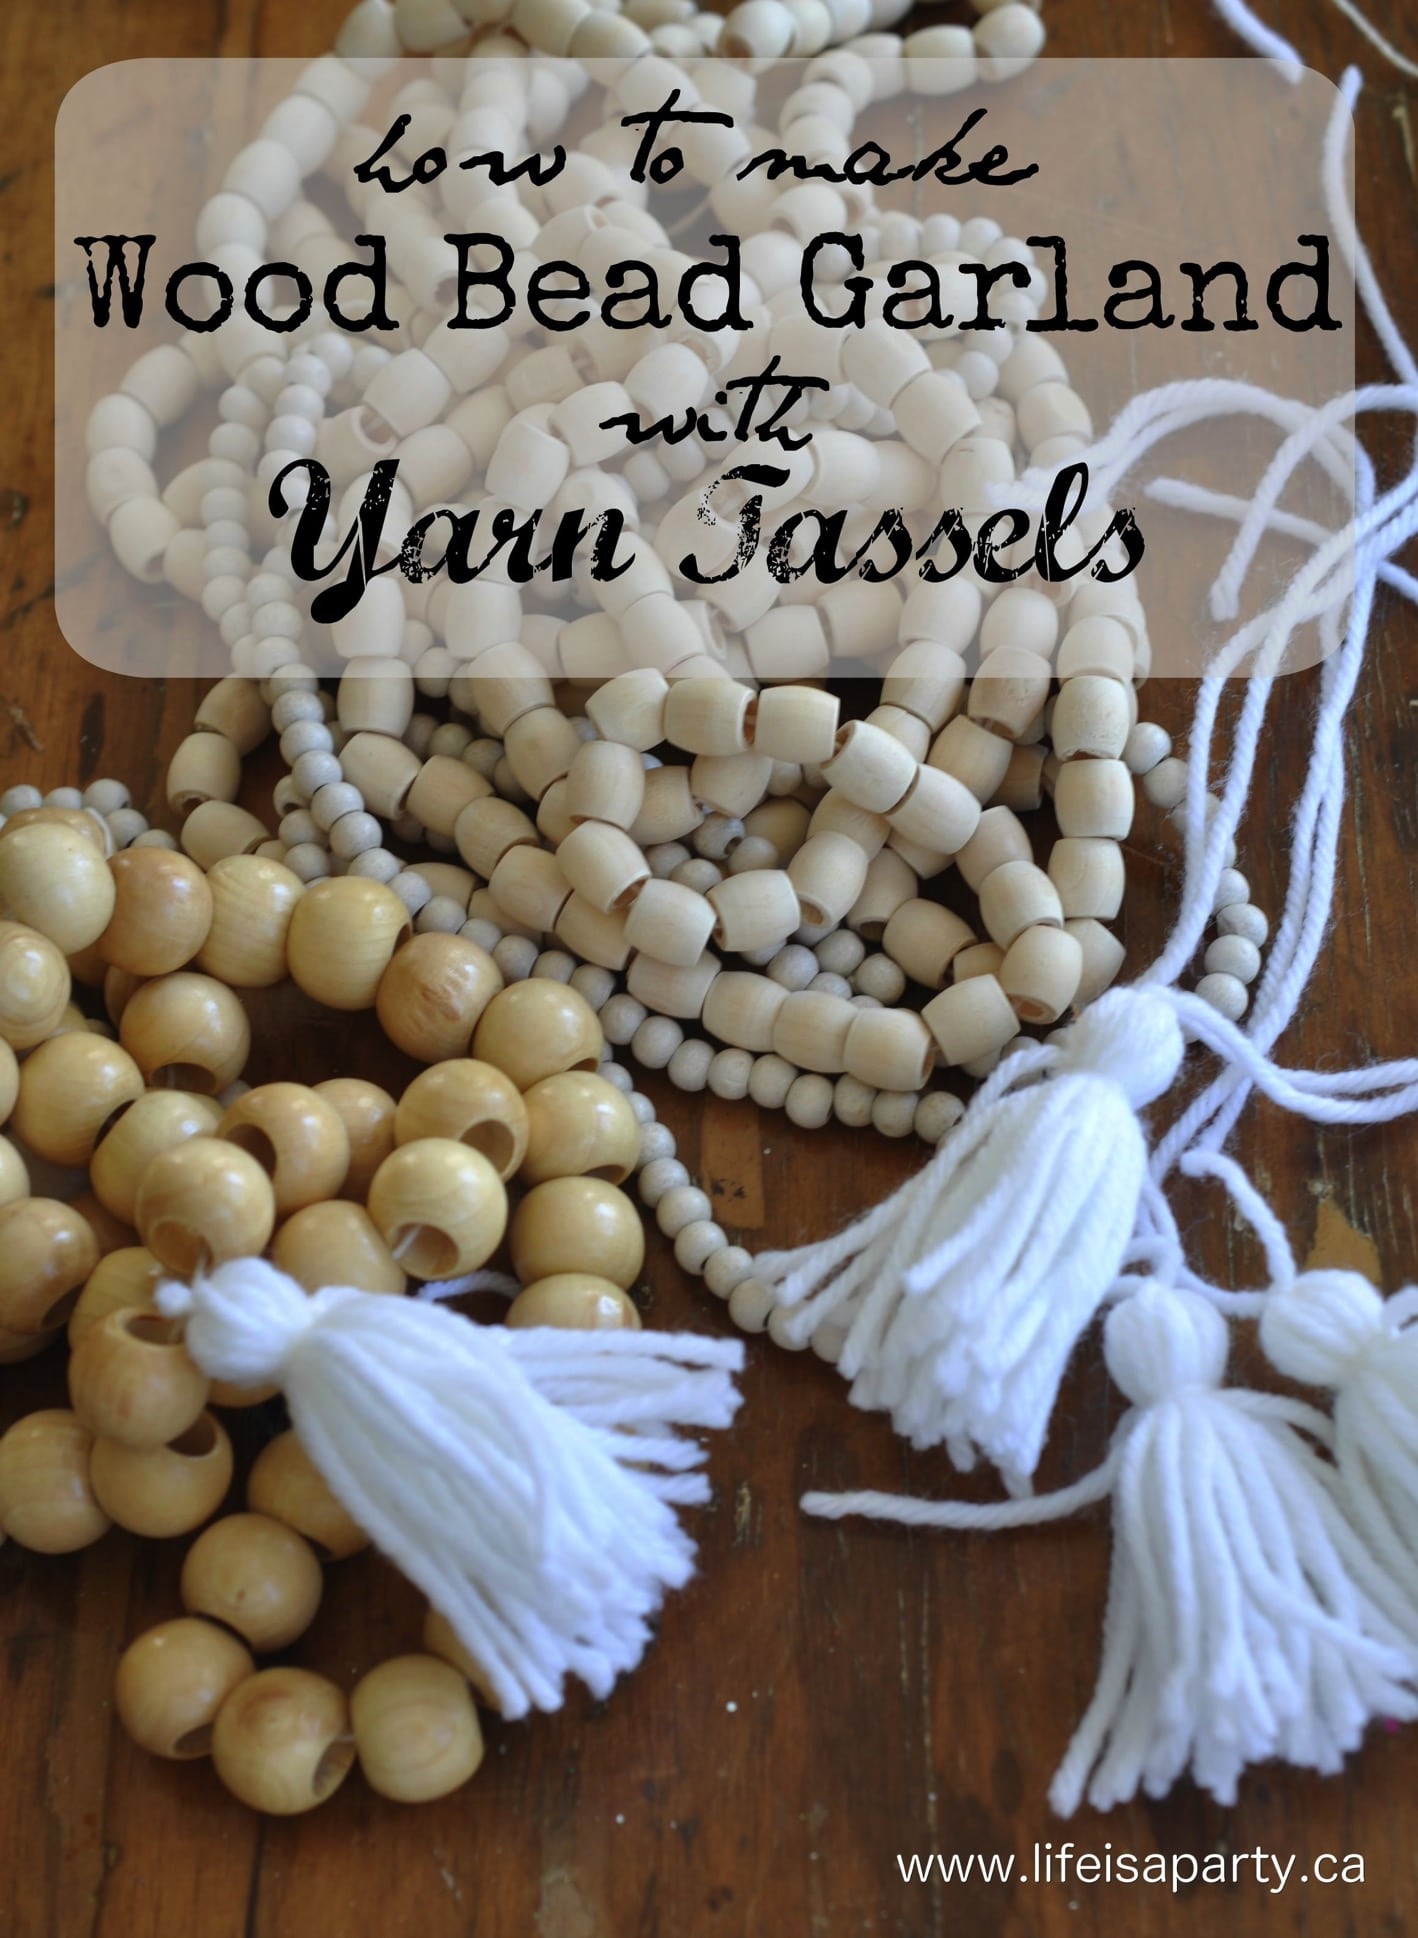
You might also like How To Make Wood Garland with Yarn Tassels here.
You might also enjoy our Mason Jar Oil Lamps here. Made with simple materials, these are a great addition to your home decor. Use them anywhere you would use candles.

You might also enjoy our Mason Jar Oil Lamps here. Made with simple materials, these are a great addition to your home decor. Use them anywhere you would use candles.
