3D Origami Hearts
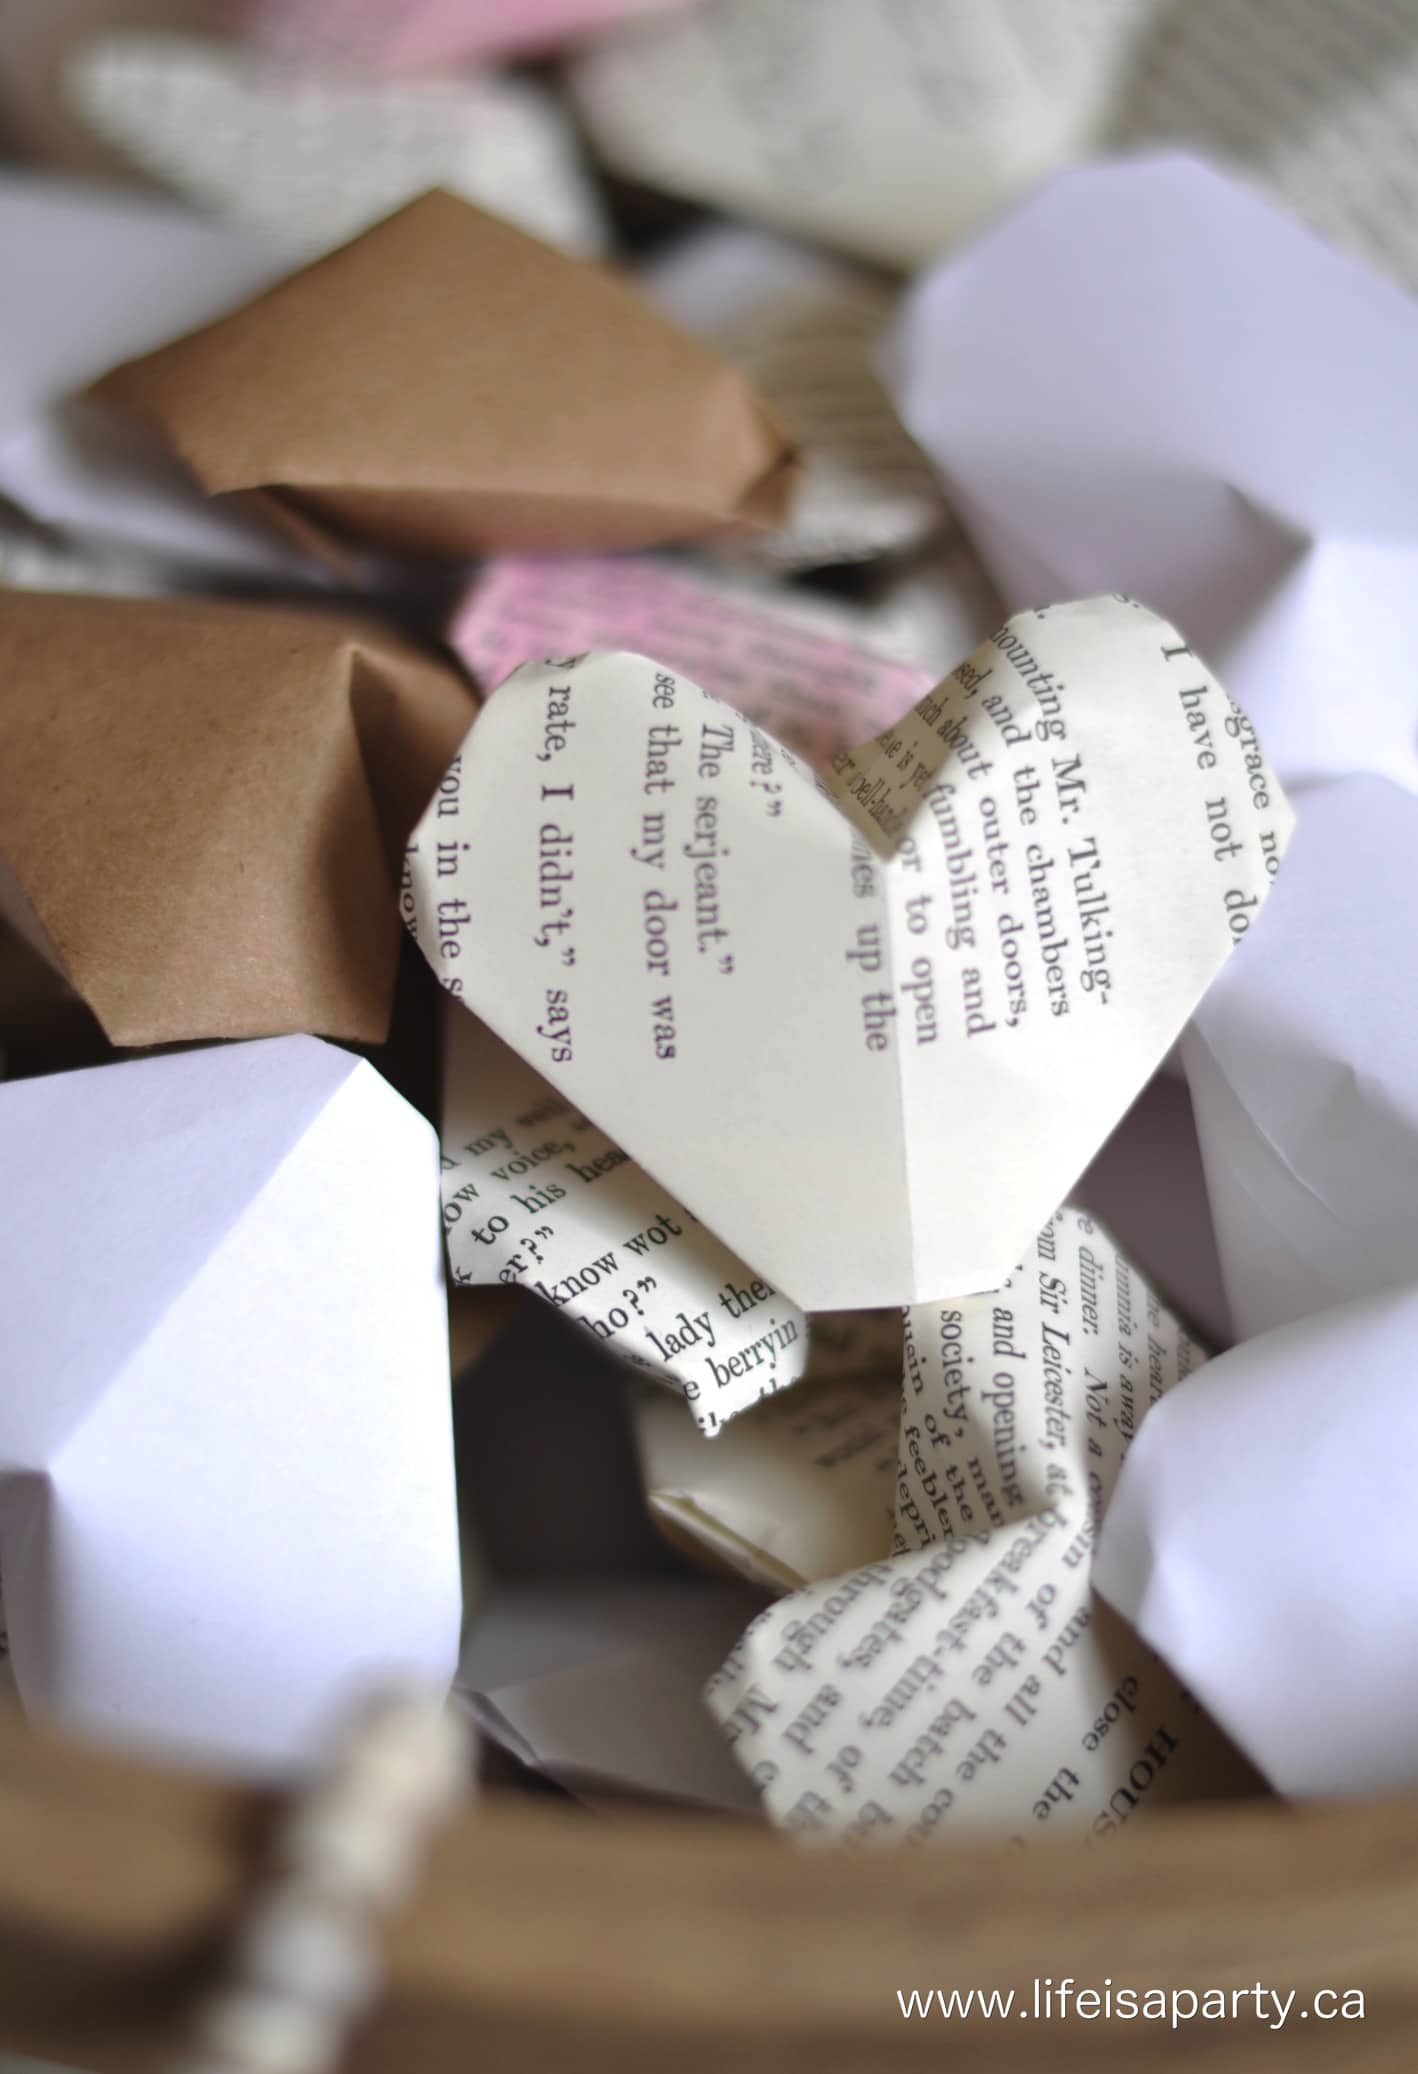
3D Origami Hearts -create your own origami hearts out of old book pages. Perfect for Valentine’s Day decor, wedding decor, or a baby nursery.
What’s better than a bowl full of hearts for Valentine’s Day? Nothing. And these 3D Origami Hearts are super easy to make too. Origami is the Japanese art of paper folding. These small trinkets of folded paper are often given as origami gifts. You may have seen origami cranes in the past, but you can also make a 3D puffy heart out of paper too.
An easy origami heart is the perfect lovely heart project to give to your Valentine this year, use for decor, or incorporate into your party decor. The possibilities are endless. This sweet handmade gift would be really sweet with a love note anytime of year.
Materials
For this project, I made lots and lots of the 3D Origami Hearts out of
- plain white paper,
- brown kraft paper,
- old book pages
- watercolours
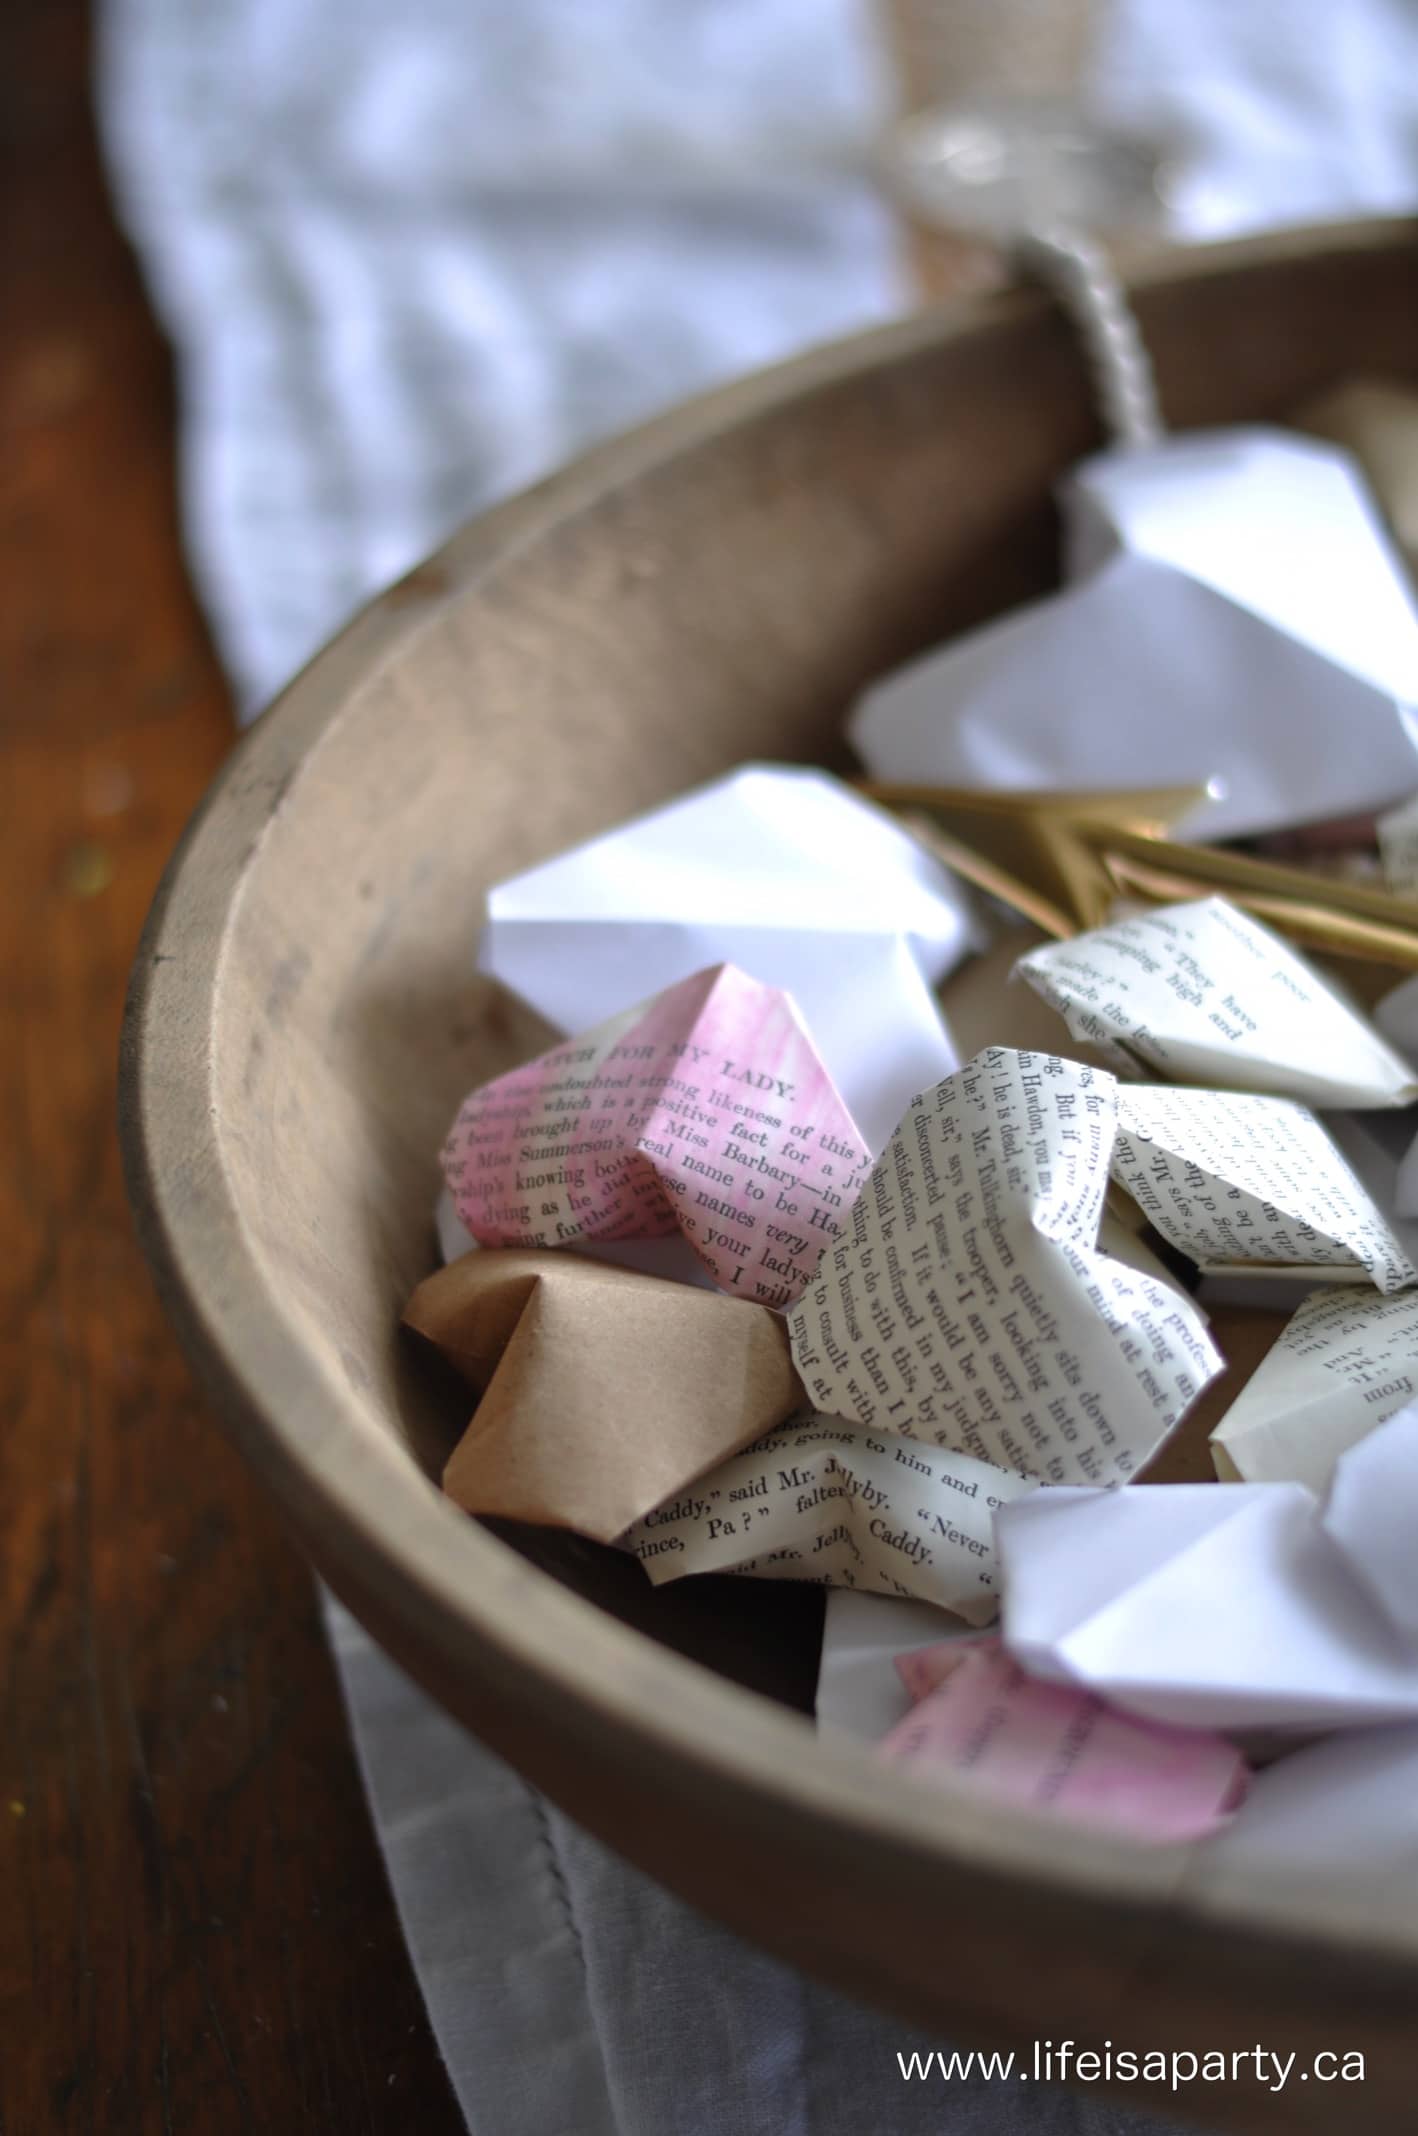
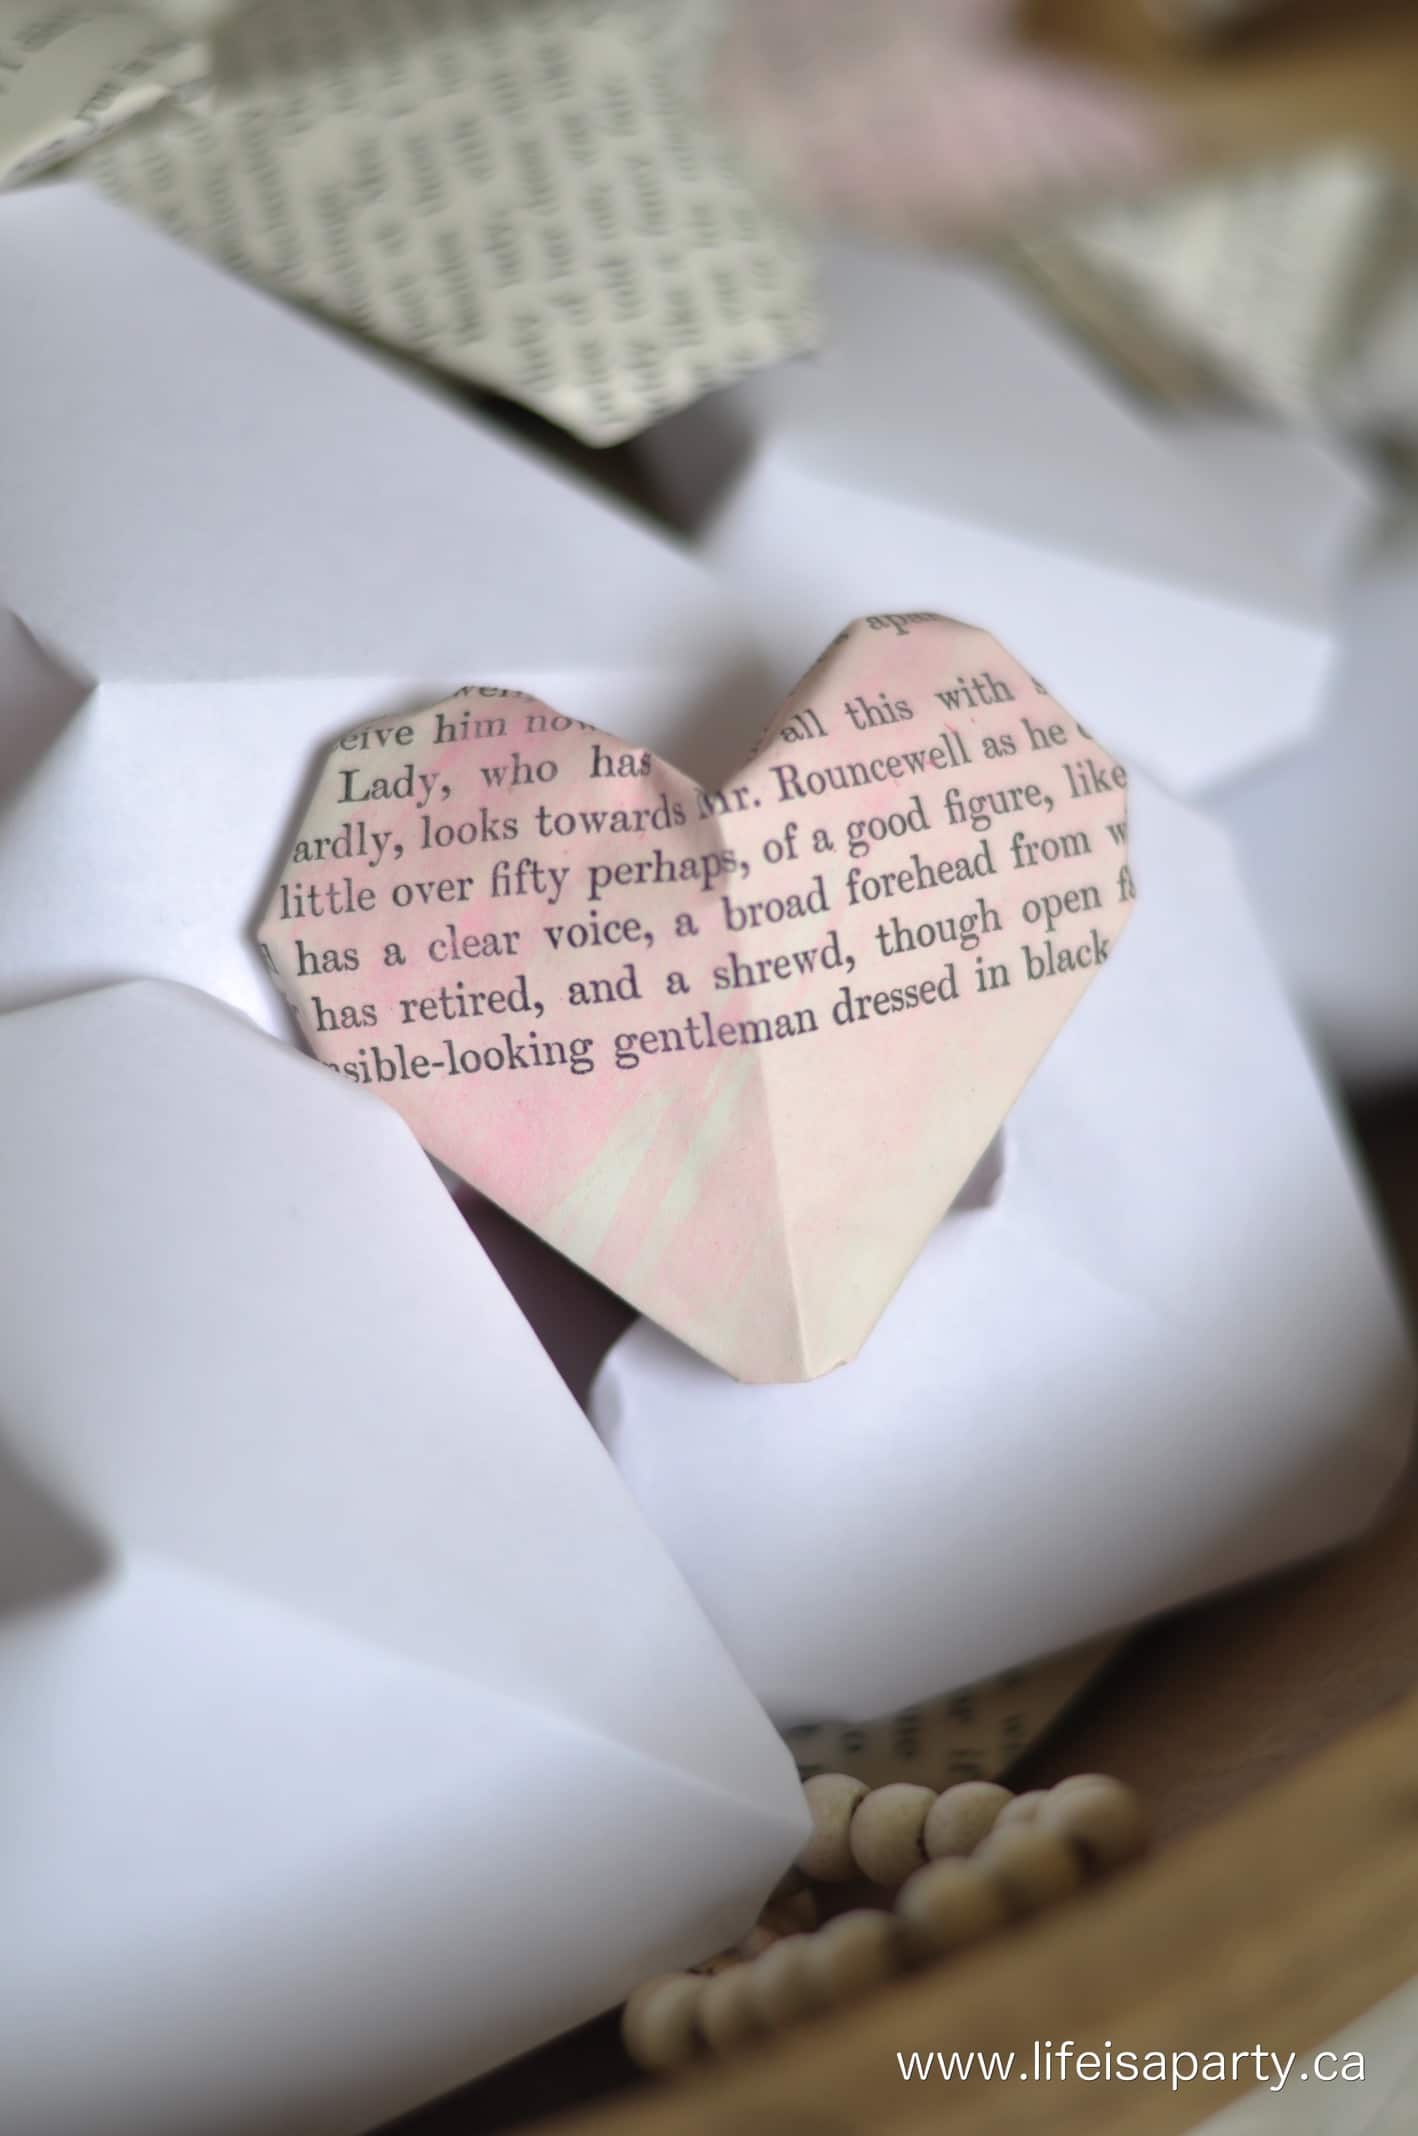
Some of the book pages were painted with pink watercolours before I folded them, for a little bit of pretty colour.
You can make your hearts as big or small as you like. Use any size paper. You do need a square to start with, so use a square piece of origami paper, or use any other paper that you first have cut into a square.
You could use any square piece of paper for this project, as long as it’s not too thick, since thicker paper can be difficult to fold precisely. Cute origami paper would be a really good choice too. If you’re making this for decor, use any color paper or scrapbook paper that matches your home or party.
Origami Heart Instructions:
1.To begin our origami heart tutorial, we must begin with a square paper. You can make a paper origami heart in any size, but to begin with I wouldn’t make it too small or too big. The first step is to fold the paper in half and create a center crease in it, then unfold it.
2.Turn the sheet of paper so that it is open with the fold crease line running vertically. Fold up the bottom of the paper about 1/4 of an inch. Then use that new folded edge as the new bottom of the paper, and fold the paper in half horizontally.
3.Making sure the open part of the fold is at the top, fold the top right corner to the bottom edge, bottom corner, to form a triangle on one side.
4.Do the same on the other left side with the top left corner folded down to the bottom edge to form a matching triangle on the other side. The whole paper now looks a bit like the roof of a house.
5.Working with the top layer of paper, take the bottom middle corner of the triangle on the right side and fold so that the edge lines up with the top triangle edge. Do the same on the other side, creasing hard. Then unfold both of those folds leaving the crease marks.
6.Starting with the lower right tip of the paper, fold it to meet up with the crease line you just created, on the middle edge. Do the same with the other side.
7.Next, open up the open edge of the triangle you just created on top, and tuck the piece of paper from underneath into it. Crease it hard. Do the same on the other side.
8.Then fold in the edges of the top four corners just slightly to make the whole shape more heart shaped.
9.Lastly you’re going to blow some air with your mouth into the bottom point of the heart to inflate it, while using your finger to gently push down the centre and form the heart shape.
Brave Hearts
Origami is one of those things that is easier to explain in video tutorials than in writing, so…I had to get brave and try something new.
And it raised all those feelings in me that I don’t like. Feelings like…I don’t know what I’m doing. It even made me a little bit grumpy.
But then my YouTube watching 11 year old daughter Paige helped me out…well basically did it for me. And she was really patient, and kind, and encouraging, and sweet.
This bowl full of hearts project, ended up reminding me what amazing hearts my home is full of. It made me so grateful for my girls, and my sweet husband, and that all the answers to my questions are on-line, and that an old dog can learn some new tricks. haha.
So, here’s our first ever Life is a Party YouTube video! (With special thanks to Paige, Maddie, and Roland)
How To Make A 3D Origami Heart Video
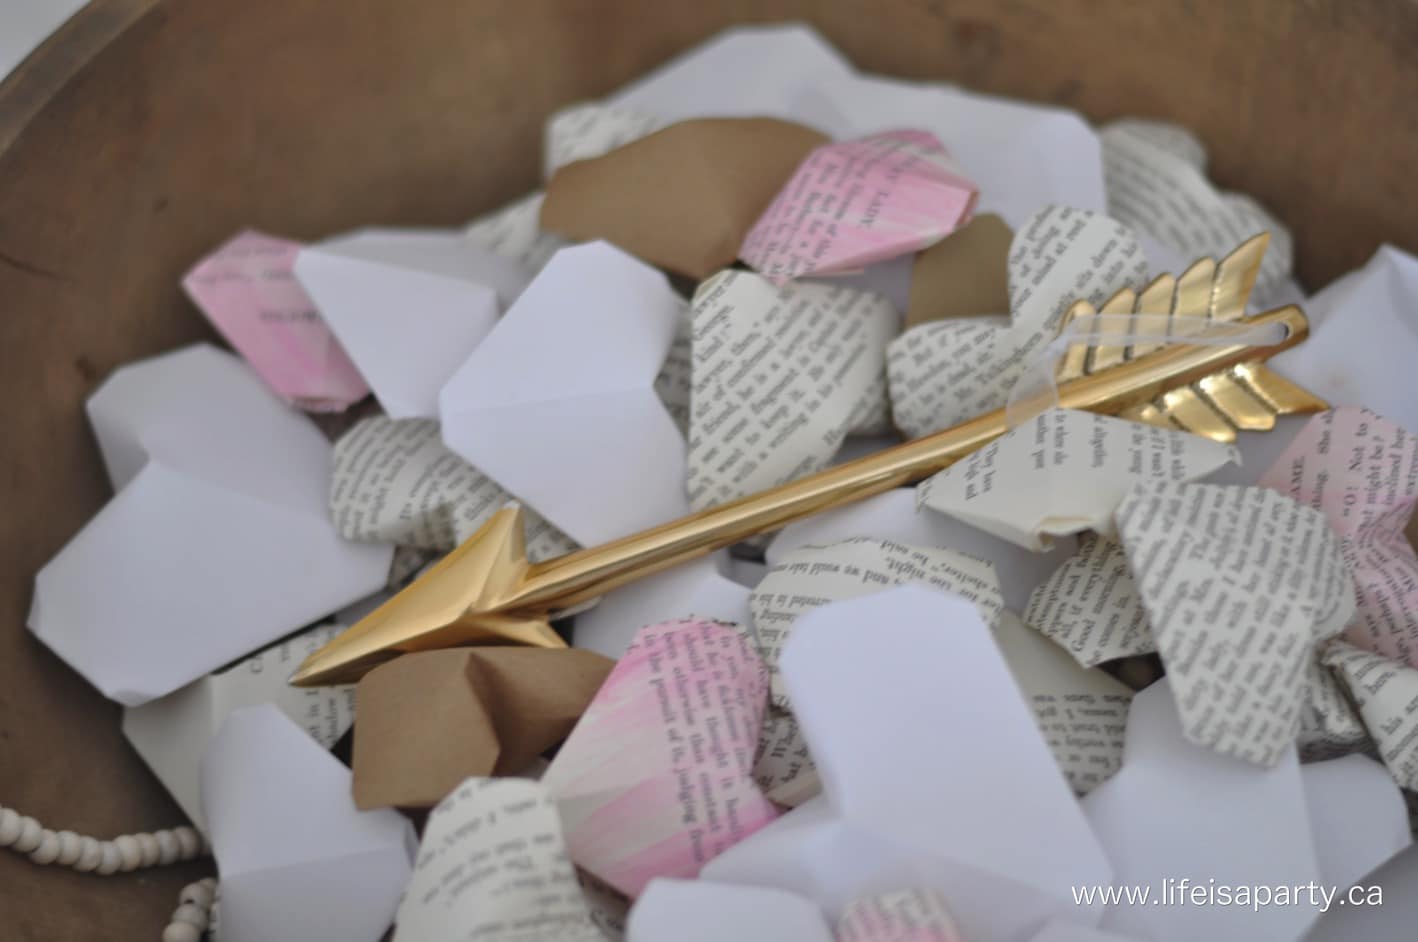
After you get the hang of making one simple origami heart, it doesn’t take a long time to memorize the easy steps and make a bunch. It’s a great tv watching activity once you get the hang of it, and the perfect excuse to watch a long movie. I made lots of puffy origami hearts, in all different sizes, and kinds of paper. I added my finished hearts to a wooden bowl for some fun Valentine’s Day decor. A pretty origami heart would also be really fun given as Valentine’s day cards too. I think they would also be great as part of the decor for a baby or wedding shower. You can make them in any colours, and since they’re just paper, and they’re really inexpensive to make. A cute origami heart is the perfect way to add some custom party decor in any color. These are so fun for a great gift too, or tucked into a party bags, or you could even create mini ones and use them as straw toppers for a party.
With a bowl full of hearts for Valentine’s Day, life really is a party!
Love to decorate for Valentine’s day with neutral colours? Check out our Simple Valentine’s Day Decor Home Tour.
You might also like these easy to make DIY Yarn Hearts.


These are the cutest things EVER and your video is super-well done! Congrats Danyelle!
xo
Also I think my 11 year-old and I need to make these 🙂
Thanks Andrea. I was kind of amazed how well she knew how to make a video, and then she had all these little tips from watching YouTube videos, it was the sweetest. You should definitely give it a try!
Dannyelle
Thank you, thank you, thank you for this video. I love these little puffy hearts. I made origami hearts for Valentine’s Day this year and also a (girly) baby shower. Mine were the flat kind but I absolutely love these 3D ones. Good luck and God Bless you for all your future videos. <3
Thanks Yvonne, so glad you liked it!
Dannyelle
I love this video so much!You are amazing:)
I wish you mention me in your next video.
I hope you read this.
So easy to follow, thanks so much for the video. I will definitely use these for my wedding reception. So sweet!
Maria, so glad it was helpful, and all the best for your upcoming wedding!
Dannyelle
Hi Dannyelle my year 7 son has an origami project and I’ve been looking for great, but easy origami for him to do. I have to say not only are your hearts gorgeous, but your tutorial made them super easy! Thank you so very much.
Anna, thank you for the lovely comment. I’m so glad the tutorial was helpful!
Dannyelle
Great tutorial! I’ve just made one and put it in my boyfriends slipper to find when he gets in from work.
Elanor that’s such a sweet idea, hope he loved it!
Best,
Dannyelle
My end is not open, what did I do wrong?
Love.love.love !!! Thanks,had to pause video a few times but I got it. Thanks again.
I LOVE THESE HEARTS!! CAN’T WAIT TO TRY…..THANK YOU FOR THIS LOVELY “GIFT”. LorrieLors
Thanks so much Susan, and best of luck with them!
Dannyelle
I’m going to use these for the craft at my son’s friendship party next week! I found some really pretty wrapping paper to use from the dollar store, and I think that it will satisfy both the girls and boys in the class. Thanks for your very clear instructions! You guys made a great video! Just wondering what size your squares of paper were…
Hi Jennifer,
We used all different sizes of paper -from average paperback book size to a little larger and a little smaller. Hope this helps. Just play around with it and see what you like.
Best of luck, and I;d love to see some pictures of the party, please share over on my facebook page.
Thanks so much,
Dannyelle
Hi Cathy, you must have had your paper upside down, there’s a point in the video where I remind you to make sure the open side of the paper is at the top. Hope this helps, best of luck!
Dannyelle
I used to have a substitute teacher that I LOVED and this just brings back memories of my little kid self great video so easy to understand
Thanks so much Kristine!
Best, Dannyelle
That is easy!! I just spent 30 minutes making a 3D heart with lots of steps to it …yours is much easier!!
Thank you!
Debbie, thanks so much, so glad it worked out for you.
Best,
Dannyelle
Thank you for the video. The little hearts are wonderful. I plan to give them to friends on V day. Easy, inexpensive and really, really cute. Your video made it so easy to learn to make them.
Kathy, thanks so much for the lovely feedback and Happy Valentine’s Day!
Dannyelle
I usually never reply to videos. I found this on Pinterest, love your presentation and the video was awesome. Kudos to your production team LOL. Keep up the great work the origami looks intimidating but the video made it look so simple I’ll definitely browse your page. Have a great day from my lil fam. To yours hearts and stars