Printable Christmas Art -large and inexpensive printable engineer prints and a DIY wood hanger makes the perfect Christmas Art Work on a budget.
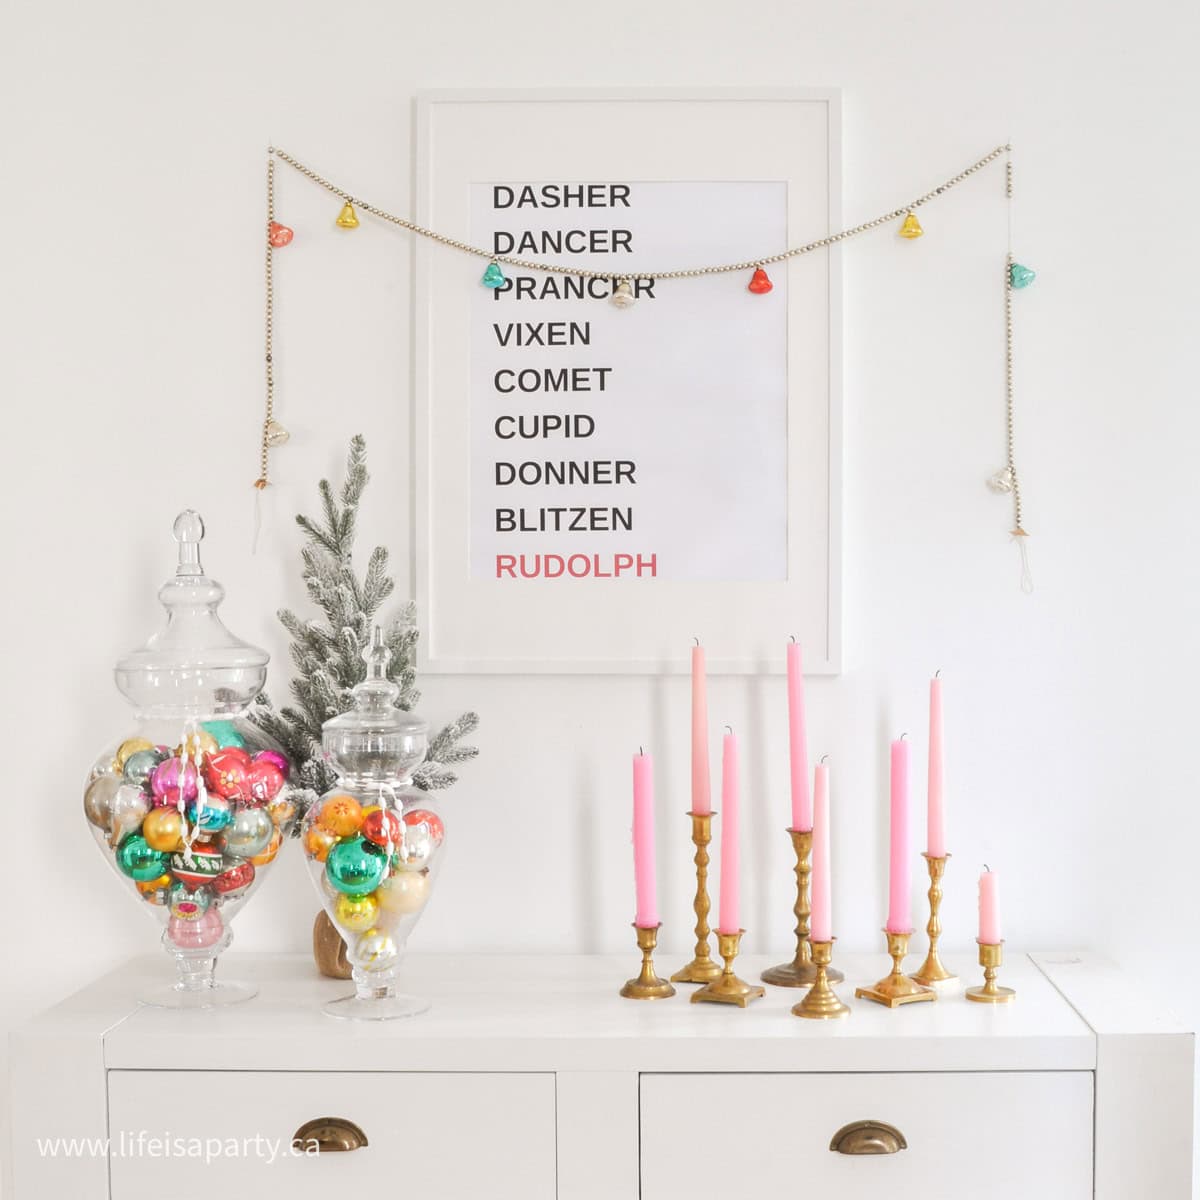
This modern printable Christmas art work is so much fun, and really inexpensive to DIY the hanging frame. It's the perfect fun addition to your Christmas decor this year.
It's also Day 2 of sharing printables from our Home For Christmas Ebook and Printable Toolkit. My readers told me that their biggest struggle with the holidays was time, so I put together a huge bundle of Christmas printables, so you'd have everything you need in one place and can spend less time preparing and more time celebrating this Christmas.
Engineer Prints
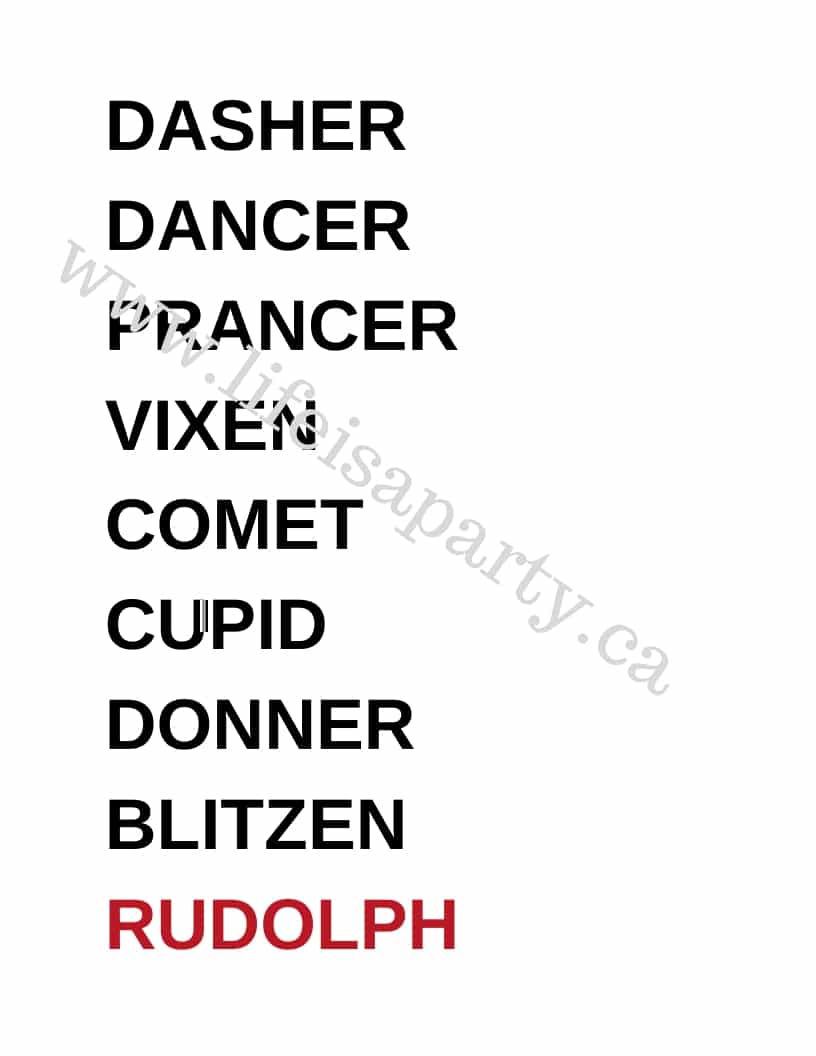
Today's items in the Christmas Printable Package are these beautiful large format art pieces. Download them all or just one from our Etsy shop and have them printed at your local office supply store.
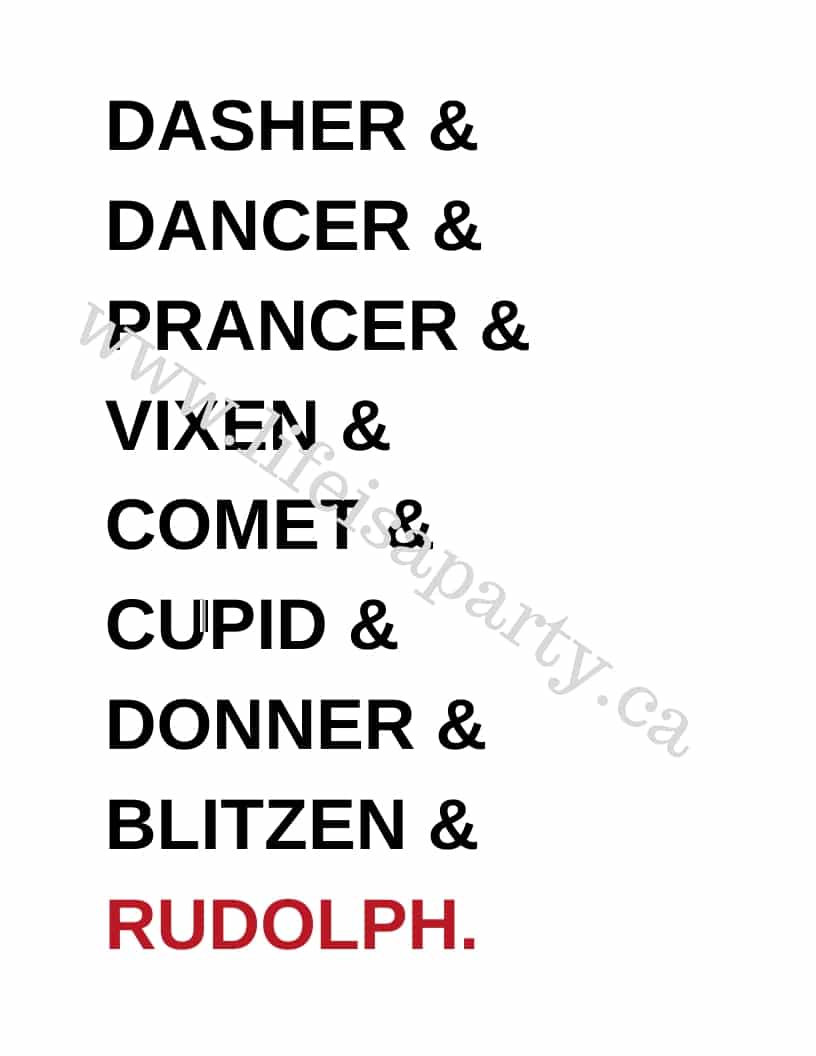
I feel like printers have a secret and it's that you don't have to order expensive posters, you can order inexpensive engineer prints. The quality is a little less, but for word art like this it looks great.
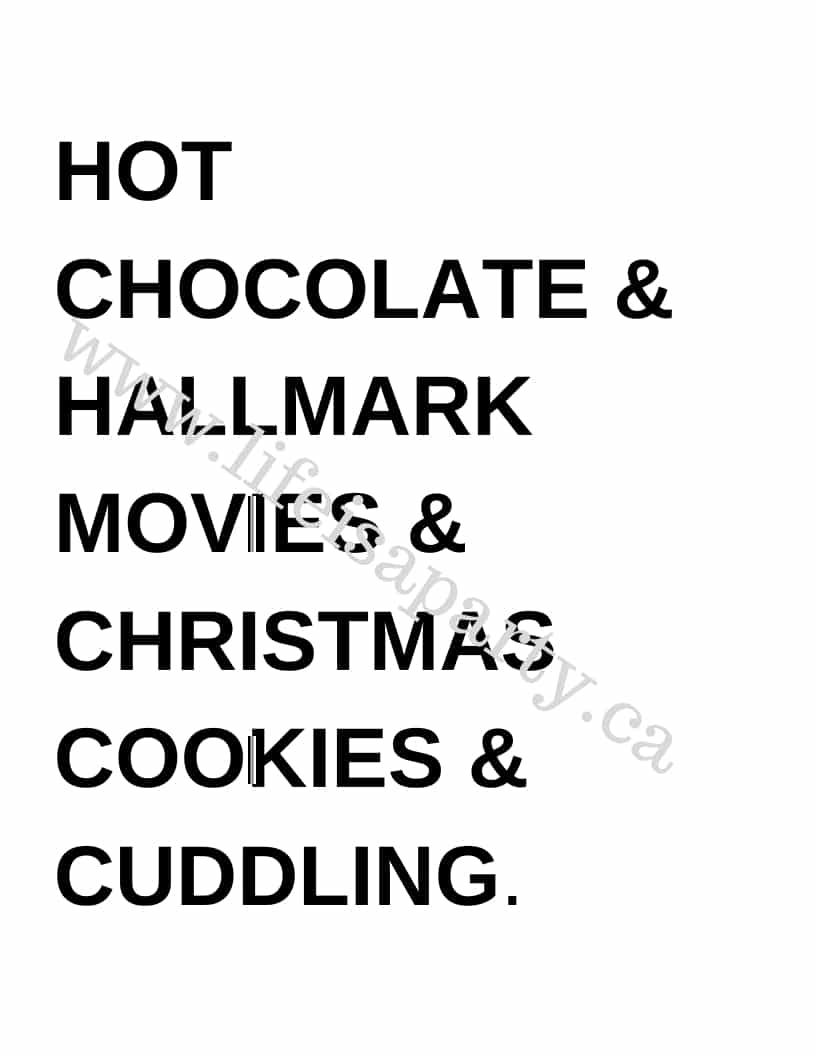
Engineers prints are so much cheaper. For me they cost $2 for black and white and $5 for colour for the 18 x 24 inch size.
You just upload your file to the office supply store on-line and pick up in the store. And another secret...I never pay extra to have it ready by the next day, but it almost always is. 😉
Hanging The Art
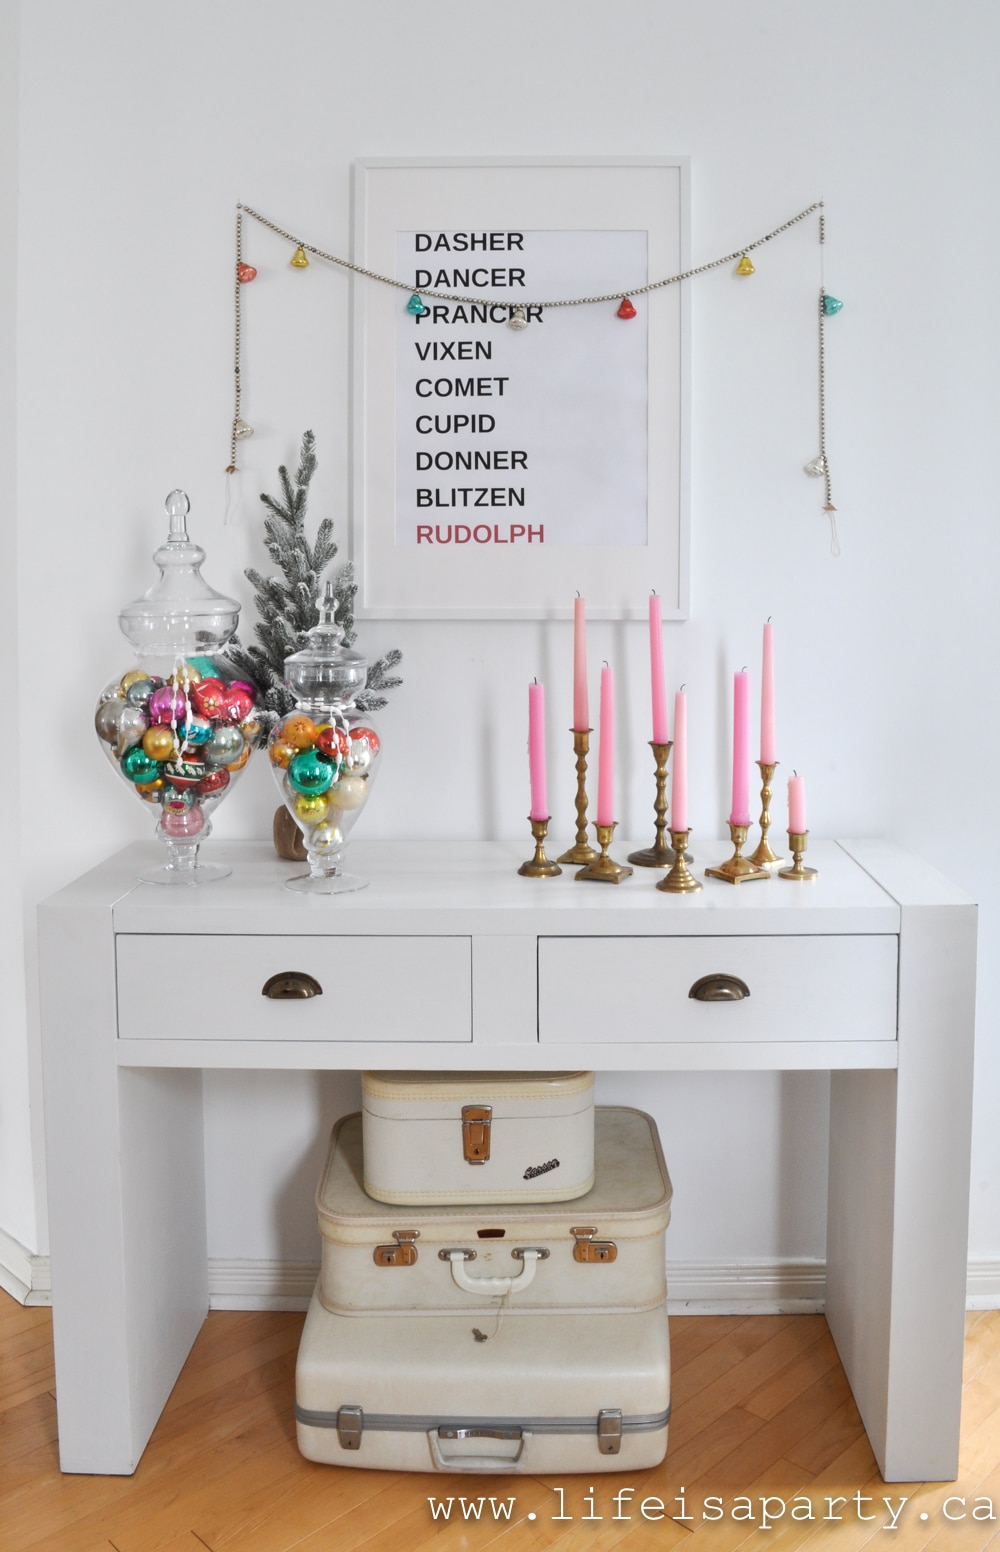
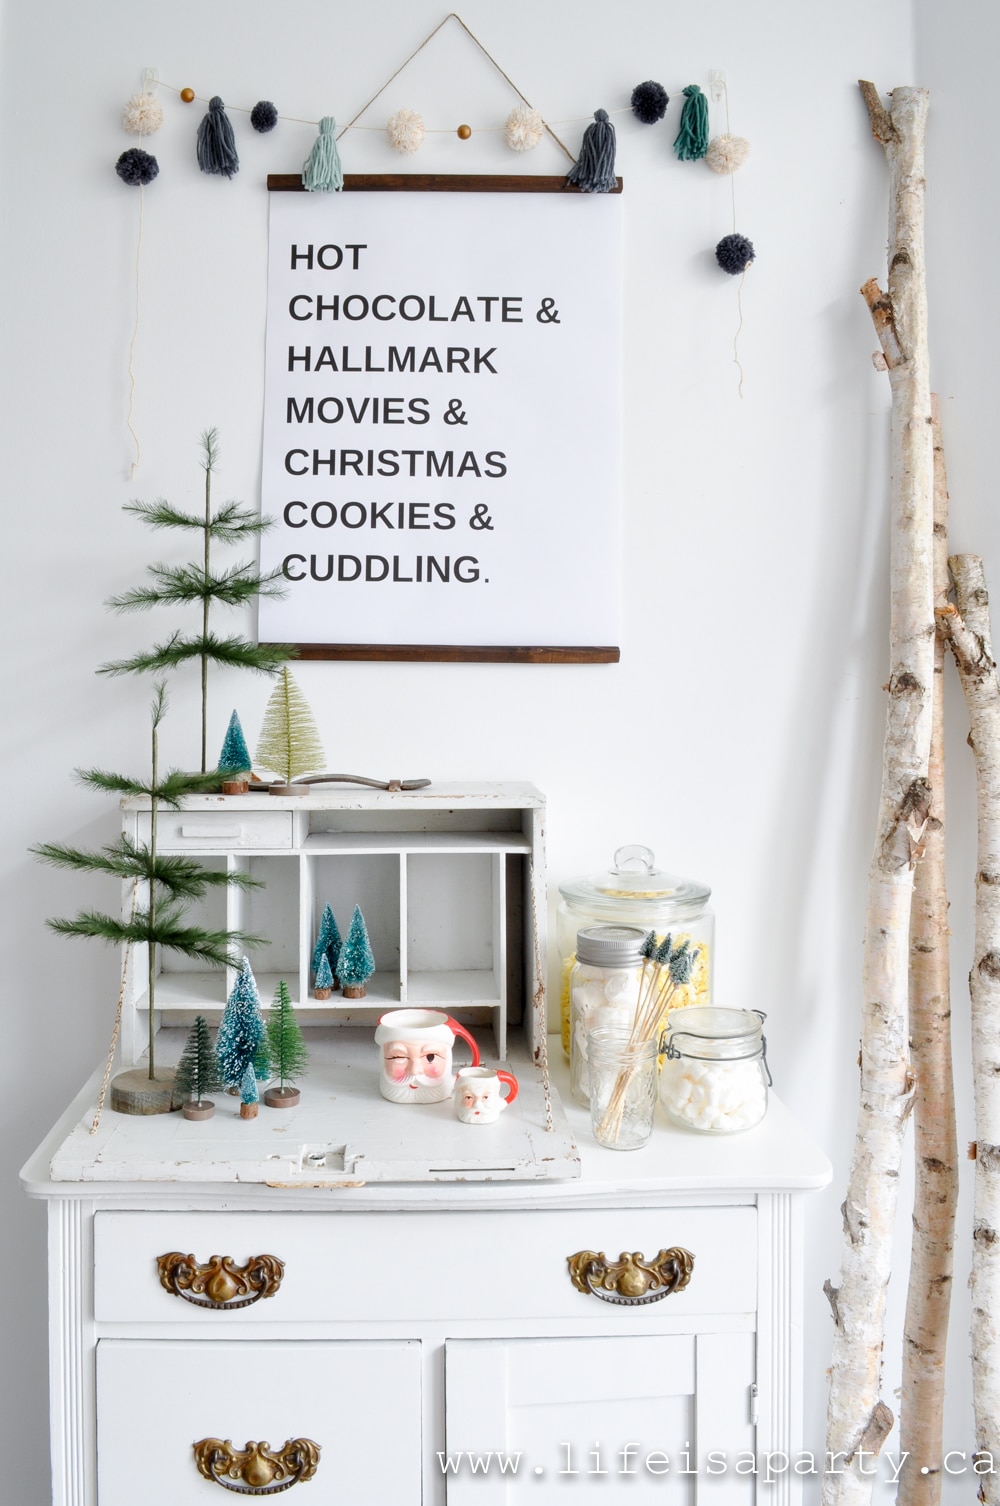
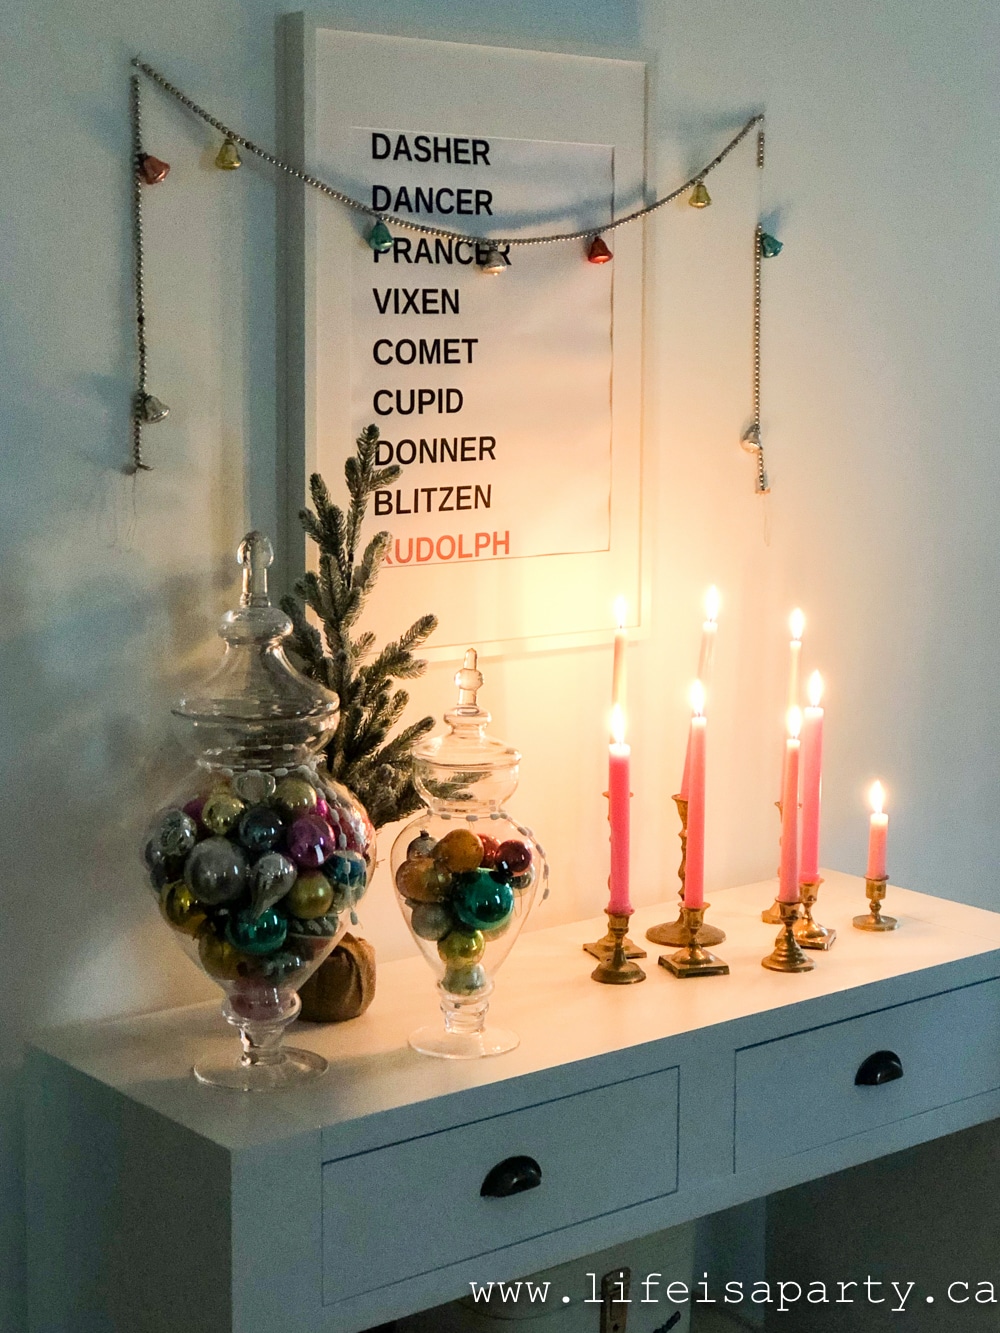
Once you have your inexpensive, large, beautiful art, it's time to hang it. You can of course use a frame. This one above is from Ikea and looks great. But if you're looking for a cheaper option then these wood strips are perfect and they look great too.
Materials:
- Art print
- nailing strip
- sandpaper
- wood stain (optional)
- stapler
- eyehooks
- twine or ribbon
How To:
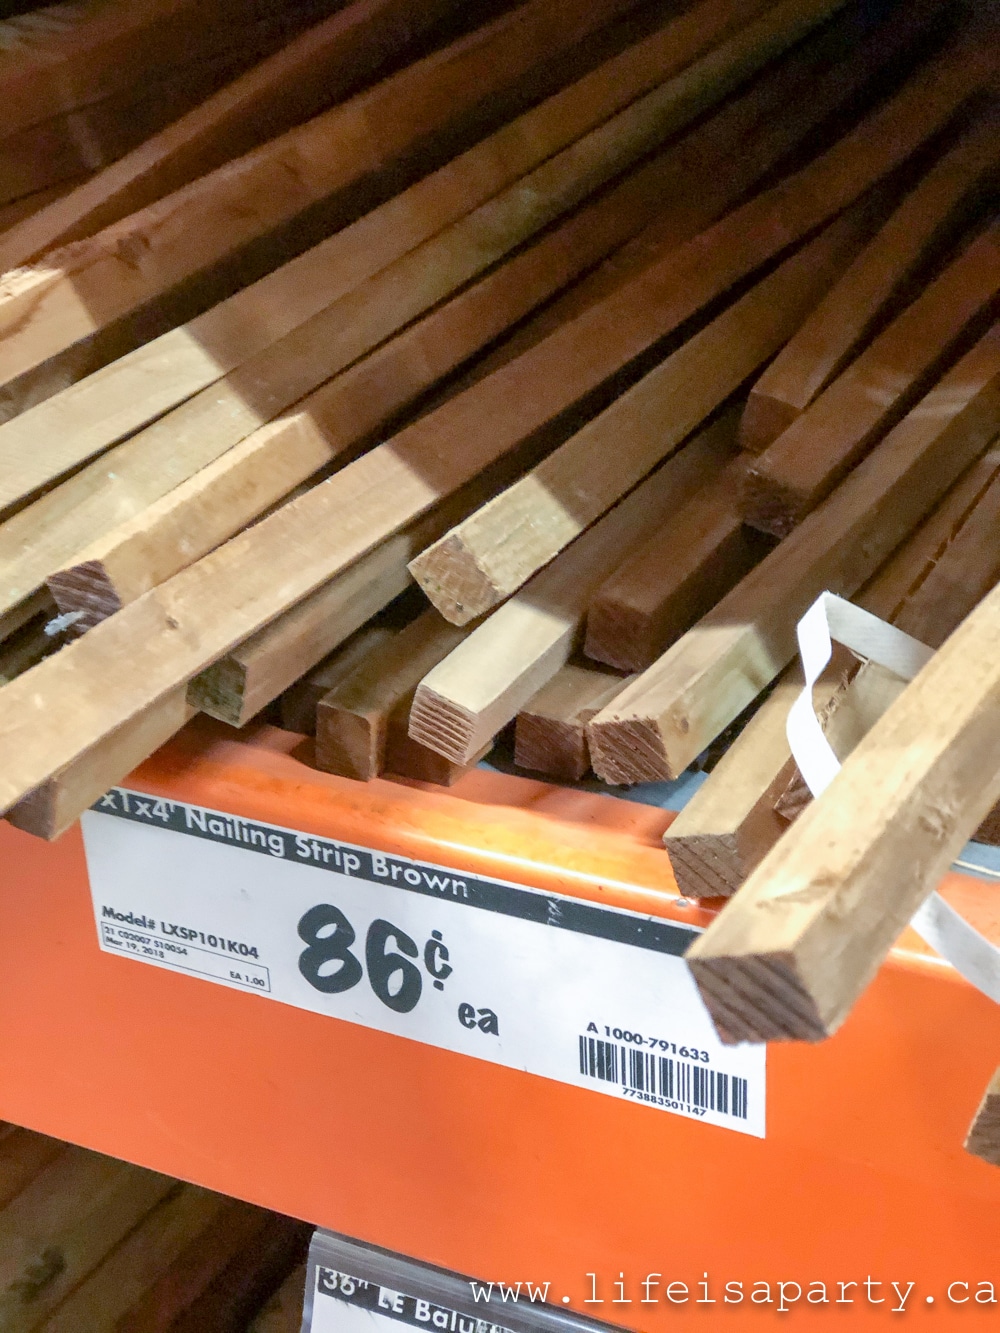
Start by purchasing nailing strips in the lumber section of the home improvement store. These are really inexpensive -like .88 inexpensive. Bring the nail strip to the cutting section of the store. They will do 2 free cuts on any wood purchase so ask them to cut the strip into two 18 inch sections.
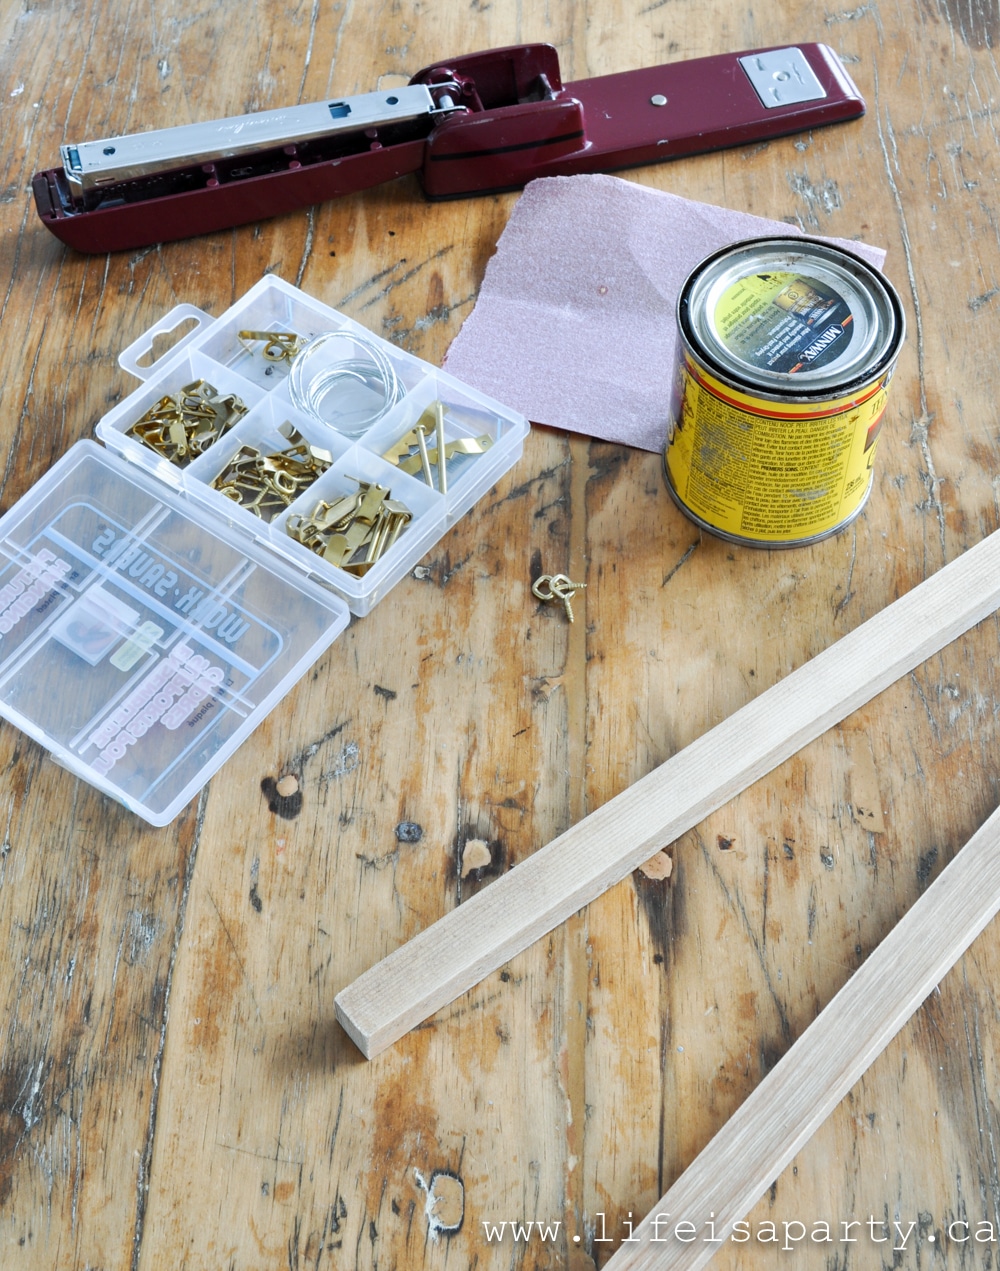
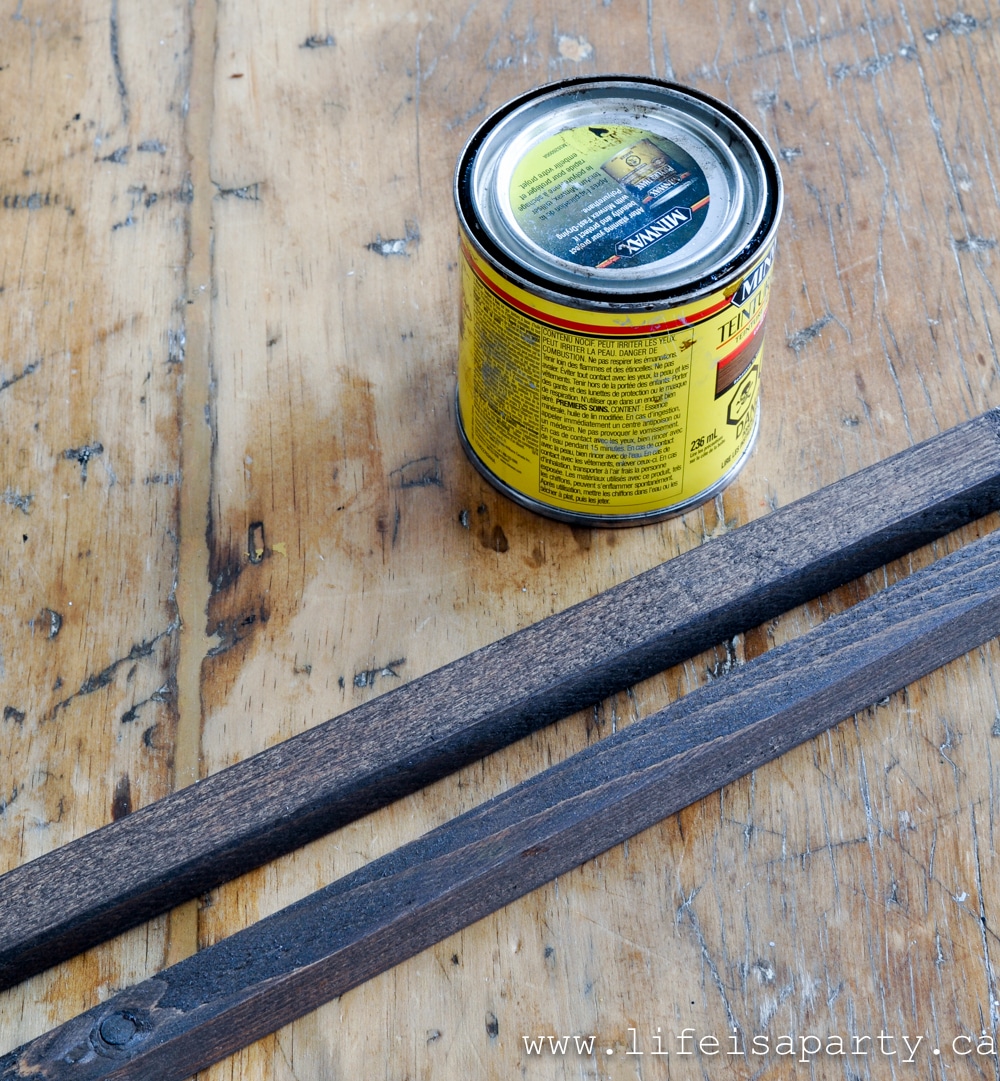
Give the ends of the wood a slight sand to remove any splinters. If you like to, at this stage you can add stain. We did some with a dark stain to play off of the dark black type. Once the stain dries you're ready to attach it to the art piece.
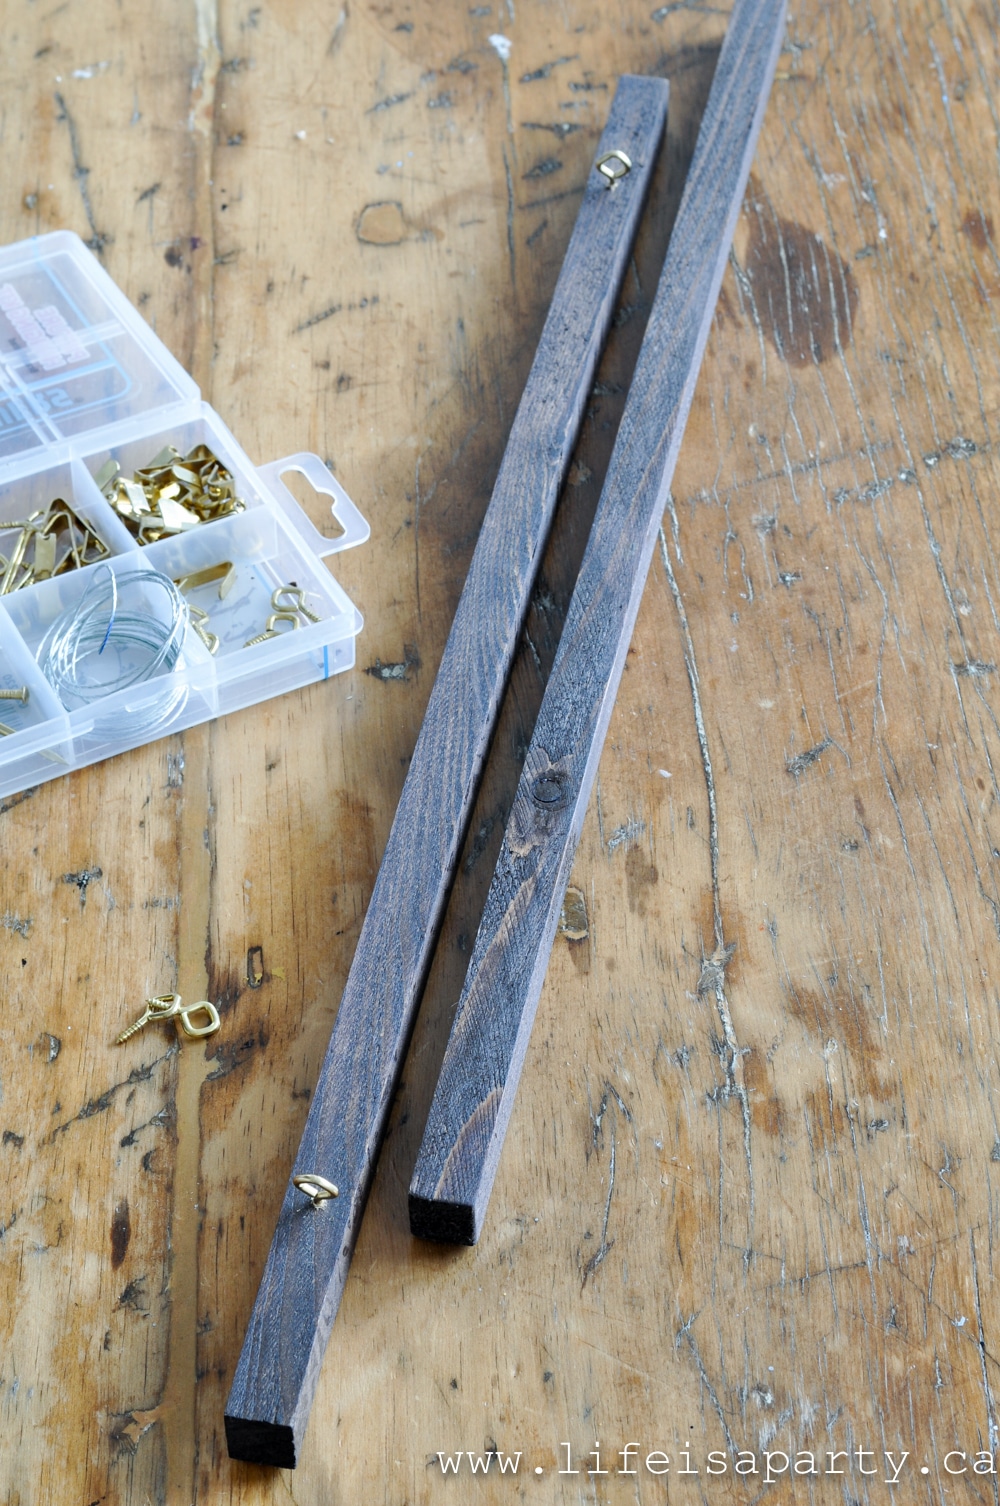
Begin by adding two small eye hooks to the top piece of wood. Space them evenly from the edges, about 2 inches.
Next lay out your art and line up the wood at the top and bottom. Working from the back, use a stapler to attach the wood to the paper. Start in the middle and work outward, making sure it's straight and taunt.
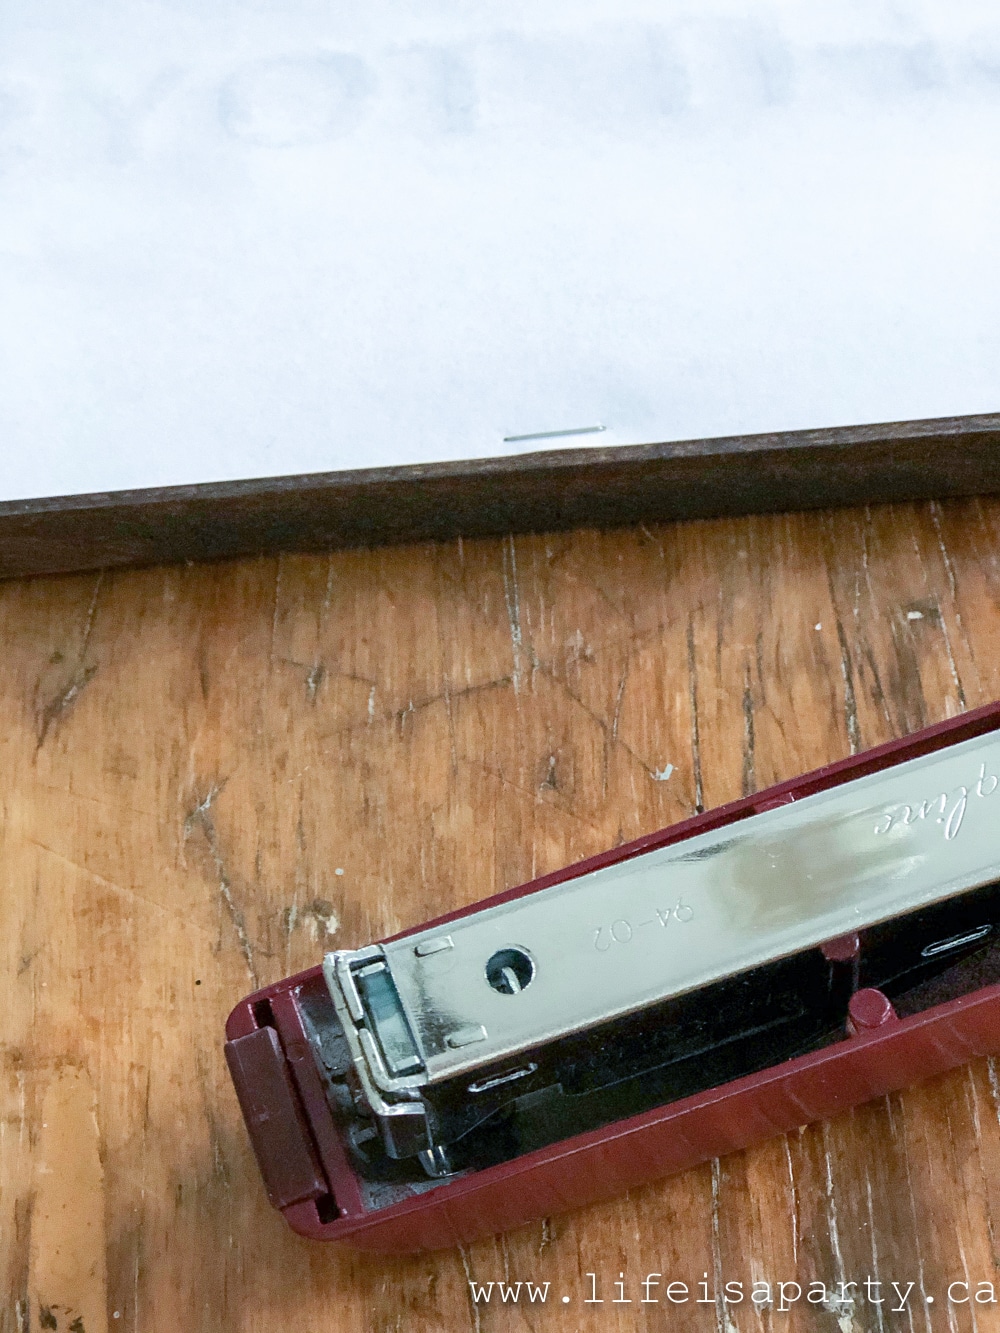
Lastly tie some twine, or ribbon to the eye hooks to hang it.
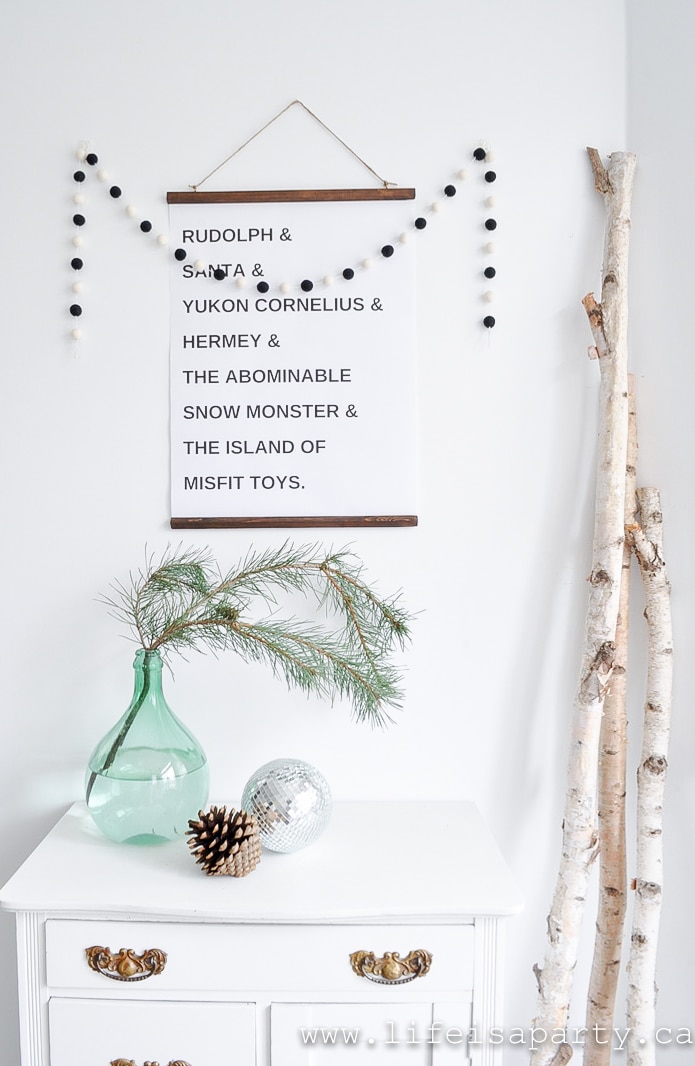
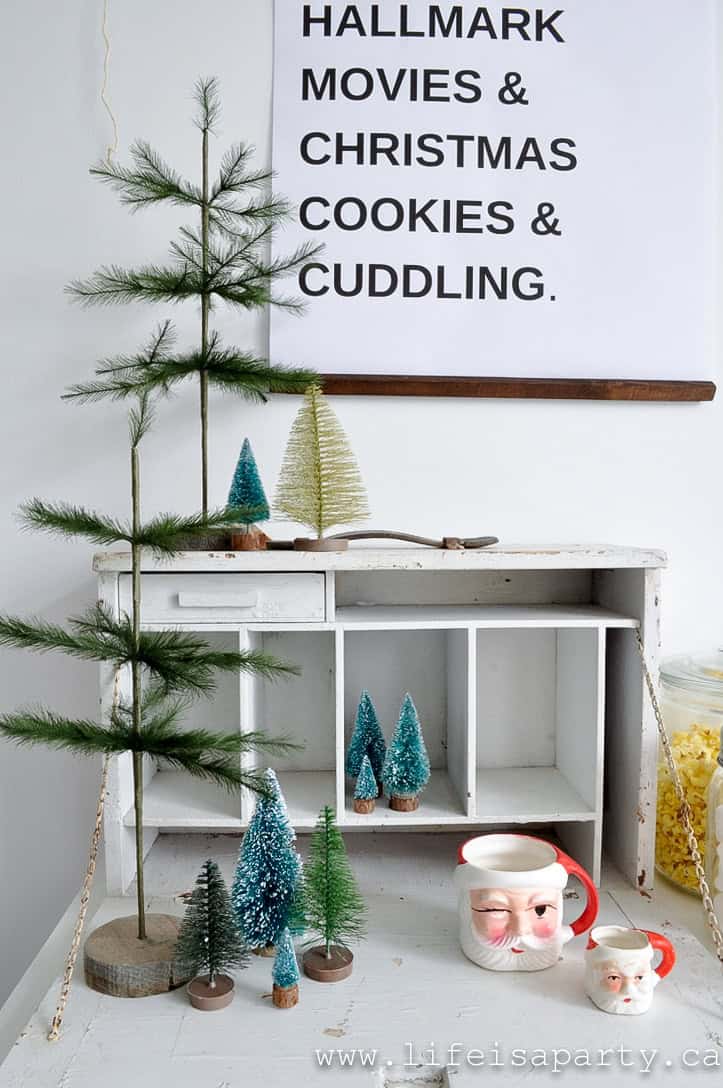
We had so much fun coming up with our word art. The reindeer names are so fun, choose between the plain list, or with & signs. The favourite things list reminds us of all the reasons that Christmas is our very favourite holiday. And lastly the list of characters from that old TV Christmas special we all watched as kids, Rudolph the Red Nosed Reindeer just might be my very favourite. It so cute and retro, and cool at the same time.
Buy The Prints and More
You can purchase our art pieces here for just $1.99 each or check out this post for free sources of images. We have our pieces available for download in 18 x 24 or 8.5 x 11
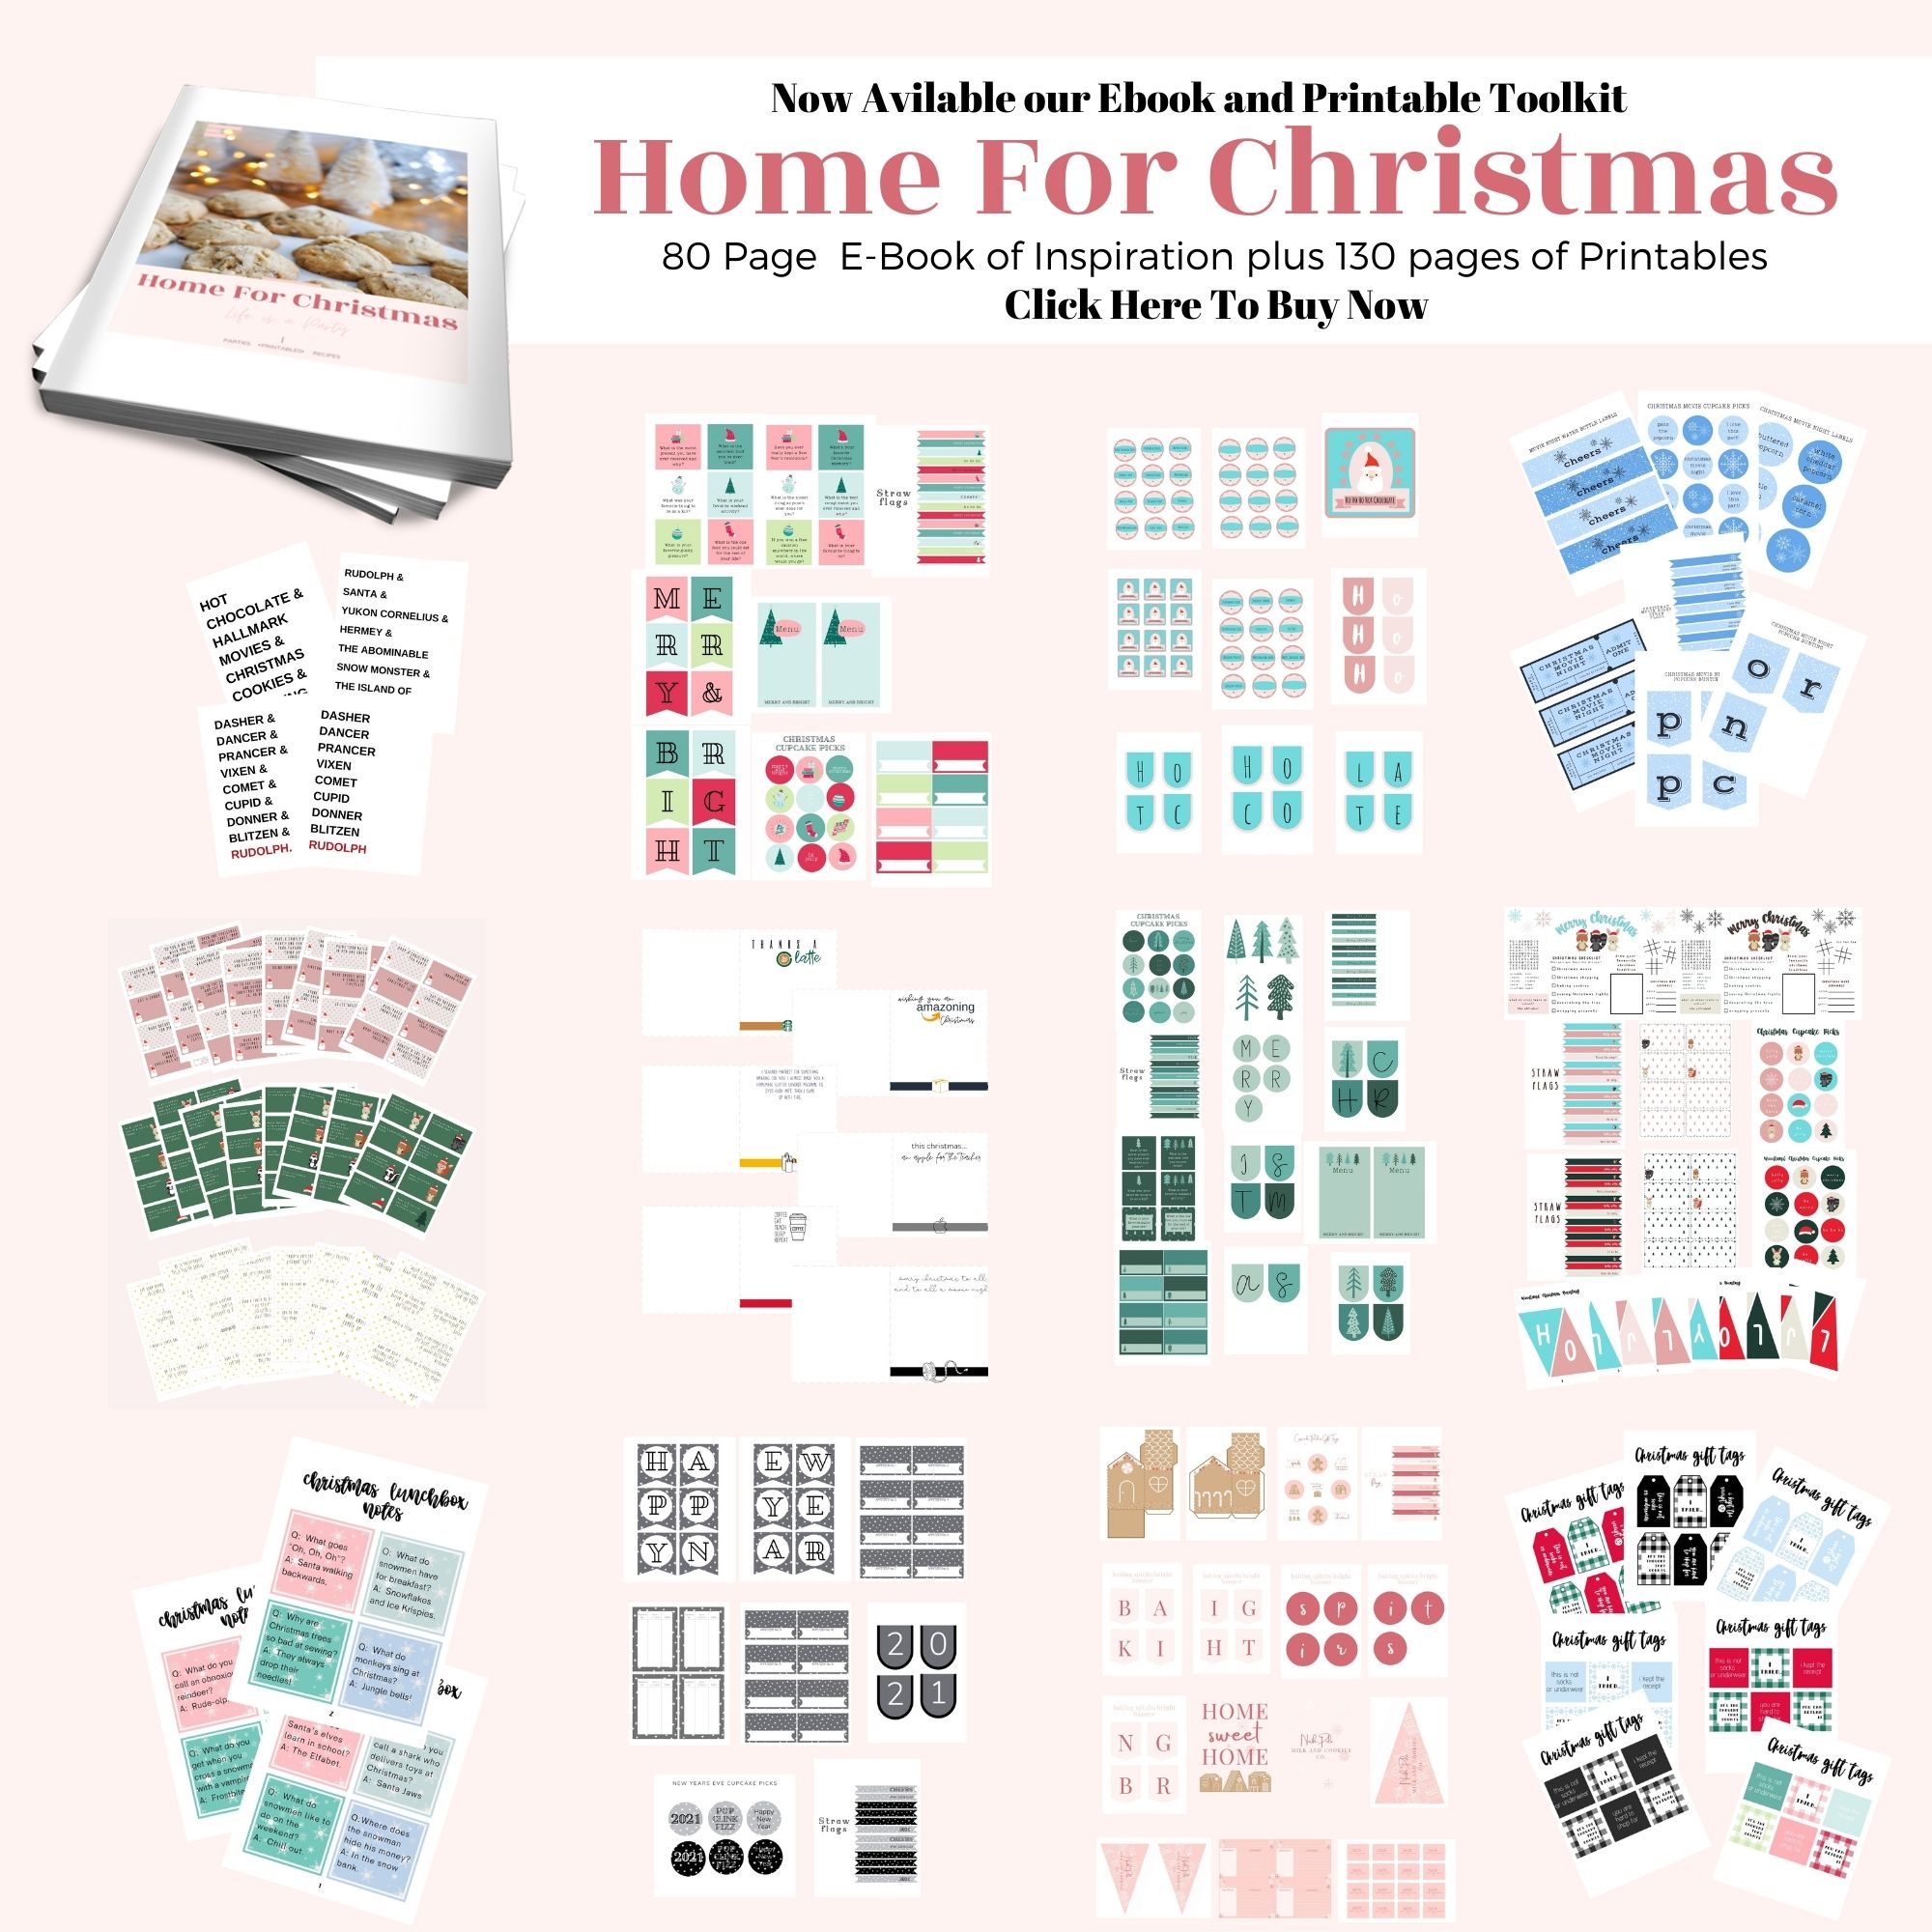
Why not purchase our entire Home For Christmas Ebook and Printable Toolkit. Get all the art shared here in all the sizes, plus 5 complete Christmas party sets, as well as gift tags, advent activities, gift card holders, and lunch box jokes. You'll be all set for a season of celebrating.
More Inspiration
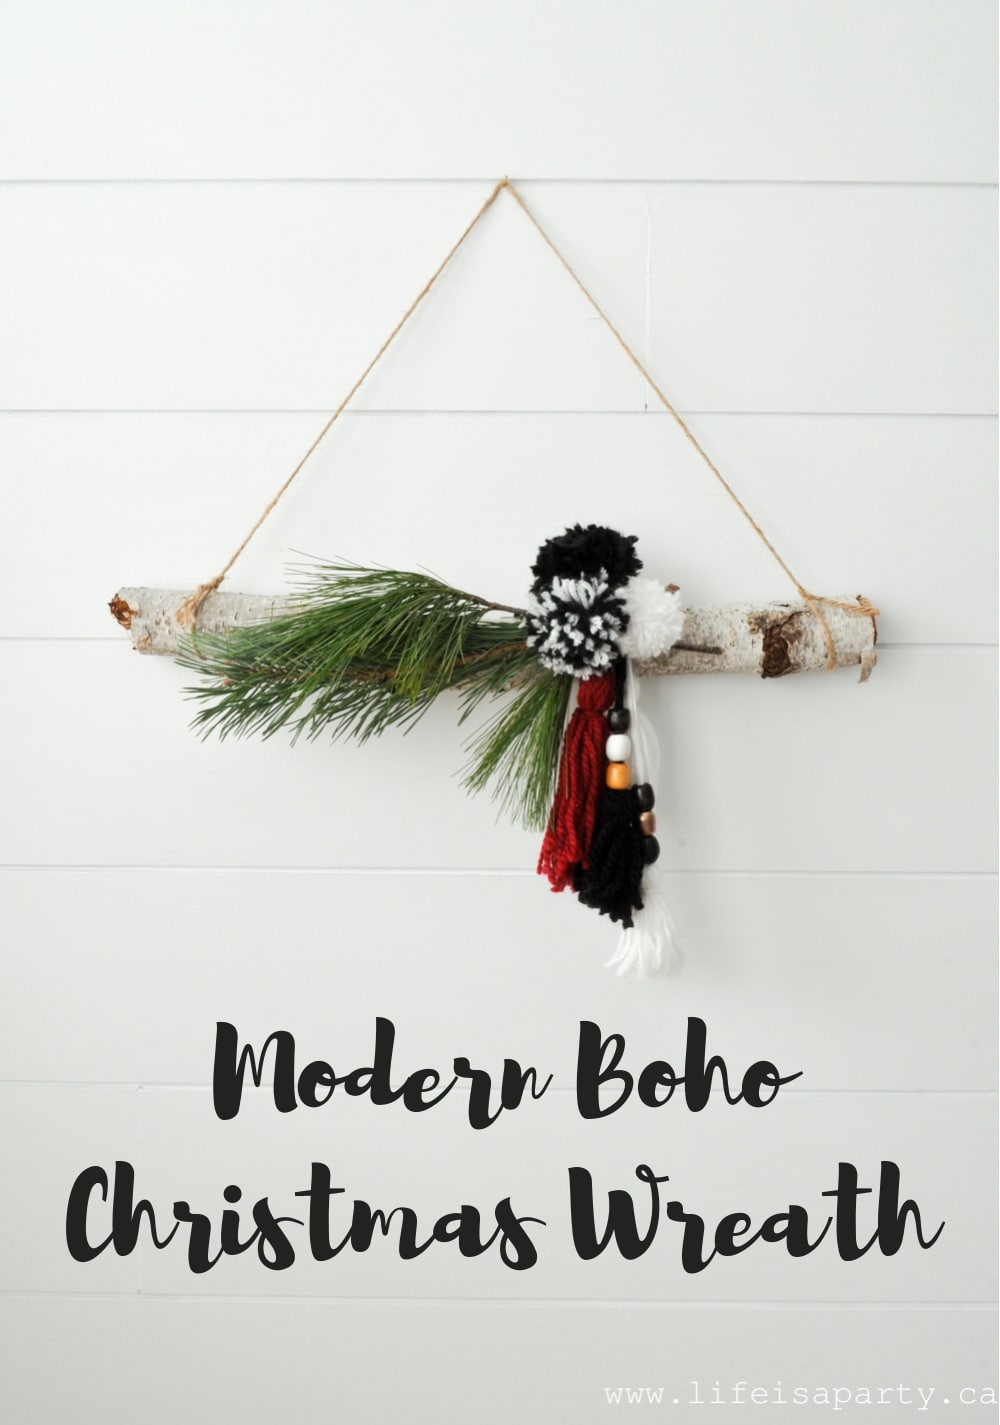
Also check out our Modern Boho Christmas Wreath here.
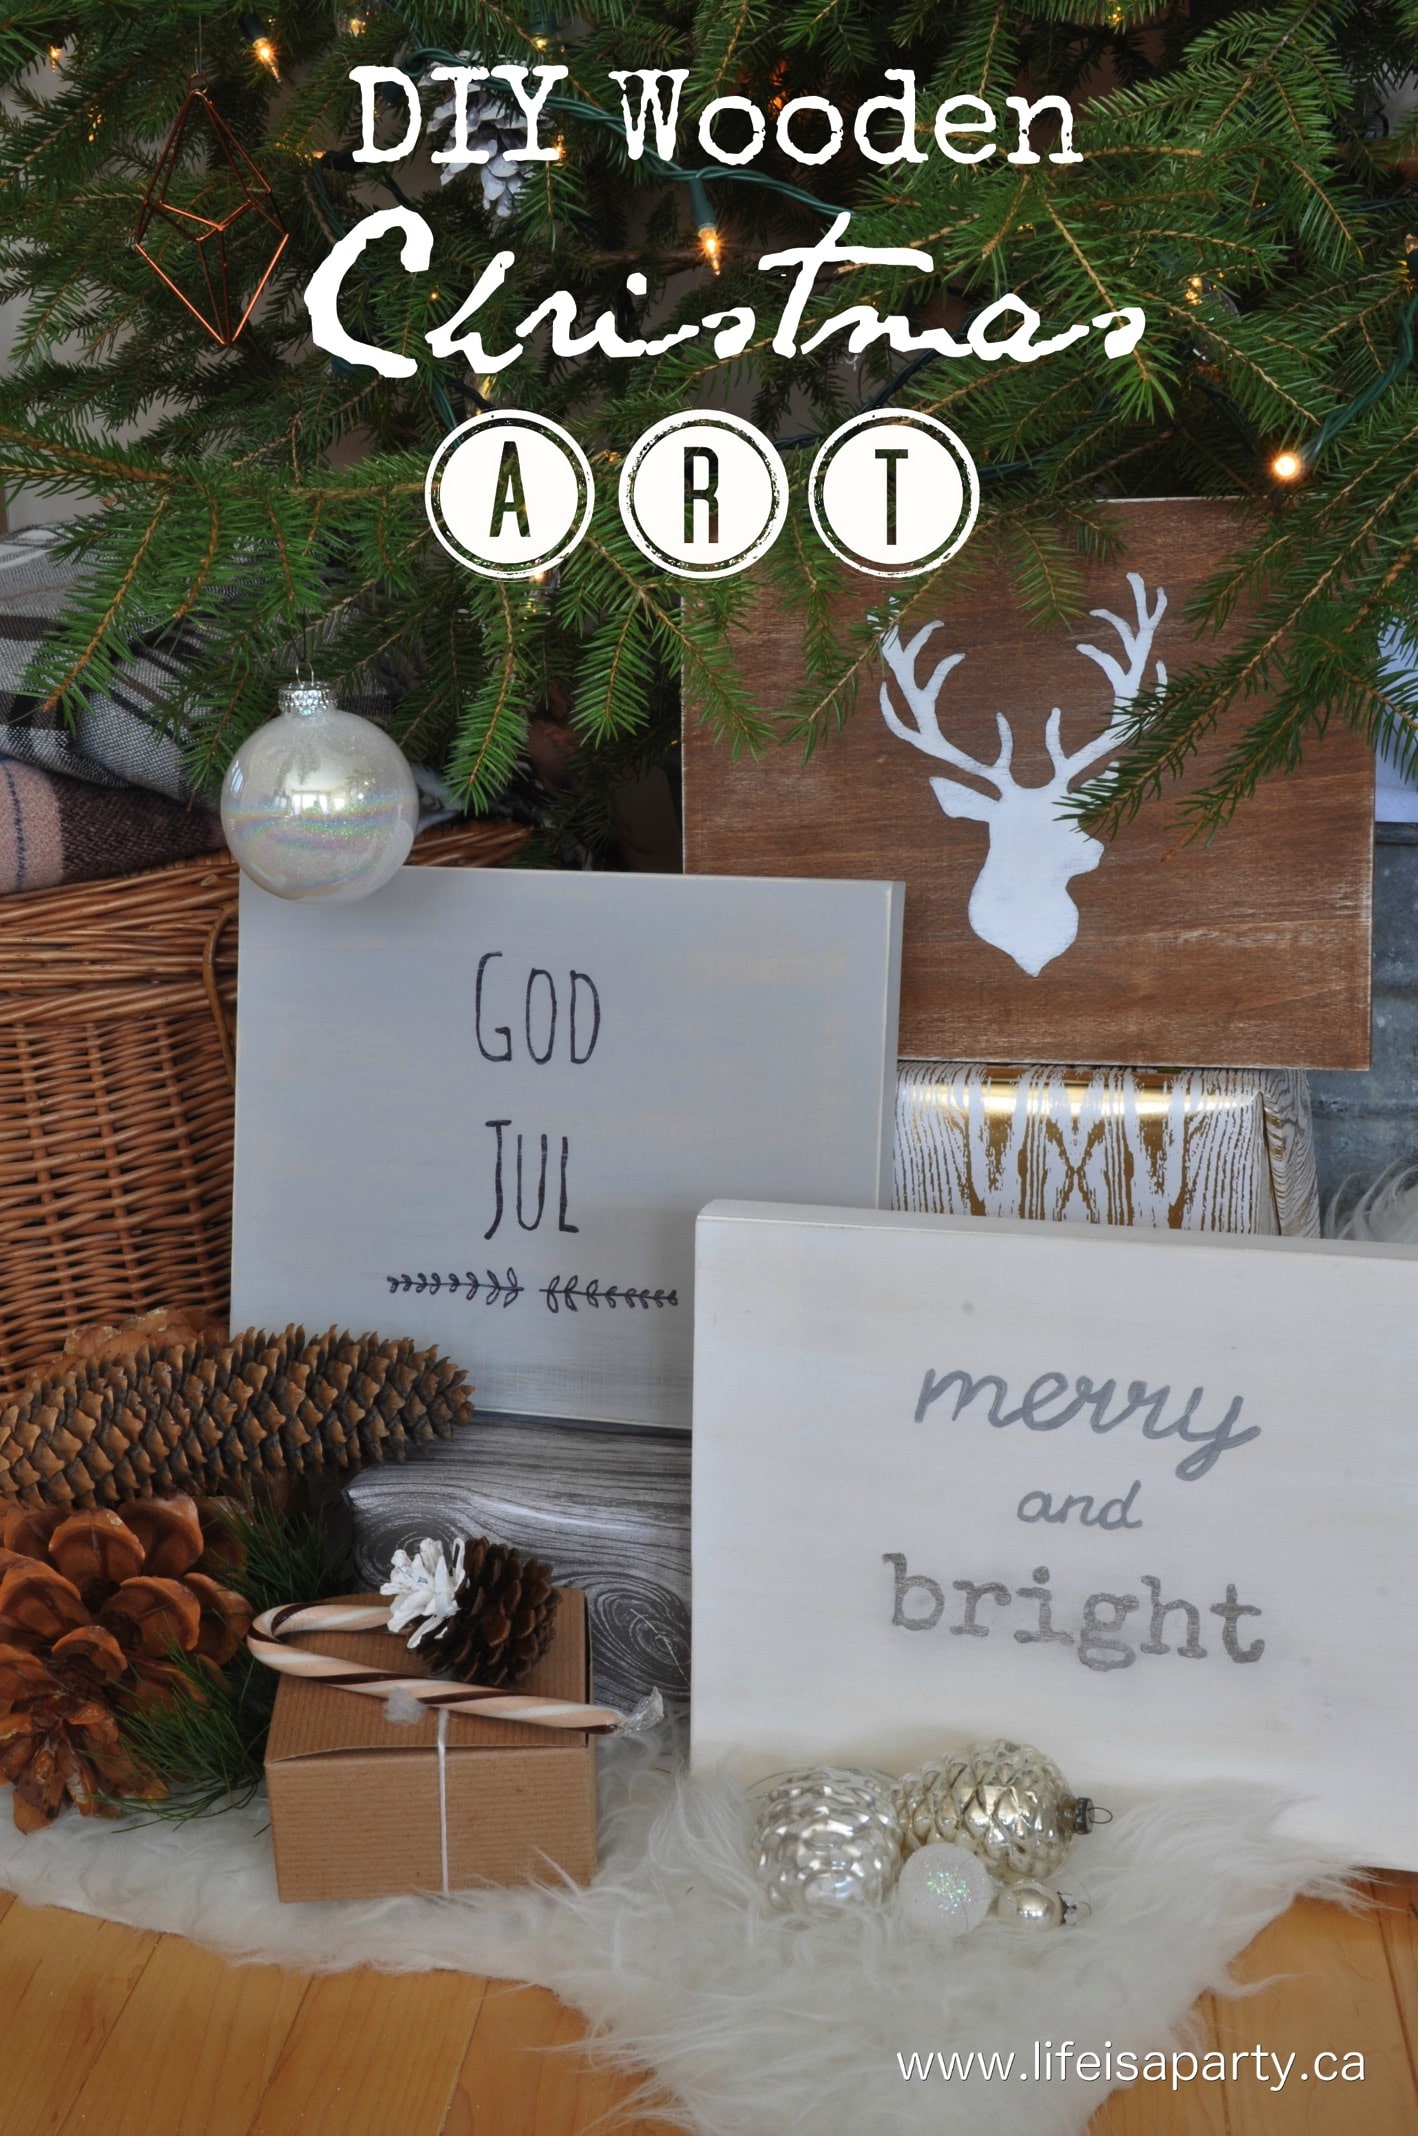
You might also enjoy our DIY Wood Christmas Art here.


Sarah @ The DIY Mommy says
Such a great project! Great prints!
dnr says
Krista, thanks so much.
Dannyelle
dnr says
Christy thanks so much. I'm all for saving money. 😉
Dannyelle
Christy James says
These are all great! Love that cute Christmas art doesn't have to be expensive!! xoxo
Krista says
I love those prints! It makes decorating so easy and cost effective. Thanks for sharing.
Lindi says
I love these prints! I've actually never ordered engineer prints, but now I totally want to!
Rhonda says
This is so cute!