DIY Christmas Wall Art: a great tutorial, and with free printables to create your own inexpensive wood Christmas wall art signs.

This is a really inexpensive little Christmas project that turned out really great. If you're looking for some DIY Christmas wall art I think you'll love it. These little pictures are great for around the house, and would also be a really sweet gift.
It all started one day in the dollar store…as these things often do. I noticed they had some small wooden canvases, and thought they'd be perfect for a little Christmas art project.
The method I used is really, really easy. It does have a few steps, but none of them are difficult. I promise. And the result is really pretty great.
DIY Christmas Wall Art Materials:
- Three Wood Canvases
- Craft Paint -I used white, grey, and silver
- Carbon Paper
- Wood Stain
- Sand Paper
- Permanent Black Marker
- Silver Leaf
- Silver Leaf Adhesive
- Fine Paint Brushes
How To Make DIY Christmas Wall Art:
1. Prepping Your Canvases
The first step is the background colour on the wooden canvases. I started off by using some wood stain on one canvas. I had a wood stain wipe, so I used it. It was super easy to use, but regular stain would work great to.
The other two canvases were painted; one solid grey and the other with a bit of a white washed finish -using very little paint, and wiping if off slightly. Let those dry completely.

2. Choosing Your Christmas Art and Phrases
Meanwhile, decide on an image or text for your art piece. I found a deer head image on-line, and created the text -you can download the free printables I designed "Merry and Bright" and "God Jul" -which means Merry Christmas in Swedish. Use your printer settings to make sure it's printed the perfect size for your wooden canvases.

3. Transferring Your Image
Use the carbon paper to transfer the image to your wooden canvas. You can find the carbon paper at an office supply store. To use it place a piece between the canvas and the printed image you want to use, then go over the lines with a sharp pencil, which will leave the outline on your wood canvas.

4. Painting Your Canvas
Using a paint brush, fill in the image, or go over the text. Don't worry about getting it perfect, we are going to give this a rustic look so we'll be able to go over any non-perfect spots with a little sandpaper later. The deer head image needed two coats for me to get good coverage. For the "God Jul" one, I used a permanent marker instead of paint. This worked great for the finer font. Use any combo of marker, paint or one or the other you like.
5. Adding Silver Leaf
For the "bright" I used some silver leaf. I painted it first with silver paint and let it dry. Then I painted the silver leaf adhesive over the top, being very careful to stay in the lines. After it sat about 10 min. (or according to your package instructions) I put the silver leaf over top, and pressed it down firmly, going over it a few times with my fingers and a dry paper towel. Then, once it was all stuck, I gently rubbed away the excess, and the silver leaf remained where the adhesive was.

6. Sanding For A Rustic Look
Finally, after the paint is all dry, you can go over the canvases with a fine sandpaper, creating a slightly rustic distressed look, especially on the edges and corners. Don't sand your silver leaf, just work around it. Then, hang and enjoy.

Such an easy project, a few steps involved but really not hard to do. Since I already had everything but the canvases, this project cost me just $3 per wood canvas. If you didn't want to invest in the silver leaf, you could try a gold paint pen, or just a metallic paint.
I'm loving how the finished product looks with my Scandi inspired Christmas decor this year.

These would make a really lovely Christmas gift too.

With these easy DIY Christmas Wall Art pieces, life really is a party!
More Inspiration
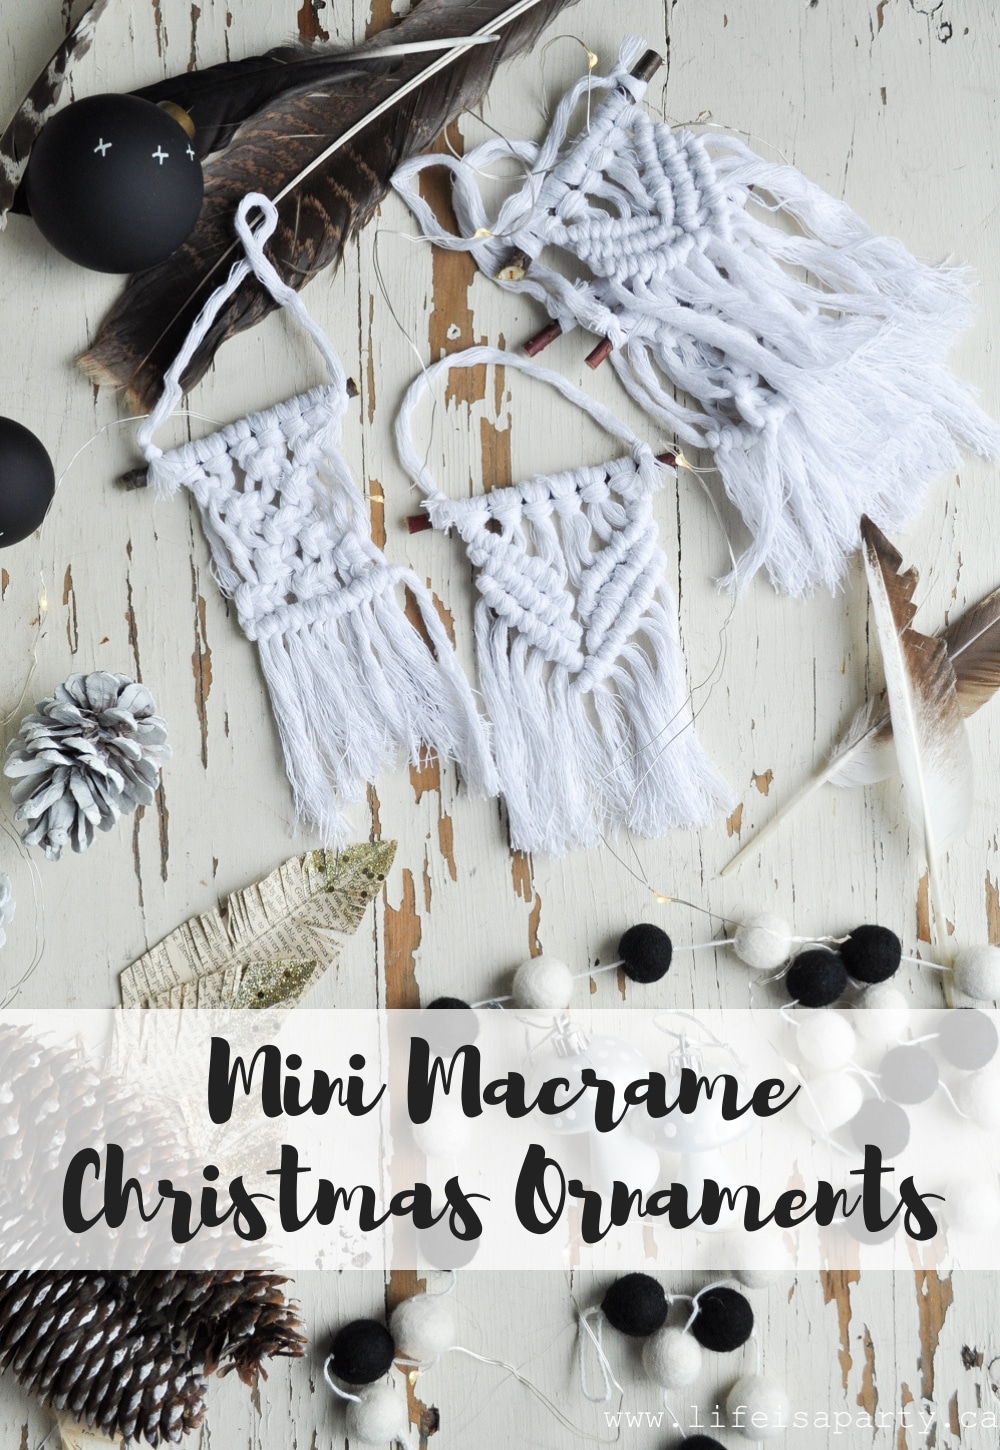
You might also like our Mini Macrame Ornaments here.
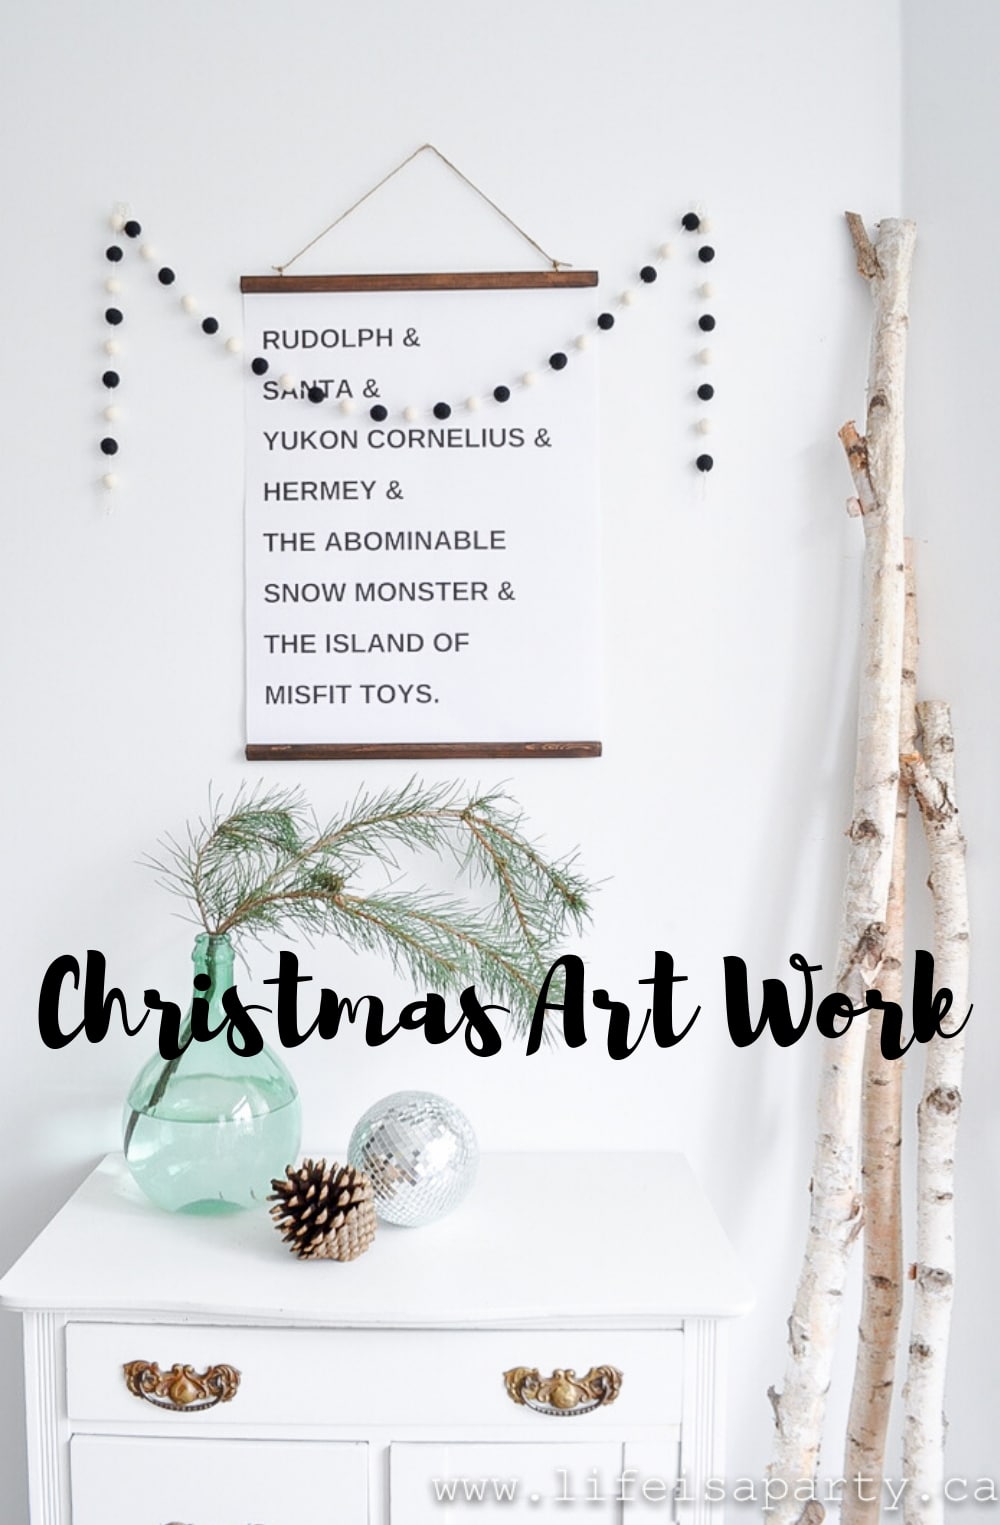
Also check out our Christmas Art Work here.
You might also enjoy our Modern Boho Christmas Wreath here.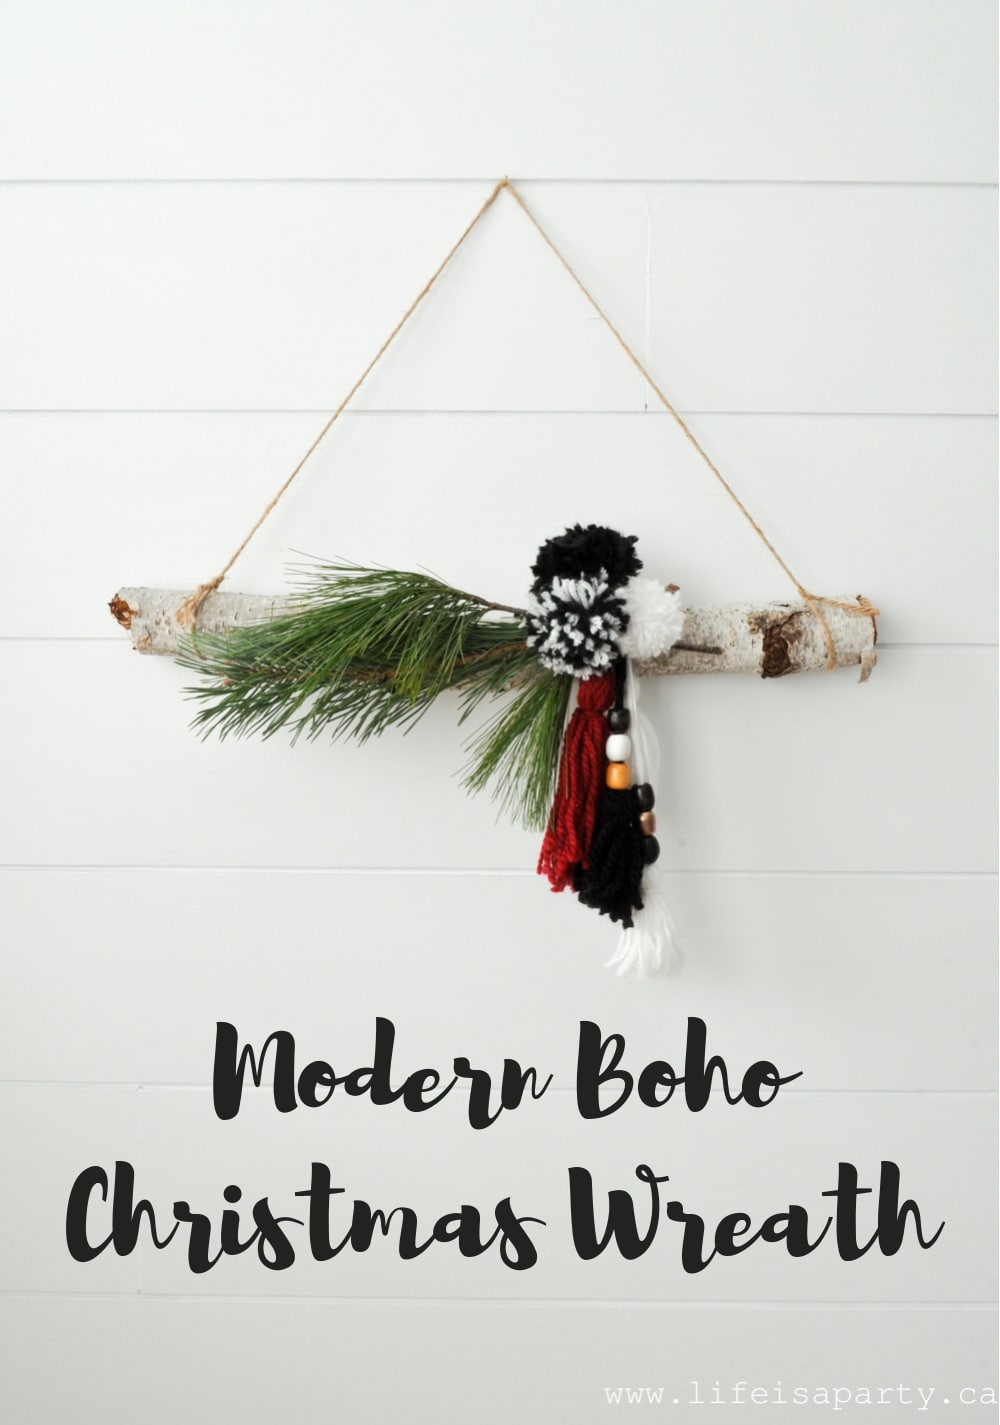


Leave a Reply
You must be logged in to post a comment.