Easy Fireplace Makeover -how to remove a dated wooden decal, paint out your brass and modernize your builder basic fireplace.

Jump to:
Today I'm sharing with you my Fireplace Makeover, and all I can say as I enjoy it now is why didn't I do this sooner? We had a basic builder corner fireplace that we didn't love for years and years. With a few relatively easy changes it's now so much better!
It's Week 4 of the One Room Challenge, hosted by Calling It Home where bloggers make over one room of their homes in six weeks. We're nearing the end. If you need to catch up you can check out my previous weeks here:
- One Room Challenge Living Room and Eating Area Plans and Inspiration
- Expert Tips On DIY Shiplap
- DIY Macrame and Fringe Pillows
- Rustic Scandinavian Living Room and Eating Area Reveal

The Fireplace Makeover Before
You may remember how the fireplace looked before our fireplace facelift. It matched the hardwood colour in the rest of the house and the stairway beside it, so the maple wood color worked, but it all sort of blended together. The thing I always hated about it most was that wooden decal on the front of the fireplace. It bugged me from the beginning and I always intended to remove it. I felt like it looked kind of cheap, and really didn't add much character to the old fireplace. If anything it made the whole thing look like an outdated fireplace, even though it wasn't that old.
I even asked someone to help me years ago to remove it. Although it was maybe 5 years ago, so we'd lived in the house 5 years already and the woodworking friend said that the wood around it had faded from the sun, so there would always be a spot showing where it had been. I knew then we should go ahead and remove it but he convinced me it would look worse.

Removing the Wood Decal
With making over our living room, I knew I had to finally get it off. This was the first step to our fireplace makeover. I took advantage of my woodworker brother-in-law Shaun working on the shiplap -read his tips from a contractor on how to install shiplap here. all about that here if you missed it, and asked him to remove it for me. I had visions of trying myself and making it worse by marking up the wood around it. He popped it off in a matter of seconds. The easiest way to remove it was to use a small putty knife to get underneath it, and pry it off.

It came off all in one piece. He then carefully pulled out the four finishing nails that had held it in place. What a big difference it made.

There was a little wood glue residue left, that I sanded down with some sandpaper. I debated whether to refinish the one panel of the fireplace where it had been removed, or paint the whole fireplace white. I never minded the wood, and it did match the rest of the wood floors and stairs. But, all the inspiration pics of Scandinavian living rooms seemed to have white fireplaces, and in the end I decided to go for it. I wanted to achieve that Scandinavian classic look, and paint is always the easiest way to make a big change.

Painting The Wood
I painted the entire room with JoJo Whitewash by Para in an eggshell finish to create beautiful Scandinavian inspired white walls, including our feature wall covered in shiplap. For the trim in the room we used the same color but used a semi-gloss finish. So we wanted to use the semi-gloss on the fireplace surround as well. I gave the wood a very light sand to prep it, but didn't need to do much to the wood. After sanding the next step was to wiped it down with a clean cloth to remove any sanding dust.
?I painted the fireplace with a brush. You could use a paint sprayer if you liked for a really smooth finish, but for a small project like this, I thought a brush worked fine.
Problems With Taping
I thought I was being a good, responsible, non-lazy diy-er by taping out the walls around the mantel and sides of the fireplace before I painted it. I wished I'd never taped it along the walls, because although I thought I'd done it really carefully, it was a little too close, and left a thin strip of wood showing between the white of the shiplap and the new white of the fireplace. And, as I peeled off the tape, the paint was peeling off my fireplace mantel too!

What can I say, I'm a learner. So, I give myself permission to make silly mistakes, and learn from them. Hopefully you can benefit from my errors if you're about to do yours, haha. I used a utility knife to carefully cut the edge of the tape and paint so that it won't peel off the paint as I removed the tape. The next morning I used a little artist brush and fixed up my edges. No big deal -all's well that ends well.
Painting The Brass

The other big change is that I painted out the brass that came with our builder grade fireplace. I swear from the time we moved in I meant to get around to this job of painting the brass out on our old surround and it took ten years. Do you have any little projects like that at your house? The brass always looked very dated. The fireplace looks sooo much better after getting rid of the brass. It was the focal point of a room that we never wanted. My first thought when I put the painted grill back on was why didn't I do this years ago? Oh well, it's done now and I love it.

Heat Resistant Spray Paint
It was super simple to do. I picked up some matte bbq spray paint -it's specifically for surfaces that get hot, so perfect for this job. You definitely want to use a heat resistant paint because our gas fireplace insert does get hot when it's burning.
The first step was to remove brass grill pieces. They just pop right off, no tools required. Once they were off, there isn't much prep needed. I did a very quick sand with a fine grit sandpaper, just to rough it up a tiny bit and help the paint adhere well. After the sanding I wiped it down to remove and sanding dust before painting. I spray painted them in the garage on a drop cloth. You want to spray paint in a well ventilated area, but also in a protected area, out of the wind. I gave the front and back several light coats, making sure not to go too heavy and cause the paint to run. Let them dry overnight to really let the paint set. When they were all dry I popped them back on -easy peasy.
Instant Change
Changing out the brass gave an instant updated look. This is such an inexpensive way to give the entire thing a new look. It's a great example of how a small change can have a really big impact. It really wasn't much work. We removed it in minutes. The thing that took the longest was waiting for the paint to dry between coats. Quick updates like this one make a huge difference to the whole room look and are the best way to have a big impact on a budget. I can't believe the power of a little paint and the amazing end result we achieved with this fire surround makeover. We love our new beautiful fireplace.
Equipment
- paint brush
Materials
- white semi gloss paint
- sand paper
- paint brush
- drop cloth
- heat resistant black spray paint
Instructions
- Use a putty knife to gently pry the wood decal off of the fireplace.
- Lightly sand the wood fireplace mantel and surround, and then wipe down to remove any sanding dust.
- Paint the fireplace with two to three coats of paint until fully covered.
- To make over the brass pieces start by removing them from the fireplace. They should just pop off easily.
- Lightly sand the brass to create a rough surface for the paint to adhere better, and then wipe down to remove any sanding dust.
- Spray paint in a well ventilated but protected area. Spray several light coats to prevent andy drips. Let dry overnight and then place back on the fireplace

Should Have Done It Sooner
Just a few inexpensive and quick changes and what a difference it makes! Paint is always such a great way to make a big change on a small budget. Our fireplace has come a long way from where it was. It looks like we have a whole new fireplace. If you have a builders fireplace and hate the wood decal and brass now you see how quick and easy it is to update it to something a bit more modern and clean lined.
Paint is such a great option. Quick and easy diy projects are always my favorite. All you need is a little white paint and some black heat proof spray paint to makeover your existing fireplace. I'm so glad I finally did mine. It makes the whole living space feel better with a whole new look. The is one of the quickest and easiest diy fireplace makeover ever and the best part is it did not cost a lot of money. I waited a long time to finally do it. I'm so glad I finally did this fireplace renovation.

Thanks so much for following along on this redecorating adventure with me, you can see lots more behind the scenes and sneak peeks over on Instagram. Also, be sure to check out all the other One Room Challenge guest participants progress this week.

With an easy fireplace makeover, life really is a party!
More Inspiration
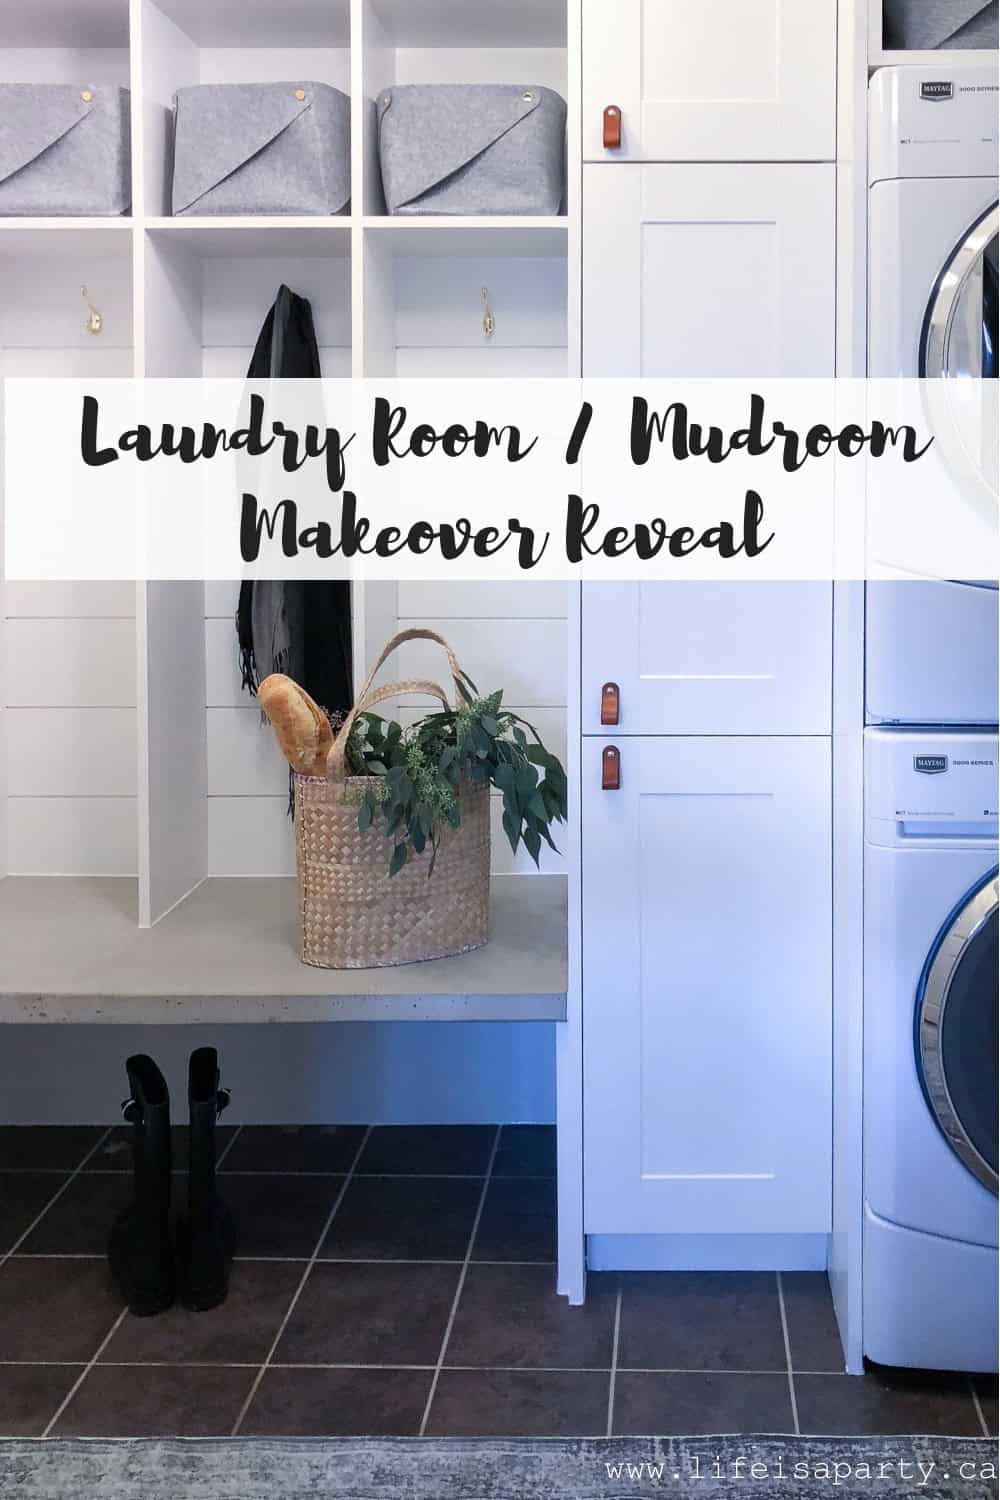
You might also like our Laundry Room / Mudroom Makeover Reveal here.
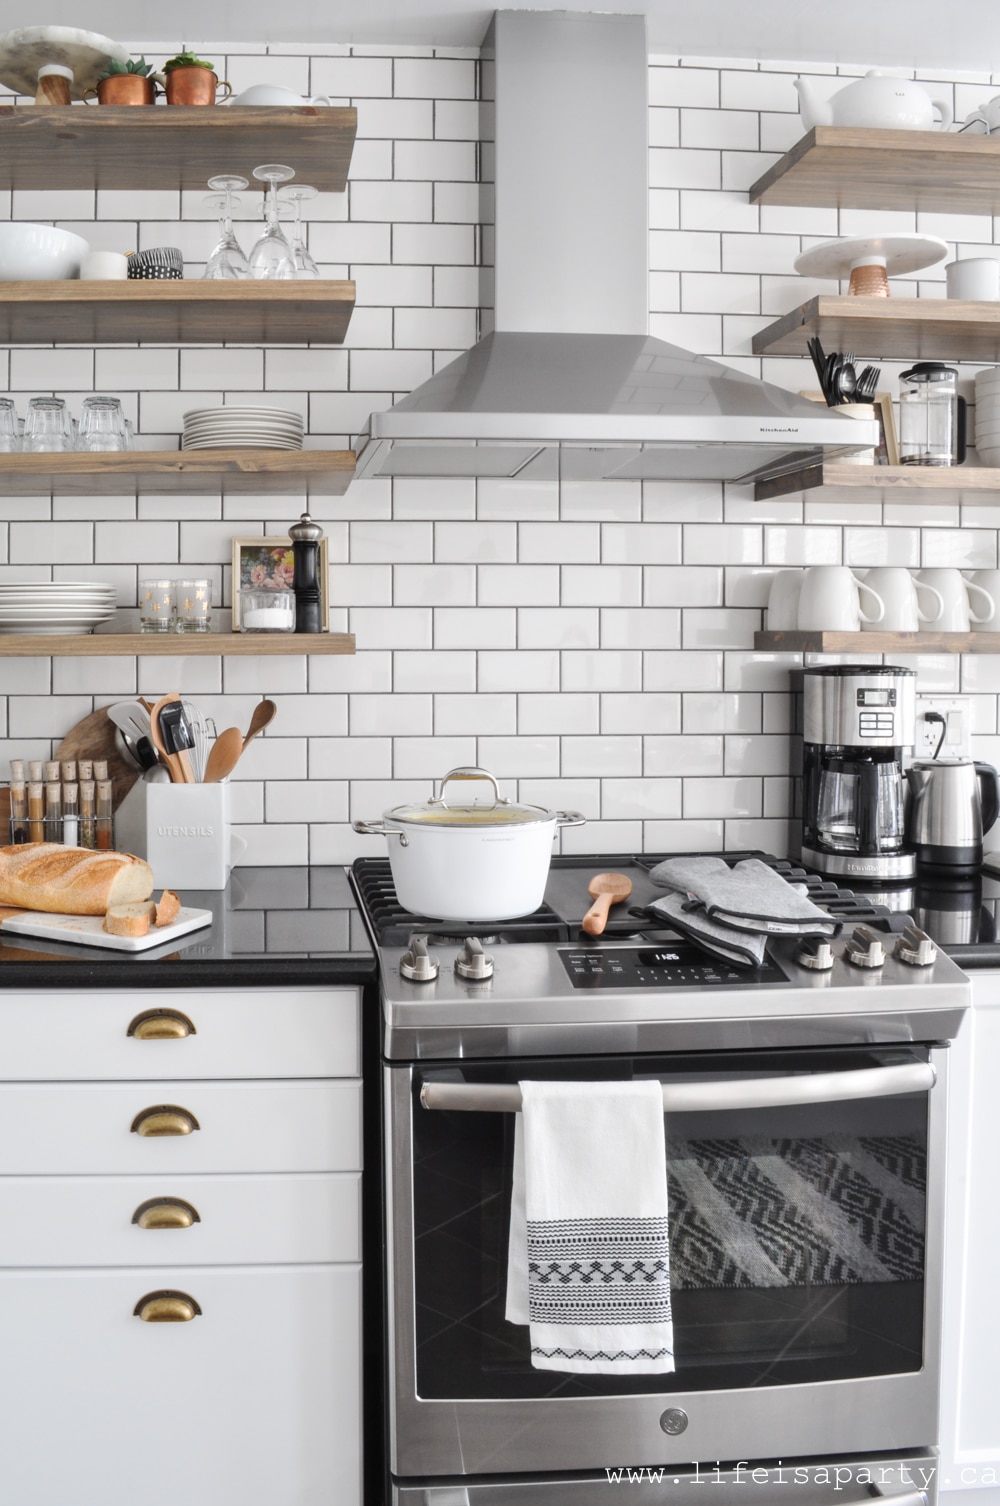
Also check out our Kitchen Makeover Reveal here.
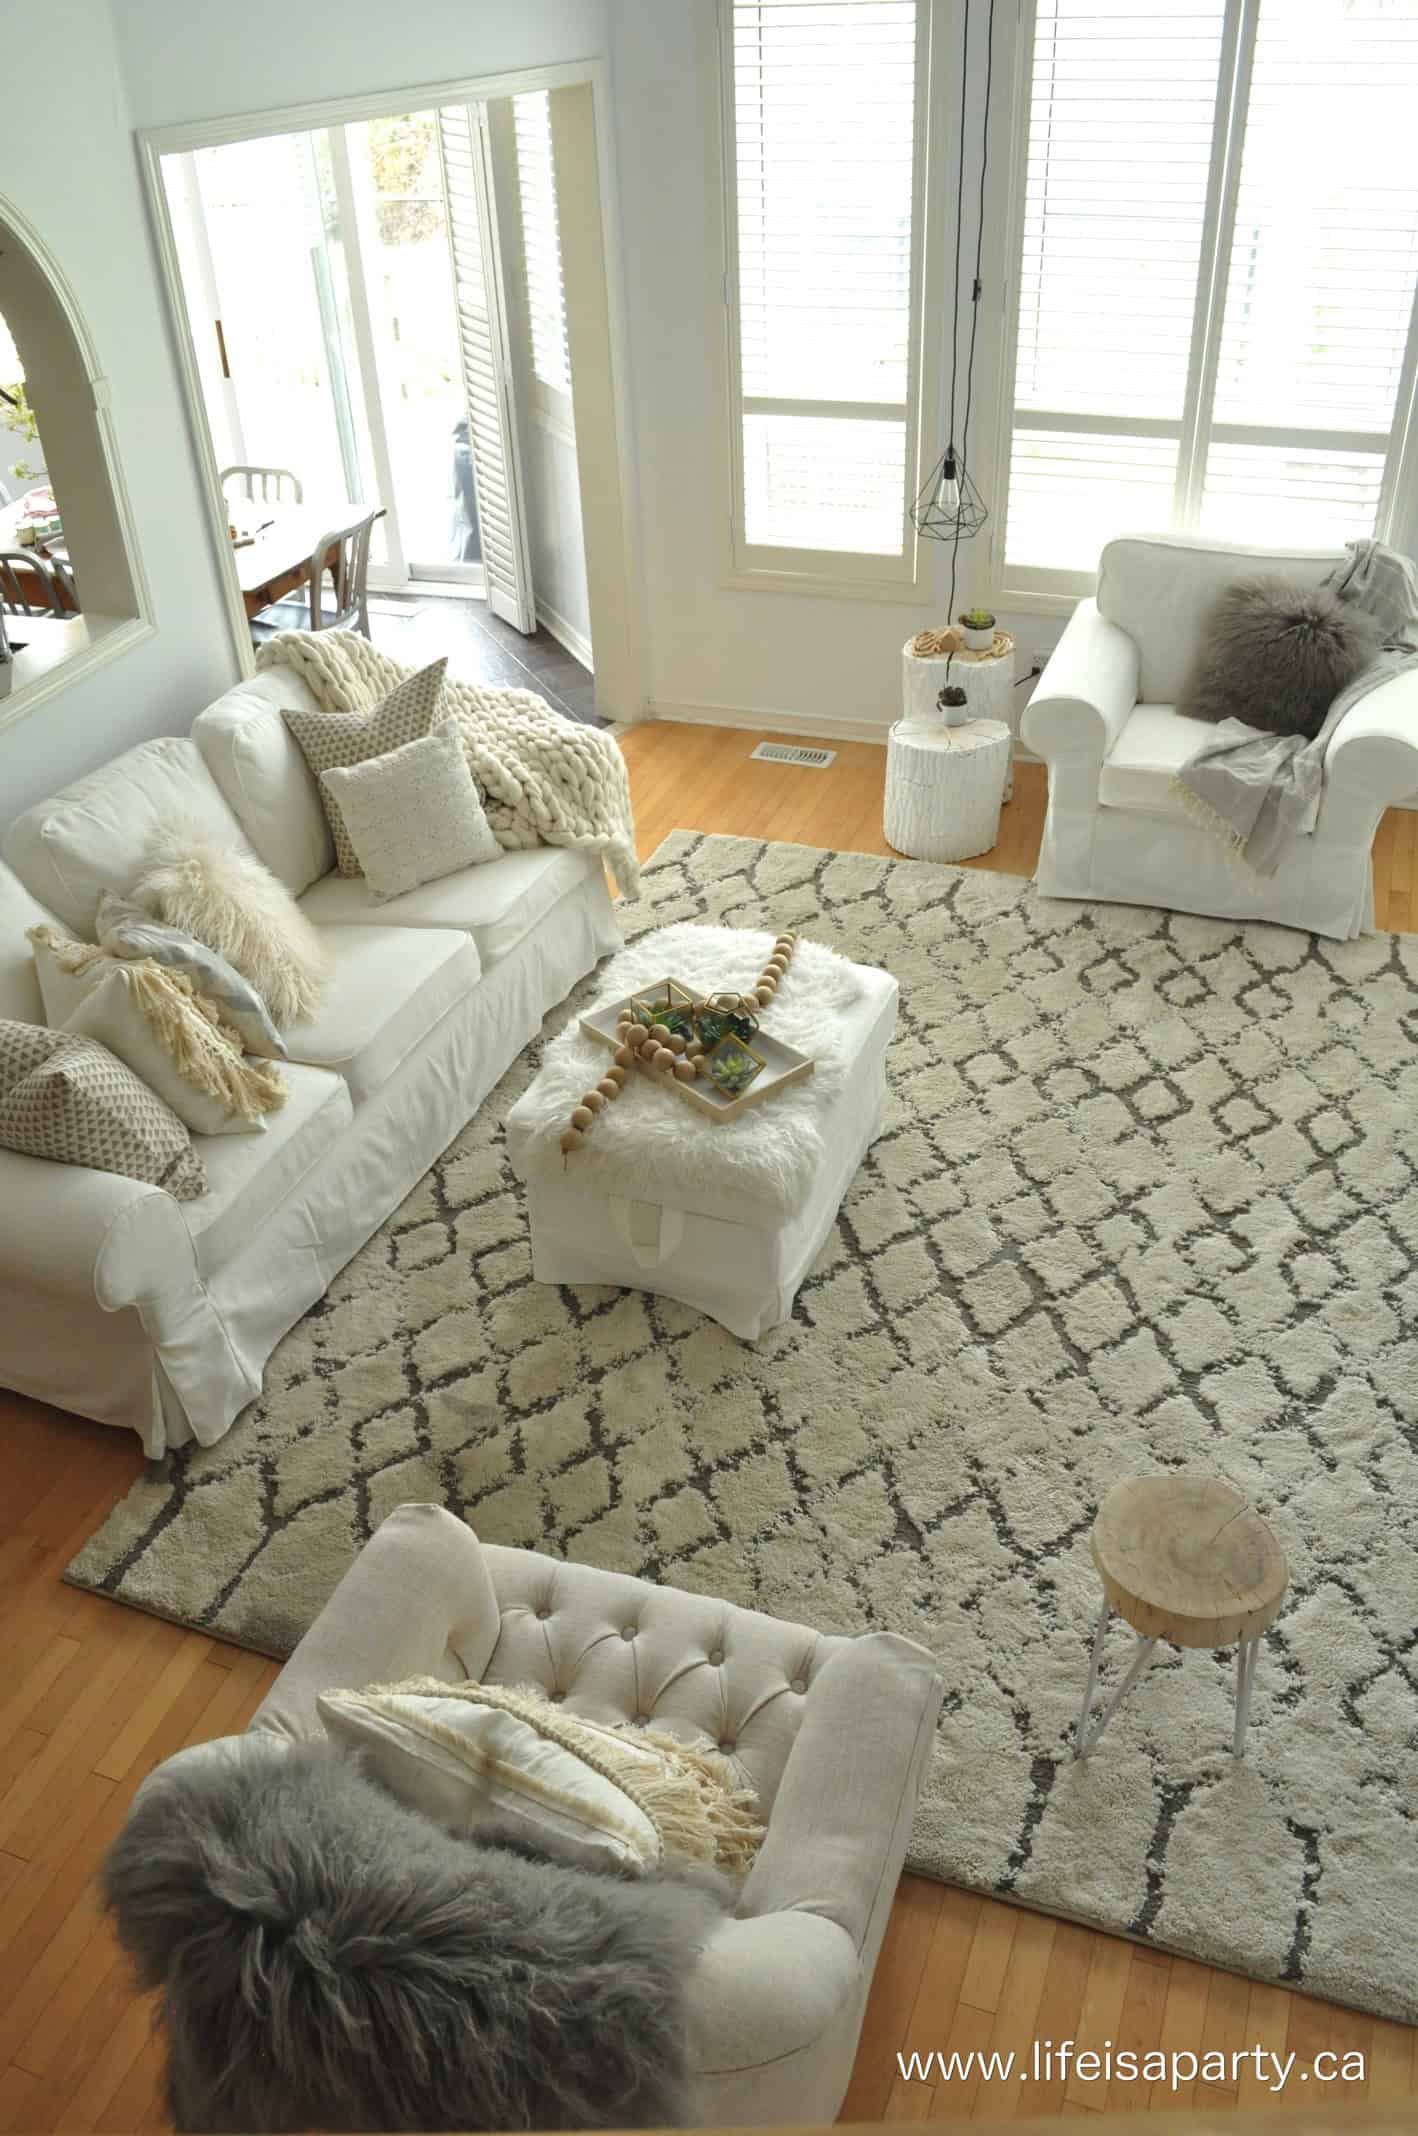
You might also enjoy our Scandinavian Living Room Makeover Reveal here.


Dannyelle says
Hi Aleada, thanks. Yes, mine is gas. You just need to look for high heat spray paint if you're doing the metal. For the wood regular paint is fine. Hope this helps. Best of luck, Dannyelle
Aleada says
Your fireplace looks amazing! I love it! Is it gas or electric? I have a gas unvented fireplace that looks like yours. I was wondering if you can paint a gas fireplace? I know this has been since 2017 I hope you still see it. Thanks.