DIY Shiplap: how to install DIY shiplap with our expert tips from a contractor and what tools to use to make awkward cuts.

Jump to:
We love the shiplap trend. It's such a great way to add texture and a rustic feel to any space. We decided to add an accent wall of shiplap to our living room while we make it over. In the end, we went with a DIY version of shiplap made from inexpensive plywood strips and turned out amazing. We have all the great tips and professional ways to do this project in your own home with a real professional finish.
Add Texture With DIY Shiplap
This week we installed DIY Shiplap on a feature wall in the living room. When I was designing the room, I was a little worried that all the white might be a little boring, so I knew I had to add in layers of texture to add interest and warmth to the space. Shiplap has the perfect Rustic Scandinavian feel -although we're used to seeing it used in the Modern Farmhouse look, it's definitely at home in Scandi decor too.
I was a little nervous about DIYing it myself, but my friend Kim of Kim Power Style has installed it herself in her beautiful Modern Coastal Cottage home and she talked me through the whole process.
I decided to give it a try -although I was a little worried about all the crazy cuts and angles around the fireplace and stairs. We wanted the shiplap on the feature wall, but since the fireplace is in the corner, I had to wrap it around that small wall too.

I chatted about it with my brother-in-law Shaun, who has his own company Benjamin Woodworks, and got a few pointers and suggestions from him. By the end of the conversation though, he was volunteering to come and put it up for me. He's truly the best.
So we made a date for Easter Sunday for the install and my family all hung out and cooked a turkey together while he worked on the wall, and I chipped in where I could. Here's a before shot of the space.

Shaun did an amazing job, and as he worked I gathered a few tips from the expert in case I ever want to try it on my own, or in case you've been thinking about doing DIY shiplap wall project in your home.

Materials
- RevolutionPly Plywood -cut into planks
- 1 ¼ " brad nails
- 18 gauge brad nail gun
- level
- 1" utility knife
- caulk
- wood filler for nail holes
- fine sandpaper
- paint and primer
How To Install DIY Shiplap
Pre-cut at the Hardware Store
1. I looked at a few tutorials and took the advice of my friend Kim and decided to use 5.2 mm RevolutionPly Plywood to create the planks.

It was the cheapest option and looked great everywhere I saw it used. I had the wood pre-cut before so it was all ready for Shaun to install.

We had the plywood cut into planks at the Home Depot store. This is the easy way to have perfectly straight cuts. They have a big machine that insures straight cuts, and is quite quick. We had them cut into 5 ⅞ inch strips, so that with the gap in-between they'd be 6 inches. The home improvement store usually charges one dollar per cut, and it's definitely a good idea to have them do it for you and save yourself the time and stress of making sure they're all cut perfectly straight. If your cut boards are not straight it will ruin the finished wall with uneven gaps. If you're doing DIY faux shiplap this first step is important to get right.
One little tip -make sure to keep your off cuts separate, you don't want to mix them in by mistake and mess up your whole faux shiplap wall pattern when you're installing them.

Start At The Bottom
2. When you begin to install the diy shiplap wall start at the bottom of the wall with a level board. Our baseboard was surprisingly level so we didn't have to adjust ours at all. But if yours is out a bit, make sure you get the top of that first board level. This is the building block for the next row, and the entire plank wall afterward all the way to the top of the wall, so it's important to make sure this first piece is level, and the next board should be also. First thing make sure to start as you want to go.

We used the width of the board as a spacer, giving us 3/16" gaps. Be sure to keep checking occasionally that your boards are still level as you go up the entire wall.

Installing
3. We went with a staggered board pattern, and nailed them in with 1 ¼" brad nails using an 18 gauge brad nail gun. This made the project go fairly quickly for our small space. Try and nail into the wall studs. You can find them with a stud finder and mark the wall if you need too. An expert tip, the electrical outlets will be attached to studs, so start your search there. The studs will be equally spaced.
Some people like to also use construction adhesive or liquid nails on their boards. It's sometimes used on it's own, or to reinforce the nails. Because we used very light plywood to make our own shiplap planks, we thought that the brad nailer was enough on it's own. This will also make it so much easier to remove in the future if we want to. All that we'll need to do if we want to ever take it down is ply the boards off and fill the small nail holes in the drywall.
Since the look of shiplap is so trendy at the moment, it's more than likely going to go out of fashion at some point as well, and it's a good idea to think about how to remove it when it's time for a change while installing it. Your future self will thank you.

Easy To Cut With A Utility Knife
4. We cut the boards to length with a simple utility knife, there's no need to use a circular saw, or table saw for this project. Shaun said that the thin boards might be damaged with the up and down motion of a big saw, so he cut them using a set square for a straight edge, and a 1 inch utility knife -scoring a few times, and sanding off any rough edges. If you were worried about having to use a big saw for this project, the best and easiest way is to use a simple utility knife to trim pieces to size.

Adjust Outlet Boxes
5. I didn't know this, but with the outlet covers removed you can adjust the depth of you outlet boxes, with two simple screws. Shan adjusted them slightly so that they'd be flush with the new wall treatment. Use this trick for all the light switches and electrical outlets.
Use A Compass To Scribe
6. If you have some tricky cuts around something like a fireplace, like we did, here's how the experts do it. Use an everyday geometry compass to scribe your difficult cut on to the wood. Set the compass, and then run the metal piece along the profile of the trim and use the pencil to transfer it to your wood.

Shaun used a jigsaw to cut out these more difficult cuts, and then smoothed the edges of the boards with a file. Another expert tip, draw it out and cut it first on a scrap piece of wood. When you're happy with the fit, use it as a pattern and trace it on to the good board. If you're working around a fireplace like we were, both sides should be the same, so you should be able to re-use your pattern piece.

How To Use A Carpenters Sliding Bevel
7. We had some funky angles along the trim on the stairs. There's a simple tool you can use to get your angles perfect.

Just line up a carpenters sliding bevel to the trim edge and then move it over to your board and trace the exact angle on to your board. I love little tools like this one that make life so much easier! The right tools for the right job makes a huge difference. You can pick one up an inexpensive on for around $10.

Caulk For A Perfect Finish
8. Final expert tip, finish up with a little paintable caulking. Even the experts have a few gaps here and there, for a professional finish caulk the edges around fireplaces, and trim where needed, the corners, and along the ceiling and baseboard.

Filling and Sanding
To finish, I filled the nail holes with a little wood filler and putty knife, and then once they were dry I sanded it smooth with a fine grit sandpaper. I choose to leave the vertical lines as they were. I like the more rustic look of leaving the seams, some people like to use wood putty to fill those lines for the finished look of one continual board. If you are doing the vertical lines as well, you might want to use an electric sander as filling all the small gaps isia bigger job than just nail holes. You can do it either way depending on your preference.
After the filling and sanding, I vacuumed off the wall afterwards to remove the sanding dust, then it was time to paint. The Scandinavian look is all about white, so I used JoJo Whitewash by Para to match the rest of the room. Some people like to use a paint sprayer for painted shiplap, it does a great job of getting into all the little groves. If you're painting by hand, a small brush is the best option for getting into all the groves. We did two coats of paint on our wall.
I just love how our DIY shiplap accent wall turned out. It feels rustic and warm and cozy, and the horizontal lines help add some texture to the room. It was fairly inexpensive to do, and it really adds so much to the room. Making faux shiplap out of inexpensive plywood was a fraction of the cost of using real shiplap boards.
Beginner Level Project
We had a few tricky cuts around the fireplace and around the stairwell, but if you were doing a regular wall with straight lines, this would definitely be a beginner level project. You can don't need any specialized tools for the regular cuts. Have the hardware store cut the boards into shiplap, and then use a simple utility knife for the rest of the cuts.

If you're local to the GTA Shaun does AMAZING work and I highly recommend him for any tile or woodwork or renovating jobs you might need done. Check out his website -Benjamin Tileworks for more details about his work. It was so much fun to partner with him on this project.
One Room Challenge Progress
It's already Week Three in the One Room Challenge and I still have a few projects to do. I've already painted the living room and kitchen, and now installed and painted the shiplap. The last big painting project is to re-do the fireplace. I also need to refinish the kitchen table still. The new kitchen light needs to be installed too. Finally I want to leave myself a little time at the end for some DIY artwork. So, there's still lots to do, but it is starting to feel like we're making progress.
This week we bought new furniture for the living room that I can't wait to show you. The rug also arrived and some of the beautiful accessories, along with the stunning new light for the kitchen. I hope to paint the fireplace over the next day or so, and finally put the painting stuff away! The kitchen table can get refinished in the garage now that the weather is nicer, hopefully that project will get started this week too. We're getting there -slow but sure wins the race!
And here's all our progress on this makeover:
- Expert Tips On DIY Shiplap
- Fireplace Makeover
- DIY Macrame and Fringe Pillows
- Rustic Scandinavian Living Room and Eating Area Reveal
In the meantime, I'll just be staring at my beautiful new shiplap wall

With DIY Shiplap, life really is a party!
More Inspiration
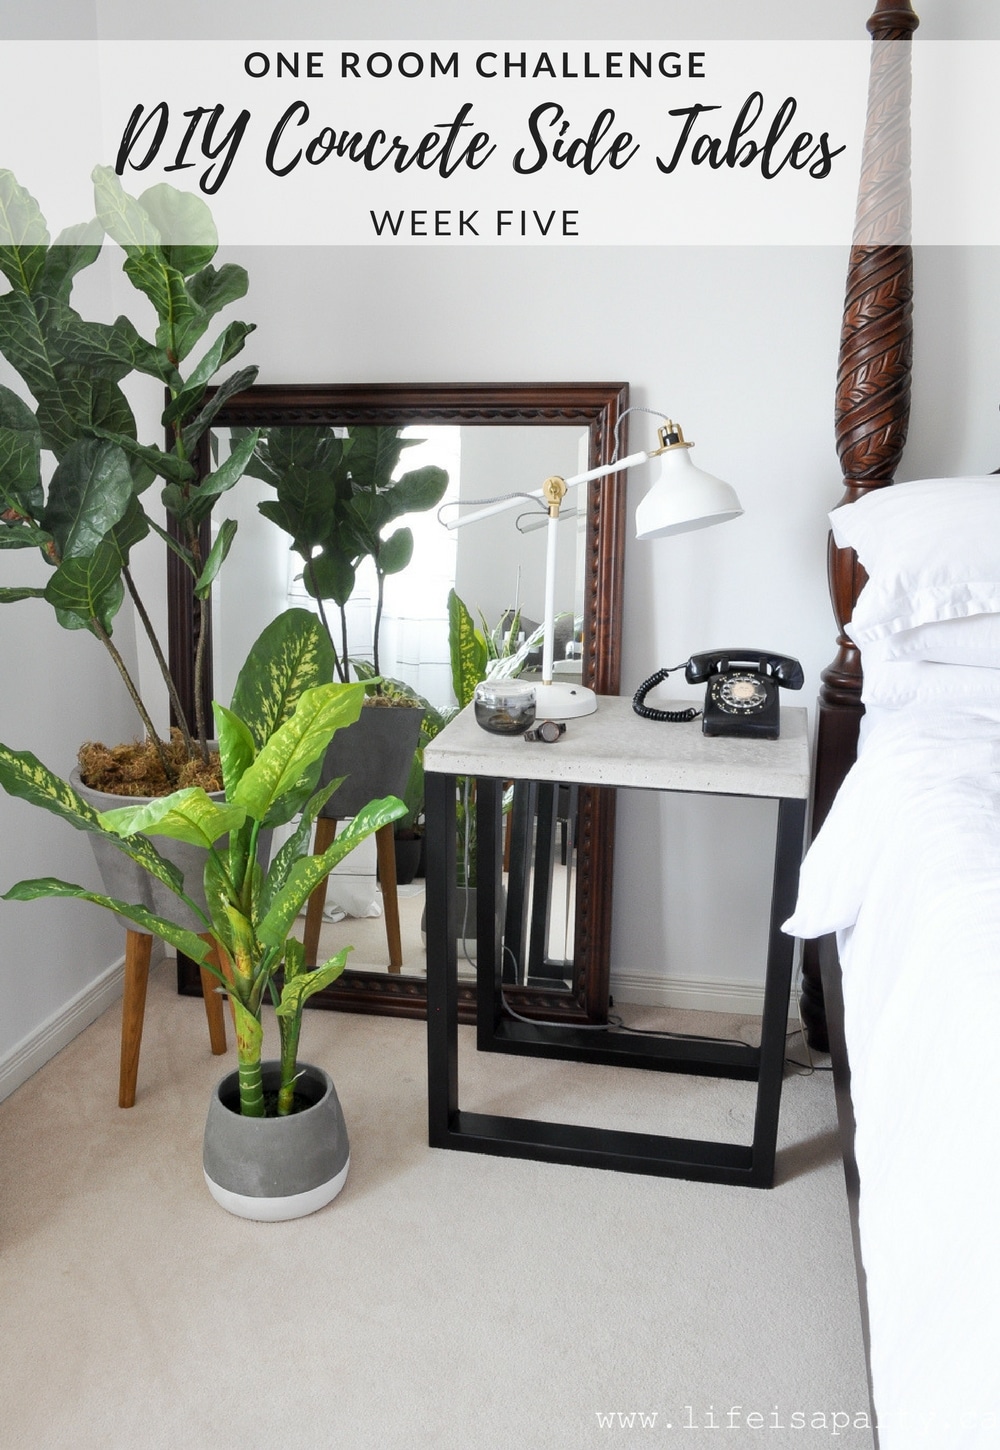
You might also like our DIY Concrete Side Tables.
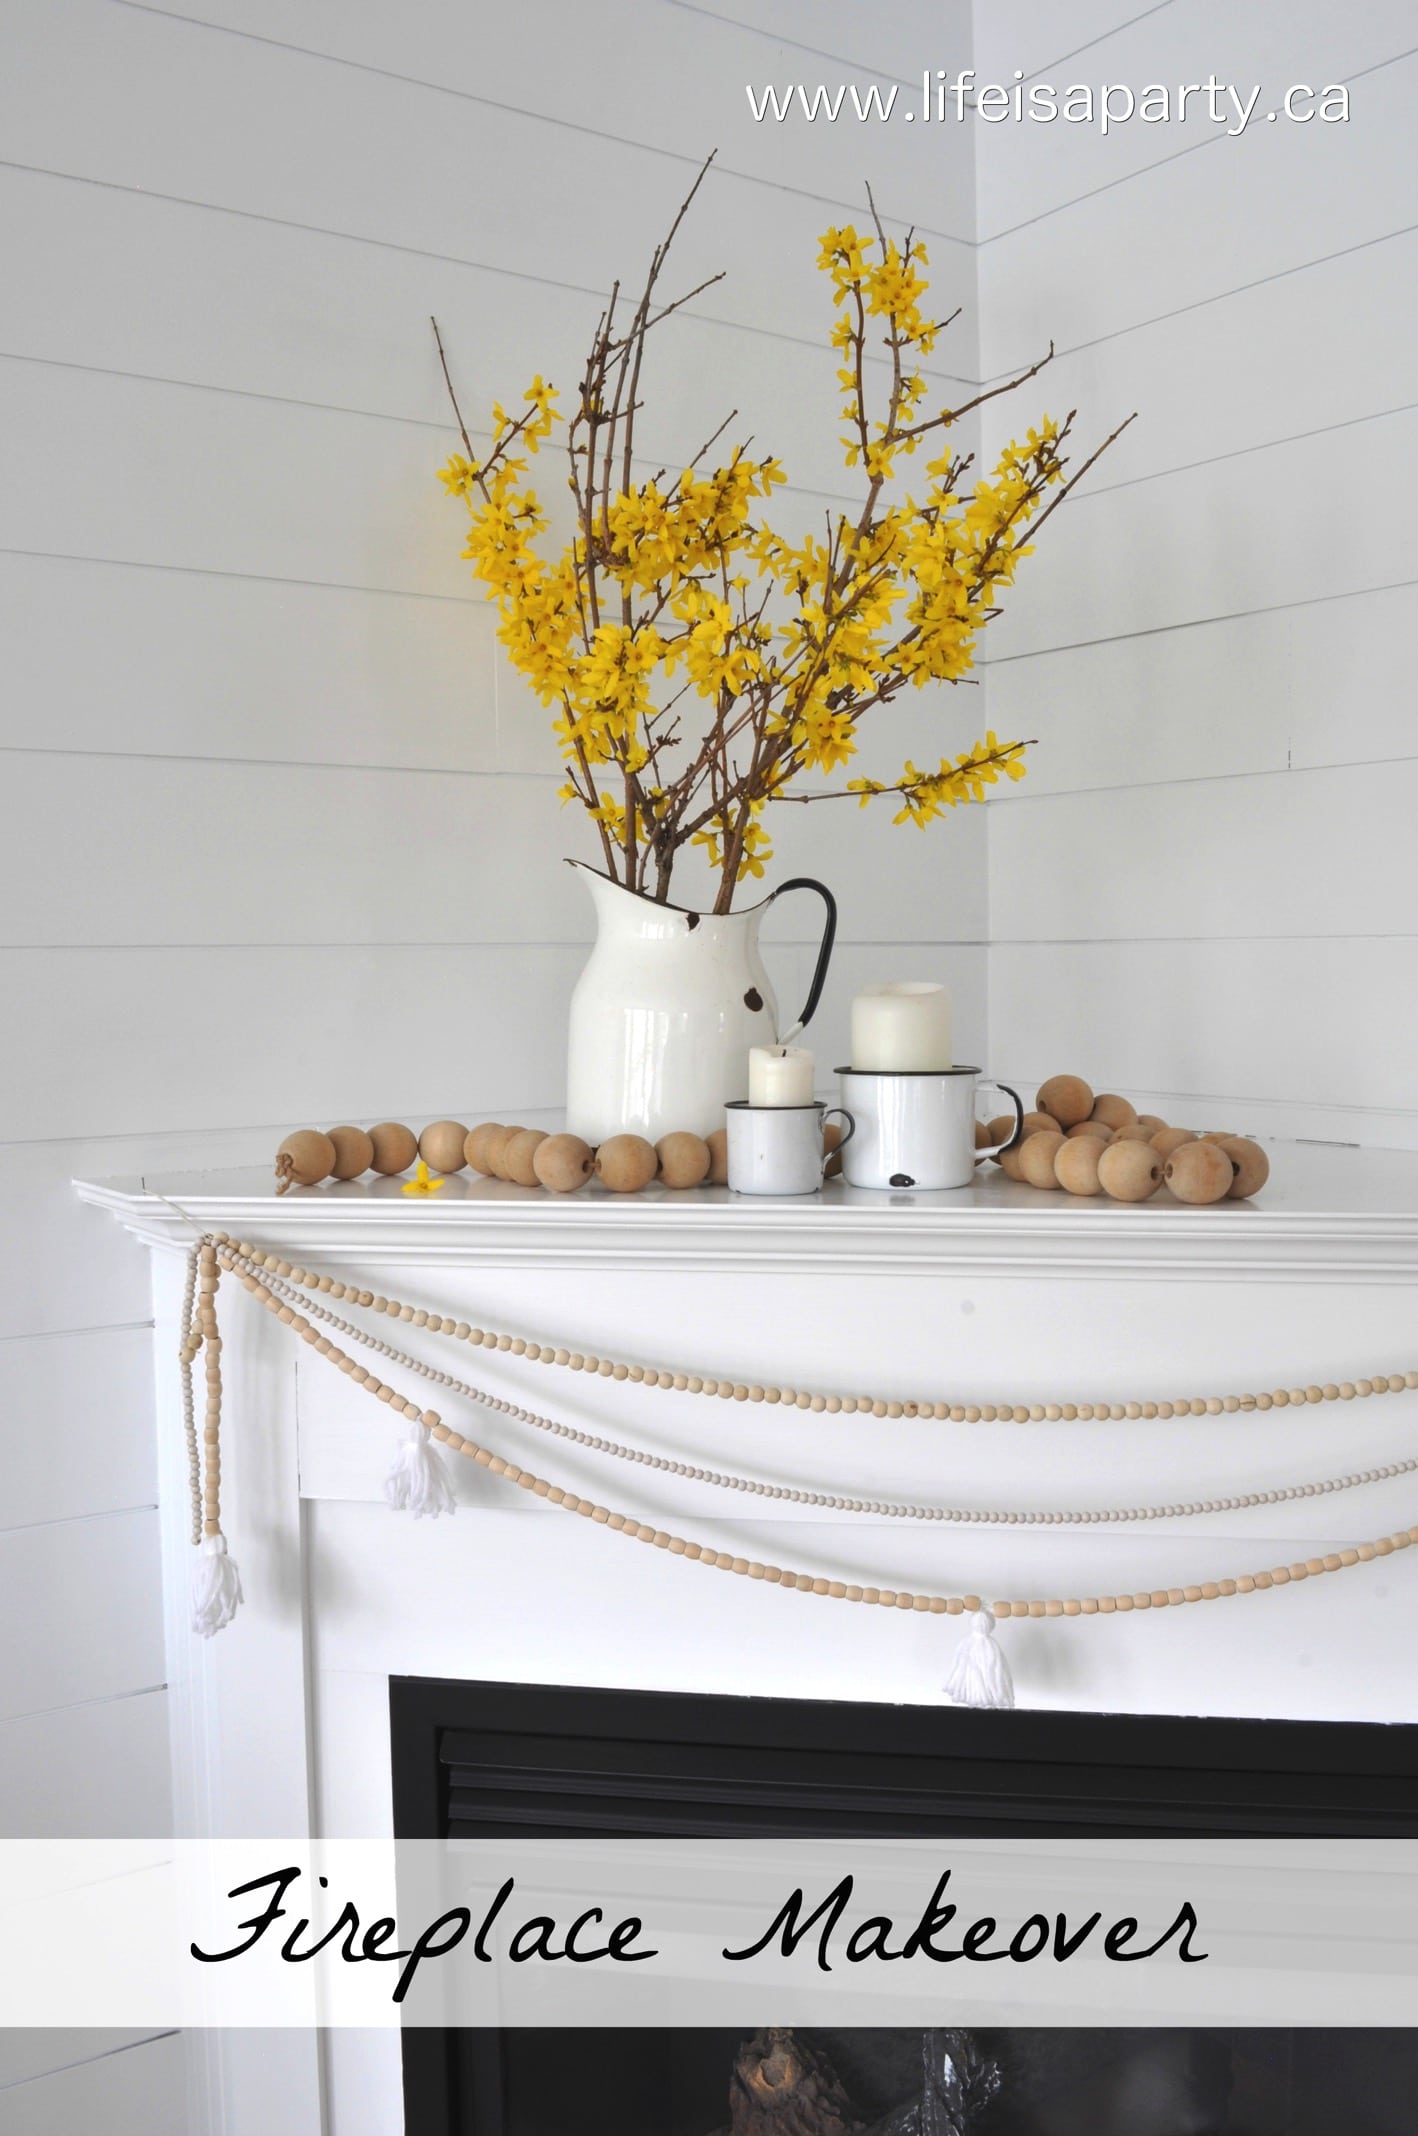
Check out our Fireplace Makeover here.
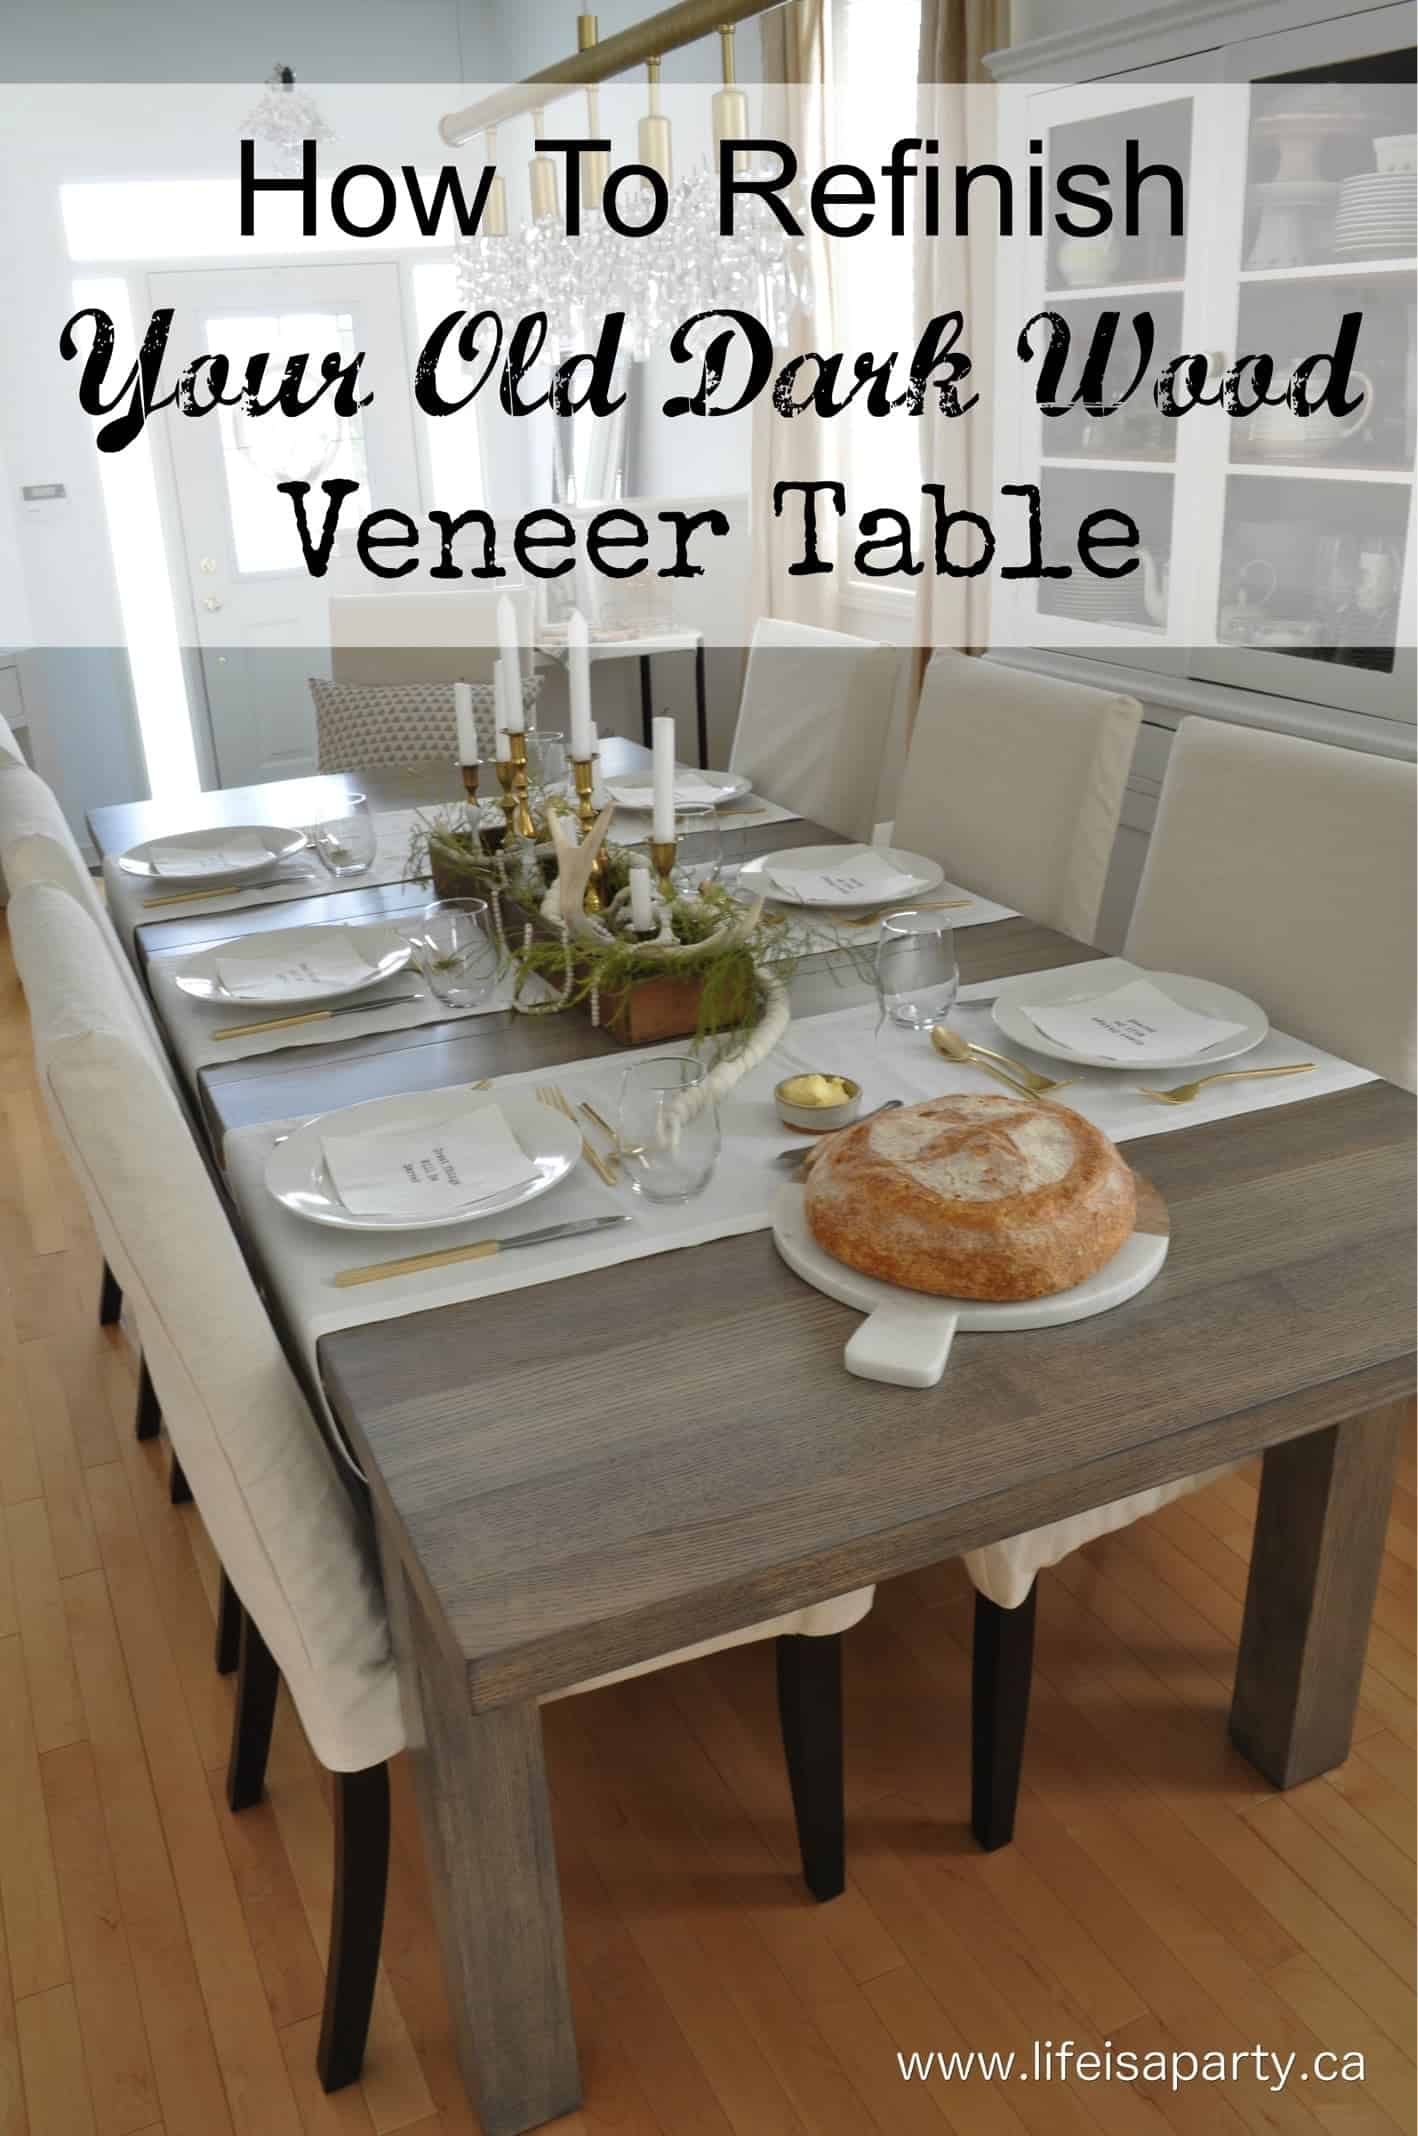
You also might like How To Refinish A Dark Wood Veneer Dining Room Table.


dnr says
Hi Kerri, Yes, we used a utility knife. We took advantage of the cutting service at Home Depot to make the planks, and they're so thin we were able to use just a utility knife for the rest of the cuts we needed to fit them. It depends on what material you use for the planks, but if you use what we did, it's totally possible. We did use a nail gun, but you could totally do it with a regular old hammer and nails.
Best of luck,
Dannyelle
Kerri says
I am having major shiplap envy! I have been wanting to shiplap and accent wall in my bedroom, but I don't have any power tools ... they actually kinda scare me...and I don't know how I will cut around the electrical outlets and the lightswitch on my wall. It sound like you guys used a little saw and a box-cutter type knife?
Leslea says
The shiplap looks so beautiful! I love the tip about how to use the compass to cut around the fireplace!