How To Make A Pinecone Wreath
DIY Pinecone Wreath: Easy diy pinecone wreath, great instructions -perfect for fall or the holidays.

I wanted to make a pinecone wreath for my front door for fall and for Christmas to add a festive touch, and give it a more modern spin -as in not the Christmas version from the 80’s. Did your mom have one too?
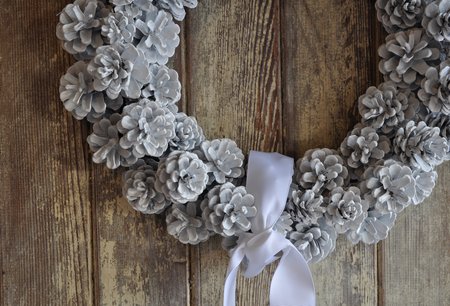
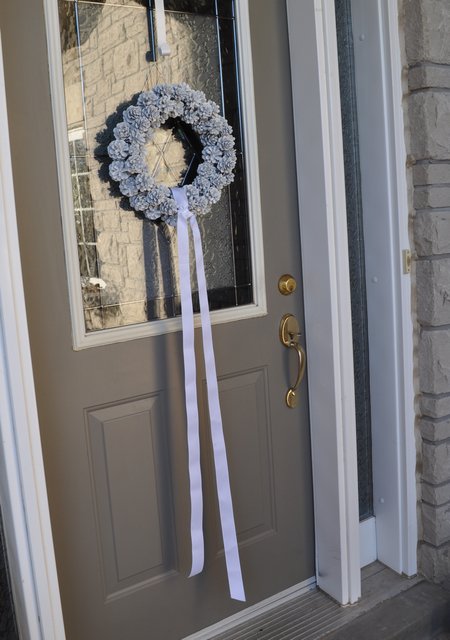
To make it a little more up-to-date, I spray painted it white, and added a really simple ribbon. Check ou tthe whole pinecone wreath tutorial below.
Materials:
- Wreath Form
- Pine Cones (small pine cones and medium pine cones)
- Hot Glue Gun
- Hot Glue Sticks
- White Spray Paint
- White Ribbon
I love how it turned out, here’s how I made it.
How To Make A Pinecone Wreath
Gather Your PInecones
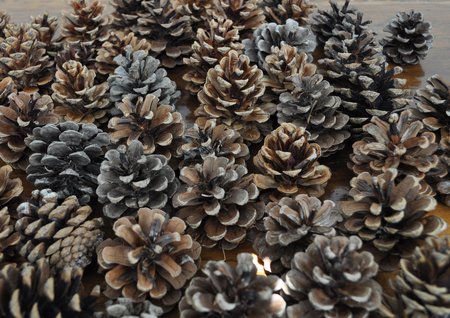
1. First step, go and pick up tons of pinecones. Find them on the ground near pine trees. Parks and forests are a great place to search for them. And if you’re making it for Christmas you might also gather a few evergreen cuttings while you’re there.
We used red pine for ours. They’re perfect if you can find them because they’re nice and round and not too elongated. Once you’ve collected them you can lay them out to dry and fully open if they’re closed up all. To speed up the drying process, put the pinecones on a parchment paper or foil-lined cookie sheet to protect it from the pine sap. Put the baking sheet in the oven at 200F for about 30 minutes, or until the pinecones fully open.
Choose A Wreath Form
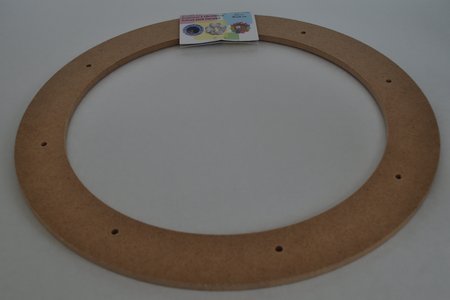
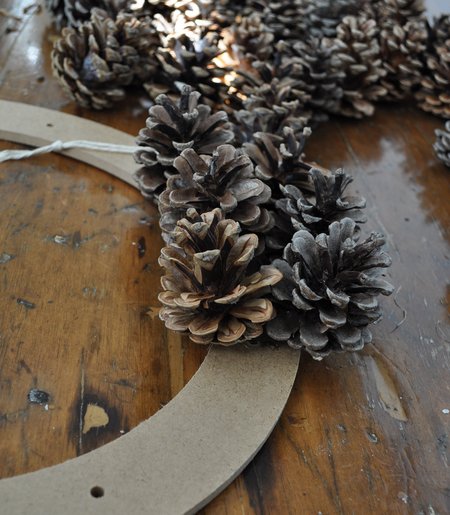
2. For the next step I was debating what kind of form to use. A wire wreath form was an option, but let’s face it hot glue is easier than using floral wire and wiring every single pine cone to a wire frame. I thought about a foam wreath form, but I didn’t think it was sturdy enough. Pinecones are heavy on masse. A grapevine wreath base could work, but it’s a little more rustic than the look I was going for. I thought about just cutting out a few layers of cardboard, than I found this this wood one at the local craft store and it was perfect.
Add A Hanger
3. I added a piece of twine to one of holes before I started, to hang it from later. 😉 You could also make a wire hanger from a piece of wire pushed through one of the holes, and then with the ends of the wire twisted together.
Spray Paint The Base
I wish I had spray painted it before I started, but you can benefit from my mistake, and spray your base first. Spray painting the base would have been a better way to make sure it was entirely covered, and no of the brown was showing down in the deep nooks and crannies, once you glue pinecones all over the base.
Adding The Pinecones
I went with two rows of pine cones as a base for my diy pine cone wreath, creating an inner ring and an outer ring out of medium pinecones. The next easy steps were to fill in a row of smaller pinecones on top. If you were making a larger wreath, you might need to add more. I used all the same shape and kind of pinecones for the entire wreath, because I thought it looked a little more modern than mixing them. To attach your pine cones to the base, use a lot of hot glue at the base of the pine cone. Don’t worry too much about it showing, since we’re going to spray paint it all once we’re done.
Spray Painting The Wreath
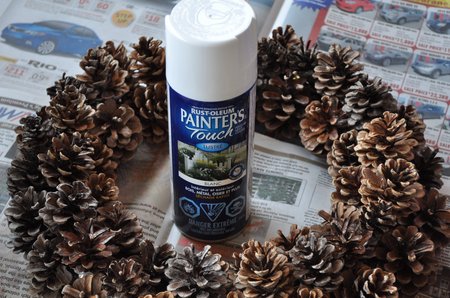
4. Then it was time…for spray painting this beautiful pine cone wreath. I am slightly obsessed with spray paint. Spray painting anything all one colour seems to immediately make it look more modern, and it’s a great way to give traditional christmas crafts like this one a new spin.
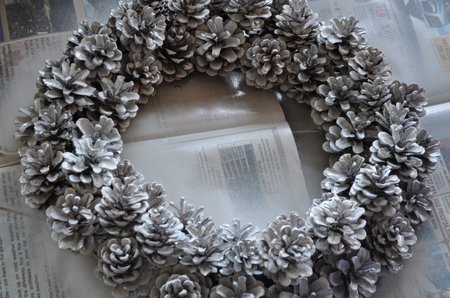
Here it is after one coat of white paint. Spray with many, many light coats for best coverage and to avoid drips, although pinecones are very forgiving. You will definitely want to use use spray paint for this job and not acrylic paint, so that it can get into all the nooks and crannies of the pine comes.
Add A Ribbon
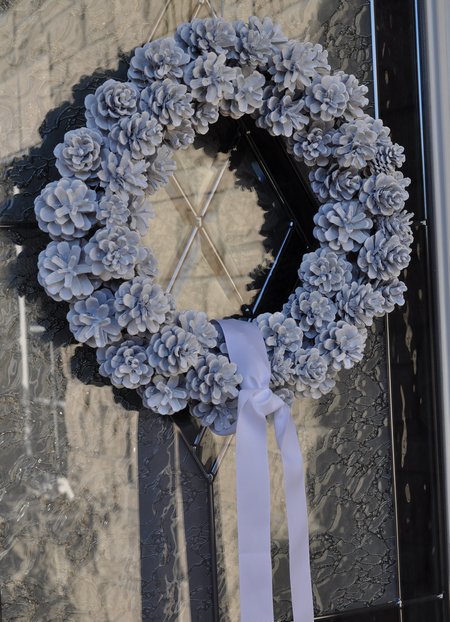
5. And then the best part, I tied on a long white grosgrain ribbon. I think it’s less fussy than a bow and again makes it feel more up-to-date. If you’re a little more traditional with your Christmas colours you could try a red ribbon for festive decorations instead -or any colour to suit your holiday decor.
Perfect Wreath for Fall or Christmas
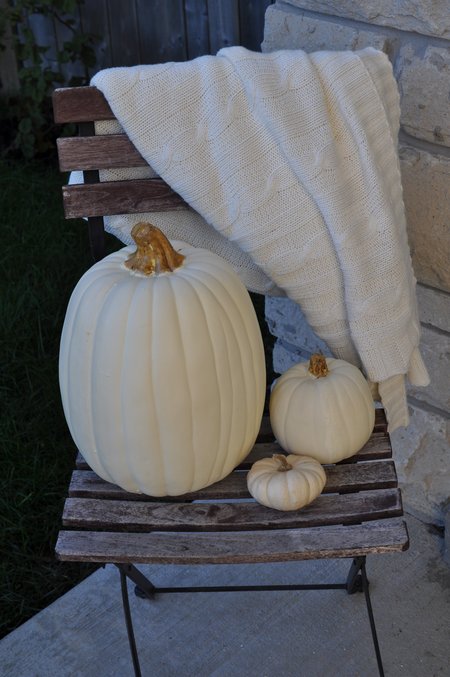
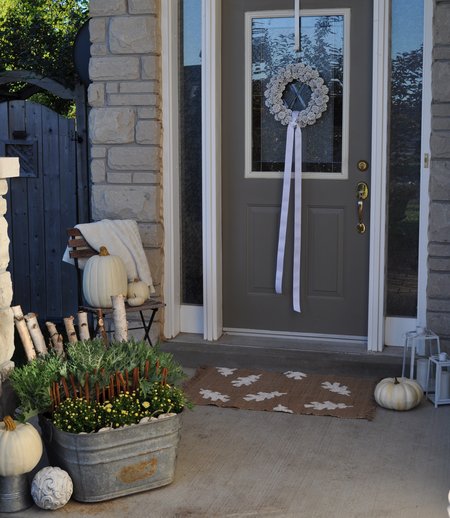
This would also be lovely wreath for Christmas, but I think it looks like fall with all my other white fall accents, including tons of white pumpkins, and natural elements. It’s one of those holiday wreaths that you can use from fall, all winter long. It’s a great Christmas decoration, but one you can use for the whole winter if you wish.
We used our wreath outside. Our front door is protected from extreme weather conditions. Also the spray paint helps preserve outdoor wreaths, keeps the pinecones from closing up if they become wet.
This wreath would also be lovely indoors as an addition to your Christmas decorations. Indoor wreaths are also perfect for a fireplace mantel, and this one would look great as a Christmas wreath or all winter long.
I hope this easy tutorial is helpful. This is one of my favorite pine cone crafts. With a new wreath made of pinecones to enjoy, life really is a party!
You can see how I made the white fall planter here, and the DIY fall doormat here.
Happy Fall!
This post contains affiliate links. At no extra cost to you we receive a small amount if you purchase through our affiliate links. Thanks so much for supporting Life is a Party.
UPDATE: See how this whole scheme turned Christmas HERE!
You might also like this DIY Pampas Grass Wreath here.
Also check out How To Make Scented Bleached Pinecones here.
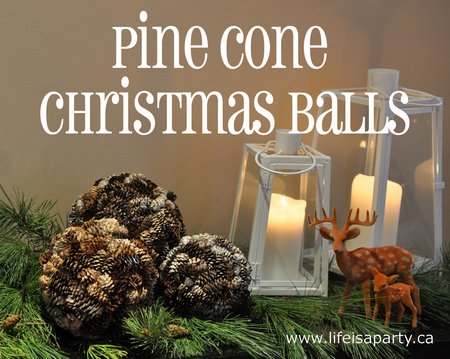
You might also like these DIY Pine Cone Christmas Balls here.

Your entire arrangement looks wonderful and an easy change for Christmas.
I love it….it’s so beautiful ^_^
Thanks for sharing
Hugs
Marta
I love spray painted pinecones, and I think the white makes them looks so elegant! Thanks for sharing at The CSI Project challenge this week!
What size ring did you use & what size were the pinecones?
Hi Ruth, I don’t remember what size wreath ring this was…maybe 12″, whatever fits your own door would be a good choice. The pinecones are just regular pinecones…maybe a couple inches in diameter, but anything would do, you’d just have to add more or less to fill in your form.
Best of luck,
Dannyelle
Where can I find the ring?
Hi Lisa,
I found the ring at Michaels craft store, best of luck.
Dannyelle
The wreath is great but I love those wonderful white pumpkins: are they spray-painted too?!?
Thanks a lot
Barbara
Hi Barbara, They’re mostly faux pumpkins from the craft store, they come in white.
Best of luck,
Dannyelle
Did the pinecones hold with the hot glue outside? I did a project with hot glue and the rocks started to fall off (maybe because of the smooth surface).
I have read that you have to bake and bleach the pinecones before you use them. Really put a damper on my plans! Did you do that?? Does the glue hold up outdoors??
Hi Jean, I didn’t bake or bleach my pinecones. If they’re very wet they’ll be closed but a little time indoors and they should open up. You can bake them a little to make them open more if they’re not open, but it’s not a necessary step. I didn’t have any trouble with the hot glue holding up. Maybe after a couple years I had to reapply some glue for some loose ones.
Hope this helps,
Dannyelle
This is just what I want to make. I collected pine cones from a bachelor’s front yard and I want to make him a wreath out of them. Since his front door is dark, I wanted a light one and this one is perfect. I sure hope I can follow your instructions. Thanks.
Susan, best of luck, I’m sure it will turn out great!
Dannyelle
I’m going to try to make the wreath on the door. I’m not very smart so I hope I can do it. I have to go to the craft store and get that cardboard and I have to put the pine cones in water and bleach and dry them for a few days. I think it’s best. Maybe I can paint them before I put them on that cardboard. Would it be best and paint the cardboard too before? Thank You
Hi Joann,
Best of luck with the pinecone wreath. You can for sure bleach the pinecones if you’re worried about them having some creepy crawlies in them. After their dry you could paint them before glueing too if you think it’s easier. I really hope your wreath turns out for you.
Best,
Dannyelle
I bleached pine cones this week and learned the hard way a few tidbits to save some time that was not on the instructions I found.
You can bleach more at one time using a 5 gal bucket – got mine from Walmart
I used one part bleach to 4 parts water
I put a plate on top to submerge them all and then put a paint can on top of the plate- soaked in garage for 24 hours
They closed up and turned black so you have to bake them on a cookie sheet for 2 hrs at 275
Do crowd them or only 1/2 of the cone will open up
I used two racks so only the bottom rack opened up all the way
I recommend doing this process before your projects to get rid of any bugs or spiders!
Debbie, thanks for all your tips, so nice of you to share. Hope your pinecones turned out great!
Best, Dannyelle.