DIY Pergola Shade Cover: create shade under your pergola with these DIY fabric covers. These inexpensive covers are made from drop cloths and brass grommets and woven through the top of the pergola.
Jump to:
We Needed Some Shade
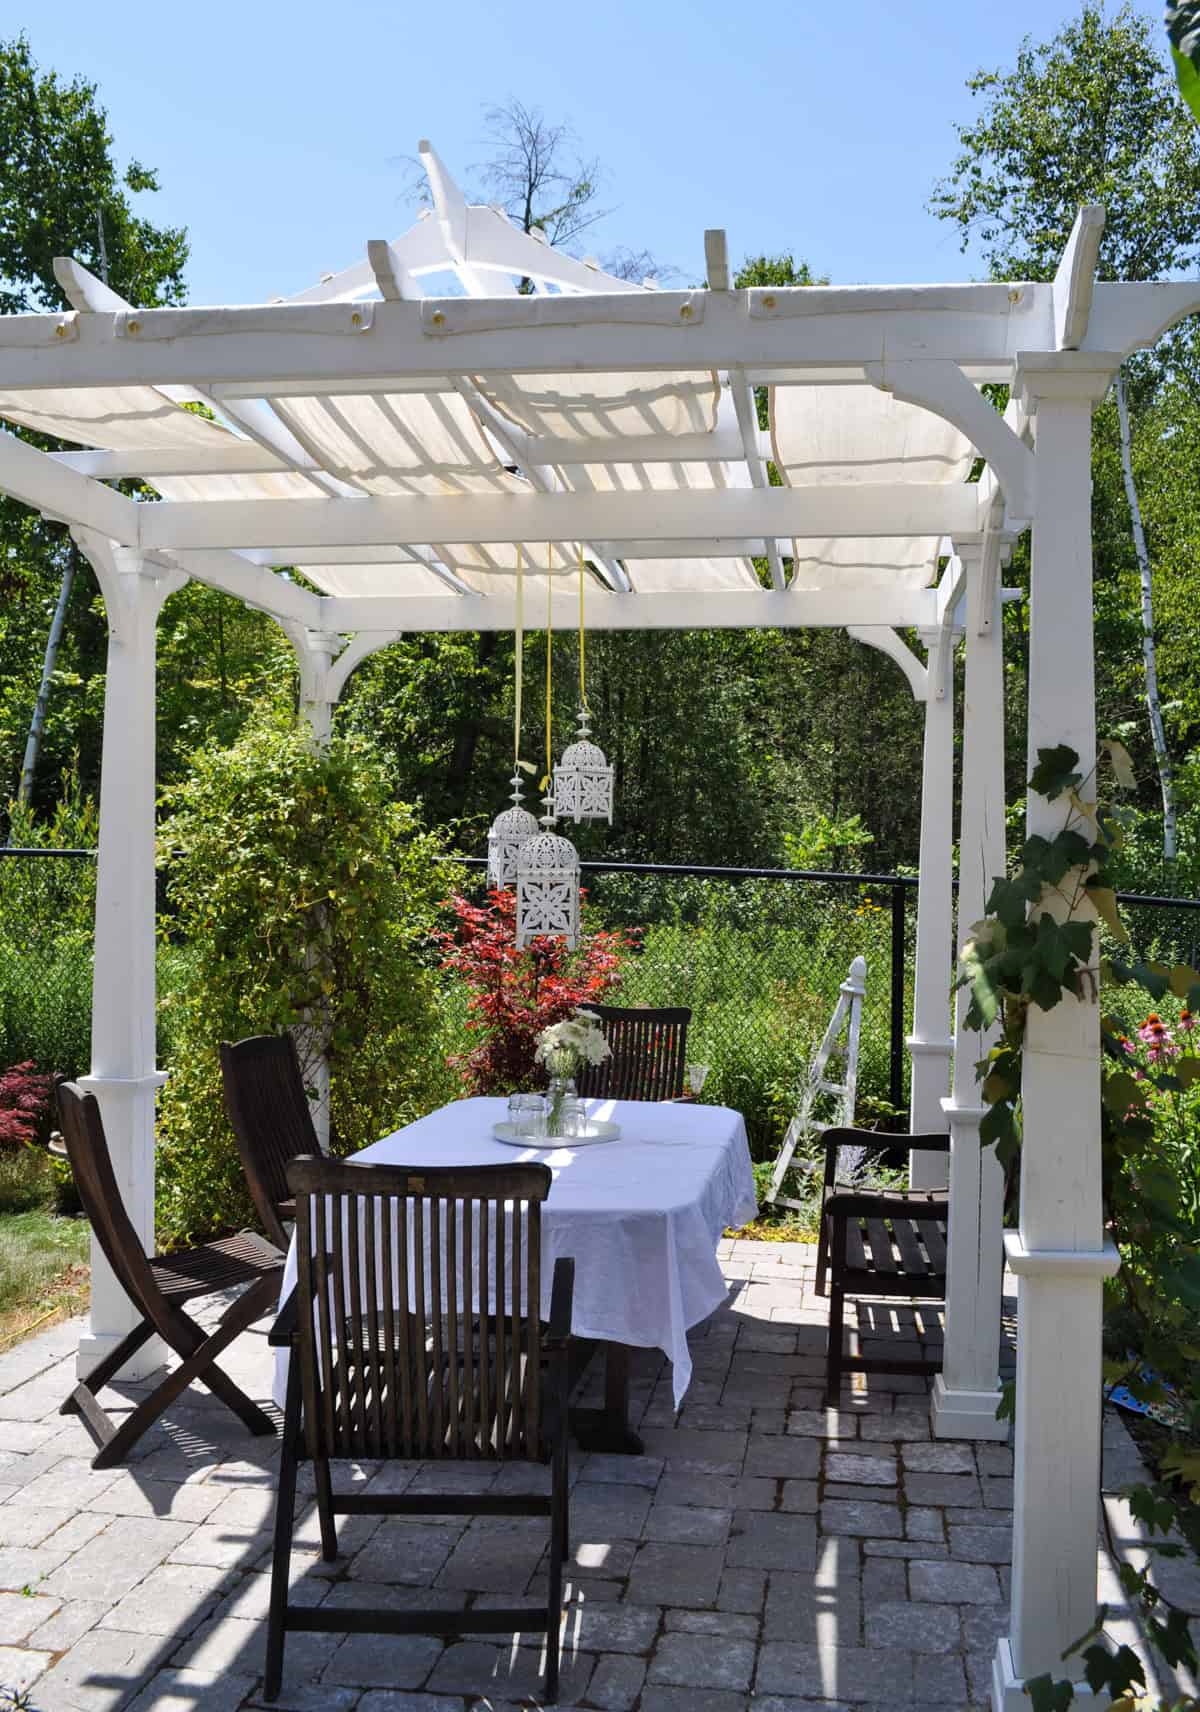
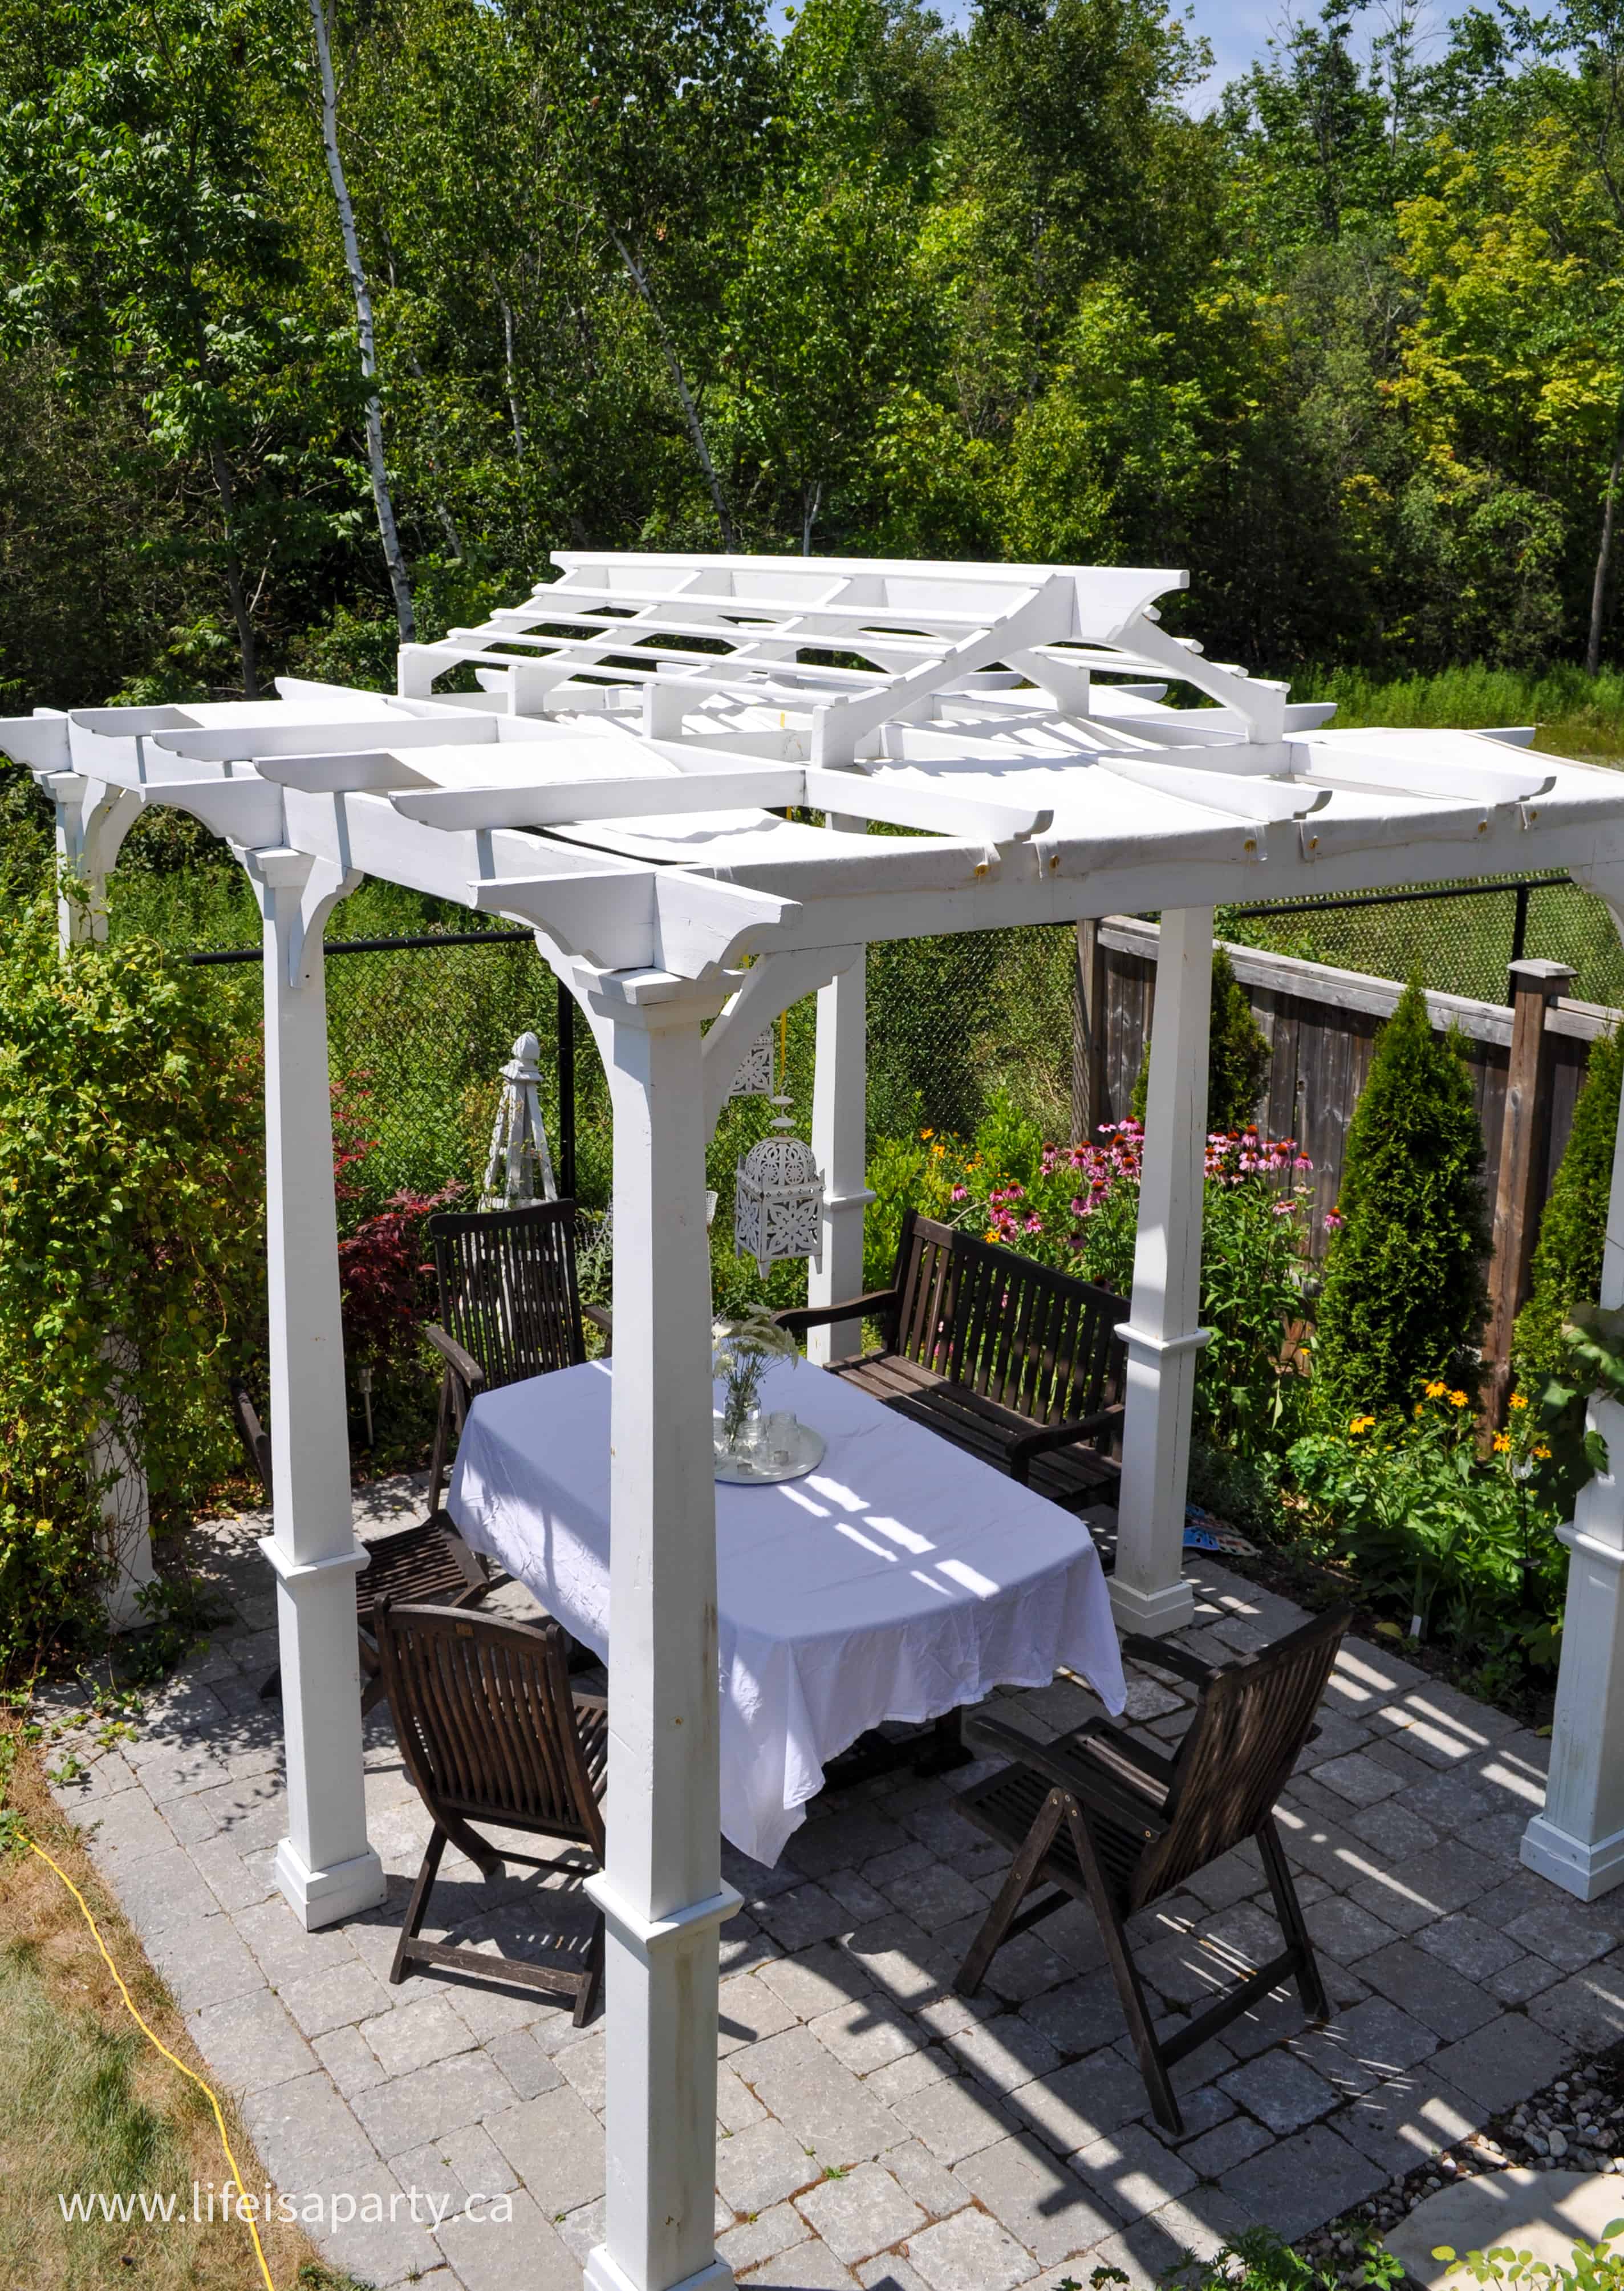
These DIY pergola shade covers were a necessity in our backyard seating area. A few years ago we had this beautiful pergola built in our backyard. I love it. It adds so much character and drama to our outdoor space. Because our house is a new build, we desperately needed a spot with some shade to be able to sit out and enjoy our outdoor area in the summer. We have a beautiful seating area under the pergola, but it was so hot and sunny that we weren't even able to sit out and enjoy it without getting sunburns.
We had always planned on growing vines over the pergola for shade. I planted vines on it, and have been patiently waiting for them to grow up and provide some much needed shade in our backyard. It's year three, we've had one casualty and re-plant, and I'm getting a little less patient for my vines to grow. It's a really lovely place to sit, but it's just too hot and sunny to really enjoy.

I had an idea that I could make some shade, by weaving some fabric through the wood, with some DIY pergola shade covers. It worked so, so well. If you're looking for an inexpensive and non permanent solution to create some shade with your own pergola, then this might be a great idea for you also.
Inexpensive Solution
I wanted a temporary shade cover on our pergola. We really wanted the plants to climb the pergola and provide shade eventually. But until they grow, we needed a non-permanent solution to provide the perfect shade and protect us from excessive heat.
We considered a few options for the space out of the wide range of styles and types of shade covers. A shade sail didn't seem like the right choice for this space, because it would take away from the Victorian architecture of the beautiful pergola. A mechanical retractable canopy wasn't the right solution for this space, because again it won't go with the style of the space at all, we would need custom sizes at great expense and it would be permanent. Our goal was only to block out direct sunlight and create a spot to sit that was more comfortable with a little extra shade, while we wait for the grape vines and other climbers to grow and provide a covered pergola with their leaves. We weren't trying to create a solid roof, waterproof pergola covers or rain protection for our space.
We wanted the type of canopy to extend our outdoor use of the space in the summer months and give the space some shade, while not taking away from the beauty of the structure and the ornate Victorian style wood work. Our perfect solution was to create our own pergola sun shade using different pieces of fabric, that we could easily remove once the vines grow in.
Choosing The Fabric
When we decided to use fabric to create our shade covers the next question was what kind of fabric to use. I considered using some outdoor fabric to create our outdoor pergola shades. The biggest reason to not use a special outdoor fabric that is designed to withstand bright sunlight and the harmful uv rays, as well as hold up against strong winds and heavy or light rain getting it wet regularly was the price. The specialty outdoor weatherproof fabrics probably last much longer, but they're so expensive. Since this was meant to be a temporary solution anyway, we didn't feel it was worth the big investment of special fabric.
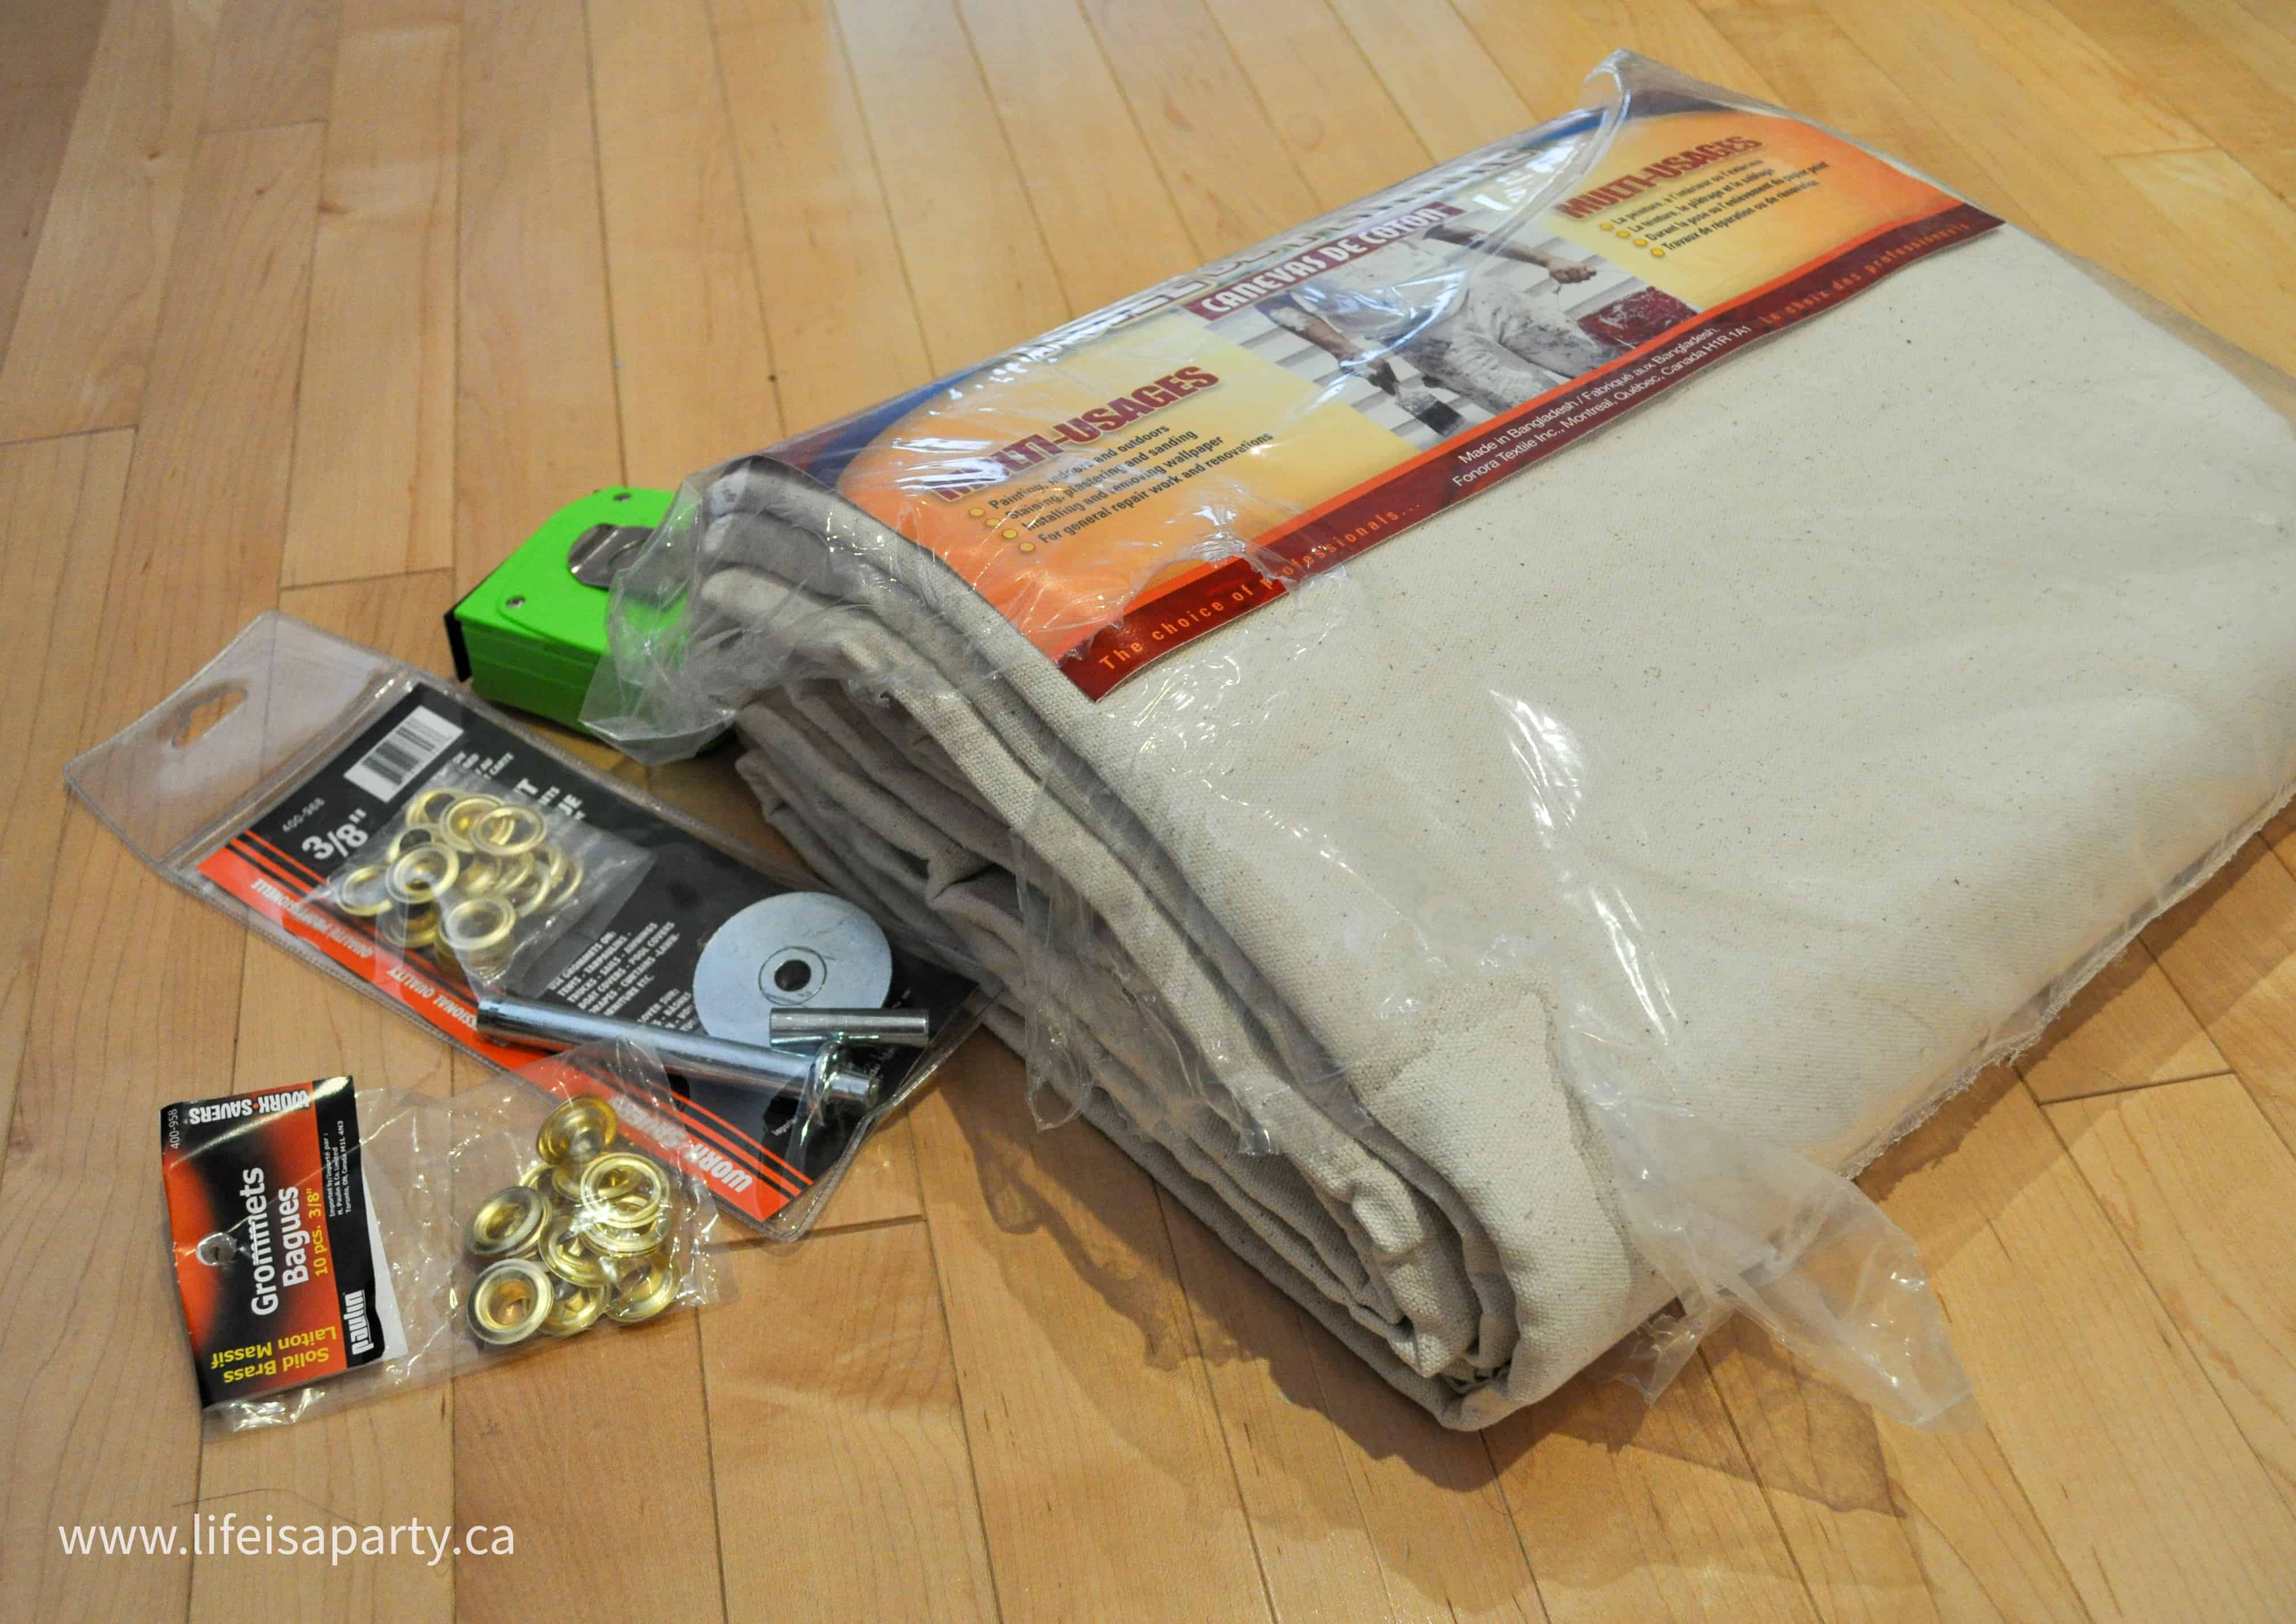
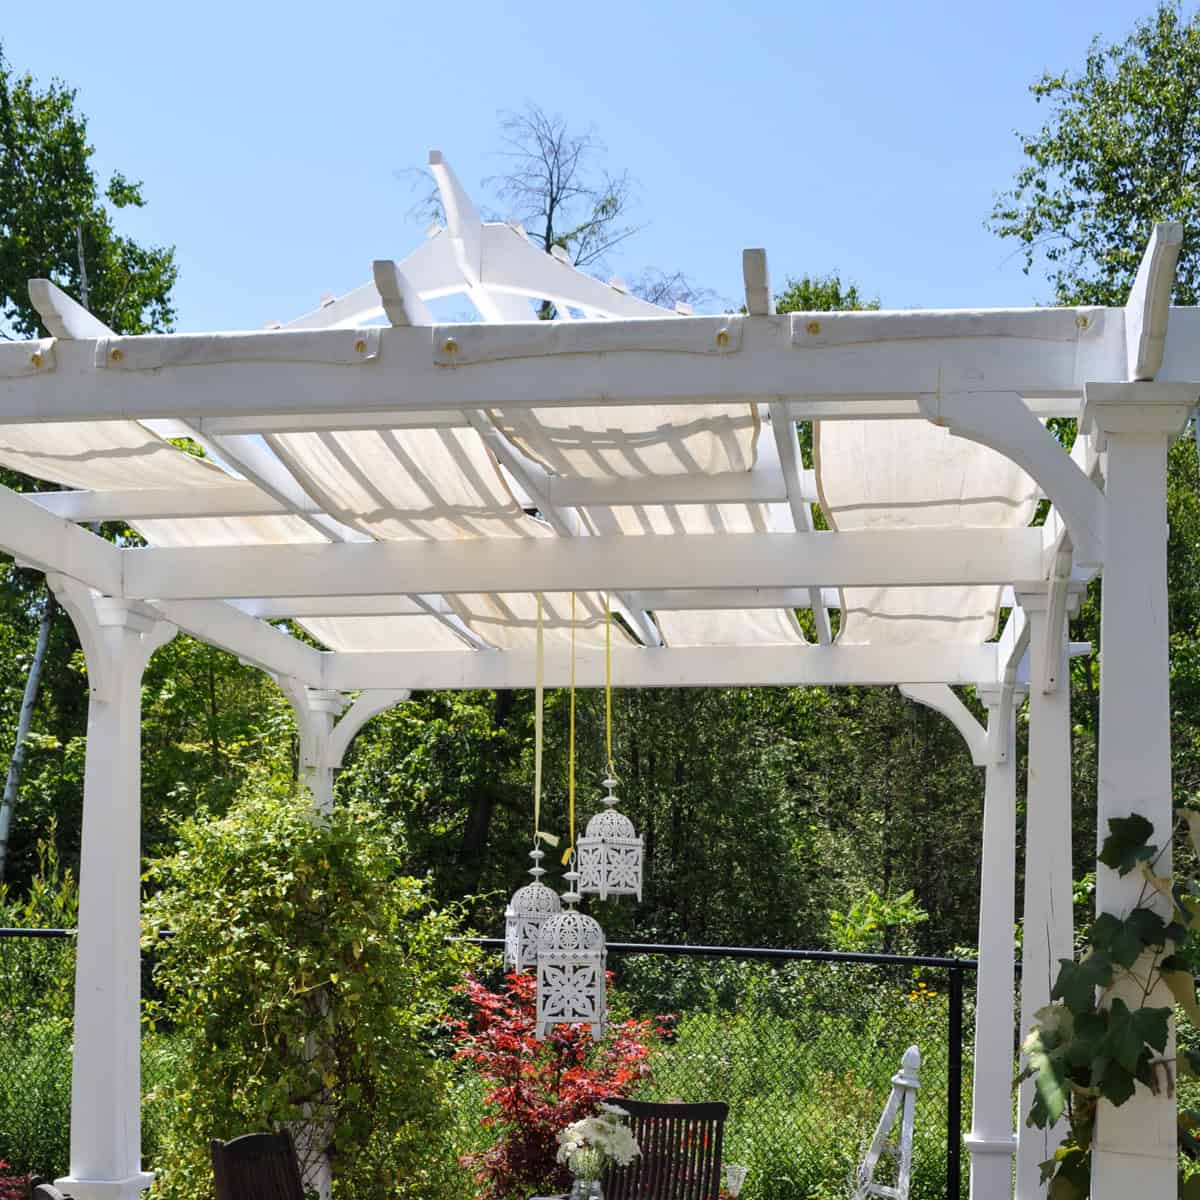
What we decided to go with instead was regular inexpensive drop cloth material. This was really a great option. We bought large heavy duty fabric painter's drop cloths at the hardware store. These are made of a heavy and thick hard wearing cotton material. The fabric is easy to work with, and has actually held up very well for the price. This fabric is thick enough to easily block the light. Because it's fabric, when it rains it does get wet, but it dries out quickly in the sun afterward. With gusty winds, the fabric allows the wind to blow right thru it. I also liked the natural color of the fabric and that there was no pattern on the fabric, that might take away from the space, or draw too much attention to itself.
I did have some concerns about using this inexpensive solution. We were worried about how the fabric would hold up to the sun, to heavy rain, and how it would look. One way we tried to address any problems with staining was to make sure that the fabric panels were installed in a way that made them removable so that we could wash them in the washing machine if and when we need to. This also made them easy to remove and store during the winter months and reinstall in the spring.
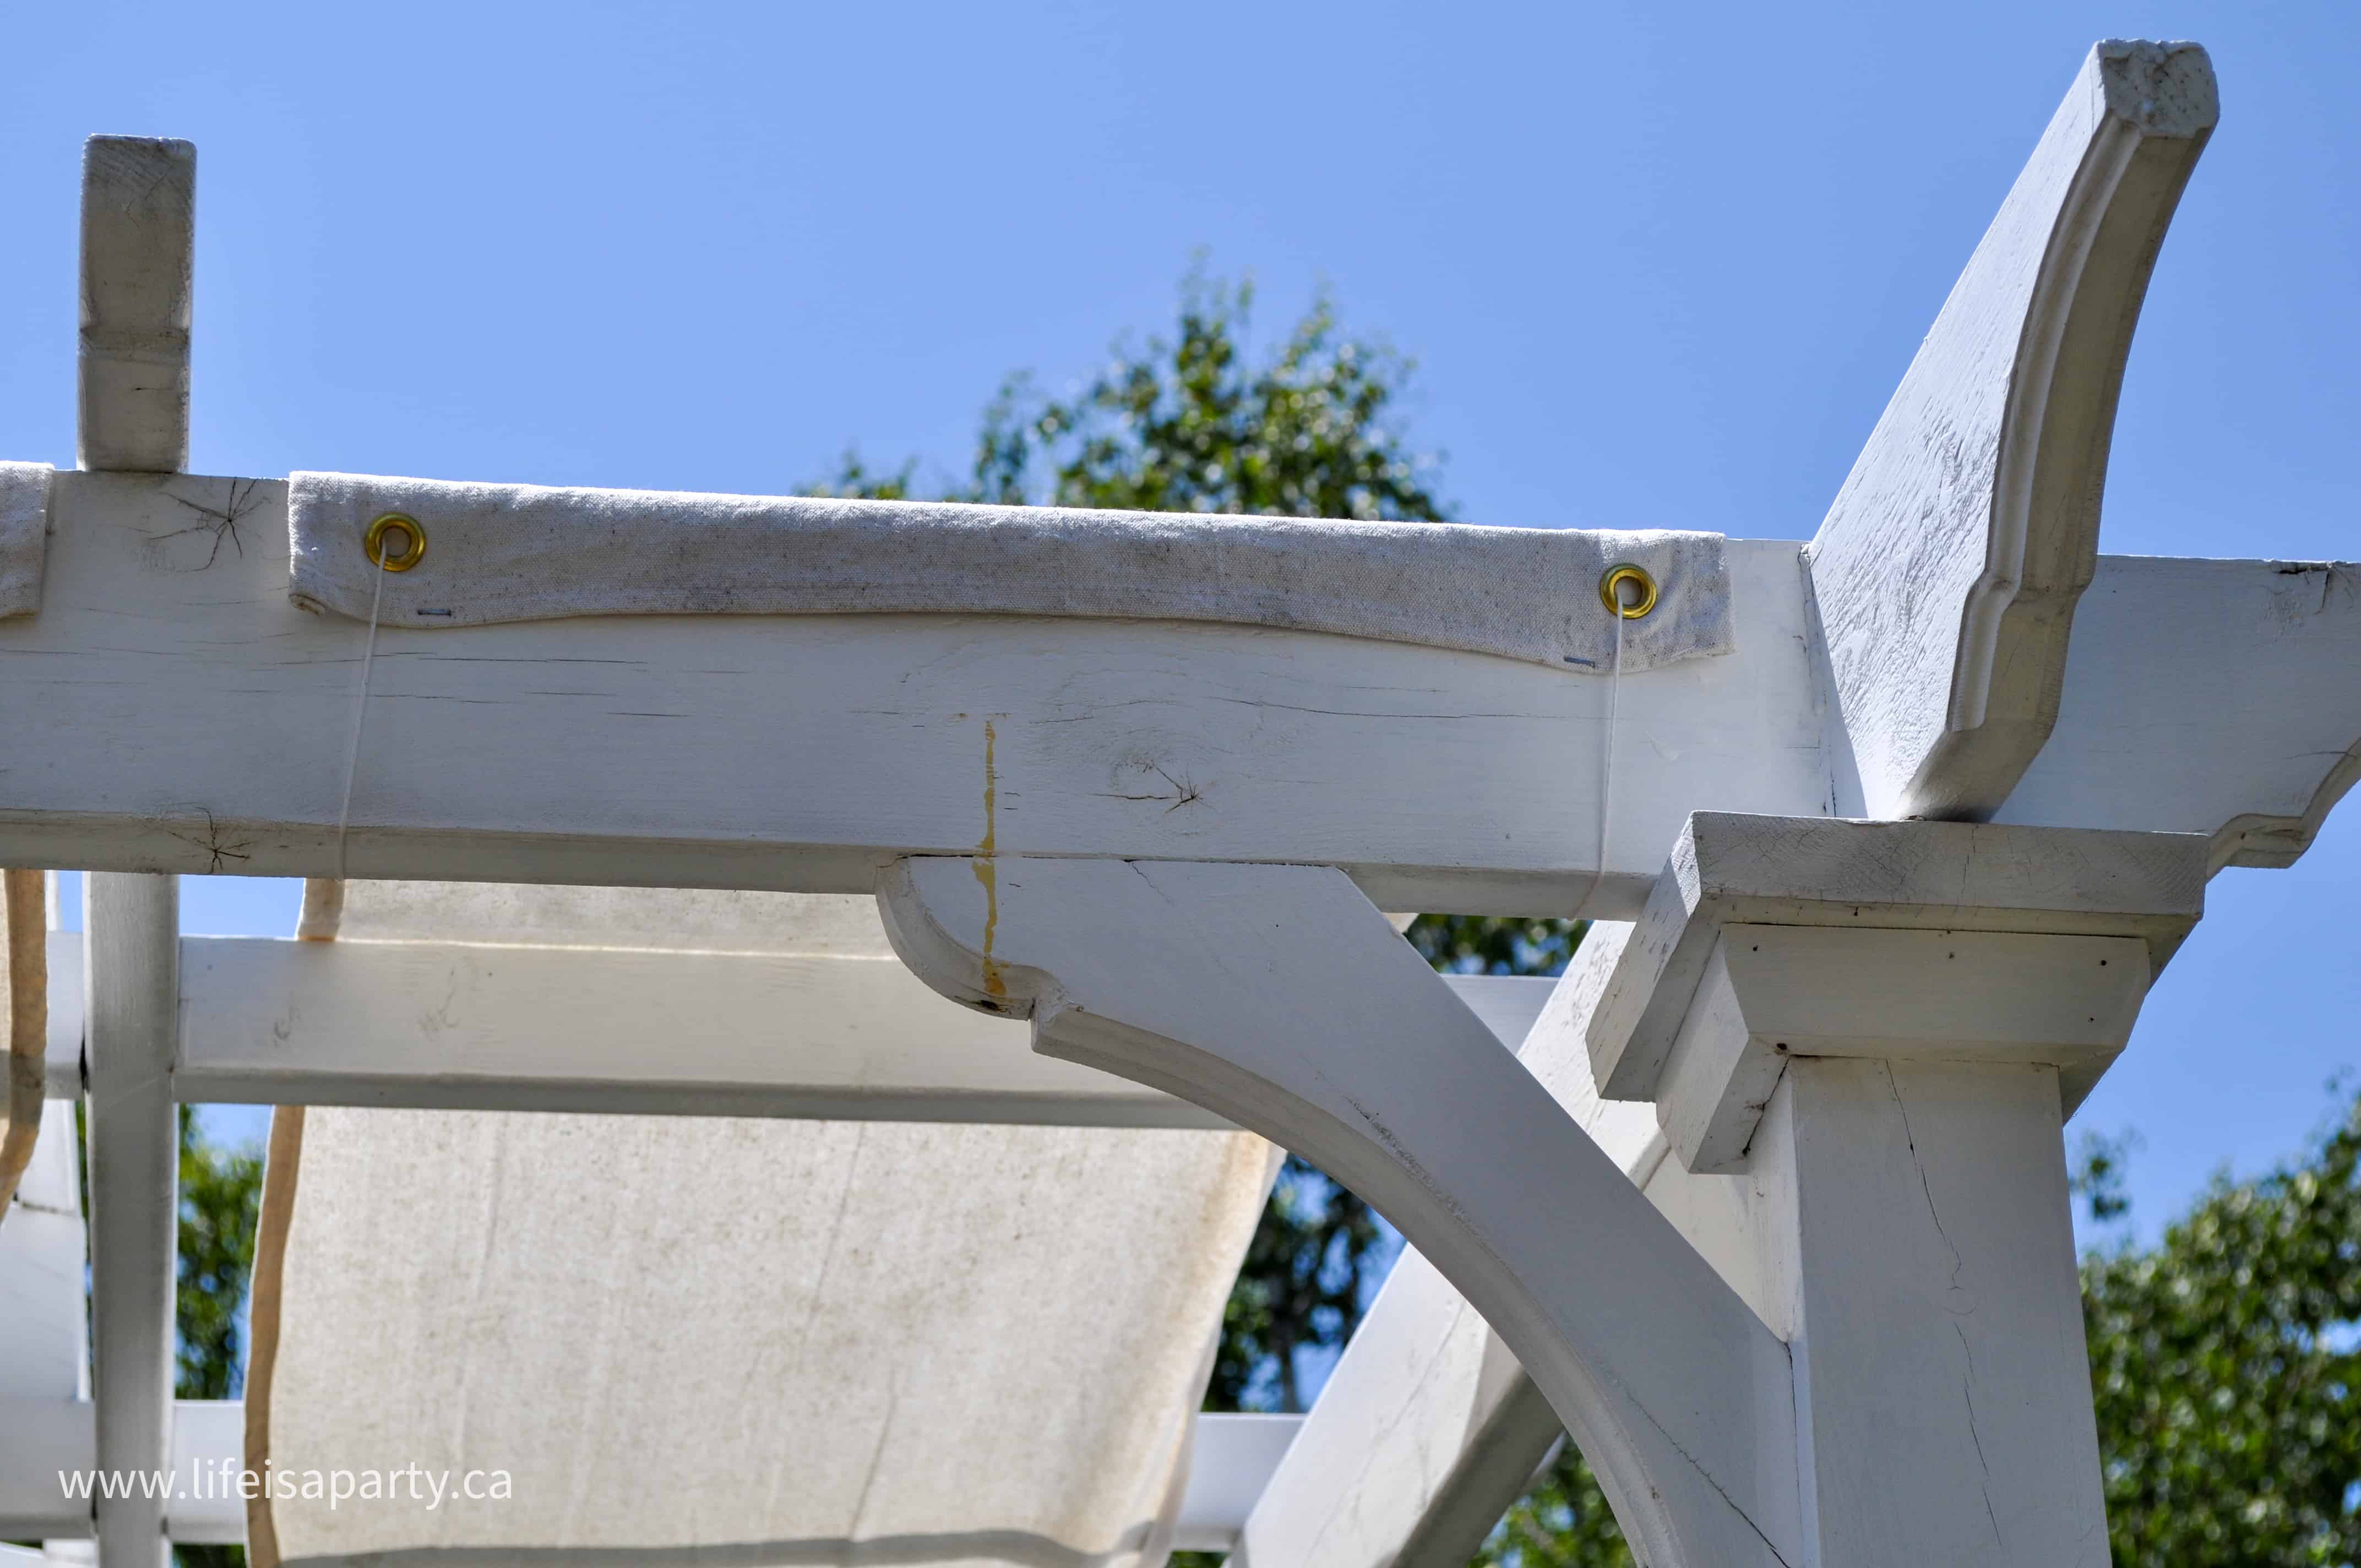
Brass Grommets
I thought it would be a beautiful and useful detail to add grommets to the corners of the fabric strips so that we could tie them onto the pergola. Grommets were a perfect solution. They make the project look a little more professional, and work great in a practical way. The grommets reinforce the holes in the ends, giving them strength so they don't rip the fabric if there's high winds. They're easy to instal in the fabric also. You can buy an inexpensive grommet kit at the hardware store that contains the grommets as well as the special tool to instal them. In addition to the kit all you need is a hammer and scissors to instal them.
Brass is also the perfect metal for this outdoor job, because it doesn't rust. They are also very strong and won't easily break. Without rust forming it won't stain the fabric. The brass will develop a pretty patina over time.
It turned out really great, and best of all, it's not so burning hot out there anymore.
Pergola Shade Cover Cost Breakdown
These prices are all in Canadian dollars. If you're in the US, it would probably be a bit cheaper. At the time of writing this $77 Can is equal to $57 US dollars. These prices also include sales tax.
- 8 x 12 heavy duty cloth drop cloth from Home Depot -$44 with tax
- brass grommets kit from Home Depot -$19 with tax
- cable ties from Home Depot -$14 with tax
Total: $77
I already had the thread to sew with, and a sewing machine. I also already had the staples we used to install it. There were some grommets and zip ties left over after this project.

Pergola Shade Cover Maintenance
Because we live near Toronto, Canada and have harsh winters with lots of snow, we take these down every year in the fall. We wash them in the washing machine with hot water and bleach. Some years we've done a double wash, putting them through the washing machine twice, and then dry them in the dryer. They're easy to store, folded up in our basement storage room. In the spring we re-install them for the season. Because it's a bit of an effort to take them down, we haven't washed them during the season. But if you choose to, you could wash them more frequently.
They have held up well to the rain and the sun. The fabric is still strong, and hasn't broken down at all after one full season. The fabric has become a little discoloured overall with some black marks, but overall it still looks fine. The discolouration isn't very noticeable at all while they're installed, it's just on close inspection that you notice them. There are no holes in the fabric at all. The gromets have held up perfectly and not ripped out at all. To remove them just snip off the zipties and use a flat screw driver to pop out any staples you may have added for stability.
Pergola Shade Cover Update:
I made this cover 5+ years ago and it's held up really well. I get asked sometimes about if it would be better to use a special weather proof fabric, and if this has held up. It does have a few stains and black marks on it. Every year we put it up in the spring and then take it down in the fall and wash it with bleach at the end of the season. The fabric has help up really well. It hasn't broken down from the sun or rain or wind. It still has no holes in it anywhere. The grommets are still all attached and in good condition. None of them have ripped out or torn the fabric.
For the low cost, I'd say it was well worth it and highly recommend.
We're still trying to get those vines to grow. ;). As the vine have grown we have been able to remove just one or two panels of the cover where the vine is grown out. This was an added bonus we hadn't thought of when we made the design, but just worked out really well.
DIY Pergola Shade Cover
Equipment
- Hammer
- Sewing Machine
- scissors
Materials
- Drop Cloths
- Thread
- Brass Grommet Kit
- Zip Ties
Instructions
- I started out with a good old home depot drop sheet (blogger's linen). I pre washed and dried the covers in the washing machine and dryer. The spaces in the pergolas top pieces were measured and I used the measurement to cut the fabric in strips, adding on a seam allowance. For the size of the strips, we were guided by the pergola and the arrangement of the top wood pieces. For our pergola we fit 4 equal size pieces width wise. You want the length to be fairly taught when the panels are installed so that the fabric isn't dropping too much. If it's taught it won't have room to twist in the wind either, and should lay nice and flat and tight. I stitched up the hem all four of the sides on the sewing machine to create the fabric strips.
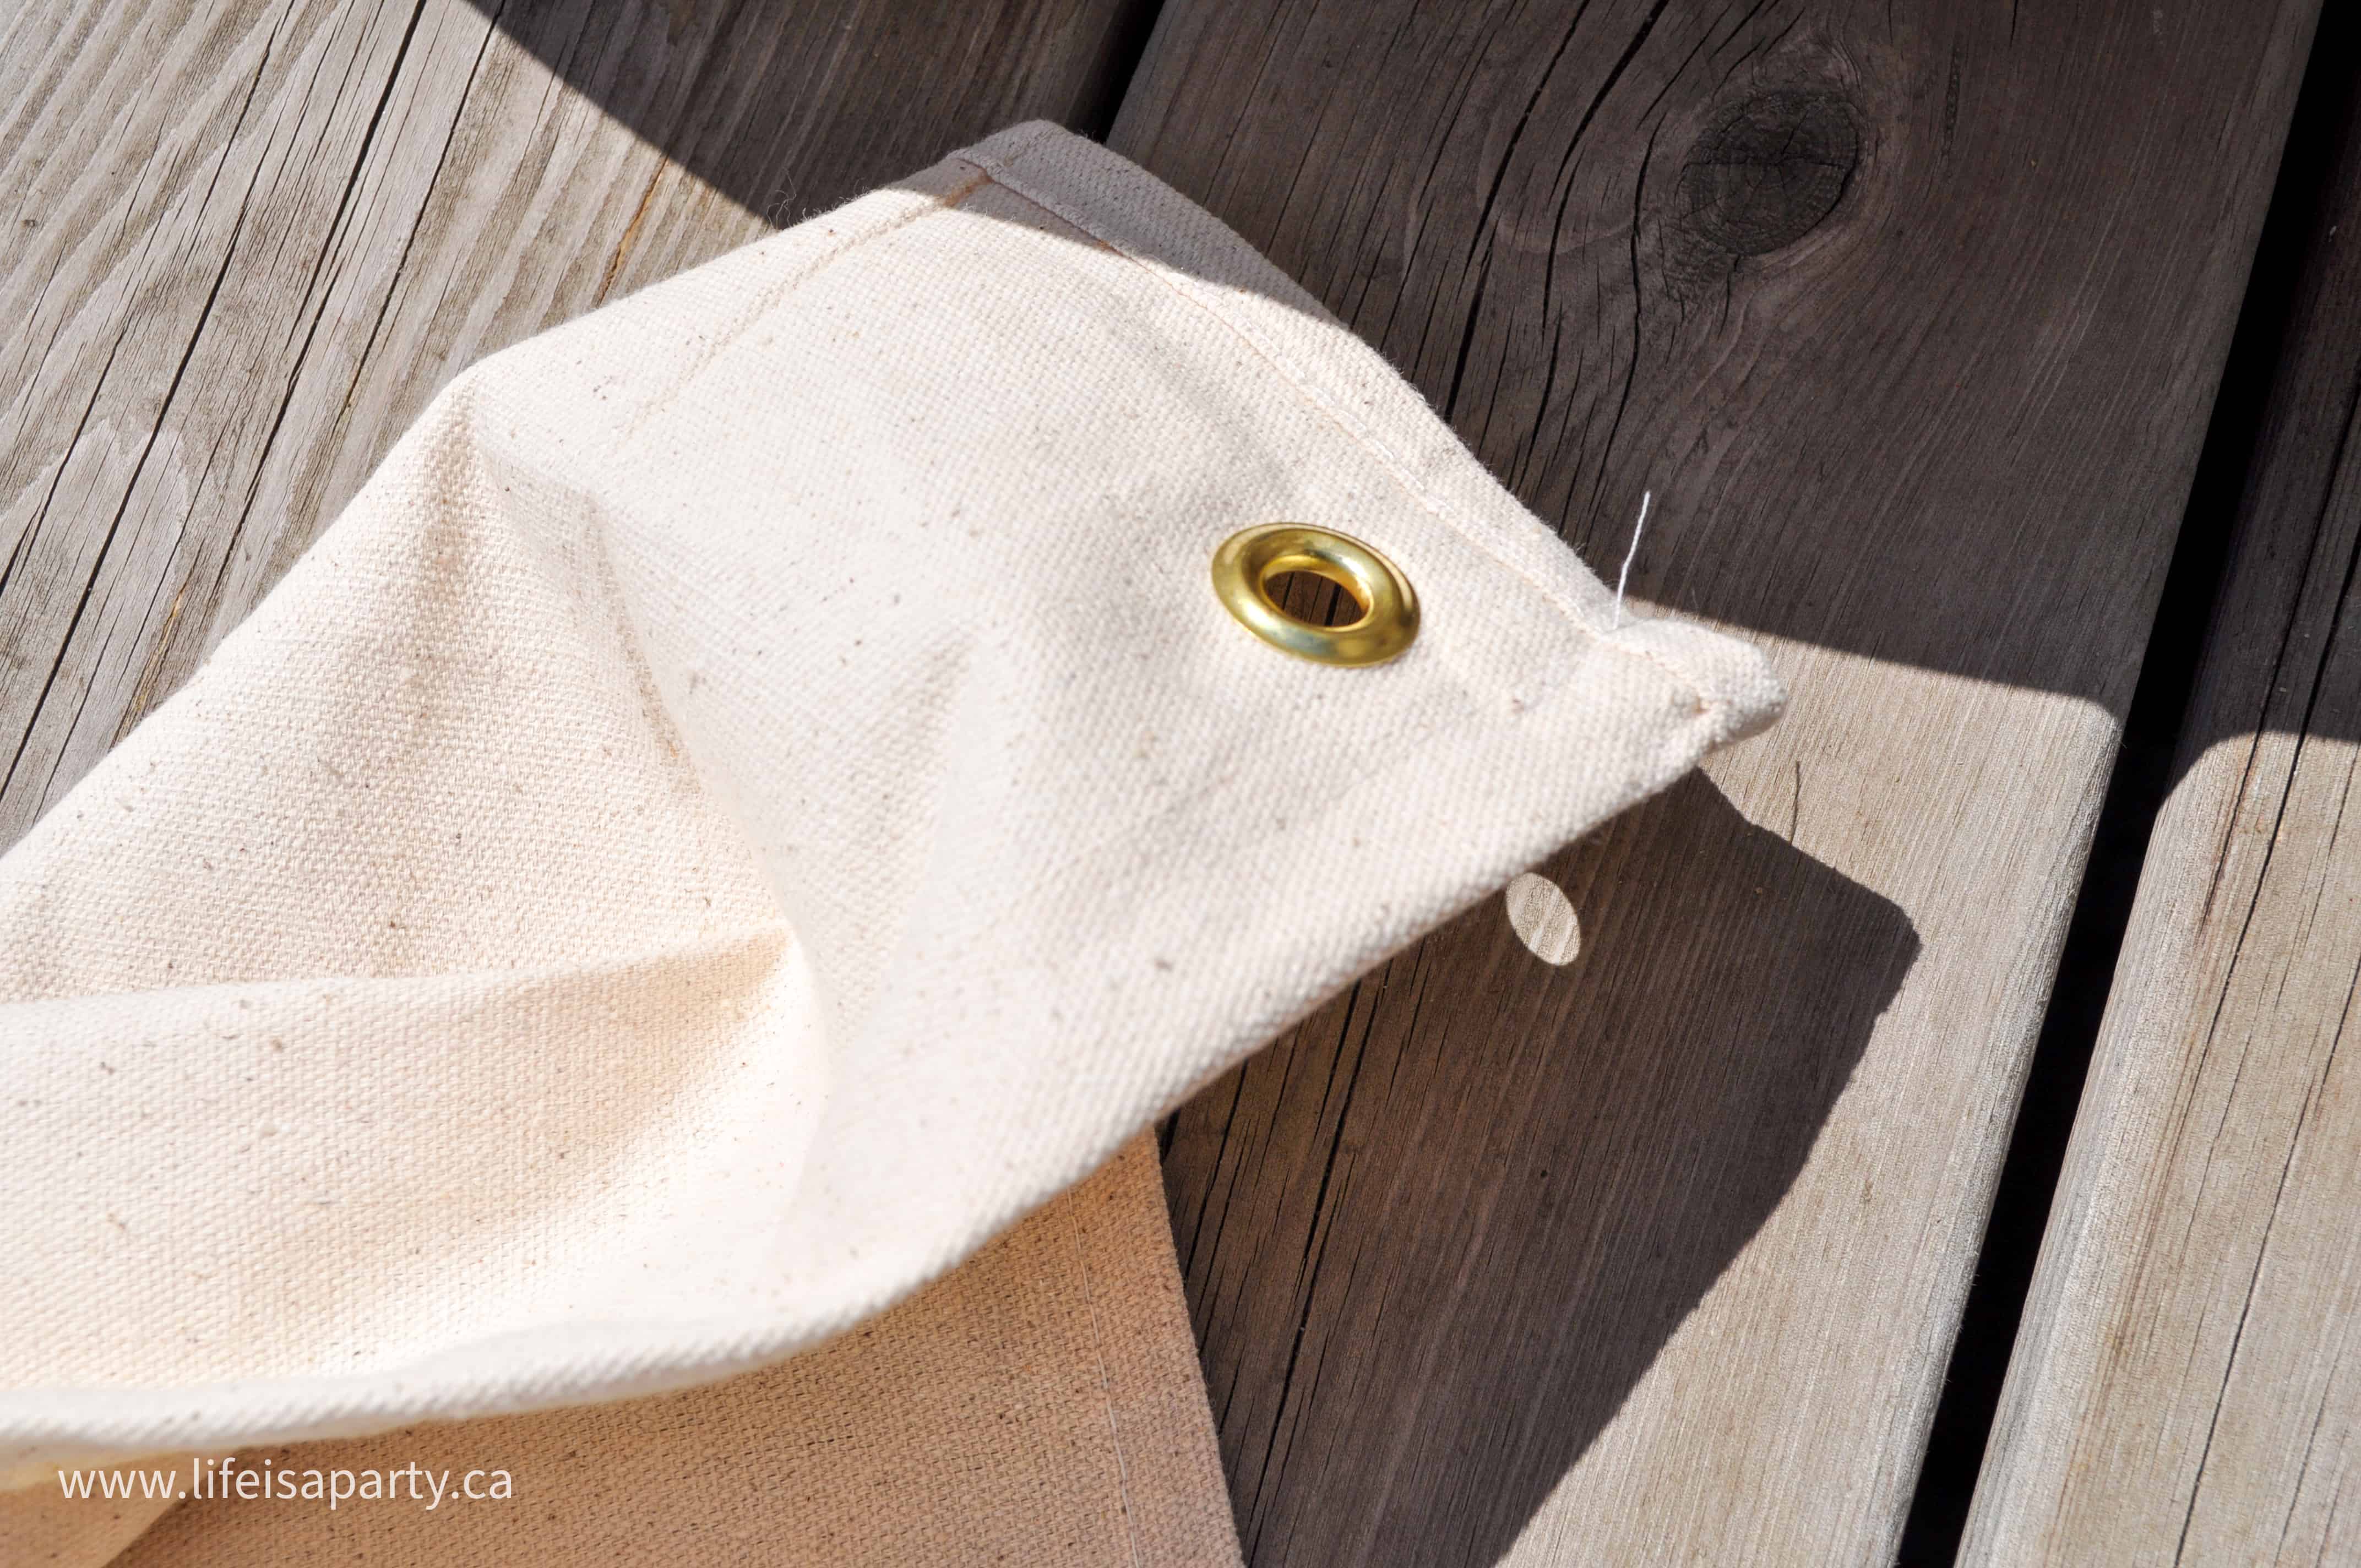
- Then I added grommets to the four corners of each strip of fabric. The very helpful man at Home Depot said they wouldn't rust, since they're brass. I just followed the instructions on the package, and they turned out looking great.
Update: The Home Depot guys was completely right, 5 years later and the brass didn't rust one bit. - Next we wove the fabric strips through the top of the pergola, and tied them on the ends with small clean zip-ties. Lastly we added a few small staples for stability. When you're installing them weave one over and under in a pattern, and then weave the next under and over for a pretty effect.
With a DIY pergola shade cover, life really is a party.
More Inspiration
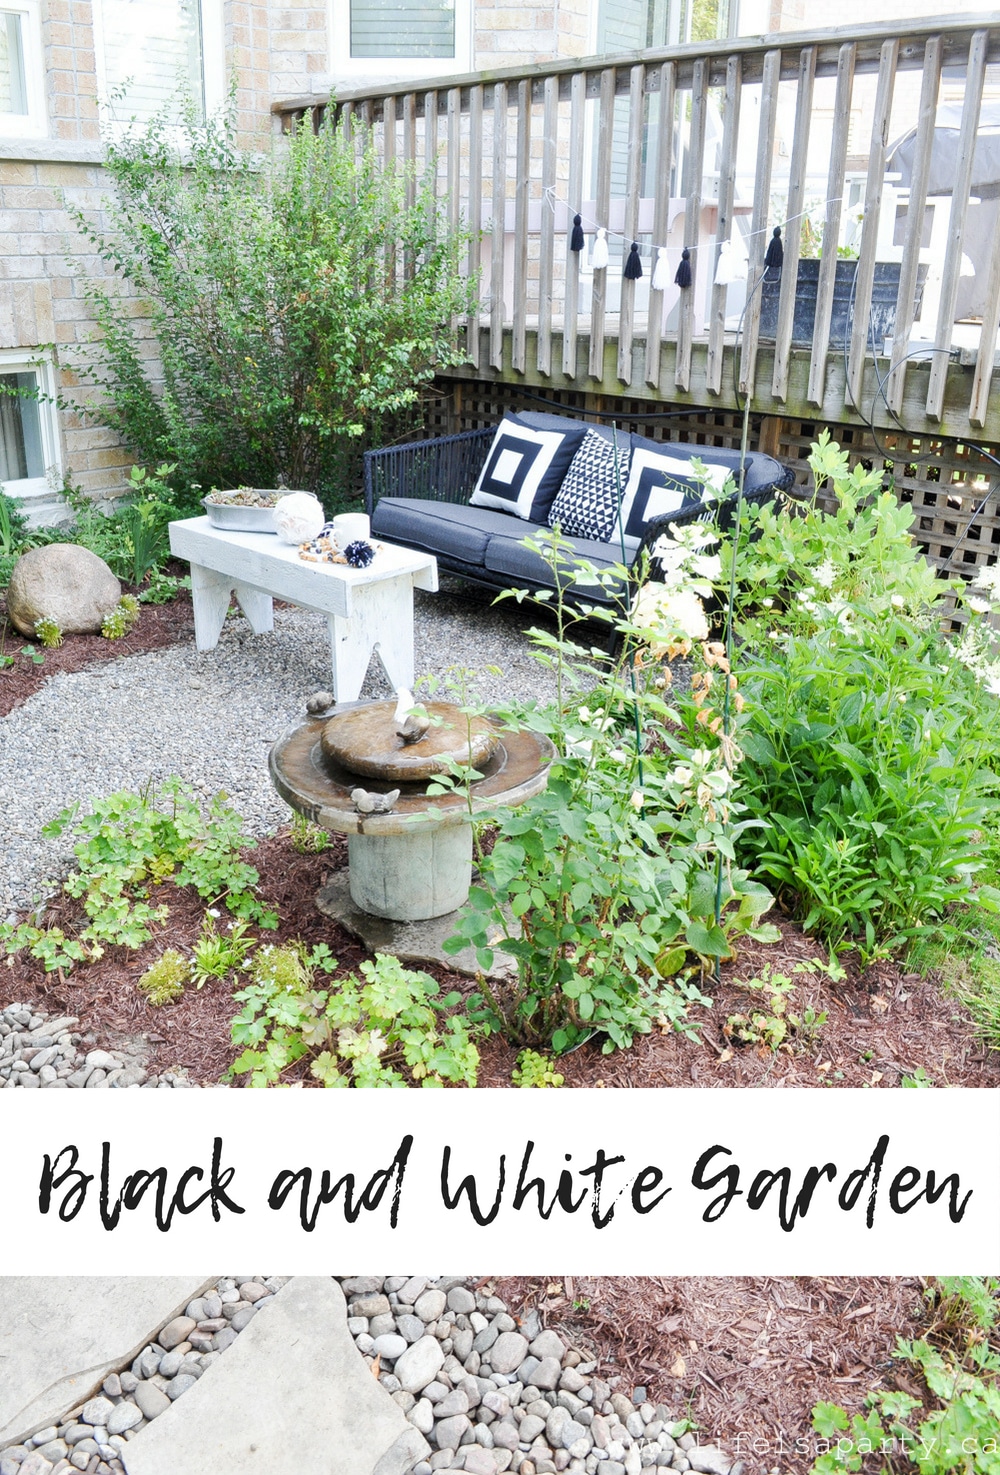
You might also like to see our Black and White Garden here.
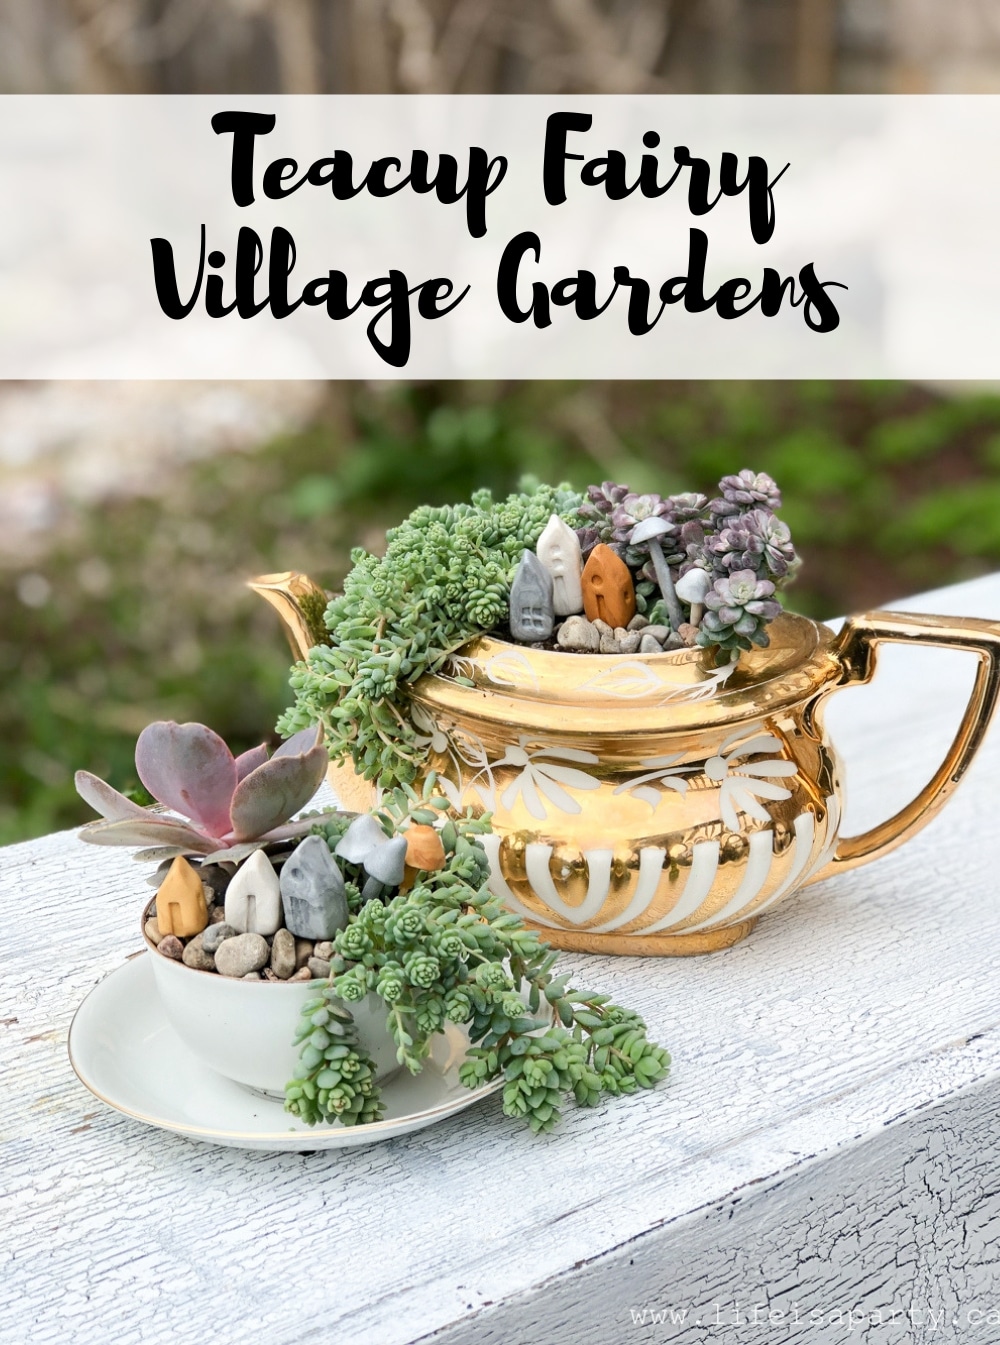
And also check out Teacup Fairy Village Gardens here.
You might also enjoy our Portager Garden here.


Dannyelle Nicolle-Ramjist says
Hi Gina, I would place the grommets right in the corners, with enough fabric around them so they don't rip, but close enough to the edge so that they're easy to tie. Hope that helps, good luck with your pergola shade covers!
Dannyelle
Gina Santamaria says
Hi, Danyelle! What a great project! This is just what I was looking for. Wow, all these years later, your project is still popping up - that says a lot! Anyway, was wondering how far from the edges you recommend placing the grommet. After the fact, would you say you put them in the perfect spot of the corner? Thanks!
dnr says
Hi Carole, yes I did wash the fabric first, always a good idea with cotton.
Thanks, Dannyelle
Carole says
Did you wash the painters dropcloth before sewing for shrinkage?
dnr says
Hi Betty,
If I were doing it again, I'd still use the drop cloths -considering the price and how well they've worn. They've held up really, really well. We leave them up all season, and then wash with bleach and store for the winter. The sun helps bleach them too. We just put them up yesterday -since we had to do a little maintenance on the pergola and re-paint this year, they still look great.
Best of luck,
Dannyelle
Betty McCart says
Hi Dannyelle! So I'm seeing this post July 2016, about 4 years after your original post. I am wondering how this material is holding up. I see you have suggested using outdoor material, in your rplies, because of its durability. Based on the cost difference would you have gone the same route if you were doing this all over again or still use the same material?
I look forward to your experienced opinion for we are looking to put material up over the yard since we lost our shade tree and are finding it difficult to see where we can put another one. Thanks so much! Betty 🙂