DIY Paper Christmas Cloche Lantern with Free Cricut Pattern: use regular card stock and dollar store cloches to create a Christmas village.

Jump to:
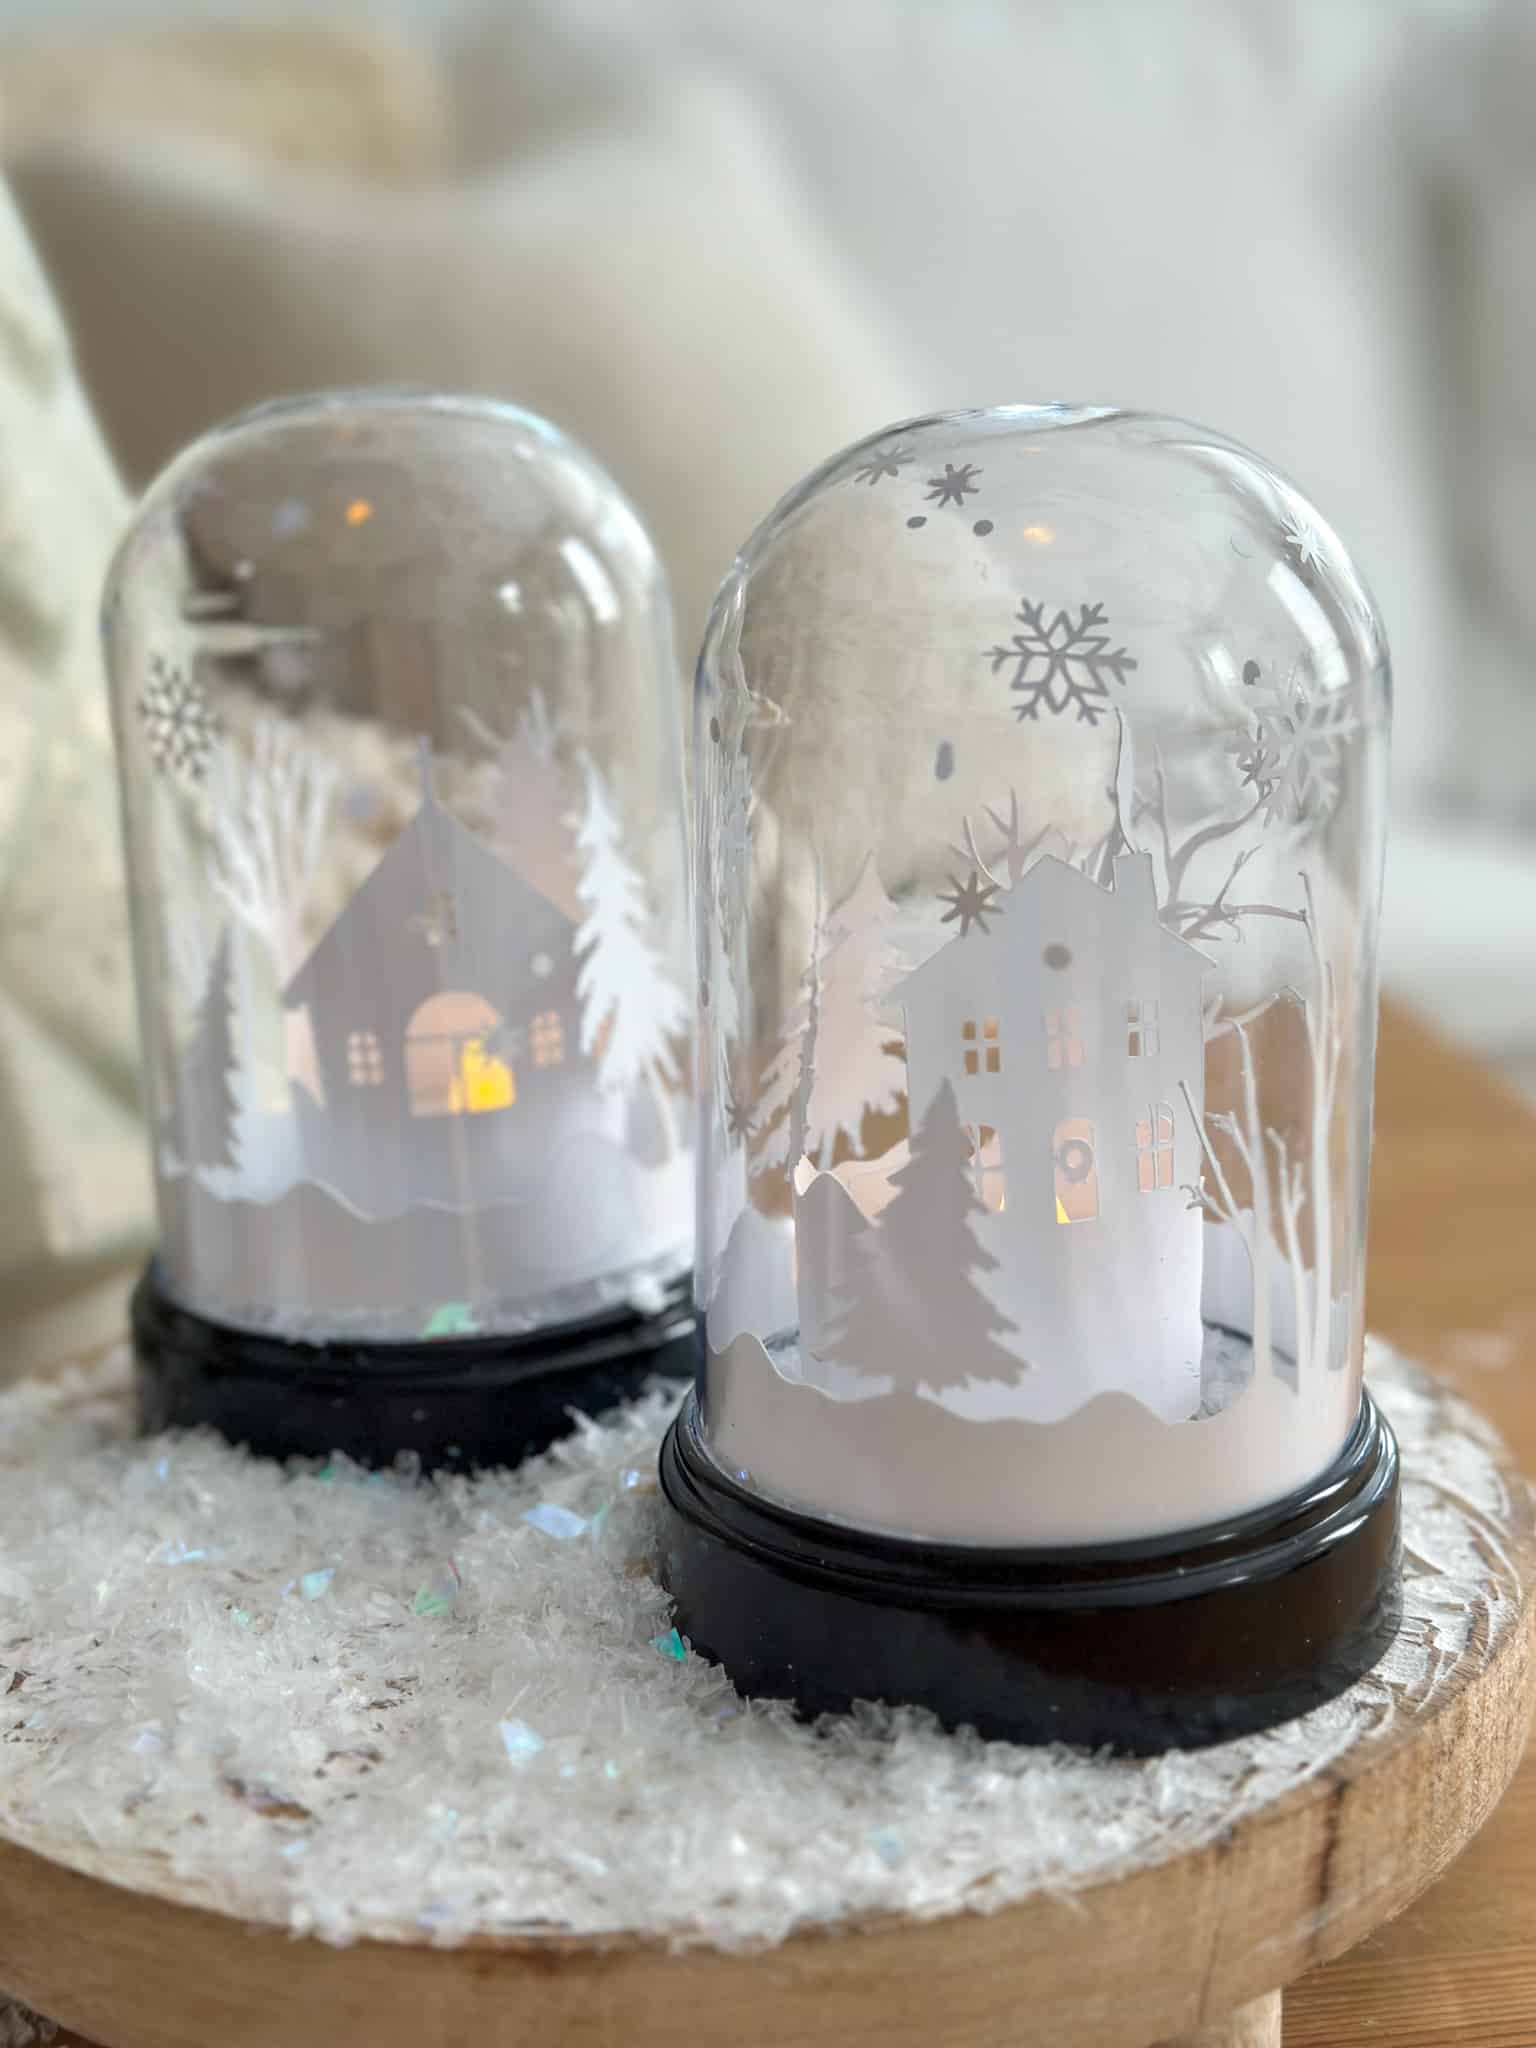
These DIY paper Christmas cloche lanterns are one of my favorite little Christmas crafts. They were really inexpensive to make, since most of the supplies came from the dollar store, but they're so beautiful that no one would ever know. 😉 Use them as Christmas decorations for the holidays, or all winter long, They'd also make beautiful handmade gifts.
Cloches
I was inspired to make the DIY Christmas cloche with some very inexpensive plastic cloches I saw at dollar tree. These are such great value and a very low price. You could of course, use glass cloches instead if you prefer. Just resize the cut file to fit your glass dome. I wouldn't make these any smaller than they are now. I think this size works, but any smaller and your Cricut machine may have trouble with the tiny details. If you can't find the dollar tree cloches, another great way to make them is to look for cloches at the craft store, or Ikea, or even the thrift store. Just resize the file to fit your cloche.
We used the black plastic base of the cloche, the black adds a little weight visually and grounds the scene, but you could paint it out white with some craft paint if you prefer. You could also use a small round wood slice as the base instead, which would be really beautiful, especially if you're going for a rustic or woodland look for your holiday decor.
Regular White Cardstock
I designed this project to use regular 8.5 x 11 cardstock. Using basic materials that you might already have on hand helps keep the costs down for this little project and looks amazing. You could experiment with different scrapbook paper if you wanted to. Something with a bit of a luster would be beautiful too, and add a little more sparkle for the holiday season. I wouldn't cut out this project with glitter cardstock. The glitter cardstock is a bit more stiff and inflexible because of the glue used to hold the glitter. Because this project is so small, I would be difficult to curve glitter cardstock to make the round rings.
Materials Needed:
- cloche -Dollar Tree
- battery powered tea light candle
- white card stock
- PNG file -free to subscribers in our Free Resource Library
- faux snow
- white vinyl
- cutting mat
- Cricut

Subscribe For Free Cut Files
This file is free. Just subscribe below and you'll have access to our Free Resource Library. Subscribe, we'll send you the password for the library, then download the zip file.
Christmas Village
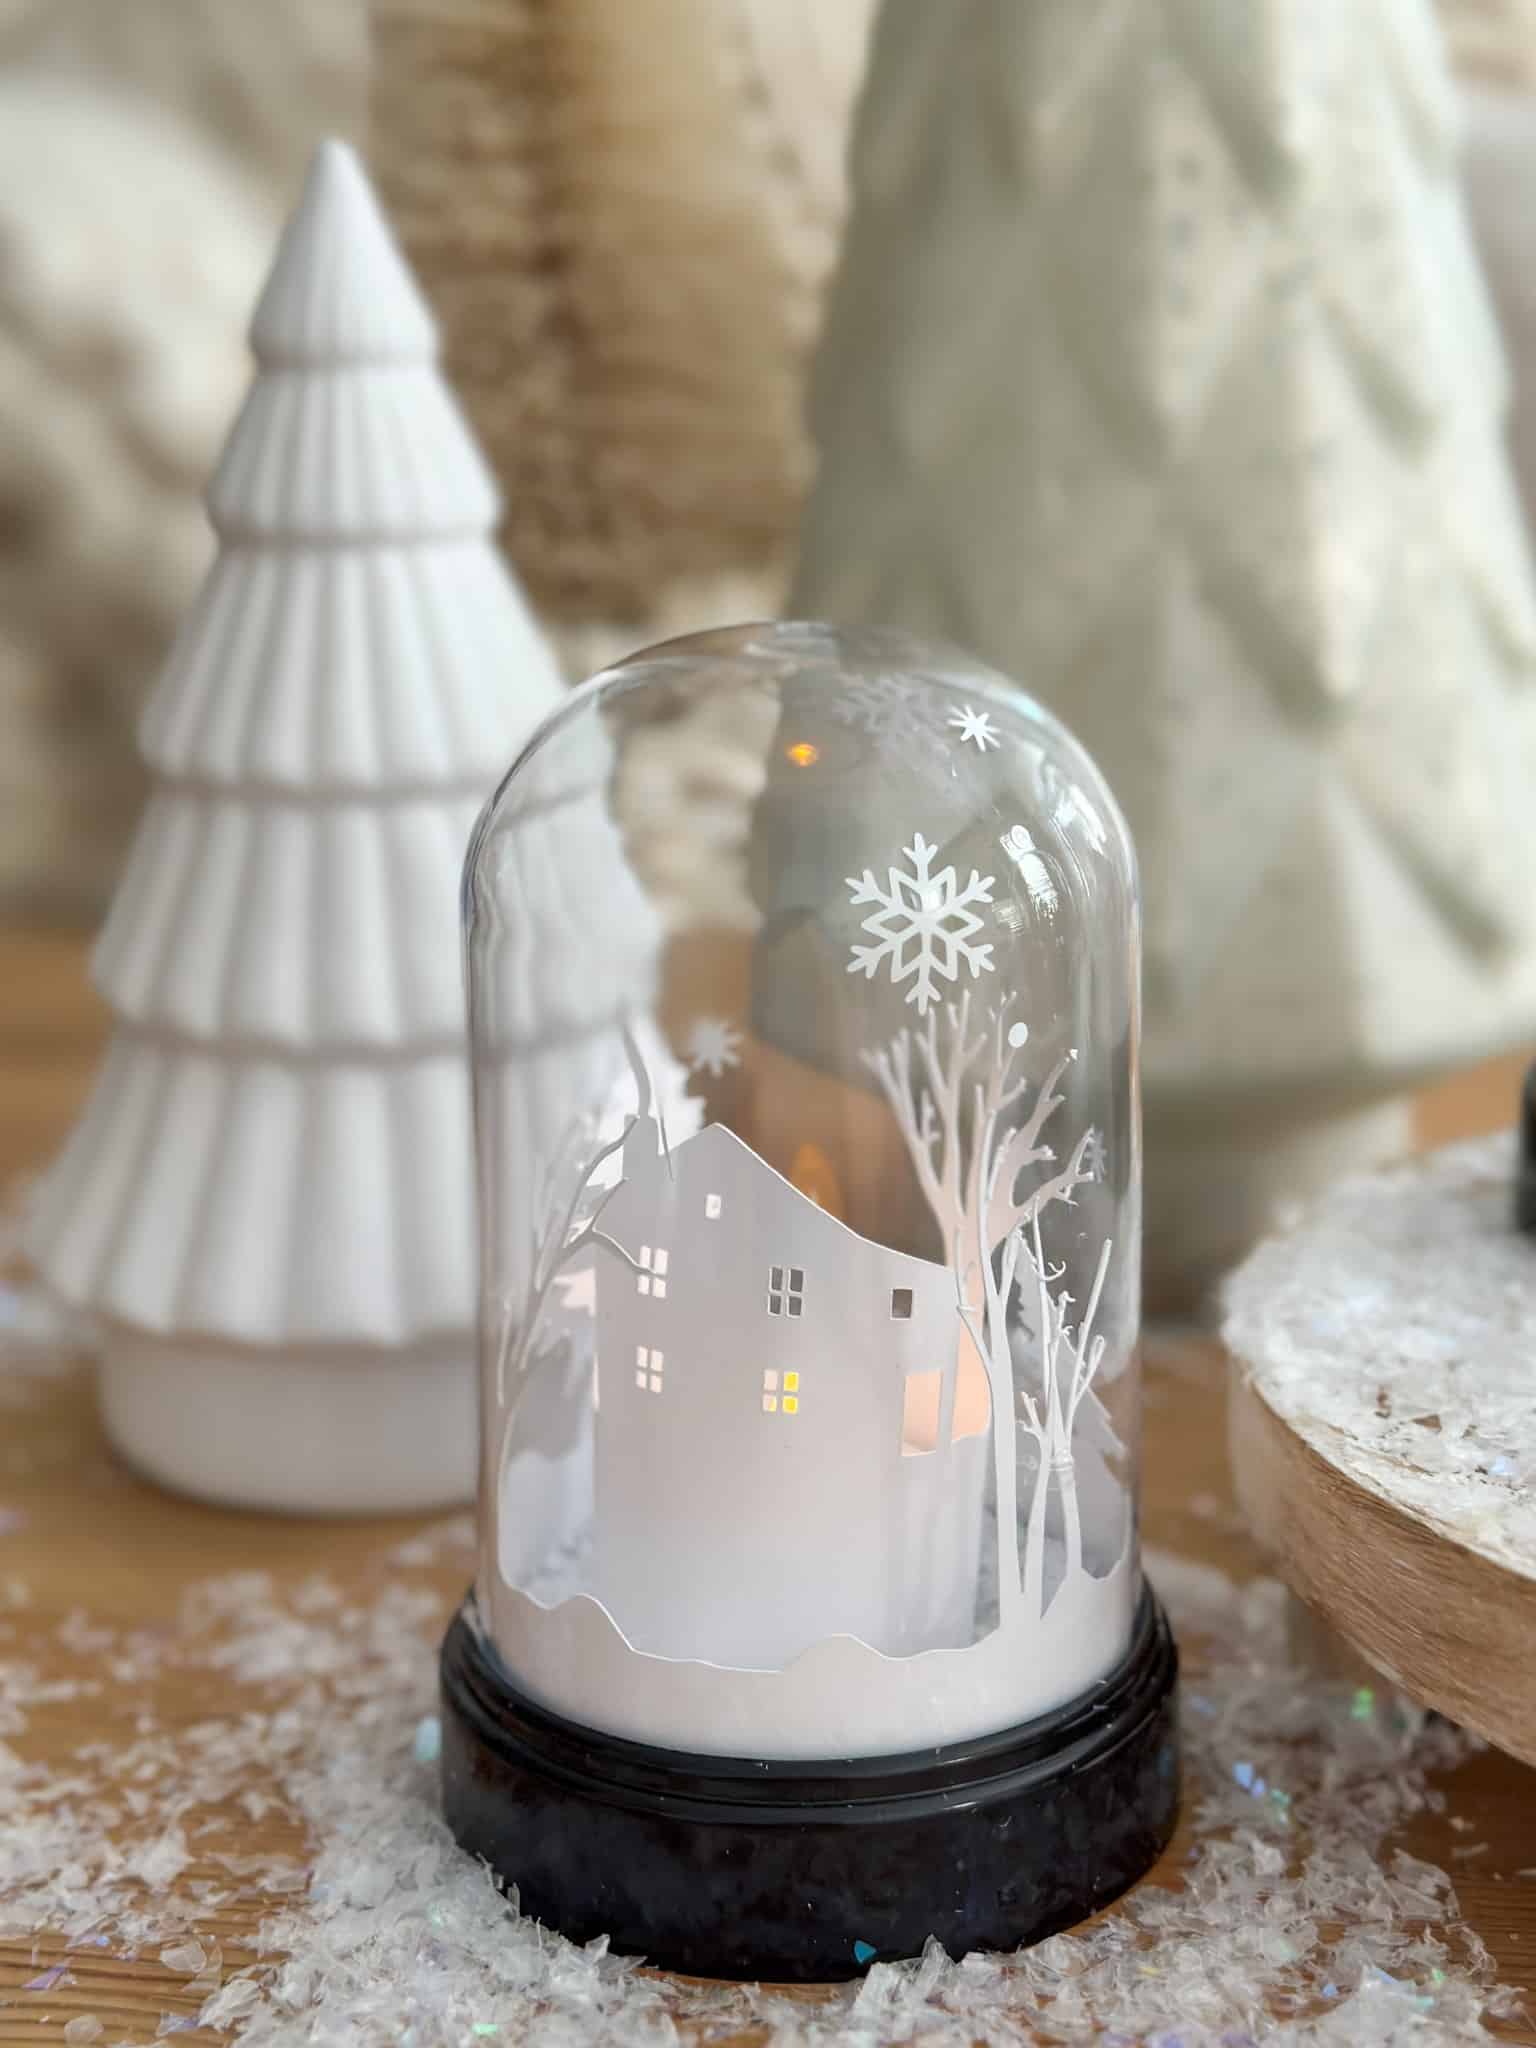
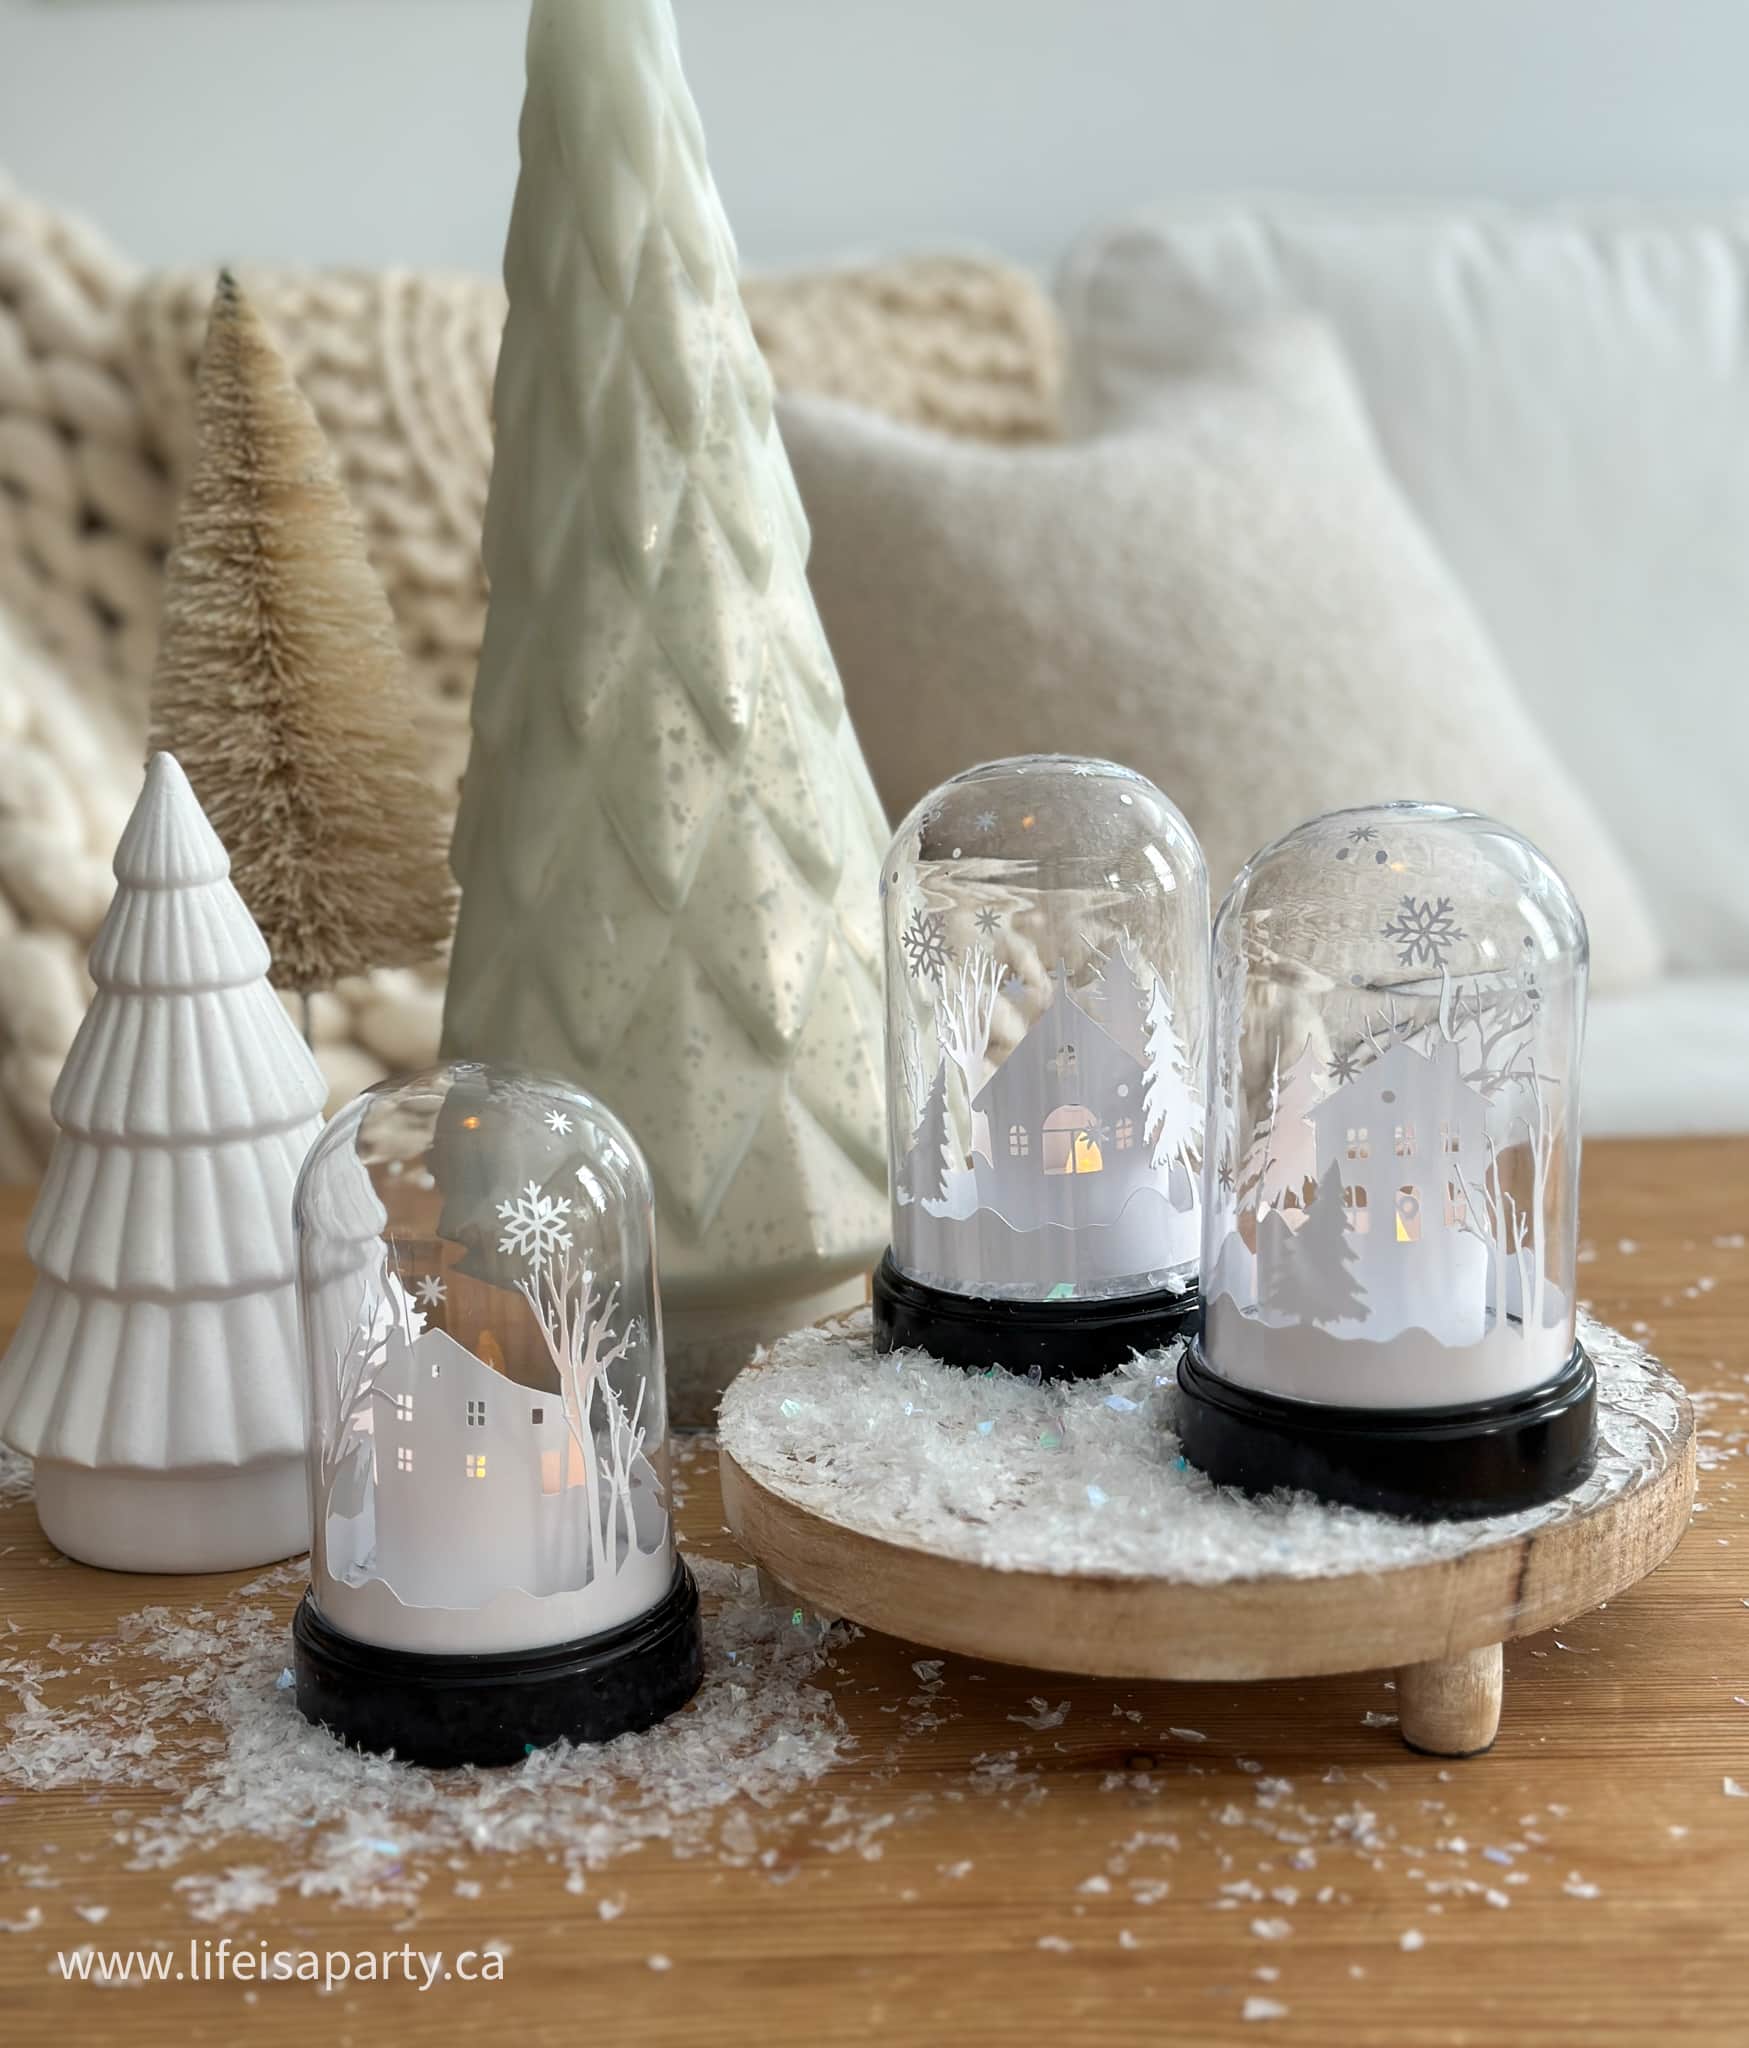
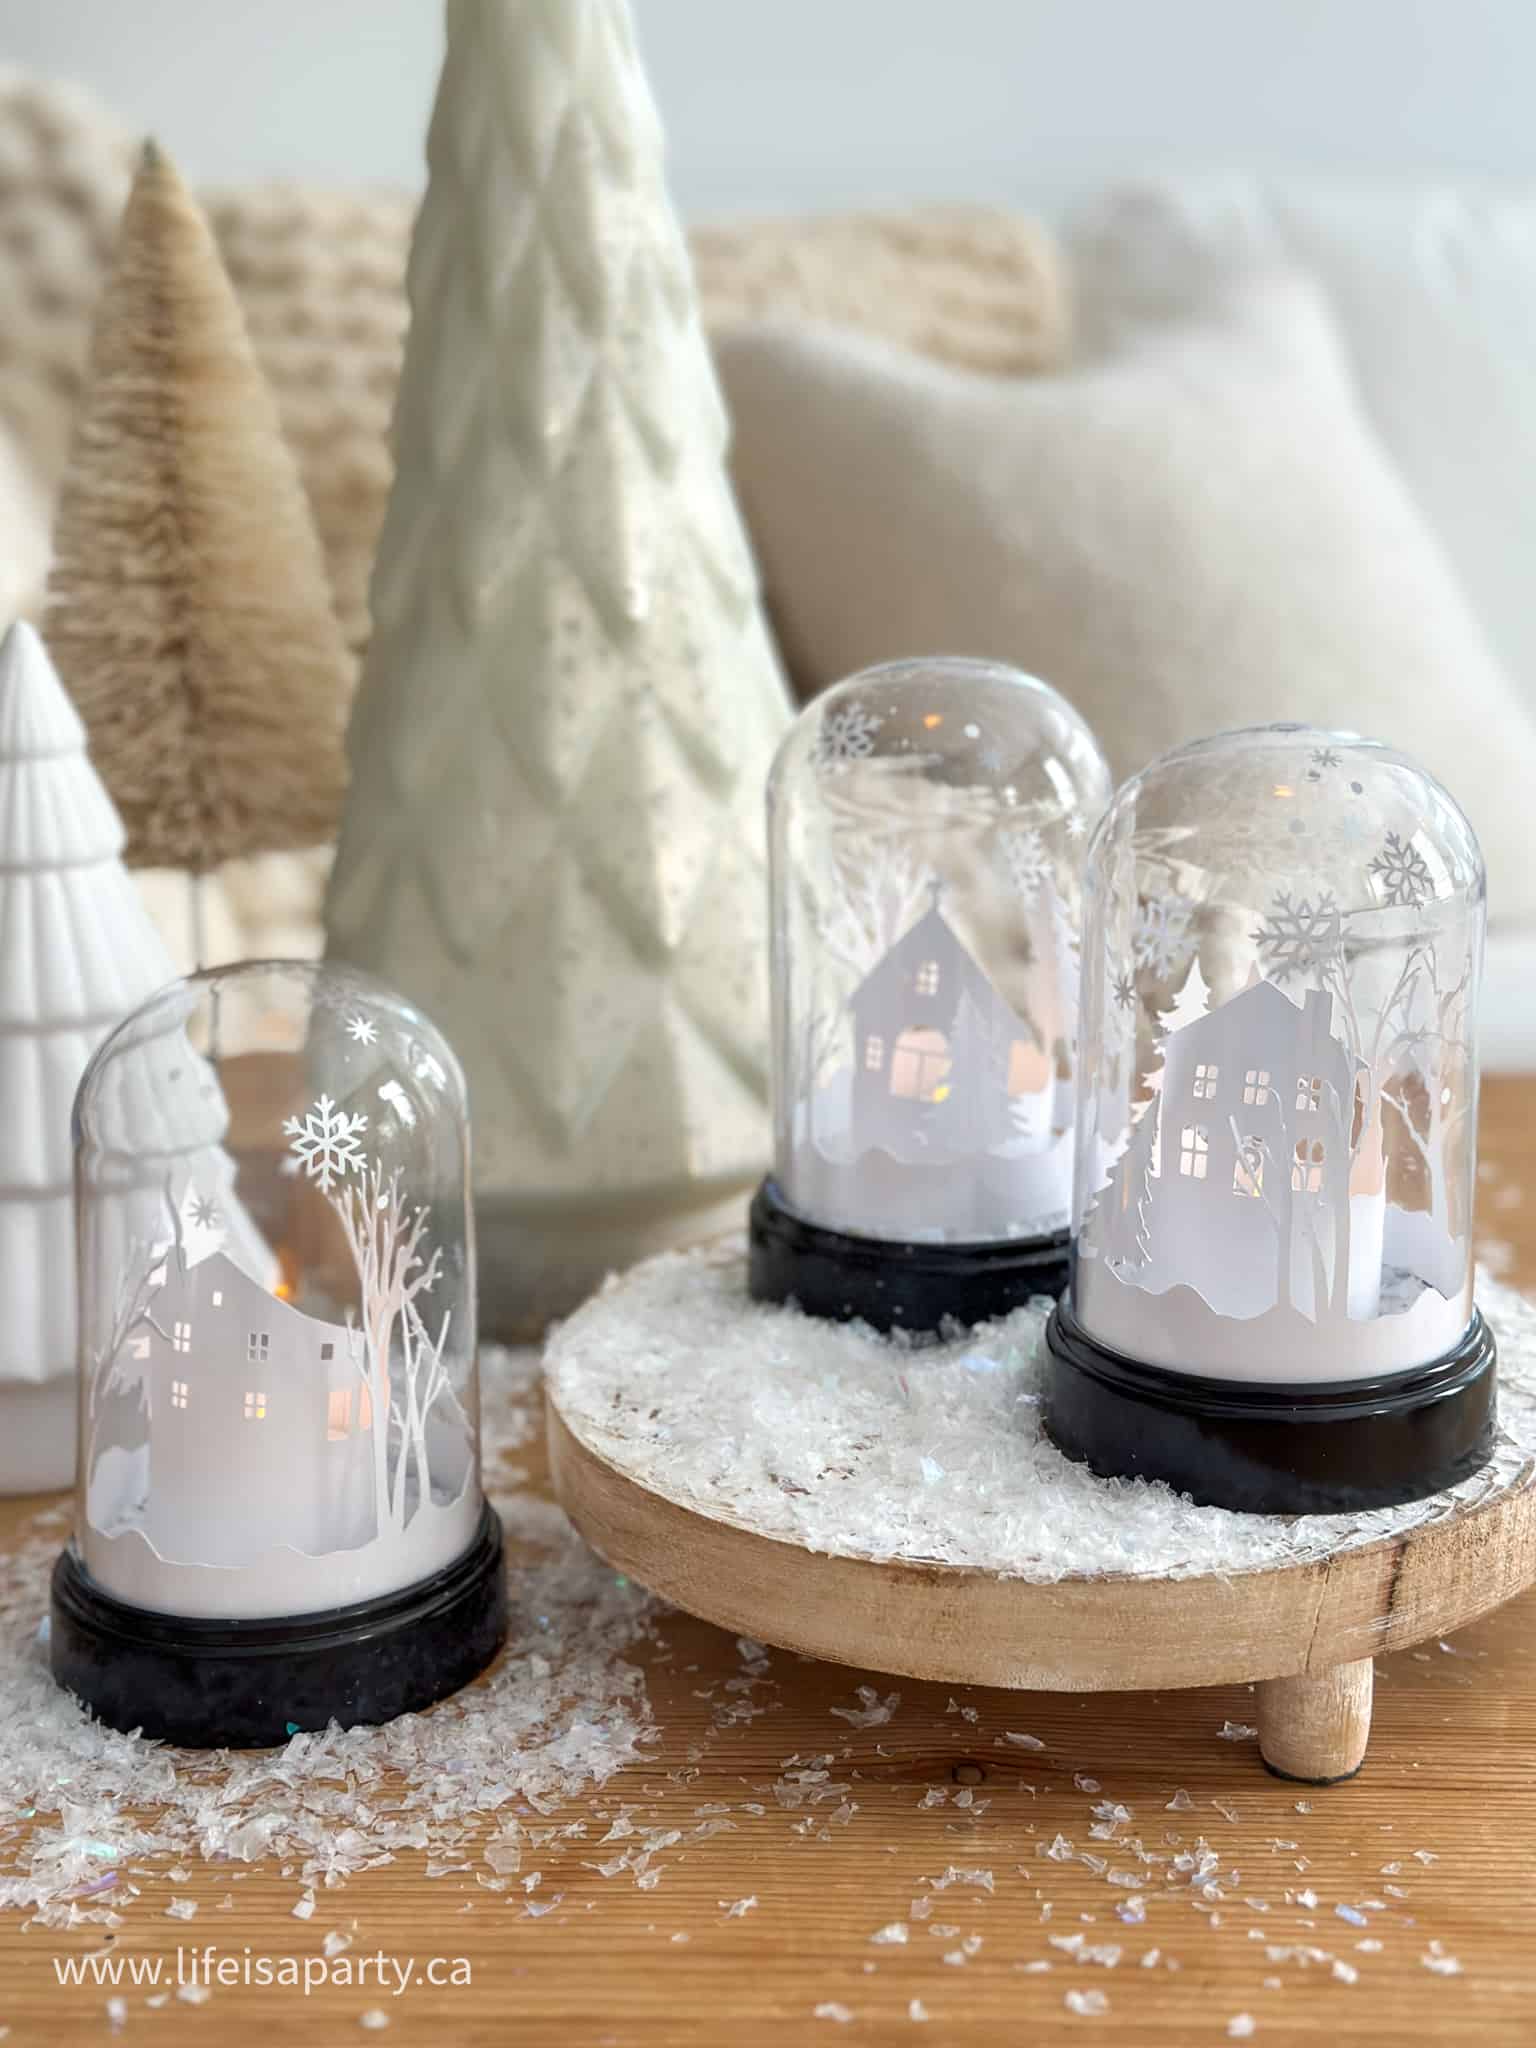
I've designed three different buildings. I thought it would be fun to have these in a variety of shapes, so you can make three different little cloches and set up a small village Christmas vignette. Add a Christmas tree or two, and some more artificial snow and you have the sweetest winter wonderland decor for the whole Christmas season. I used a combination of a glass Christmas tree, a flocked tree, and a white bottle brush tree. Keeping them all white and cream makes a really pretty winter scene. Another great decor idea is to use these as windowsill decorations. They're small size is perfect.
Faux Snow
I love covering the base in faux snow. I used a bit of faux snow from the dollar store. Also look for some sparkly iridescent snow. Another option for a little more sparkle is to just add a sprinkle of white glitter on top of your snow.
Equipment
- cutting mat
- Cricut
Materials
- cloche -Dollar Tree
- battery powered tea light candle
- white card stock
- PNG file -free to subscribers in our Free Resource Library
- faux snow
- white vinyl
Instructions
- Open a new canvas in Cricut Design Space.
- Click on Upload on the left hand side of the canvas. Click on Upload Image. Click on Browse and then then find the "PaperHouseClocheLantern-LifeisaParty.zip" file in your download files. In Design Space, click on the file, then click on the first image to upload, and click Open. Next select Complex as your image type. And press Continue in the bottom right. Now click on any areas of the image that you want to to remove, paying attention to the small cutouts in the house, and the snowflakes. Use the "+" to zoom in to see it better if you need to. When you're finished click Apply & Continue on the lower right. Next click on the Cut Image option, and then click on Upload in the lower right corner. Now click Upload Image again, and do the same for the other images. Once all the images are uploaded, select them by clicking on all three, and then click on Add To Canvas in the lower right.
- When you bring all three onto the canvas they will all be selected, so be sure to click somewhere else on your canvas to deselect them. Now let's scale them to fit the small cloche. Select the house image. At the top of the canvas look for the size menu. With the dimensions locked, change the width to 6.5 inches, and press enter.
- To adjust the trees size, select the image, and with the dimensions locked, change the width to 10 inches.
- .To adjust the snowflakes, select the image and with the dimensions locked, change the width to 1.8 inches.
- If you want to add lots of snowflakes to your cloche, select the snowflake image and click on Duplicate -it has a plus symbol, at the top of the layers menu, on the right side.
- Make sure the color of the house and trees match, so that they will cut on the same mat, and make sure the color of the snowflake image is something different, so that it will cut out on a different mat. Change the color at the top of the canvas on the left, beside the operation.
- Click on Make It on the top right of the canvas.
- Adjust your material size to 8.5 x 11 for the house and trees, or to whatever size cardstock you are using.
- Set your materials to cardstock for intricate cuts, for the house and trees image, and to vinyl for the snowflakes.
- Carefully remove your cardstock from the cutting mat and weed your vinyl snowflakes.
- To assemble the cloche, use a little bit of tape or glue dots to create a small ring with the house image, large enough for the tea light to fit inside. Fit the trees image inside the cloche lid, with a small piece of tape.
- Add fake snow to the cloche base and add the house and tea light, then place the cloche on top.
- Finally, add the vinyl snowflakes to the outside of the cloche.
YouTube Video
Prefer to see exactly how I did it rather than read the instructions. Check out this YouTube video to see how I made these DIY Paper Christmas Cloche Lanterns step-by-step.

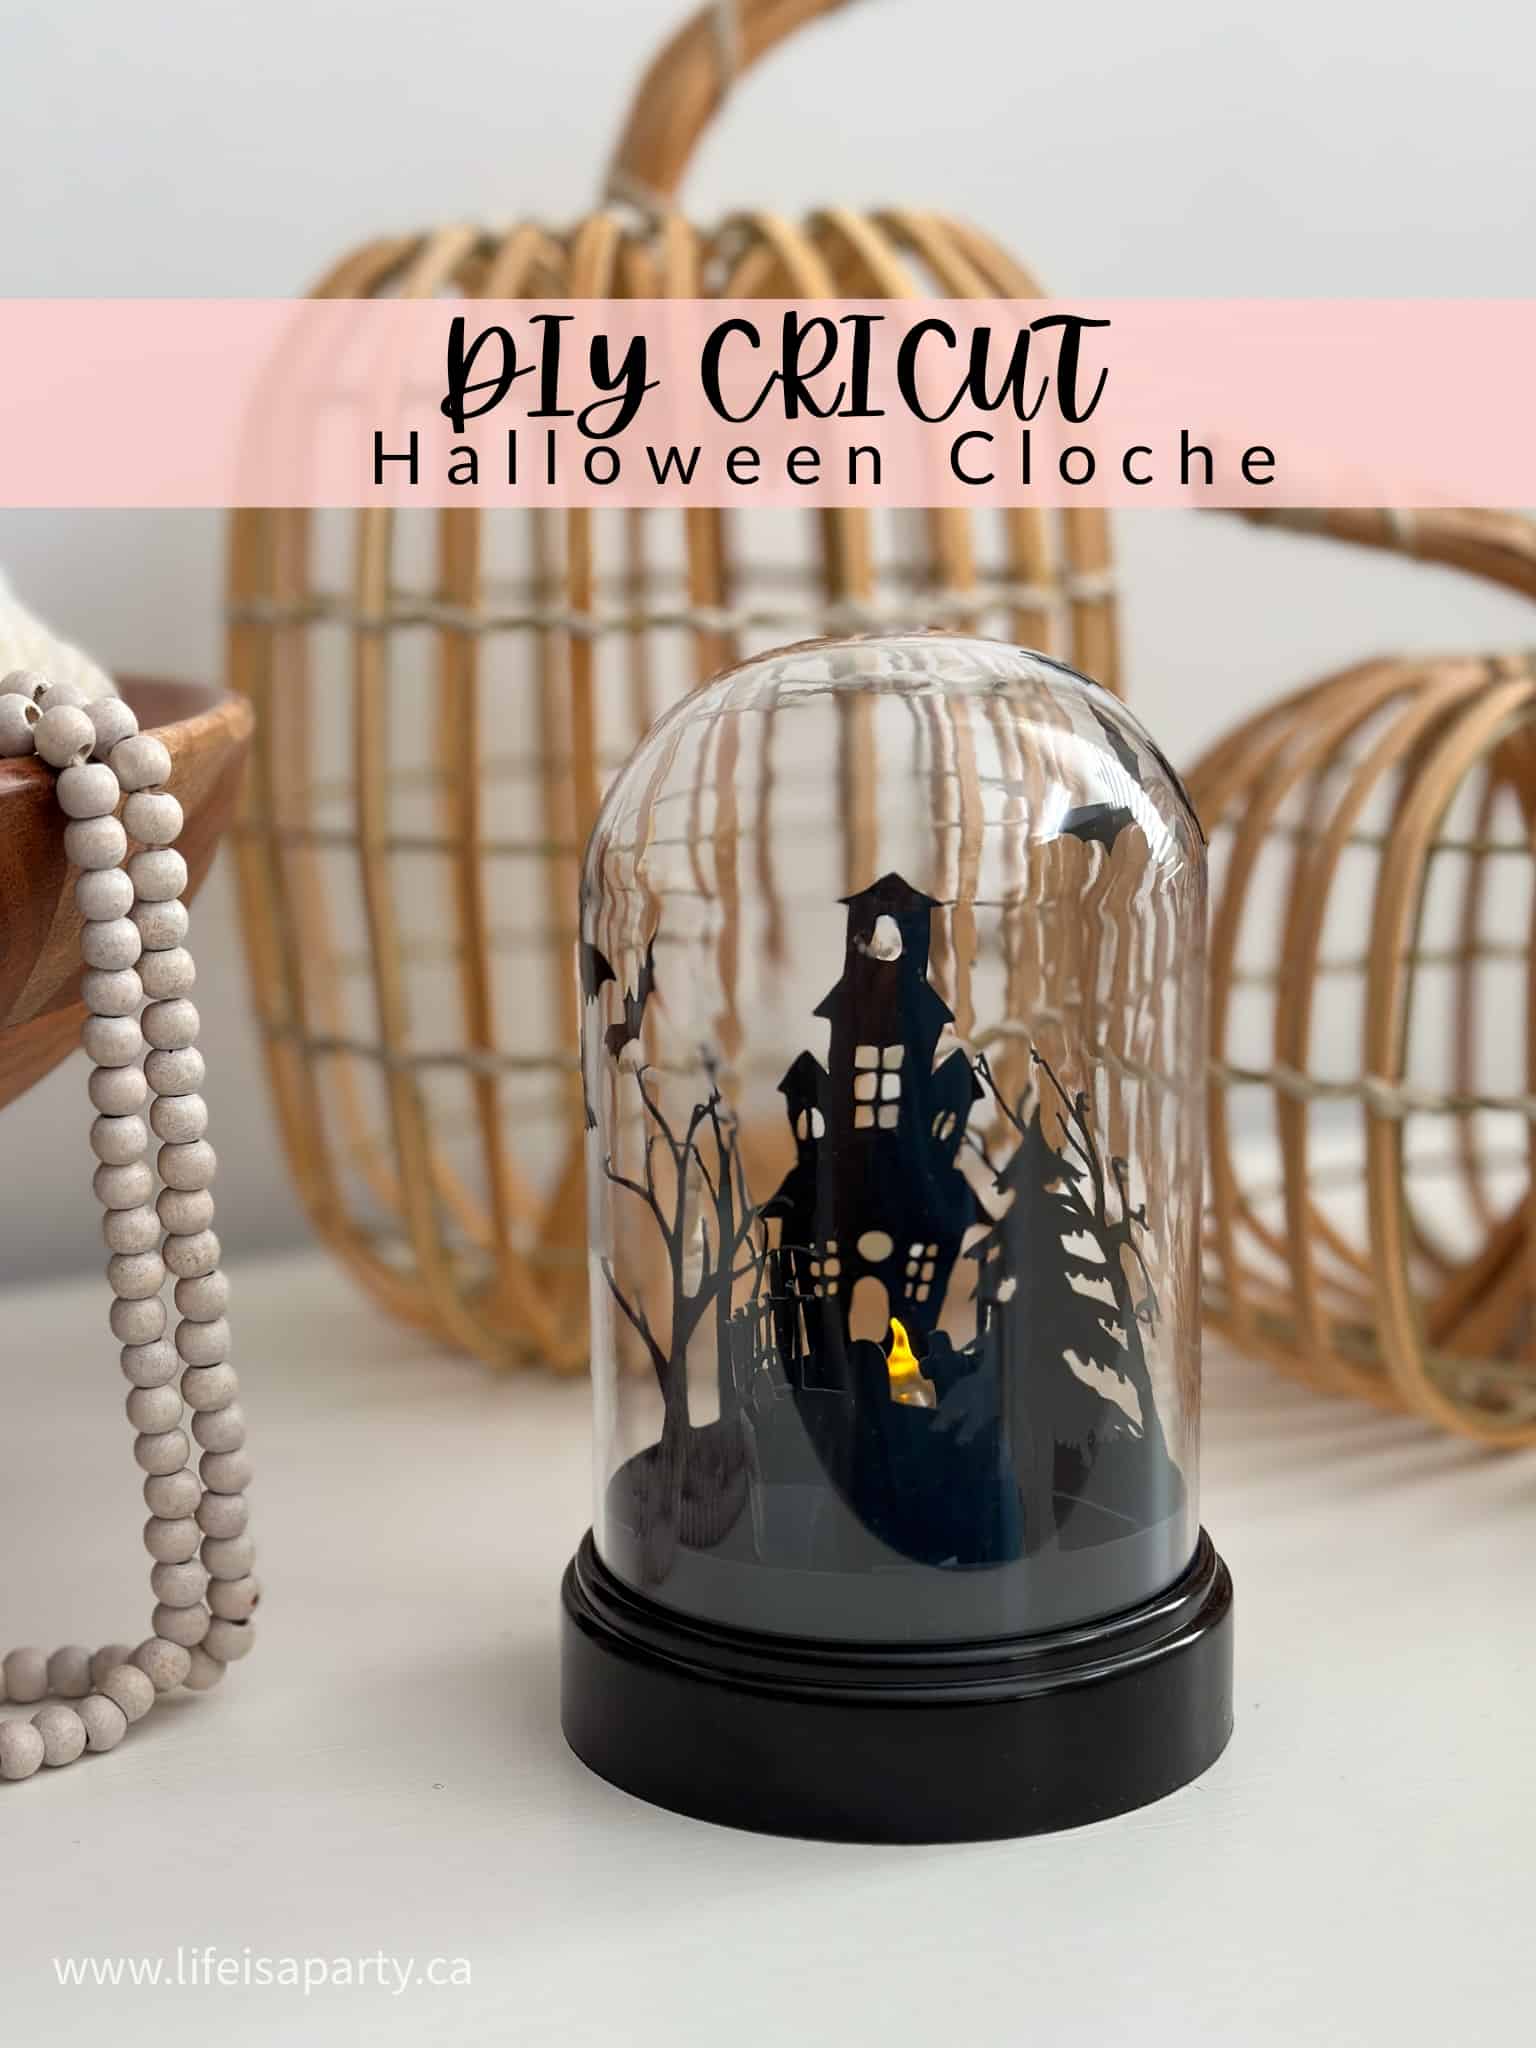
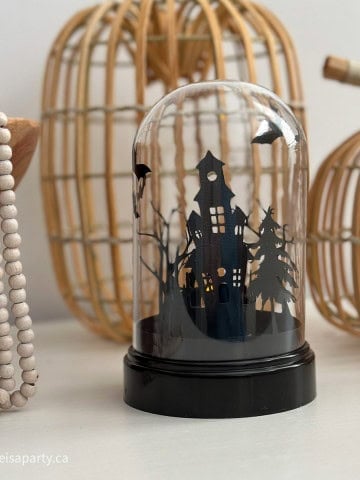
Halloween Version
You might also like our Halloween version of this craft. Click here for a full tutorial and the free cut files to make our Halloween Cloche Lantern. Be sure to pin this post to Pinterest so you can find it in October. 😉
As soon as I made the first one, I loved how my DIY cloche came out. It's such a perfect craft for the holidays. Add a mini tree or two and you can but all three cloches together to make the sweetest little Christmas village. Or just choose your favourite and make one decorative cloche. Either way, each little cloche is adorable, and a great idea if you're looking for an easy project to make with your Cricut for the holidays, that doesn't require a whole bunch of expensive craft supplies. These would be a really fun thing to make for a Christmas crafting night with girl friends too. And because the supplies won't break the bank, it won't be expensive to host either.
I hope these cloche ideas have inspired you. Be sure to subscribe for the free cut files.
With these sweet DIY paper Christmas cloche lanterns, life really is a party!
More Cricut Inspiration
You might also like our Cricut Advent Calendar here.

Also check out our DIY Moon Shaped Christmas Wreath with Cricut Stars here.

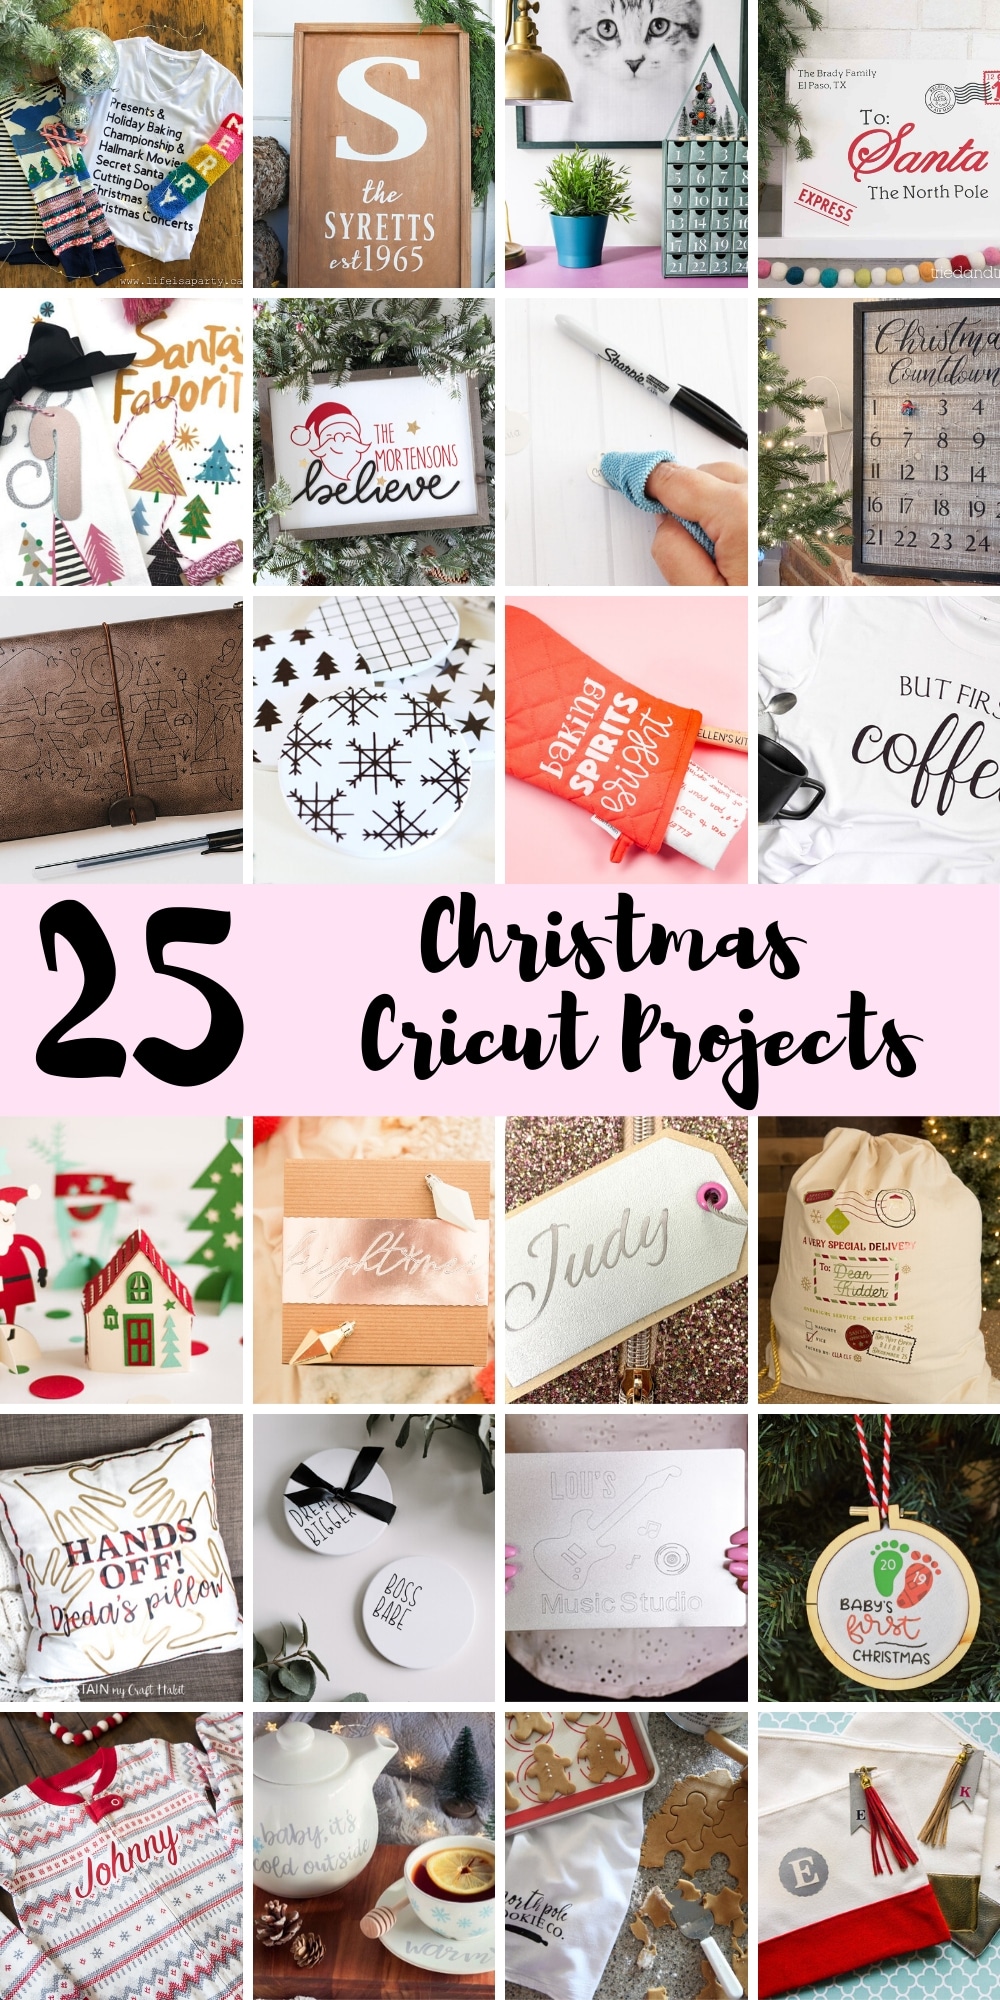
And you might also like 25 Christmas Projects You Can Make With Your Cricut here.


Leave a Reply
You must be logged in to post a comment.