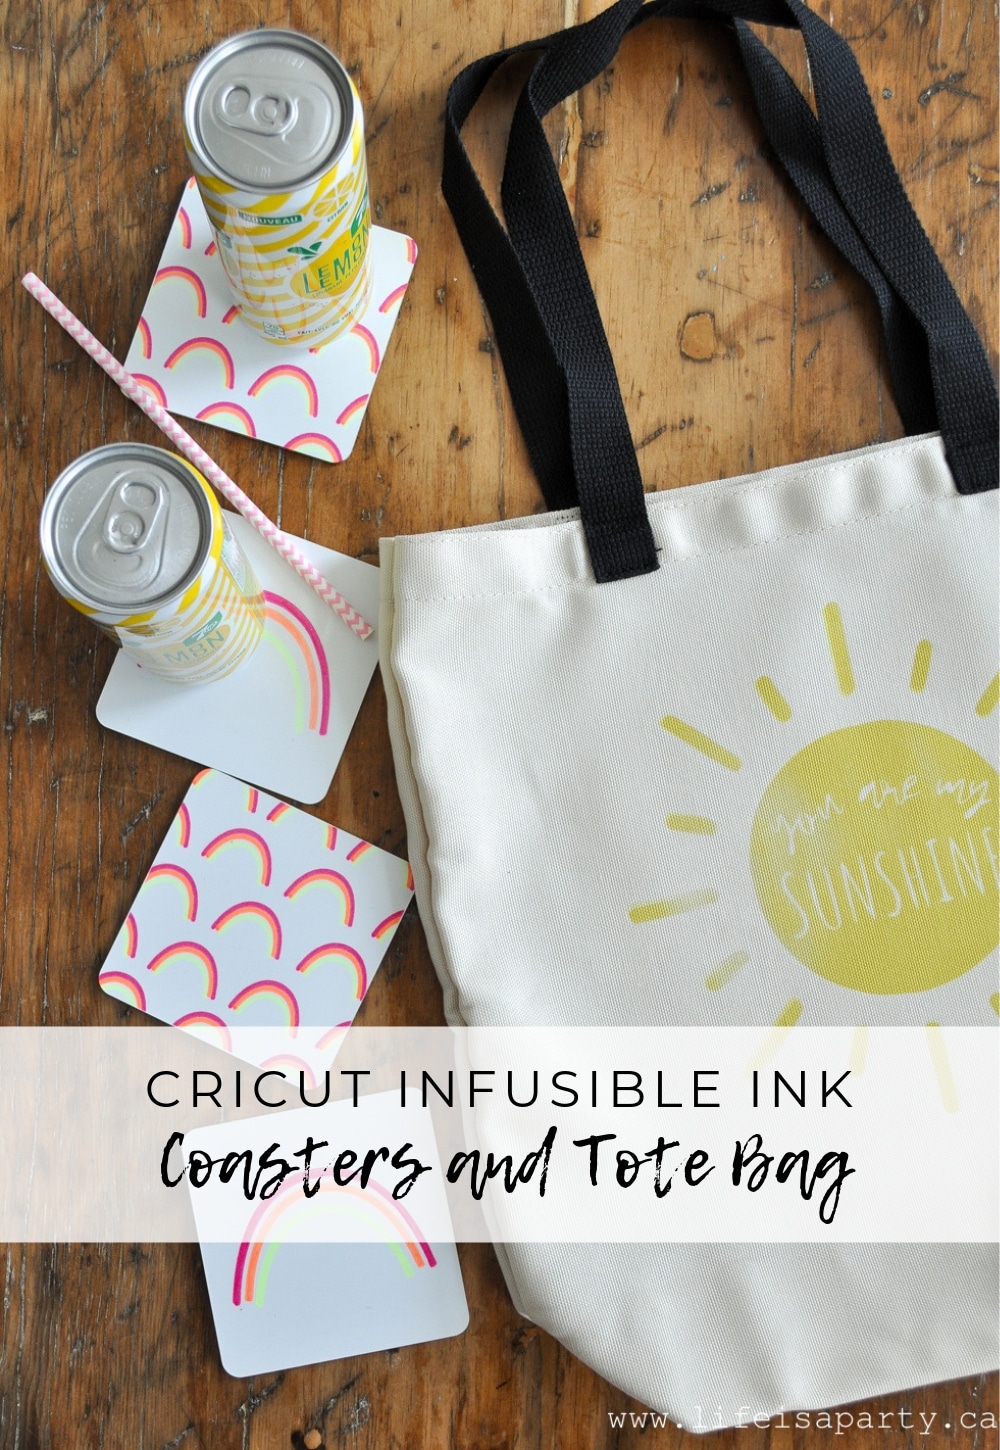
Cricut Infusible Ink Ideas For Coasters and Tote Bag: create a "you are my sunshine" tote bag, or rainbow coasters with Cricut's new Infusible Ink.
This is a sponsored conversation written by me on behalf of Cricut. The opinions and text are all mine.
I'm excited to be working with the new Cricut Infusible Ink today to create some beautiful summer projects and give you some Cricut Infusible Ink ideas. It really is an amazing product.
Cricut Infusible Ink Ideas
Infusible Ink is an all-new system of Cricut DIY products. The ink literally infuses with the tote bag and coasters and creates the most professional looking results. And it's easy and fun to use too. Unlike the vinyl, where artwork is attached on top of a base material using adhesive, an Infusible Ink transfer becomes one with the material itself. The results are bright and smooth transfers that never flake, peel, wrinkle, or crack.
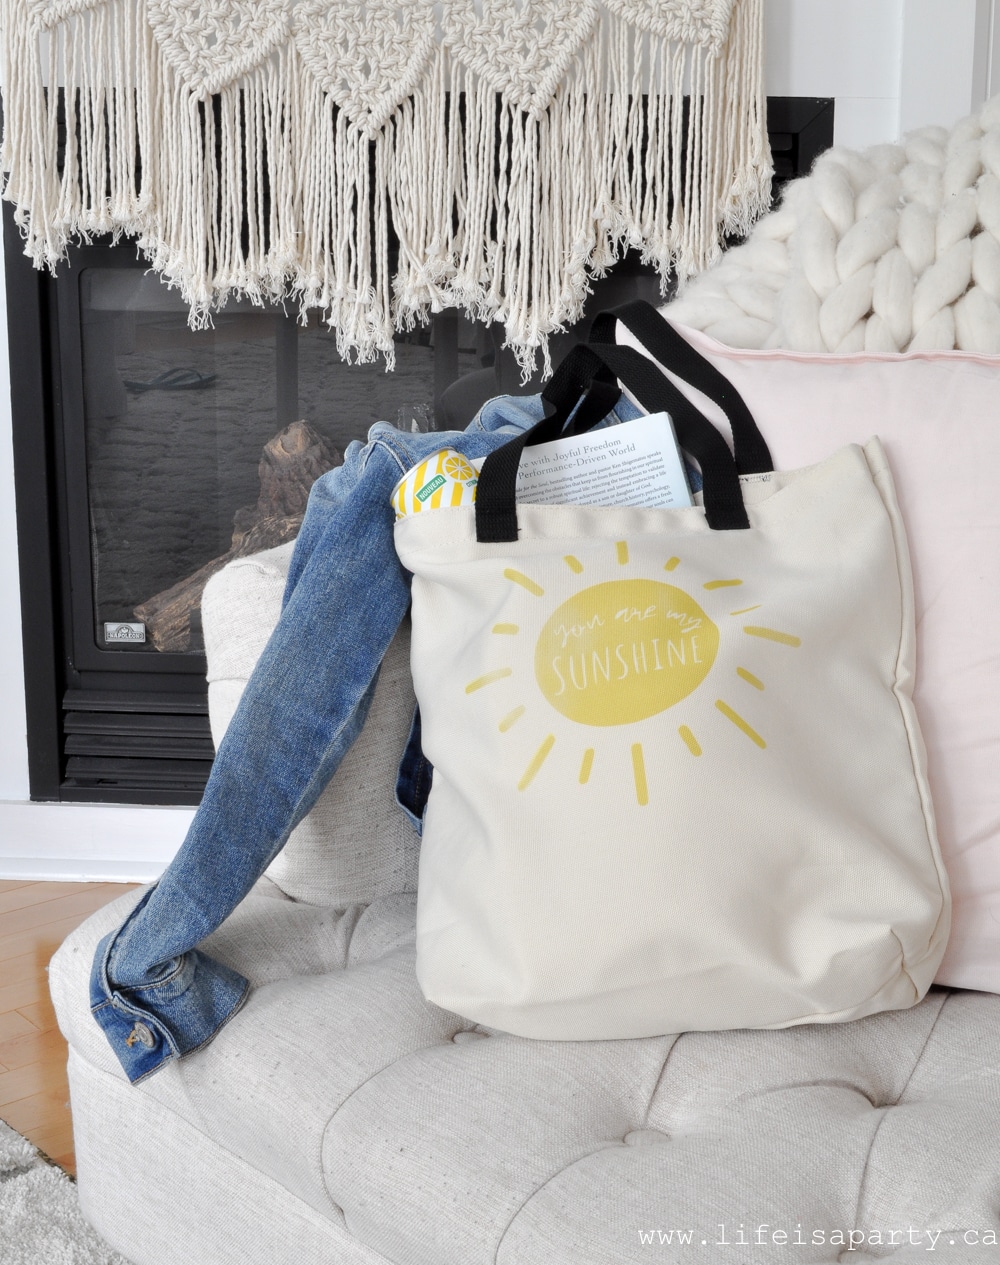
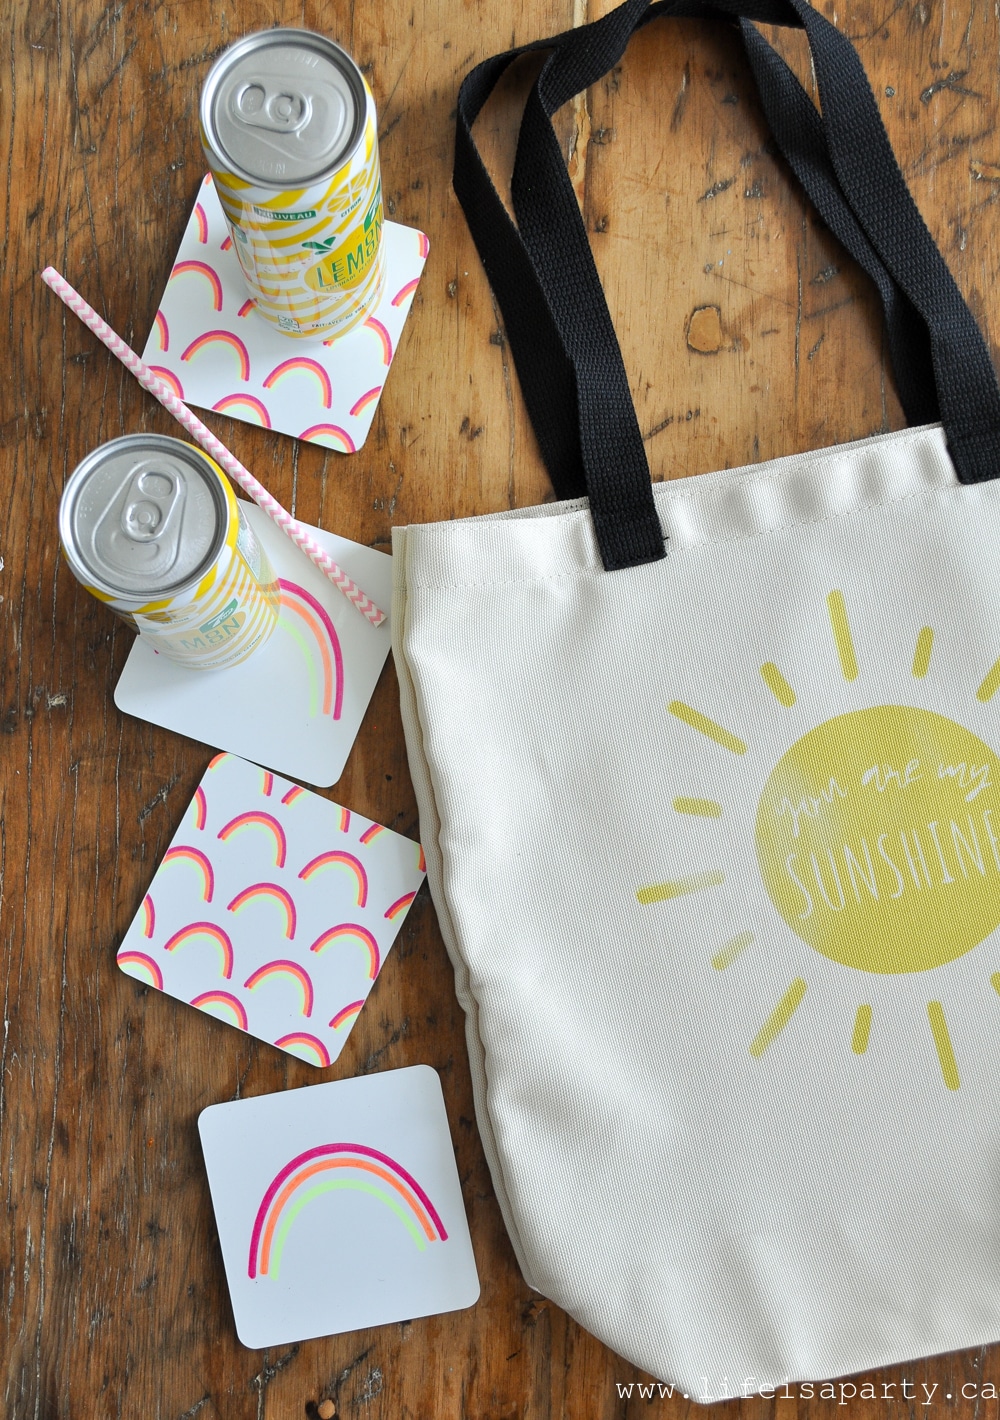
You Are My Sunshine Cricut Infusible Ink Tote Bag
I started with the "You are my Sunshine" tote bag. Just like with any Cricut project, we were able to create our own design in Cricut design space and then cut out our pattern with our Cricut Maker. You can find the pattern we created here. We made our pattern 8 x 8 to fit onto our tote bag.
Tote Bag Materials:
- Cricut cutting machine
- Infusible Ink Transfer Sheet design
- Cricut EasyPress 2
- Butcher paper (included with the Infusible Ink Sheets when you buy them)
- Cricut EasyPress Mat*
- Cardstock
- Cricut Infusible Ink Compatible Blanks
- Lint roller
Tote Bag Instructions:
1.We created our own beautiful design, you can find our "You are my sunshine" pattern here.

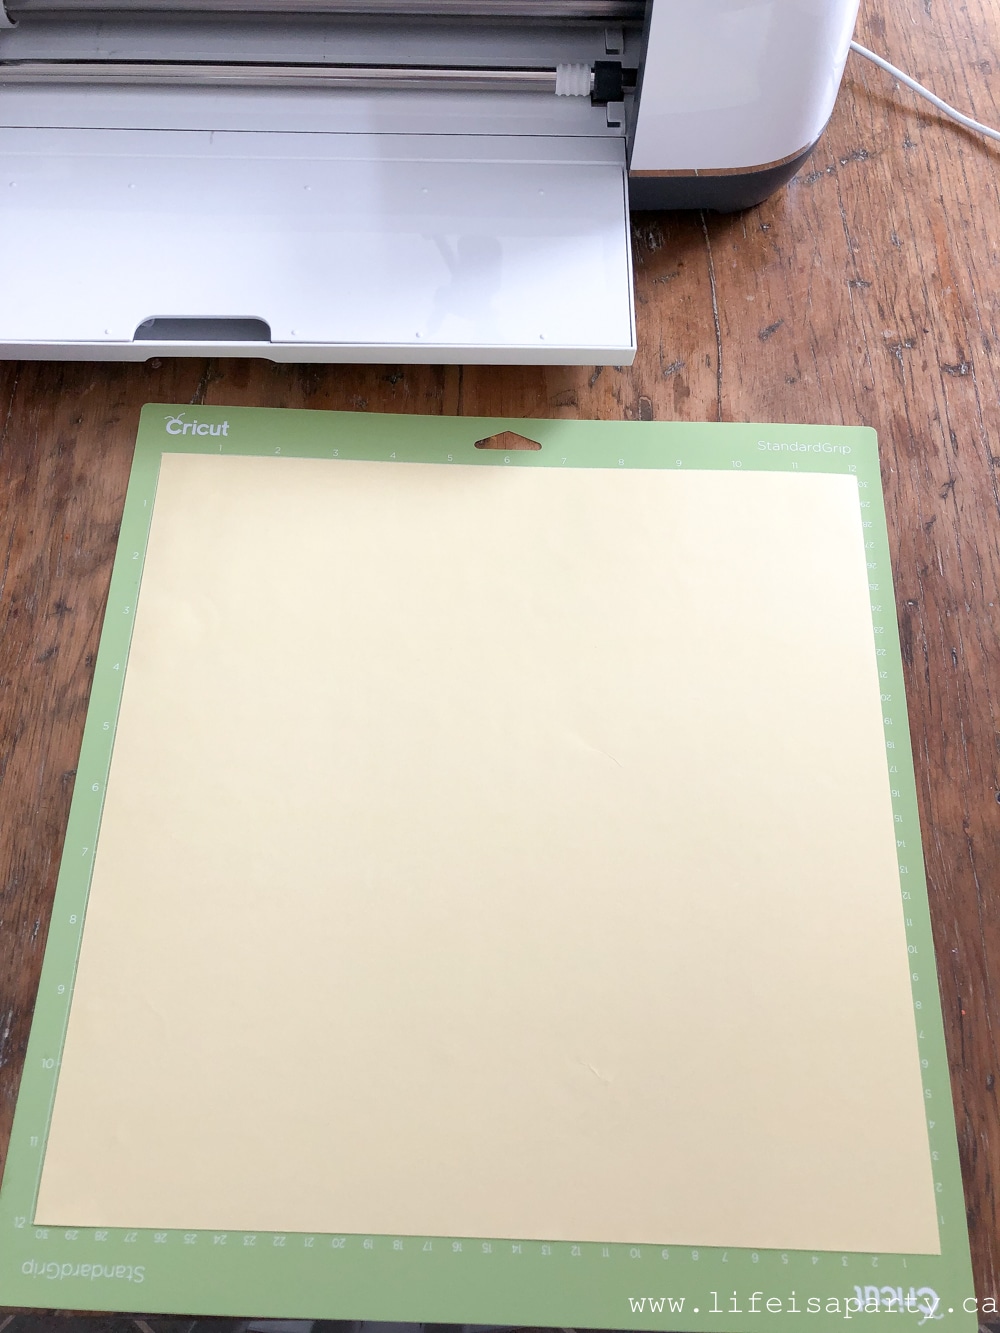
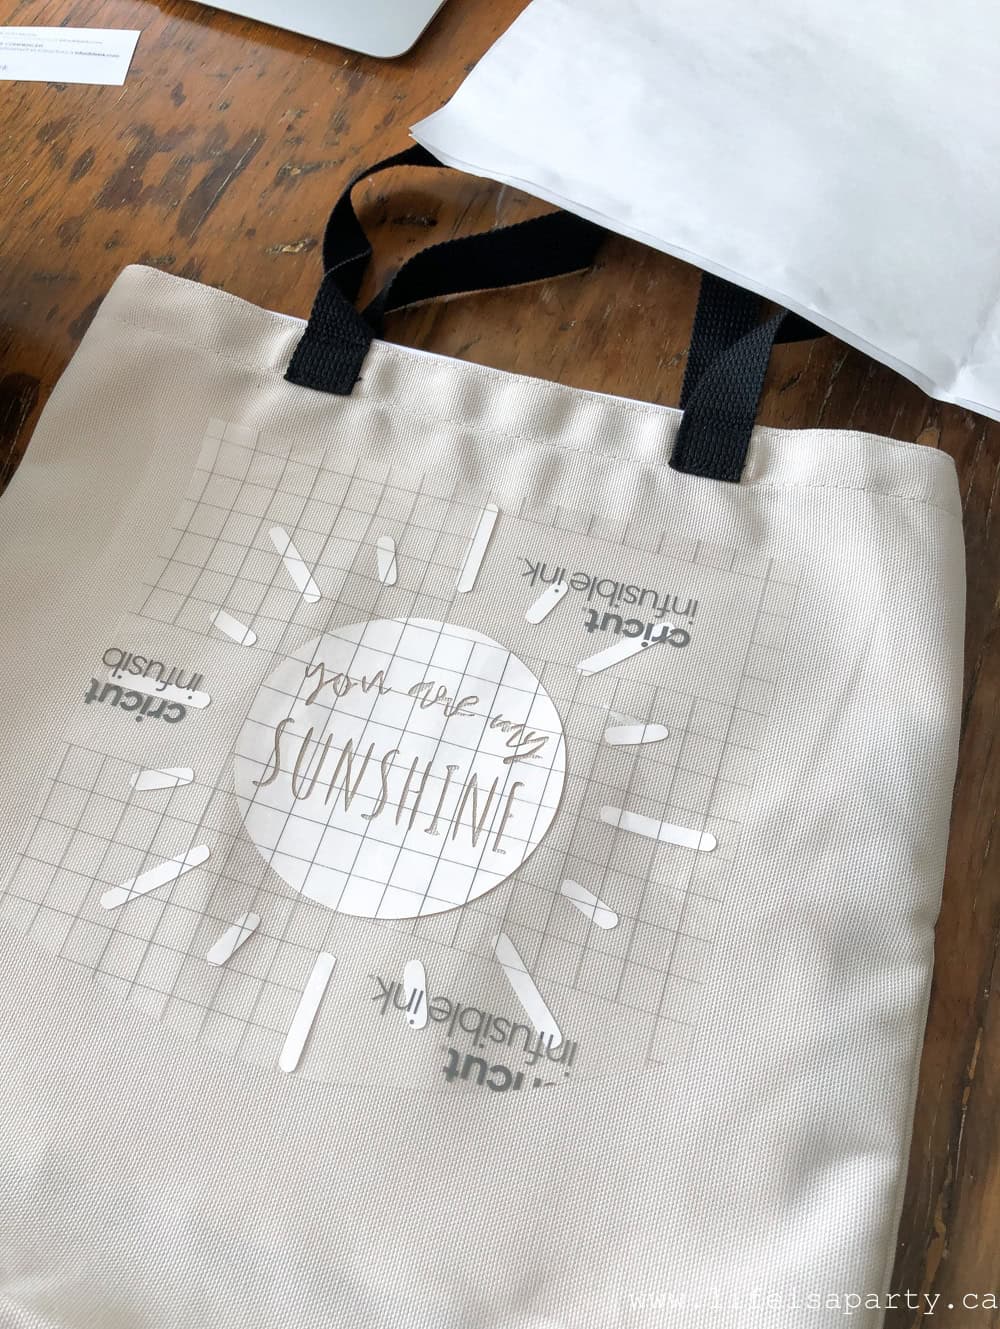
2. To cut out the design, place your Infusible Ink transfer sheet on a standard grip cutting mat, colour side up.
3. Be sure to cut out the design in mirror, so that the writing will be perfect in the finished product. Set your Circuit to cut an Infusible Ink transfer sheet, and cut your design. Take care not to get finger prints on your ink transfer sheet while working with it. Make sure your hands are clean and dry.
4. Weed the pattern, using tweezers if necessary.
5. Preheat Cricut EasyPress 2 to 385°F.
6. Place the Cricut Easy Press mat inside tote bag and insert the cardstock on top of the mat inside tote bag to prevent any bleeding through. Lint roll tote bag.
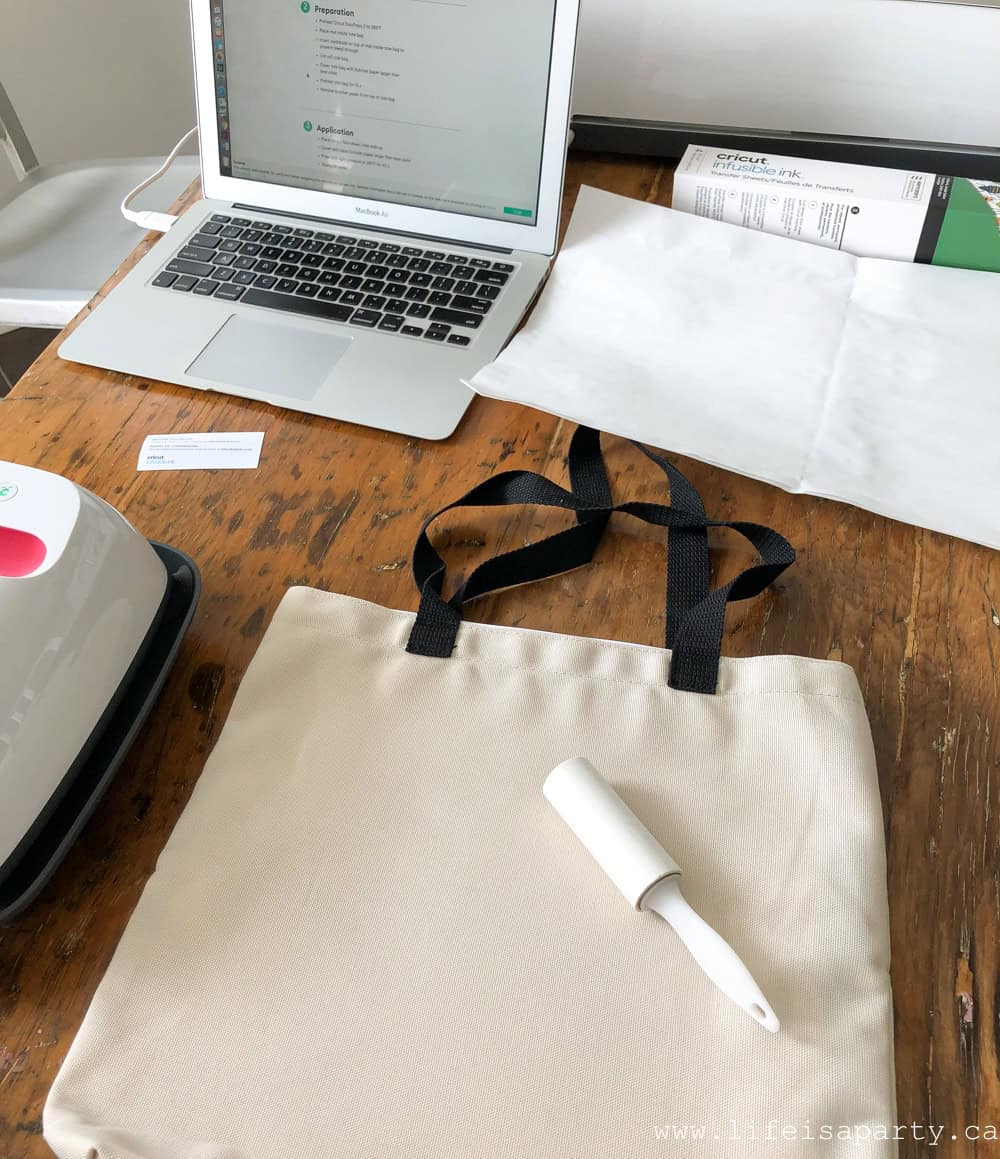
7. Next, cover the tote bag with butcher paper larger than heat plate and preheat tote bag for 15 s using the Cricut Easy Press 2. Remove butcher paper from the top of tote bag.
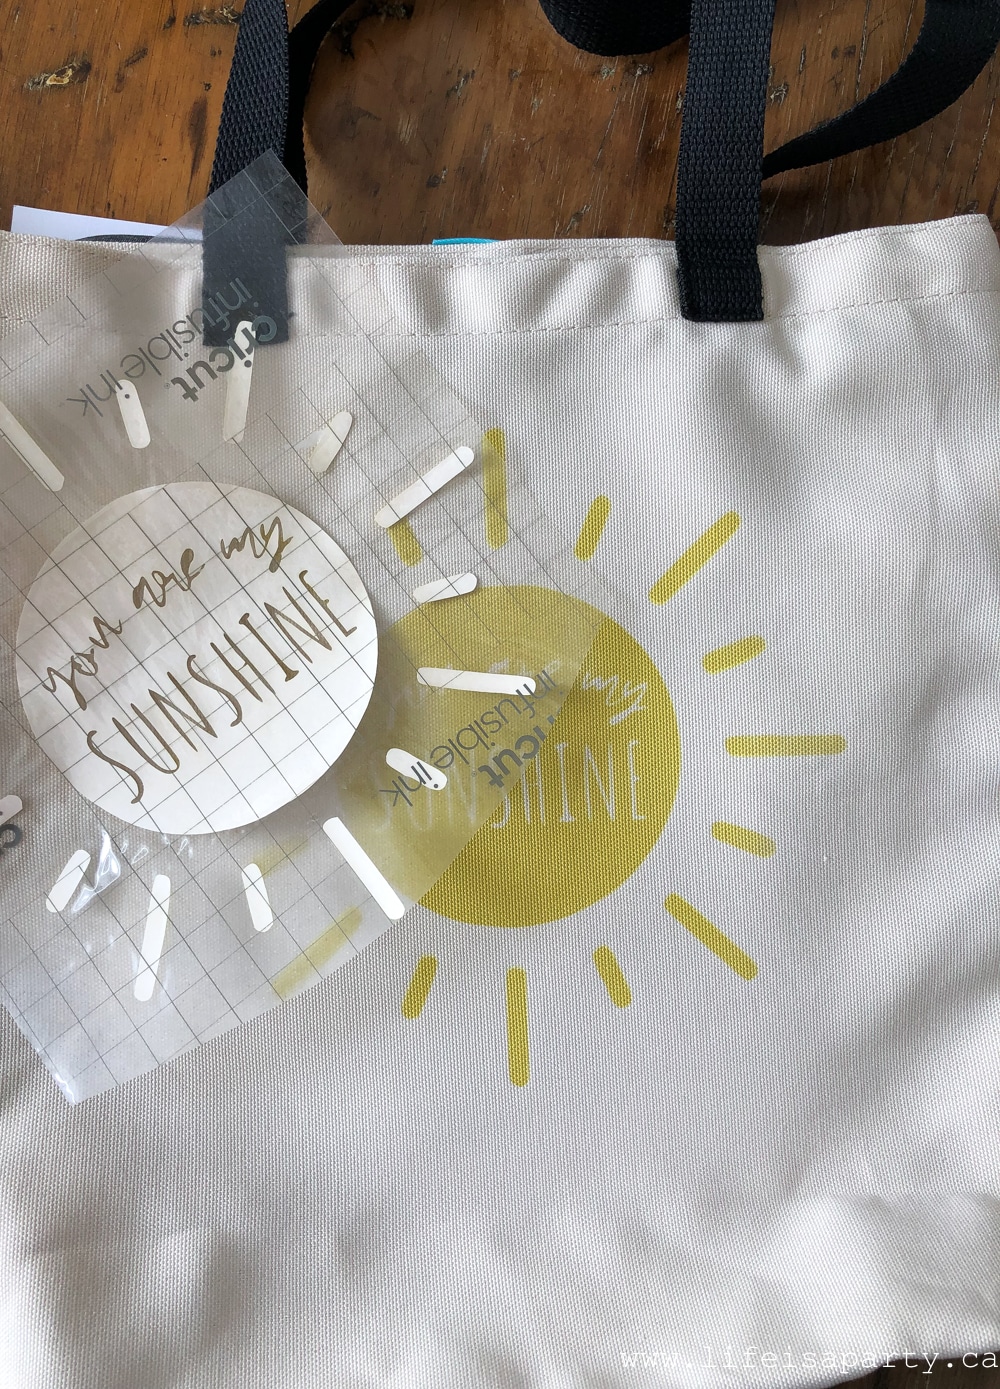
8. Finally, place the design face down, liner side up on top of the tote bag, and cover with clean butcher paper larger than heat plate. Press it with light pressure at 385°F for 40 s taking care not to shift the Easy Press 2 while you're pressing.
9. Slowly lift press. Slowly remove the butcher paper. Next, let it cool completely. Slowly remove liner.
Sunshine and Rainbows
This little bag turned out so very cute. I love the sunshine design, and the sunny yellow Infusible Ink is perfect for it. Imagine us using this little tote all summer for trips to the beach, bringing home books from the library, or trips to the famers' market. I love that the ink is actually infused right into the fabric, so there are no worries about the image ever wearing off, or lifting at all.
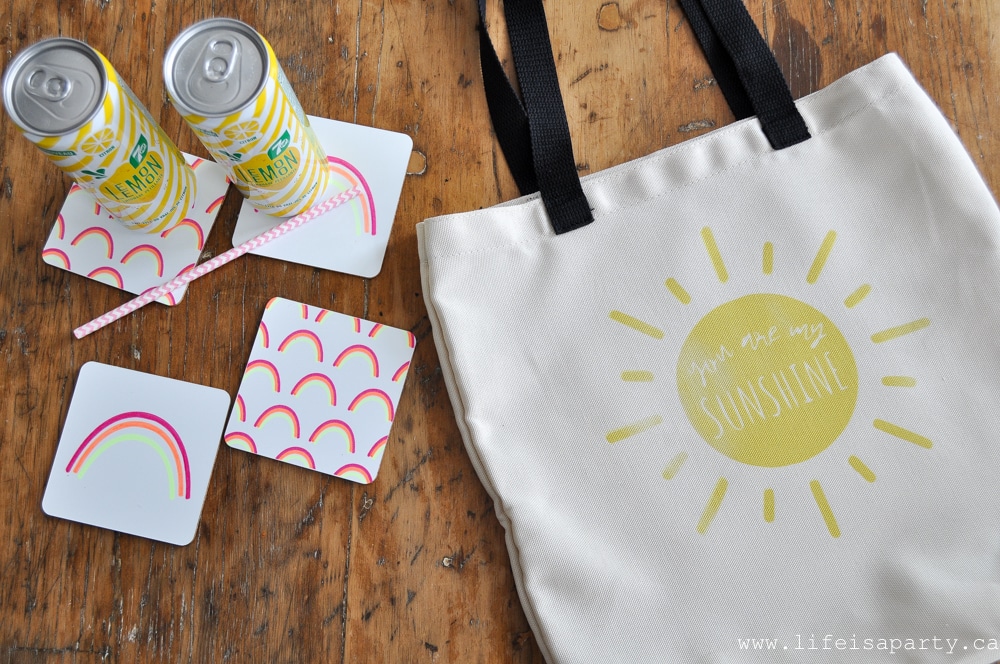
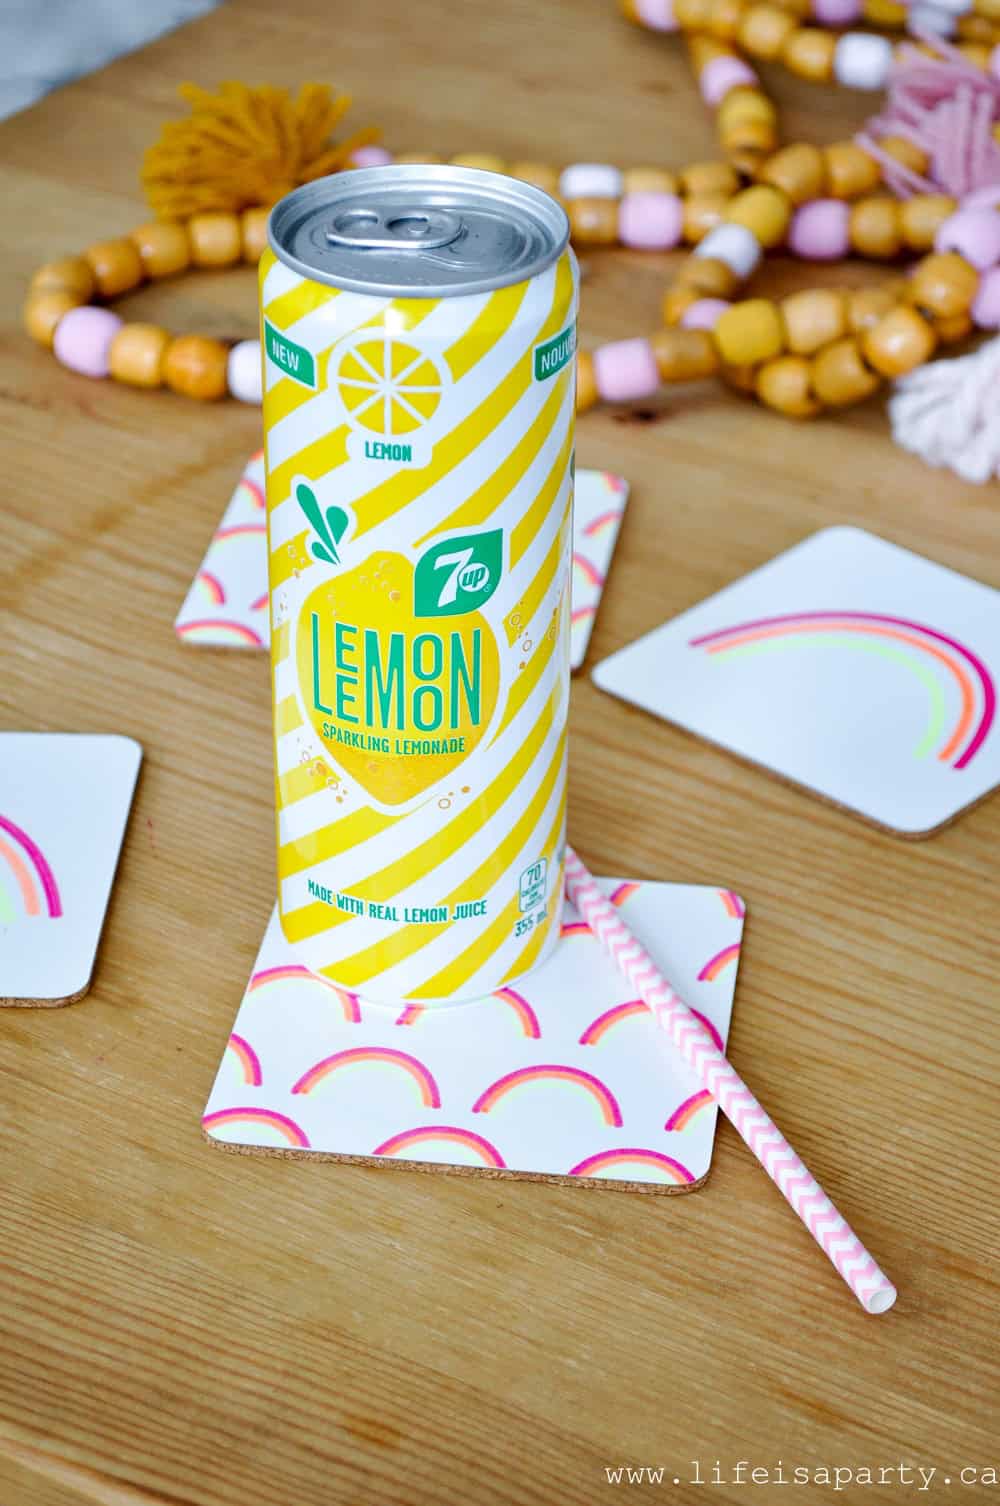
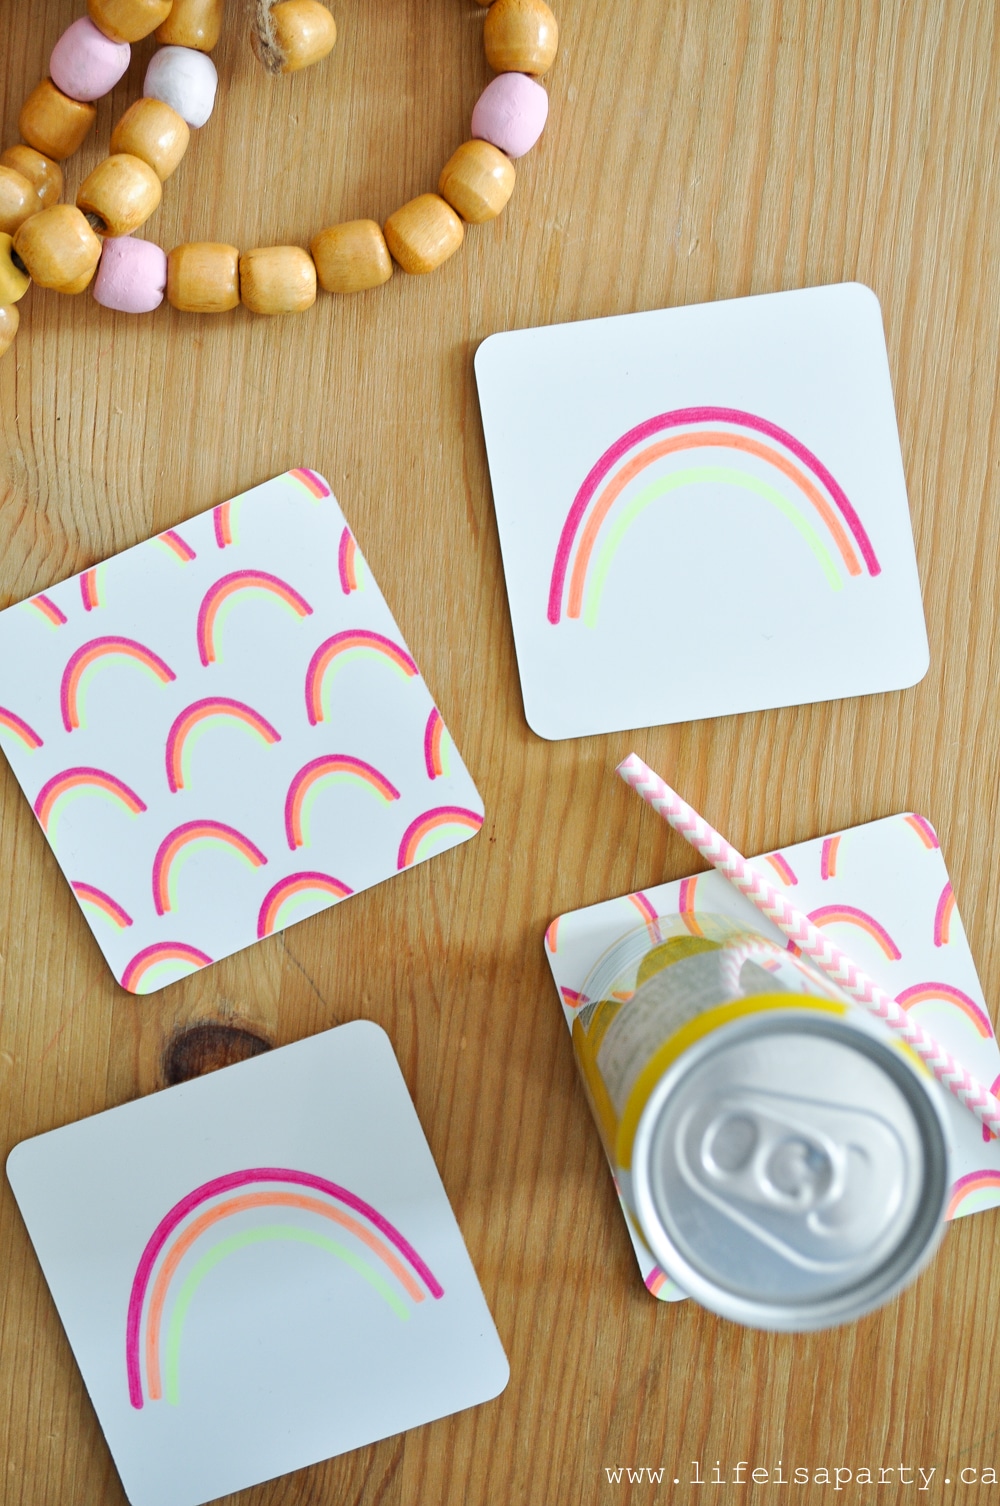
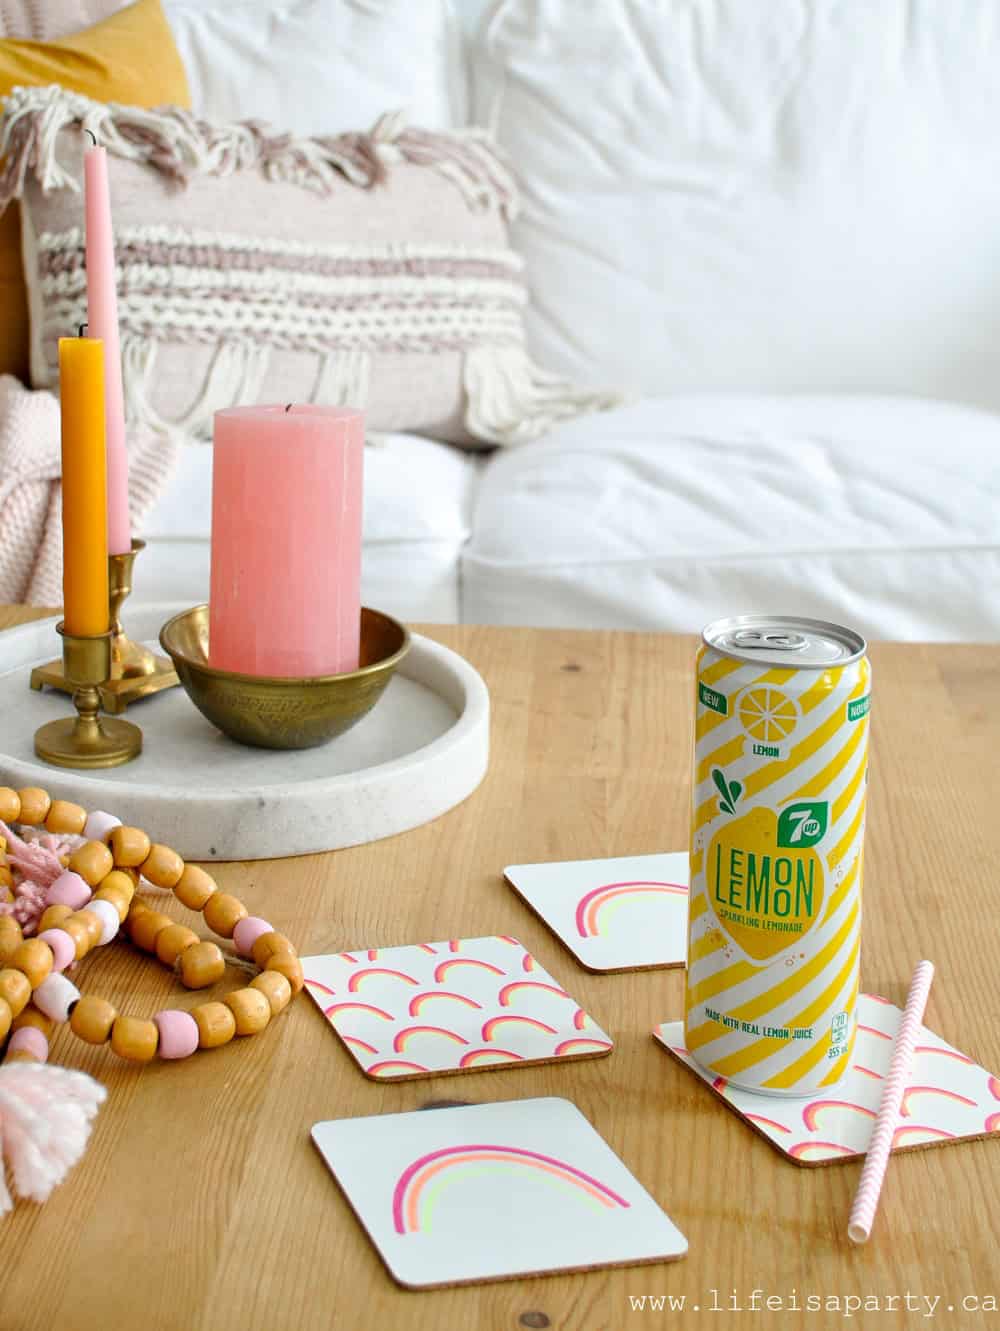
We also wanted to make some fun summery coasters with the new Infusible Ink markers, and here's what we came up with -little rainbows! I love how these coasters turned out, and how we could personalize the colours to fit our summer decor. The Easy Press 2 works perfectly with the infusible ink, since it can heat up to such high temperatures, and the timer makes it easy to get perfect results every time.
Cricut Infusible Ink Rainbow Coaster Materials:
- Cricut cutting machine
- Copy paper
- Cricut EasyPress Mat*
- Infusible Ink Markers (Neon 1.0)
- Cricut Square Coaster Blank
- Heat Resistant Tape
- Butcher paper (included with the Infusible Ink Sheets when you buy them)
- Cricut EasyPress 2
- Cardstock
- Lint-free cloth
Rainbow Coaster Instructions:
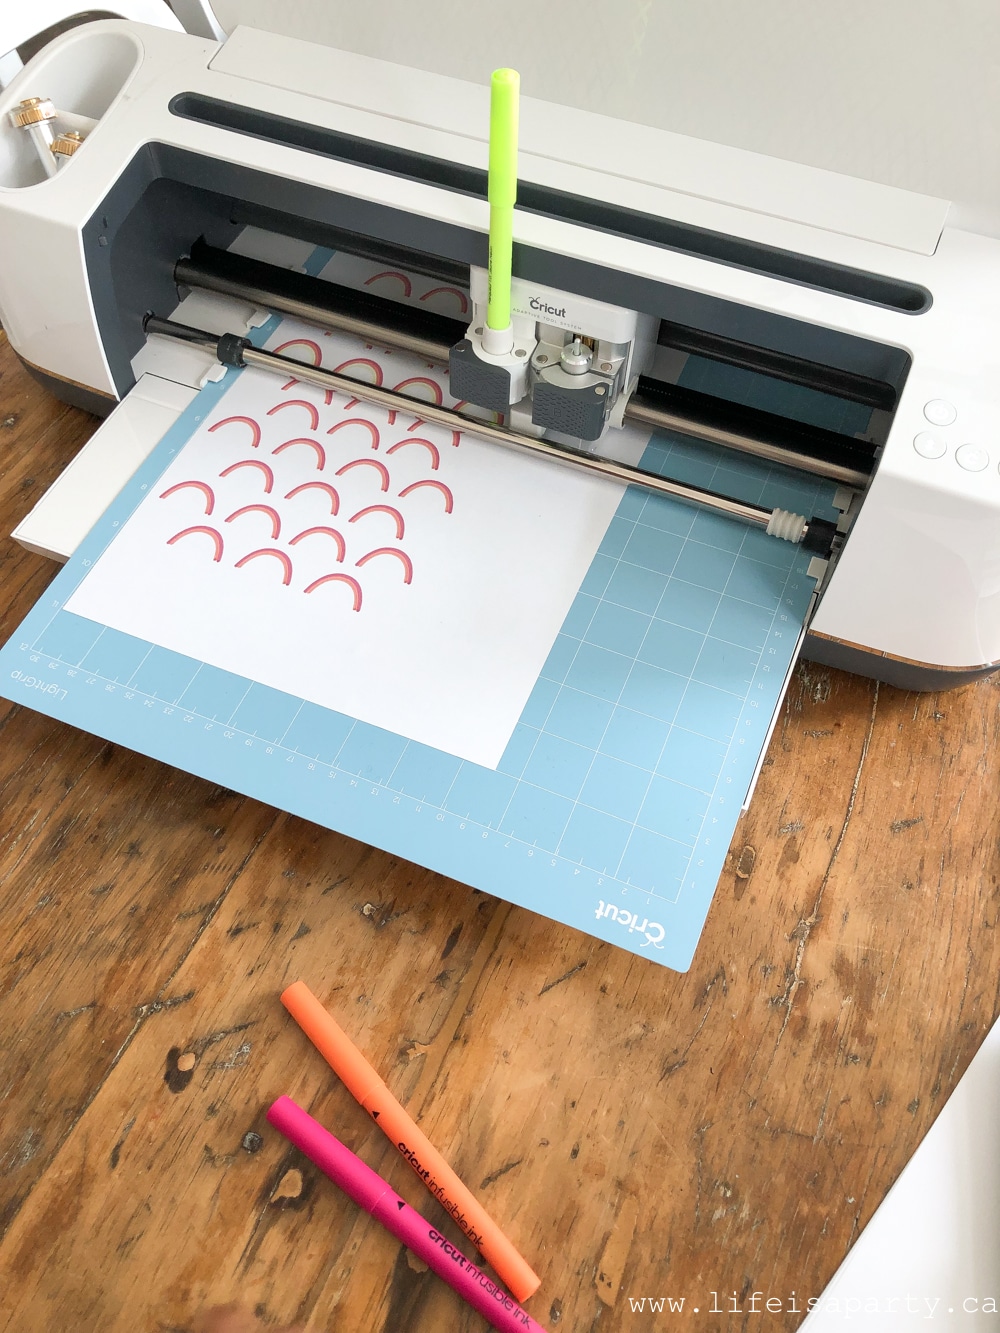
1. We created our coaster pattern in Cricut design space, you can find our pattern here.
2. Place regular copy paper on to a light grip Cricut cutting mat. Select paper as the material, and follow the instructions on your computer -inserting the pink neon infusible ink marker first, then the orange one, and finally the yellow. Unload the mat, and remove the paper from the mat.
3. Preheat the Cricut EasyPress 2 to 400°F. Wipe tile with a lint-free cloth. Don't skip this step or you may find that you permanently add marks to the coaster by mistake. Cover the mat with butcher paper to protect surface.
4. Next, place the coaster glossy side up on the mat. Place the design face down on top of the coaster and secure with the heat resistant tape, avoiding the image area, and wrapping the tape around the back of the coaster.
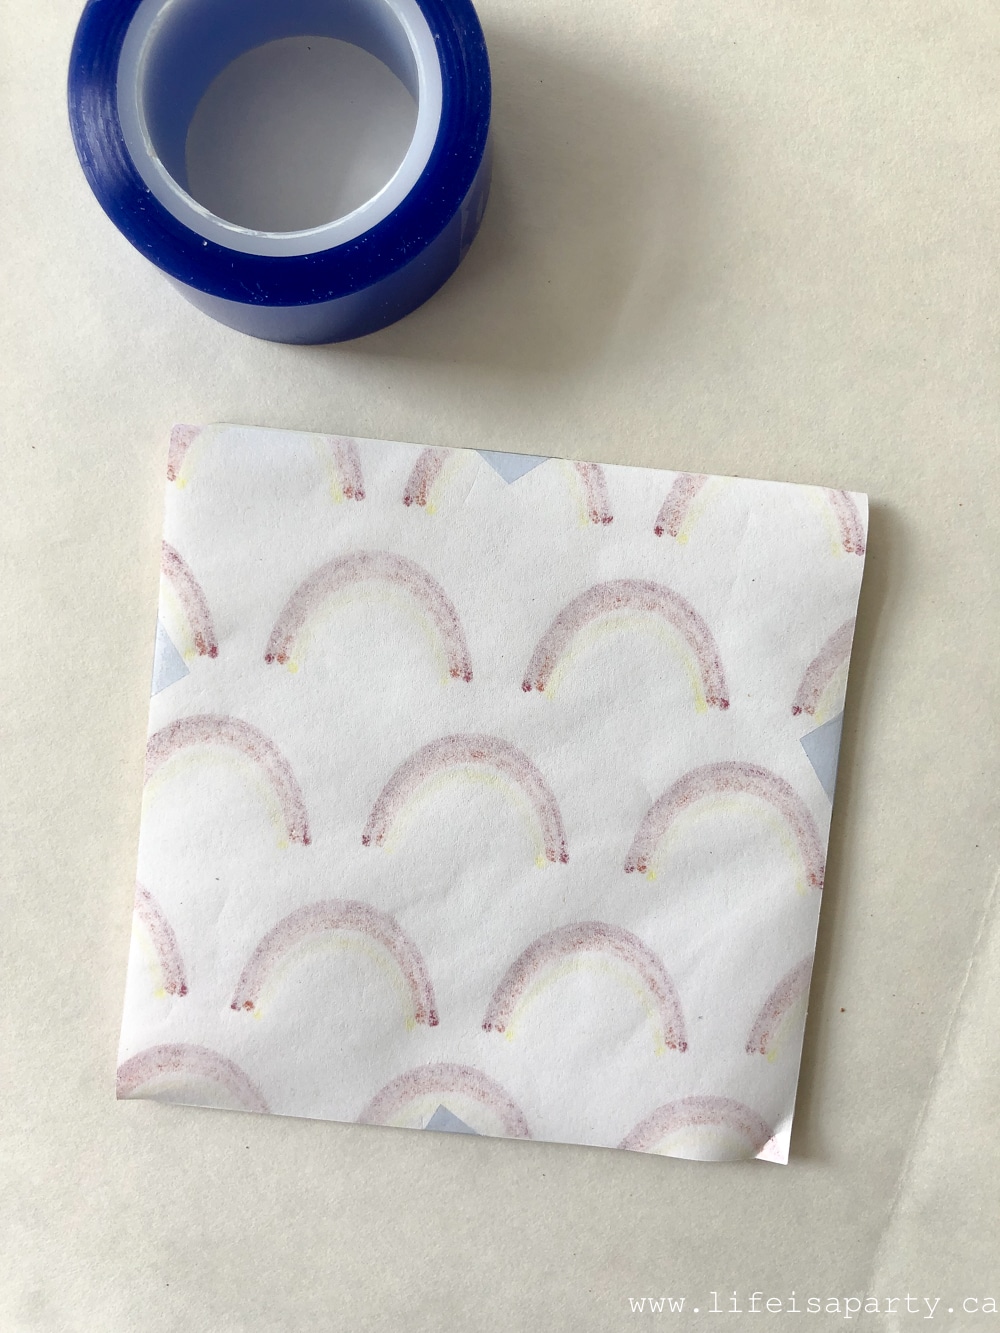
5. Cover the coaster with clean cardstock. Center machine, press with no pressure at 400°F for 60 s, then remove the press. Remove the cardstock.
6. CAUTION: Coaster will be very hot. Let cool completely. Once cool, remove the design and tape from the coaster and enjoy.
These Infusible Ink projects turned out so well. I really love how professional they look. And, the possibilities for creating with the new infusible ink seem pretty much endless.
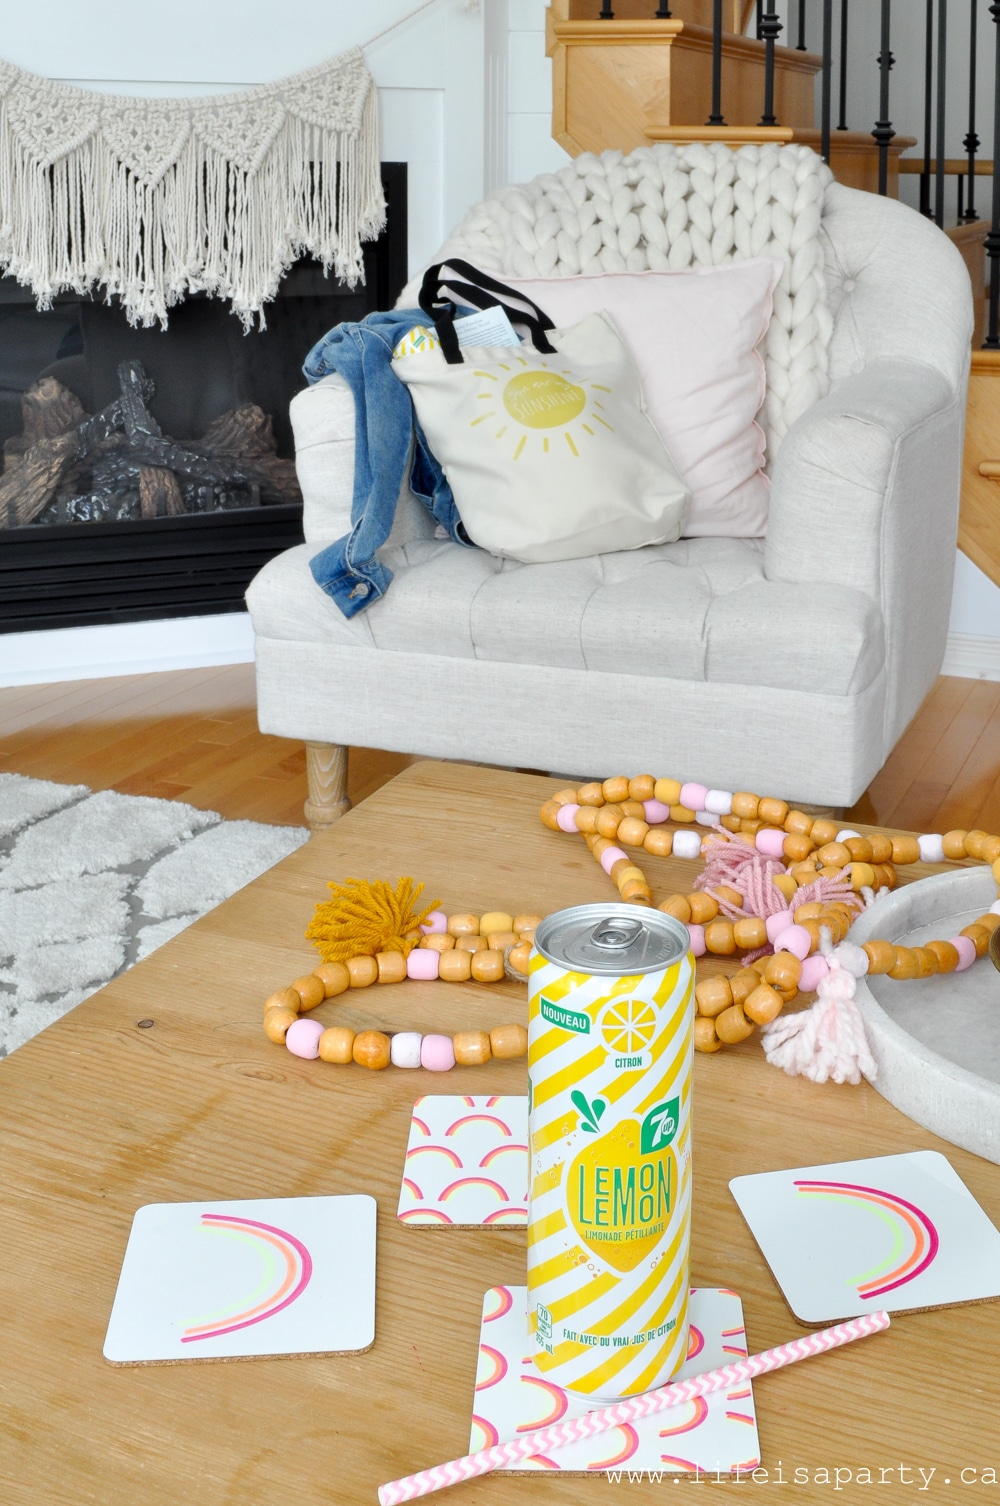
I hope you like these Cricut Infusible Ink ideas. With it all sunshine and rainbow's around here, life is really a party!
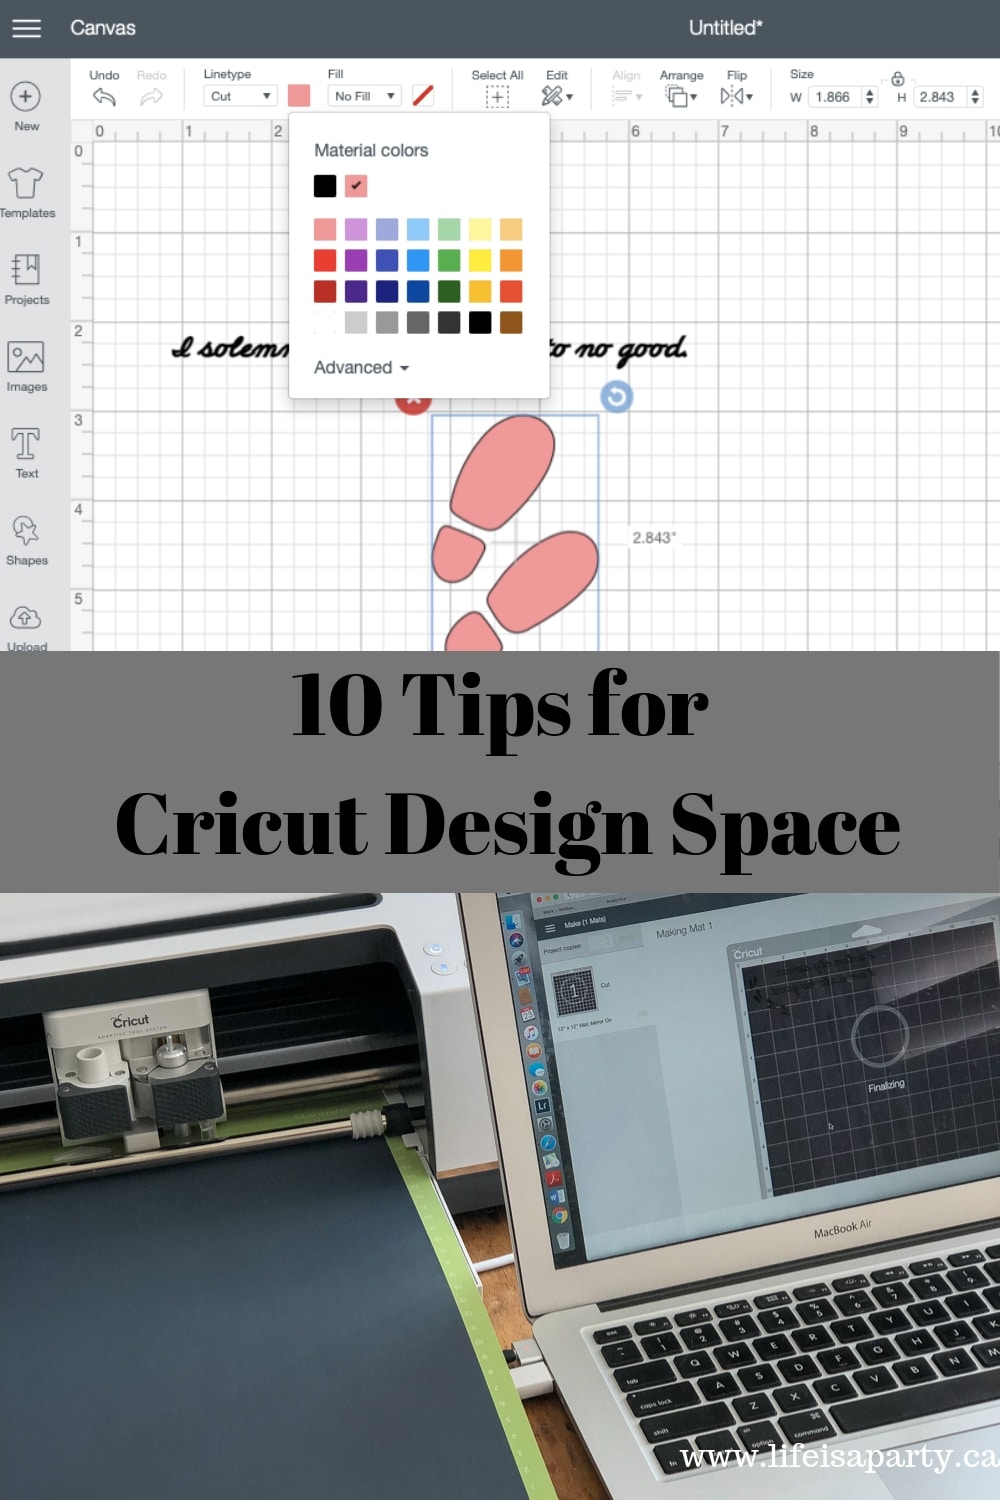
You might also like our 10 Tips For Cricut Design Space here.
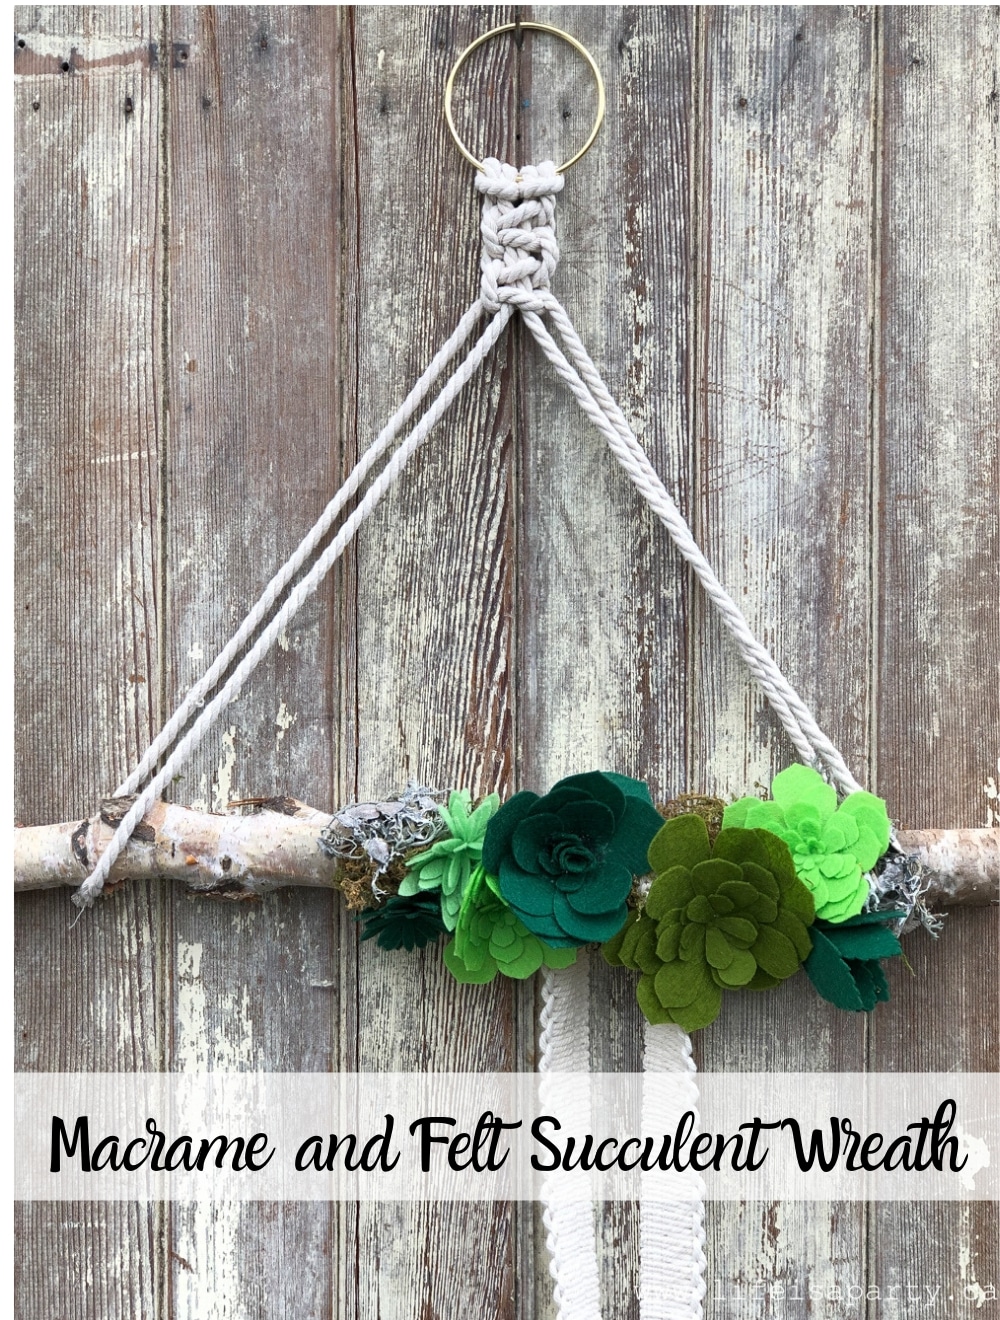
Also check out our Macrame and Cricut Felt Succulent Wreath here.
You might also enjoy our How To Make Cricut Heat Transfer Vinyl Napkins here.


Leave a Reply
You must be logged in to post a comment.