Nail Polish Marbled Easter Eggs: easy water marbling with nail polish is the perfect modern touch to your eggs, use any colours.

Jump to:
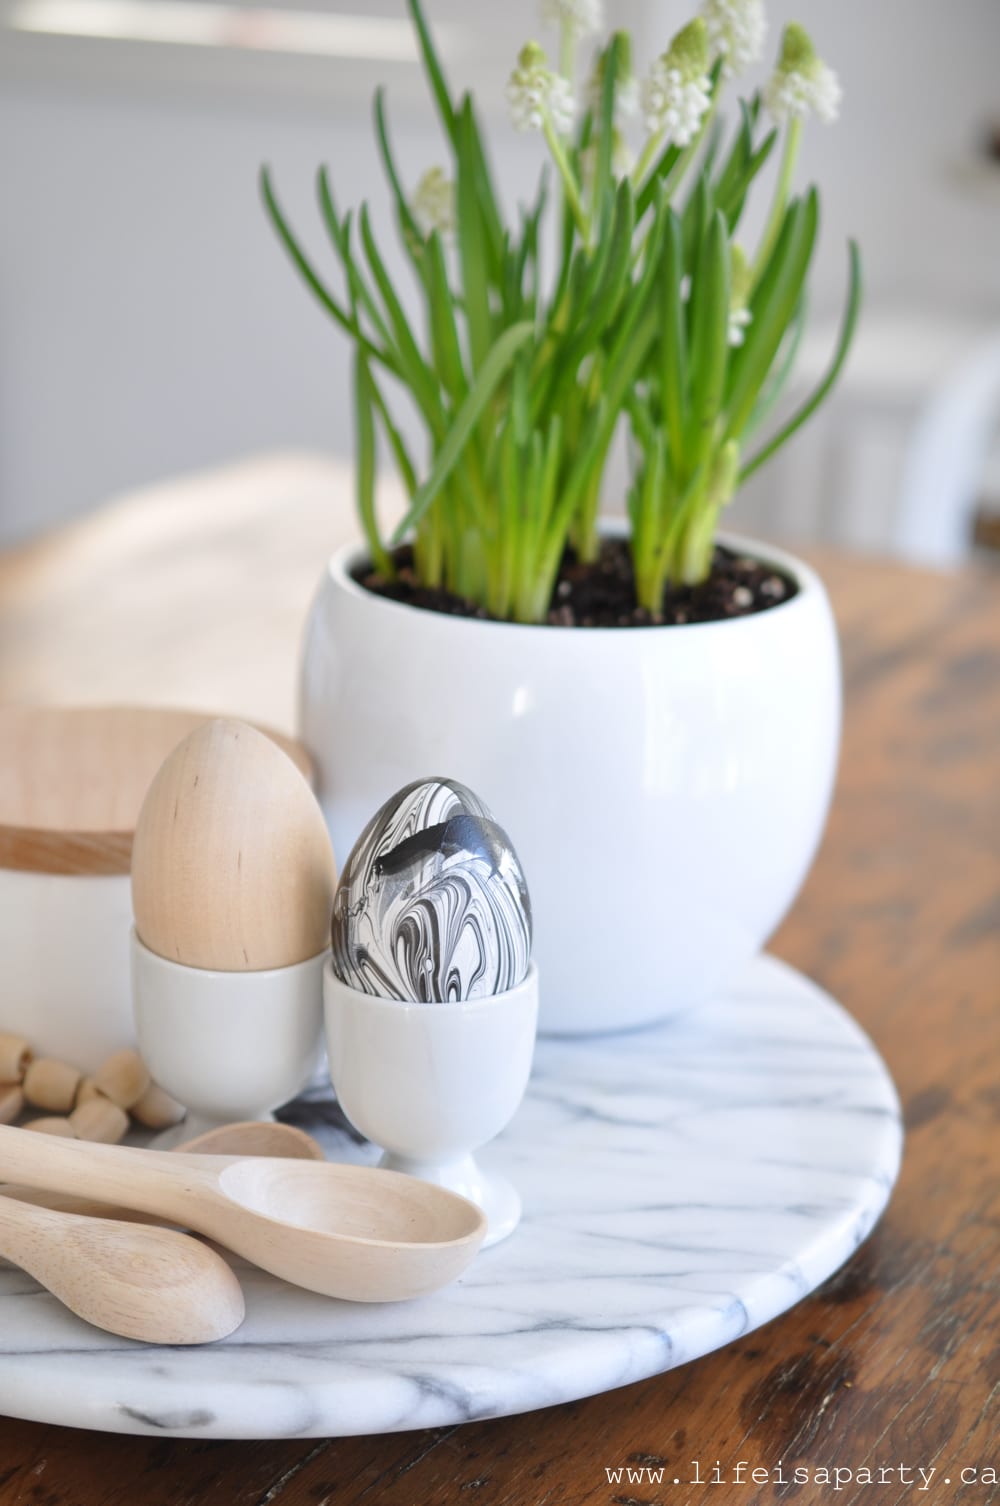
This year for Easter a made these DIY nil polish marbled Easter eggs and they turned out so great. The nail polish creates such a cool effect, and you probably already have some in your beauty stash that you can use for this project. Once you get the hang of it, it's really easy to do and a lot of fun.
I loved trying my hand at water marbling with nail polish for these Valentine's Day Hearts. For Easter this year I knew I wanted to use black and white and thought these marbled eggs were the perfect addition. If you're looking for fun Easter projects to try this year, this is one of the best ways to decorate Easter eggs.
Kid Friendly
These are really simple to make and fun craft to make with the kids. It is a little bit messy, You definitely need gloves for everyone, and probably to cover you table. But other than the mess, it's very kid friendly and they'll loving seeing the cool effect. Don't be surprised if they start thinking of other things they want to do this marble paint effect on. Any teen girls probably have lots of fun colors of nail polish to contribute to the crafting too.
Nail Polish Marbling
There are several different ways to marble Easter eggs. You can use whipped cream, shaving cream, food coloring, or dye to create your marble effect. I really like the nail polish method. Nail polish comes in so many great colors, and has a great sheen that looks great on the matte eggs. It also creates a beautiful marble look, with many stripes of color and distinct patterns that's hard to achieve with the other methods.
Choosing Colors
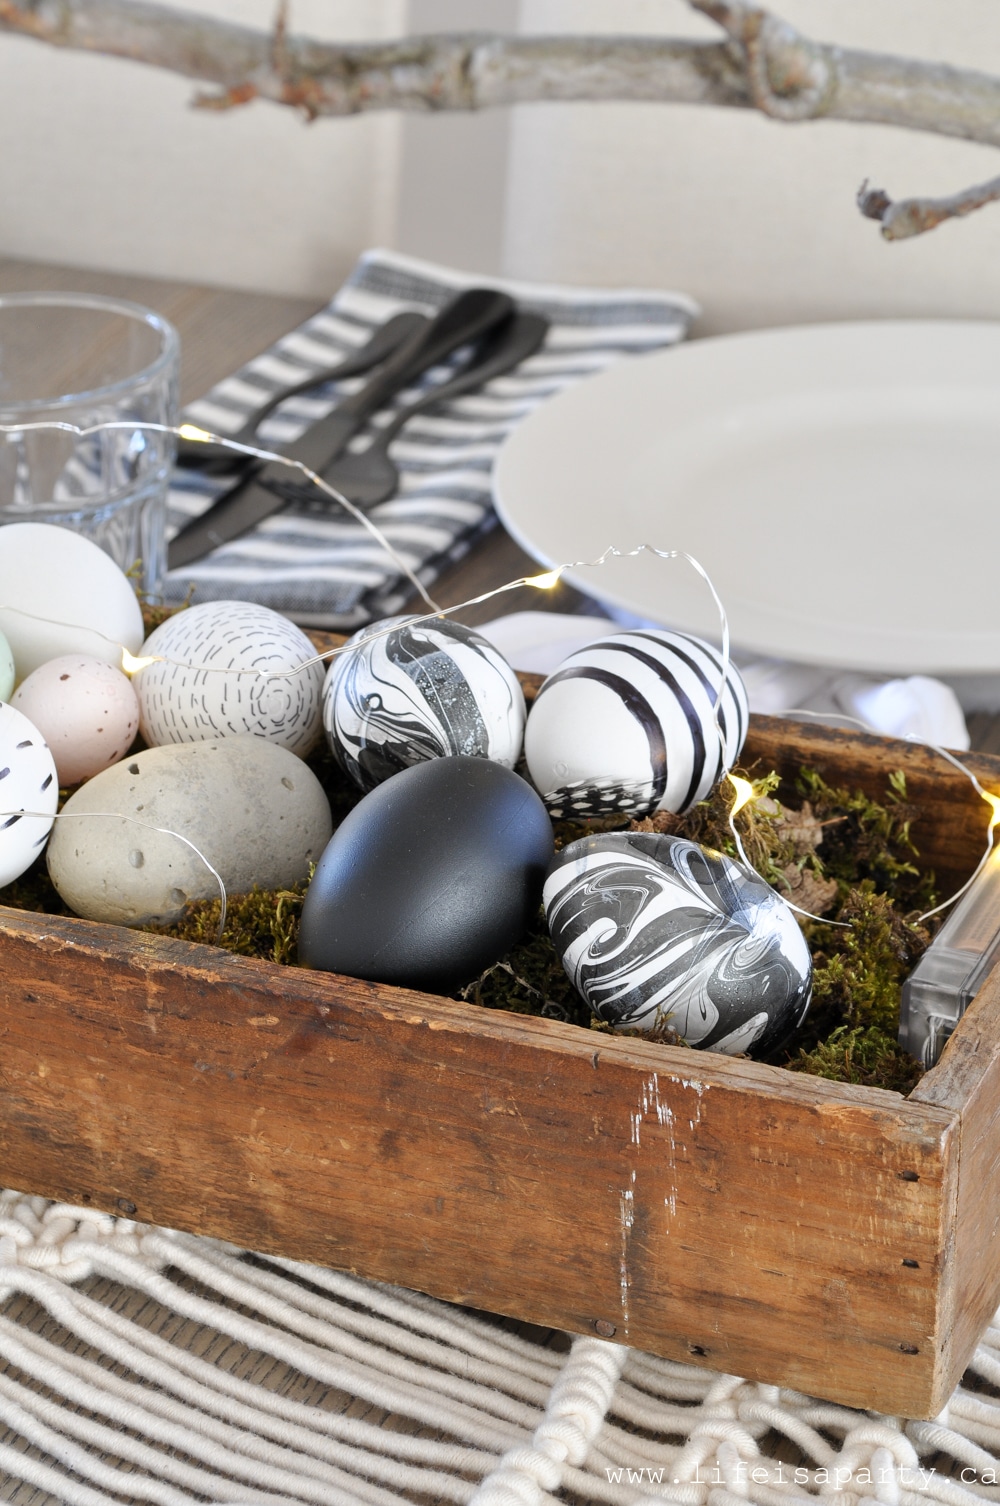
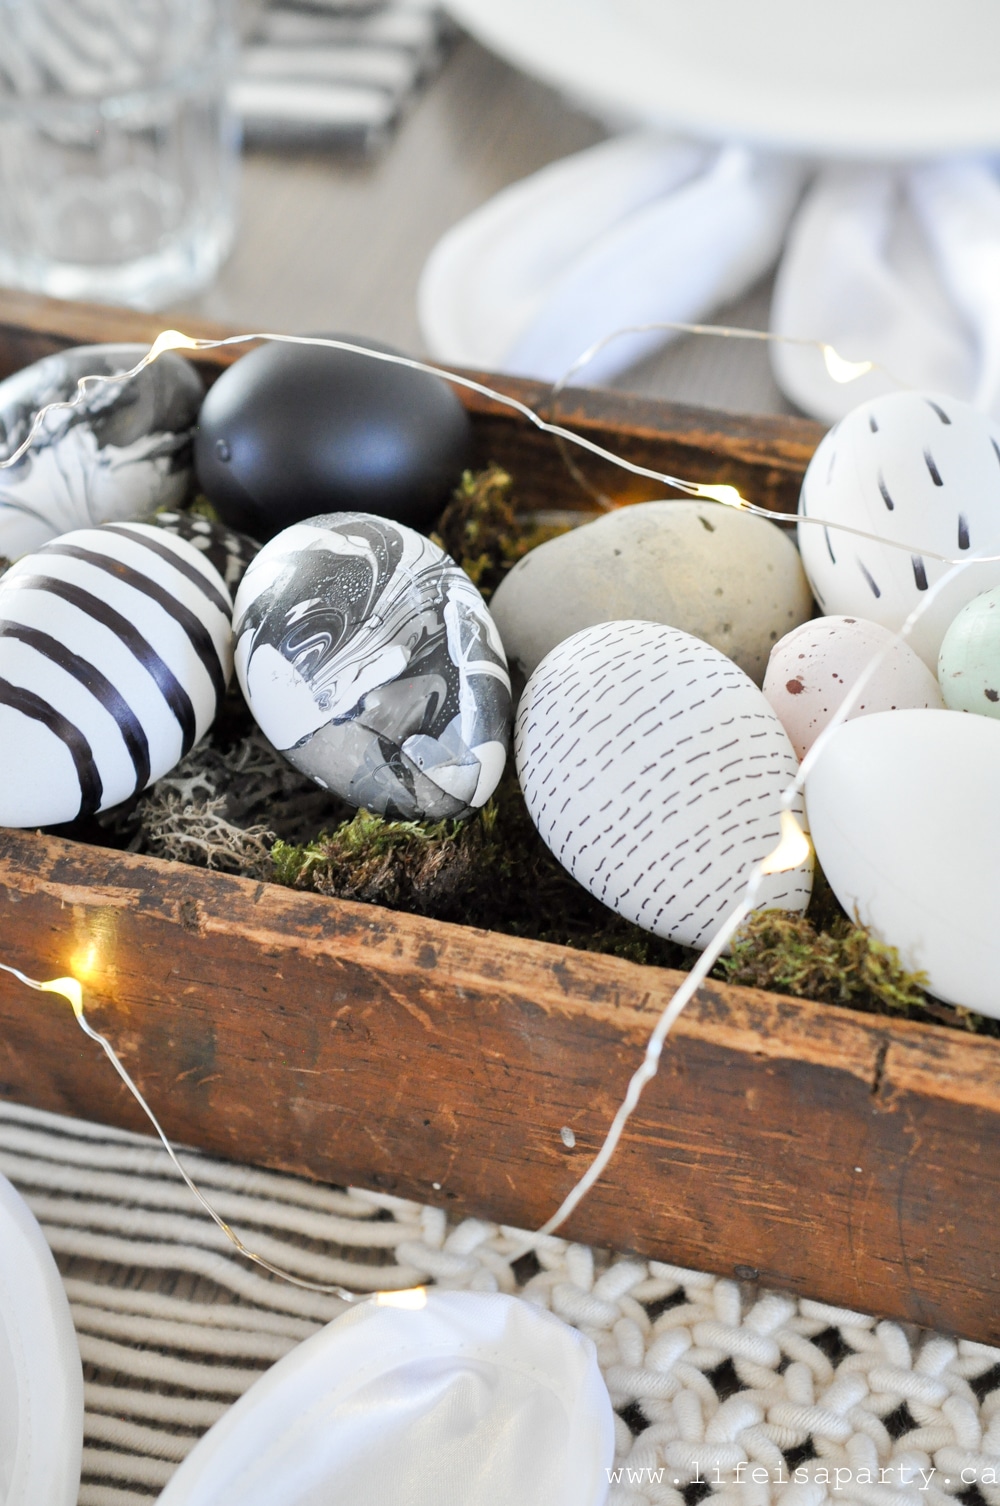
I really love how these turned out in black and white. You could make them in any colors like a bright and colorful combination, or in traditional Easter pastels. When your buying new nail polish for this craft feel free to pick up the really inexpensive nail polish from the dollar store. The only thing that matters when you're choosing the nail polish is that you like the colors. We used just black and white, but if you're using different colors you can use several together to create a more colourful almost tie dye effect if you wish. Try different color combinations to create an Easter decoration look you love.
Eggs
For this paint effect we choose to use white plastic craft eggs. Look for them at the dollar store or the craft store. I like them because they're inexpensive and have a matte finish on them that takes paint very well. Because they're plastic, you can reuse them year after year. Since nail polish isn't edible, I won't use this method on real hard-boiled eggs. I won't use real blown out eggs for this craft either. Because the nail polish floats on top of the water and you dip the eggs to create the marbled look, the eggs have to go in the water. Blown eggs have holes in them, and they would fill up with the water and be hard to work with for this craft.
Materials
- plastic craft Easter eggs
- disposable container large enough for the eggs to dunk completely into
- disposable gloves
- nail polish
- toothpick or wooden skewer
- old newspaper to cover the table
Instructions
- To make the eggs, fill your container with water.
- Add a few drops of nail polish onto the water's surface (since it's oil based it will not mix with the water, but float on the surface of it). Next, add your second color of nail polish to the water.
- Use a toothpick to swirl the colours of the nail polish together and create the marbled effect.
- Dip the eggs in and then let them dry. If the whole surface isn't marbled after the first dip, once the eggs dry, you may dip the other side again.
Tips:
Be sure to wear the disposable rubber gloves and cover your table, and line your bowl, or use a disposable one. Nail polish is messy and hard to get off, so it's much easier to protect the surfaces where you don't want it.
Work Quickly. The nail polish will start to dry as soon as it hits the surface of the water, and it will become more and more difficult to work with. The faster you can mix your colors together to create the swirled effect, the better. It's better to work in small patches, dip on side, let the egg dry and redip the other side.
This craft is very forgiving. The swirls tend to look really great on the egg, even if they didn't look so great in the water. Remember as well, that you can redo a section, so don't be concerned about covering the whole egg in one go.
?The craft eggs that I bought had little cardboard pieces to use for drying the eggs on. If you don't have these you can use an empty egg carton, just try not to let the painted part rest on the cardboard or it may stick once it dries.
YouTube Video
Sometimes projects like these are easier to see than explain, so here's a short video of how to make them.

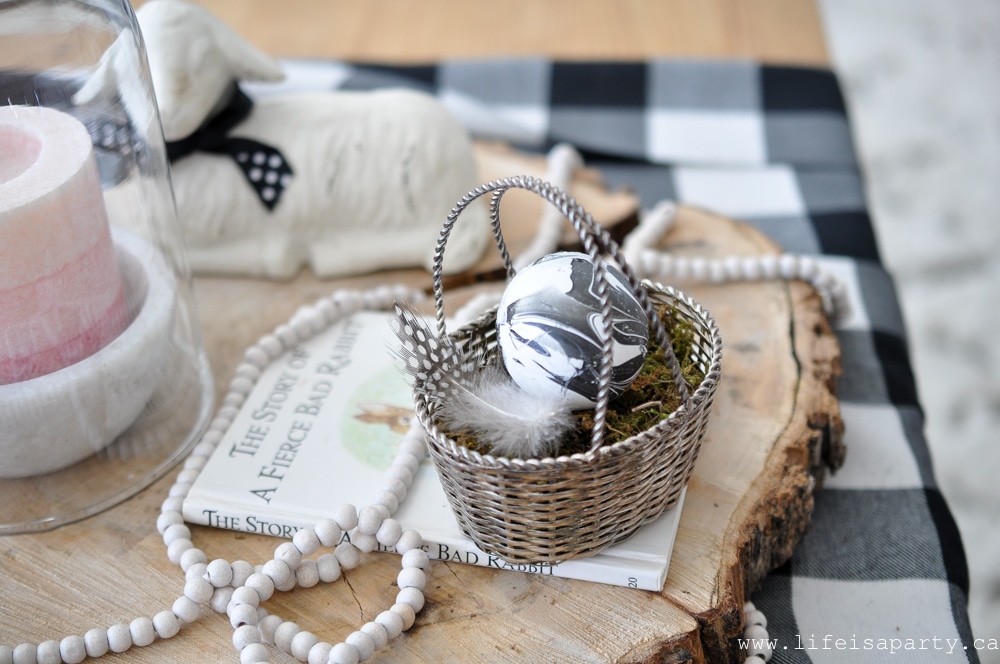
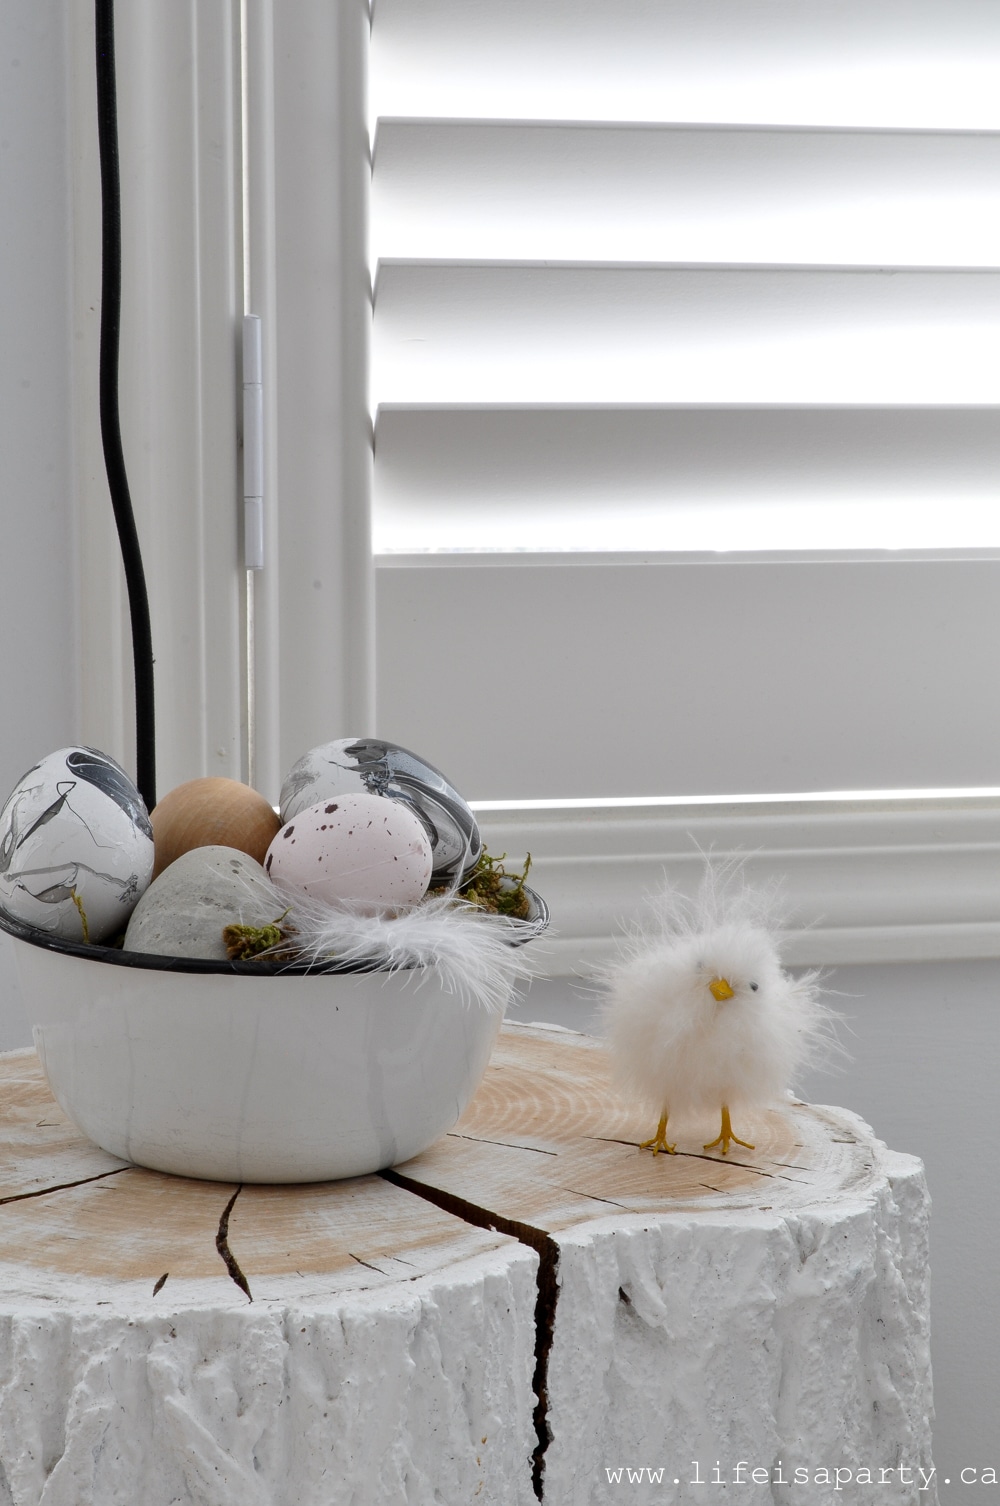
These nail polish marbled eggs will be a great addition to your Easter decor this year. I think this is my new favorite way to decorate Easter eggs. This fun method makes a beautiful egg. These would look great in Easter baskets, or hanging on a branch. This is a great craft that's so much fun to make.
If you're used to doing traditional egg dyeing, why not give this simple Easter egg marbling technique a try. Younger kids will love it, and it's a great way to spend time with friends or family this Easter. It's a good idea to help get the teenagers involved as well. And the best part is how great the finished eggs look, and that you'll be able to enjoy them year after year.
With Nail Polish Marbled Easter Eggs, life really is a party!
More Easter Inspiration
Also check out our Black and White Easter Table here.

You might also our Black and White Easter home tour post here.
Also check out our DIY Black Paint Dipped Brass Candlesticks here.


Leave a Reply
You must be logged in to post a comment.