DIY Tree Stump End Table: what wood to choose for tree stump end tables that will keep its bark, and not fall off as it dries, and how to paint them.

I've been wanting some a DIY tree stump table for ages. This is a really easy project, that only requires a few steps. This tree stump side table project is sure to add lots of natural beauty to your home.
My problem has been that I live near the city, and don't have access to things like trees and chainsaws anymore. There is a little place near my house though that sells firewood. One day I stopped in to see if they had any good stumps, and how much they'd be. I struck gold.
DIY Tree Stump Table Materials:
- honey locust hardwood tree stumps
- sandpaper
- primer that blocks heavy stains
- gloss white paint
- white felt
- wood glue
How To Make Tree Stump End Tables
1.Choosing Your Wood
The guy who ran the place where I bought the wood was interested in my project, and when I told him I wanted the bark to stay on to add texture, he suggested some honey locust hard wood he had. He said that honey locust was the only wood he knew of that kept its bark even after it's dry. Update: after eight years the bark is still attached and looks great!
I went in for one stump, but the only thing better than one great stump is, of course, two. So I went for it and got two. He cut one to make it a little shorter for me, so I'd have two heights.
With other types of trees, the bark will usually fall off as it drys. You can still use other types of trees, and remove the bark before painting or staining. For the bark removal process, use a wood chisel or a flat tip screwdriver to get underneath the back of the back and pry it off the stump. Take care not to gouge the wood underneath. Having to use wood filler for this project would take away from the natural beauty of these unique pieces.

2.Drying The Wood
The next step is to let the DIY tree stump table dry. It's important to let the wood dry out a little before bringing it into your house for this project. If the wood isn't dry enough, it may split as it drys too quickly with the high temperatures of indoors and you'll be left with large cracks down your stump, it might even slit in half. The only way to avoid this is to let it dry slowly for quite a long time, from a couple of months, up to a year, in a dry place like a garage or barn. This requires a lot of patience. We let ours dry for a couple of weeks in the garage, it did eventually crack when it was in the house.
I also found that the first and second spring that these large stump tables were in my home, they sprouted leaves. Several times I had to break off green leaves shooting out from the entire tree stump. I'm sure that this is because I was impatient and didn't let my own tree stump coffee table dry out enough before bringing it inside.
3.Primer
Next I headed to the hardware store and picked up a primer designed to cover the natural wood tannins, and some gloss white paint. Primer is an important step in this project. Without the top coat of white paint may appear yellow in some areas.

4.Sanding The DIY Wood Stump Table
For our DIY project, the next step was to sand the tops of the tree trunks. I sanded the tops of the them smooth, with some sandpaper. You can do it by hand or make it quicker with any electric sander, like a belt sander, or a palm hand sander. This will give the top of your stump a smooth finish. Be sure to clean the dust off of your wood stump side table well before painting.
We only sanded the top of the DIY tree stump table, as ours had bark on the sides, but if you were using wood from a different type of tree that won't keep it's back and removing it to, you could also sand the sides and rough edges of the stump and remove any rough spots.
5.Painting
Next I primed and painted the entire stump with the glossy white paint. I used several coats. Because I choose a glossy finish I didn't add a sealer. I love the look of the glossy white for a modern mix with the natural elements. You could instead do a color of your choice that matched your decor.
If you choose to leave the tree trunk tables with a more natural look, you could leave them un-primed or painted and finish the wood with just a few coats of polyurethane. Look for a non yellowing one.
6.The Bottom Of The Log
I also covered the bottom of the stump tables with some white felt to help protect the floors from any scratches. The felt is glued with some wood glue.

I love, love, love how they turned out. They're even cooler than the West Elm version.


I set them up as little tables in my dining room, and love how they look with our woodland theme for Christmas. Perhaps after Christmas I'll move them into the living room, or family room as a coffee table.


With my DIY tree stump end tables, life is really a party!

More Inspiration
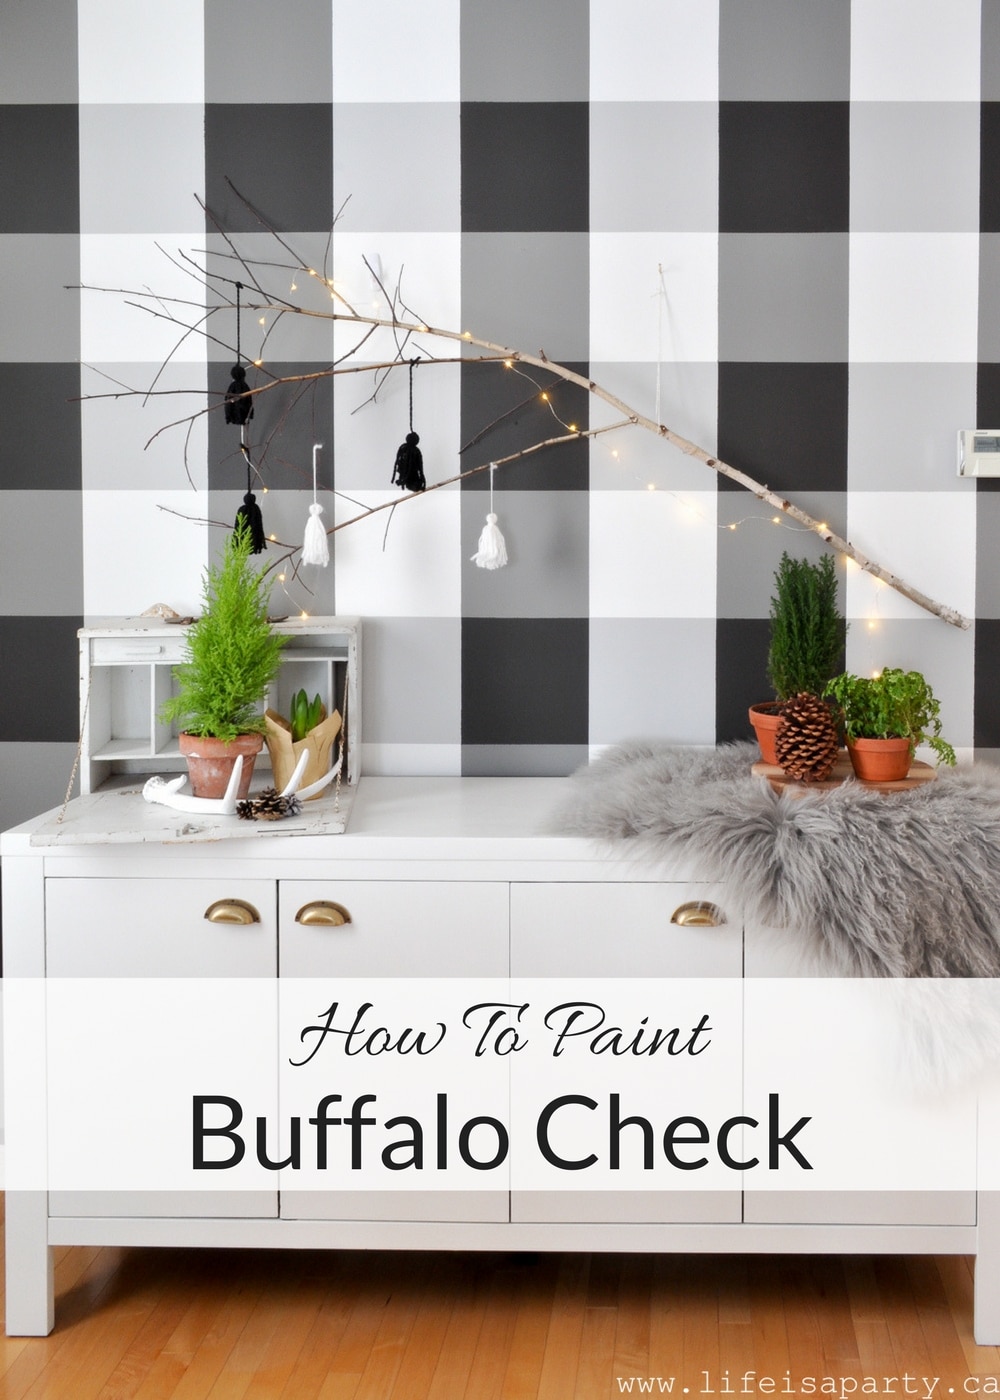
You might also like How To Paint A Buffalo Check Feature Wall.
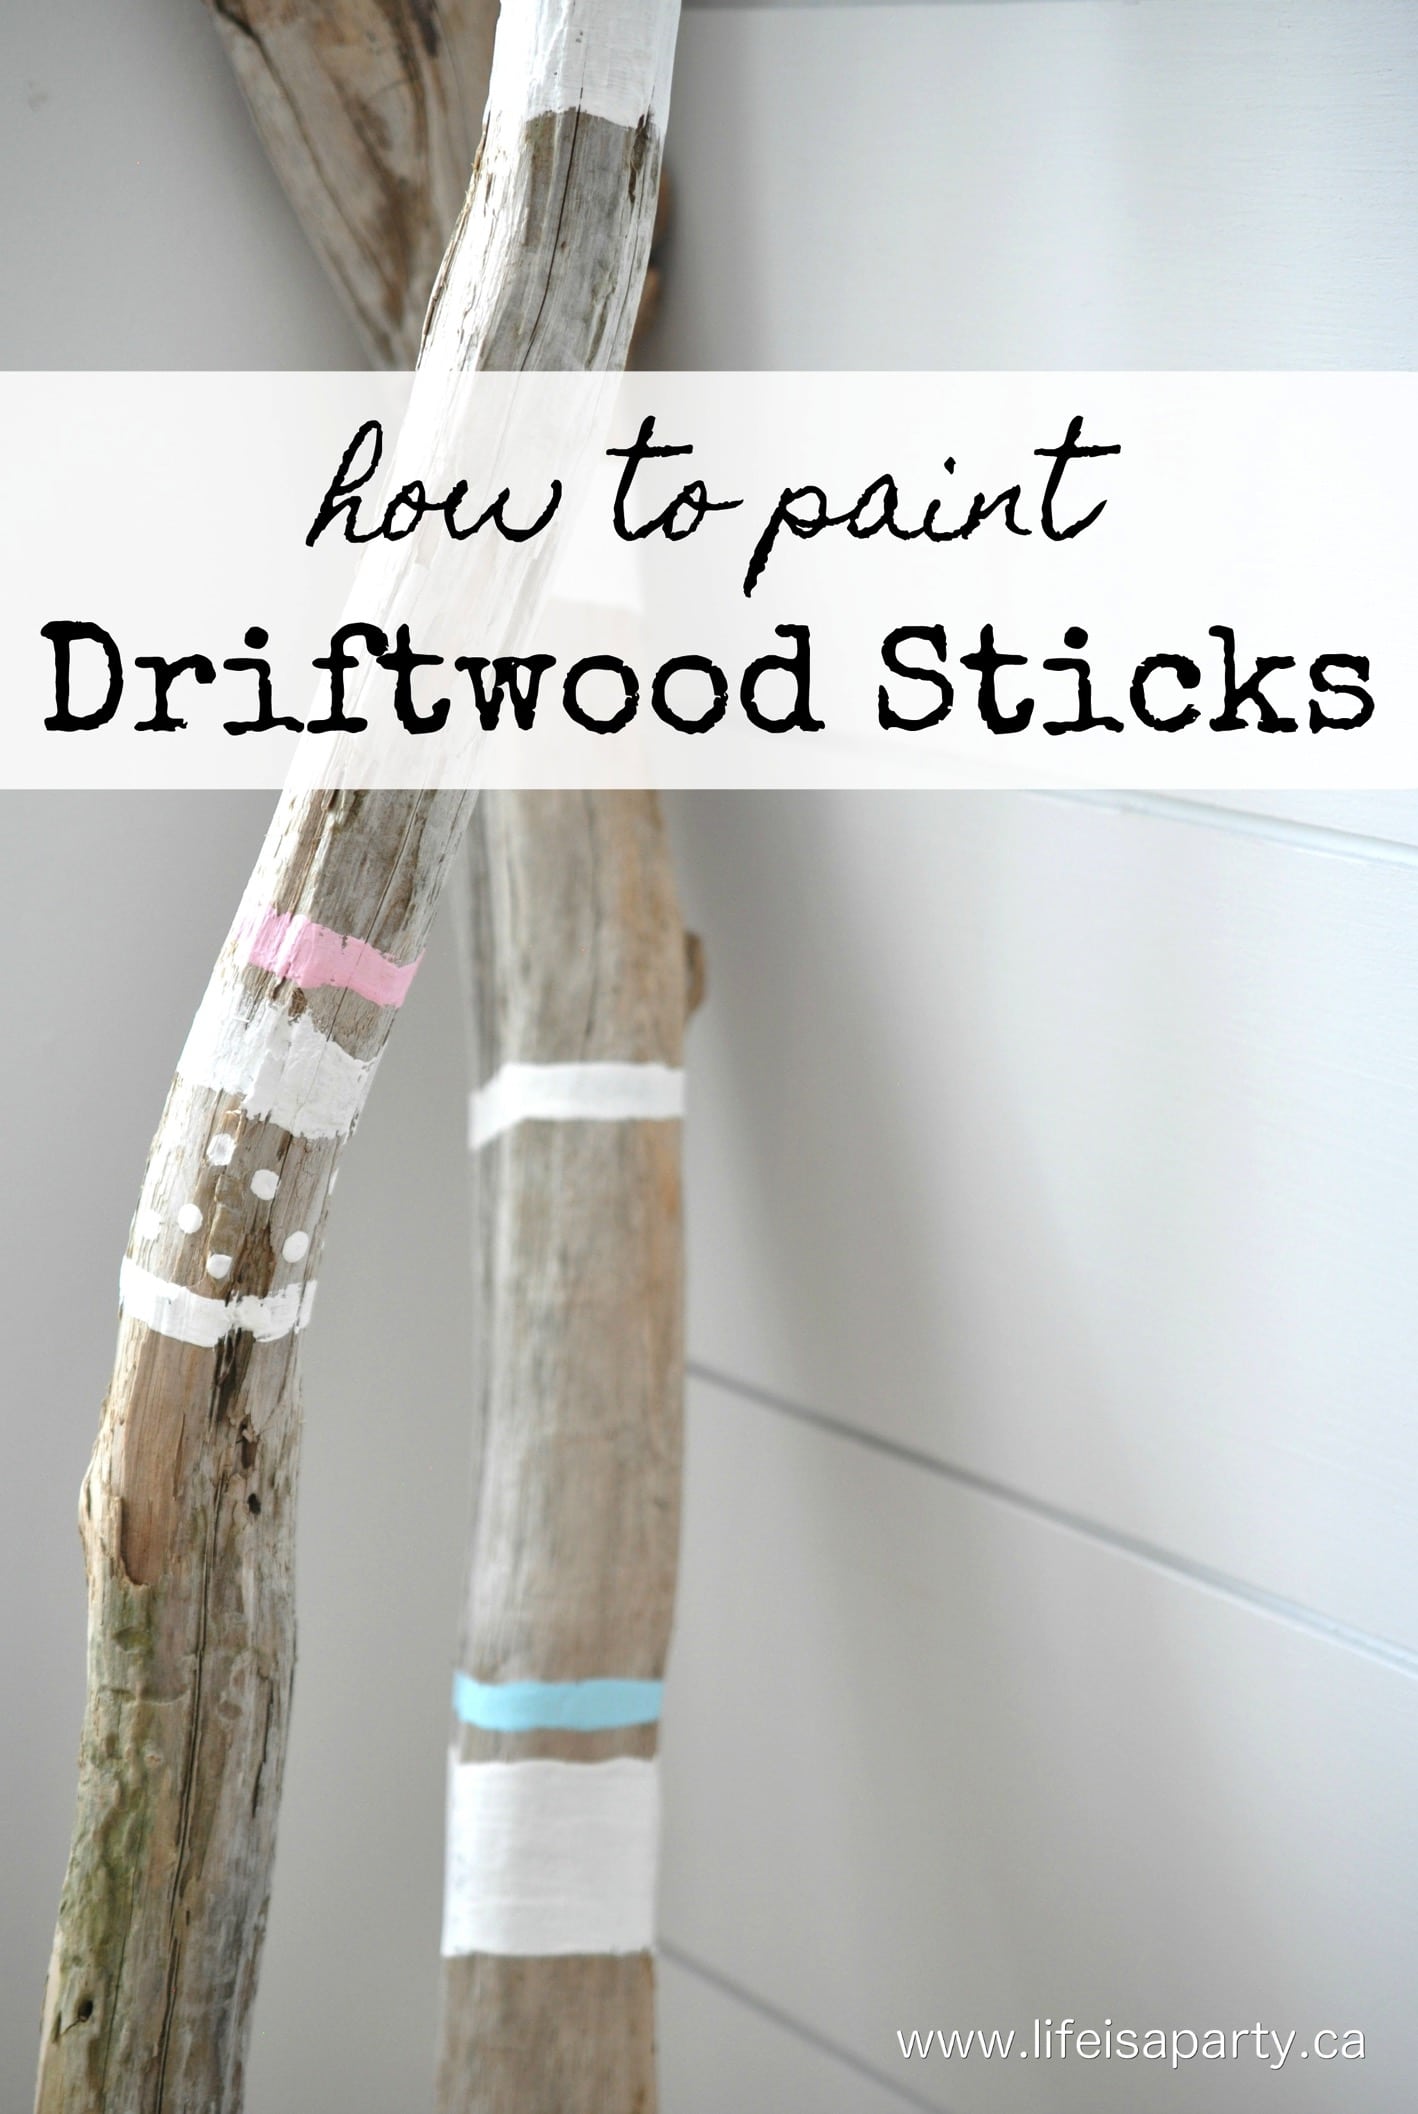
Also check out DIY Boho Driftwood Sticks here.
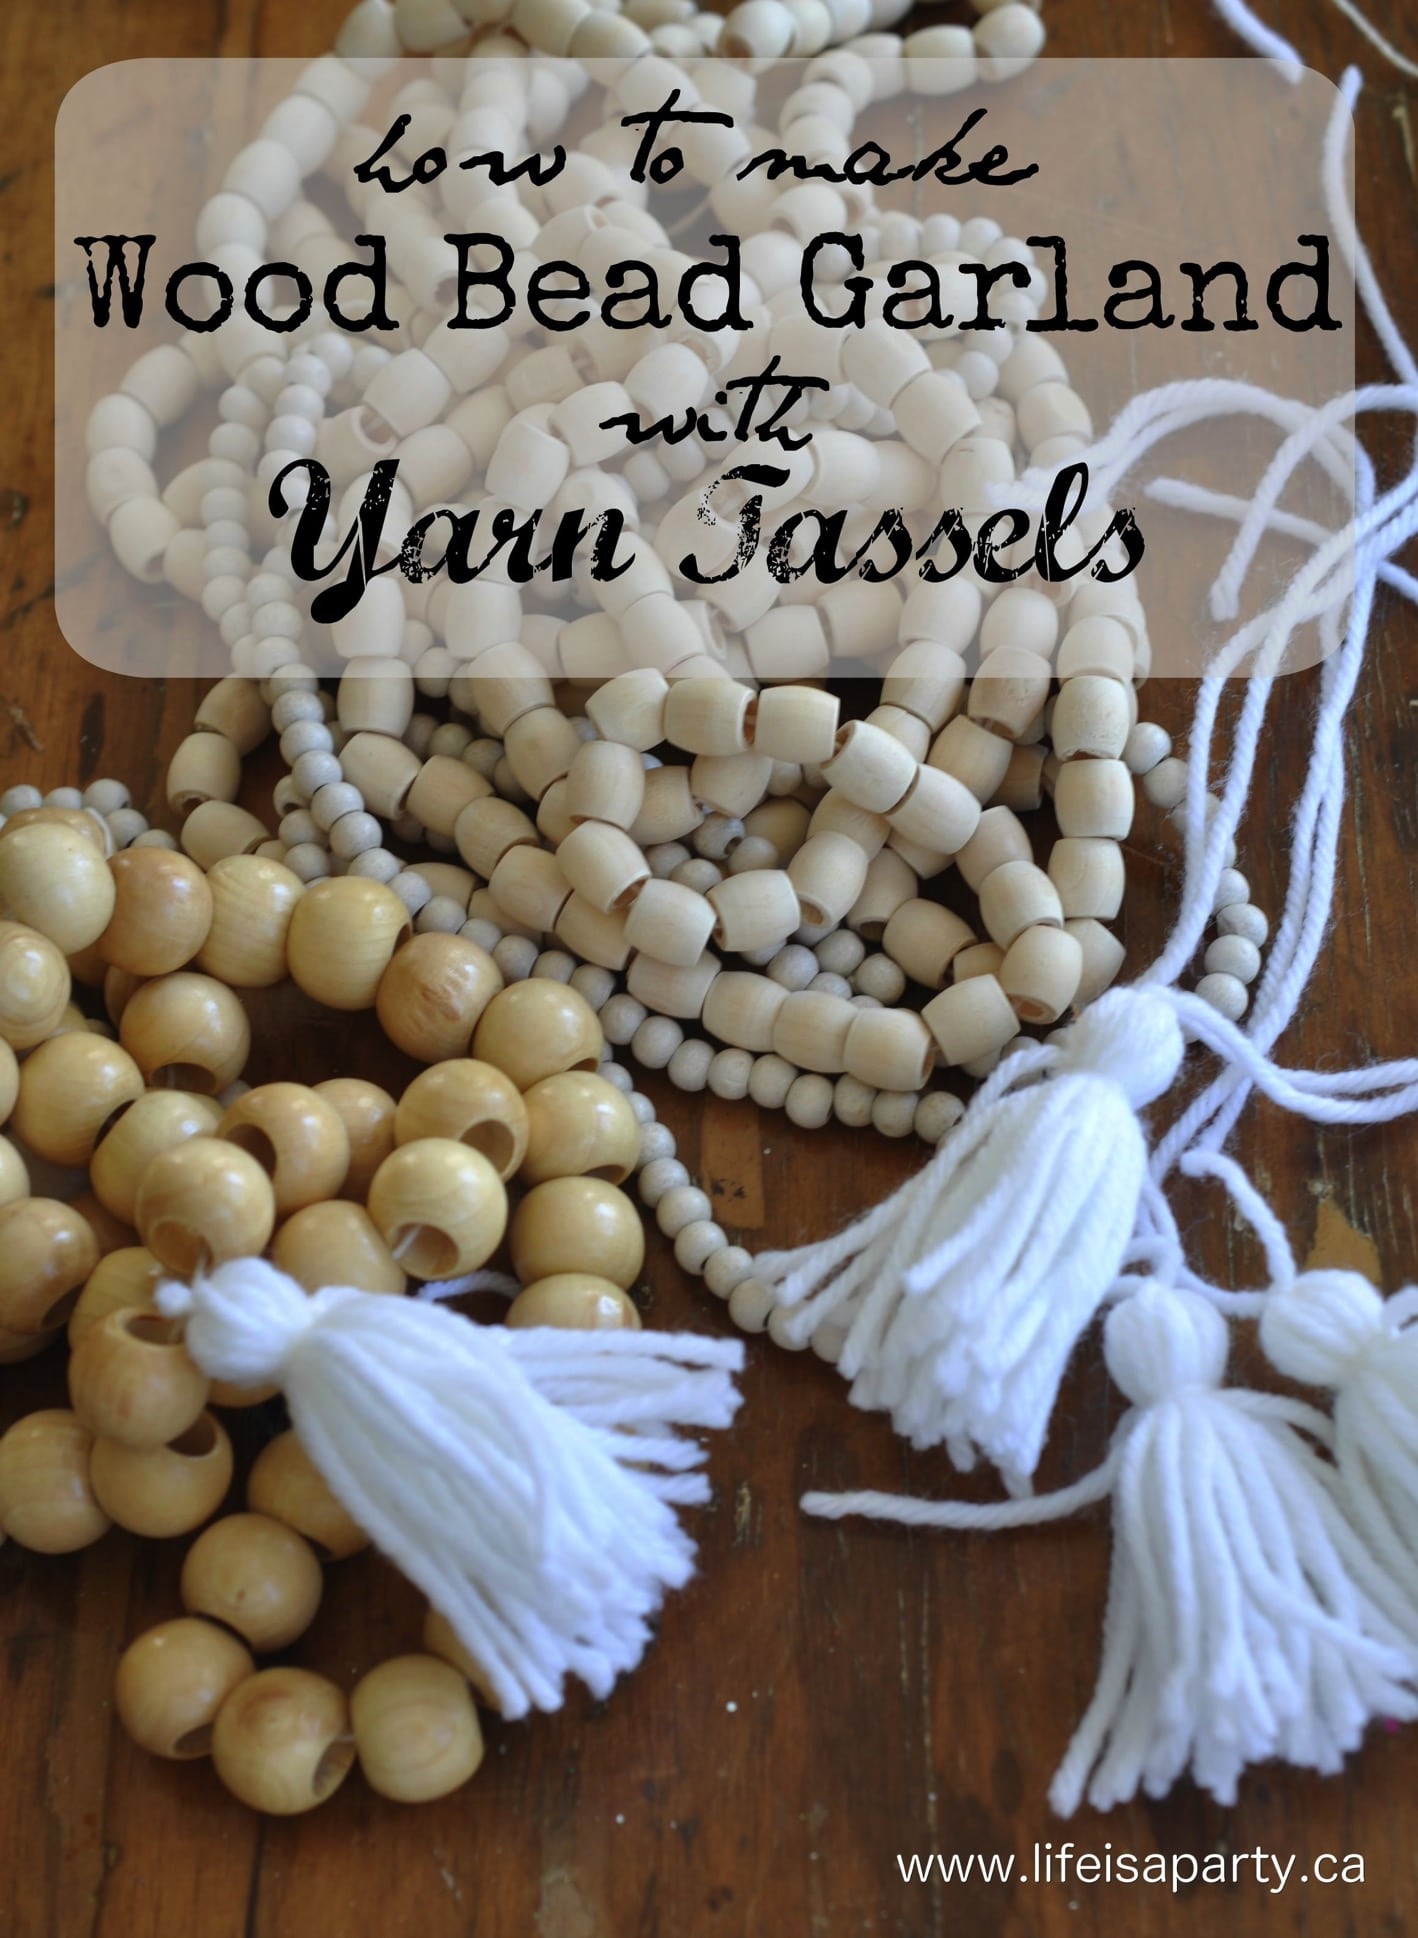
You might also enjoy our How To Make Wood Bead Garland.


Dannyelle says
Thanks, they're still going strong all these years later. A really fun DIY project to tackle. Good luck with them.
Dannyelle
landscapes nanaimo says
I love your tree stump tables. I'd like to make my own in my backyard, Maybe this spring I'll built my own one. Thanks for the ideas.
Sarah Abraham says
I read your article on DIY tree stump end tables and I loved it! You did a great job explaining what wood to choose for making these tables from tree stumps that will keep the bark intact and paint them. Your instructions were easy to follow and gave me a lot of ideas about how to make my own DIY table too.
Christopher Salmons says
Tree Stump End Tables I have many tree stumps in our backyard, because the trees were cut done when the road was reconstructed, I'm happy to know that it can turn into a table, thanks for posting this kind of blog, it will be a big help to me and also for someone out there who want to make this DIY.
Jennifer rizzo says
Coming over from ECC. Cute and clever!
Sara K (@saigewisdom) says
pinning this ASAP
dnr says
Teri, they weren't too hard to paint, just used a good primer and a smallish paint brush to get into all the little spots.
thanks, Dannyelle
Teri Larsen says
Cute! How in the world did you paint them and get every nook and cranny covered?? They look fantastic - was it a pain to get them completely white?