Homemade Sponge Candy Recipe: How to make sponge toffee, including some failed attempts and all the tricks to make it a success. The perfect gift to make for friends and family.

Jump to:
- My First Attempt At Sponge Candy
- Sponge Candy Attempt Number Two -Practise Makes Perfect
- Sponge Candy Attempt Number Three -Third Time's A Charm
- Sponge Candy Attempt Number Four -Last But Not Least
- What Am I Doing? The Doubting Stage
- Friends Taste Test
- What I Learned About Making Sponge Candy
- More Options
- Recipe
- More DIY Christmas Gift Ideas
I thought I'd share a homemade sponge candy recipe, because if your peeps are anything like mine the homemade gift they really want is something super yummy they can eat. Sponge toffee goes by lots of different names. It's sometimes called honeycomb toffee, hokey pokey, puff candy, buffalo sponge candy, seafoam candy, cinder toffee, or angel food candy. Most of the names come from the unique texture of the candy. It's a crunchy toffee but also an airy candy, because the toffee is full of bubbles. It's sticky and crunchy but also has an airy texture. This delicious candy is made from simple ingredients and is the perfect treat for gift giving. Serve it as is, add a sprinkle of fleur de sel, or dip it in melted chocolate and package it in a beautiful bag or tin as a gift.
My First Attempt At Sponge Candy
I've never made a sponge candy recipe before, but broke out my trusty candy thermometer and decided to give it a try for the first time. As with any candy recipe, the directions are really specific. It's science after all, so no "a little bit of this, a little bit of that" it's more like a controlled chemistry experiment.
It was all going so well. I made the candy after much research and followed all "the rules": 300 degrees, no stirring after the sugar is dissolved, add in the baking soda but don't over stir. I tasted a tiny little bit I'd put aside as a tester and thought it was perfect.
The candy takes a couple of hours to set, so after it was finally ready I tried a little of the edge, it was so, so good. Sweet, crispy, lots of bubbles -exactly what we were going for.
So, since the candy was for this blog post and I needed to get a photo in for the collage I set about dipping it in chocolate, setting up a picture, and working away. As I worked away, I just might have nibbled away. And as I nibbled the burnt taste of caramelized sugar gone too far became more and more pronounced. I burnt it.
But, hey it was my first attempt. Try, try again.
Sponge Candy Attempt Number Two -Practise Makes Perfect
I had to run some errands so when I got home that night I attempted another batch. This time I was super careful about the sugar -because it's tricky to get it to 300 degrees (hard crack stage) without burning the sugar first. And you have to get it up to 300 so that the toffee will set properly and be crispy. The second time I turned the heat down a little and watched it like a hawk. I even calibrated my thermometer. I couldn't recommend a recipe to you on the blog that didn't work, so I had to figure this thing out.
Second batch and the mixture was still mostly clear by the time it got to 300, and tuned a little amber with the addition of the baking soda, just like my research told me it should and definitely not burnt this time.
But…you knew there was a but coming, it didn't foam up like the first batch.
Sponge Candy Attempt Number Three -Third Time's A Charm
So, the next day when I got home that night I attempted batch number three. It came out pretty much the same as the first batch. Nice big bubbles and burnt.
I had the ingredients to do one more batch, so it was back to try, try again.
Sponge Candy Attempt Number Four -Last But Not Least
Batch number four I again cooked at a much lower heat, and again succeeded in not burning it, but again not as big of bubbles.
Here's a side by side comparison, with the over done, slightly burnt batch on the left, and the better one on the right.

What Am I Doing? The Doubting Stage
After attempt number four I was starting to doubt myself. In fact I was thinking that after one full bottle of corn syrup and a bag of sugar that I should really be writing to you to save your time, and effort and invest the money for my four batches into a few Crunchie chocolate bars from the store -and if necessary rough them up a little, break them into pieces, tuck them into a cello bag with some ribbon and try to pass them off as your own to your friends and family.
But...
Friends Taste Test
I brought my attempts over to some friends and they loved it -batches two and four that is. They all really, really liked it, and declared it a win rather than a fail. So you see it only takes one bottle of corn syrup, one bag of white sugar, and eight hours to make a lovely Christmas treat for your loved ones -haha.

What I Learned About Making Sponge Candy
Seriously though, just turn down to a medium heat after the sugar is dissolved and you'll be fine -perhaps there's a life lesson here for someone like me who's always in a hurry, got a speeding ticket recently, and only cooks on high most of the time. Patience is a virtue.


More Options
This homemade candy is delicious on its own, but you can also dip it into melted chocolate, if you're a chocolate lover. We dipped some of ours into milk chocolate, but semi sweet chocolate or dark chocolate are also a great choice. Once the candy is set and you break it into bite-sized pieces, just dip them into the melted chocolate and let it set on parchment paper.
If you're a big fan of the salty sweet candy combination, and love salted caramel, you can also add some sea salt to your sponge toffee. When your making it, after you have it in your baking pan, but before it sets, sprinkle the toffee with a little sea salt on top.
We made our sponge toffee for gift giving, and broke it into bite sized pieces, but it's also a great ice cream topping. Break it up into quite small pieces and sprinkle over top of ice cream, for a great chewy, crunchy addition.
Recipe
Sponge Candy
Ingredients
- 2 ½ cups white sugar
- ⅓ cup water
- ⅔ cup white corn syrup it's important to use white
- 4 teaspoon baking soda make sure it's fresh
- Optional -melted chocolate for dipping
Instructions
- Measure and sift the baking soda into a small bowl and set aside. Line a 9x13 baking dish with parchment paper and spray with cooking oil, and set aside.
- Combine sugar, water, and corn syrup in a very large saucepan. (When you add the baking soda at the end, the mixture will increase in volume and be very, very hot so a large pan is essential to keep it from overflowing.)
- Cook over a high heat, and use a wooden spoon to stir the mixture until the sugar dissolves fully.
- Reduce the heat to medium-low and stop stirring the mixture. Occasionally brush down the sides of the pan with a pastry brush dipped in cold water to keep the mixture from crystallizing. Clip a candy thermometer to the side of the pan, and cook until it just reaches 300 degrees F or hard crack stage. Be careful not to burn the sugar, if it starts to turn amber coloured at all, turn the heat down.
- When it comes to 300 degrees F, remove it from the heat and stir in the baking soda until just combined. Be careful not to over stir and deflate the mixture. The candy will have a chemical reaction, and foam up creating wonderful bubbles. Pour the hot candy into the prepared baking dish -taking care as it's very, very hot. Do not smooth it out, or push down the mixture with the spoon as it will deflate it and push all the air bubbles out.
- Let set for about two hours at room temperature, until the candy cools and is hard. Remove from the baking dish, and use a sharp knife to break the candy into large pieces.
- Optional -dip the candy into melted dark chocolate or milk chocolate.
- Be sure to store the candy in a sealed airtight container, it should last for several days to a week.
Nutrition
With a homemade old fashioned sponge candy recipe, life really is a party!
More DIY Christmas Gift Ideas
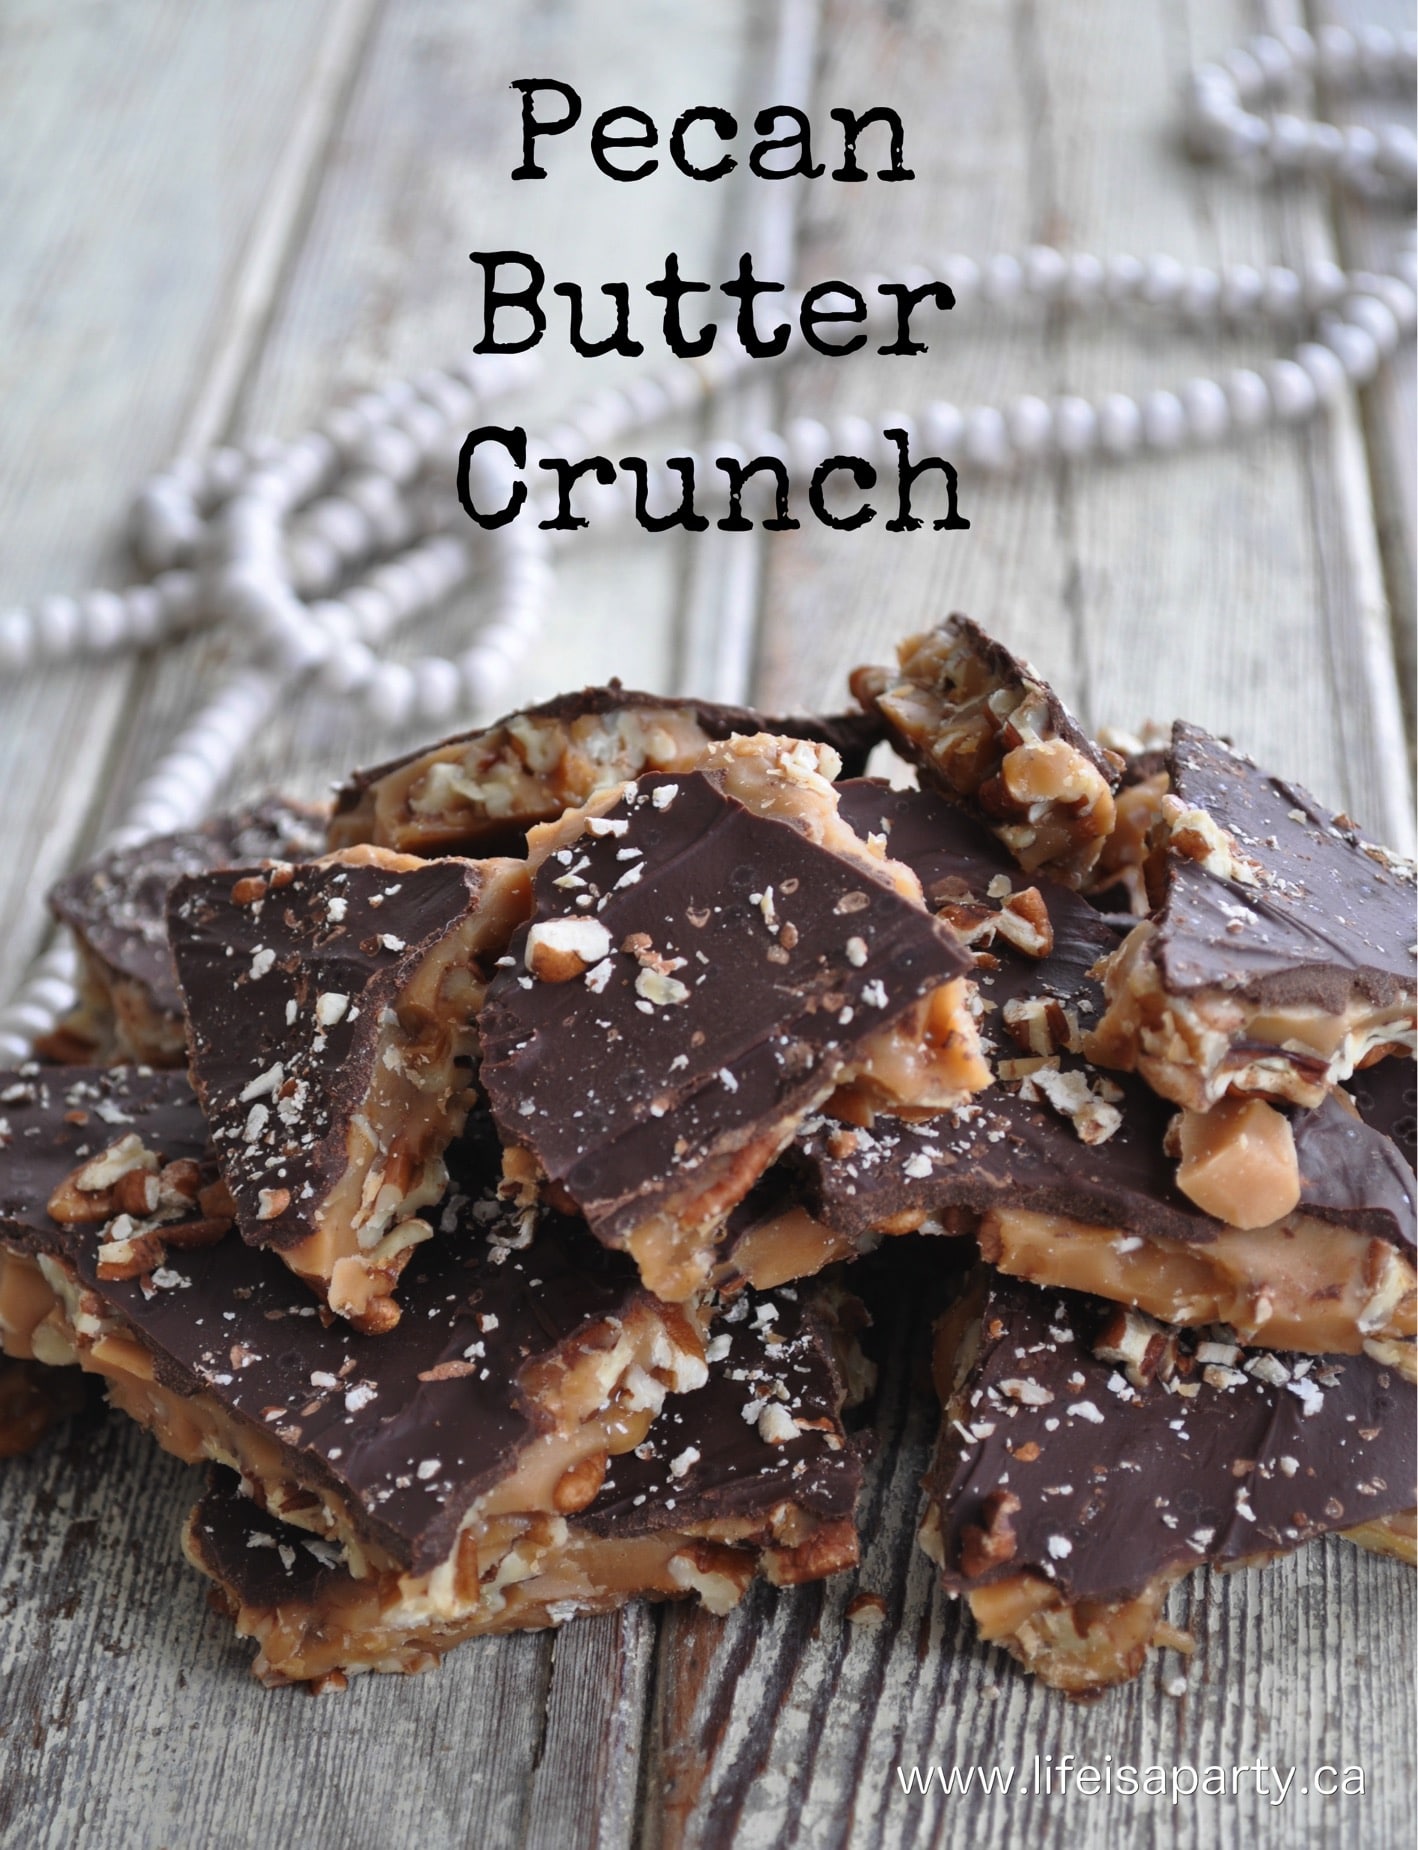
You might also enjoy our Butter Crunch Toffee recipe here.
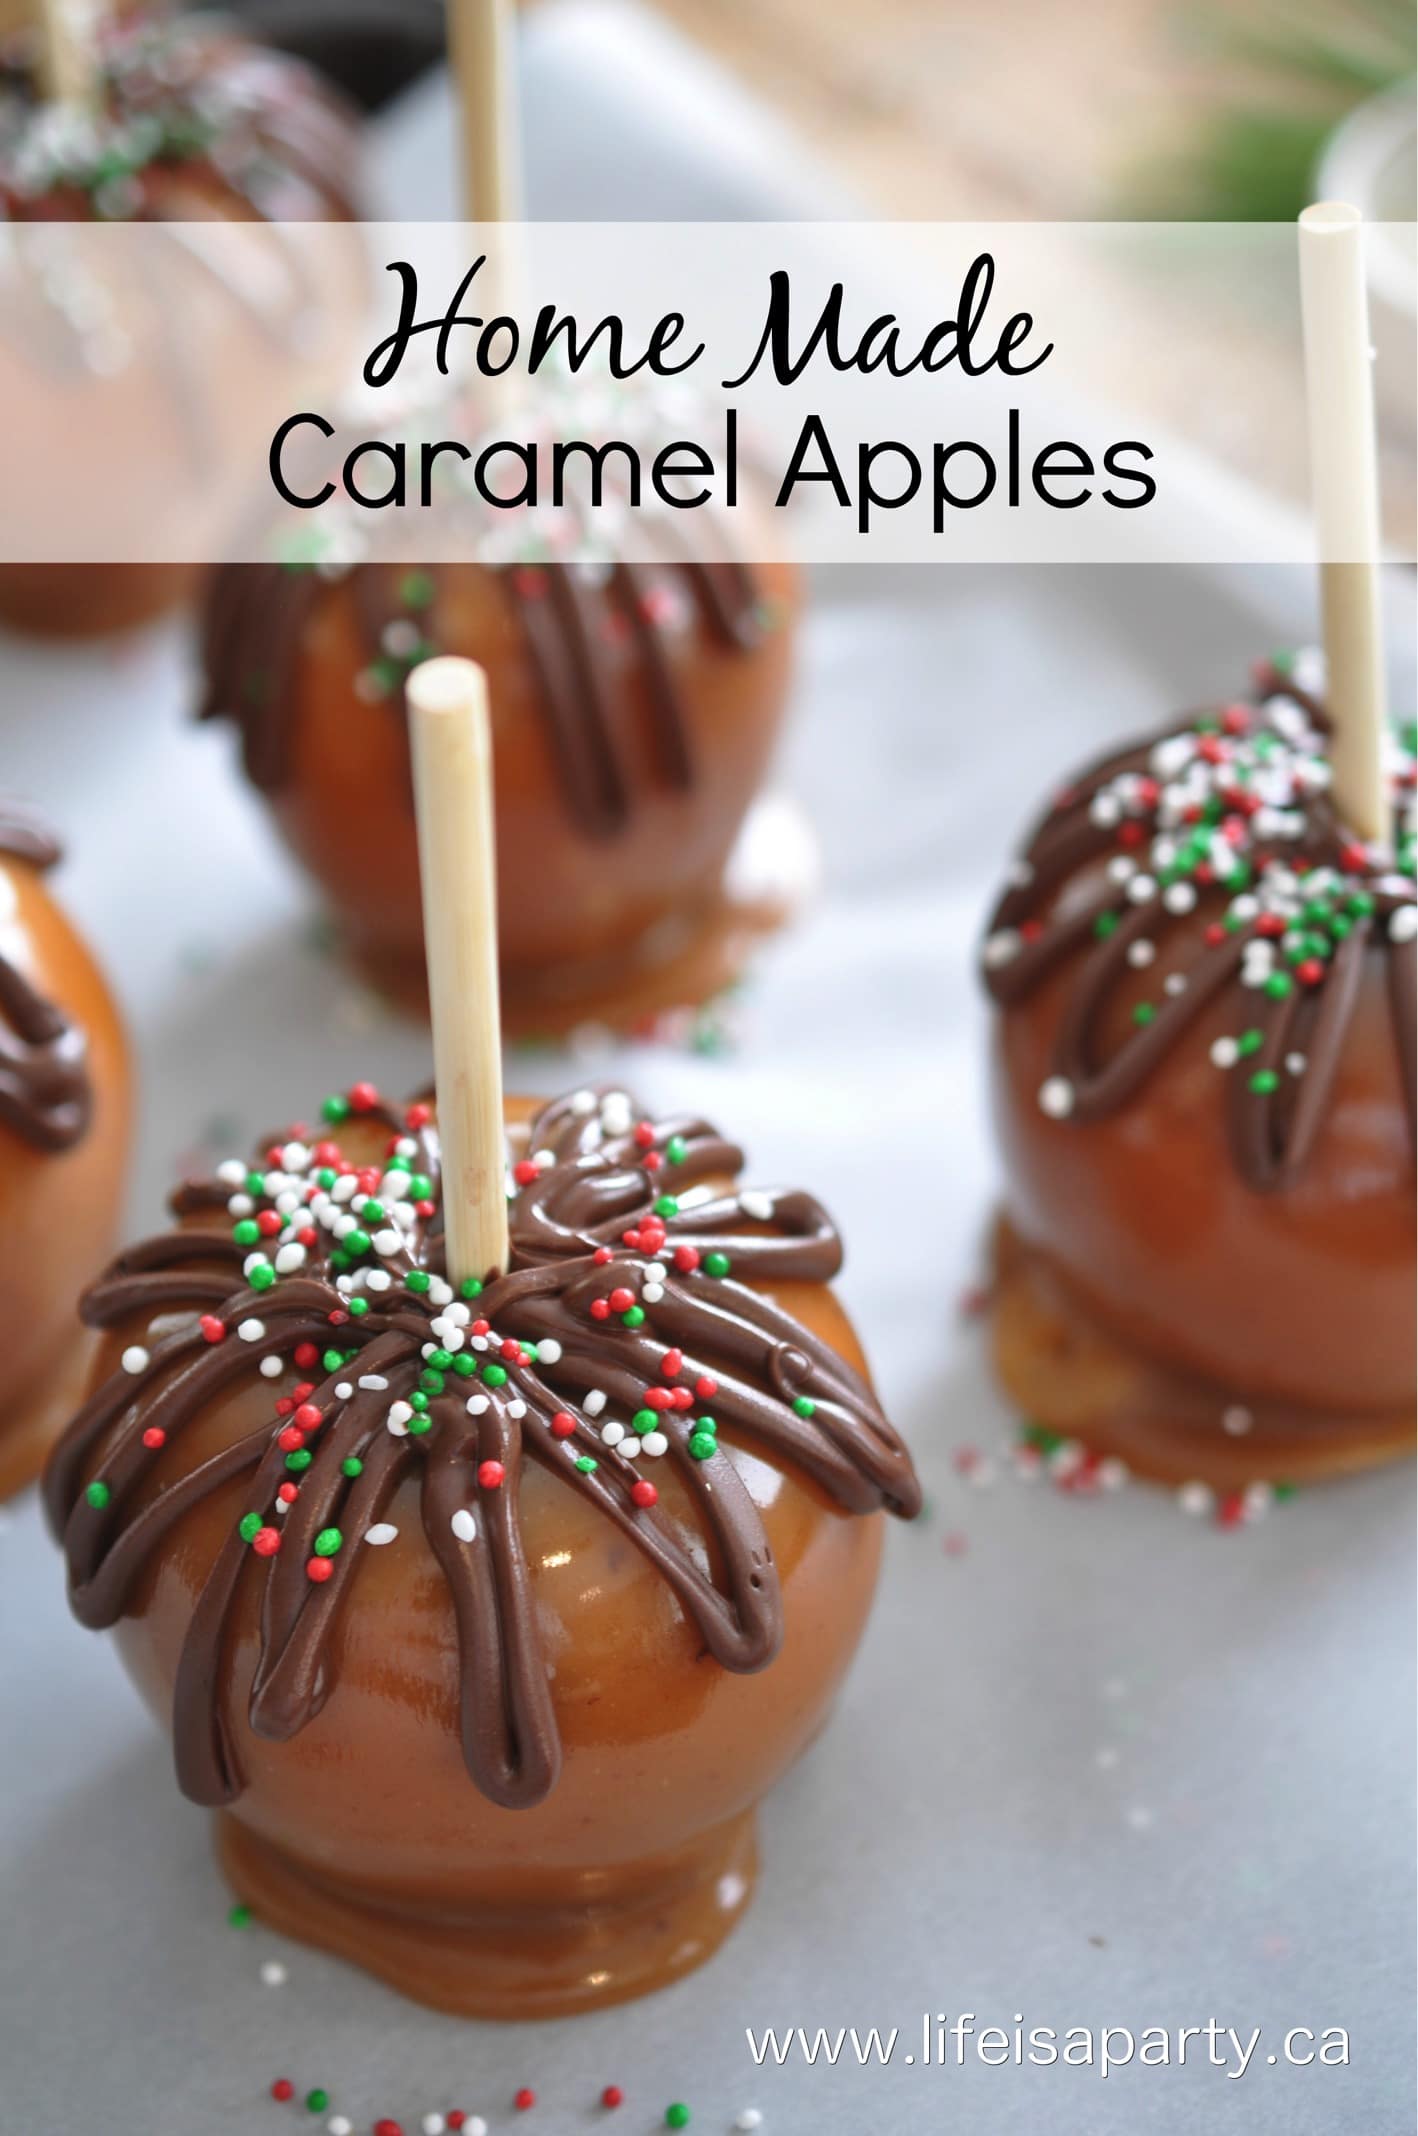
Also check out our Homemade Caramel Apples here.
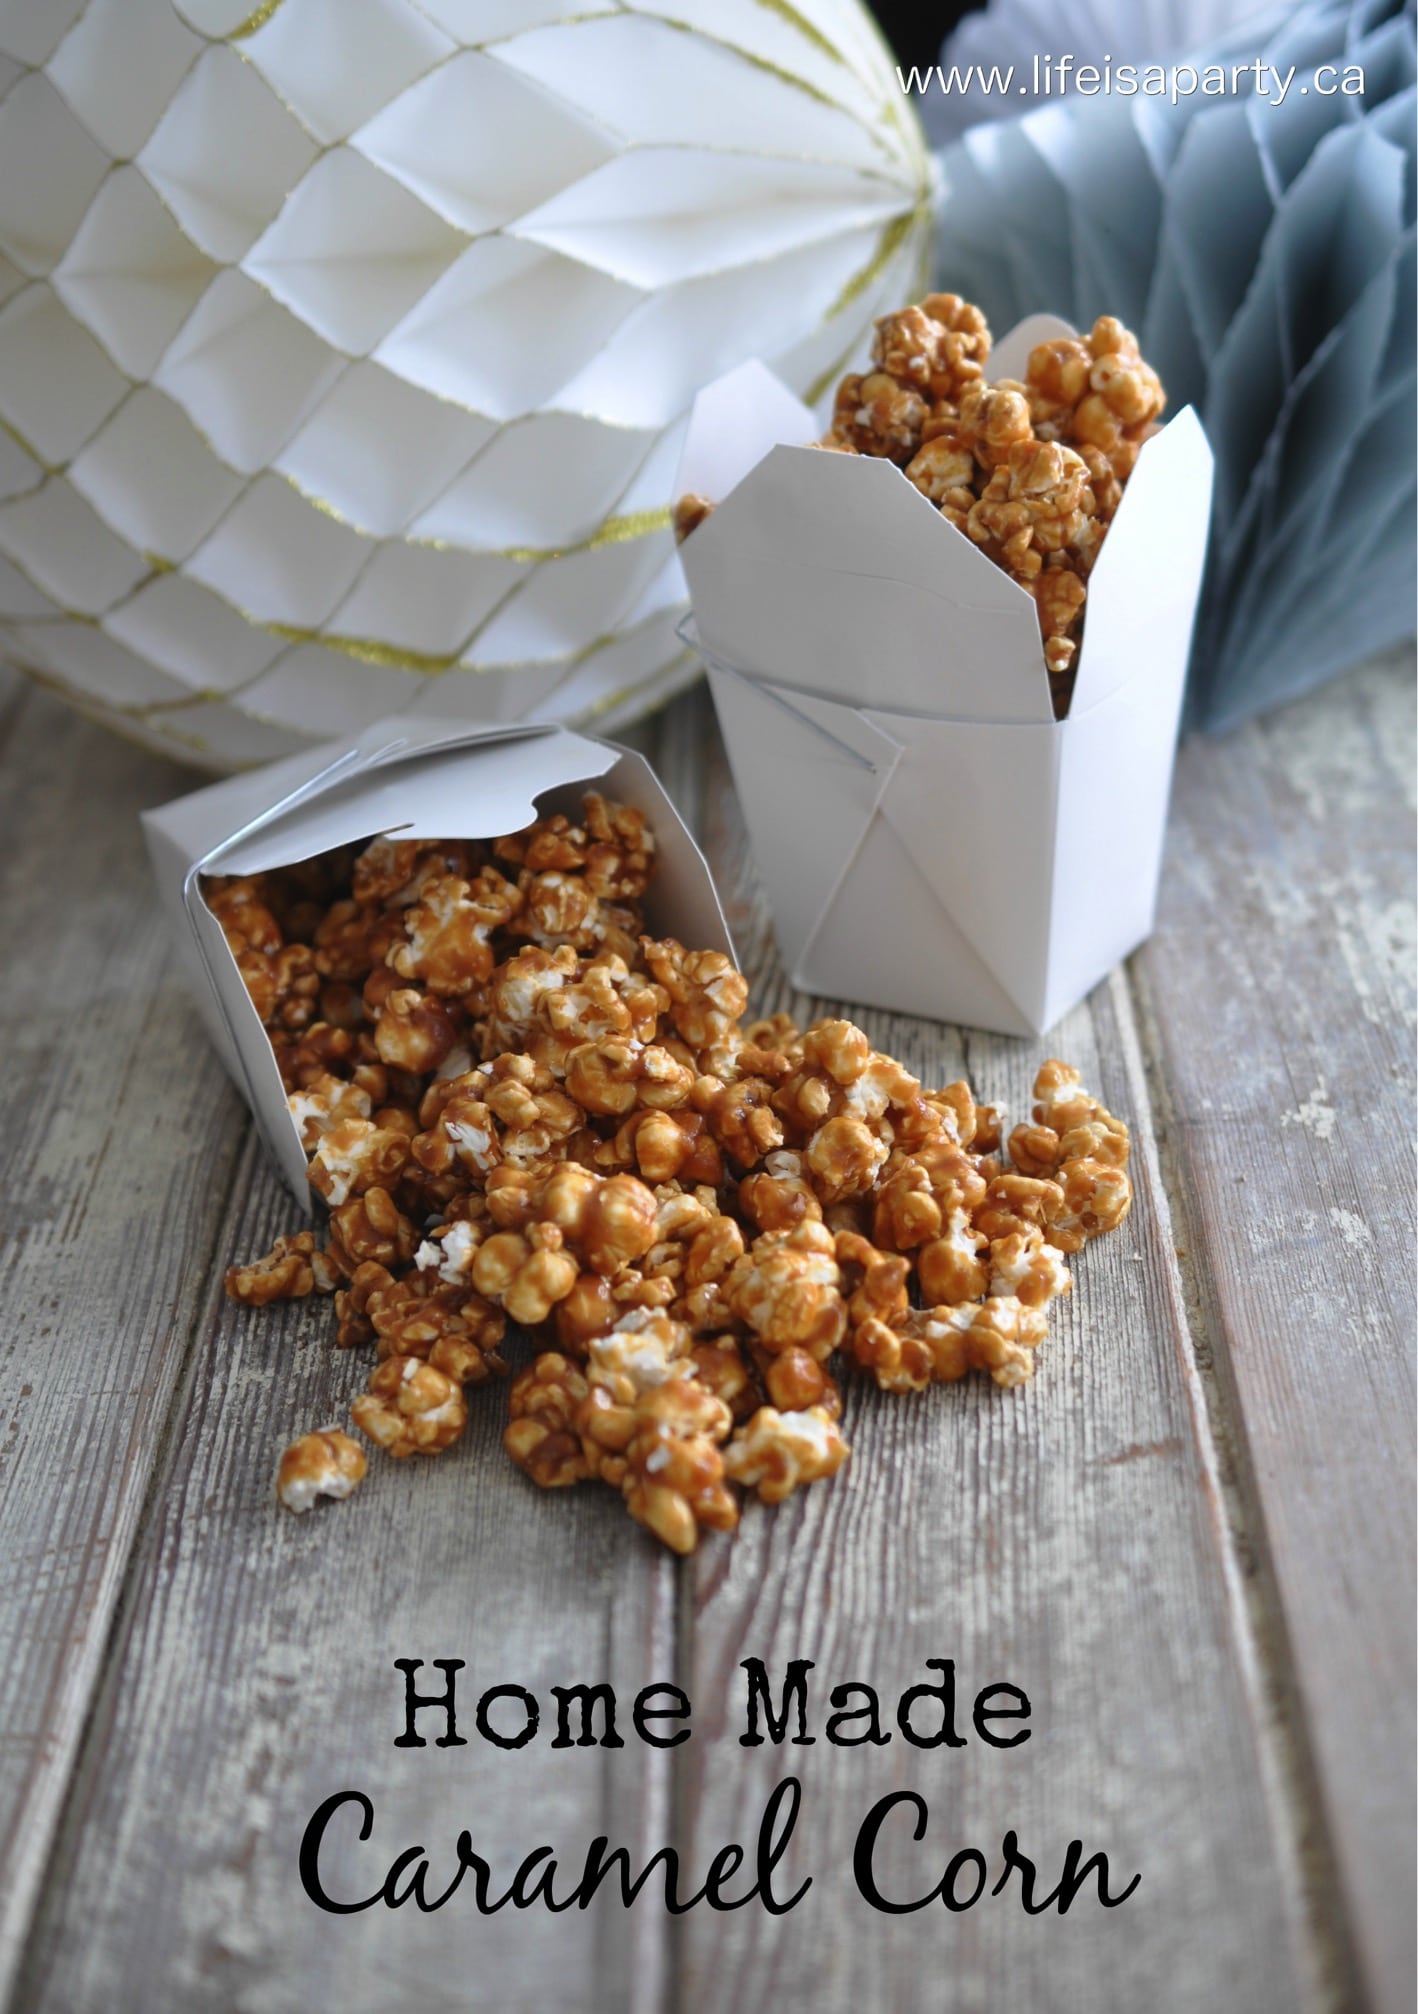
You might also like our Homemade Caramel Corn here.


Cathleen Sinclair says
THANKS FOR THE TIPS ON THE SPONGE TOFFEE. i THOUGHT THAT i WAS LOSING MY MIND BECAUSE MINE ALWAYS USED TO TURN OUT!!
dnr says
Hi Elyne, thanks so much for your feedback. I'm so glad the recipe worked out well for you! If you didn't get a chance to review the recipe with how many stars you would give it, I would really appreciate it. Just click on the stars in the recipe card underneath the image.
Thanks again,
Dannyelle
Elyne says
I know it's been years once you made this post but I wanted to come back here to tell you that your recipe is the one closest to a Crunchie bar that I've found. So thank you. I made your recipe last year to rave reviews and then couldn't find it again. I tried two different recipes today and neither of them was right. Of course I found yours again after the second batch had set up. Sigh. I'm out of sugar and corn syrup for another batch so the first batch (the more successful of the two) will have to do. I've now bookmarked this page AND printed out a copy of the recipe! Thank you for sharing this recipe, your experiment in heating the sugar (super helpful), and for keeping this website going so disorganized Christmas bakers like myself can find it!
dnr says
Cait, sorry no, I don't think you could freeze it.
Dannyelle
Cait says
Sorry if I missed this in a previous comment. Does this freeze okay?
dnr says
Thanks Susan. I guess it's a matter of personal taste; either way a pretty tasty treat.
thanks, Dannyelle.
susan armstrong says
Batch number one looks identical to every piece I have ever bought in Quebec! Coming from there, I know of what I speak. The "burnt" taste is right for sponge toffee, as are the large holes.
dnr says
JC, I think you'll love it. Best of luck with it.
Dannyelle