
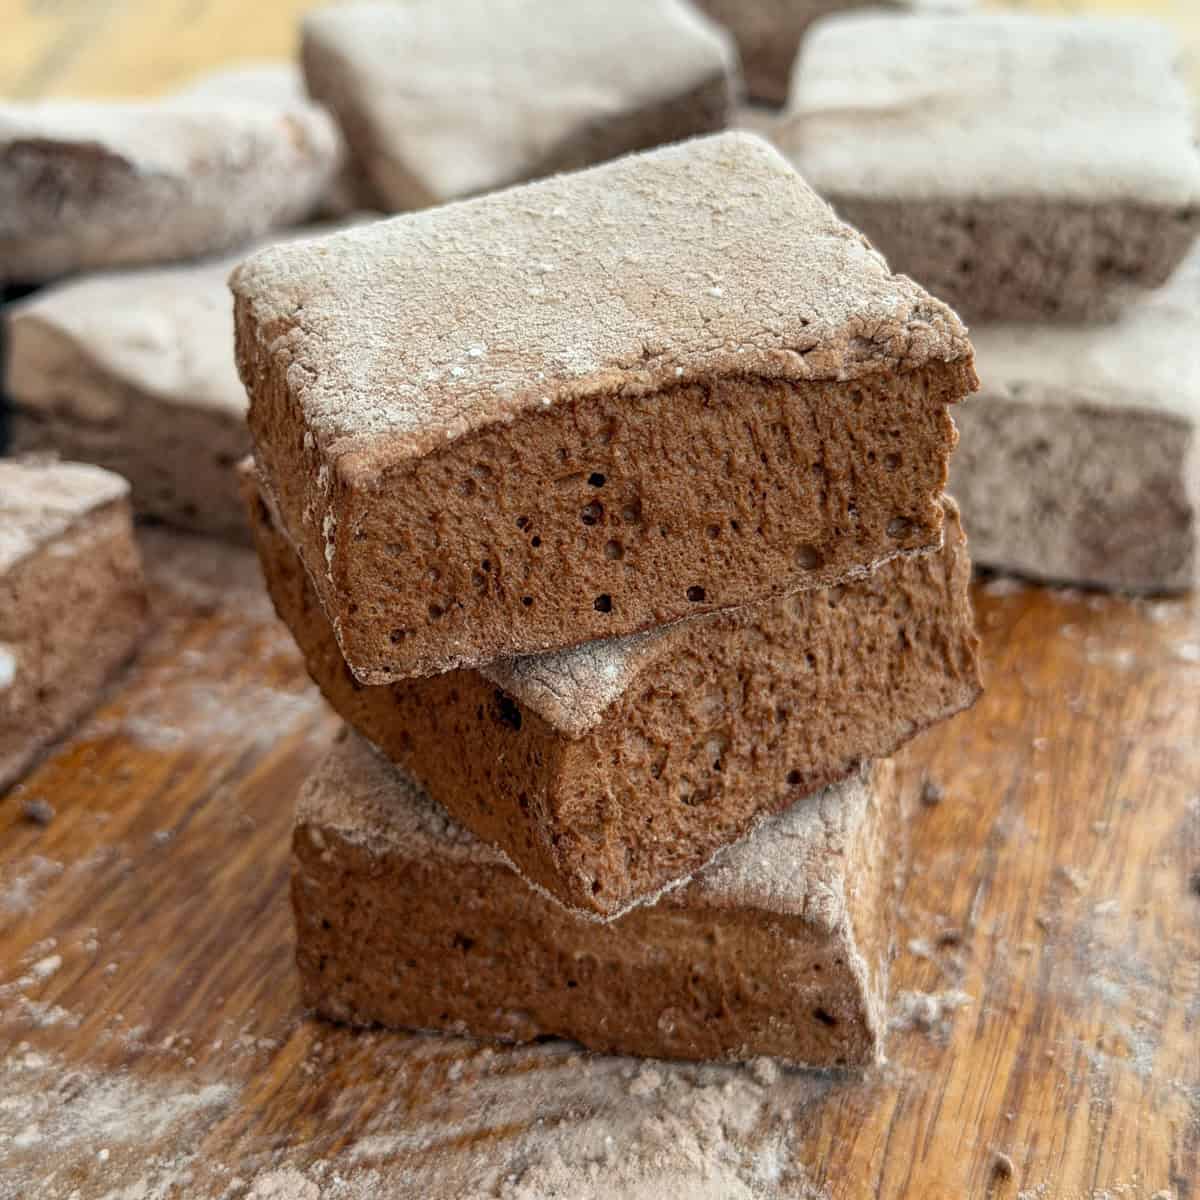
These homemade chocolate marshmallows are nothing like the bag from the grocery store. They are soft, fluffy, and genuinely chocolatey, with a deep cocoa flavor that comes from a simple trick most homemade marshmallow recipes skip entirely. Once you make a batch, you will want an excuse to use them for everything from hot cocoa to campfire s'mores.
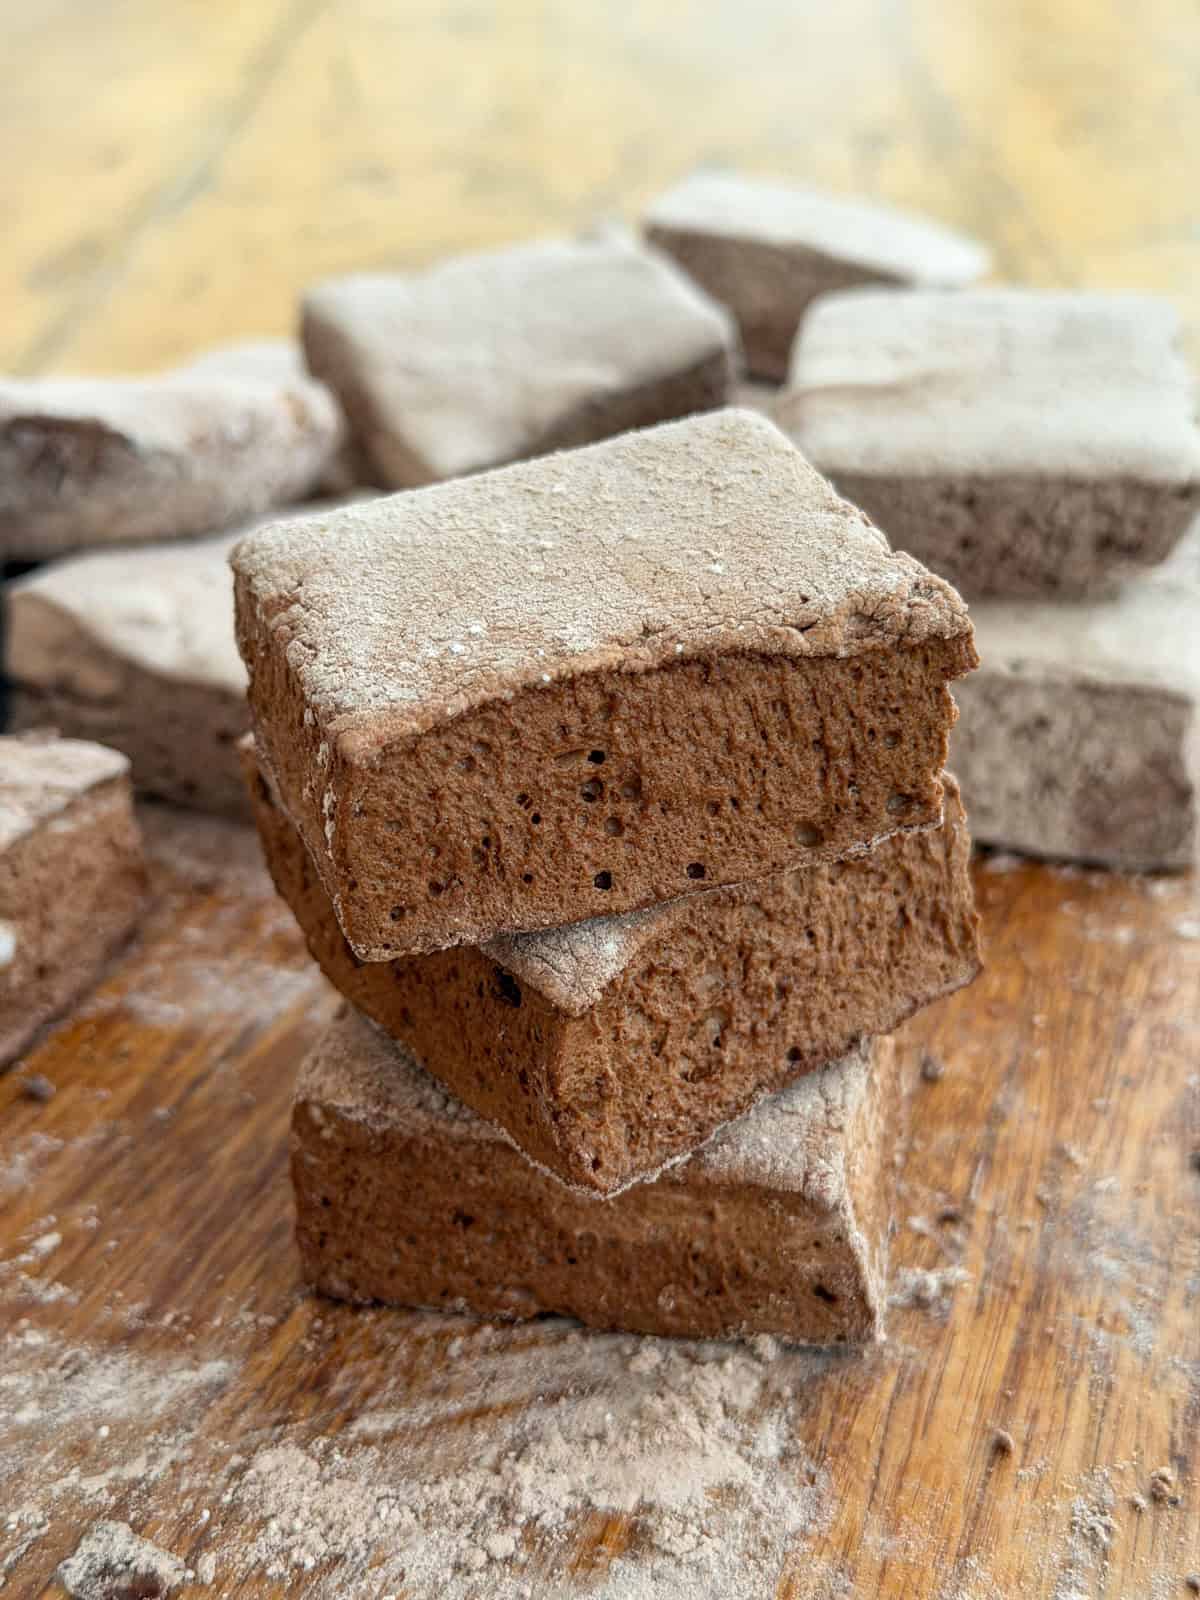
[INSERT FEATURED IMAGE: chocolate-marshmallows-stacked.jpg] ALT TEXT: Stack of homemade chocolate marshmallows dusted with cocoa coating.
Quick Look
- 📋 Recipe: Chocolate Marshmallows
- ⏲️ Ready In: 30 minutes active, plus 3 hours to set (overnight is best)
- 👪 Servings: 16 large marshmallows
- 🔪 Difficulty: Medium
- 💭 Top Tip: Bloom the cocoa in boiling water before adding it. This is the difference between a smooth, chocolatey marshmallow and a chalky one.
Why You'll Love These Chocolate Marshmallows
Homemade marshmallows are in a completely different league from anything store bought. They are softer, fluffier, and taste noticeably more chocolatey.
- Fluffy, not chalky. Most homemade chocolate marshmallow recipes taste gritty because the cocoa never gets the chance to hydrate properly. This one solves that.
- Made for entertaining. These are sized and cut for a s'mores tray, a hot cocoa bar, or a dessert board, not just a snack from the pantry.
- A doable project. If you can use a candy thermometer and a stand mixer, you already have what you need.
- Great for gifting. Stacked in a clear bag or box, these look like something from a bakery.
Jump to:
I love making homemade marshmallows, they really taste nothing like store bought ones, and they're easier to make than people think.
The first time I made chocolate marshmallows, I used the same method as my vanilla batch and just added cocoa powder straight into the mixer. They were fine. A little chalky, a little flat tasting, nothing worth writing home about. It was not until I started blooming the cocoa in hot water first, that these actually started tasting like something special. That one small step is the whole reason this recipe is worth making.
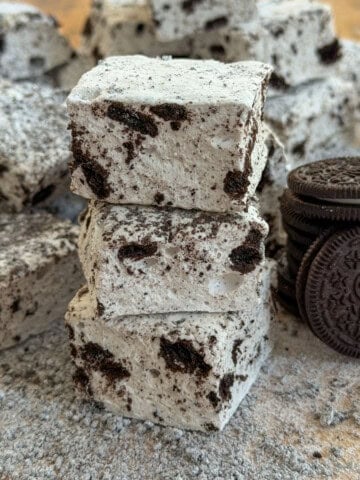
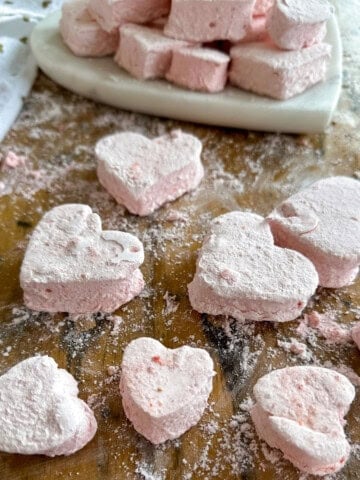
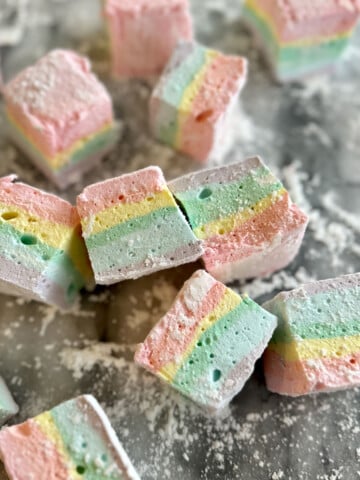
You might also like our Oreo marshmallows, coffee marshmallows, rainbow marshmallows, strawberry marshmallows, homemade marshmallow mug toppers, or our grow-up Bailey's marshmallow recipe.
Ingredients
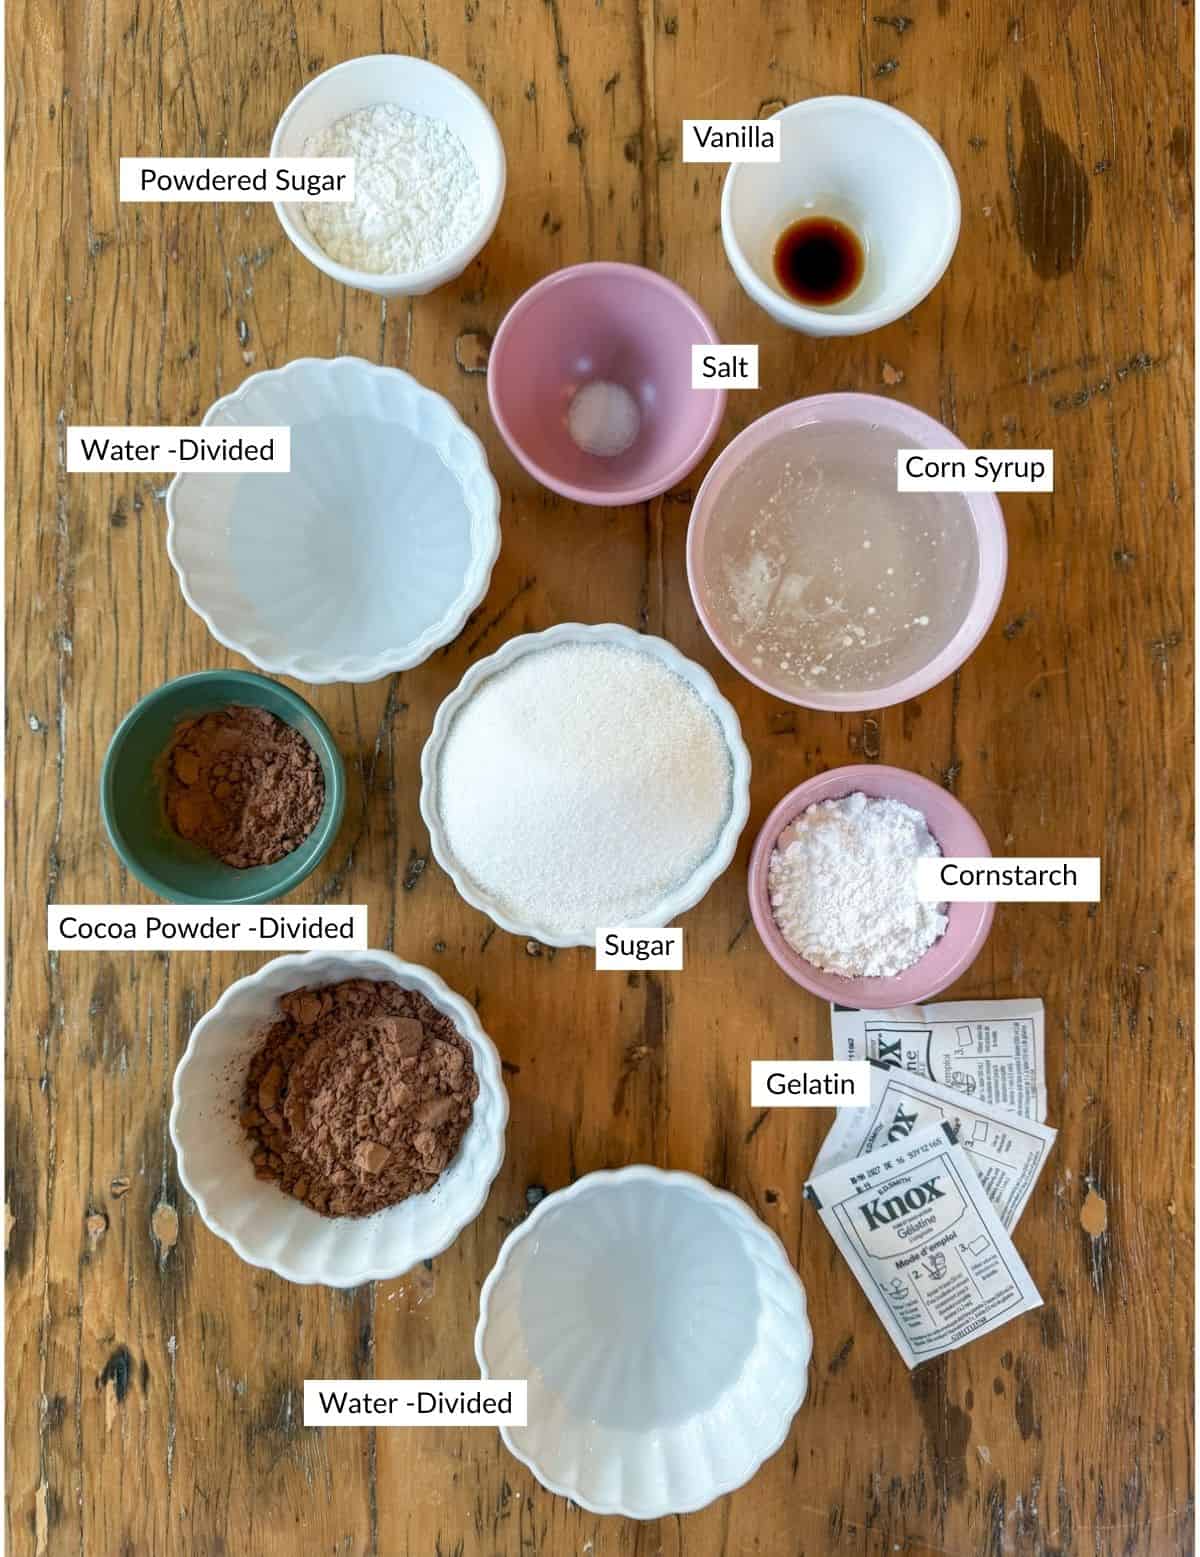
A few notes on ingredients before you get started. Full quantities are in the recipe card below.
- Cornstarch and Powdered Sugar: This is part of the marshmallow coating mixture, and it keeps the finished marshmallows from sticking to the pan, to your knife, and to each other.
- Cocoa Powder: Used two ways in this recipe. Some goes into the coating mixture for a hint of chocolate on the outside, and the rest gets bloomed in boiling water to build deep chocolate flavor into the marshmallow itself. Dutch process cocoa is the better choice here. It has a smoother, less acidic flavor than natural cocoa and gives the marshmallows a deeper color.
- Unflavored Powdered Gelatin: This is what gives marshmallows their structure. Make sure it is fresh, since old gelatin will not set properly no matter how carefully you follow the rest of the recipe.
- White Sugar and Light Corn Syrup: These cook together into the hot syrup that gets whipped into the gelatin. The corn syrup also helps prevent the sugar from crystallizing, so do not swap it out.
- Salt and Vanilla Extract: Small amounts, but both matter. The salt balances the sweetness, and the vanilla rounds out the chocolate flavor rather than competing with it.
Varations
- Mocha: add instant coffee or espresso powder to the cocoa bloom for mocha flavored marshmallows.
- Peppermint: add peppermint extract at the end instead of vanilla for a peppermint chocoalte marshmallow.
- Orange: add orange extract at the end instead of vanilla for a chocolate orange marshmallow.
- Mexican hot chocolate: add cinnamon and a pinch of cayenne to the cocoa bloom for a slightly spicy Mexican hot chocolate inspired marshmallow.
- Coconut: add some desiccated coconut into the coating mixture instead of, or alongside, the cocoa for a coconut coating on the marshmallows.
The Blooming Trick
[INSERT IMAGE: cocoa-blooming-paste-closeup.jpg] ALT TEXT: Bloomed cocoa paste in glass bowl before mixing into marshmallow.
Most chocolate marshmallow recipes tell you to whip cocoa powder straight into the mixer with everything else. The problem is that by the time the sugar syrup hits the bowl, there is barely any free water left for the cocoa to hydrate in. The result is slightly chalky textured marshmallows.
Blooming solves this. Whisking the cocoa into boiling water separately, before it ever touches the mixer, fully hydrates the cocoa particles and opens up their flavor. It takes an extra two minutes and a second small bowl, and it is genuinely the difference between a good chocolate marshmallow and a forgettable one.
How To Make Chocolate Marshmallows
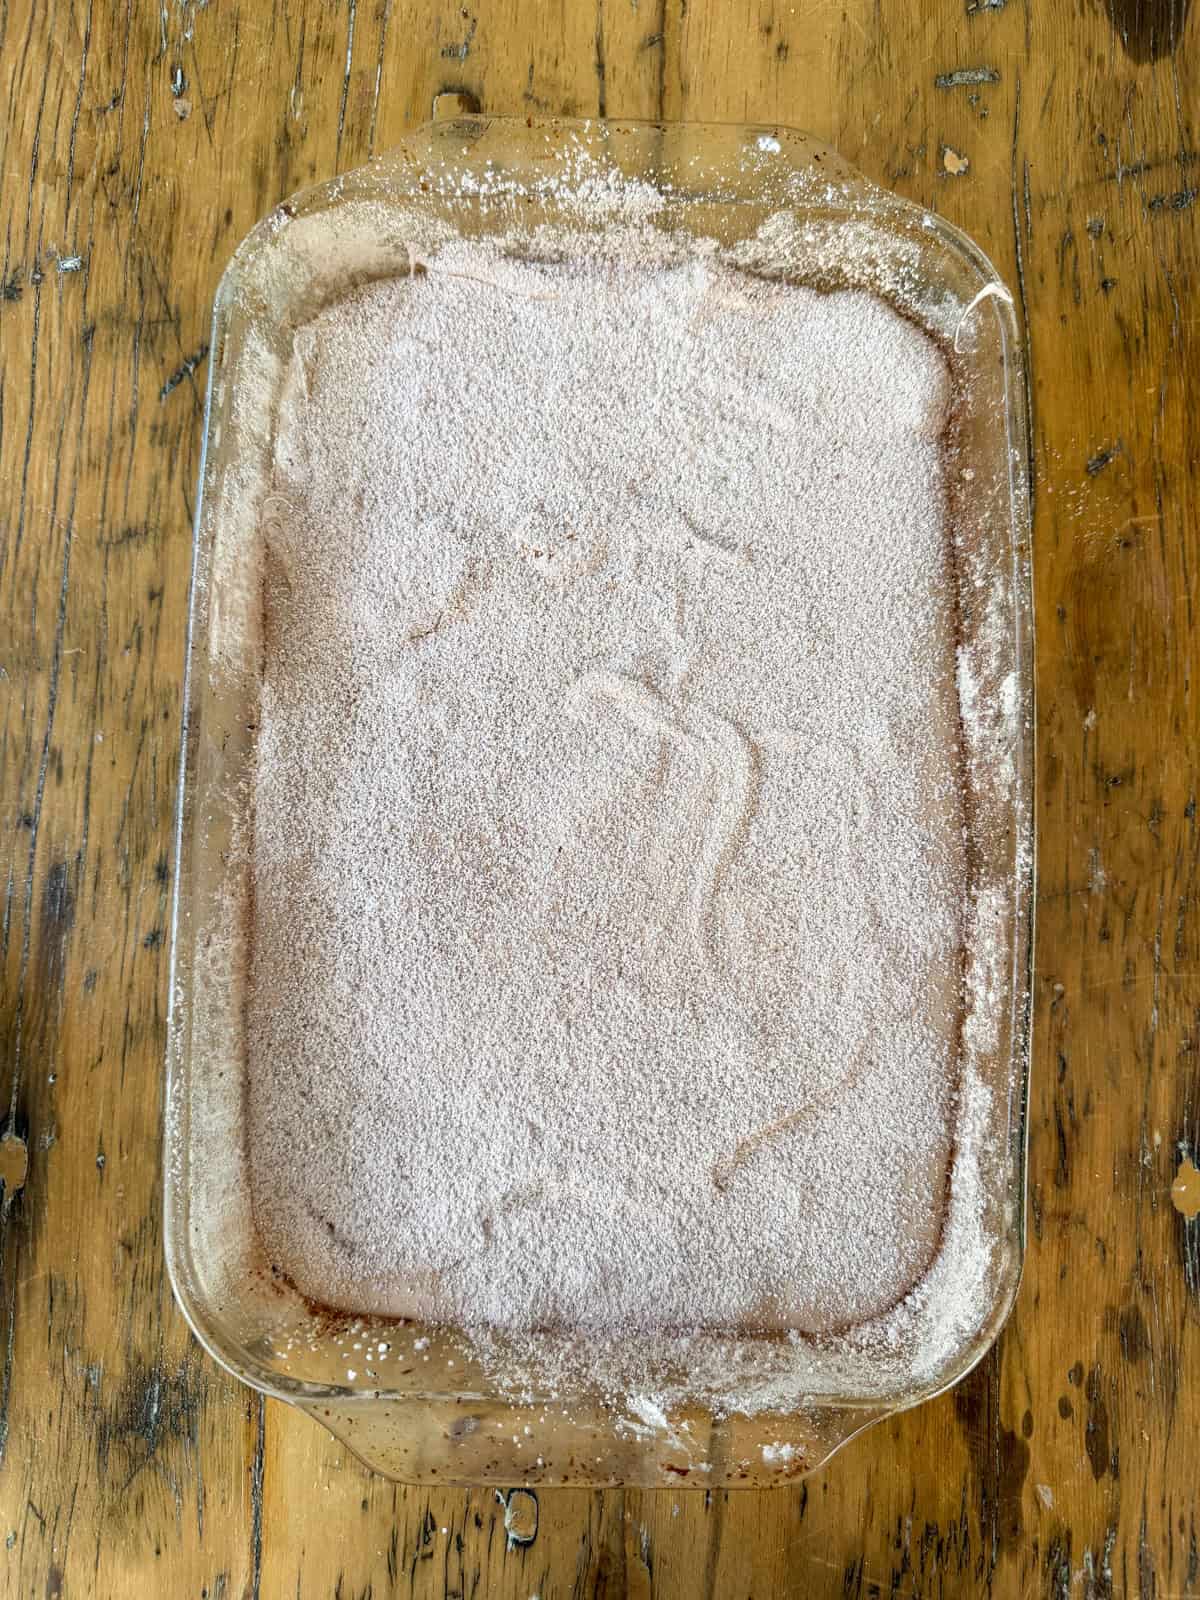
- Step 1: Prepare the pan. Sift together the cornstarch, confectioners' sugar, and cocoa powder for the coating. Line a metal baking pan with a light coating of nonstick spray, then dust generously with a third of the coating mixture, tapping to cover the bottom and sides evenly. Set the pan aside within arm's reach.
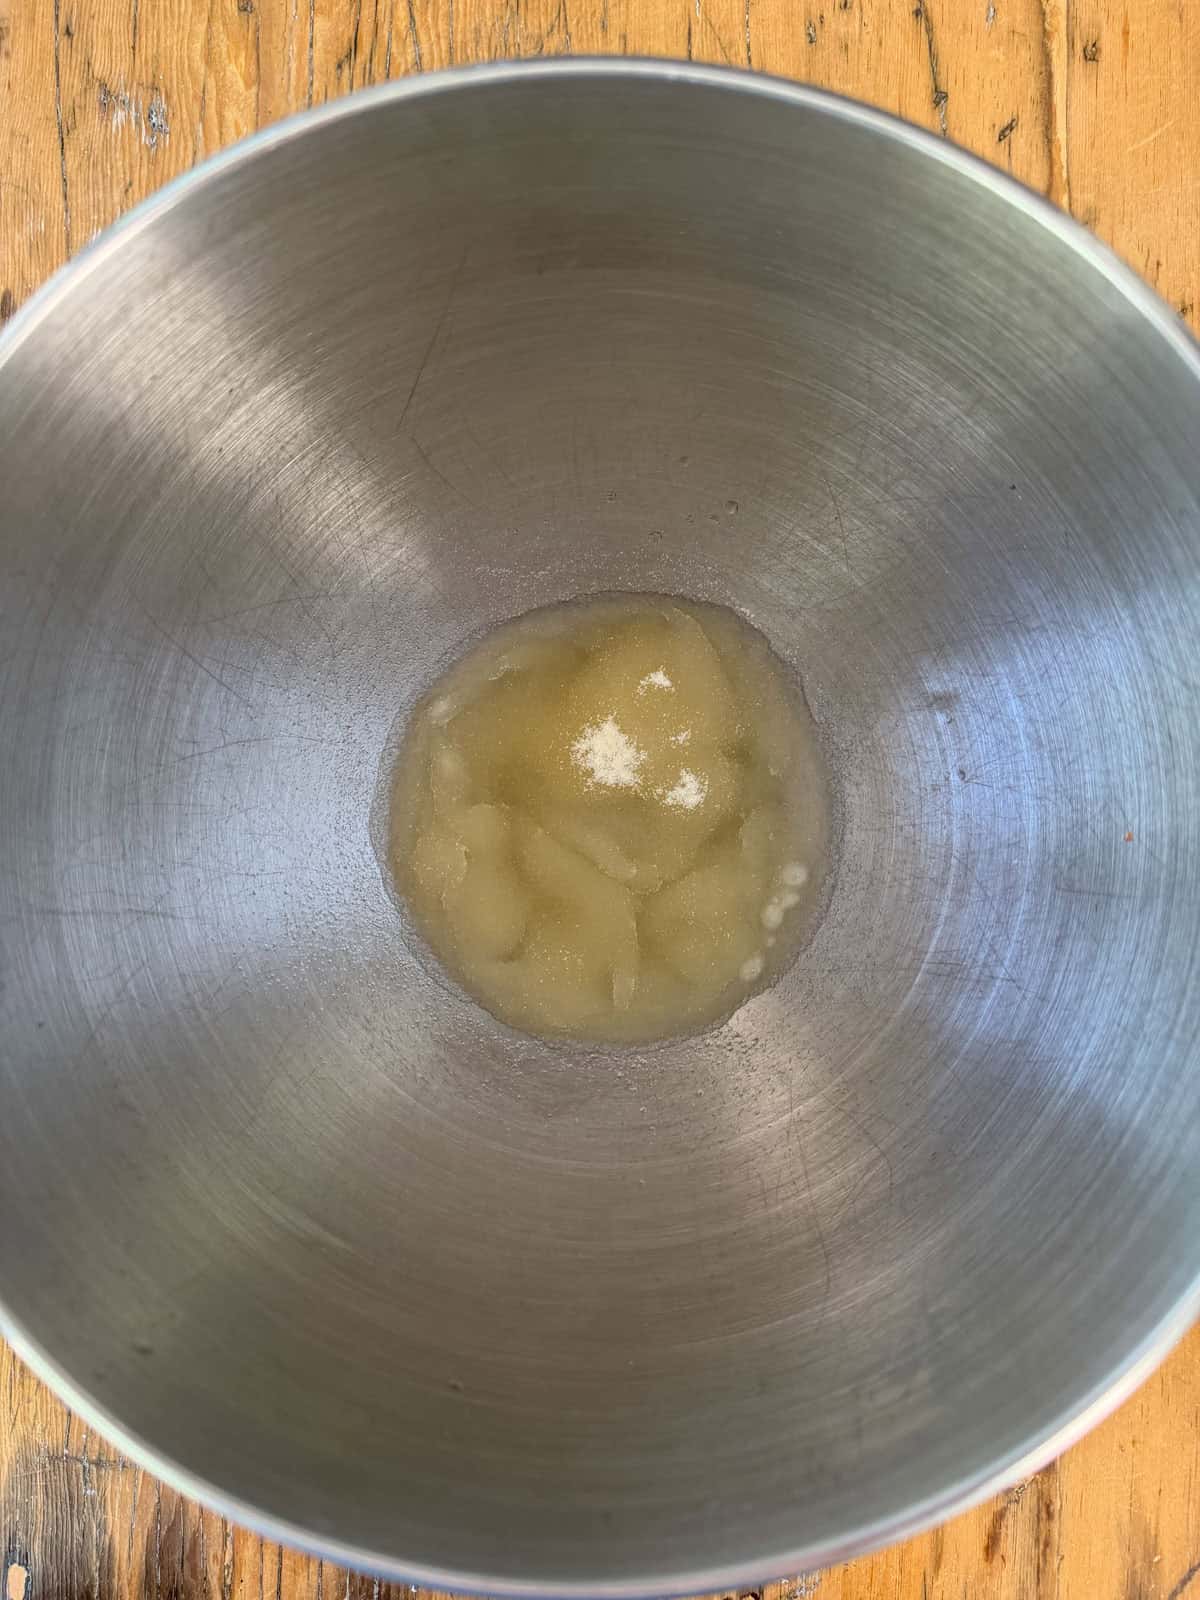
- Step 2: Bloom the gelatin. In the bowl of a stand mixer, pour in half of the water and sprinkle the gelatin evenly over the surface. Let it sit for 5 minutes to soften.
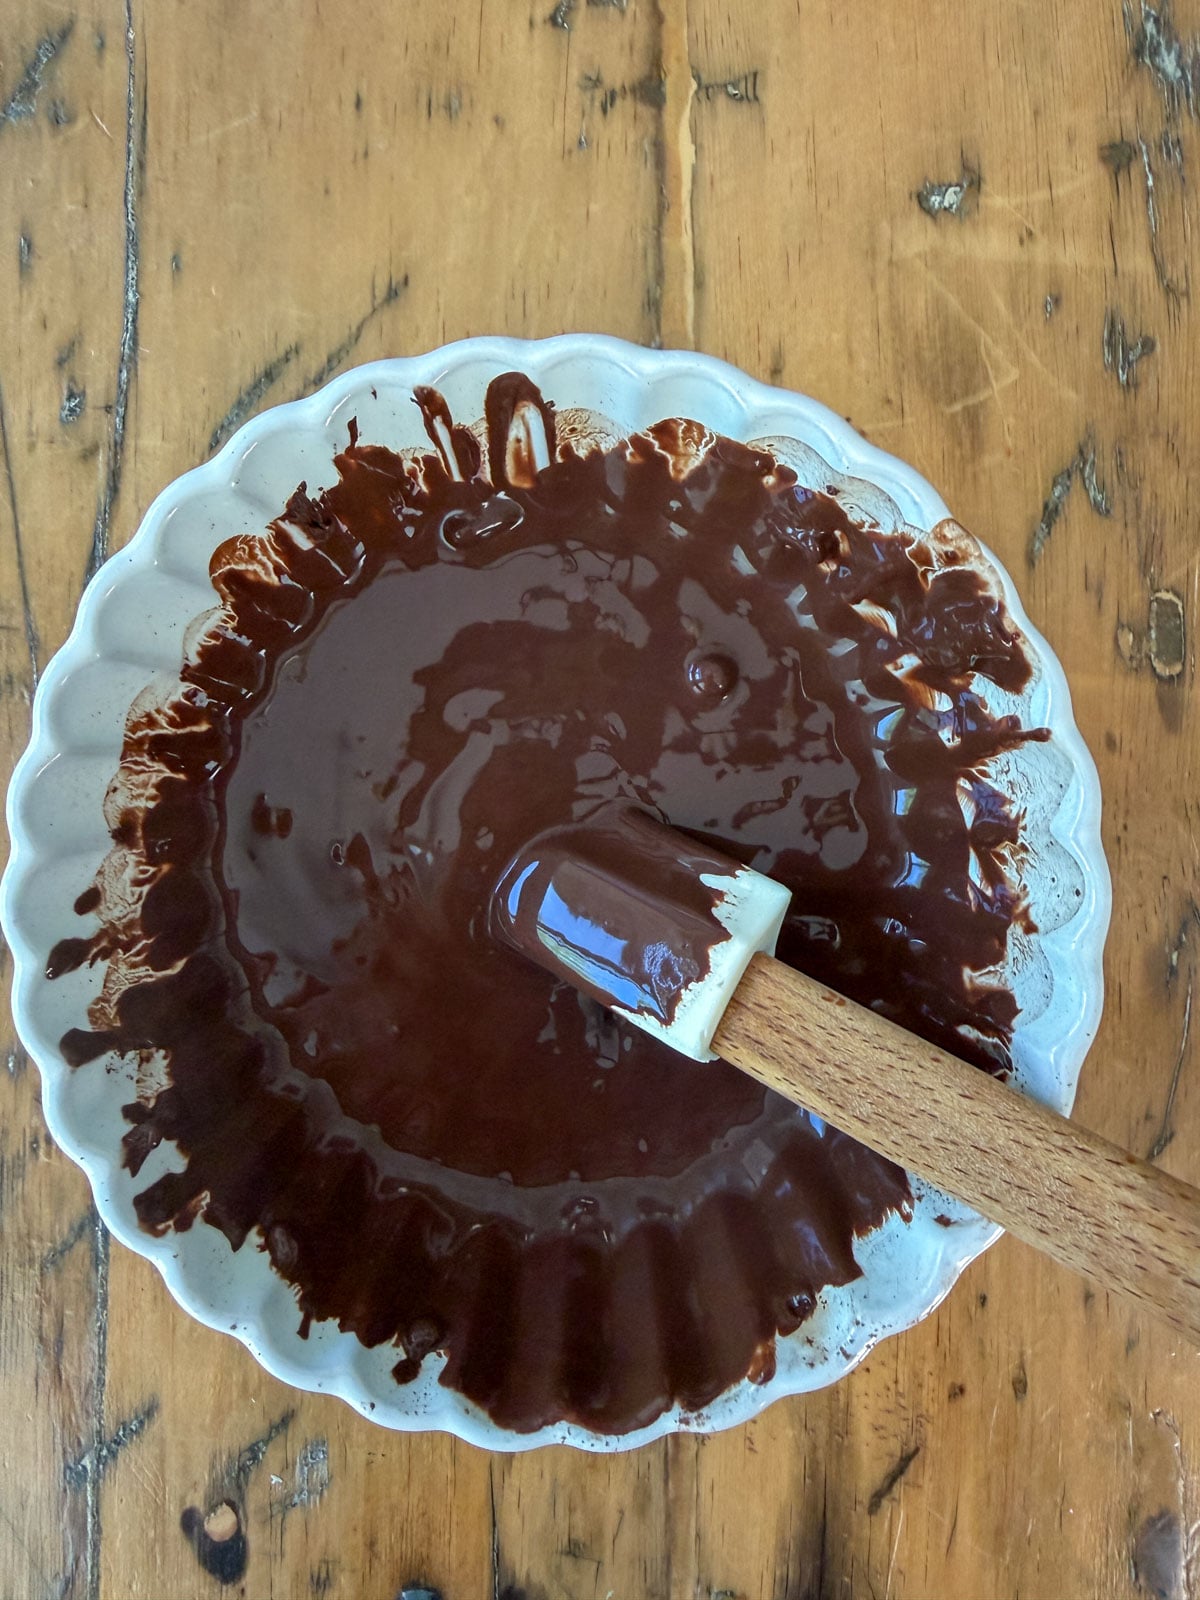
- Step 3: Bloom the cocoa. While the gelatin blooms, whisk the cocoa powder and boiling water together in a small bowl until completely smooth. Set aside to cool slightly.
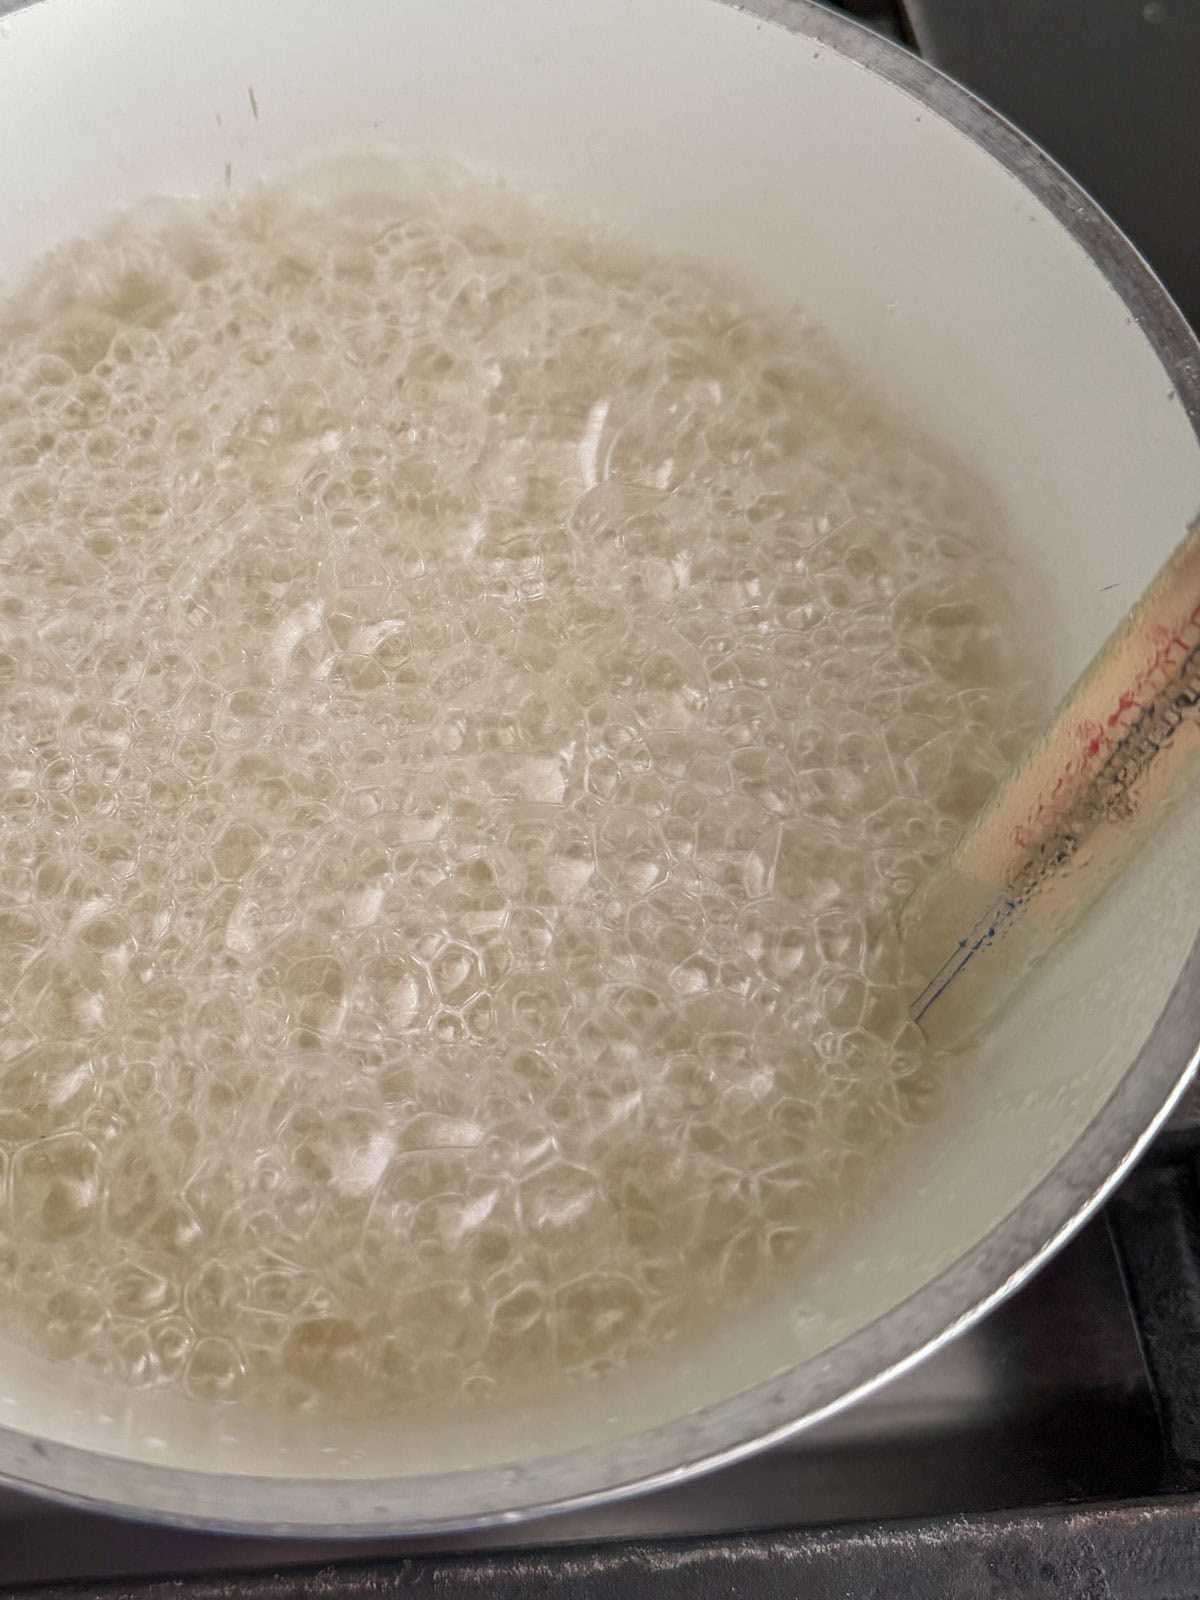
- Step 4: Cook the sugar syrup. Combine the remaining water, granulated sugar, corn syrup, and salt in a saucepan. Cook covered until simmering, then uncover and cook without stirring until the syrup reaches 245 to 250°F.
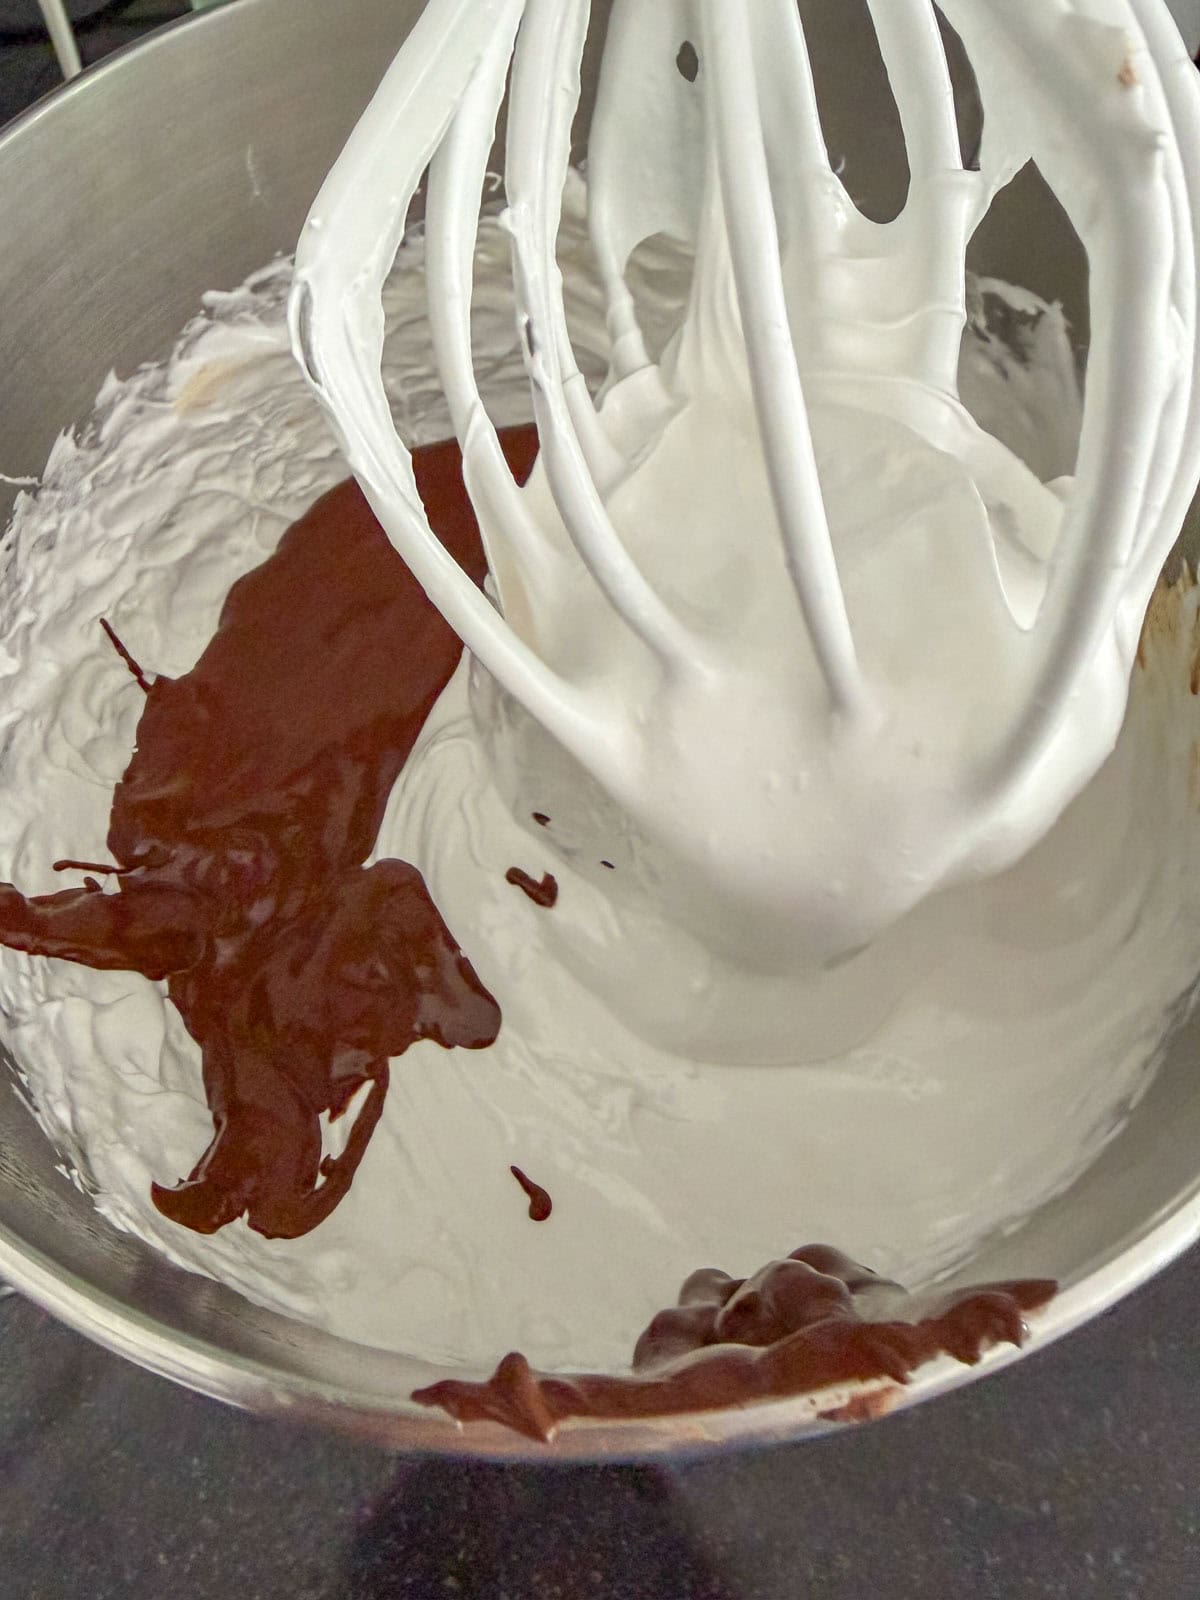
- Step 5: Whip. With the mixer on low, slowly pour the hot syrup into the bloomed gelatin. Increase speed to high and whip until thick and lukewarm, about 14 to 15 minutes. Add the cooled cocoa paste and vanilla and whip for another minute to fully combine.
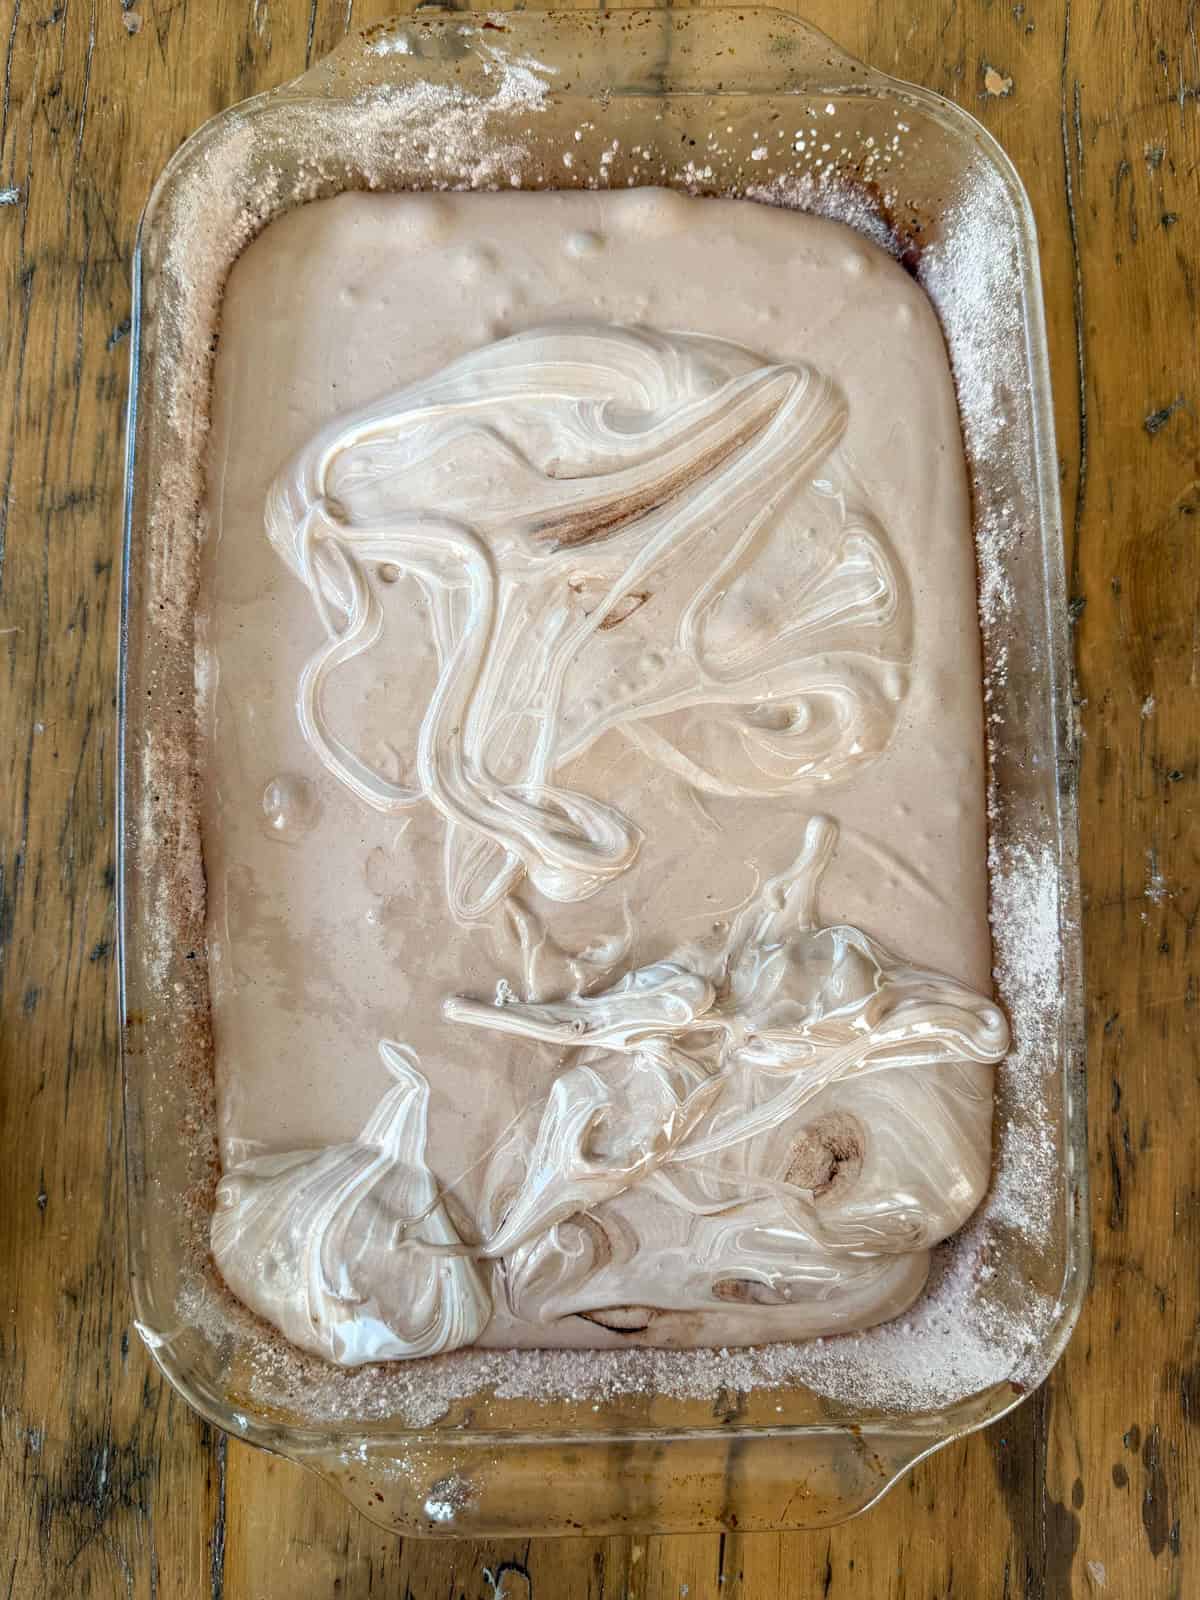
- Step 6: Set. Pour into the prepared pan and smooth with an oiled spatula. Dust the top with more coating mixture and let sit uncovered for at least 3 hours, though overnight is better.
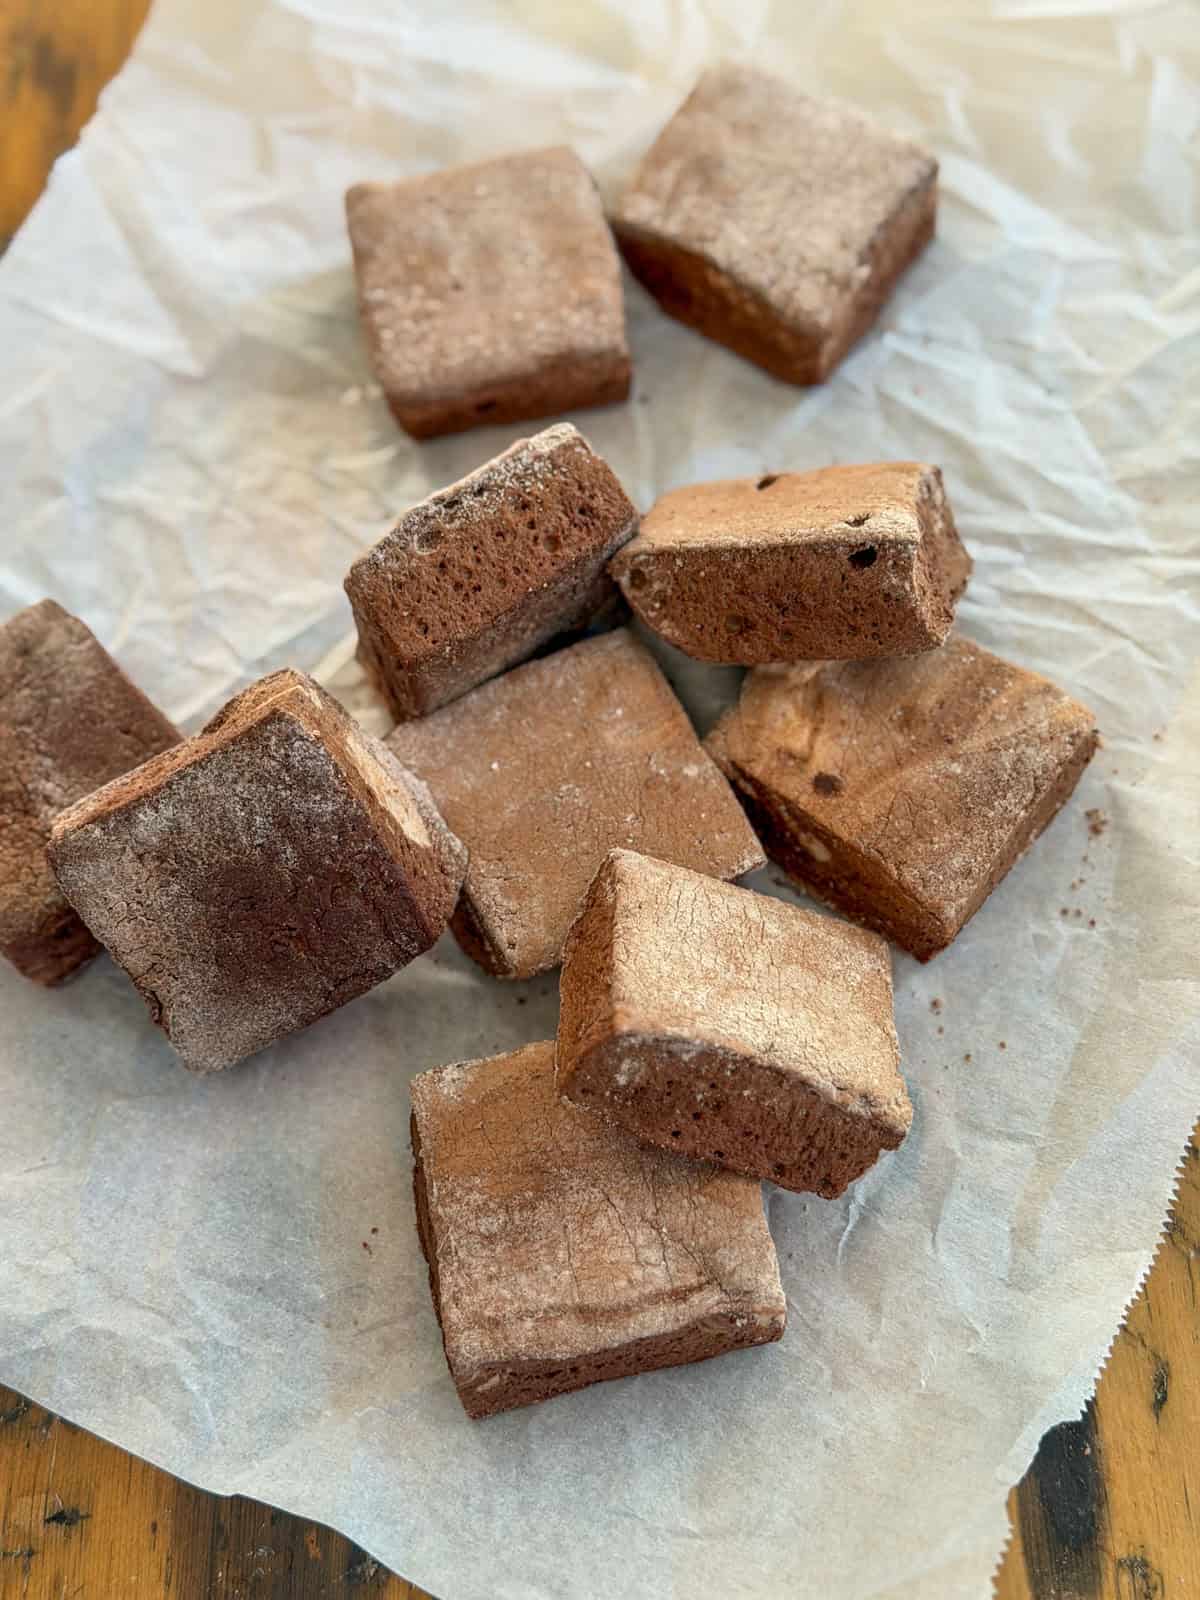
7. Step 7: Cut and coat. Turn the marshmallow out onto a cutting board, dust with more coating mixture, and cut into squares with an oiled knife or pizza cutter. Dust all sides of each piece before storing.
Expert Tips
- Do not skip blooming the cocoa. Fully hydrating the cocoa first is what gives these a smooth, deep chocolate flavor instead of a chalky, dusty one.
- Watch the syrup temperature closely. The chocolate version needs a slightly higher temperature than a plain vanilla marshmallow, since the cocoa bloom adds extra moisture that needs to cook off.
- Use an oiled blade for cutting. A dry knife or pizza cutter will drag and tear the marshmallow instead of slicing cleanly.
- Give it time to set. Rushing this step makes for a sticky, hard to handle marshmallow. Overnight is worth the wait.
Ways to Use These Chocolate Marshmallows
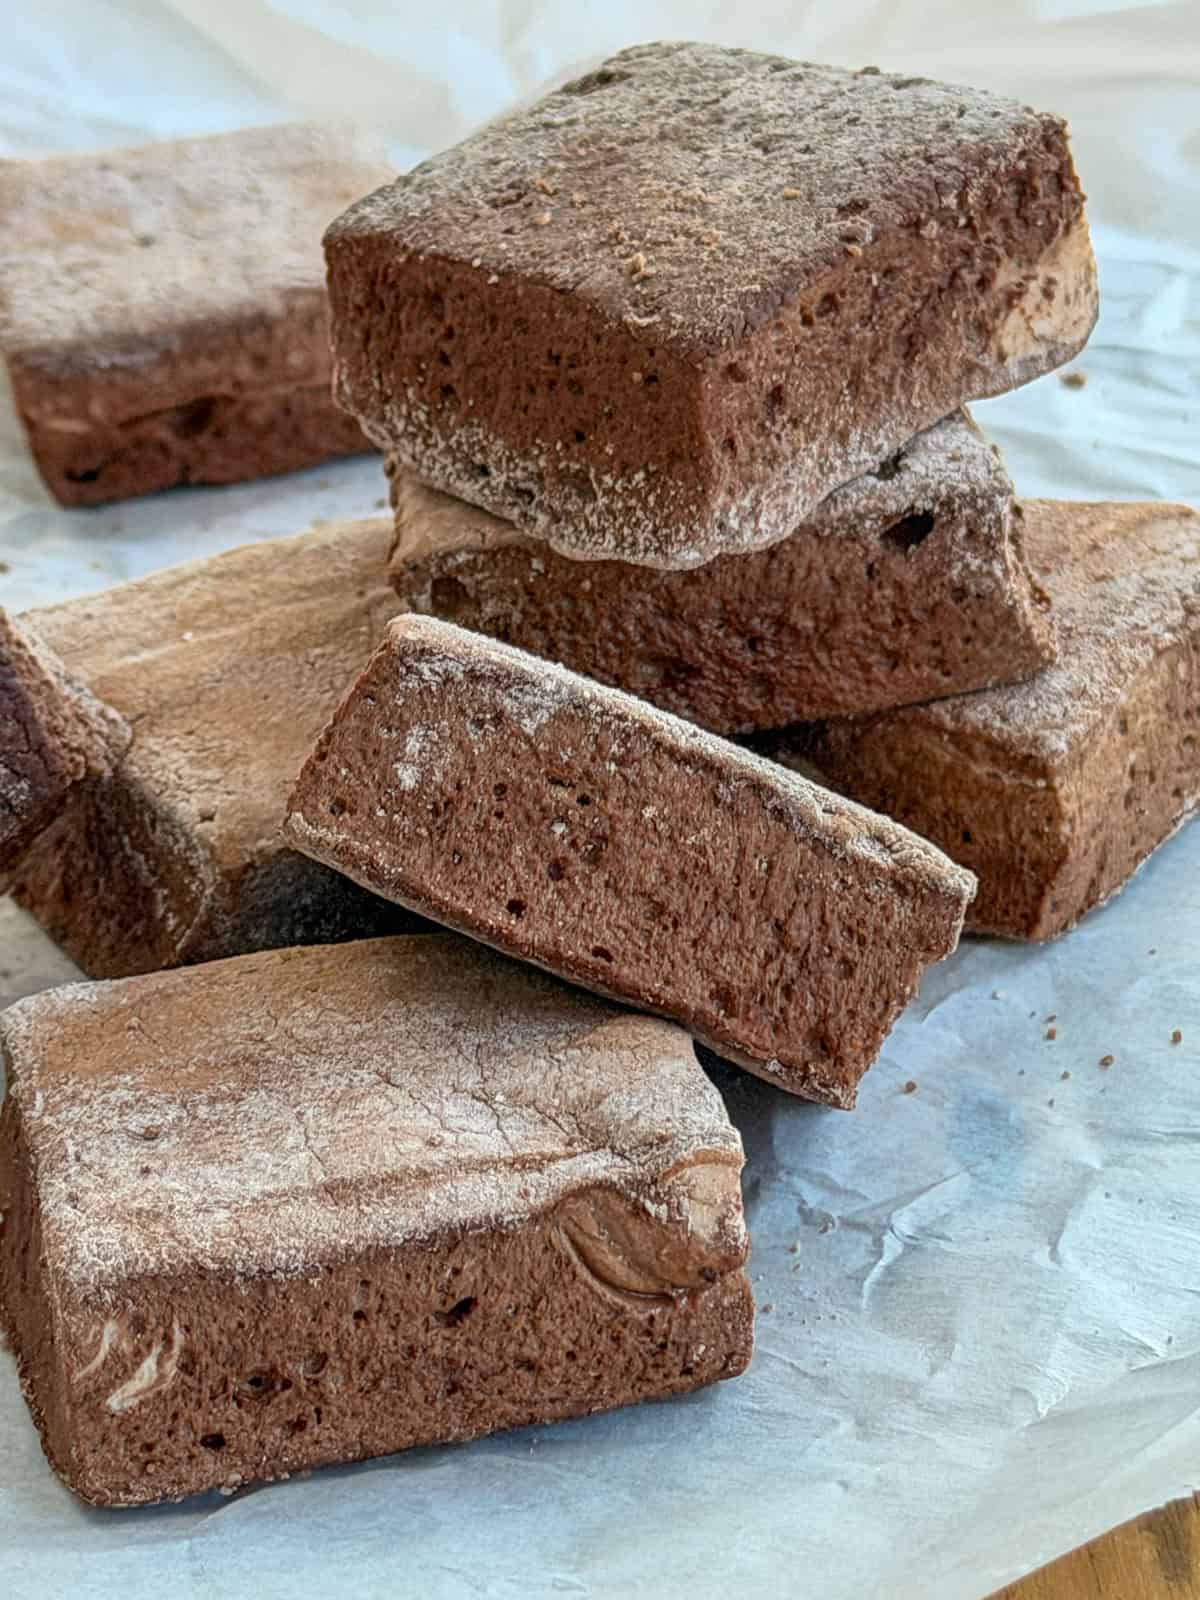
These are wonderful on their own, but they really shine as part of a bigger spread. Add them to your S'mores Charcuterie Board alongside homemade graham crackers and graham cracker crack for a campfire dessert tray, or float a few in a mug of hot cocoa for an easy upgrade to a cozy night in.
Storage
Store cut and coated marshmallows in an airtight container at room temperature. They will keep well for a few weeks this way.
For longer storage, marshmallows also freeze surprisingly well. Layer them between pieces of parchment paper in an airtight, freezer safe container and freeze for up to 3 months. Let them come to room temperature before serving.
Avoid the fridge, since the cold, damp environment tends to make marshmallows go sticky and gummy rather than keeping them fresh.
More Marshmallow Recipes

Frequently Asked Questions
This almost always comes down to how the cocoa was added. Whisking dry cocoa powder directly into the mixer does not give it enough contact with water to hydrate properly. Blooming it first in boiling water is what prevents that chalky texture.
Yes, though the flavor will be slightly more acidic and the color a bit lighter. Dutch process is the better choice if you have it.
Stored in an airtight container, these keep well for weeks at room temperature.
Yes. These are a good make ahead project, since they need to set for several hours anyway. Cut and coat them the day before your event and store in an airtight container until you are ready to serve.
If you try these Chocolate Marshmallows or any other recipe on my blog please leave a star rating and let me know how it went in the comments below. Thanks for visiting today!
Recipe
Homemade Chocolate Marshmallows
Ingredients
- 2 ½ tablespoon unflavored gelatin 3 packets total
- ½ cup cold water
- 1 ½ cups white sugar
- 1 cup light corn syrup
- ¼ teaspoon salt
- 1 teaspoon vanilla
- ½ cup Dutch process cocoa powder
- ½ cup boiling water
- ¼ cup powdered sugar
- ¼ cup cornstarch
- 2 tablespoon Dutch process cocoa powder
- non stick cooking spray
Instructions
- Sift together the cornstarch, powdered sugar, and 2 tablespoons cocoa powder into a medium bowl to make a coating mixture. Spray a 9x9 metal baking pan with nonstick spray, then dust generously with one third of the coating mixture. Set aside.¼ cup powdered sugar, ¼ cup cornstarch, 2 tbsp Dutch process cocoa powder, non stick cooking spray
- In a stand mixer bowl, pour in ½ cup cold water and sprinkle the gelatin evenly over the surface. Let bloom for 5 minutes.½ cup cold water, 2 ½ tbsp unflavored gelatin
- Whisk the ½ cup cocoa powder with ½ cup boiling water until smooth. Set aside to cool slightly.½ cup boiling water, ½ cup Dutch process cocoa powder
- Combine ½ cup water, white sugar, corn syrup, and salt in a saucepan. Cook covered over medium high heat until simmering, about 3 minutes. Uncover and cook without stirring until it reaches 245 to 250°F, about 7 to 8 more minutes.1 ½ cups white sugar, 1 cup light corn syrup, ¼ tsp salt, ½ cup cold water
- With the mixer on low, slowly pour the hot syrup into the bloomed gelatin. Increase to high speed and whip until thick and lukewarm, 14 to 15 minutes. Add the cooled cocoa paste and vanilla and whip for 1 more minute.1 tsp vanilla
- Pour into the prepared pan and smooth the top. Dust with more coating mixture. Let sit uncovered for at least 3 hours, or overnight.
- Turn out onto a cutting board, dust with coating mixture, and cut into squares with an oiled knife. Coat all sides of each piece before serving or storing.
Notes
- Bloom the cocoa in boiling water before adding it, this is what keeps the flavor smooth instead of chalky.
- Use an oiled knife or pizza cutter for clean cuts.
- Store in an airtight container at room temperature for a few weeks, or freeze for up to 3 months.


Leave a Reply
You must be logged in to post a comment.