Christmas Glitter Houses: make your own DIY glitter houses or putz houses from old cereal boxes, paper, paint, glitter and glue.
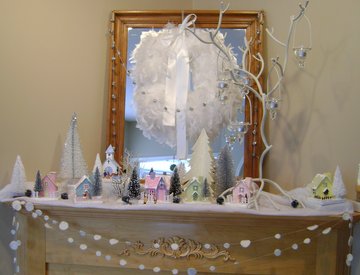
Today I want to share with you my village of DIY Christmas glitter houses, or Putz houses, as they're sometimes known. I made them last year, and couldn't wait to get them out of the box this year 😉

They're all made out of old cereal boxes. I found a great site with step by step instructions and free patterns! If you'd like to make your own village, check out Big Indoor Trains for the patterns and lots of inspiration.
The houses were originally set up around nativities, train sets, or Christmas trees and sold between 1910-1960 as inexpensive Christmas decor. The original houses are still available at antique stores, or on ebay, but you can also create your own version.
I have to say, this was a very time consuming project. I made several smaller sets for my family and friends last Christmas. They are simple and inexpensive to make, but involve many, many steps, and lots of time waiting for glue, paint or glitter to dry between steps. I just love how they turned out though, and hope to add one more house each year.

Materials:
- old cereal boxes
- exacto knife
- cutting mat
- scissors
- white paper
- white glue
- paint
- glitter
- faux snow
- cellophane
How To Make A Glitter House
First you will need the glitter house pattern. All of the houses I made are based on Howard's "Cottage" plans, which you can get here.
The only variations are with the colours, fences, and door designs. He also includes a pattern to turn the cottage into a church.

I found these little people at Dollarama this year, they're the first I've found that seem the right scale for the houses.

Cutting
Use the pattern to cut out the houses from old cereal boxes, these are the perfect weight of cardboard. I found this great, inexpensive set of exacto-knives at Dollarama, which really helped with the cutting stage. Use a cutting mat underneath your work.

Gluing
After they're all cut out follow the pattern to glue them together.
A tip I can pass on is to use clothes pins to hold the seams of the houses together at various stages, while the glue dries.
Painting
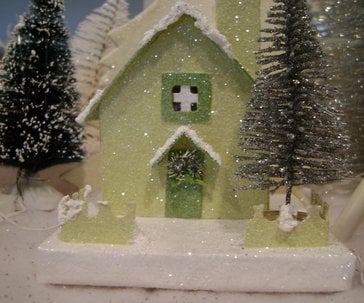
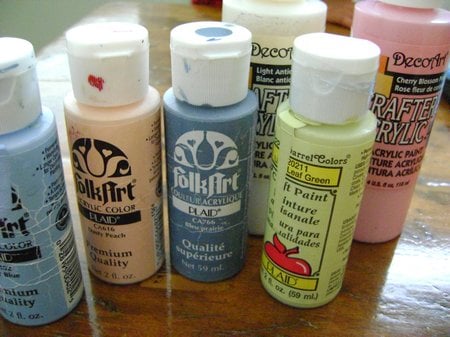
After they are all dry, and the bases have been made and covered in white paper, it's time to paint them. I used various craft paints, again just from the dollar store. I wanted mine to all be quite light, so I lightened the colours by mixing the paint with some plain white. Traditionally the antique putz houses were made in brighter colours usually, but I really liked the idea of using pastels. You can customize them to your taste.
The houses take several coats, and when it's all done, it's time to add glitter!
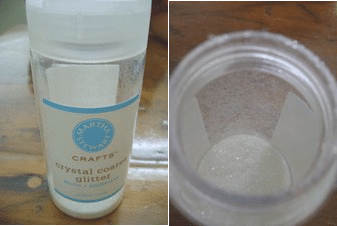
Glitter
I used Martha Stewart's "crystal coarse glitter" in brillo. It is quite transparent, and doesn't really alter the colour of the paint. I would like to try using some different glitters. Perhaps silver on the roof, or a more coarse glitter on the roof, and maybe a coloured glitter on the house itself. Maybe next time...
Windows
After the houses were glittered I added cellophane to all the windows. For the church, I used red cellophane, reminiscent of stained glass.
Snow
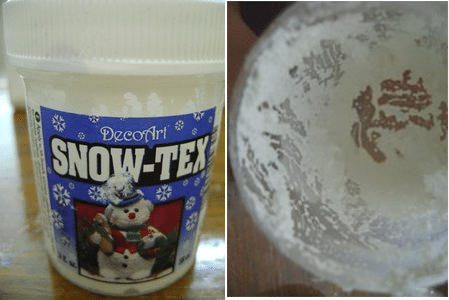
Next, I added the snow. Howard uses white paint, but I went with a textured snow called Snow-Tex. I was pleased to see that the houses hadn't yellowed at all in one year, and I really liked the raised effect the Snow-Tex adds. Try to add it to the places you think snow would actually accumulate on houses. You spread it on with a small knife.
Finishing Touches
After all that, it was time to add a few little finishing touches. I made wreaths for several of the doors with pipe cleaners and fine satin ribbon.

Howard has several suggestions for different fences. I found them quite hard to cut out, so I came up with this variation, using a hole punch.

I also used the cute little picket fence, which I found at the dollar store. My tip to you is, if you're considering this project for next year, get to the dollar store as soon as the Christmas stuff comes out to get the best selection of trees, fences, and people.
After I finished making 21 of these little beauties last year, I made one more, and I have to say it might be my favorite. It's the "Little Charmer" and the pattern can be found here. It lives up to it's name!

I've added various bottle brush trees, and a few bushes that light up at night.


Here it is at night, with the lights on and the candles lit.

Merry Christmas from my village to yours!
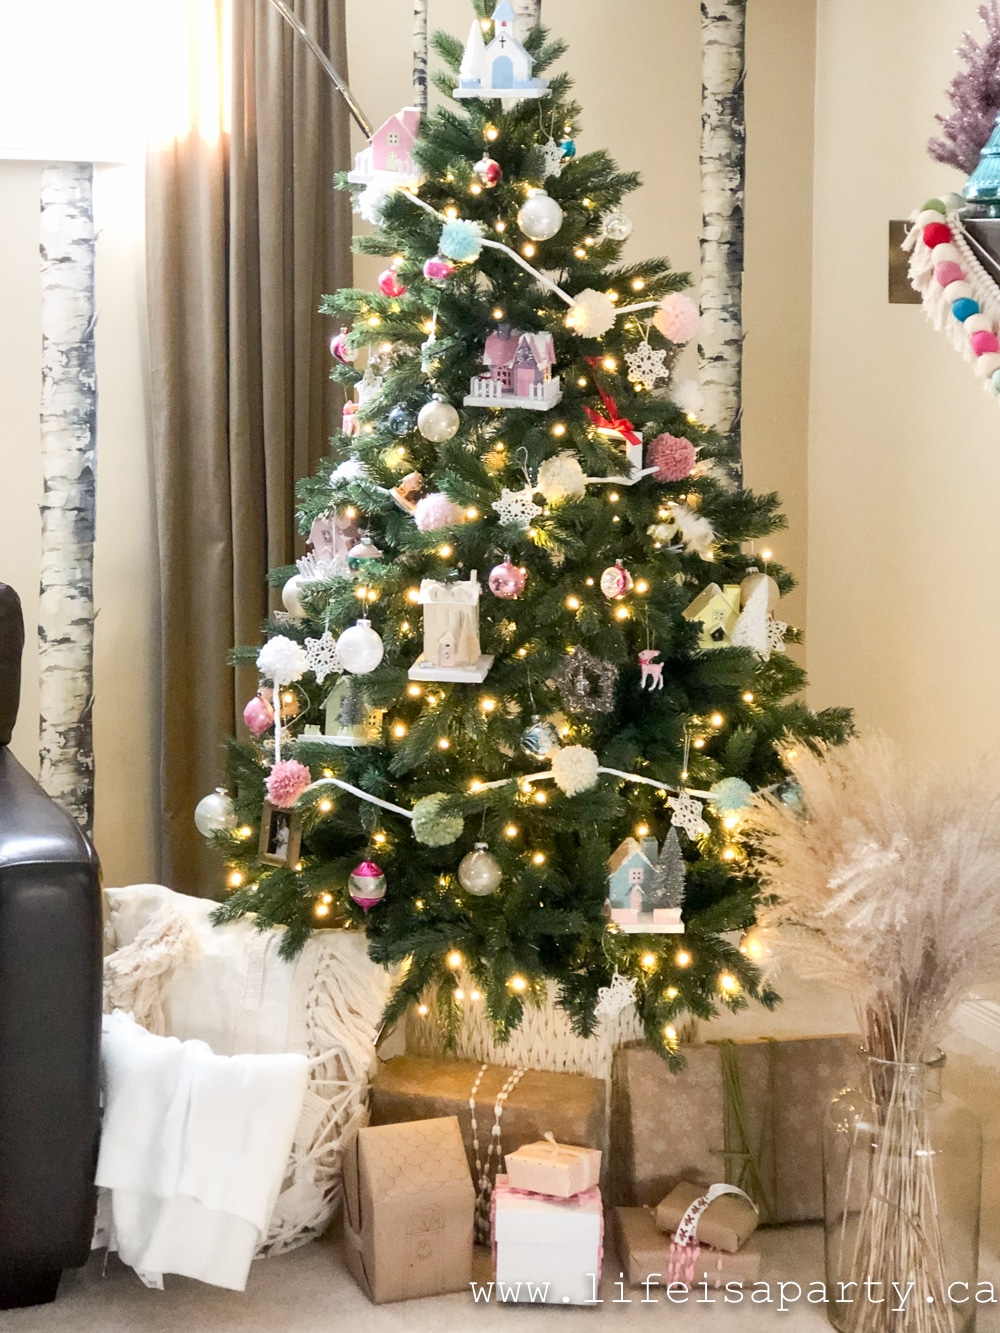
Also check out our Glitter House Christmas Tree here.
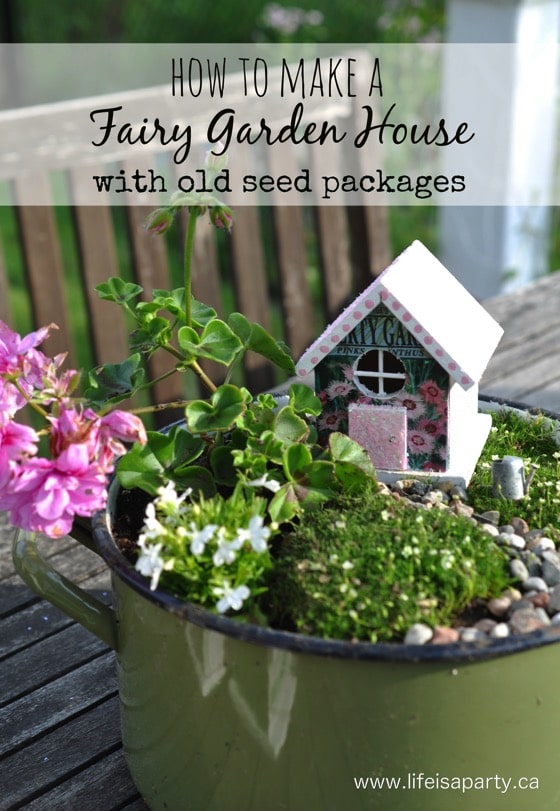
You might also enjoy How To Make A Fairy Garden House here.


dnr says
Hi Larae,
July is the perfect time to start! Have fun creating your village.
Dannyelle
LaraeH says
Loved looking at your 'little house' village. I have cut out a couple with my Silhouette, and am thinking about putting a whole village together this year! I know it's July, but probably a great time to get started. Thanks for the inspiration!
dnr says
Hi Gail, Thanks so much. You can subscribe for email notifications of new blog posts on the right hand side, in the box just put your email.
Thanks again,
Dannyelle
gail gassen says
Love your little houses! Can't wait to try making one!
gail gassen says
You have a really nice place here! I wanted to sign up for newsletters or whatever you have can you help me? Thanks for your ideas! Gail Gassen. ********@***il.com">...ga********@***il.com
dnr says
Hi Kathy,
Link is fixed, thanks for letting me know it wasn't working. Best of luck on your building project, I'd love to see pictures when your done, you could post to my Facebook page. It's the perfect time to start a Christmas project like this one.
Dannyelle
Kathy says
Hi Dannyelle, I'm thinking of making some of these for my daughters for Christmas. When I clicked on the link for the "Little Charmer" I got an error message saying the page was no longer available....any suggestions?