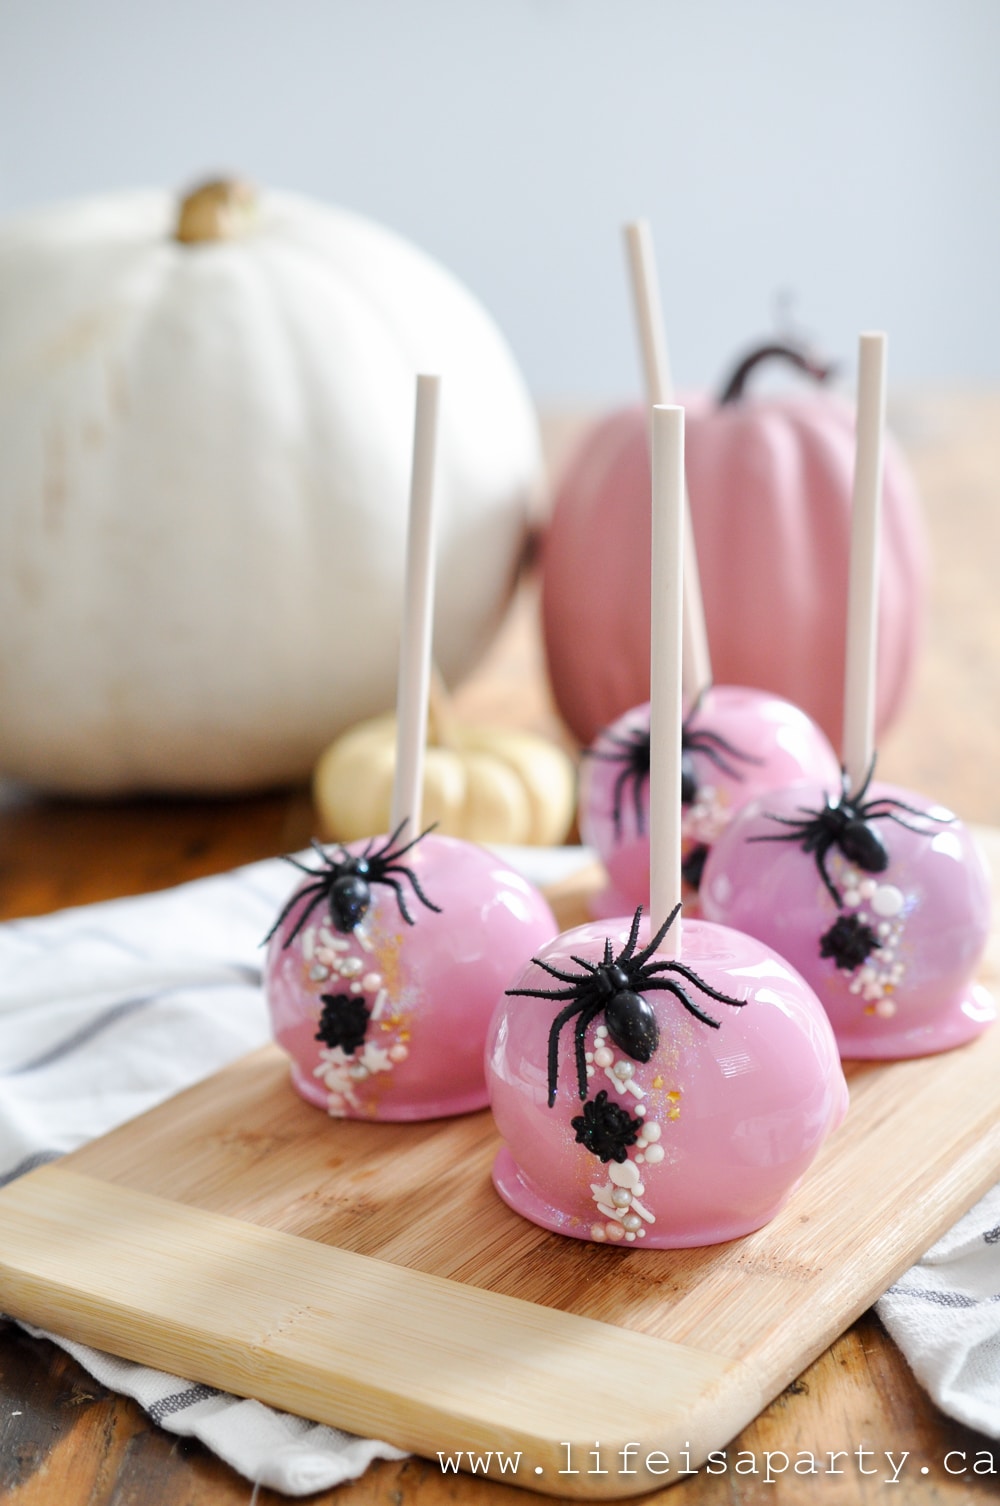
These pink candy apples are perfect for the pink lover! Our homemade candy apples are just like you used to get at the fair or carnival, but made even better because they're "pretty in pink".

Jump to:
Why We Love This Recipe
- Candy apples are so delicous and the perfect homemade candy treat.
- Just when you thought candy apples couldn't get any better, they did by being pink!
- We love these as party of a party food table or dessert table, or to give to guests as a party favor.
For our pink Halloween party, I thought pink candy apples would be the perfect treat -and they were. I decorated mine for Halloween, but you easily leave off the spiders if you need them for a different celebration. They're really fun for Halloween parties. Serve them with these Ghost Rice Krispie Treats. They'd also be great for special birthday parties, or a pink baby shower.
Candy Apples vs. Caramel Apples
These are the traditional kind of candy apples that you would get at a fair or carnival, usually glossy red. They are hard and crunchy, and that's exactly how they're supposed to be. If you're looking for a soft, creamy caramel apple check out my recipe for those here.
If you want to make traditional red candy apples you can use this recipe. You might also like our Caramel Apple Fondue Recipe.
Ingredients
- White and Pink Food Coloring Gel
Tip: The trick to making these pink candy apples is to use some white food coloring along with the pink food coloring.
Without the white food colouring, the candy would be transparent, and the apple colour would show through, like the traditional red ones.
The white makes them opaque and you can add any other colour you like. This soft pink was exactly what we were going for. You will want to use gel food coloring for these when you make your own candy apples, as it gives the best, most intense color.
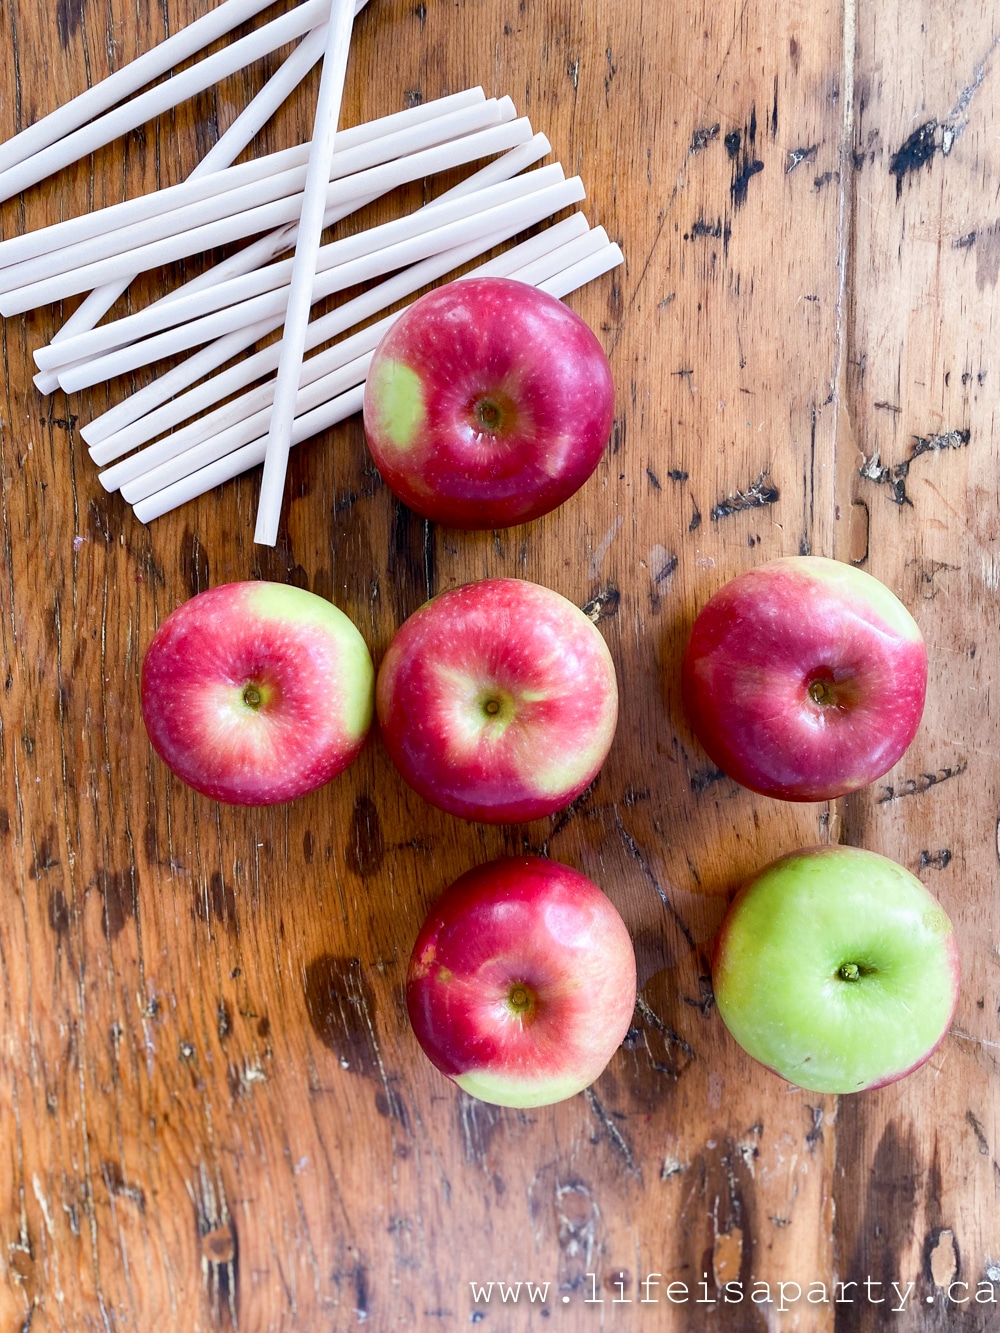
- Apples
You can use any kind of apples you like for your candy apples. Choice red apples or green apples. Some people prefer to use tart apples, like tart granny smith apples, because the tart apple contrasts with the sweet candy coating. You will want a crisp apple. Other good choices are gala apples, or pink lady.
The biggest issue you will face making candy apples is having your candy coating not stick well to the apples. This happens when you try to apply the candy coating to waxed apples. Most apples you buy in the grocery store have been covered in a wax coating to make them look more appealing and shiny. If you are using grocery store apples you will have to remove the wax first.
The wax coating can be removed by dipping the apples in boiling water and then buffing the apples with a dry paper towel or tea towel.
The hot water melts the wax, and the cloth allows you to wipe if off of the apple. Be sure to not leave your apples in the hot water too long though, because it can start to cook the apples slightly and cause them to turn brown and soft.
If you pick your own fresh apples, or buy them at an apple orchard you can skip this step, because they won't have wax on the outside. That's what we did for our candy apples.
- Corn Syrup
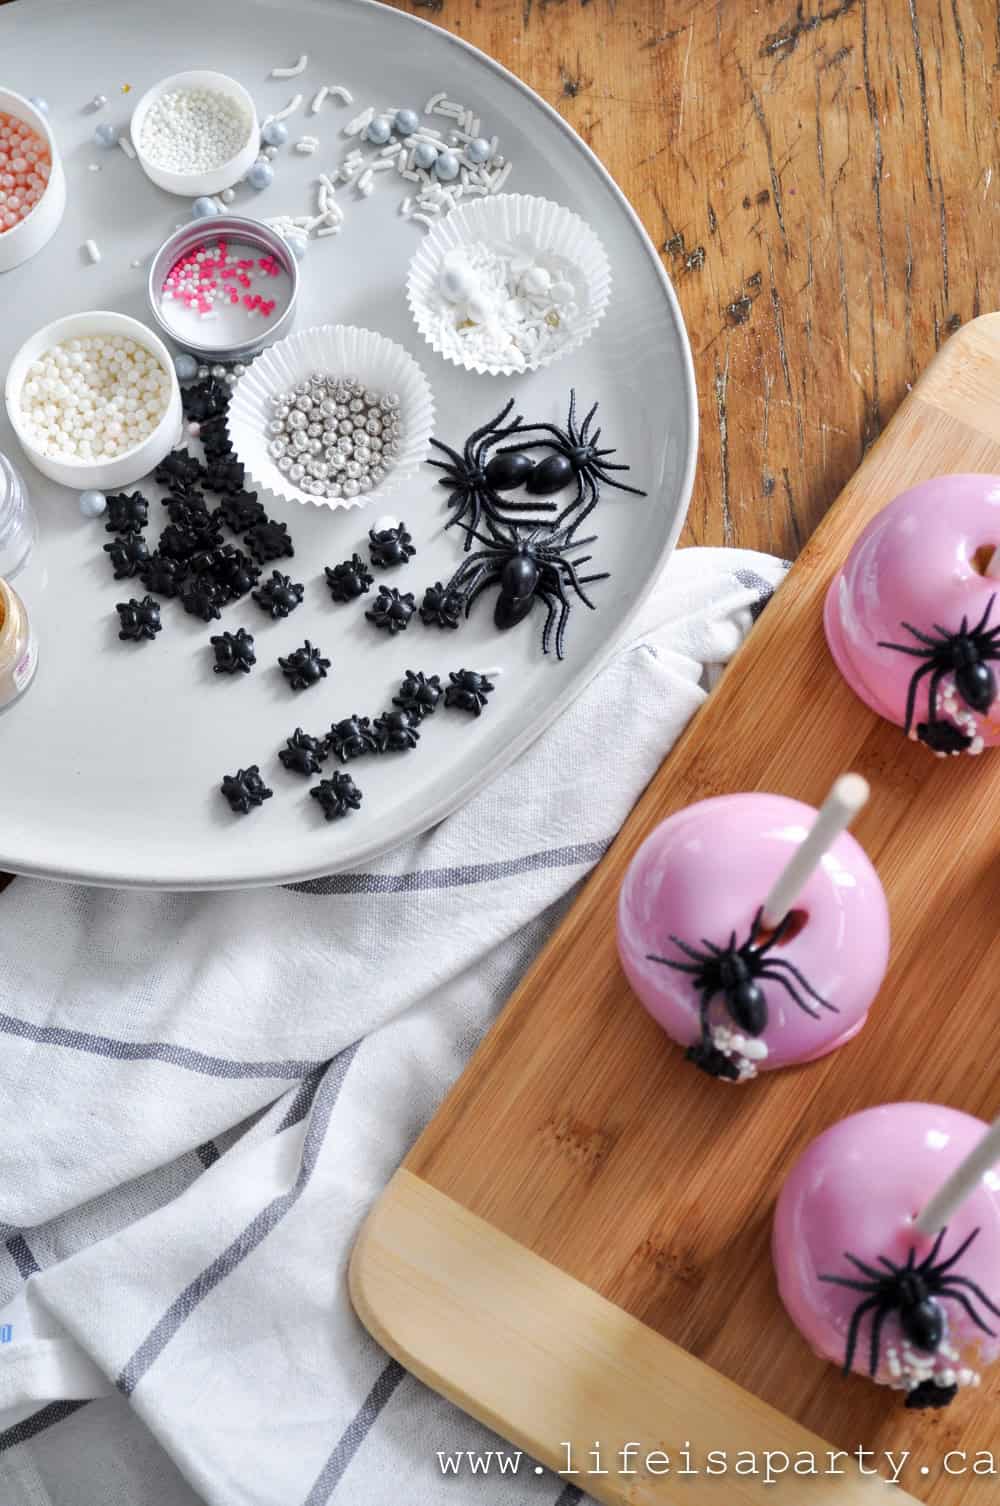
The trick to adding sprinkles and decorations to the finished candy apples was to use some light corn syrup on the set candied apples as edible "glue".
- Sprinkles and Decorations
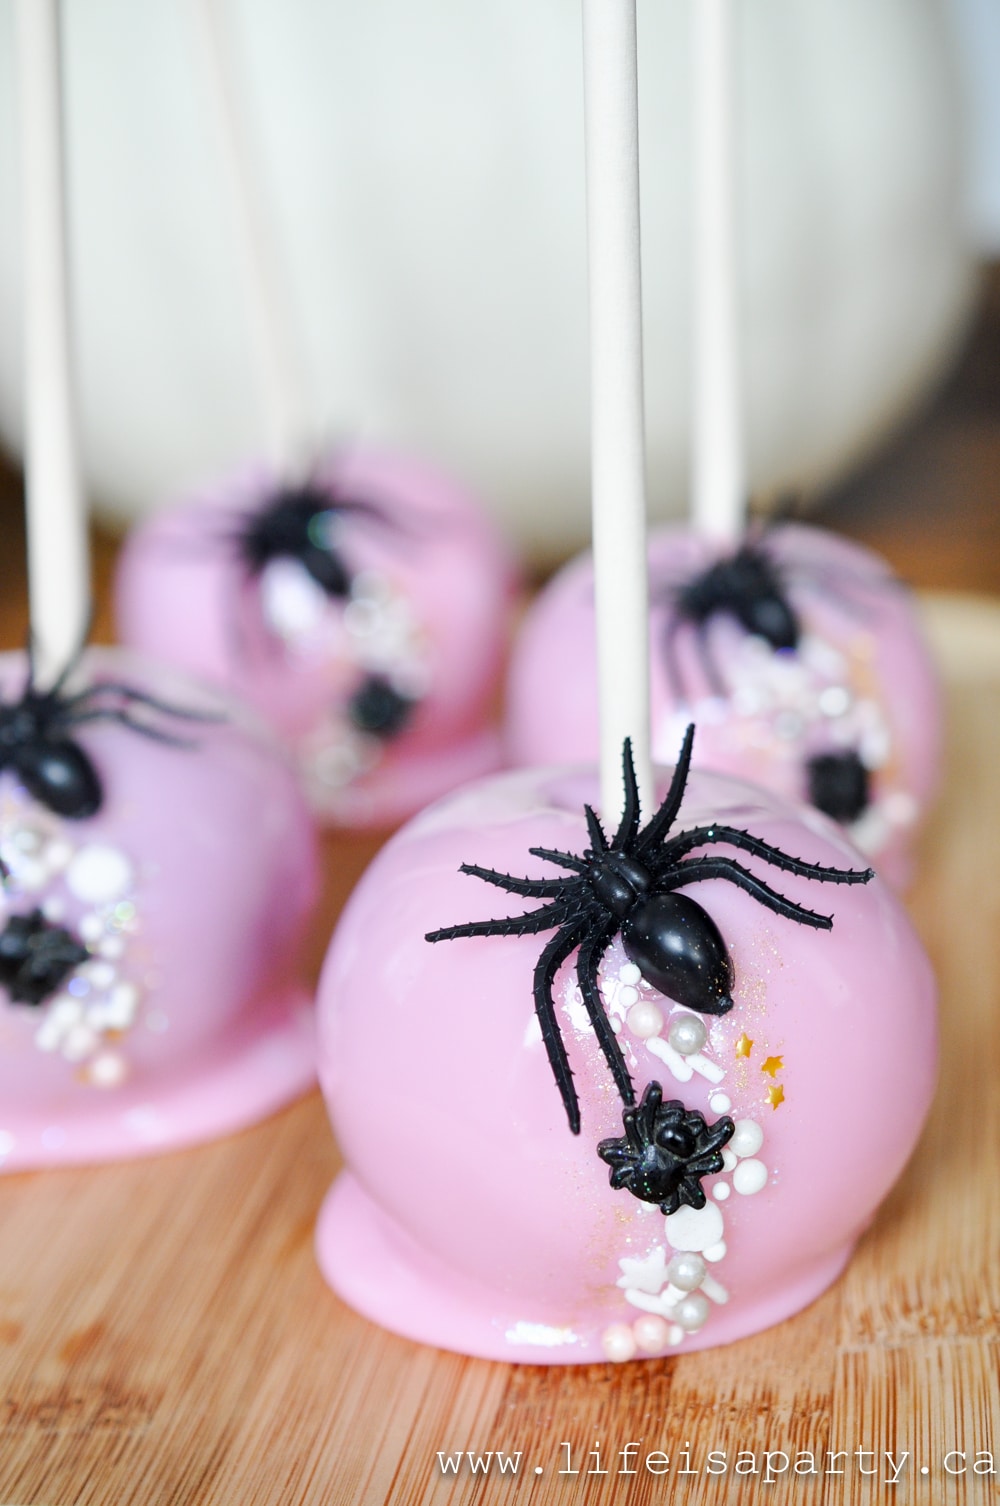
We started out with a larger plastic non-edible spider and added in lots of sprinkles, nonpareils, spider candies, edible gold stars and edible glitter. The glitter adds the most beautiful sparkle to these.
We included the plastic spiders because they were so fun, and made sure to tell our guests that they were non-edible and to remove them before eating. If you were worried about including something non-edible you could just leave those off.
Equipment
- Candy Thermometer
Making your own candy is intimidating to a lot of people. It's true that it can be tricky. You will need a candy thermometer. Using a thermometer is the easiest way to know when your candy is at the right stage. Candy experts use different methods to know when the sugar mixture is at the hard crack stage and right temperature. On your first try, or if you're still a beginner, it's definitely easier to use a candy thermometer to make the perfect candy apple, without all the guesswork.
Candy thermometers are inexpensive and easy to find at any good kitchen shop, or on-line, and they're good to have on hand for any hard candy making.
Expert Tip
When working with the hot candy coating, you'll also want to be careful to avoid sugar burns. This candy coating is very hot when you're working with it, and also sticky and hard to remove. You don't want to accidentally get it on your skin and burn yourself.
Work carefully.
If you do accidently get some of the candy coating on yourself, get the area into cold still water immediately to remove the sugar and soothe the area. This is not a great recipe to make with children for this reason. They can help you decorate the finished apples though.
Instructions
See the recipe card below for ingredient measurements.
1. We used small apples from an orchard that were not coated in wax. If you are using store-bought apples that are coated in wax, you'll have to remove the wax to help the candy stick to the apples. To remove the wax, dip the apples in boiling water and then buff the apples. Also, add wooden skewers or a small dowel into the centre of the apple. Prepare a baking sheet with parchment paper that has been sprayed with non-stick cooking spray.
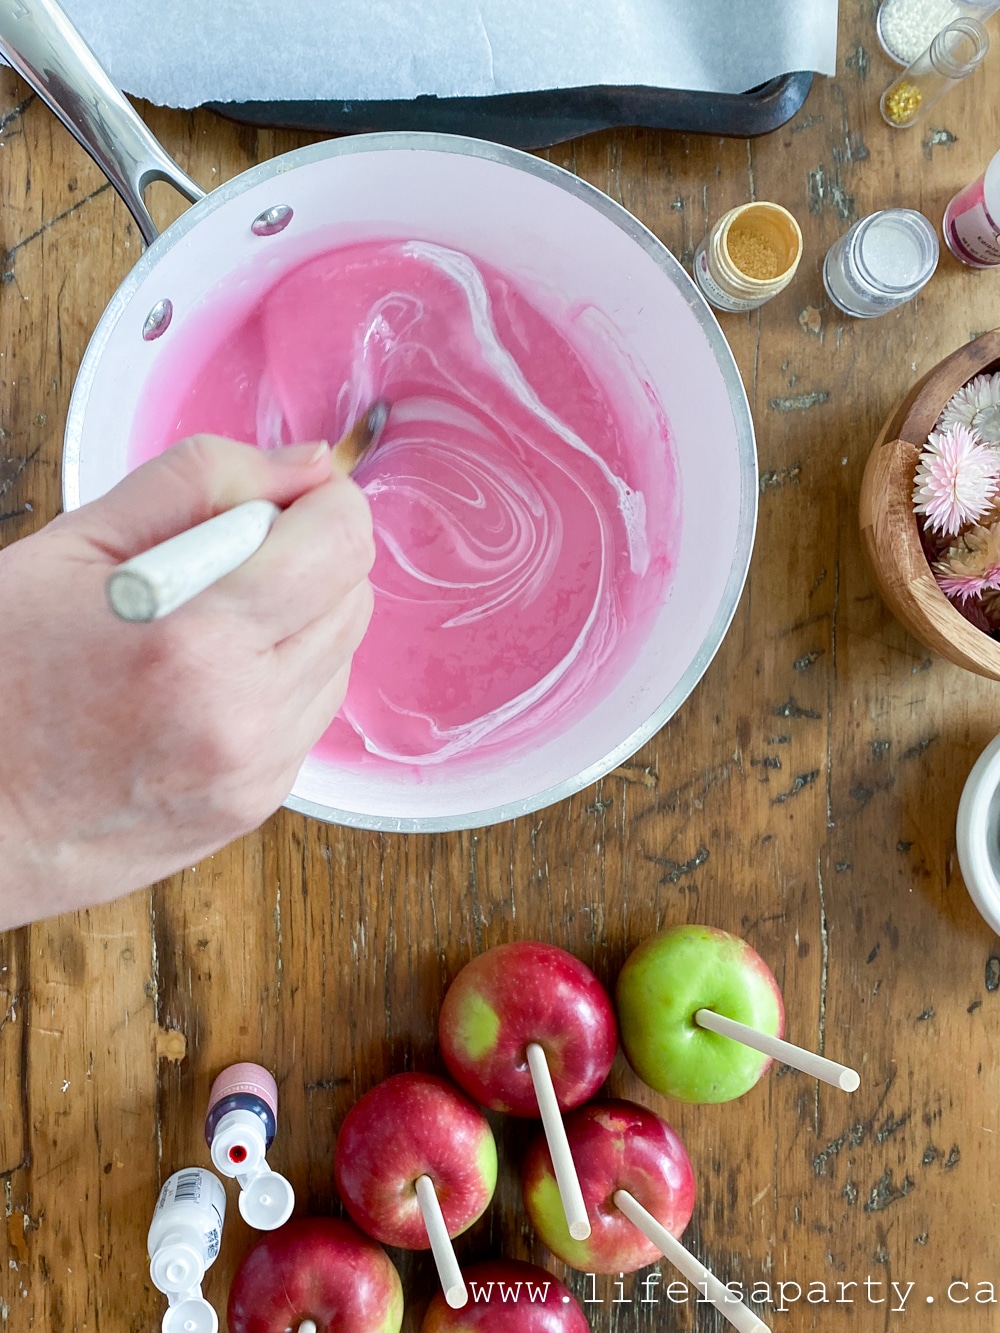
2. To make the sweet candy coating, add the sugar, water, and corn syrup to a medium saucepan and combine. Bring it to a boil over high heat. Reduce to a medium-high heat and add a candy thermometer into the mixture. Continue to boil until the candy reaches a temperature between 300-310 degrees. Occasionally brush down the side of the pan with cold water and a pastry brush to help prevent re-crystallization.
3. When the candy reaches 300-310 degrees remove from the heat, and add the food colouring. Adding the food colouring at the end prevents the white food colouring from turning yellow at all during cooking. I added around a ½ teaspoon of white colouring and just 1-2 drops of soft pink.
4. Working carefully and quickly because the candy starts to cool, tilt the pan and dip each apple individually. Coat the whole apple completely, and then left it drip off slightly to avoid excess drip forming a large puddle of candy at the base of the apple. Place the dipped apples on the parchment lined baking sheet to set. Take care working with the candy as it's very hot. Have a bowl of ice water standing by incase of any burns.

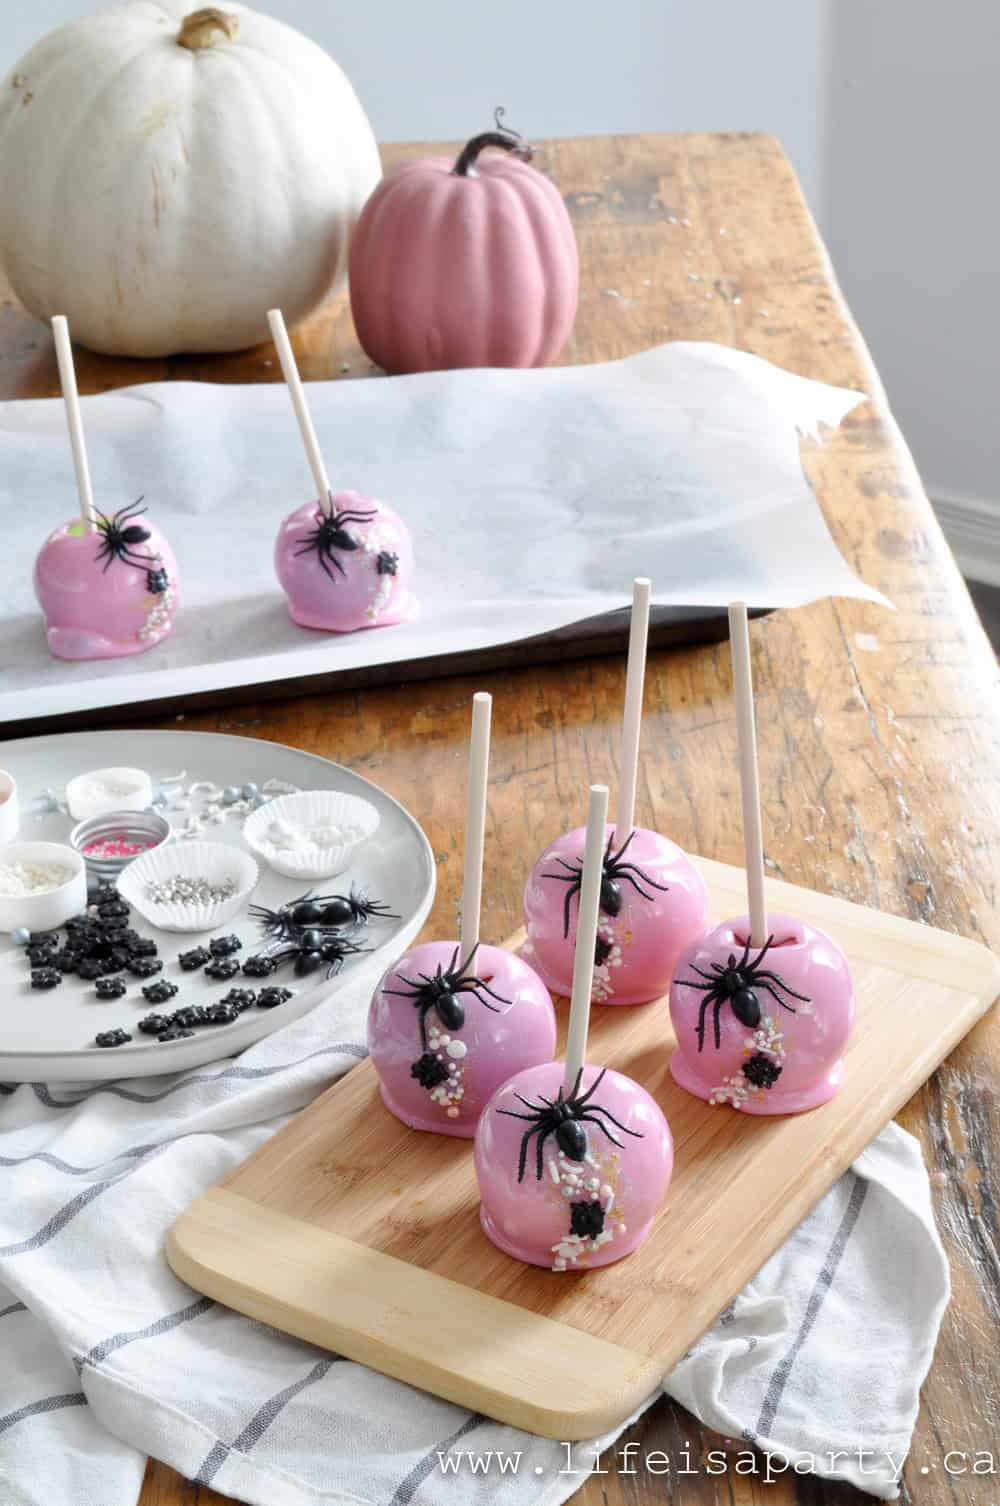
5. After the apples are set, decorate with sprinkles. Use some more light corn syrup as "glue" to adhere the sprinkles. We used a combination, including a plastic spider (not edible) spider candy, sprinkles, nonpareils, and edible glitter. These apples are best served the day they are made. Any humidity will make the apples sticky, so store in an airtight container
More Homemade Candy Inspiration
Frequently Asked Questions
These are best served the day they are made. Any humidity will make the apples very sticky. Be sure to store them in air tight container.
Any humidity will cause the candy coating to become sticky. Be sure to store them in an airtight container. They are best the day they are made.
Store-bought apples are usually coated in wax. Be sure to remove the wax first by putting the apples in boiling water for a few seconds and then buffing the wax off. Or, buy your apples at a farm shop or farmer's market where they don't coat the apples in wax.
If you tried this Pink Candy Apple Recipe or any other recipe on my blog please leave a star rating and let me know how it went in the comments below. Thanks for visiting today!
Recipe
Pink Candy Apples
Ingredients
- 2 cups white sugar
- ¾ water
- ½ cup white corn syrup
- 6-8 apples
- white food colouring
- soft pink food colouring
- assorted sprinkles
Instructions
- We used small apples from an orchard that were not coated in wax. If you are using store bought apples that are coated in wax, you'll have to remove the wax to help the candy stick to the apples. To remove the wax, dip apples in boiling water and then buff the apples. Also add wooden skewers or a small dowel into the centre of the apple. Prepare a baking sheet with parchment paper that has been sprayed with non-stick cooking spray.
- To make the sweet candy coating, add the sugar, water, and corn syrup to a medium saucepan and combine. Bring it to a boil over high heat. Reduce to a medium-high heat and add a candy thermometer into the mixture. Continue to boil until the candy reaches a temperature between 300-310 degrees. Occasionally brush down the side of the pan with cold water and a pastry brush to help prevent re-crystallization.
- When the candy reaches 300-310 degrees remove from the heat, and add the food colouring. Adding the food colouring at the end prevents the white food colouring from turning yellow at all during cooking. I added around a ½ teaspoon of white colouring and just 1-2 drops of soft pink.
- Working carefully and quickly because the candy starts to cool, tilt the pan and dip each apple individually. Coat the whole apple completely, and then left it drip off slightly to avoid excess drip forming a large puddle of candy at the base of the apple. Place the dipped apples on the parchment lined baking sheet to set. Take care working with the candy as it's very hot. Have a bowl of ice water standing by incase of any burns.
- After the apples are set, decorate with sprinkles. Use some more light corn syrup as "glue" to adhere the sprinkles. We used a combination, including a plastic spider (not edible) spider candy, sprinkles, nonpareils, and edible glitter. These apples are best served the day they are made. Any humidity will make the apples sticky, so store in an airtight container


Dannyelle Nicolle-Ramjist says
The prettiest candy apples ever, and they taste so great with the crisp hard candy coating and tangy apple.
Danielle says
What pretty Halloween apples.
Krista says
These look amazing, Danyelle - and I love how they can be customized!