Cricut Advent Calendar: free SVG cut file to create a reusable paper box advent calendar to fill with treats, activities, or gifts.

Jump to:
This Christmas countdown advent calendar is fun to make, and one you can use year after year. Fill each little box with little treats like a chocolate, a note, or one of our printable advent activity cards that you can do together as a family, a bible verse, or a small gift like little toys. And you can reuse this DIY advent calendar year after year.
Make your own advent calendar in any colors to suit your holiday decor. It' so beautiful it will make a welcome addition to your holiday season. This Cricut project would also make a lovely Christmas gift to someone with small children, or for grandchildren.

Make sure it's ready to go on December 1st, and start counting down to a merry Christmas each day. It's such a fun way to build anticipation, and spread some of the celebrating out.
Christmas Advent Calendar Materials:
You'll need a few different materials to make this easy advent calendar. We used white sticker paper along with the print then cut feature to make ours. But you could easily use regular copy paper for your print then cut and then use a glue stick to apply the numbers to the boxes if you didn't have any sticker paper.
- Cricut machine
- card stock -we used white and brown kraft paper style, and green
- hot glue and hot glue gun
- scoring wheel or scoring stylus
- fine point blade
- Cricut cutting mat
- sticker paper
- printer
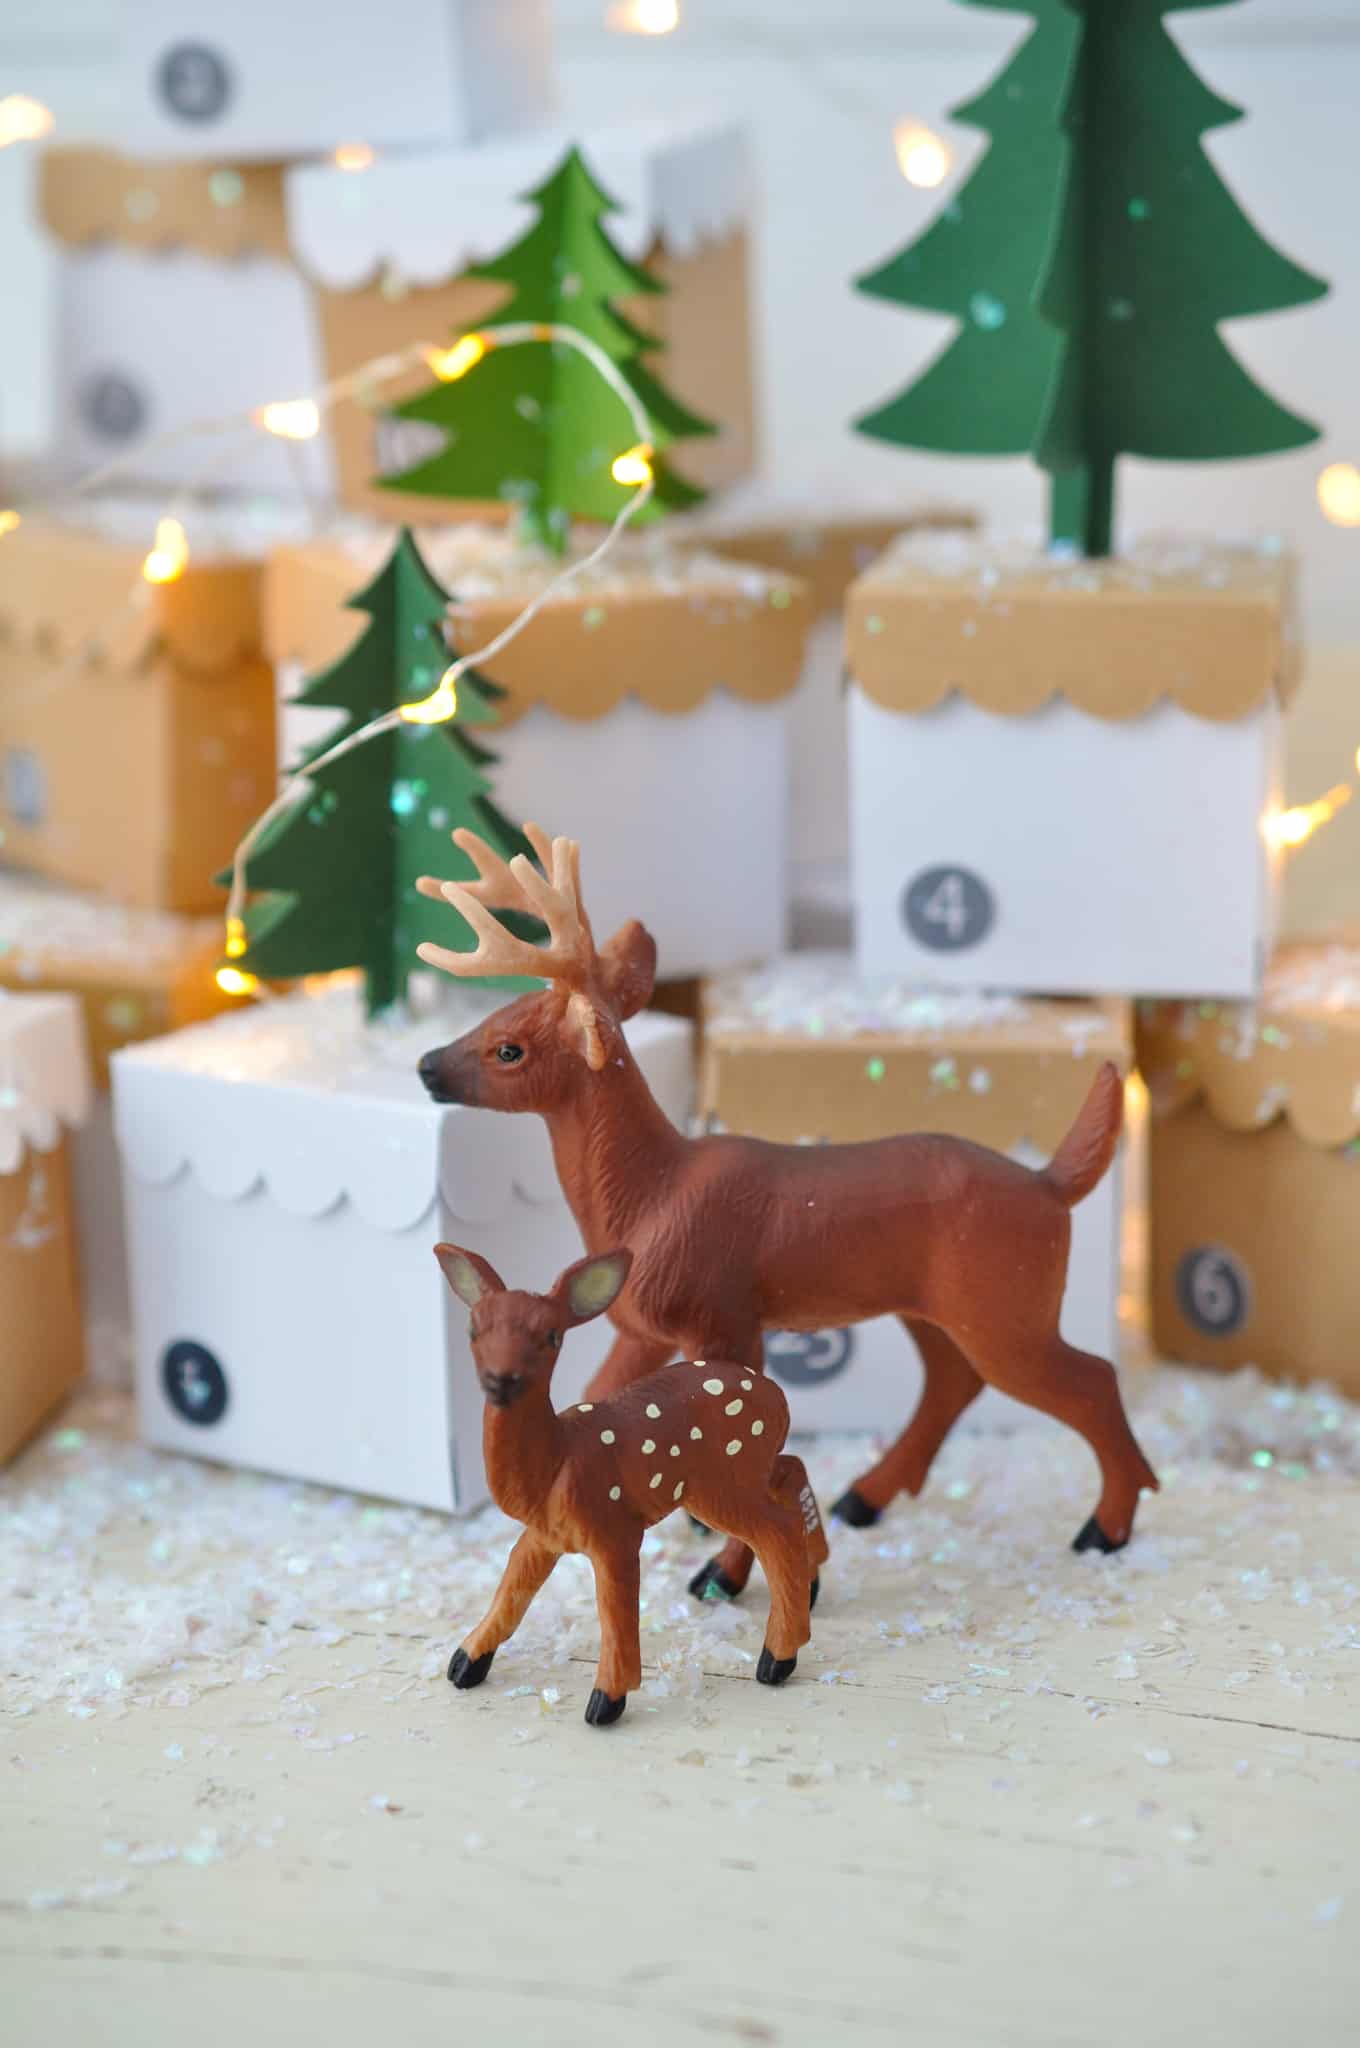
- optional: faux snow, toy deer, twinkle lights
- small treats
- free svg files (subscribe below for instant access in our free resource library)
- sticker file in Cricut Design Space
Cricut Advent Calendar Tutorial Video
Prefer to see exactly how to make it? Check out the video below to see the entire process:

How To Make The Advent Calendar
1. Begin by downloading the free svg file. Our files are free to subscribers in our free resource library. Become a subscriber below for instant access.
To Make The Boxes
2. Open Cricut Design Space, and start a new project.
3. Click the upload button on the left side, and click on browse. Find the advent box bottom cut file, click on it to upload to Cricut Design Space, then upload the advent box lid file the same way. Once they're uploaded select both and add to your canvas.
4. Once you have the lid and bottom on your canvas, you need to change the purple/pink cut lines to score lines. This step is important. Select each of the cut lines, and change the operation on the top menu from cut to score. There are four score lines to change for the lid, and another four lines to change to score for the box bottom.
5. After the score lines are changed, select the entire box lid using your mouse and click on attach at the bottom of the layers menu. Then select the entire box bottom and click on attach for it. This is another important step, which will make sure that the score lines are in the right places.
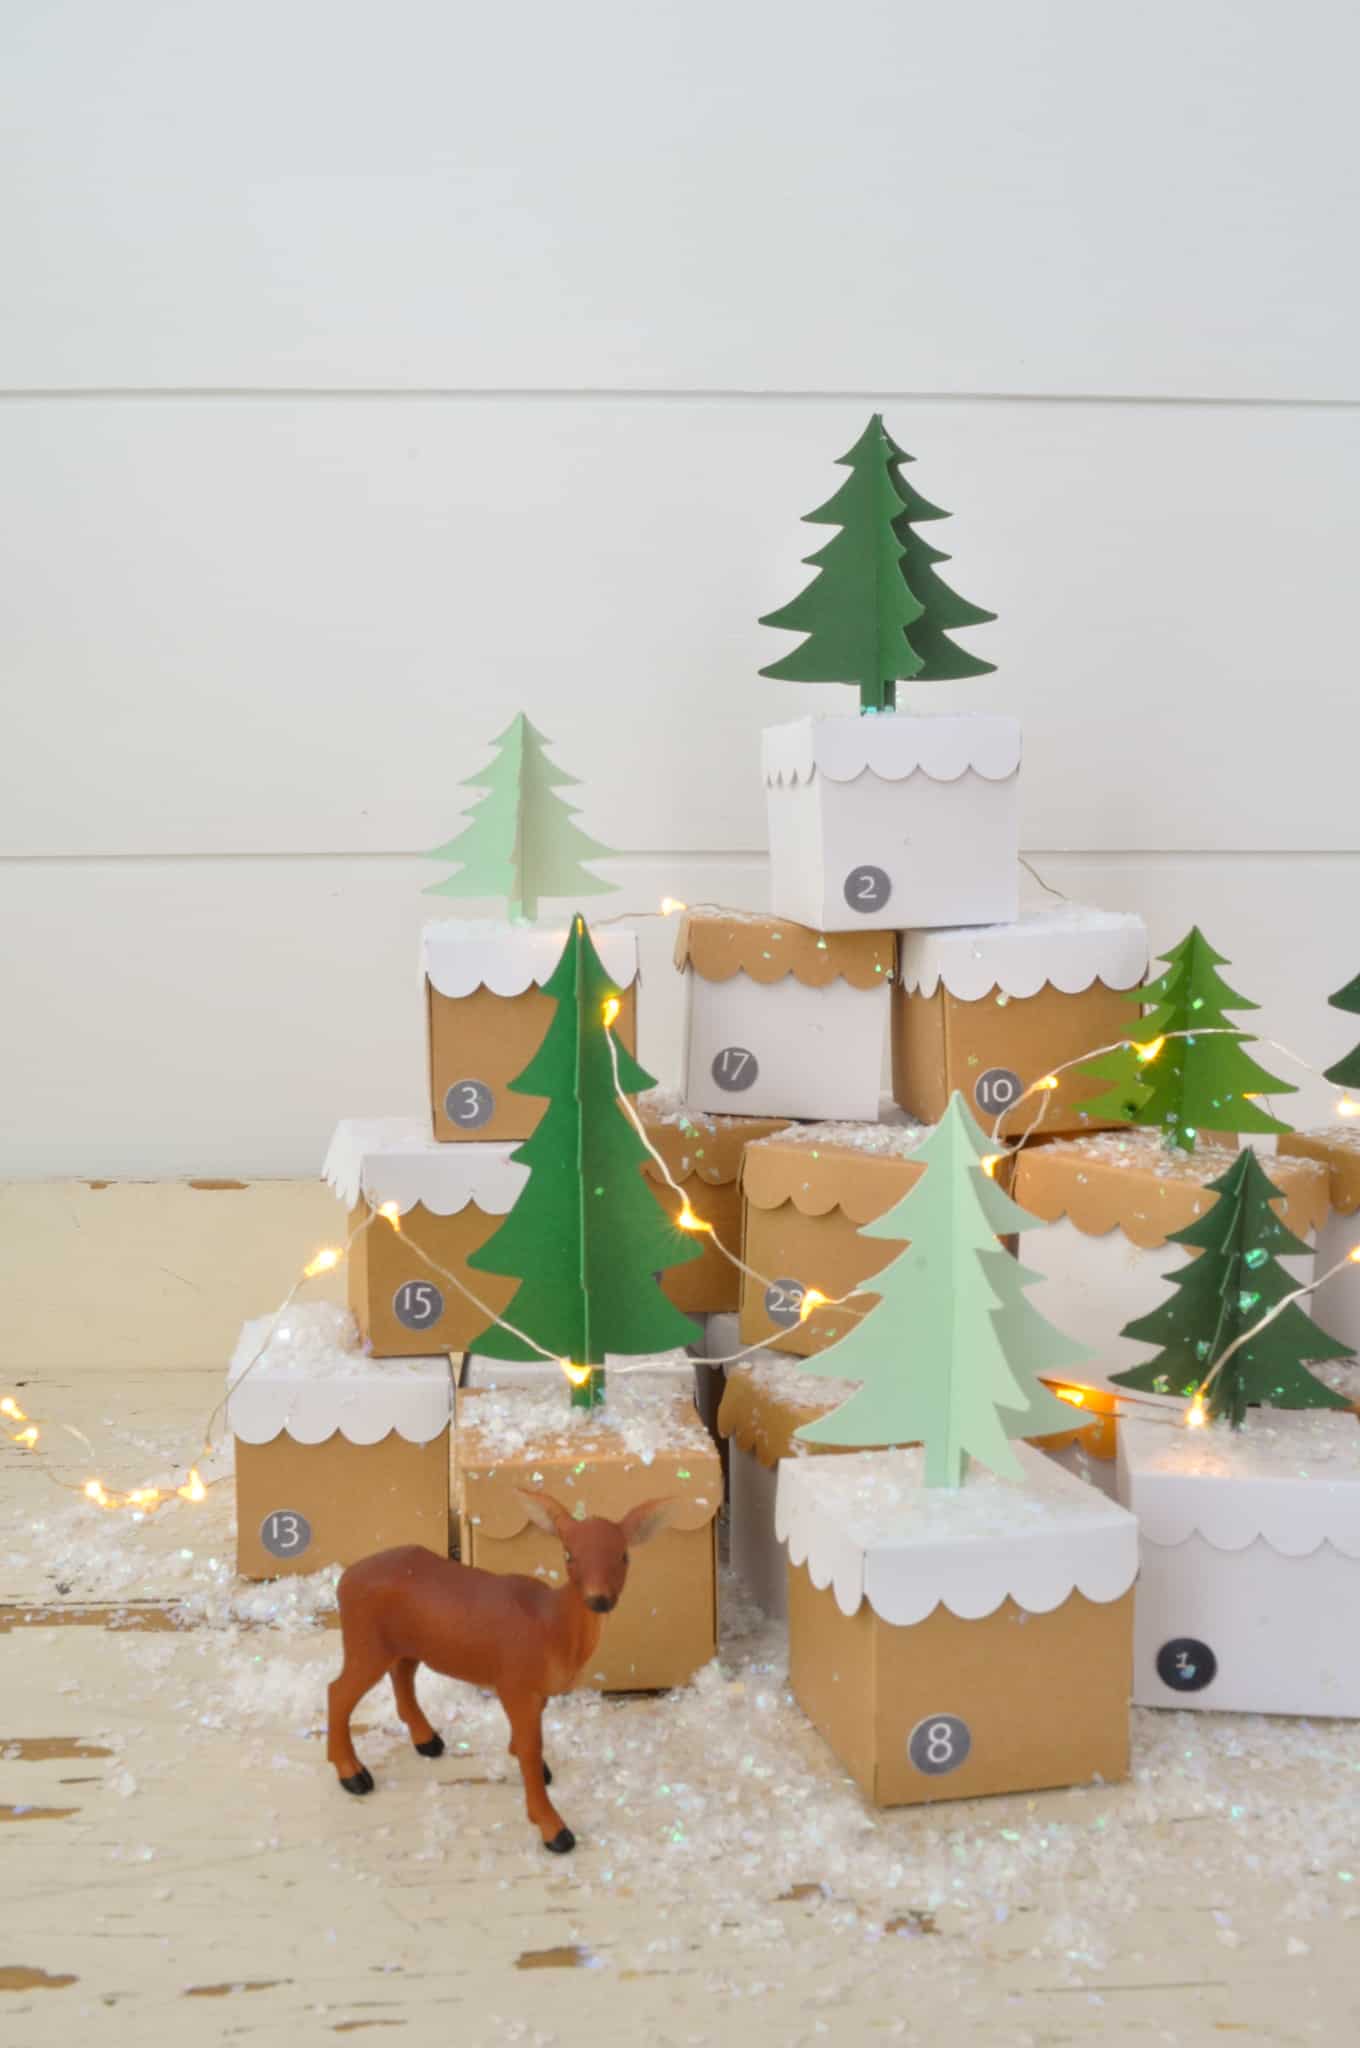
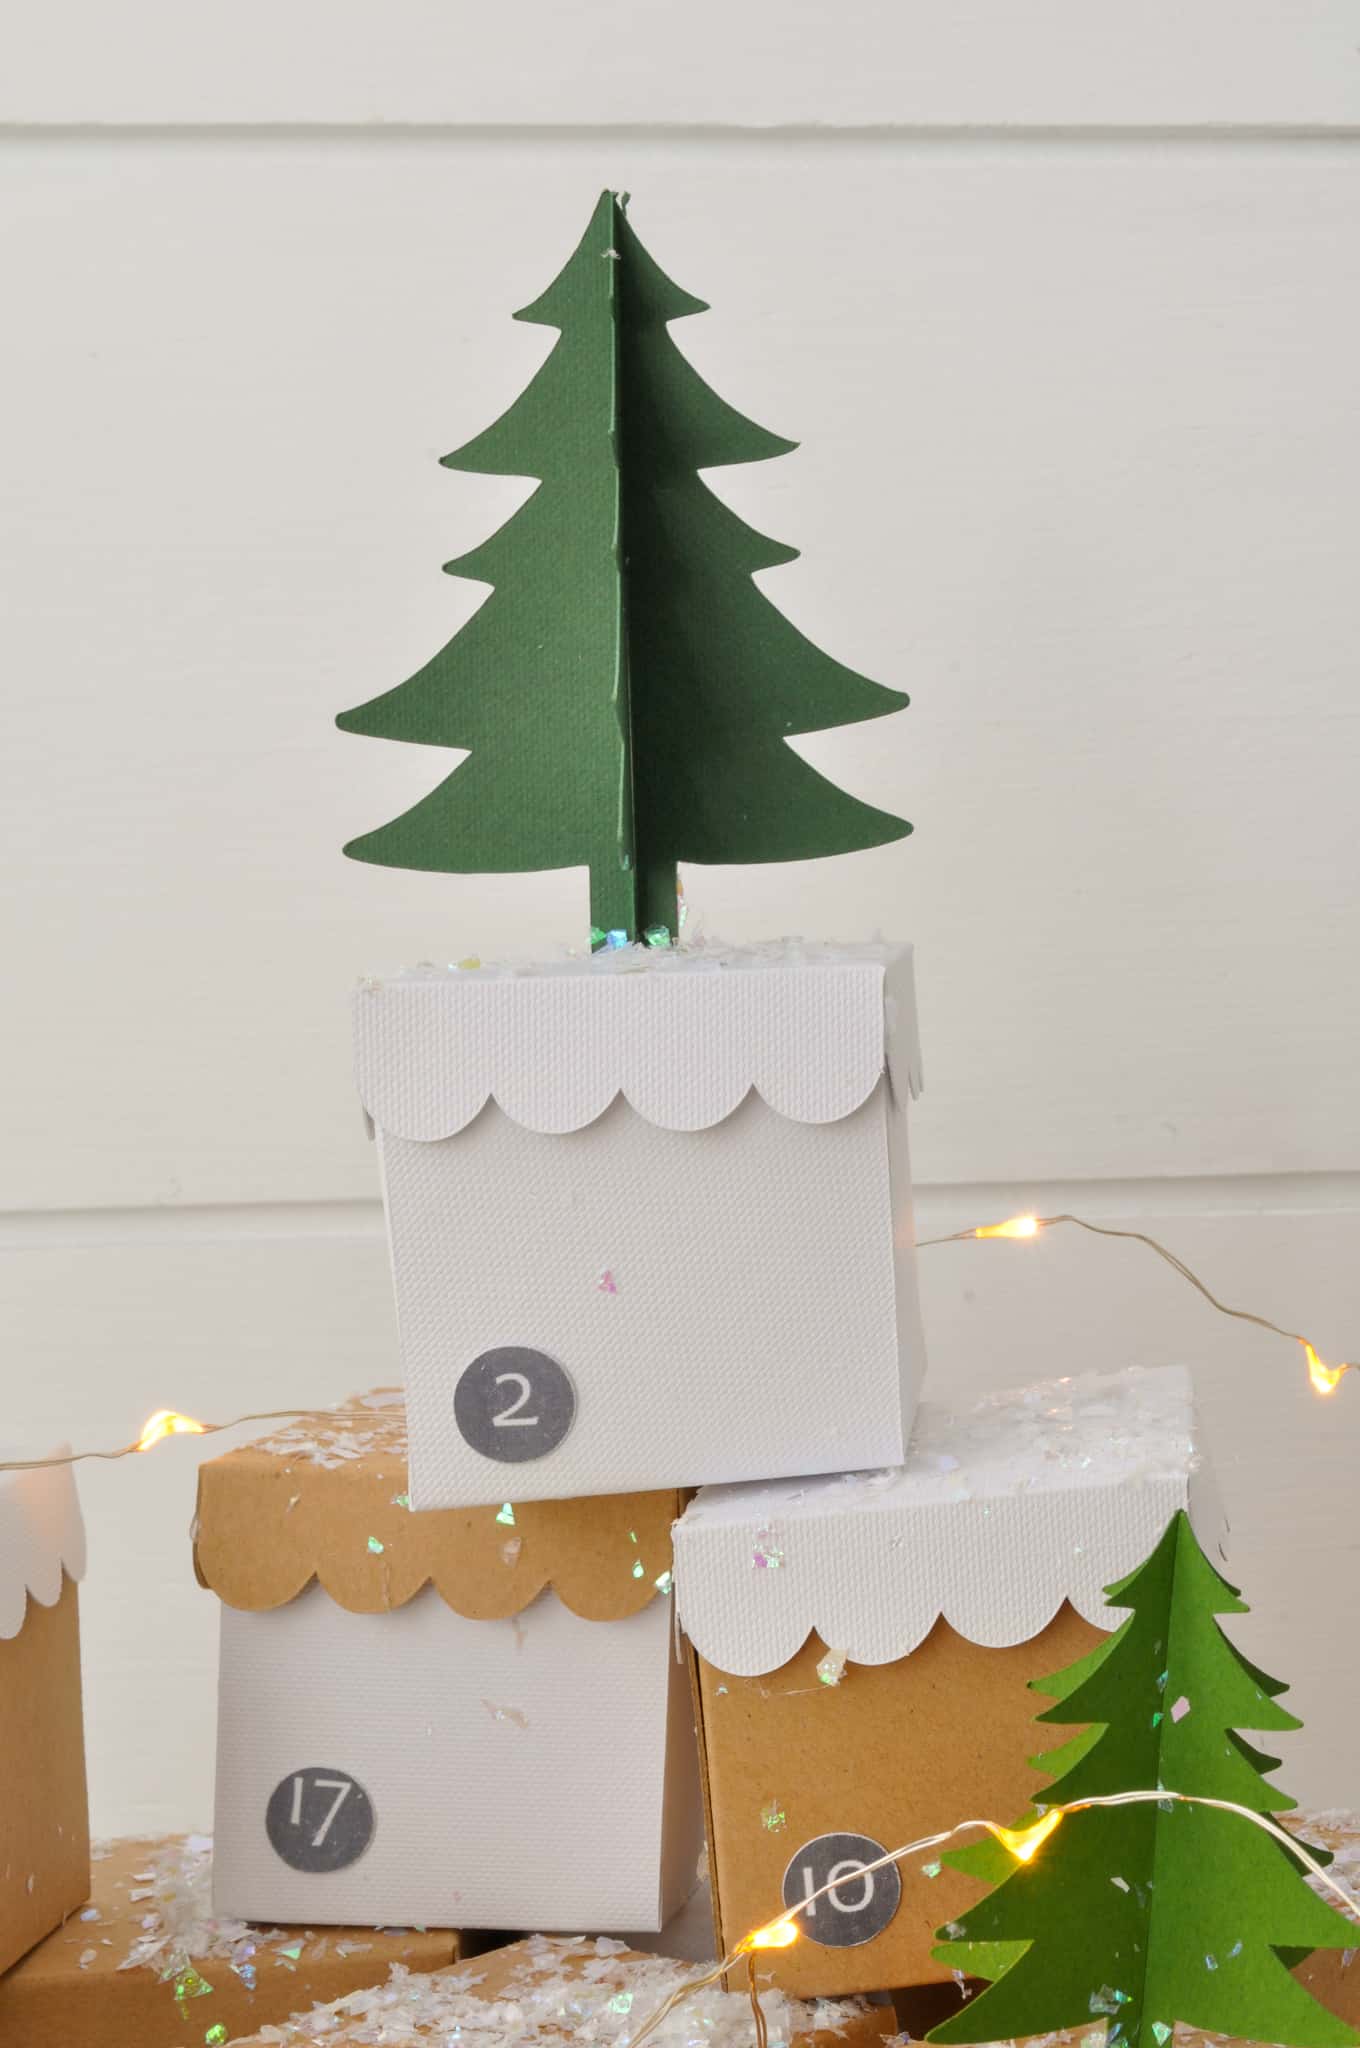
6. You need 24 boxes for the advent calendar. We did 12 white and 12 brown and mix and matched them. Using a different color for the tops and bottoms helps the pretty scalloped edge to really show up. You can do one color, or multiple colors. We duplicated our original box top and bottom and then changed the color of the second one to brown. Then we selected and used duplicate until we had 24 boxes, 12 white and 12 brown. Don't worry about arranging them on the canvas, Cricut Design Space will automatically arrange them on the cutting mats.
7. Save your project and click Make It.
8. Set your material to card stock, and follow the prompts in Cricut Design Space to add the score wheel when necessary.
9. To assemble the boxes, fold along all the score lines, and then use hot glue to glue the lids and bottoms together, taking care to make the them as square as possible.
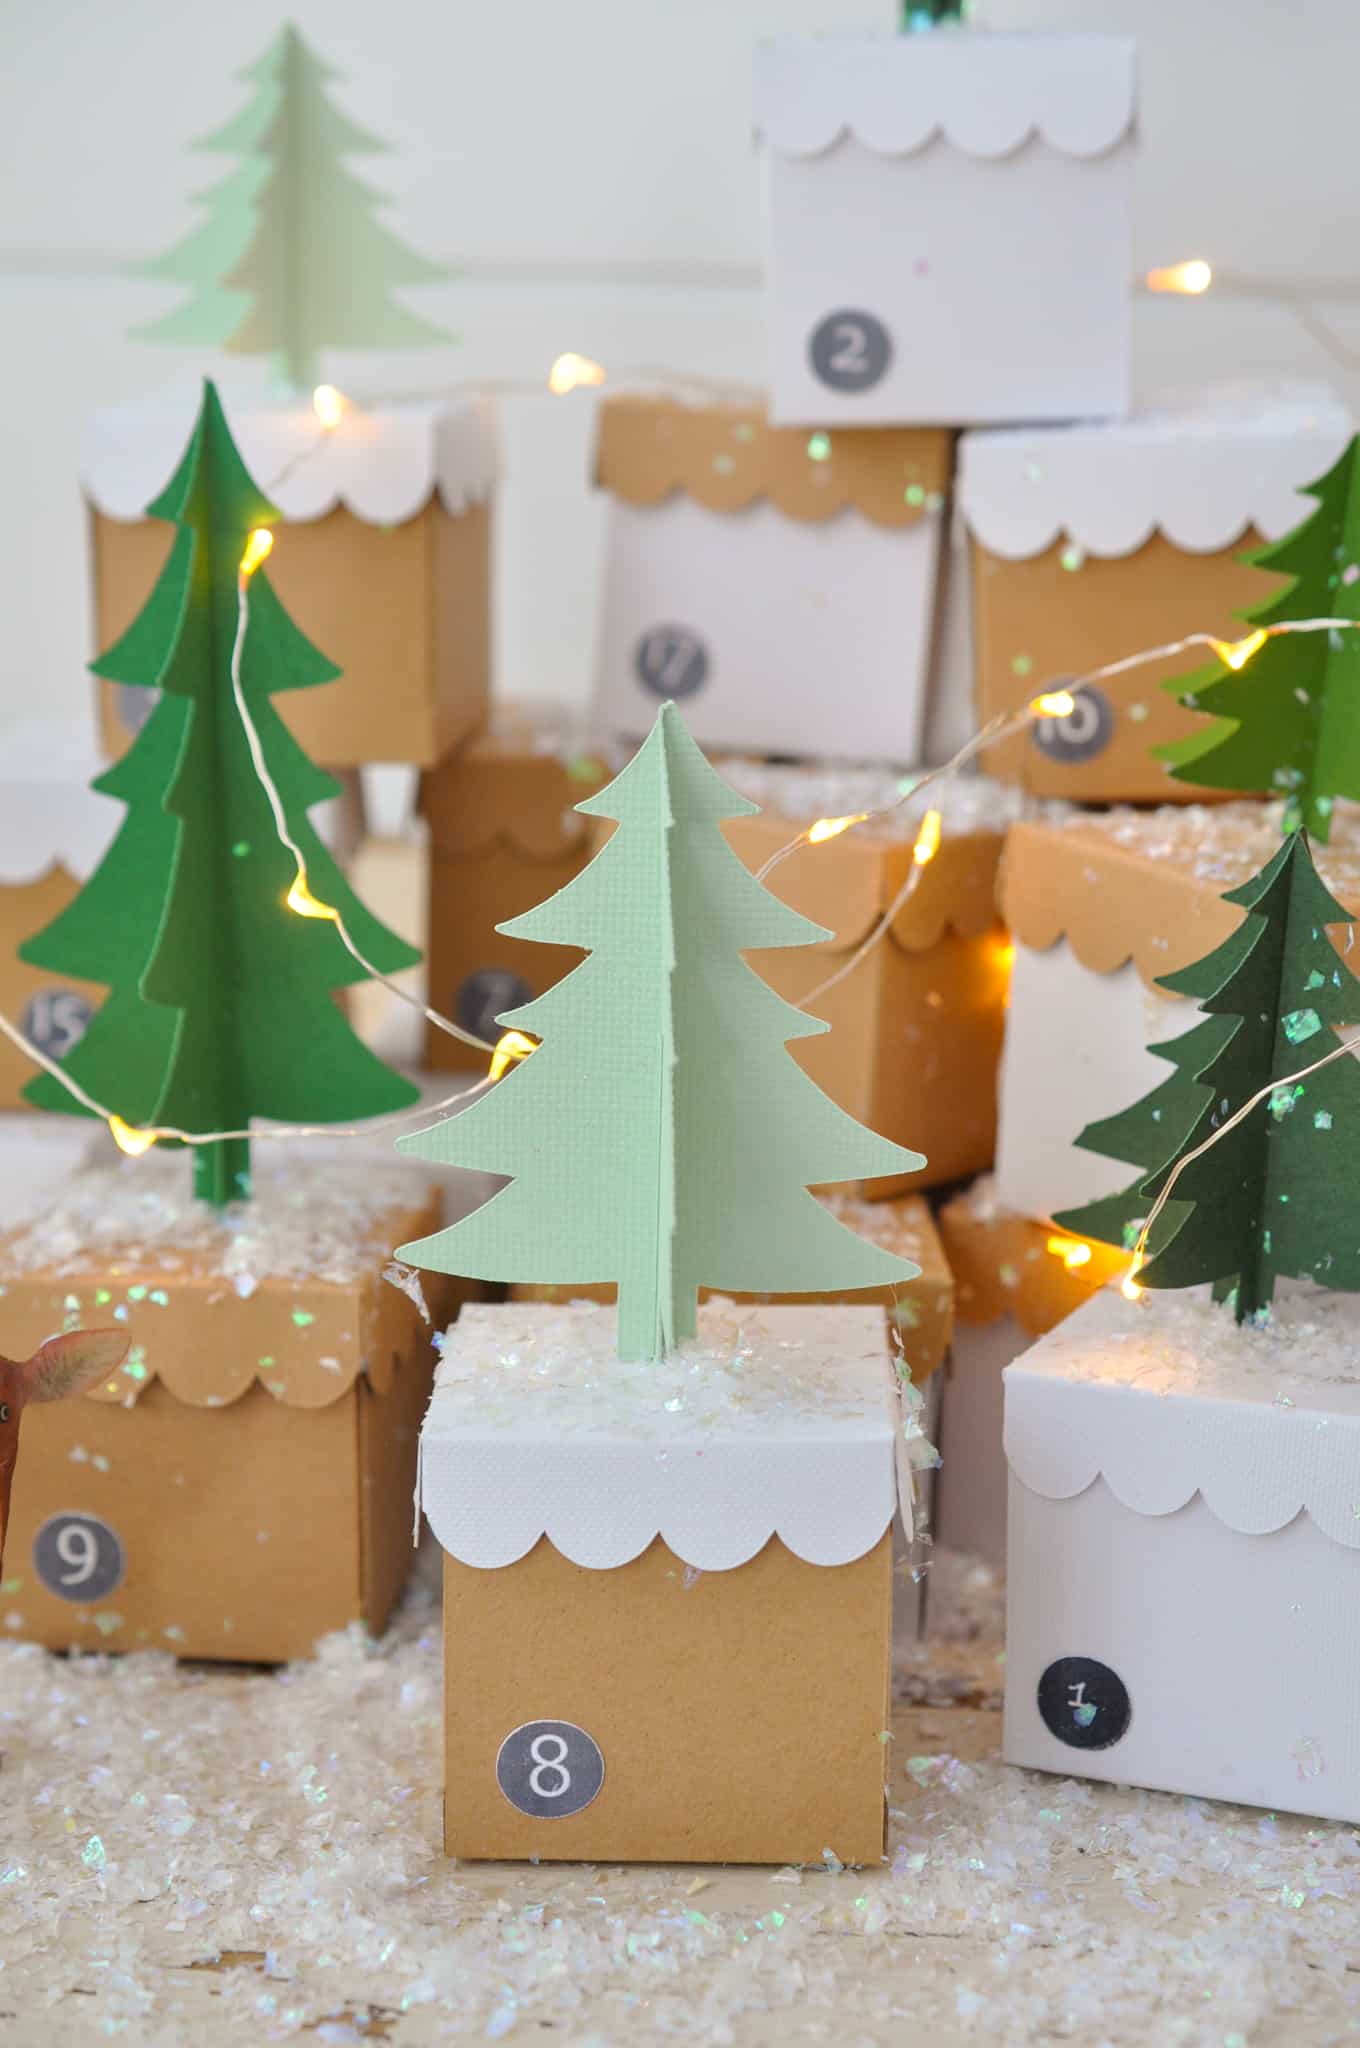
To Make The Trees
10. To make the decorative trees for the top, start with a new canvas in Cricut Design Space. Upload the tree file in the same way we did for the boxes and add the tree to your canvas. To create different sizes of trees, duplicate both pieces of the original tree, and then unlock the dimensions by clicking on the lock on the top menu. Then with both trees from the set selected (you need the sizes of both pieces of one tree to match) use the scale button to make the tree short and fat, or tall and skinny. Duplicate the original trees to make as many new ones in different sizes as you wish. You can also change the colors to different shades of green. Once you're happy with your trees, save your design and click make it.
11. Cut out your trees from different colors of green card stock.

12. To assemble the trees, slot the top and bottom pieces together. Use hot glue to glue them to the centre of some of the box lids. Every box doesn't need a tree, we just added some trees to the top of the advent calendar mountain.
To Make The Numbers
13. To make the numbers for the advent calendar you're going to use my Cricut Design Space file. Search for Life is a Party in the search box on the homepage of Cricut Design Space. Scroll to the bottom of the page and look for Life is a Party under community members. Follow Life is a Party and look for the advent calendar numbers file. Click on customize. Adjust the color of the circles, and the font. If you're wondering why this file is in Cricut Design Space instead of an SVG, it's so that you can easily adjust the color of the stickers, and the font.
14. Next, select all, then click on the flatten button, to turn the design into a print then cut operation.
15. Follow the prompts to print the numbers using your printer and white sticker paper. Next, cut out the circle stickers on the Cricut

16. Add the number stickers to the boxes.
Assemble The Calendar
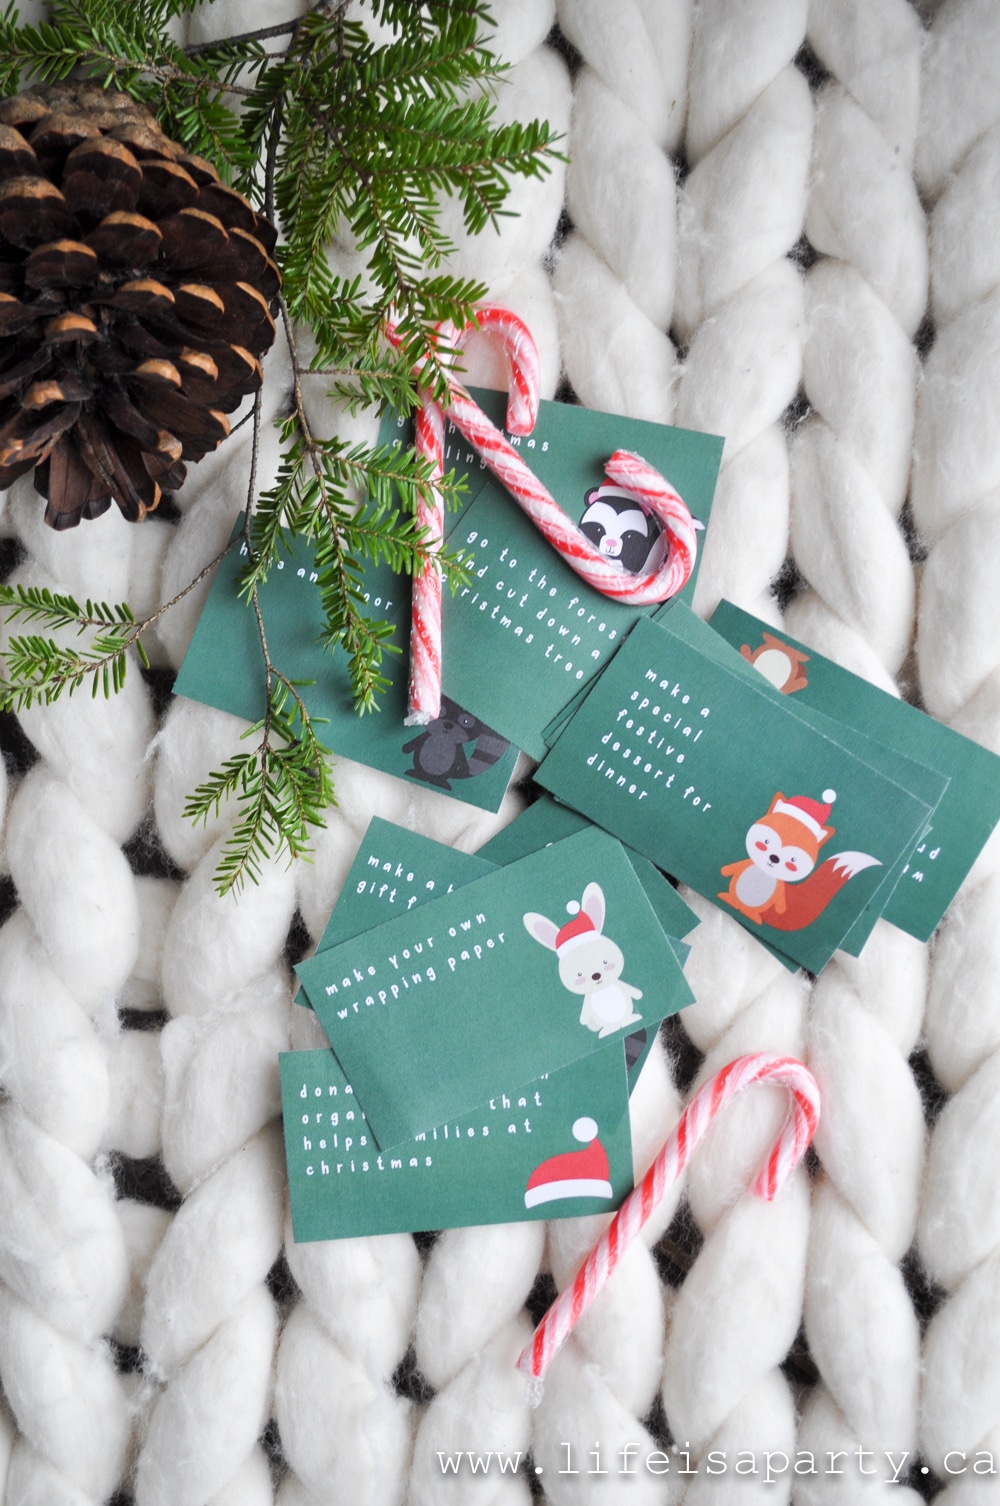
17. Add special treats to the boxes such as small toys, chocolate, candy or gift cards. Or try a different Christmas joke, or love note for each day. Or use our advent activity cards to add a different activity for each day.
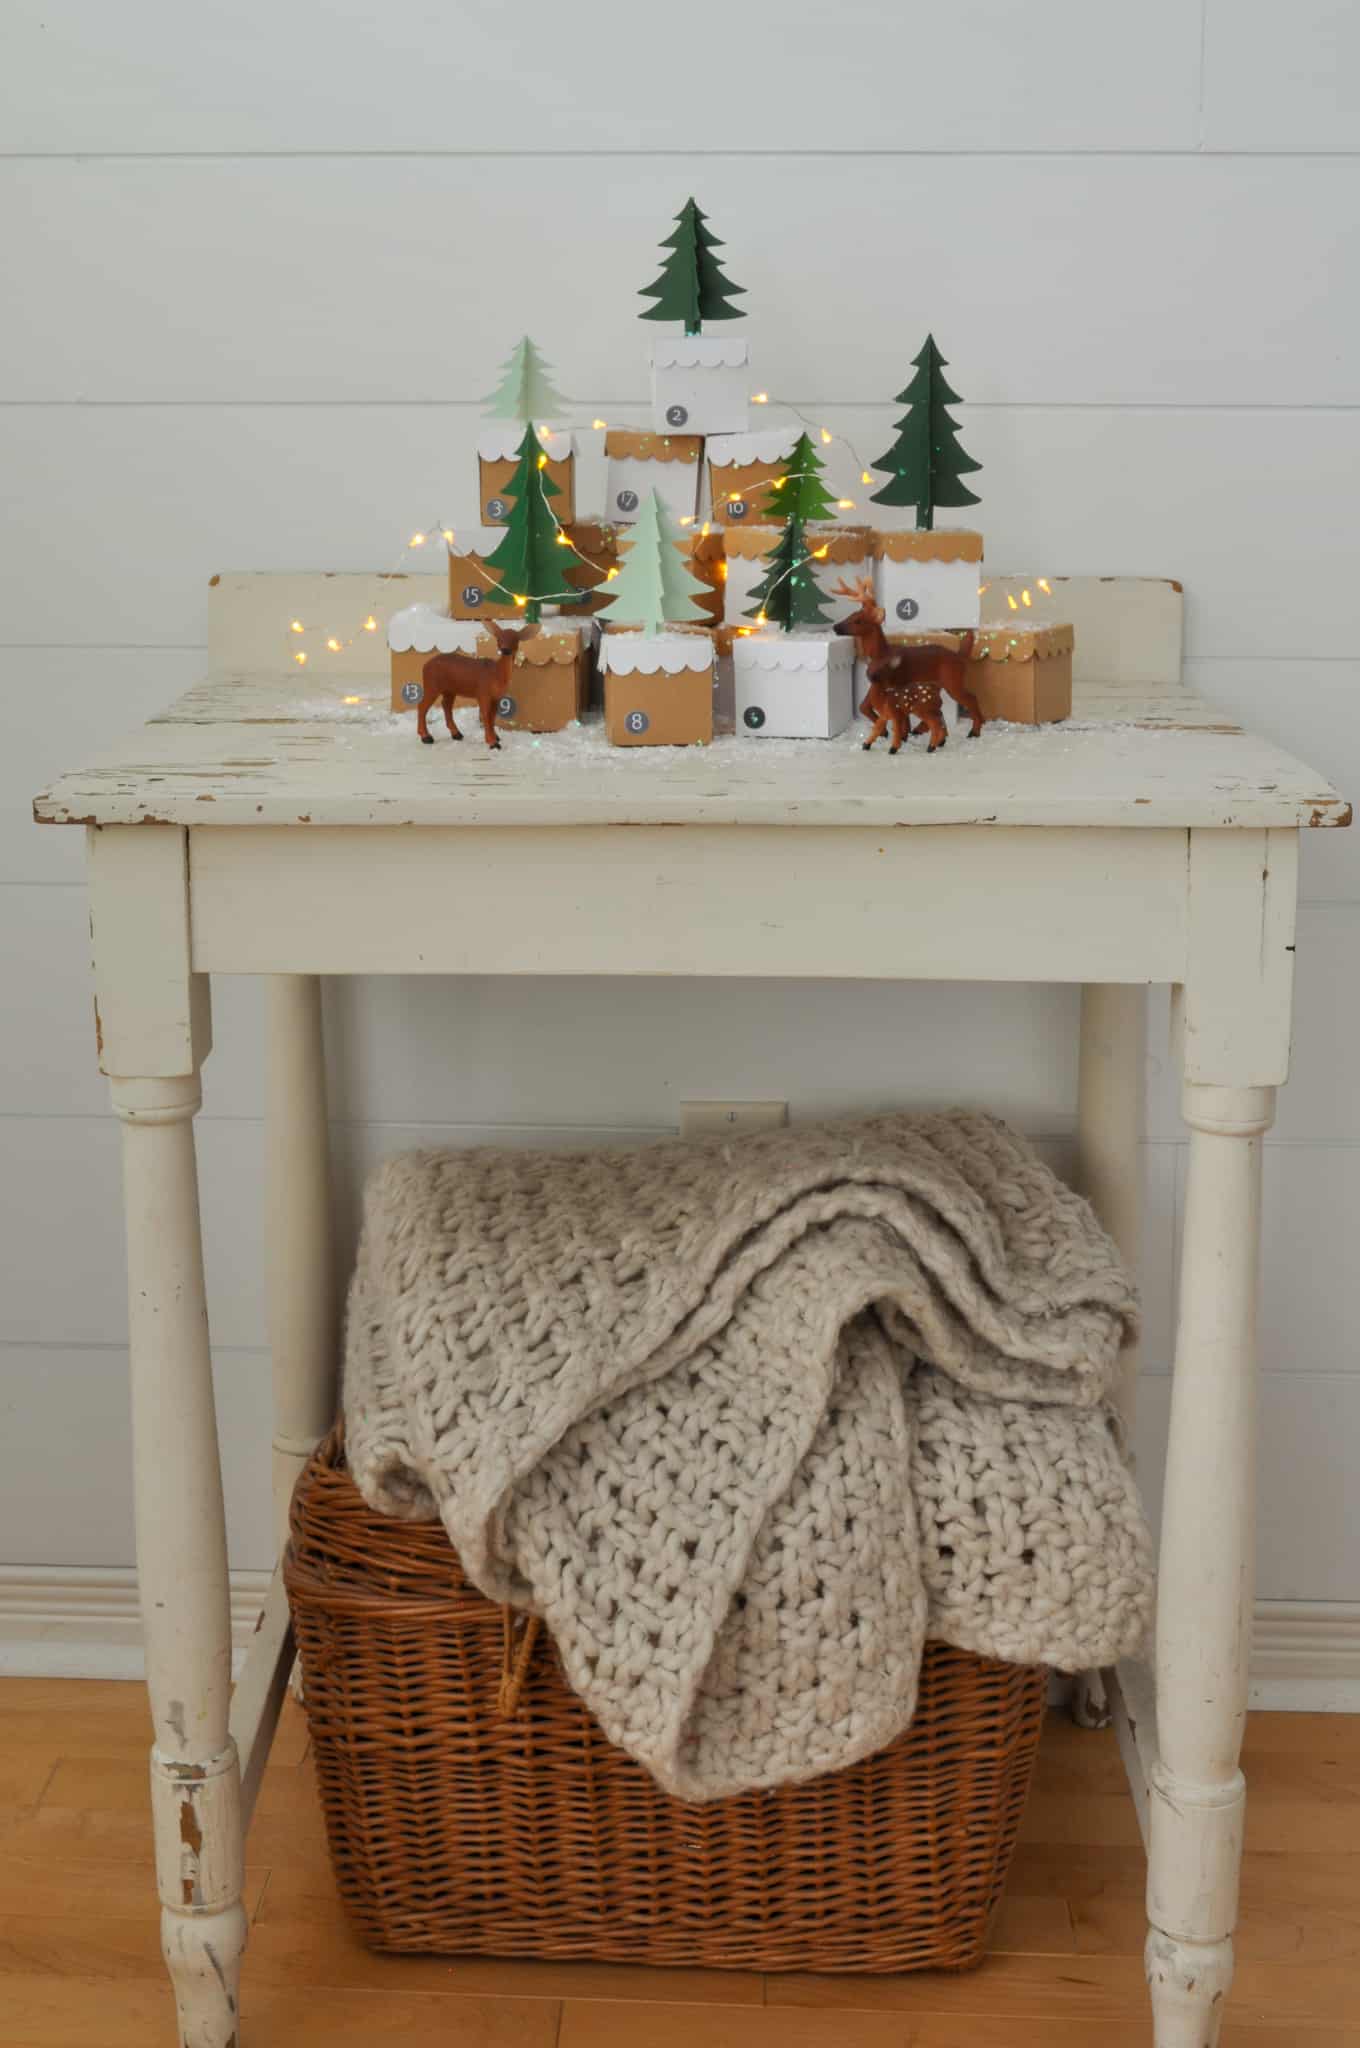
We set up a little mountain with our advent boxes, with the tree boxes scattered along the top. After they were all positioned I added some twinkle lights, a few cute deer, and a sprinkling of faux snow. It looks so great in my home, that it doubles as Christmas decor.
Advent Activity Calendar
When my kids were little they loved having an activity calendar. The activities are great ways to add some screen-free ways celebrating to your holidays. Each day there is a different Christmas activity for the kids or family to do together. Some of them are easy, like read a Christmas story book together, some of them take more planning like decorating the Christmas tree. Never done an activity advent calendar before? I promise it will be your one of your favourite new traditions and create life time memories for you and your kids.

Your whole family will have so much fun with this countdown calendar, no matter what you fill it with. Try one of our suggestions for extra special fillers, or fill the entire thing with different items each day to keep them guessing. This cute calendar will keep everyone delighted right up until Christmas day. This beautiful project is sure to become one that you use year after year.
With a reusable homemade advent calendar made with your Cricut, life really is a party!


Leave a Reply
You must be logged in to post a comment.