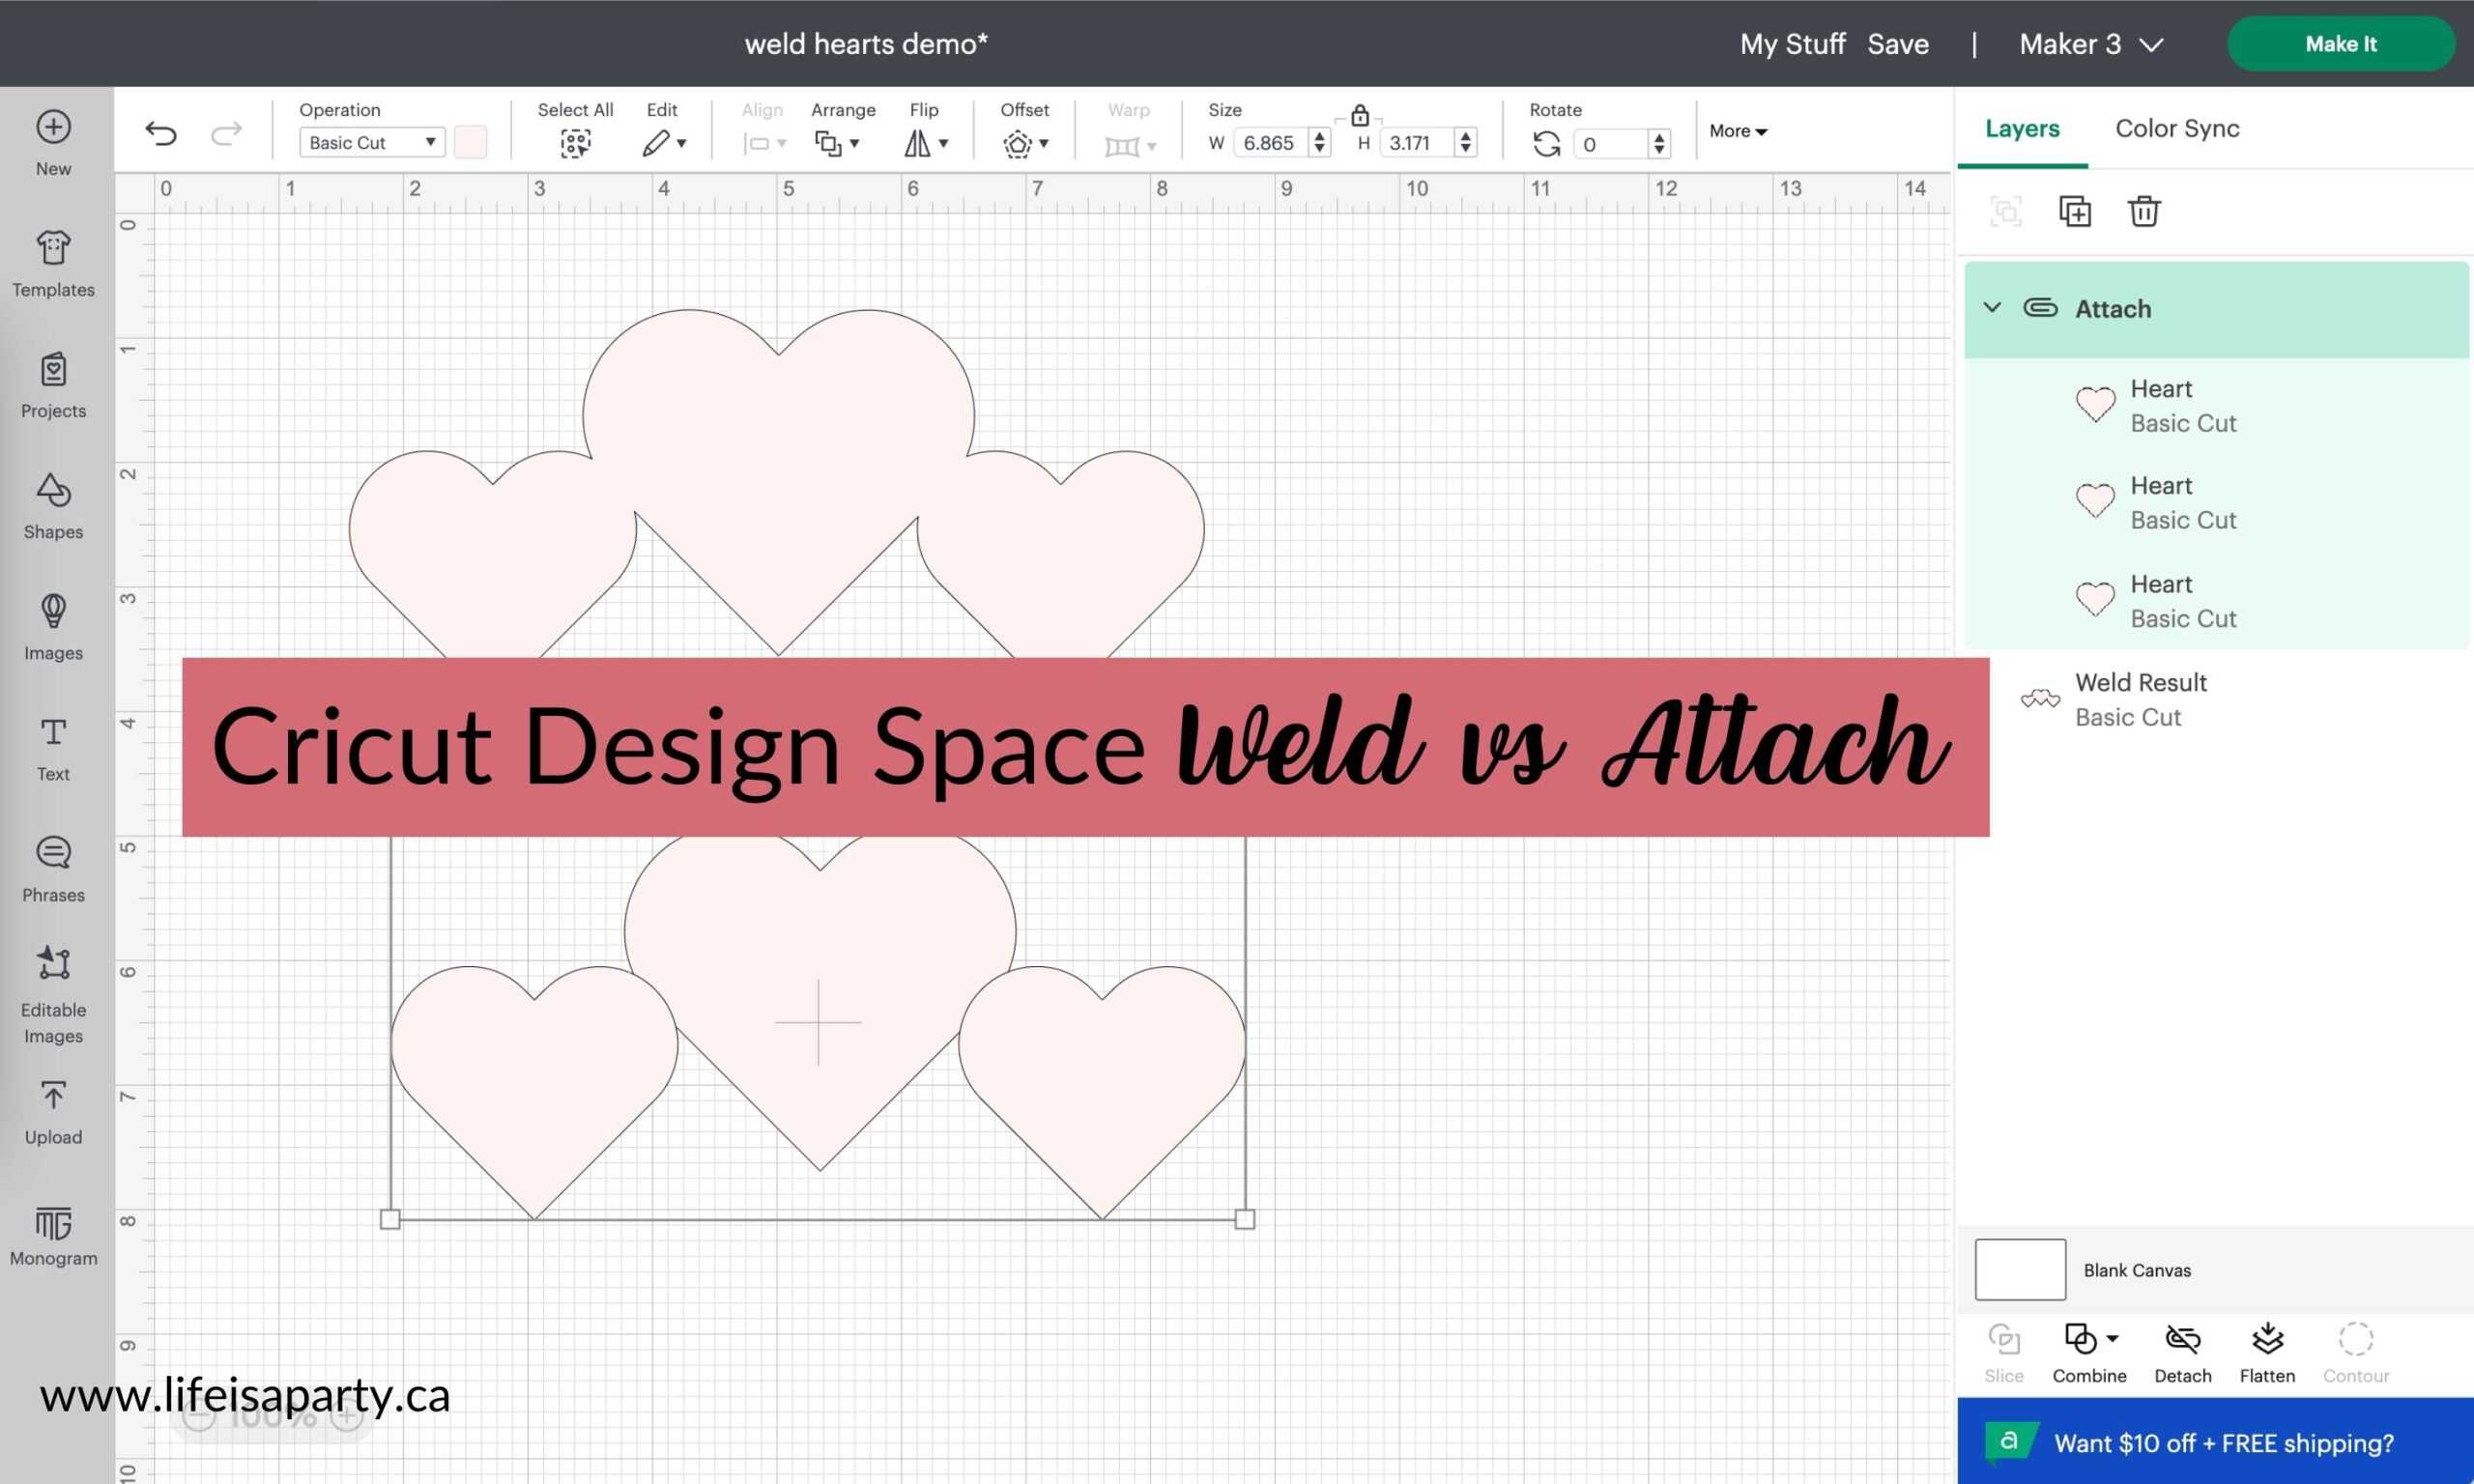
Cricut Weld vs Attach: Learn what weld and attach mean in Cricut Design Space and exactly when to use each option.
Jump to:
- Cricut Weld Vs Attach
- Attach Tool
- How Do I Attach?
- Troubleshooting Attach
- What's The Difference Between Group and Attach in Cricut?
- Using Attach To Help Arrange Things On Your Mat
- The Weld Tool
- How Do I Weld?
- When Do I Use The Cricut Weld Tool?
- Welding Script Font Together
- How Do I UnWeld?
- Unite
- When Do You Cricut Weld vs Attach
- More Cricut Posts You Might Enjoy
Cricut Weld Vs Attach
There's a lot of special Cricut terminology for different things and it can be hard to figure out or remember when to use Cricut weld vs attach. We'll look at the differences of each of these functions, and when you will want to use either of them.
Attach Tool
The attach tool is one of the important tools in Cricut Design Space. Use attach when you want to attach things together on the cutting mat.
The Attach Tool allows you to hold the attached image, text, cut, draw, or score line in place relative to another item on the canvas, and also on the cutting mat. Without using attach, each element of the project would cut out separately.
If you have score lines or writing on a card for example, you will want to attach it together so that it cuts out the card with the score line and writing in place, rather than as a separate element.
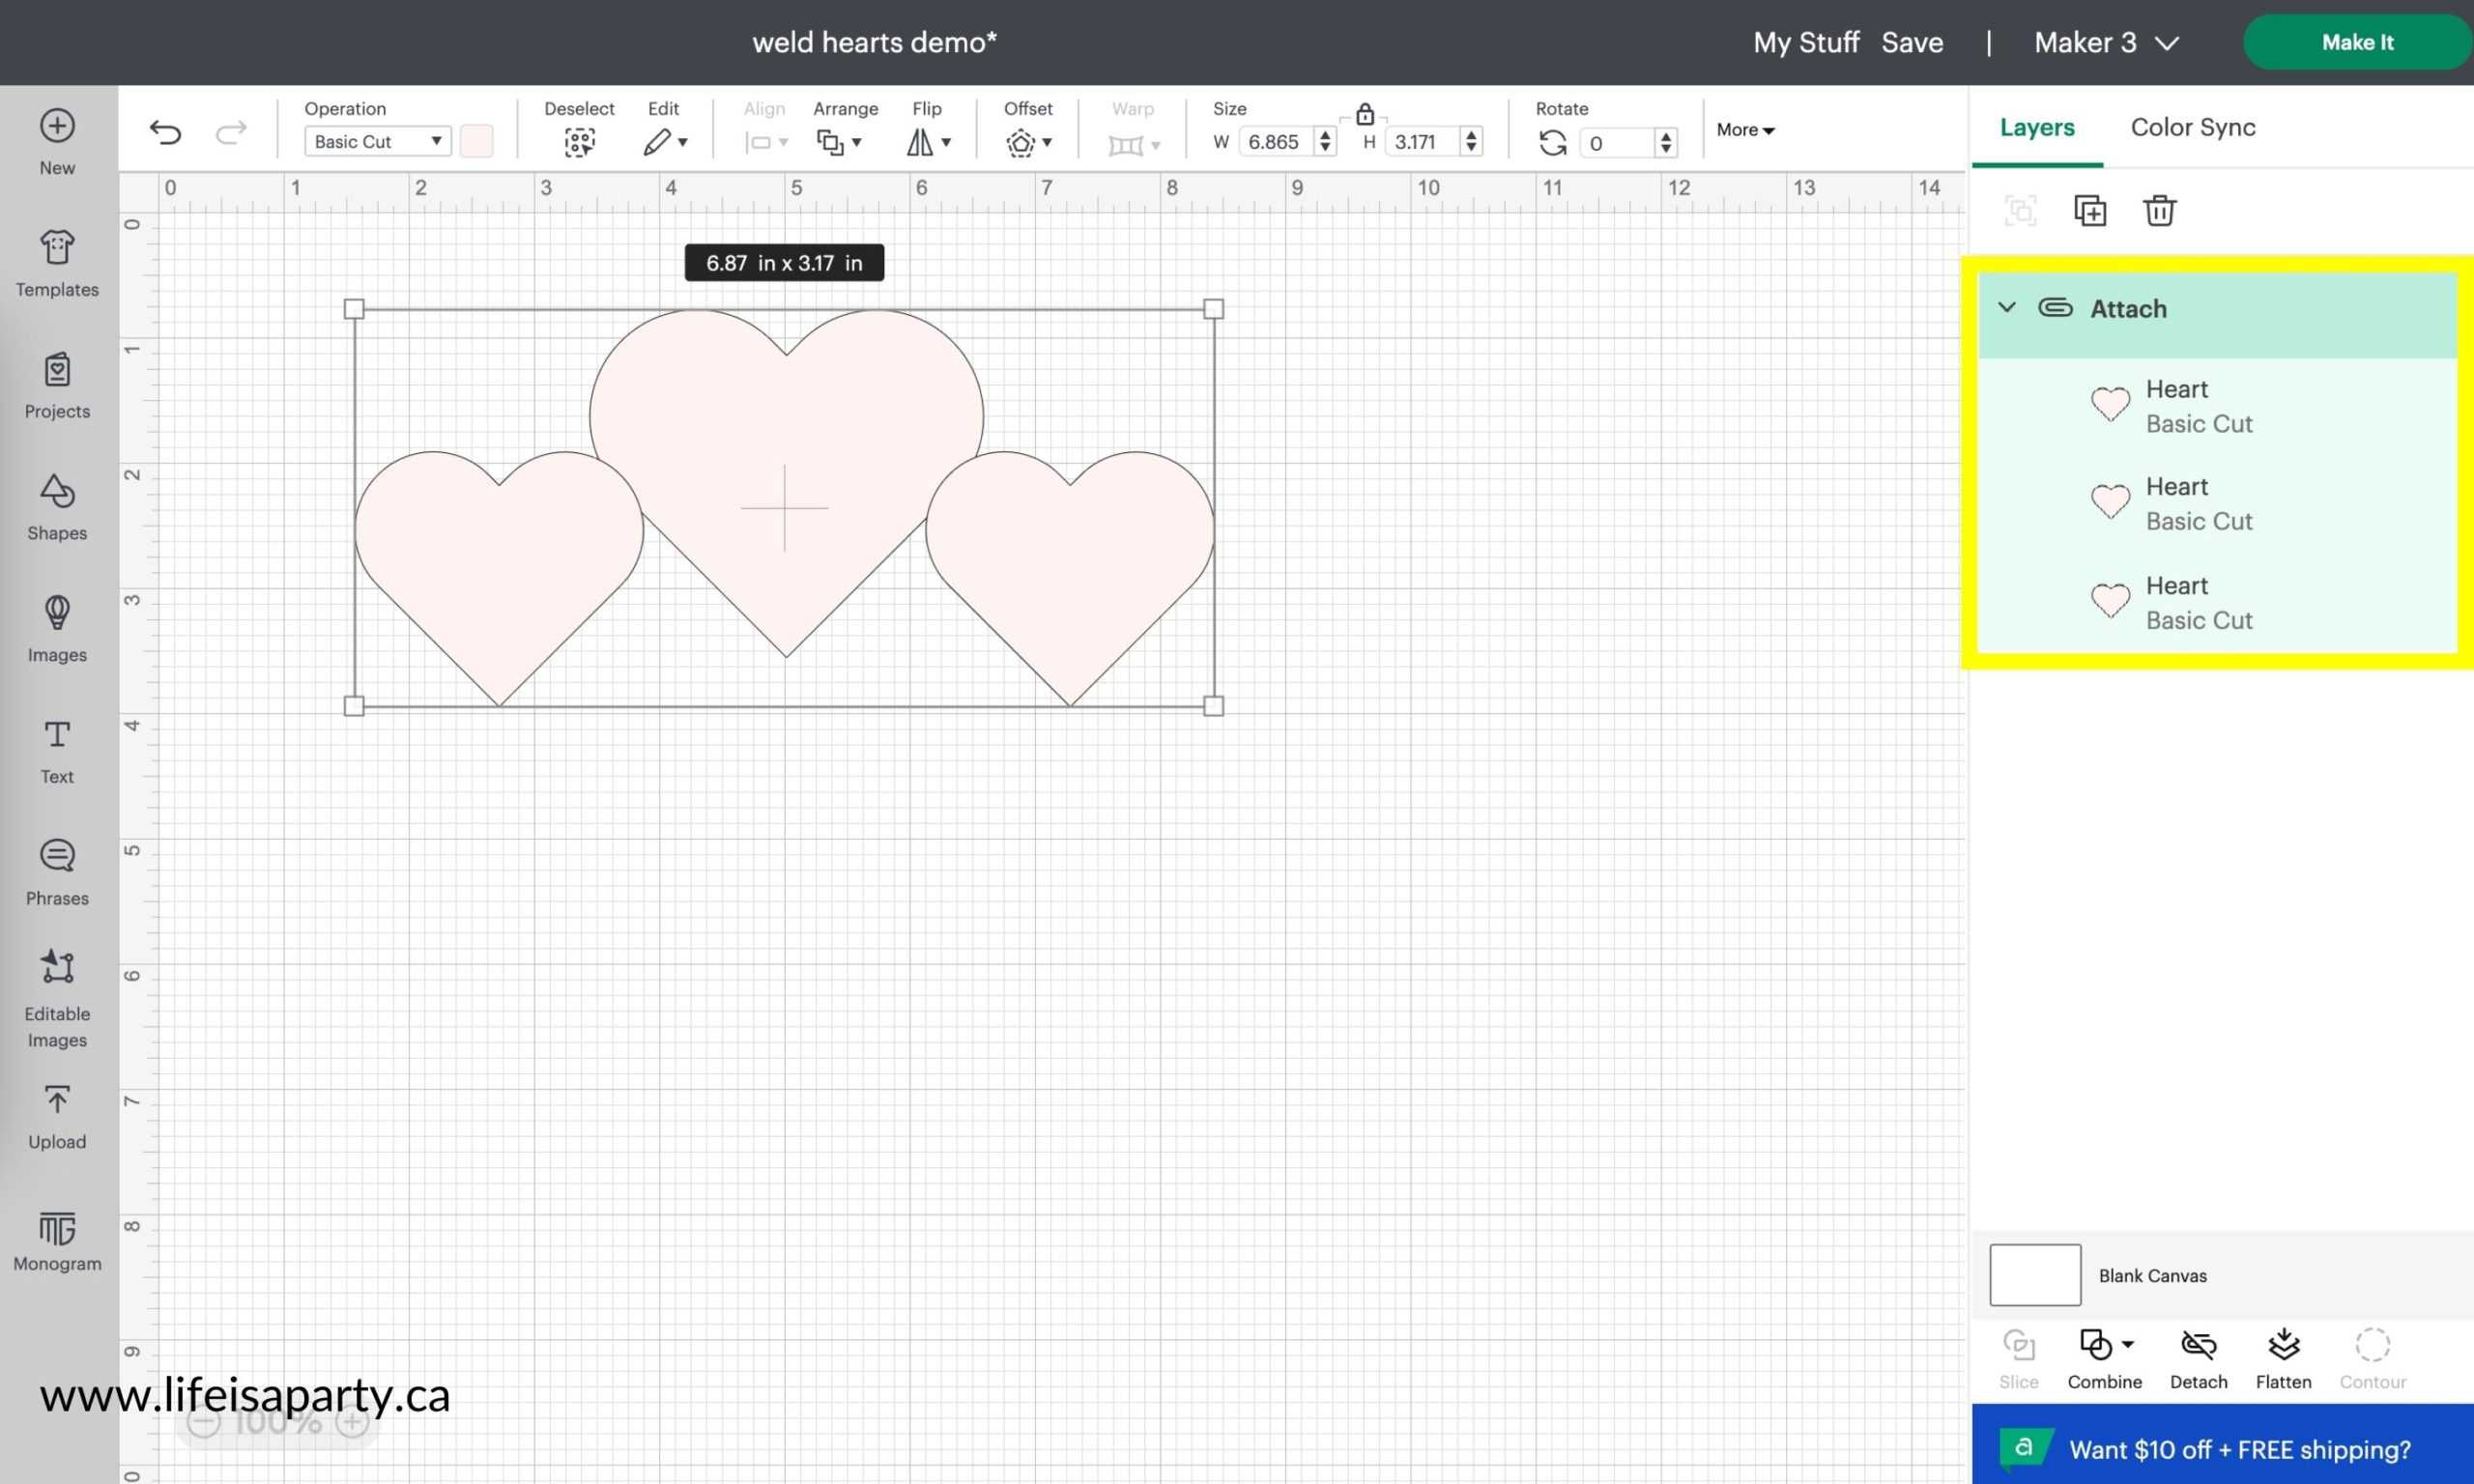
How Do I Attach?
You will find the attach button at the bottom of the layers panel on your Cricut Design Space canvas on desktop. To attach items, select all of your items to attach in the layers panel. You can select all of the items to attach by holding down the shift key and selecting items, or clicking select all at the top of the canvas in desktop, or by using your mouse to click and drag a selection box around items. Once items are selected then clicking Attach in the lower right corner. When items are attached you will see them grouped together under the word attach in the layers panel.

Troubleshooting Attach
If you're having trouble attaching, and Design Space has the attach button grayed out and unavailable to click on, you might need to ungroup items first. Look at the layers panel on the right of your canvas in desktop. If the items are grouped with the group tool, they will say grouped in the layers panel. To ungroup, select the group and click the ungroup button at the layers panel on the top right hand corner of your canvas in desktop. Once they are ungrouped each item will be in a different layer in the layers panel. You should now be able to select any elements of the design you want and click on the attach button.
What's The Difference Between Group and Attach in Cricut?
Group and attach are similar but slightly different. Group will hold things together on your canvas. (The canvas is the place in Cricut Design Space where you work on your design, before cutting it out.) Attach will hold things together on your cutting mats or Cutting preview screen (a mat or cutting preview screen is where you go after pressing the Make It button, it gives you a preview of how the project will cut out on the cutting mat, it's a last chance to check on the positions of things, and colors before actually cutting them out).
Some people like to describe group like a paperclip, it holds things together just while working on the canvas. And attach is like glue (non-permanent, because you can easily un-attach).
Using Attach To Help Arrange Things On Your Mat
While the primary use of attach is to hold projects together when necessary, Cricut attach can also be a great way to arrange things to fit as many as possible within a set amount of space. You can arrange things on a mat in the cut preview screen, but this arrangement will not be saved for printing the project in the future, whereas attaching things on the canvas will be cut the same way with the same mat layouts anytime you make the project.
To do this, arrange the separate pieces on your canvas screen in the specific place you would like them. Then select all the separate images and use the attach feature to fit as many as you can into the cutting mat space. Now they will stay in the right position relative to one another when you move to the cutting mat, positioned so that they save the most space and materials. This can be a really great feature when you're cutting out big projects, like a flower petals, where you can turn pieces to fit the most on your paper.
Stickers
A great example of when to use attach to arrange things on the cutting mat is when you're making stickers. You may want to cut as many stickers as possible out of your sticker paper, and not waste any. To do this create a 9.225 x 6.75 inch square by choosing a square from the shape menu and then unlocking and adjusting it's dimensions. This is the maximum size for Cut Then Print, as this time. Next arrange your sticker images so that you can fit as many as possible in the square without overlapping. Now hide the square or delete it. Next select all and attach. Now the stickers will all print and cut out in the exact location they are on your canvas. If you ever want to edit and change it, just choose the detach button at the bottom of the layers panel on desktop.
The Weld Tool
What does weld mean? Welding takes two items and makes them welded into one new image or word. It can be used to combine several shapes into a new single item, or to weld letters together. Use weld button when you want to get rid of the cut lines between two objects or letters and permanently hold them together as one. You could think of weld like using super glue. The welded items will form one new solid image or shape, and the separate layers will become one new layer called weld result in the layers panel.
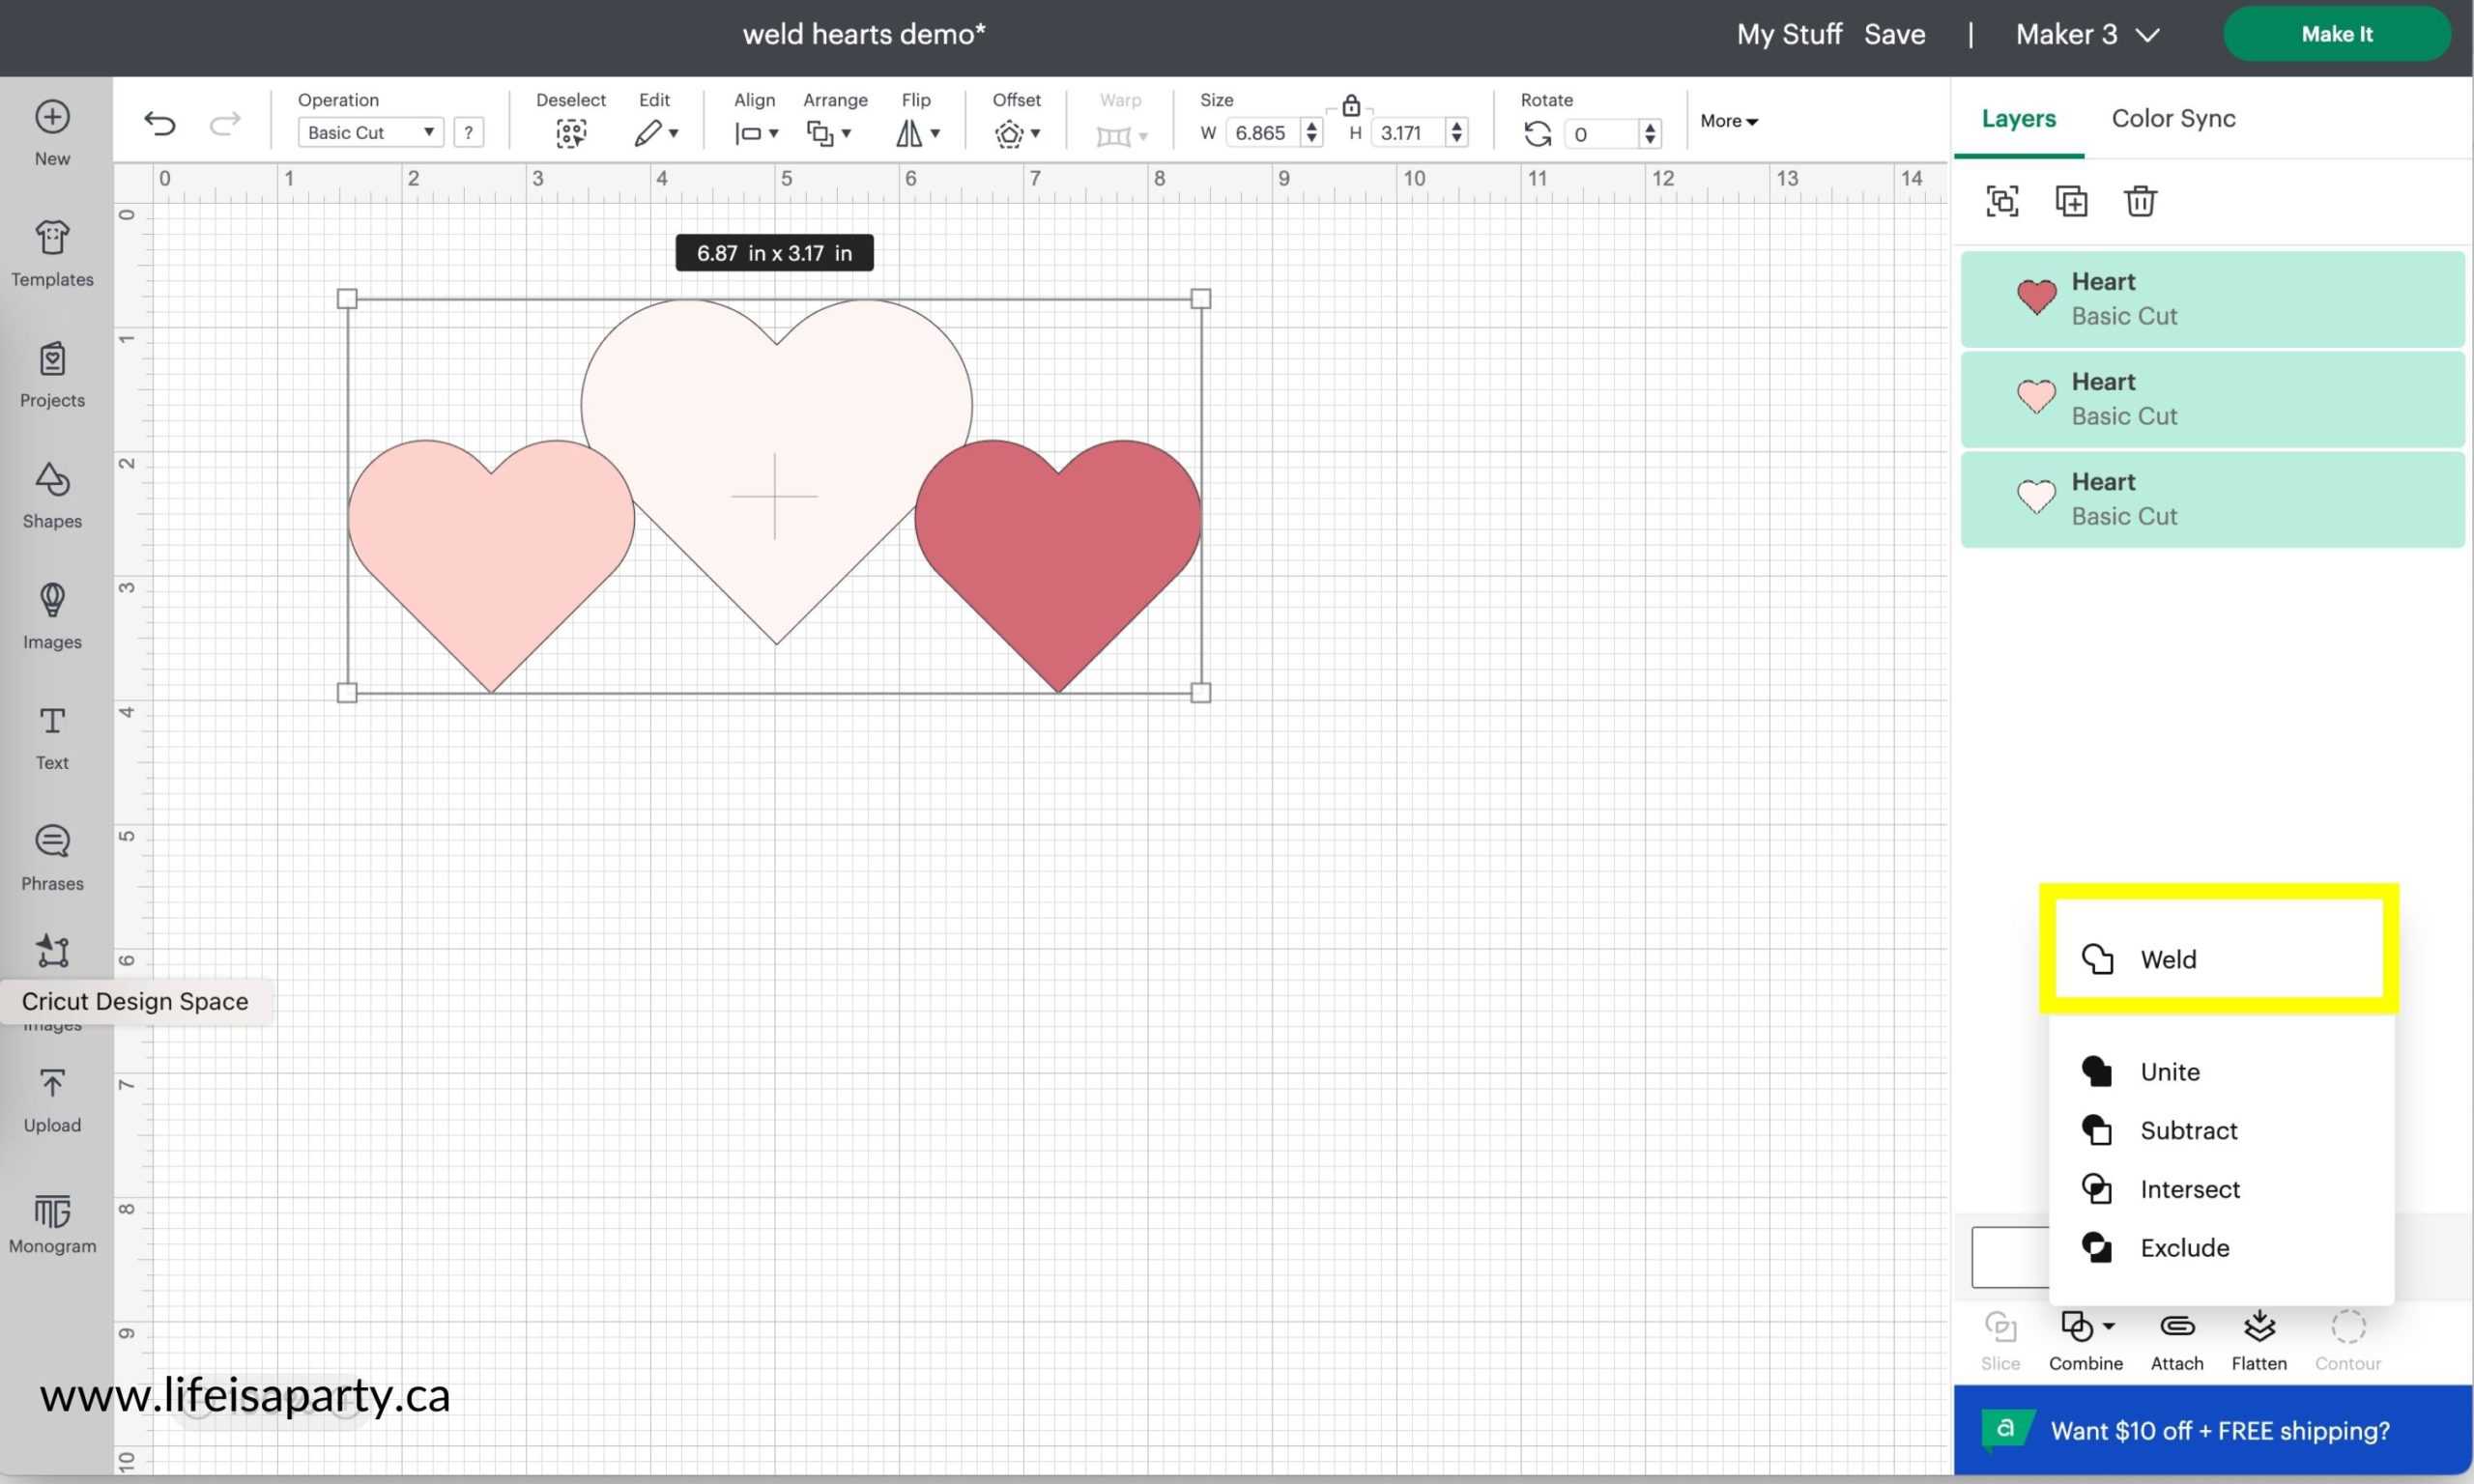
How Do I Weld?
To weld objects together make sure they have overlapping cut lines and, select them all. You can select them by using your mouse and clicking and dragging a selection box around them. You can also select them in the layers panel by clicking on one, and then clicking the rest while holding down the shift key. If the items to weld are the only things on your canvas, you could also click select all at the top of the canvas. Once the items are selected, press Weld in the Combine Menu at the bottom of the layers panel on the bottom right of your design screen on desktop.
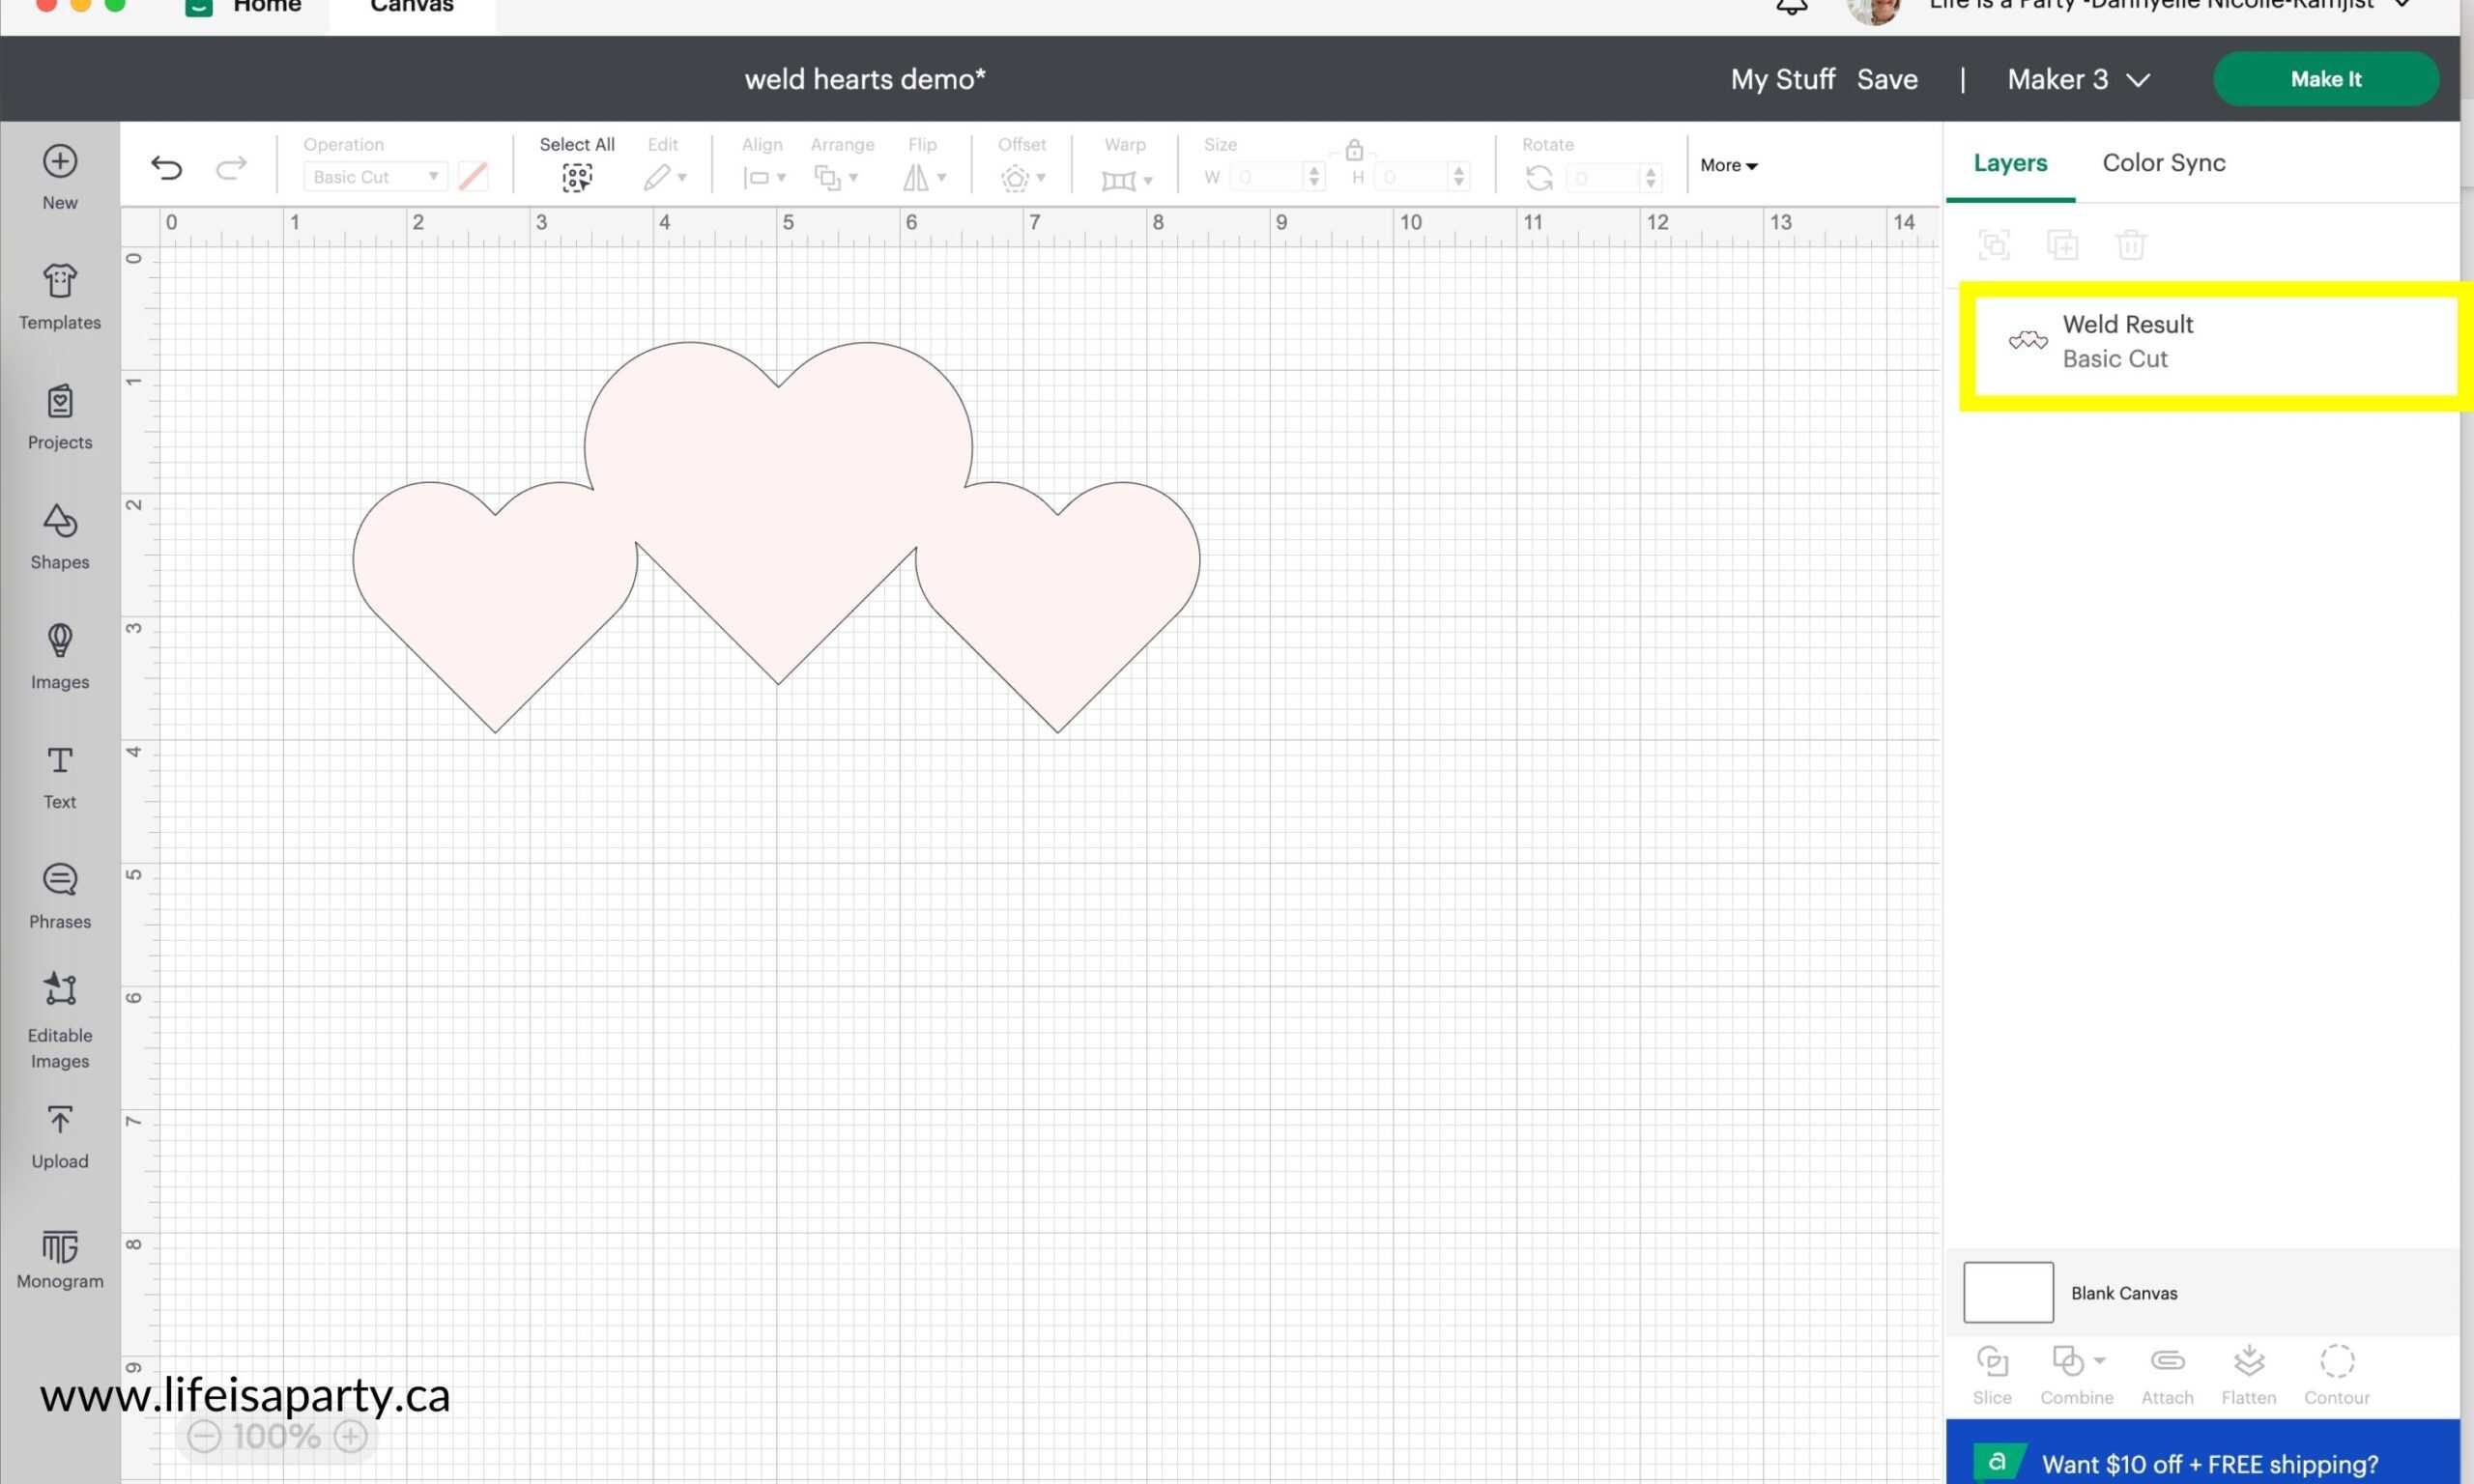
After you weld the items will be called Weld Result in the layers panel in the top right corner of desktop. Also, if the items are different colors before welding, they will become one color once welded together, and the overlapping lines will disappear.
When Do I Use The Cricut Weld Tool?
This is one of the common questions around the weld feature, as it's sometimes confusing about when to use Cricut weld vs attach, or other tools. If you want to take two items and form them into one new single image, then weld is the tool you need. It's really great for combining simple shapes to make more complex designs. Use one large and two small circles from the basic shapes welded together to make your own designs for Mickey Mouse for example. You can make all kinds of different shapes by using this useful tool.
Welding Script Font Together
When working with a cursive font, some fonts will cut out as individual letters unless you weld them together first into a single word. To weld a script text together, make sure that each letter of the word is touching. To move individual letters you will need to adjust the letter spacing. You can adjust the whole word with the letter space tool, or adjust individual letters by selecting them individually and moving them into place so that each of the cursive letters is just touching. Next select all of the letters and then use the welding tool to weld the script letters into one word.
Tip: If the inside of a letter disappears after welding, undo and select the whole word and make it much larger. Try the weld again at a larger side. Once you have your welded image created with the no problems use the scale feature and then make it the smaller size again.
How Do I UnWeld?
There is no unweld function in Cricut Design Space. Pro tip though, once objects have been welded together you can use the undo button to go back, but only while you have the canvas open. When you open a saved project you can't un-weld or undo, so be sure that you want something welded before you choose to weld. It is permanent. If you want more tips and tricks all about unweld check out this blog post: How To Unweld In Cricut Design Space -here.
Unite
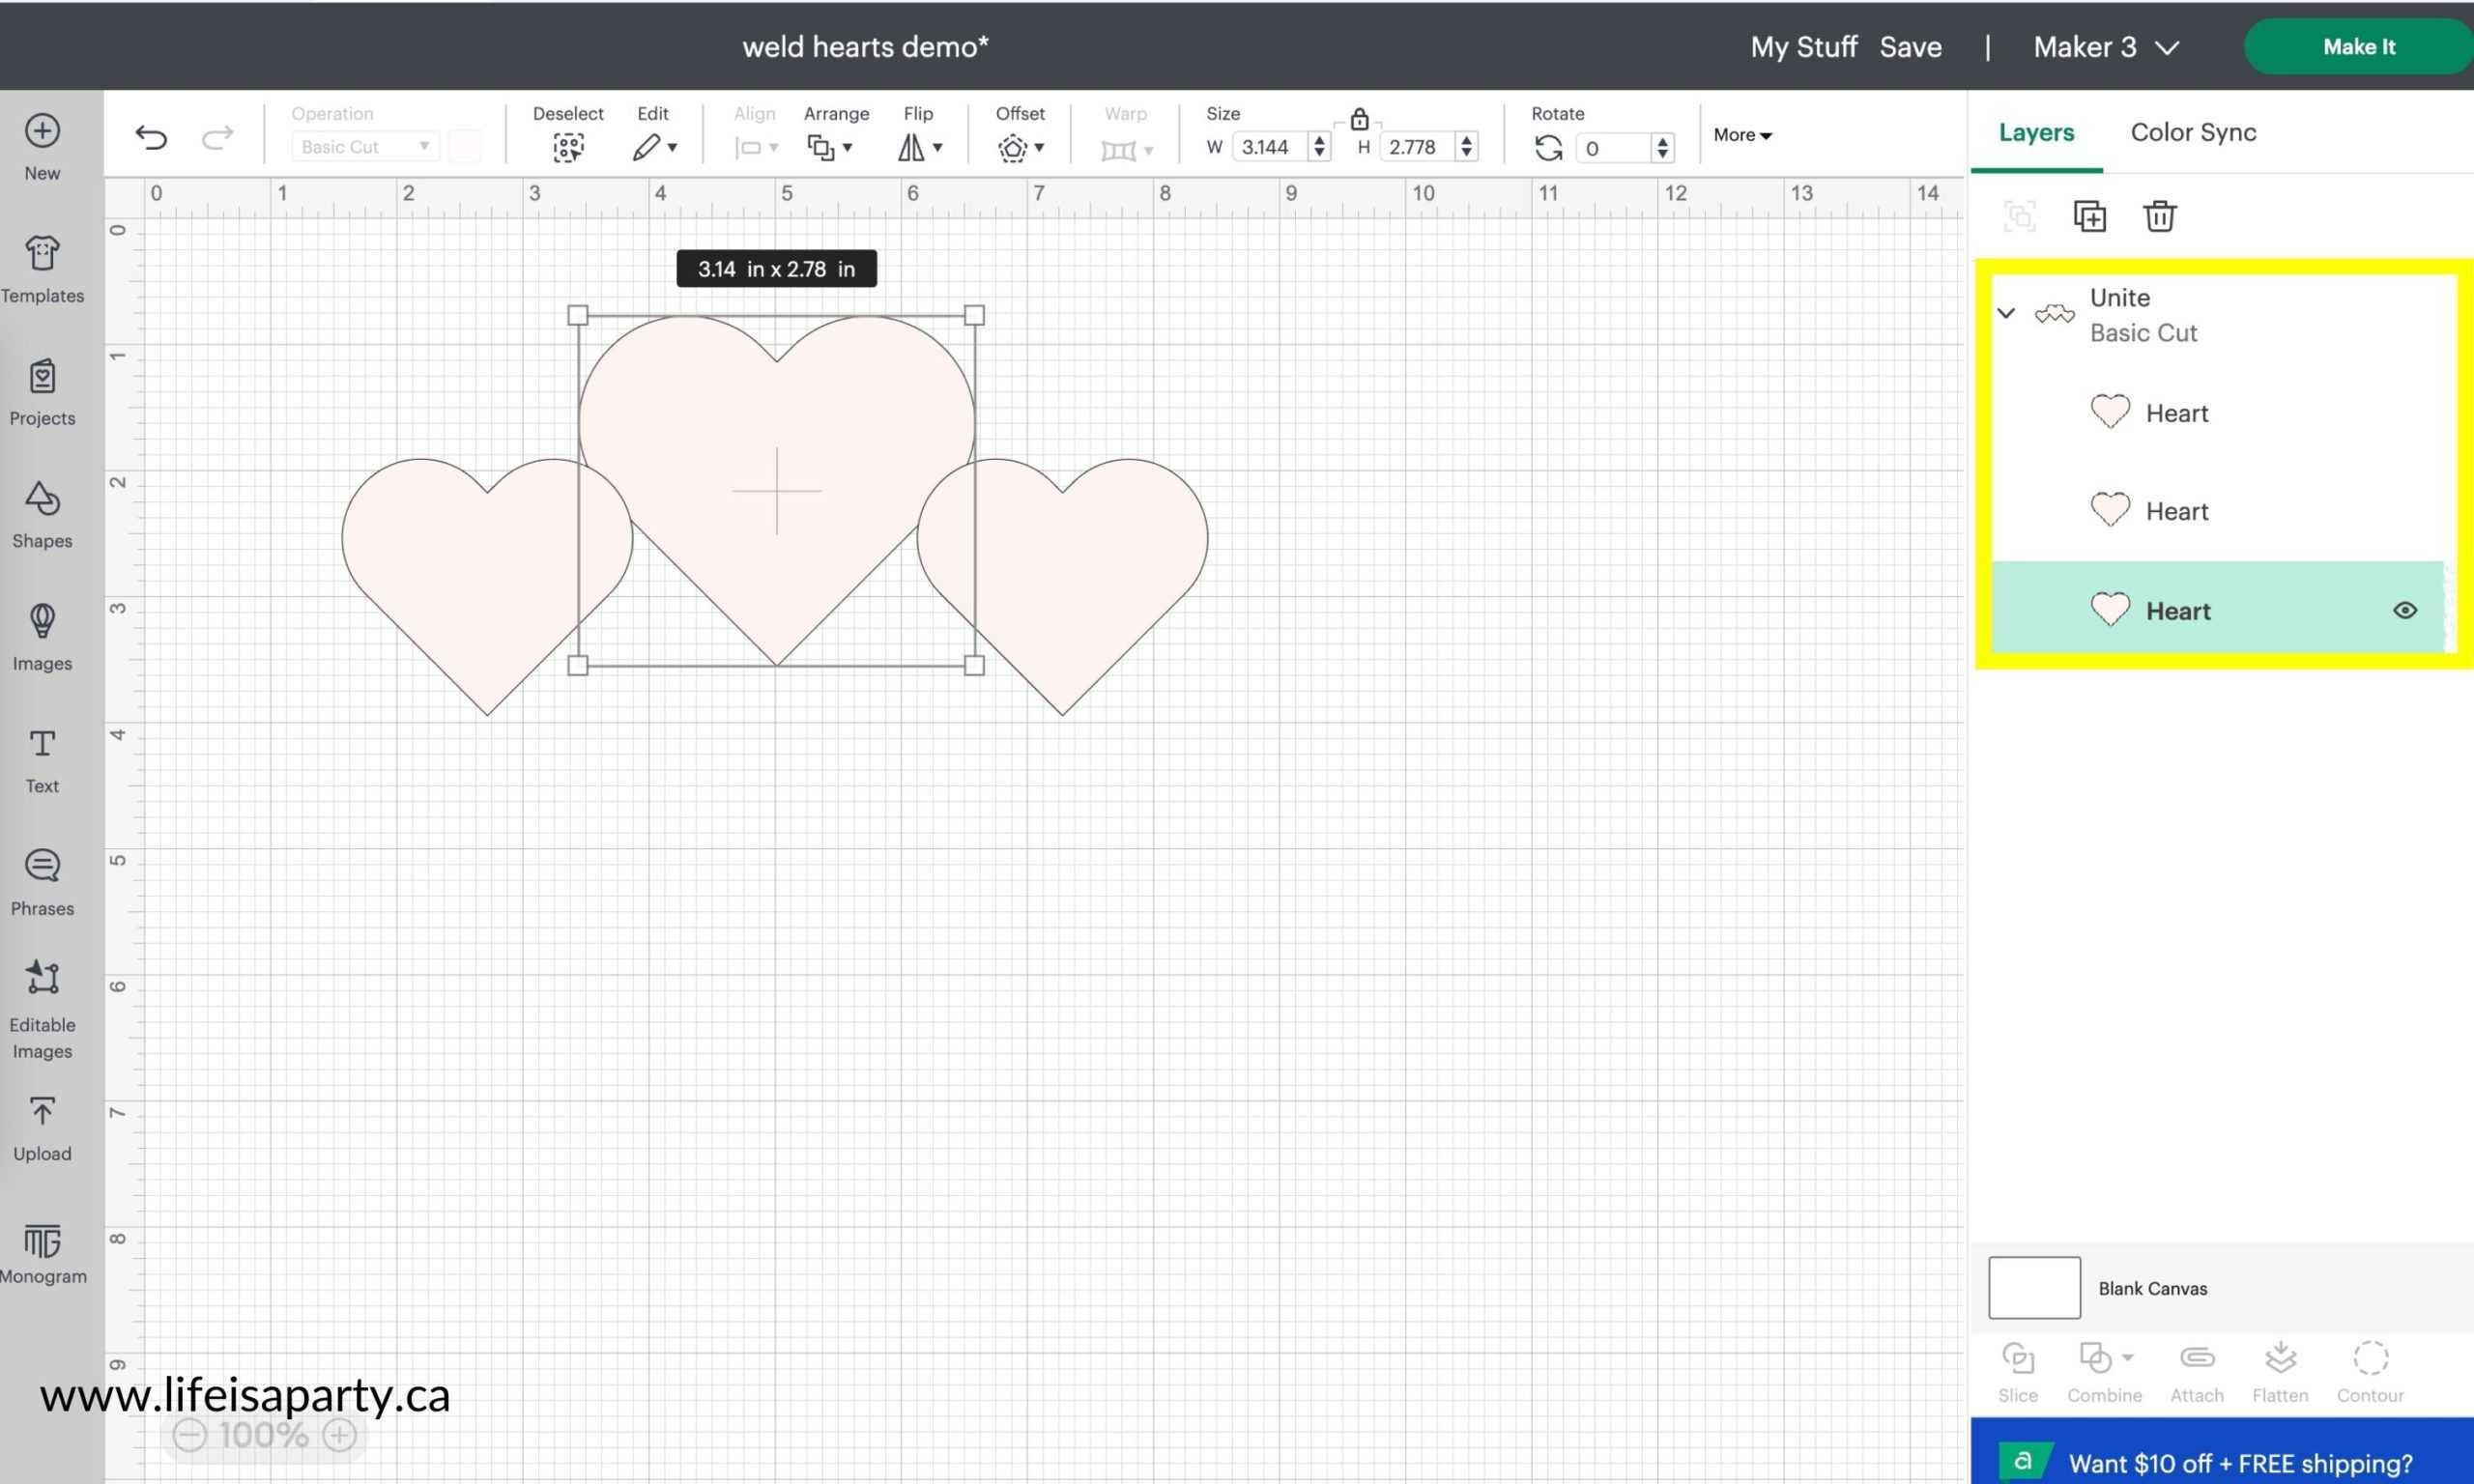
Unite is new and similar to weld, but allows you to still access all the individual pieces. After you unite two or more items, you can still select them individually, move them, rotate them, and edit them. You can also add more items to unite, by dragging them and dropping them under unite in the layers panel. Use unite when you want to join individual items, so that they cut out as one single item, but you also want to be able to edit them afterward.
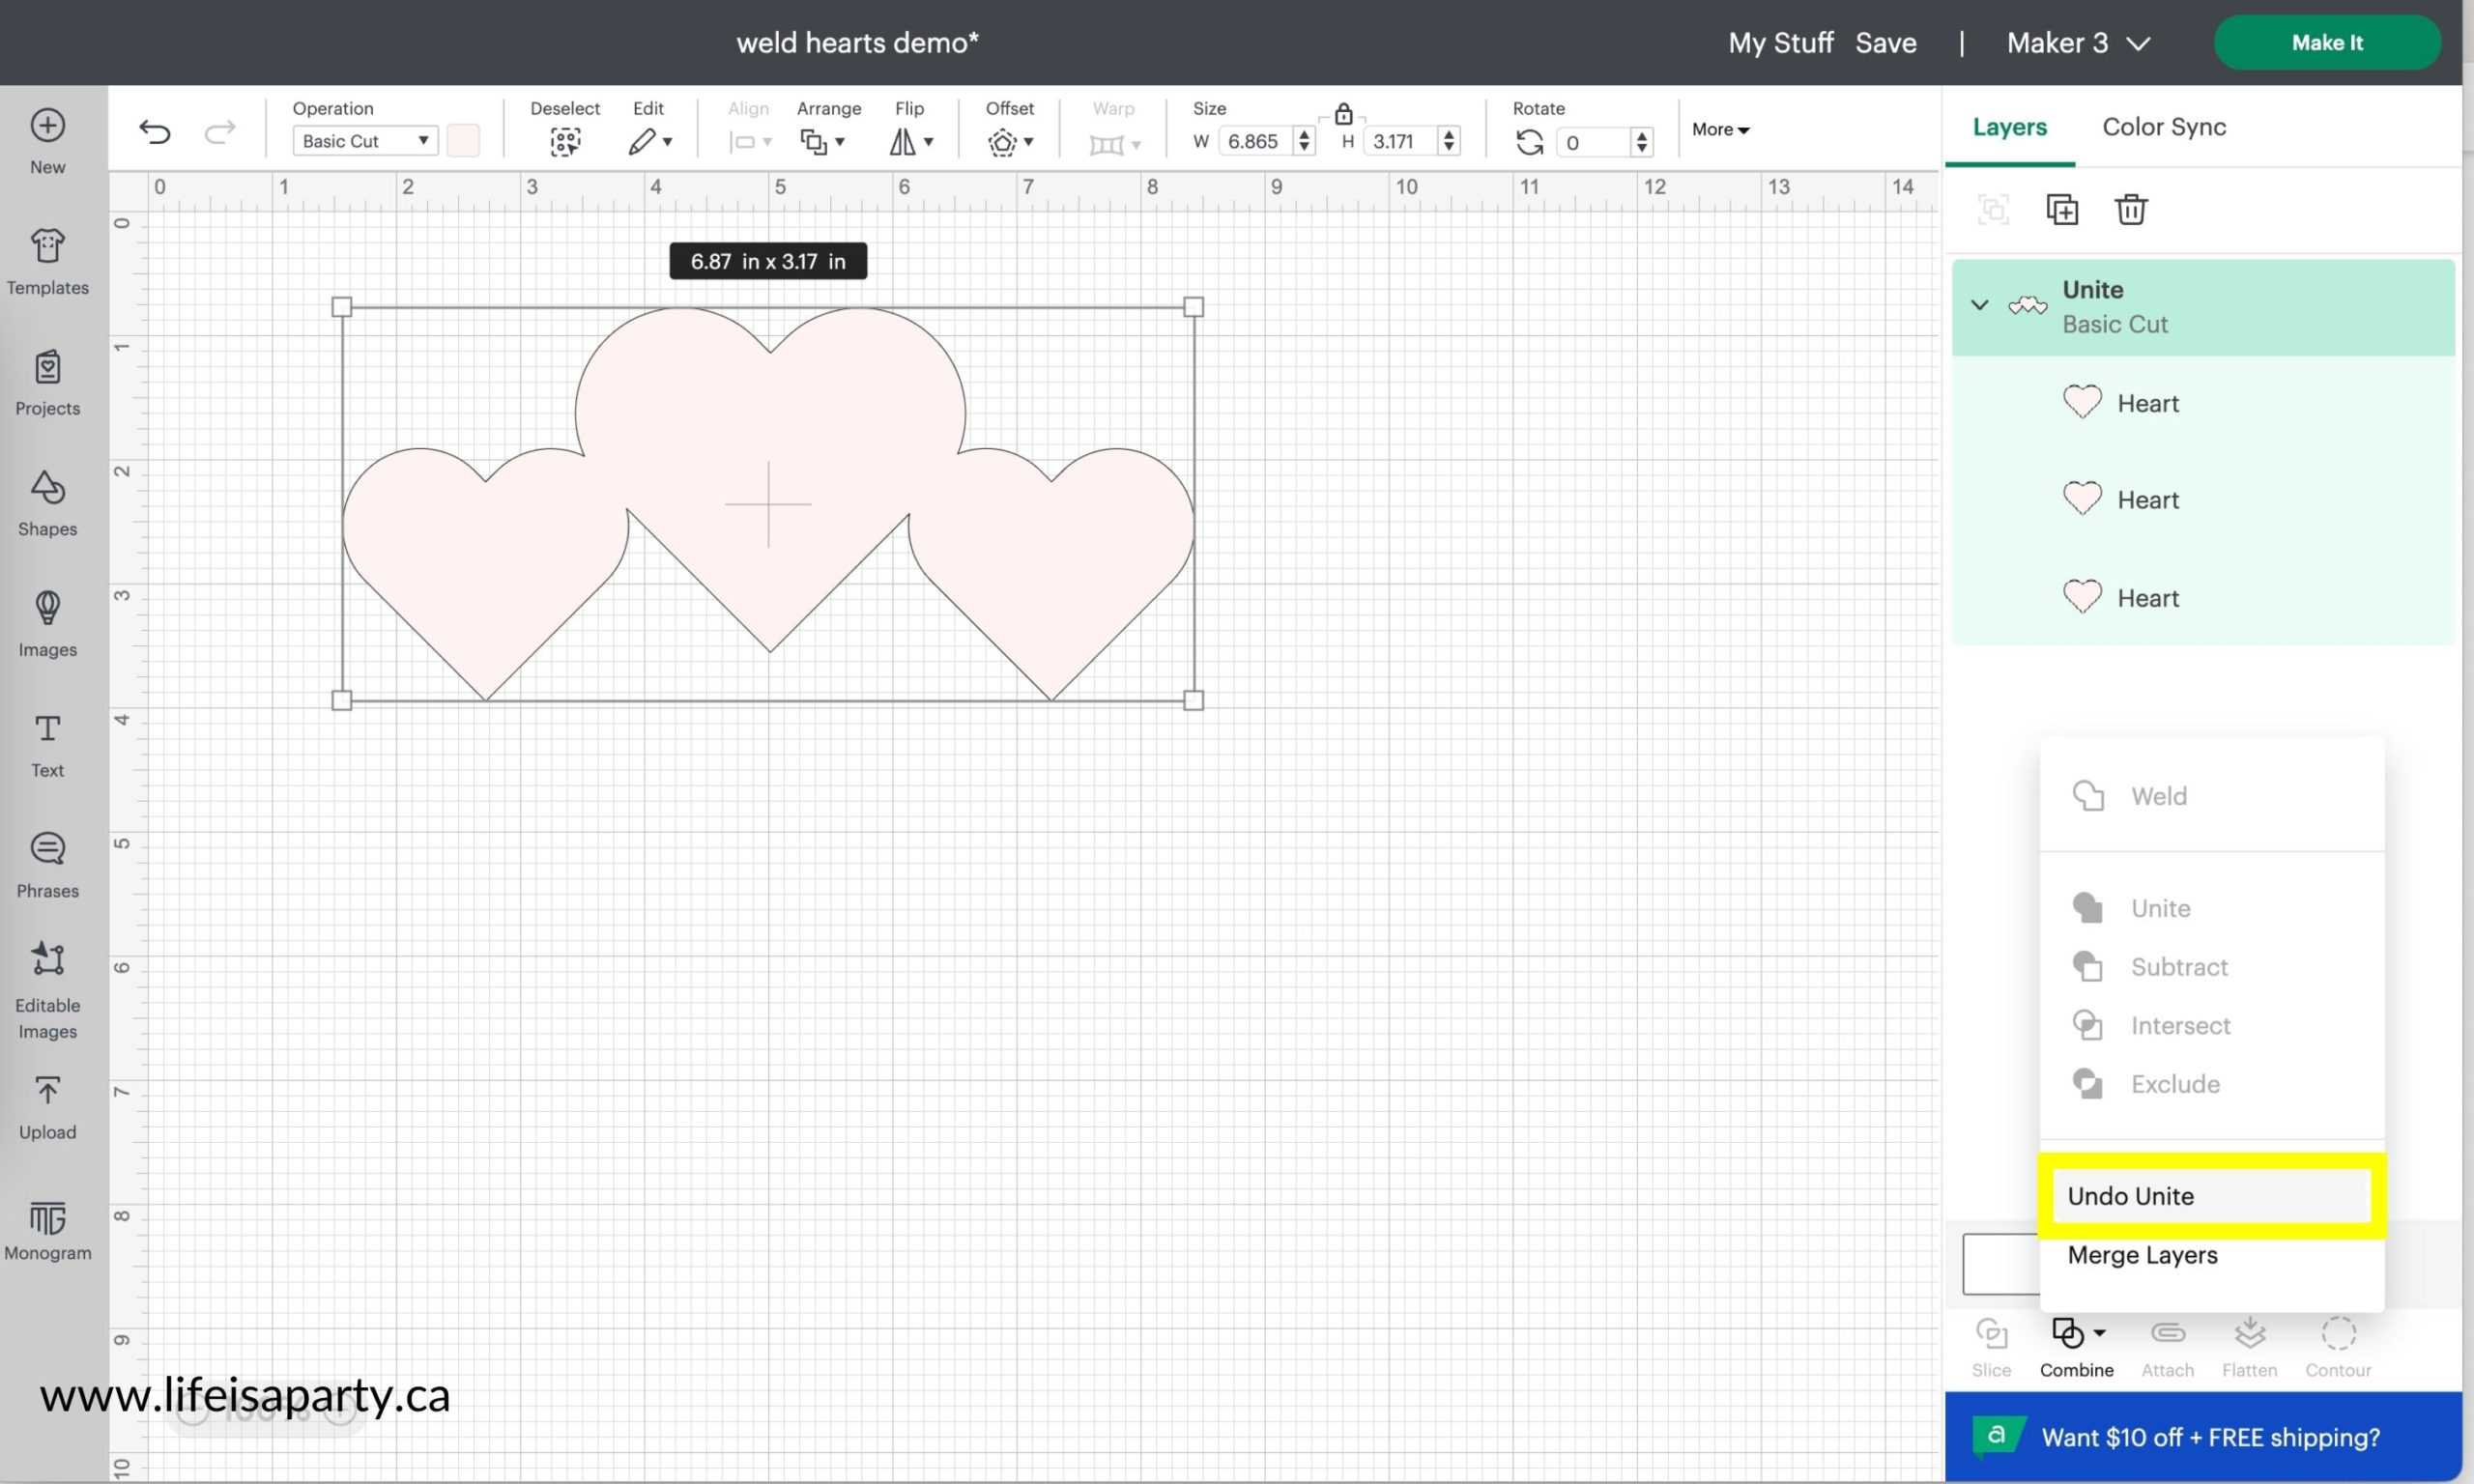
You can also Undo Unite, in the Combine Menu. Unlike weld, you can easily undo unite, by selecting it and then clicking on undo unite. This makes Unite the prefered choice over Weld for many designers.
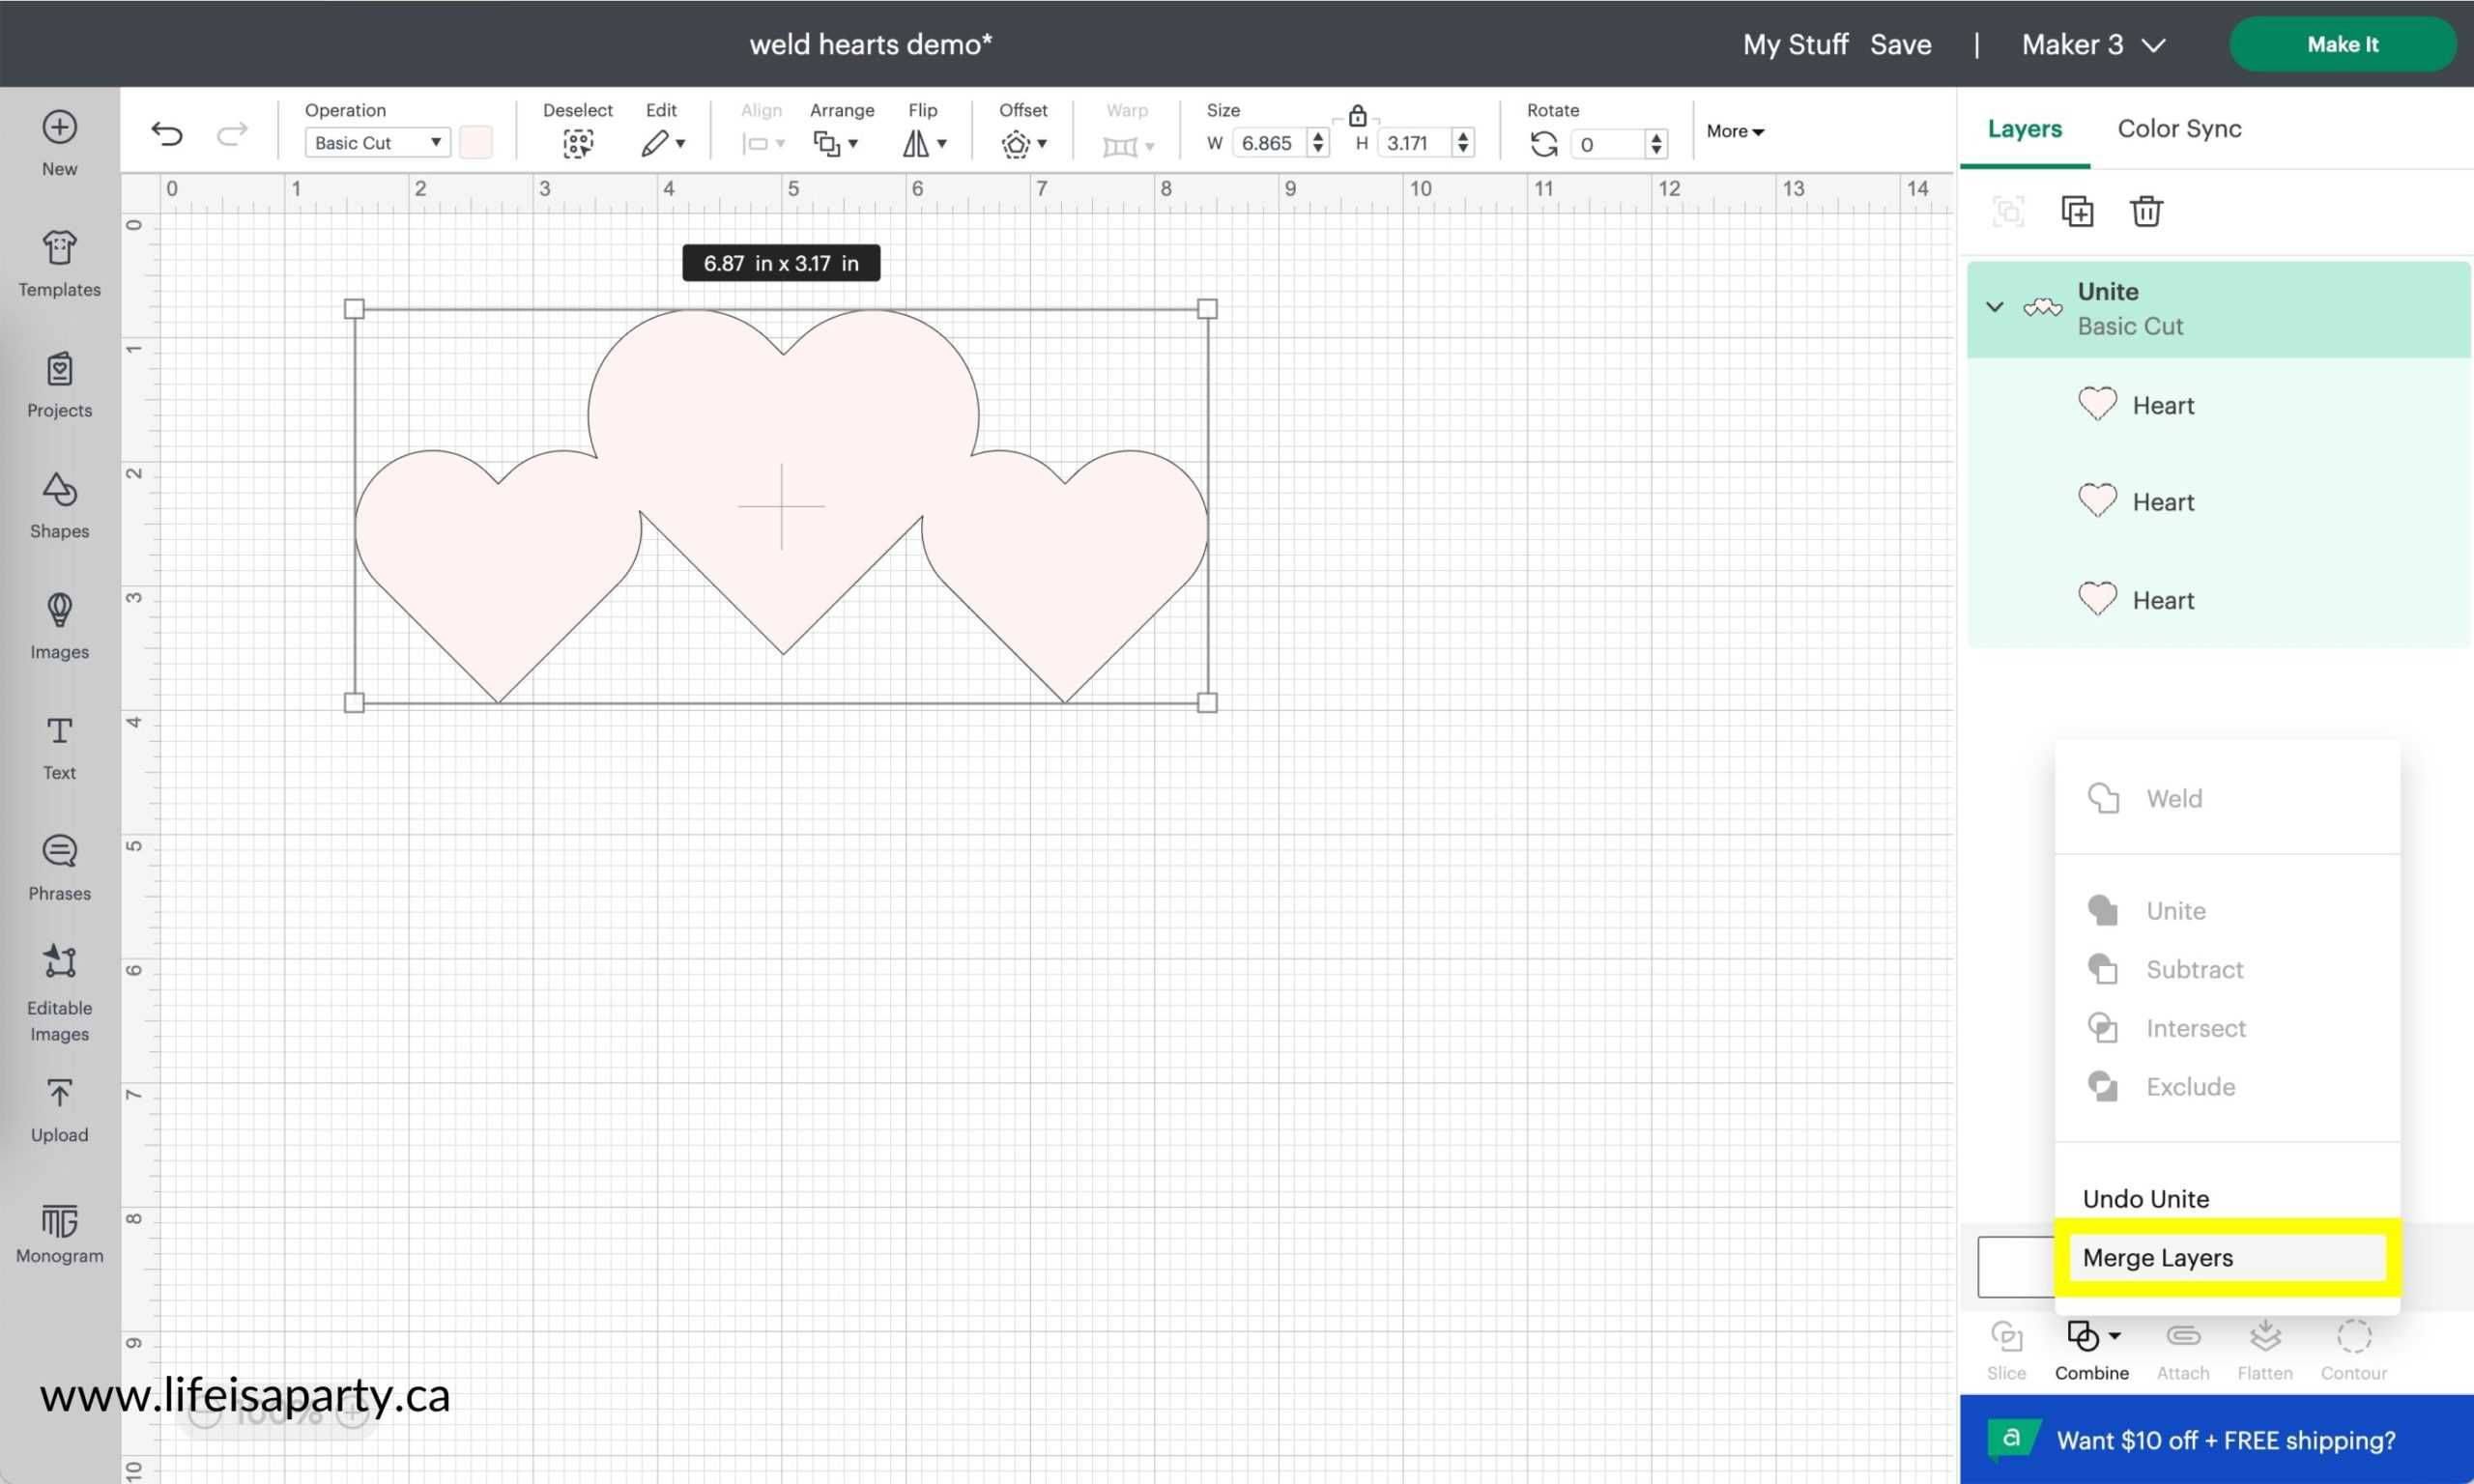
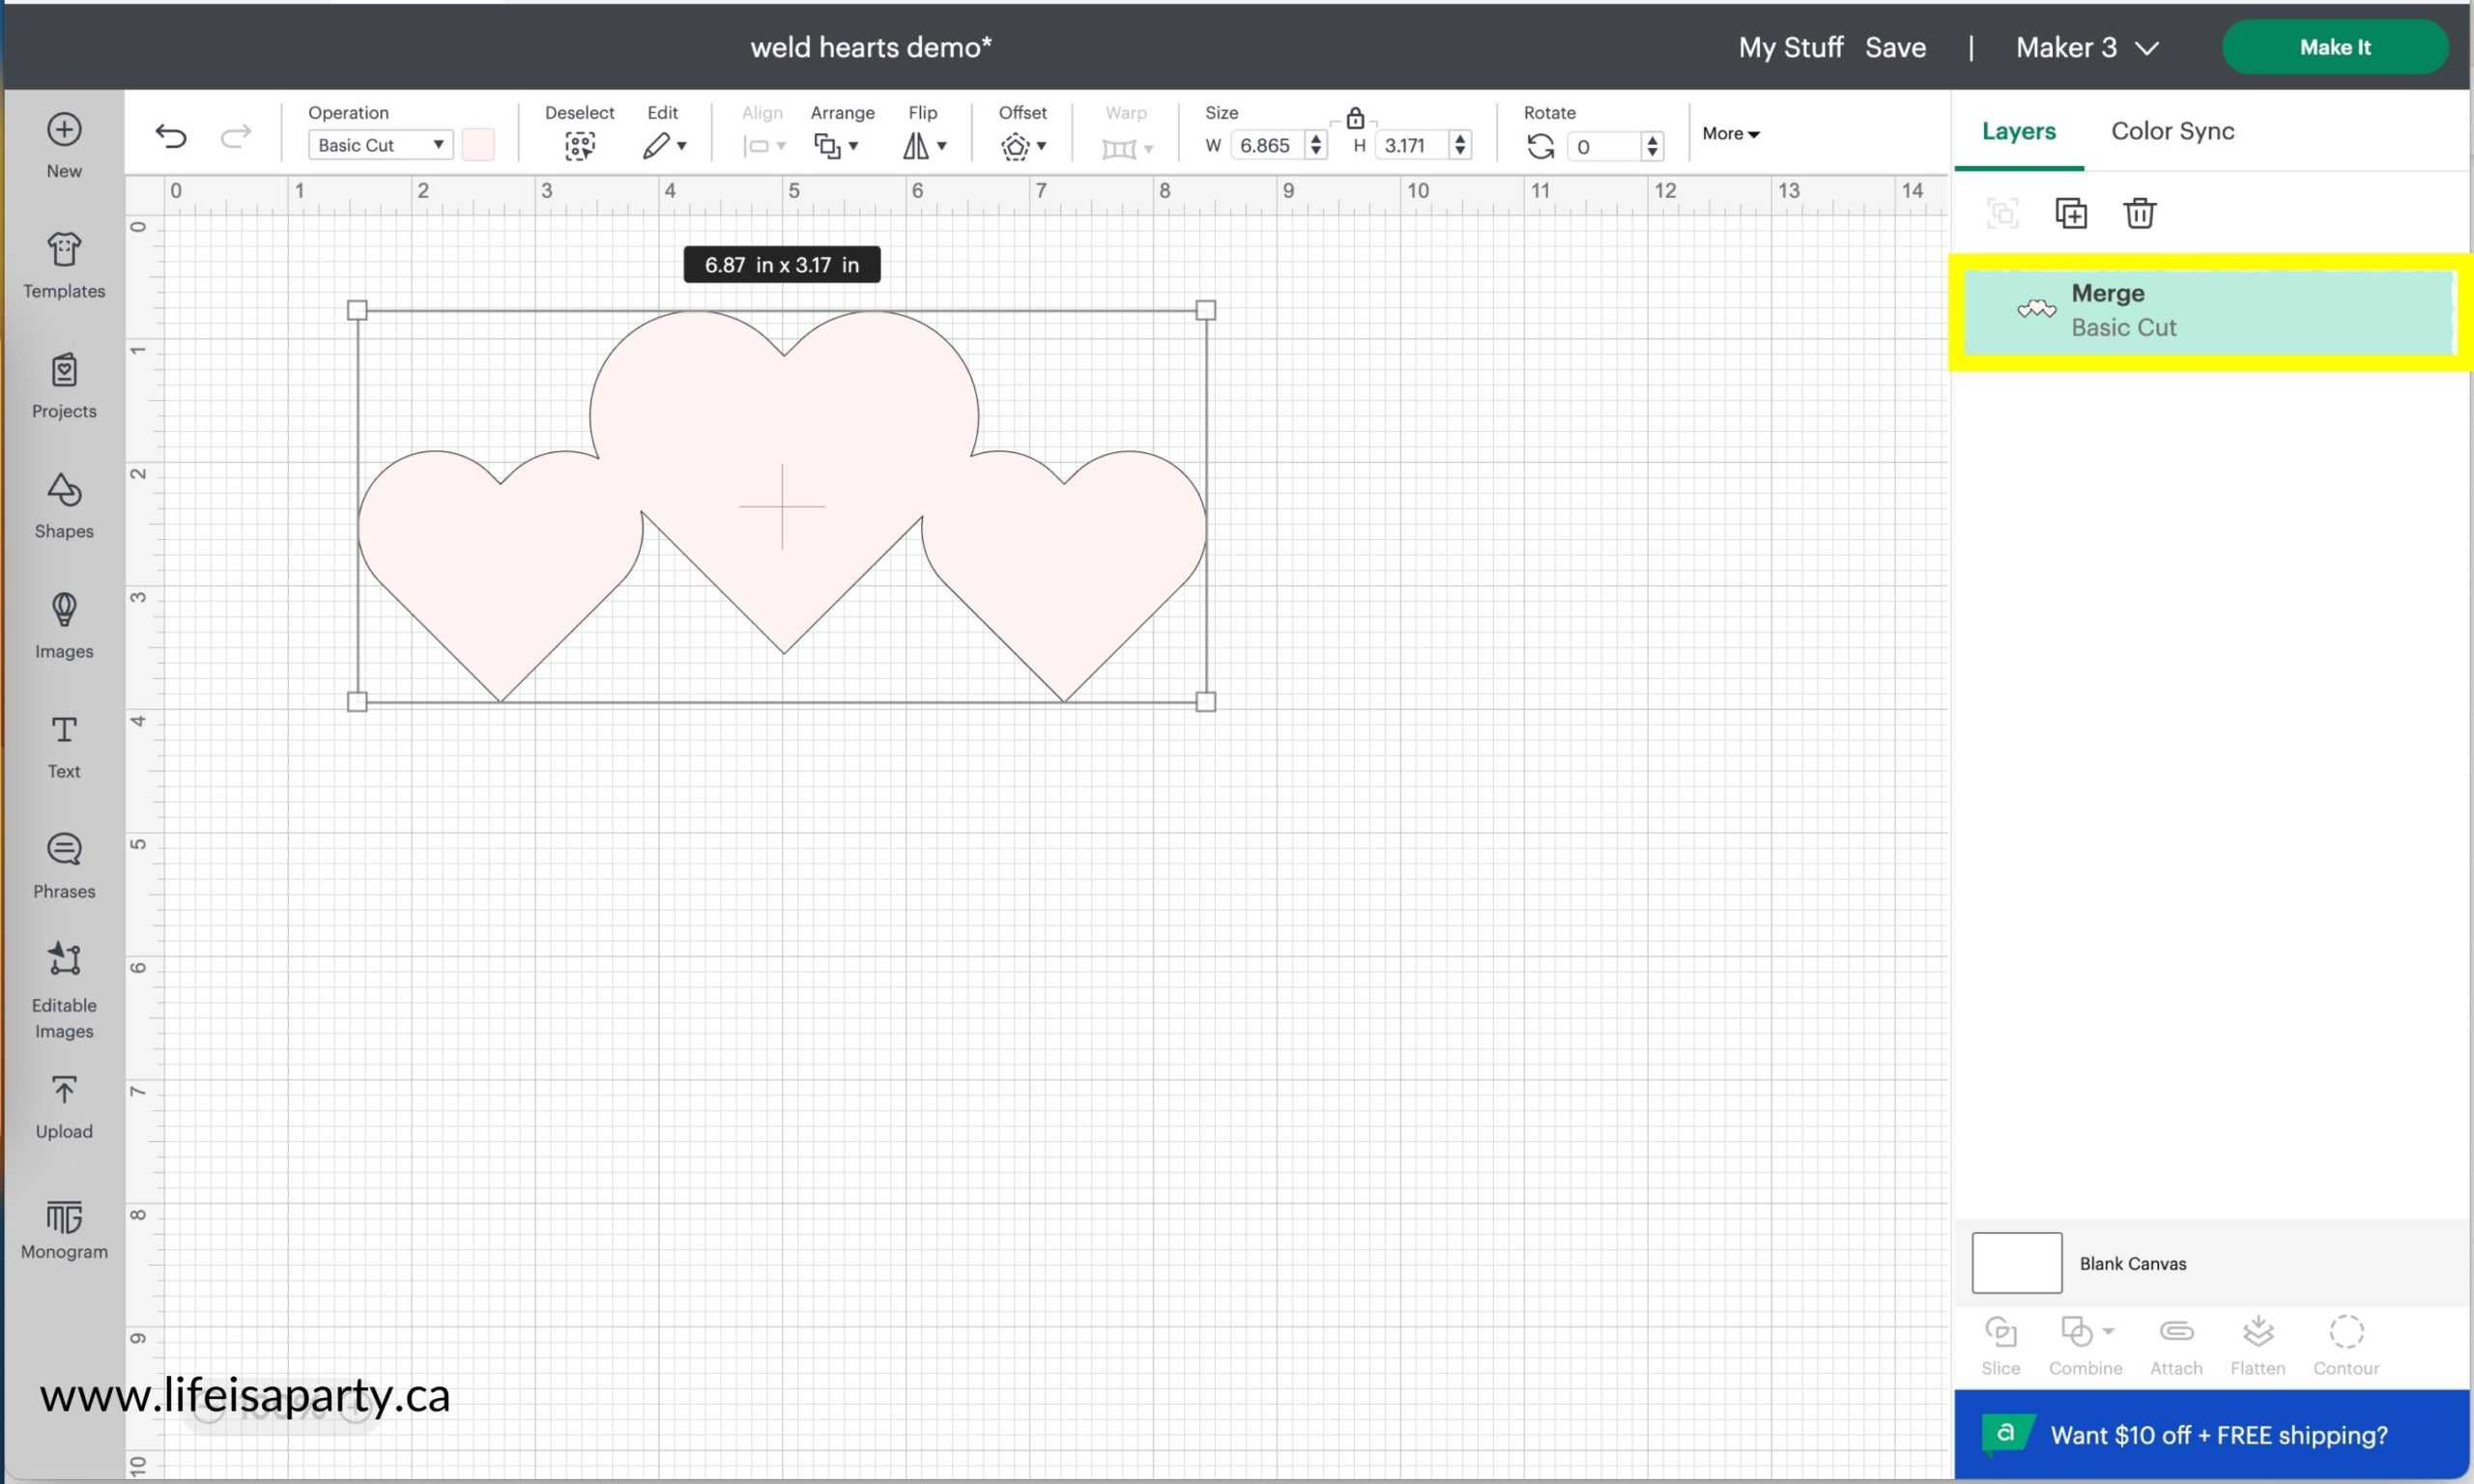
You can also make unite permanent, similar to weld, by choosing Merge Layers in the Combine Menu. When you Merge Layers, you will no longer see the individual items in the layers menu, instead there will be just one item in the layers menu. You can not undo Merge Layers, just like you can not undo Weld. The only way to go back to Un-Merge is to you use the undo button at the top left menu of your canvas, just like weld.
When Do You Cricut Weld vs Attach
Once you understand the differences and how to use both weld and attach, it's really easy to know when to use each.
Choose Attach If:
- you want to hold items together on the cutting mat
- you want to permanently arrange things on the cutting mat
Choose Weld If:
- you want to make new shapes and new designs out of two or more existing shapes
- to remove the overlapping cutlines of two items
- you want to cut out a script font as all one word
With understanding Cricut Weld vs Attach, life really is a Party!
More Cricut Posts You Might Enjoy
Check out How To Connect Cursive Letters On Cricut Blog Post here.
You might also like How To Sharpen A Cricut Blade here.
Also check out How To Use Cricut Transfer Tape here.


Leave a Reply
You must be logged in to post a comment.