DIY Cricut Halloween Cloche: use dollar store materials to make this haunted house, and graveyard silhouette cloche for Halloween.

Jump to:
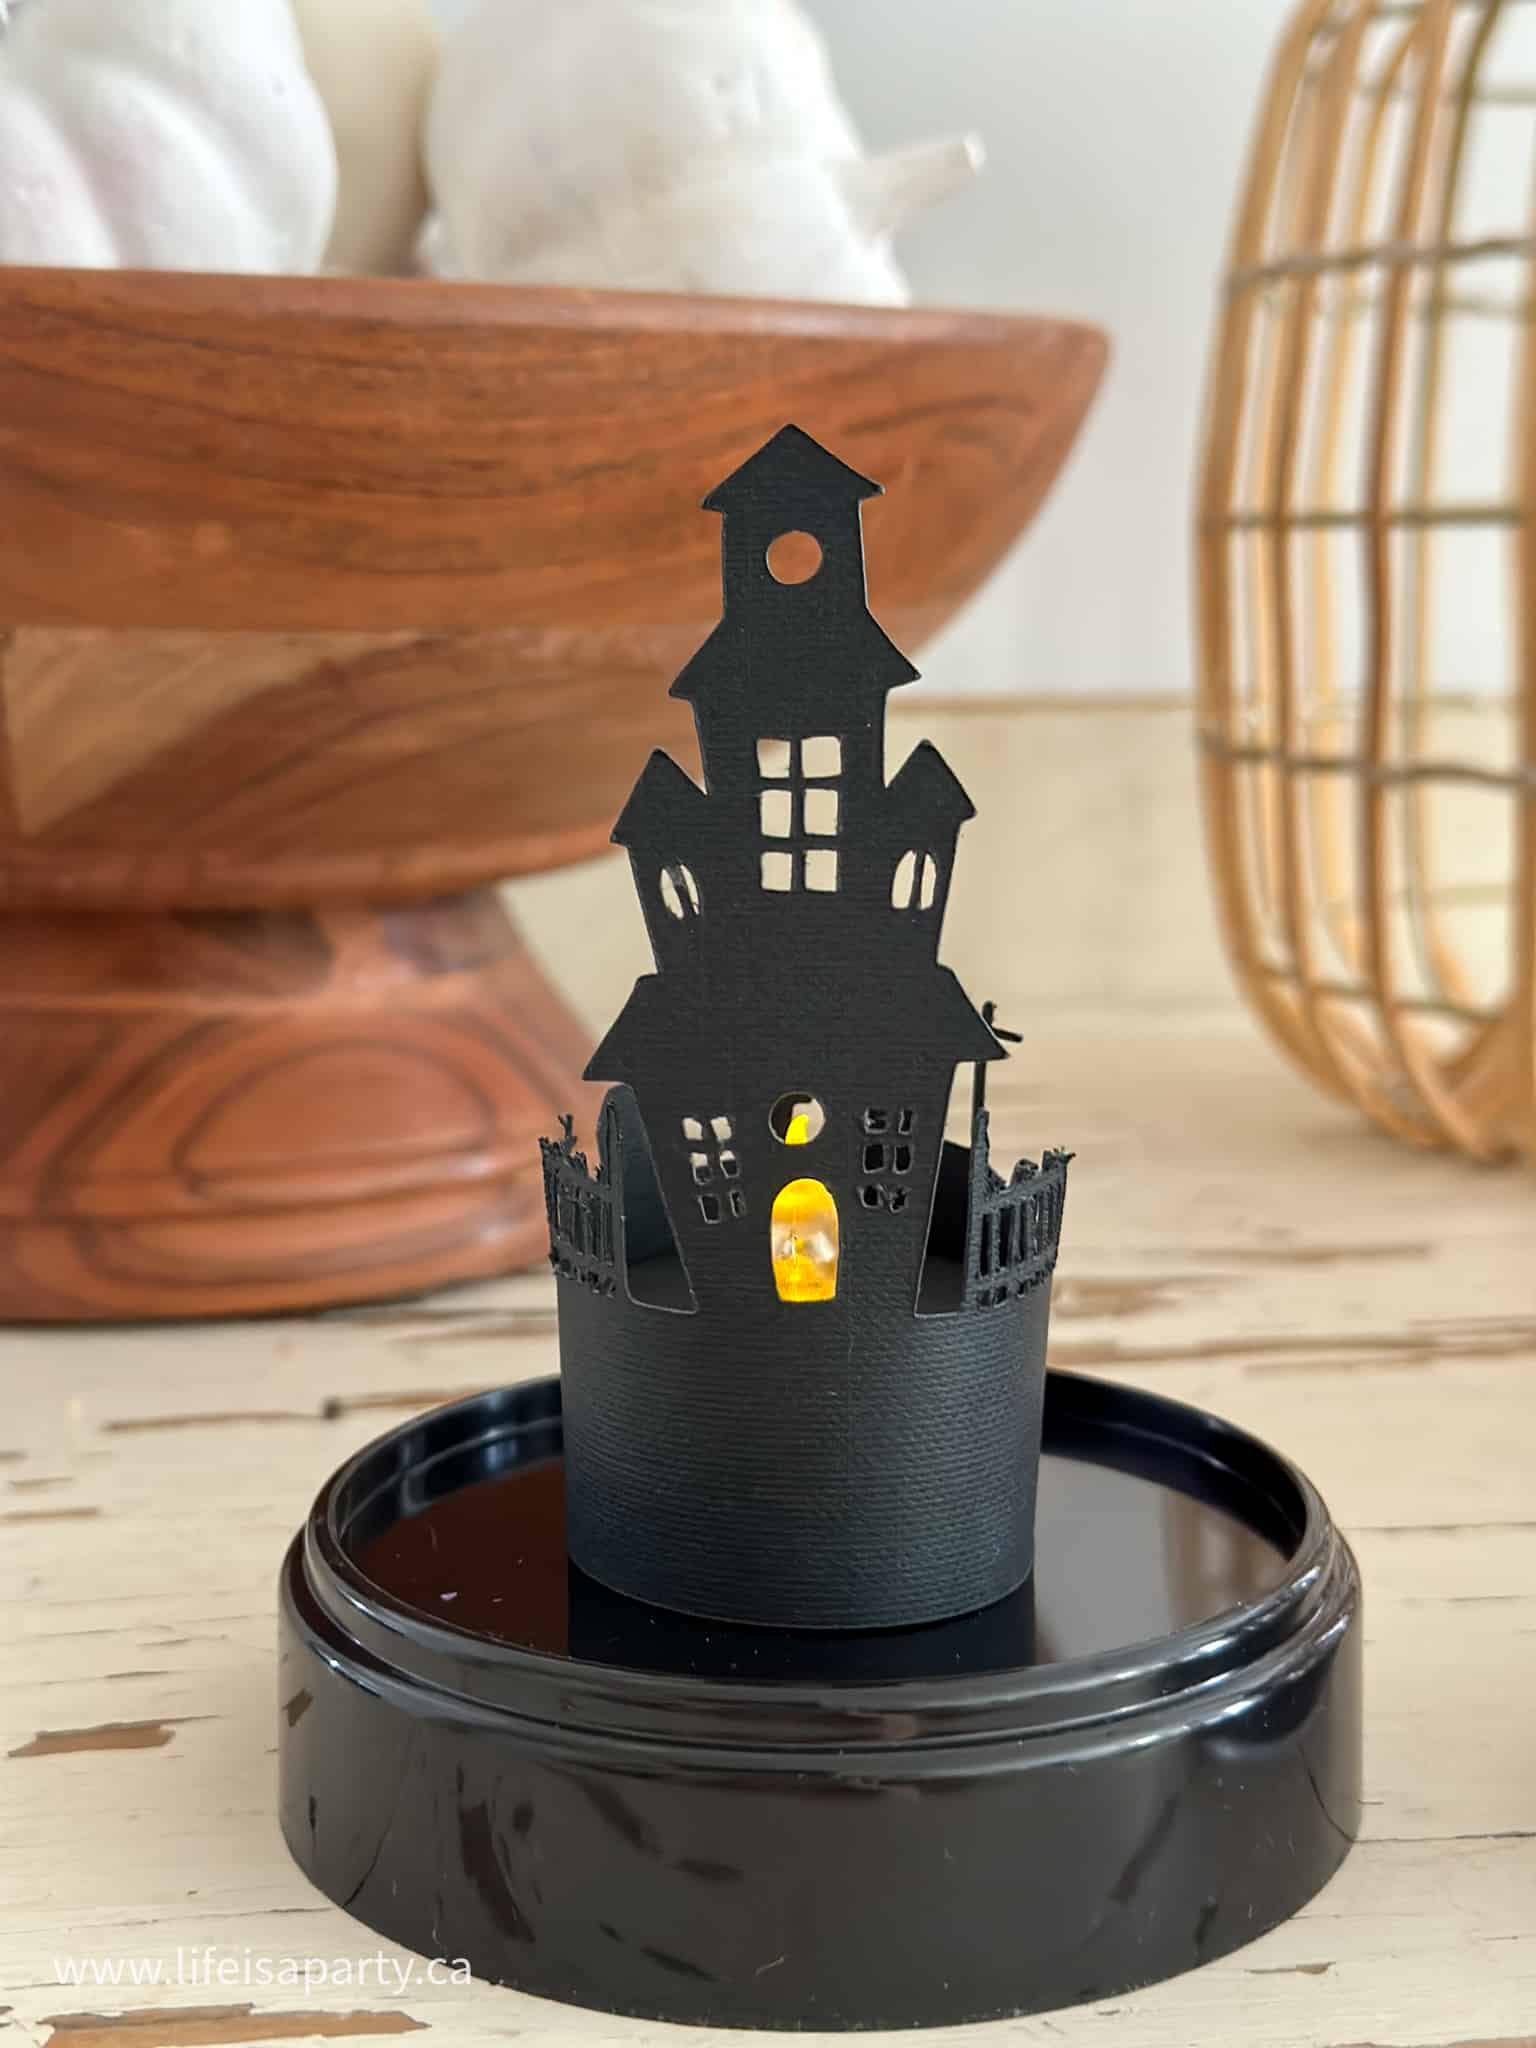
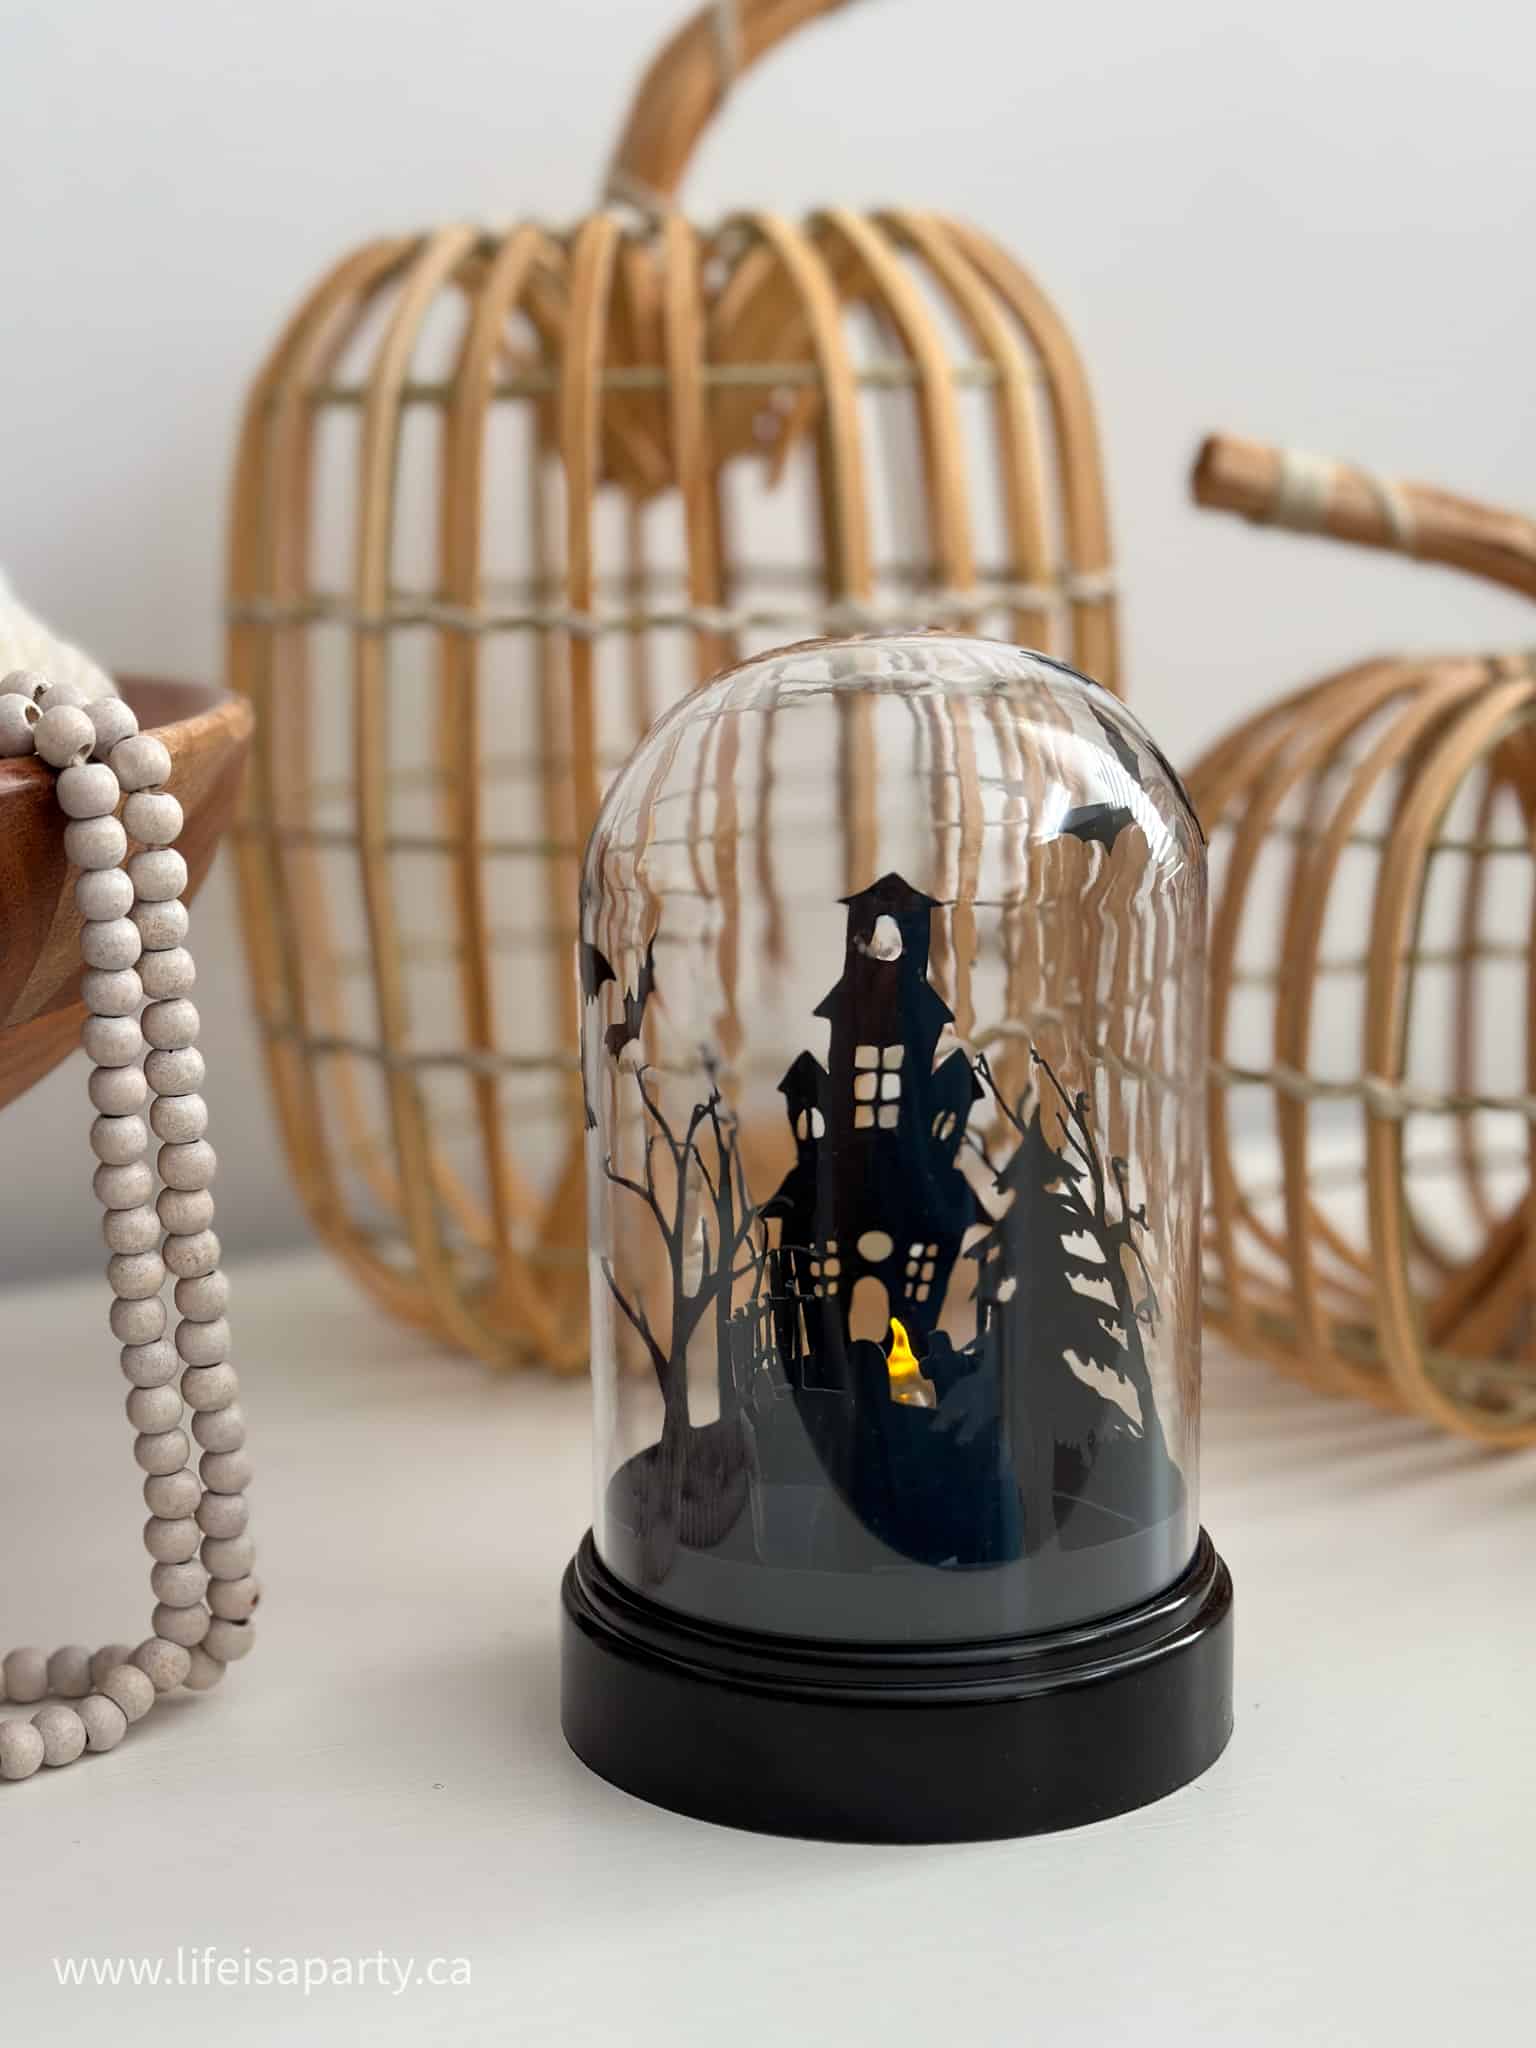
It's halloween and time for all the spooky cute halloween decorations. This mini halloween cloche is so cute, and really inexpensive to make with dollar store craft supplies. We used our Cricut machine to cut out the detailed silhouette insides, and the free halloween cloche pattern is available at the bottom of this post.
DIY Halloween Cloche Supplies:
- plastic cloche
- black cardstock
- black vinyl
- battery powered tea light candle
- black craft paint
- small paint brush
- Cricut
- Cricut regular grip cutting mat
- Haunted House PNG file -available in our Free Resource Library
Free PNG File For Project
To access the free PNG file that includes the trees layer, the haunted house, and the bats, go to our Free Resource Library and click on the Zip file that contains the PNG files. It will be added to your downloads file. Then, when you're in Cricut Design Space you can upload the PNG files there.
How do you access the Resource Library?
The library is free to all our subscribers. Subscribe below for free, and receive instant access to our Free Resource Library as our way of thanking you for becoming a subscriber.
Dollar Tree Plastic Cloche
This DIY halloween decoration started out with a trip to the dollar tree. They have really inexpensive plastic cloches that are perfect for this project. If you can't find this cloche, you can scale the project to fit inside of any cloche. A glass dome cloche would be a great option for this project too. The pattern is really detailed, and will therefore work really well for a larger size removable glass cloche too.
The dollar tree cloche has a black base, which works really perfectly for our Halloween vibes.

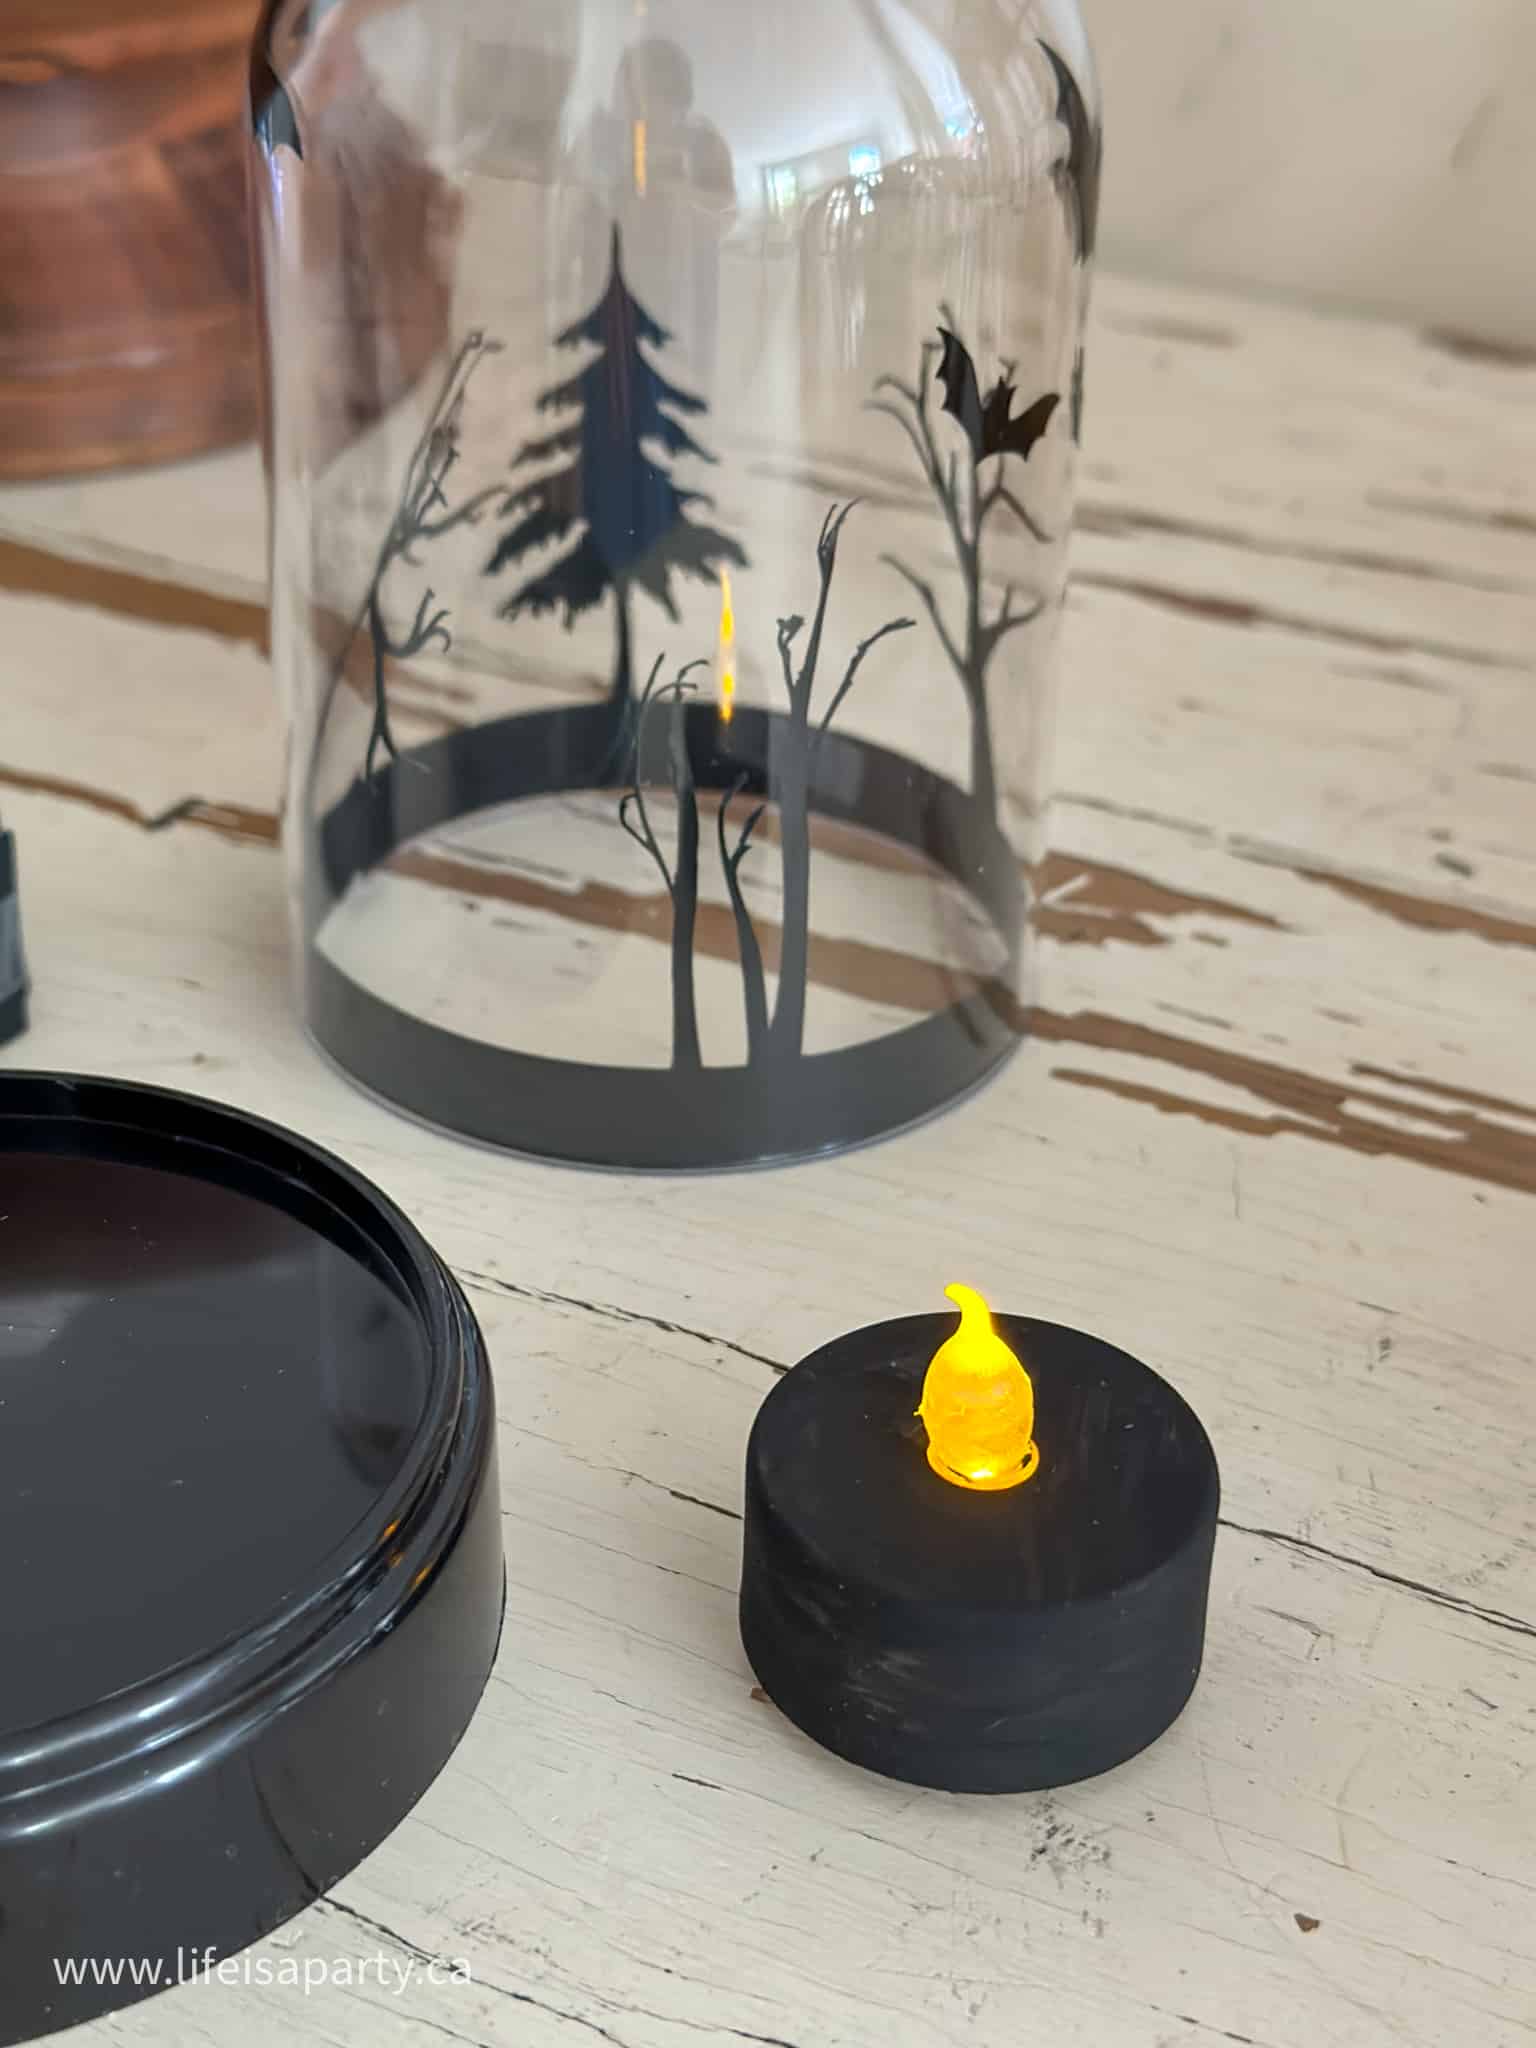
Battery Powered Tea Light Candle
While we were at the dollar store we also picked up a pack of battery powered tea light candles. These are really inexpensive and the ones we found also have a slight flicker, like a real candle which creates a really nice effect. The ones we found were white, and therefore contrasted too much with our black cloche base, and our black cardstock silhouettes, so we painted it black. I used some craft paint and couple of quick coats and it worked really well to paint out the white candle base. Just make sure to let it dry, before fitting it into your Halloween cloche.
Cricut
We used a Cricut machine to cut out the very intricate silhouette pattern. Nonetheless, if you really wanted to create this without a Cricut machine, you could indeed use scissors and an exacto knife to cut it out yourself, but it would be challenging, since the halloween scene is so detailed.
To create it with a Cricut machine, just upload the image to Cricut, scale the image to fit into the mini cloche, and cut it out. The house and tree silhouettes are cut out of black cardstock.
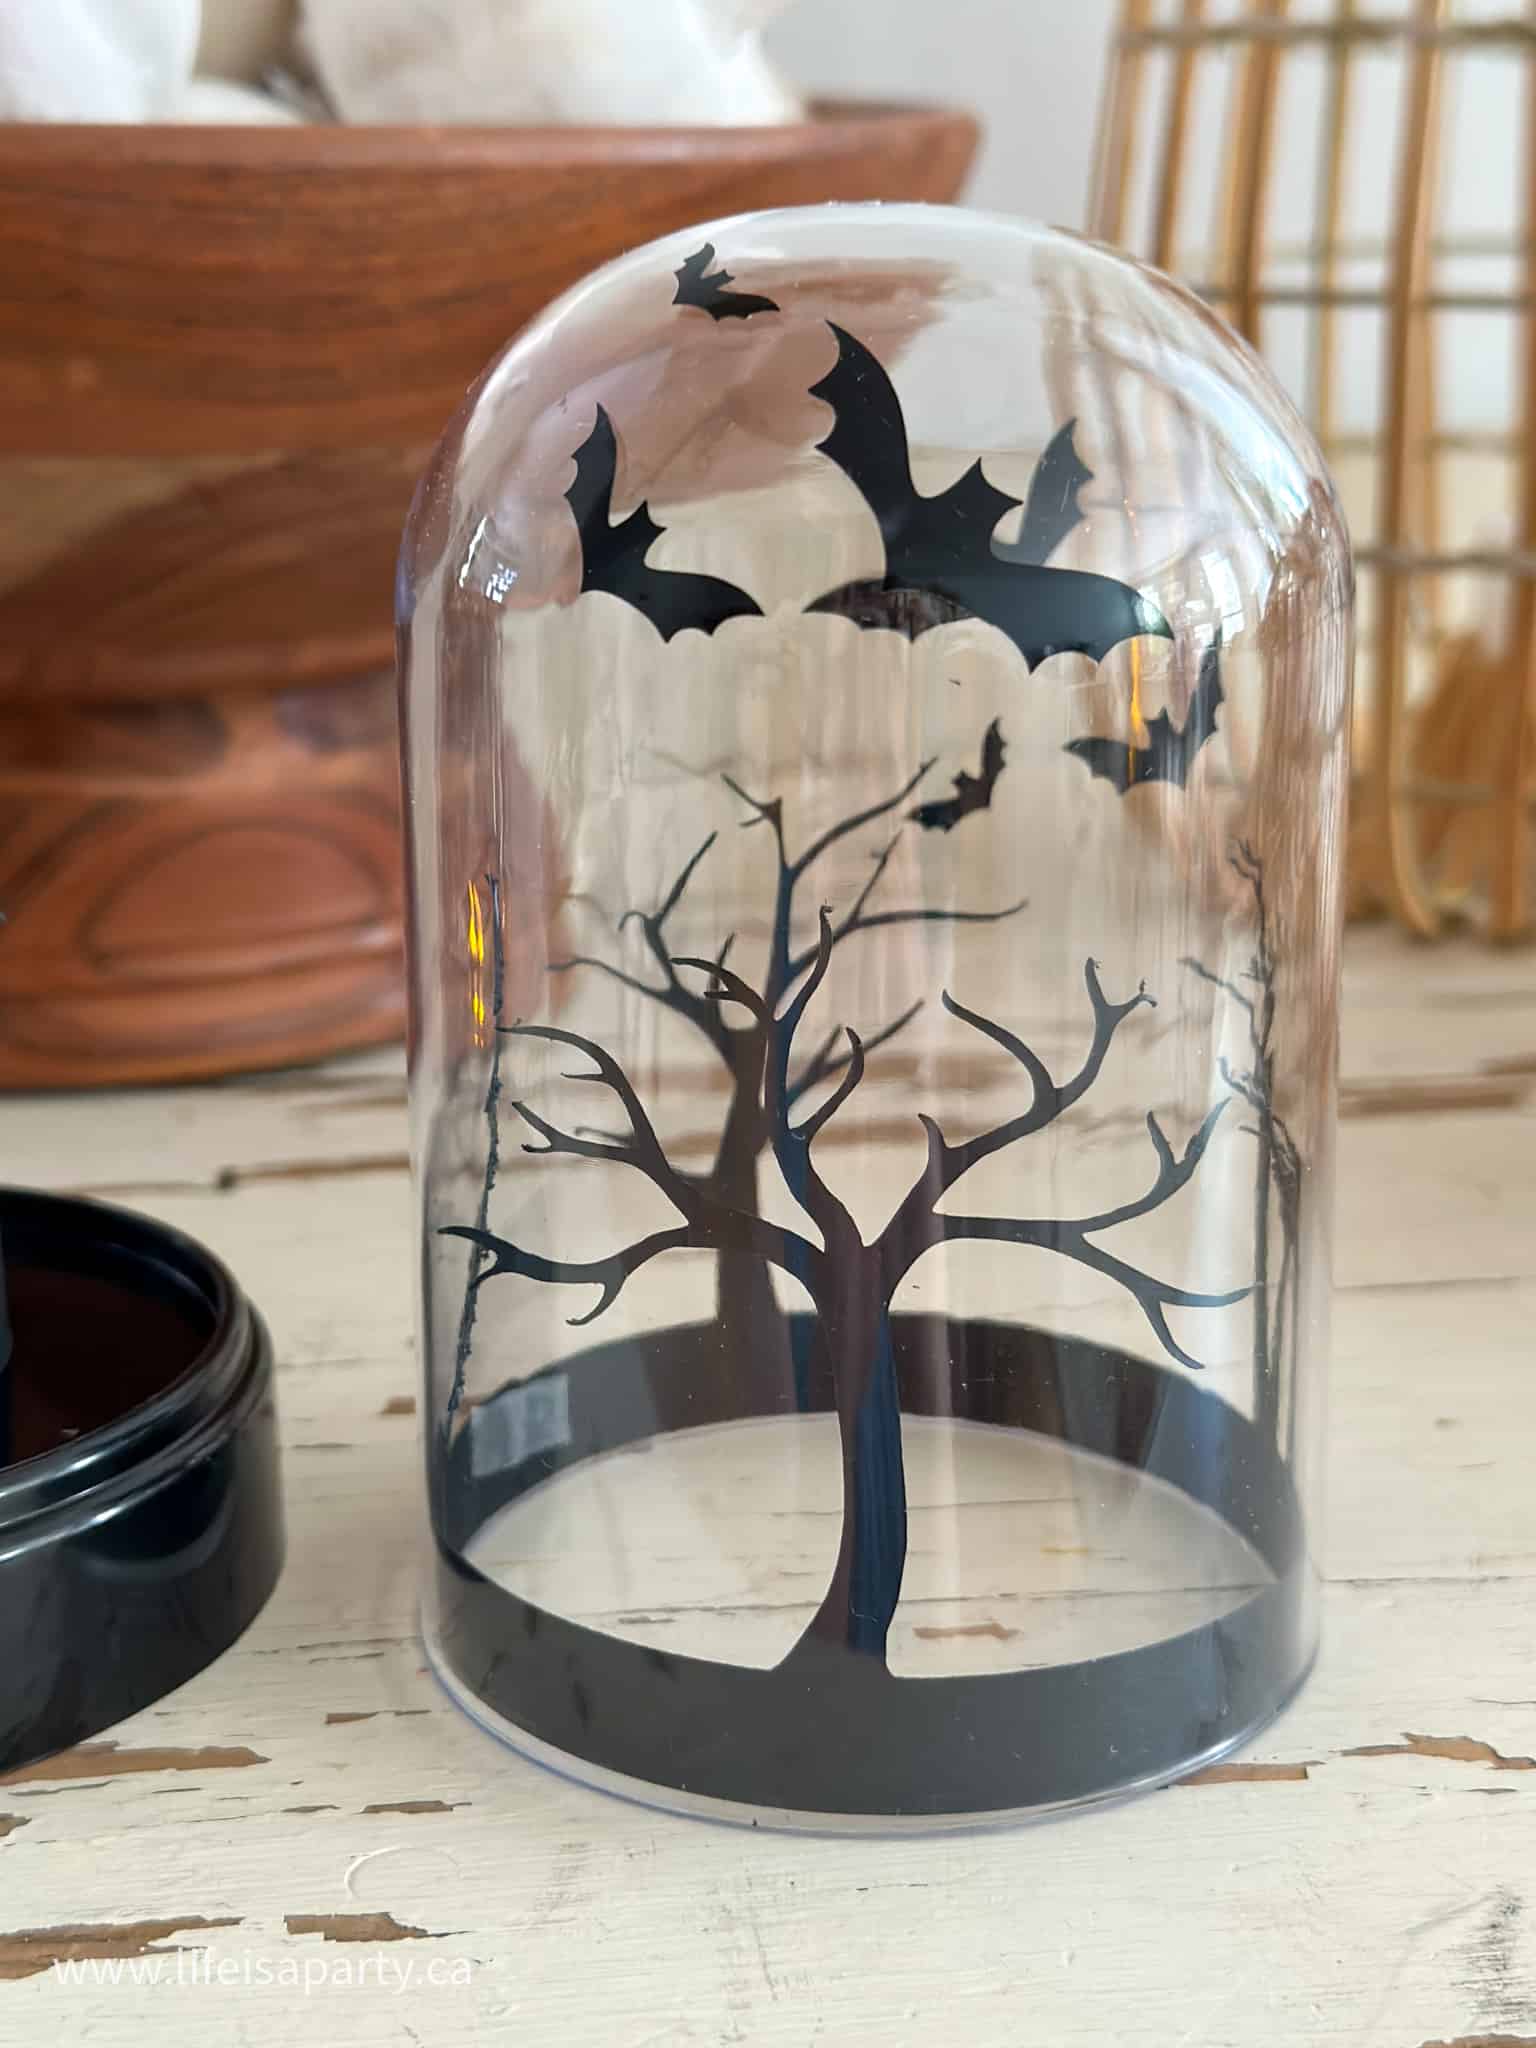
Flying Bats
To add the bat detail on the outside of the cloche, we used black vinyl. You won't need transfer tape to apply, since they're so small. Just use your hands when you apply them like a sticker, to the outside of the cloche.
Equipment
- Cricut cutting machine
Materials
- plastic cloche
- black cardstock
- black vinyl
- battery powered tea light candle
- black craft paint
- small paint brush
- Cricut regular grip cutting mat
- Haunted House Zip File available to all our Subscribers in the Free Resource Library
Instructions
- To create the silhouette pieces for inside the cloche, first Open a new canvas in Cricut Design Space.
- Click on Upload on the left hand side of the canvas. Click on Upload Image. Click on Browse and then then find the haunted house png file in your download files. Click on the file, then click on the first image to upload, and click Open. Next select Complex as your image type. And press Continue in the bottom right. Now click on any areas of the image that you want to to remove, paying attention to the small cutouts in the house. Use the "+" to zoom in to see it better if you need to. When you're finished click Apply & Continue on the lower right. Next click on the Cut Image option, and then click on Upload in the lower right corner. Now click Upload Image again, and do the same for the other images. Once all the images are uploaded, select them by clicking on all three, and then click on Add To Canvas in the lower right.
- When you bring all three onto the canvas they will all be selected, so be sure to click somewhere else on your canvas to deselect them. Now let's scale them to fit the small cloche. Select the haunted house image. At the top of the canvas look for the size menu. With the dimensions locked, change the width to 6.5 inches, and press enter.
- To adjust the trees size, select the image, and with the dimensions locked, change the width to 10 inches.
- To adjust the bats, select the image and with the dimensions locked, change the width to 1.5 inches.
- If you want to add lots of bats to your cloche, select the bat image and click on Duplicate -it has a plus symbol, at the top of the layers menu, on the right side.
- Make sure the color of the haunted house and trees match, so that they will cut on the same mat, and make sure the color of the bat image is something different, so that it will cut out on a different mat. Change the color at the top of the canvas on the left, beside the operation.
- Click on Make It on the top right of the canvas.
- Set your materials to cardstock for intricate cuts, for the haunted house and trees image, and to vinyl for the bats.
- Carefully remove your cardstock from the cutting mat and weed your vinyl bats.
- Paint the white candle base black using some craft paint. You may need two coats. Let it fully dry.
- To assemble the cloche, use tape to create a small ring with the haunted house silhouette, large enough for the candle to fit inside. Fit the tree silhouette inside the base of the cloche lid, with a small piece of tape, then place the cloche on top. Finally, add the vinyl bats to the outside of the cloche.
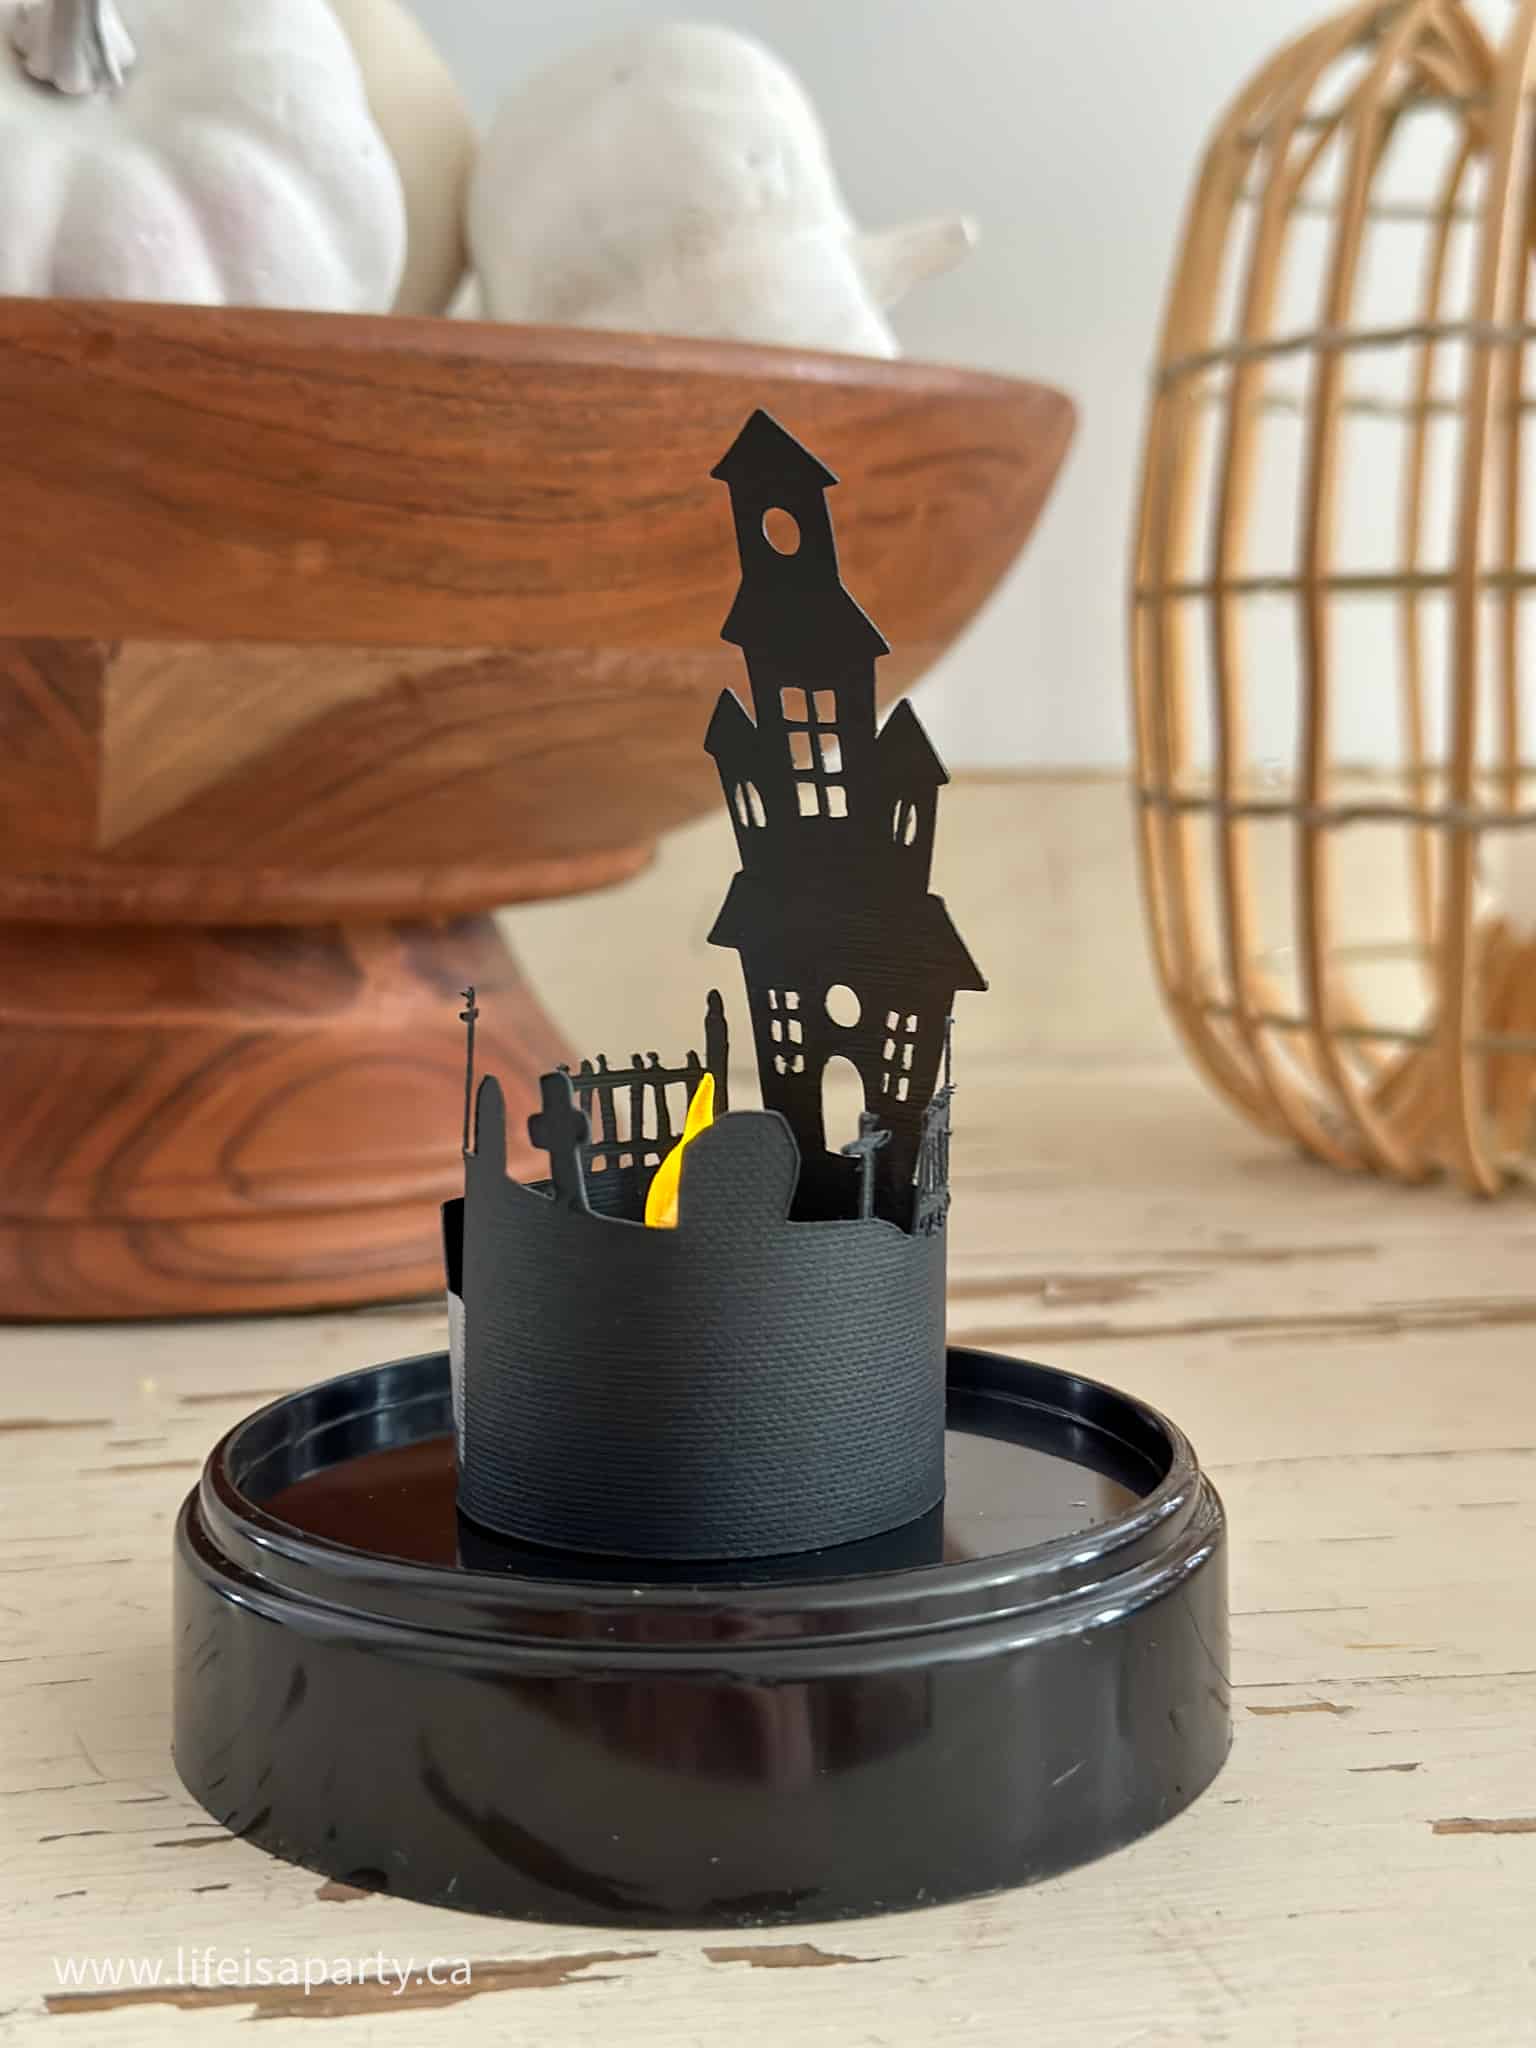
This is the perfect Halloween decoration for celebrating spooky season. It would look great lighting up your Halloween tabletops, if you're hoping to add a spell of whimsy. Mix this little piece in with your favourite Halloween skull decorations, and spooky ghosts for the perfect spooky decor this season.
With this spooky DIY Cricut Halloween Cloche, life really is a party!
More Halloween Inspiration
In addition to the post about you might also like to check out our Halloween Movie Night here.

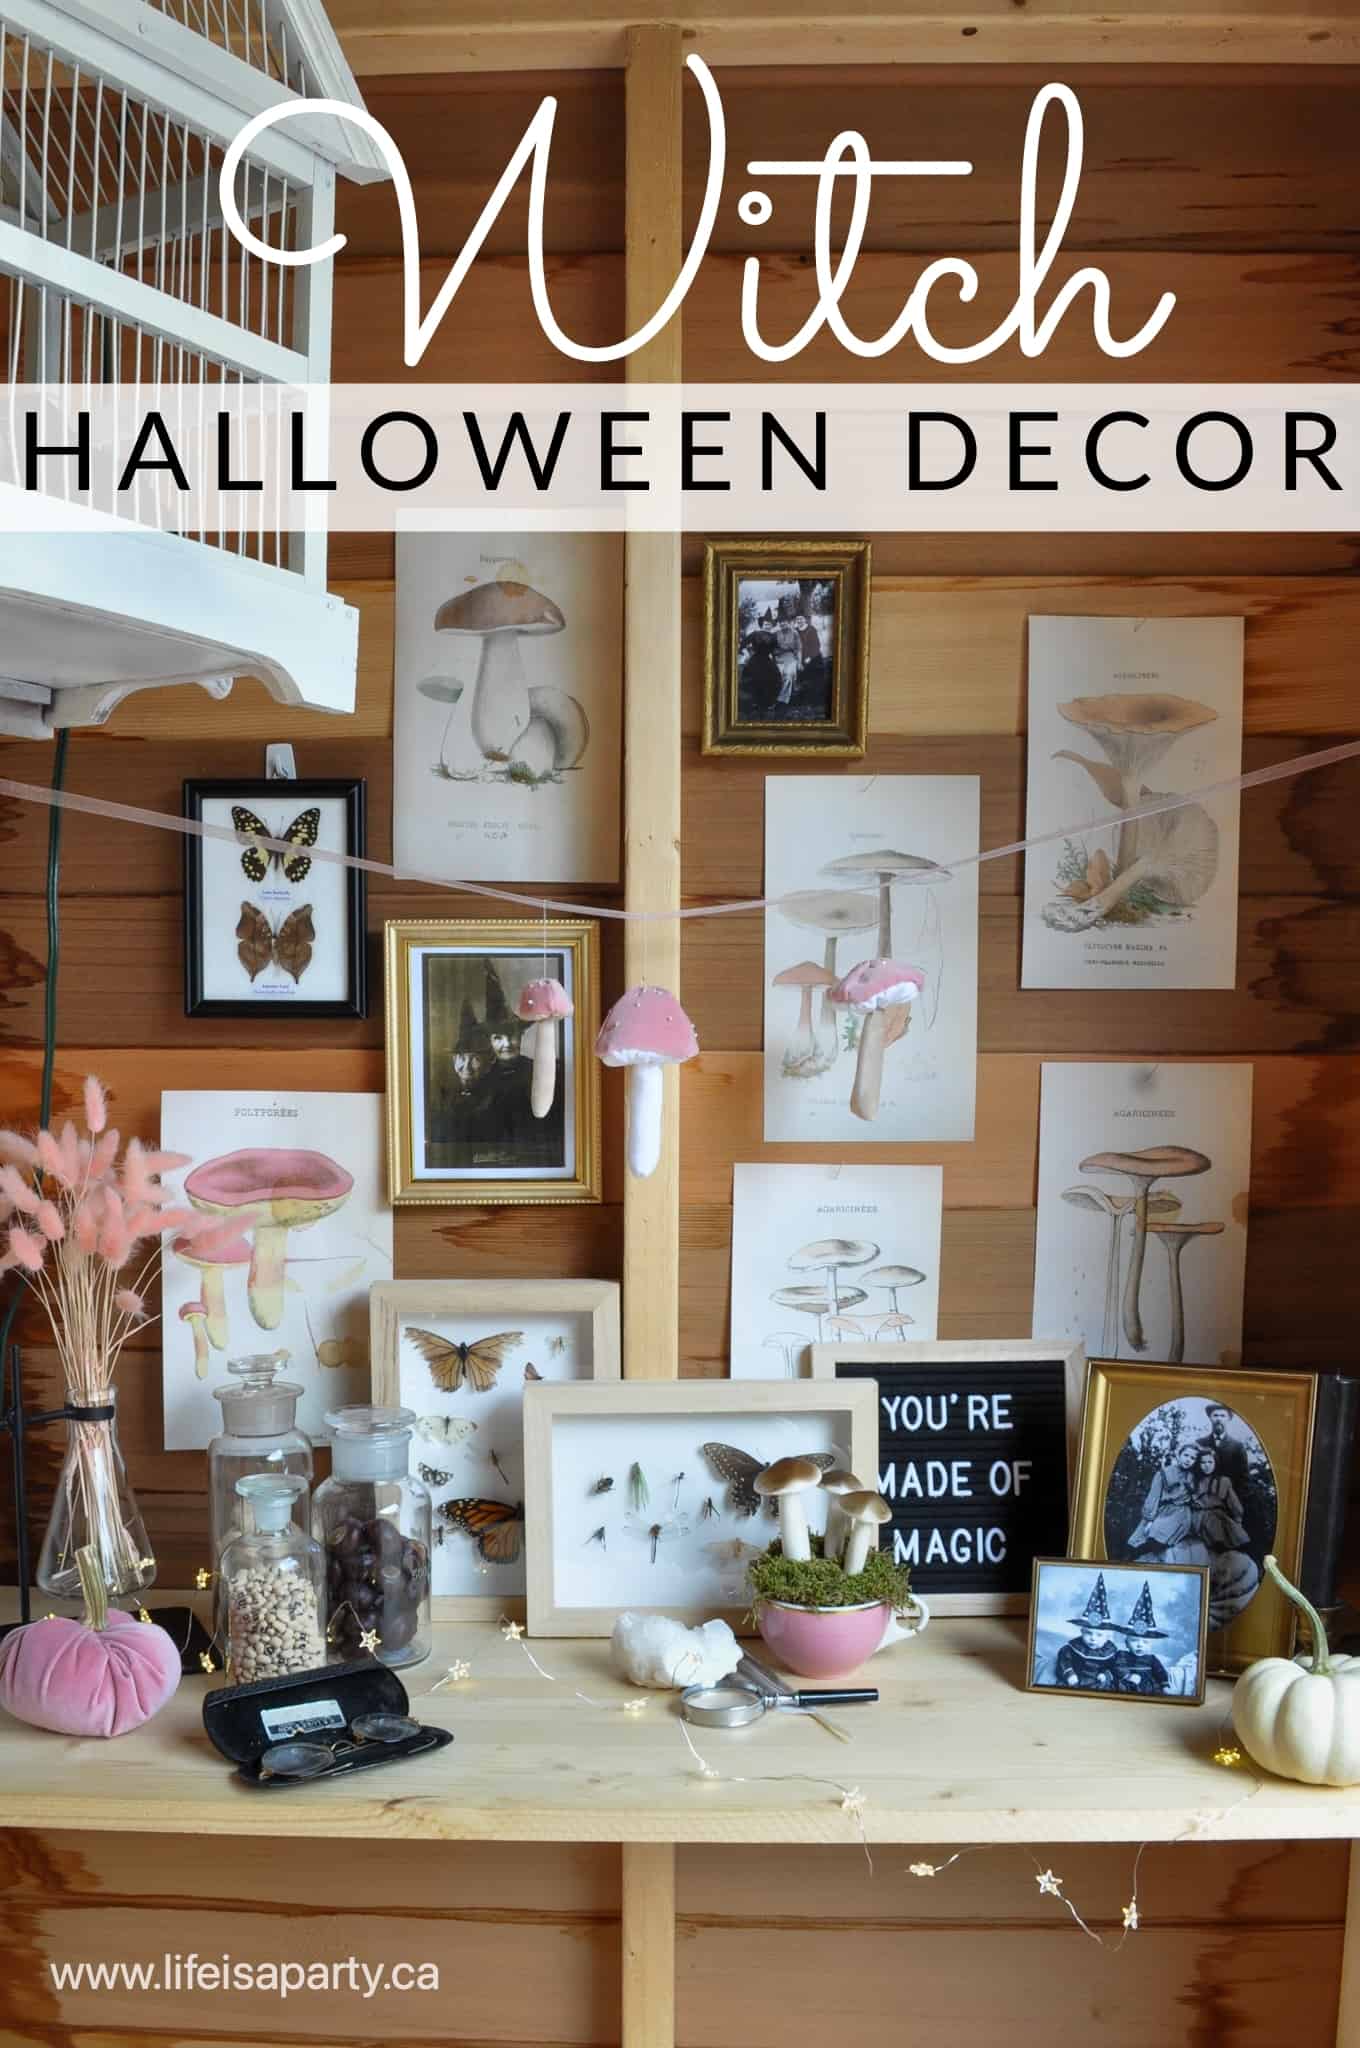
Also be sure to check out our Halloween Witch Decor here.
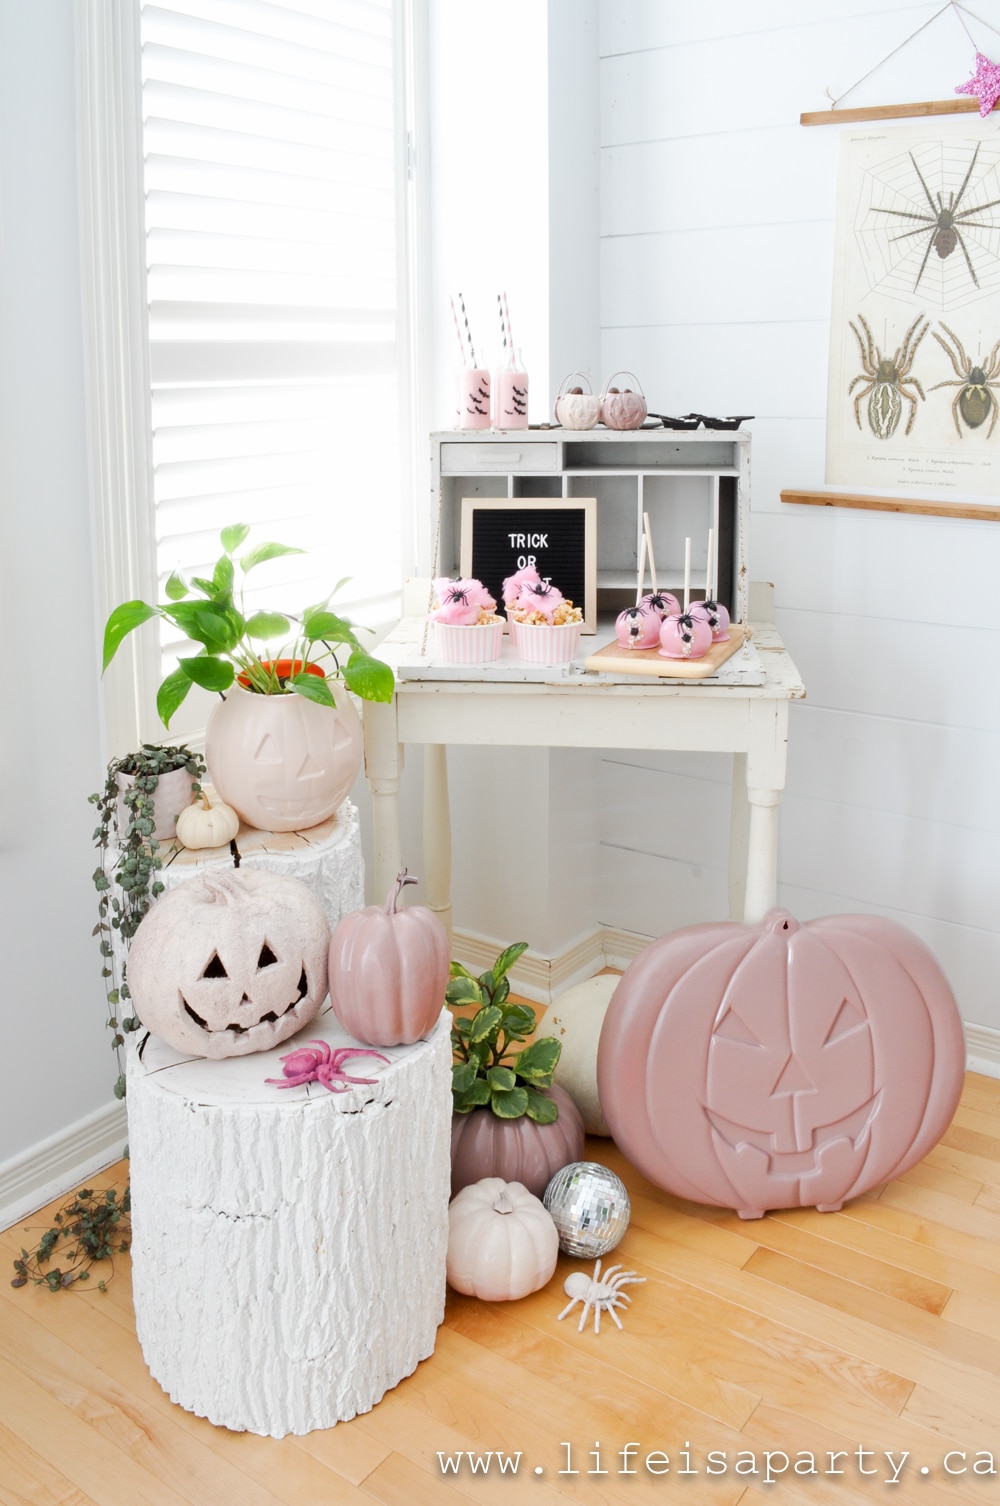
Finally, you might also like another Halloween idea. Check out our Pink Halloween Party with pink decor and snack ideas, here.


Dannyelle says
Hi Vicky,
Sorry you've had difficulty. I've added you manually on my end to the email list. Look for a welcome email, and if you can't find it look in your junk file in your email, in case it accidentally went there. If you have any more questions or trouble you can reach me at da**************@***oo.com
Thanks,
Dannyelle
Dannyelle says
Hi Sue, I'm sorry you're having trouble. The Church cloche file is in the Free Resource Library. It's in the zip file "Christmas Village Cloche Lantern PNG files for Cricut".
Dannyelle
vicky says
I have been trying to subscribe since the summit but I never hear back from anyone. Would love to become a member and follow you. Please help. thank you.
Sue says
I’m not finding the church cloche… it’s not in library.. please help and thank you, loved these two…
Dannyelle says
Sorry about that, there was a mistake on my end. Should be all fixed up now. Thanks for letting me know.
Dannyelle
Dannyelle says
Sorry all fixed up now. Thanks for letting me know.
Dannyelle
Judy says
Did not find the Halloween cloche svg download
Will it be on the holiday summit?
Darlene Holte says
I'm not finding the cricut design either on this post or in the resource library. Where can I find it?