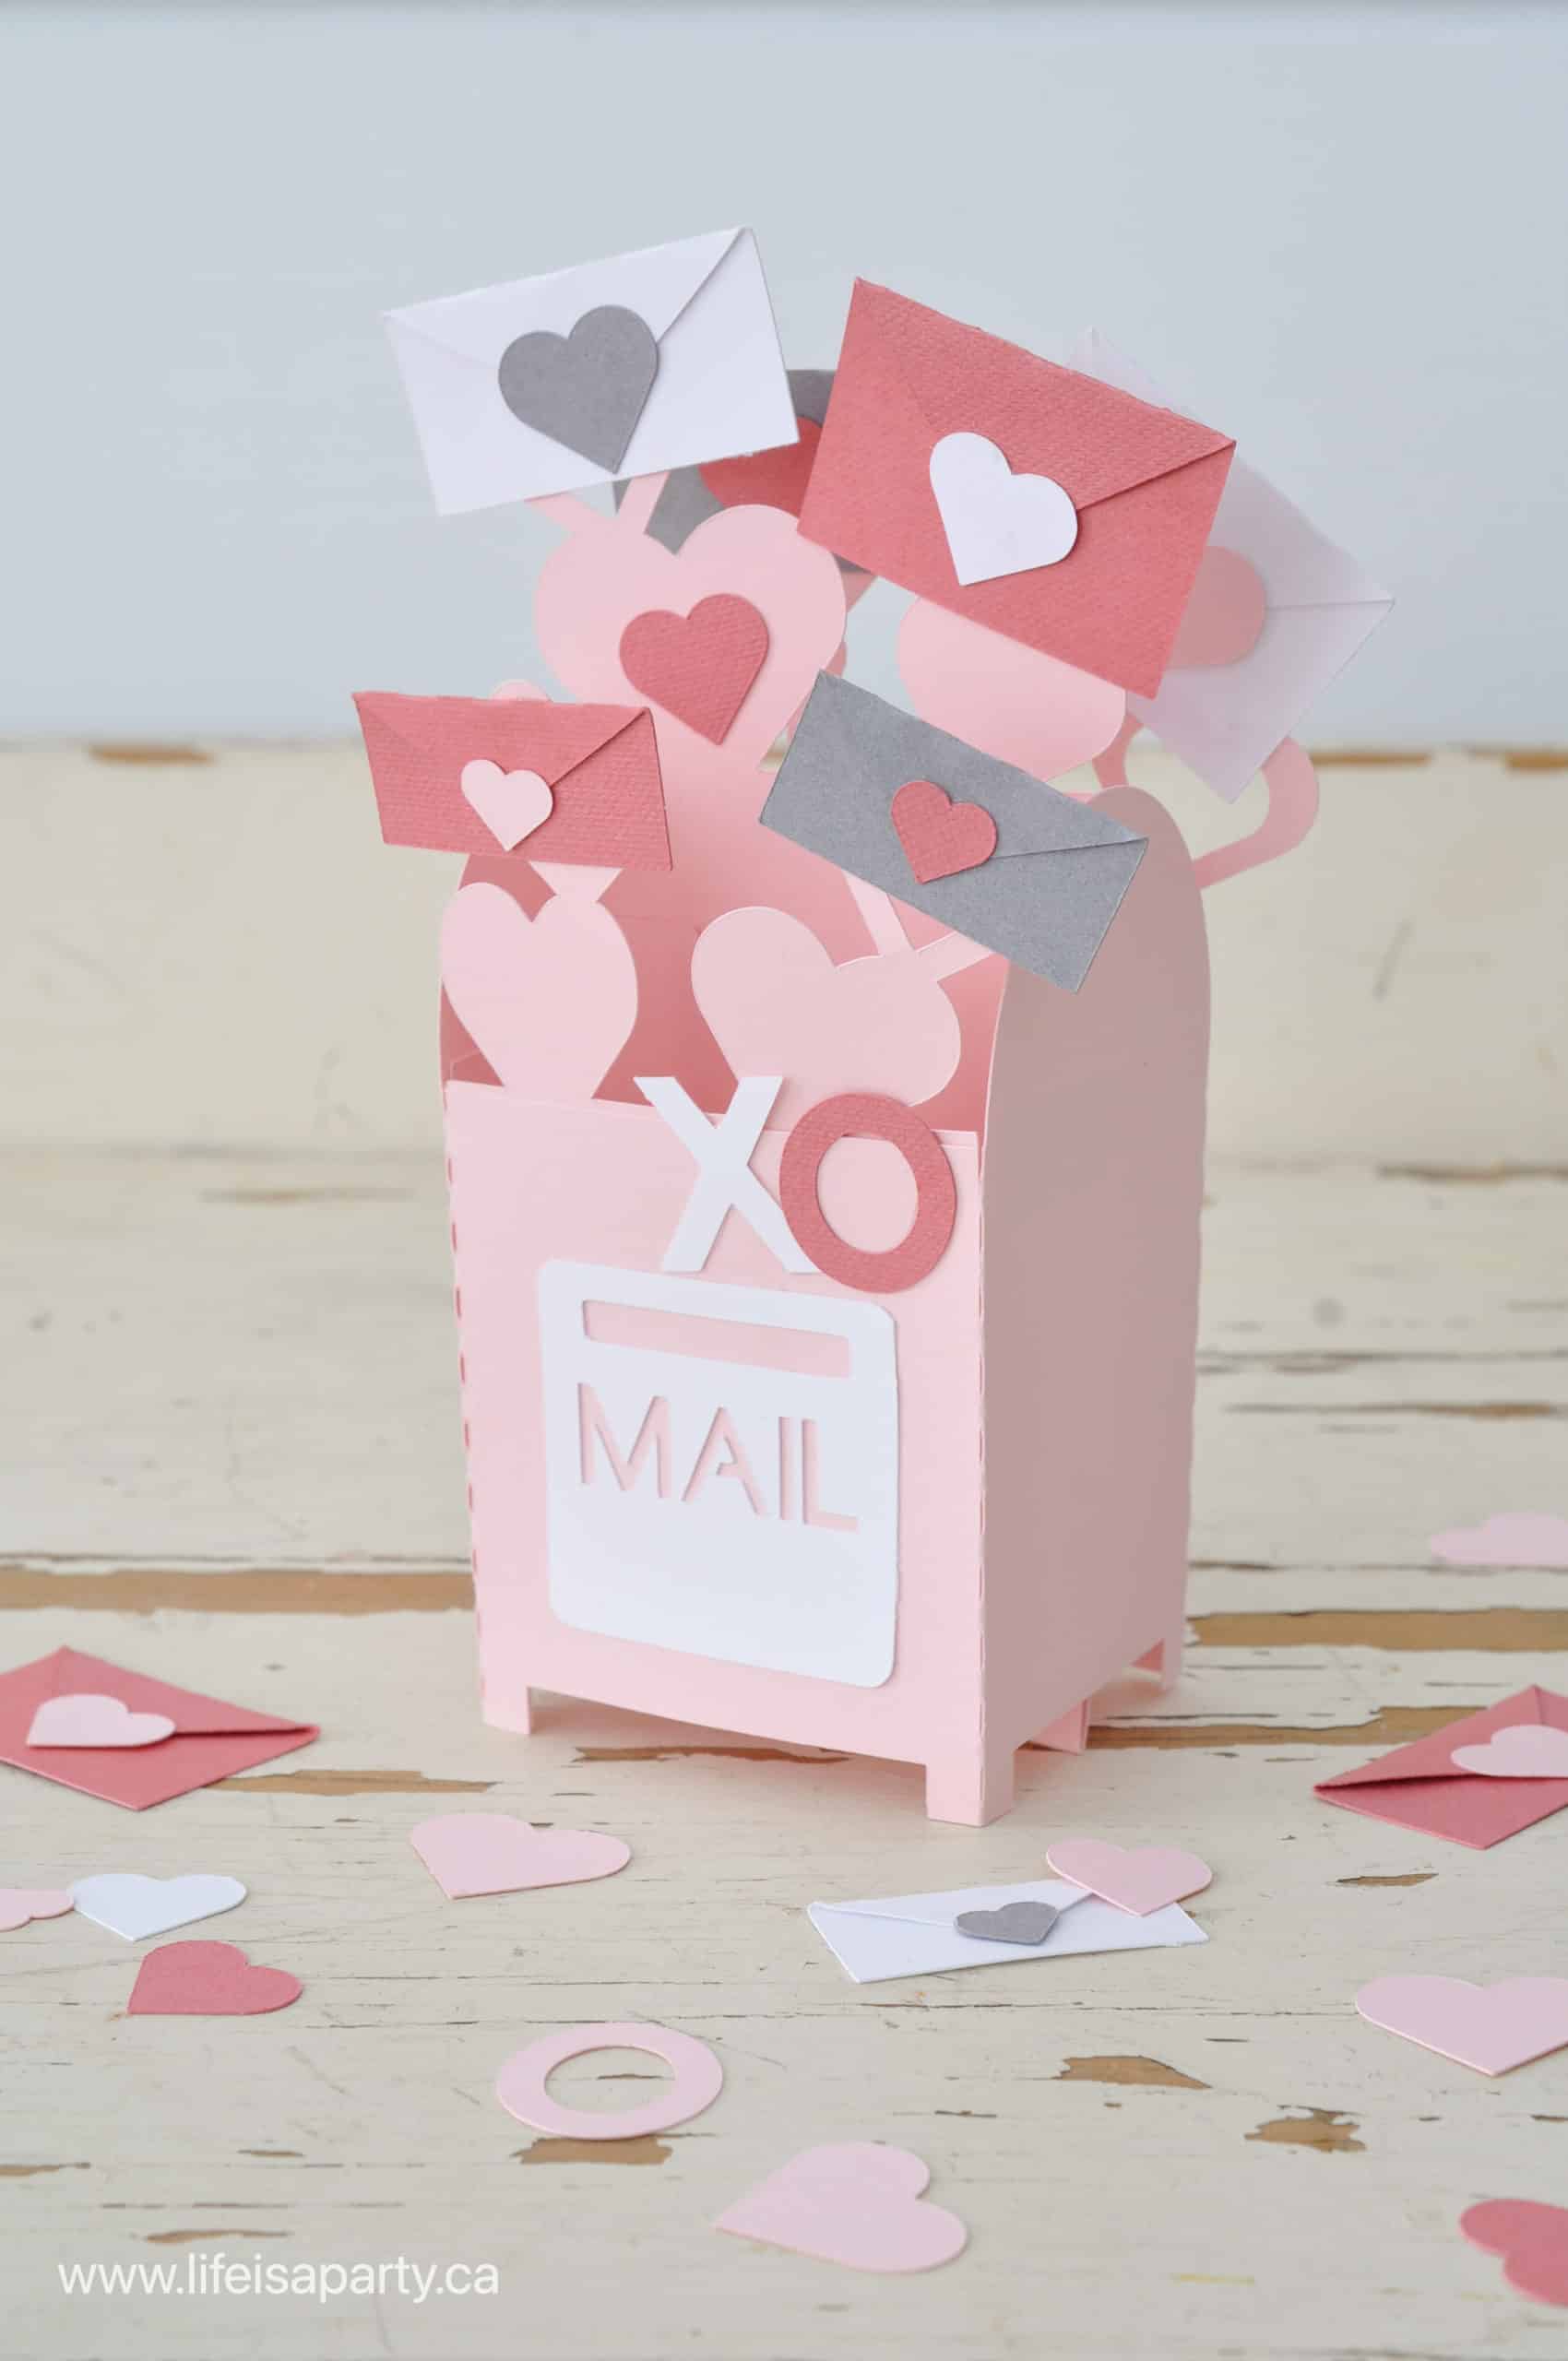
Free Cricut 3D Pop Up Box Card for Valentine's Day: use our free cut file to create this Valentine mailbox that folds flat for mailing.
This Free Cricut Valentine Box Card is the perfect way to send a little love, for Valentine's Day, or anytime of year. Use our free cut file and cardstock to send a little love.
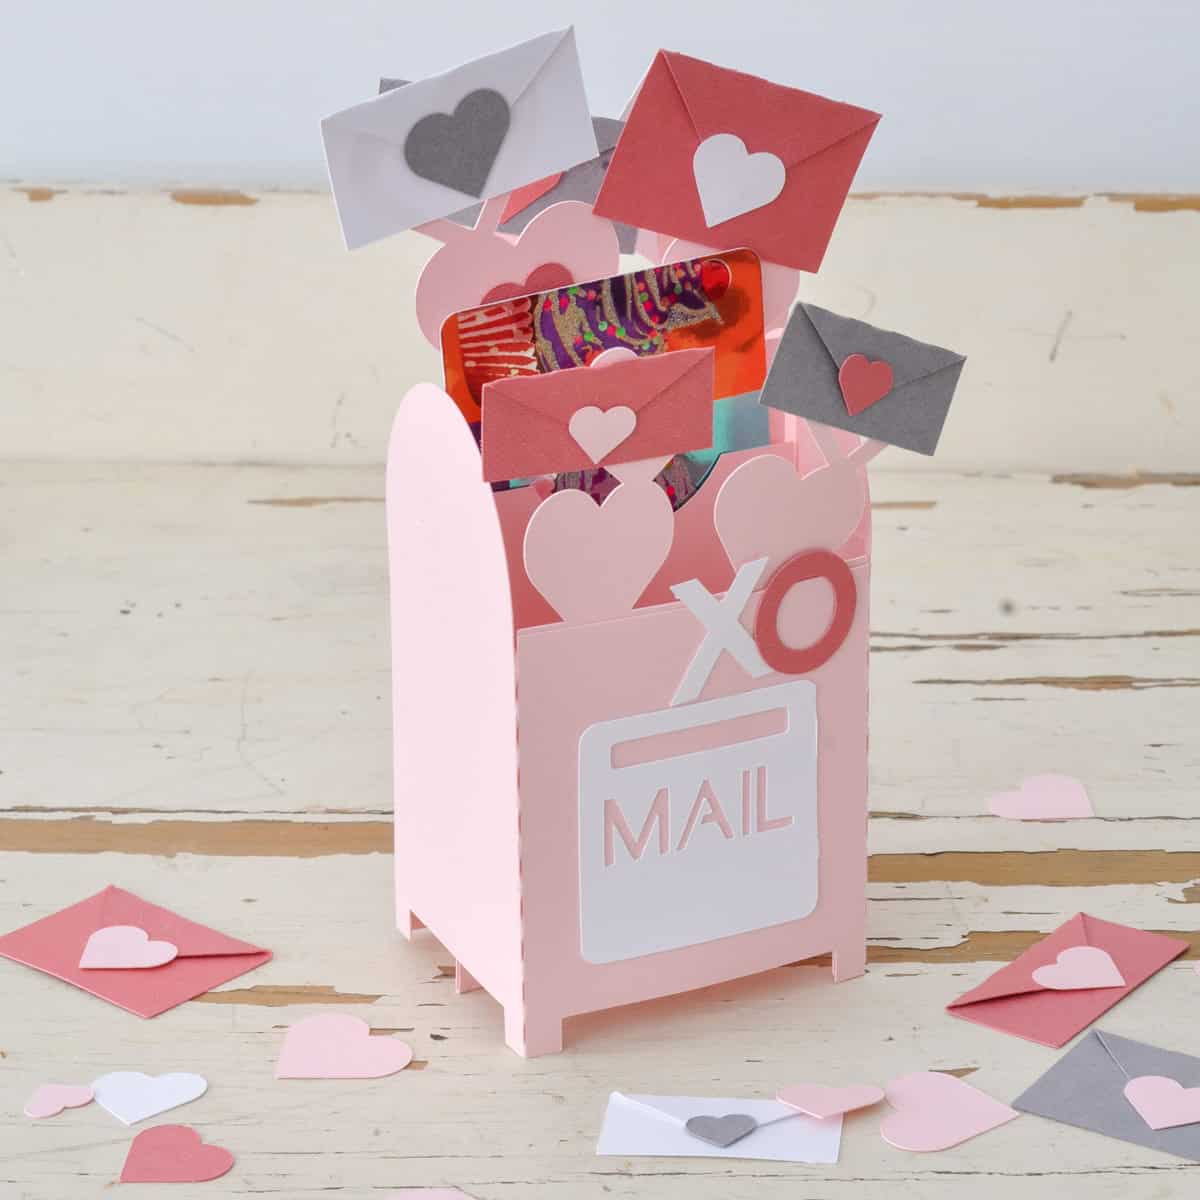
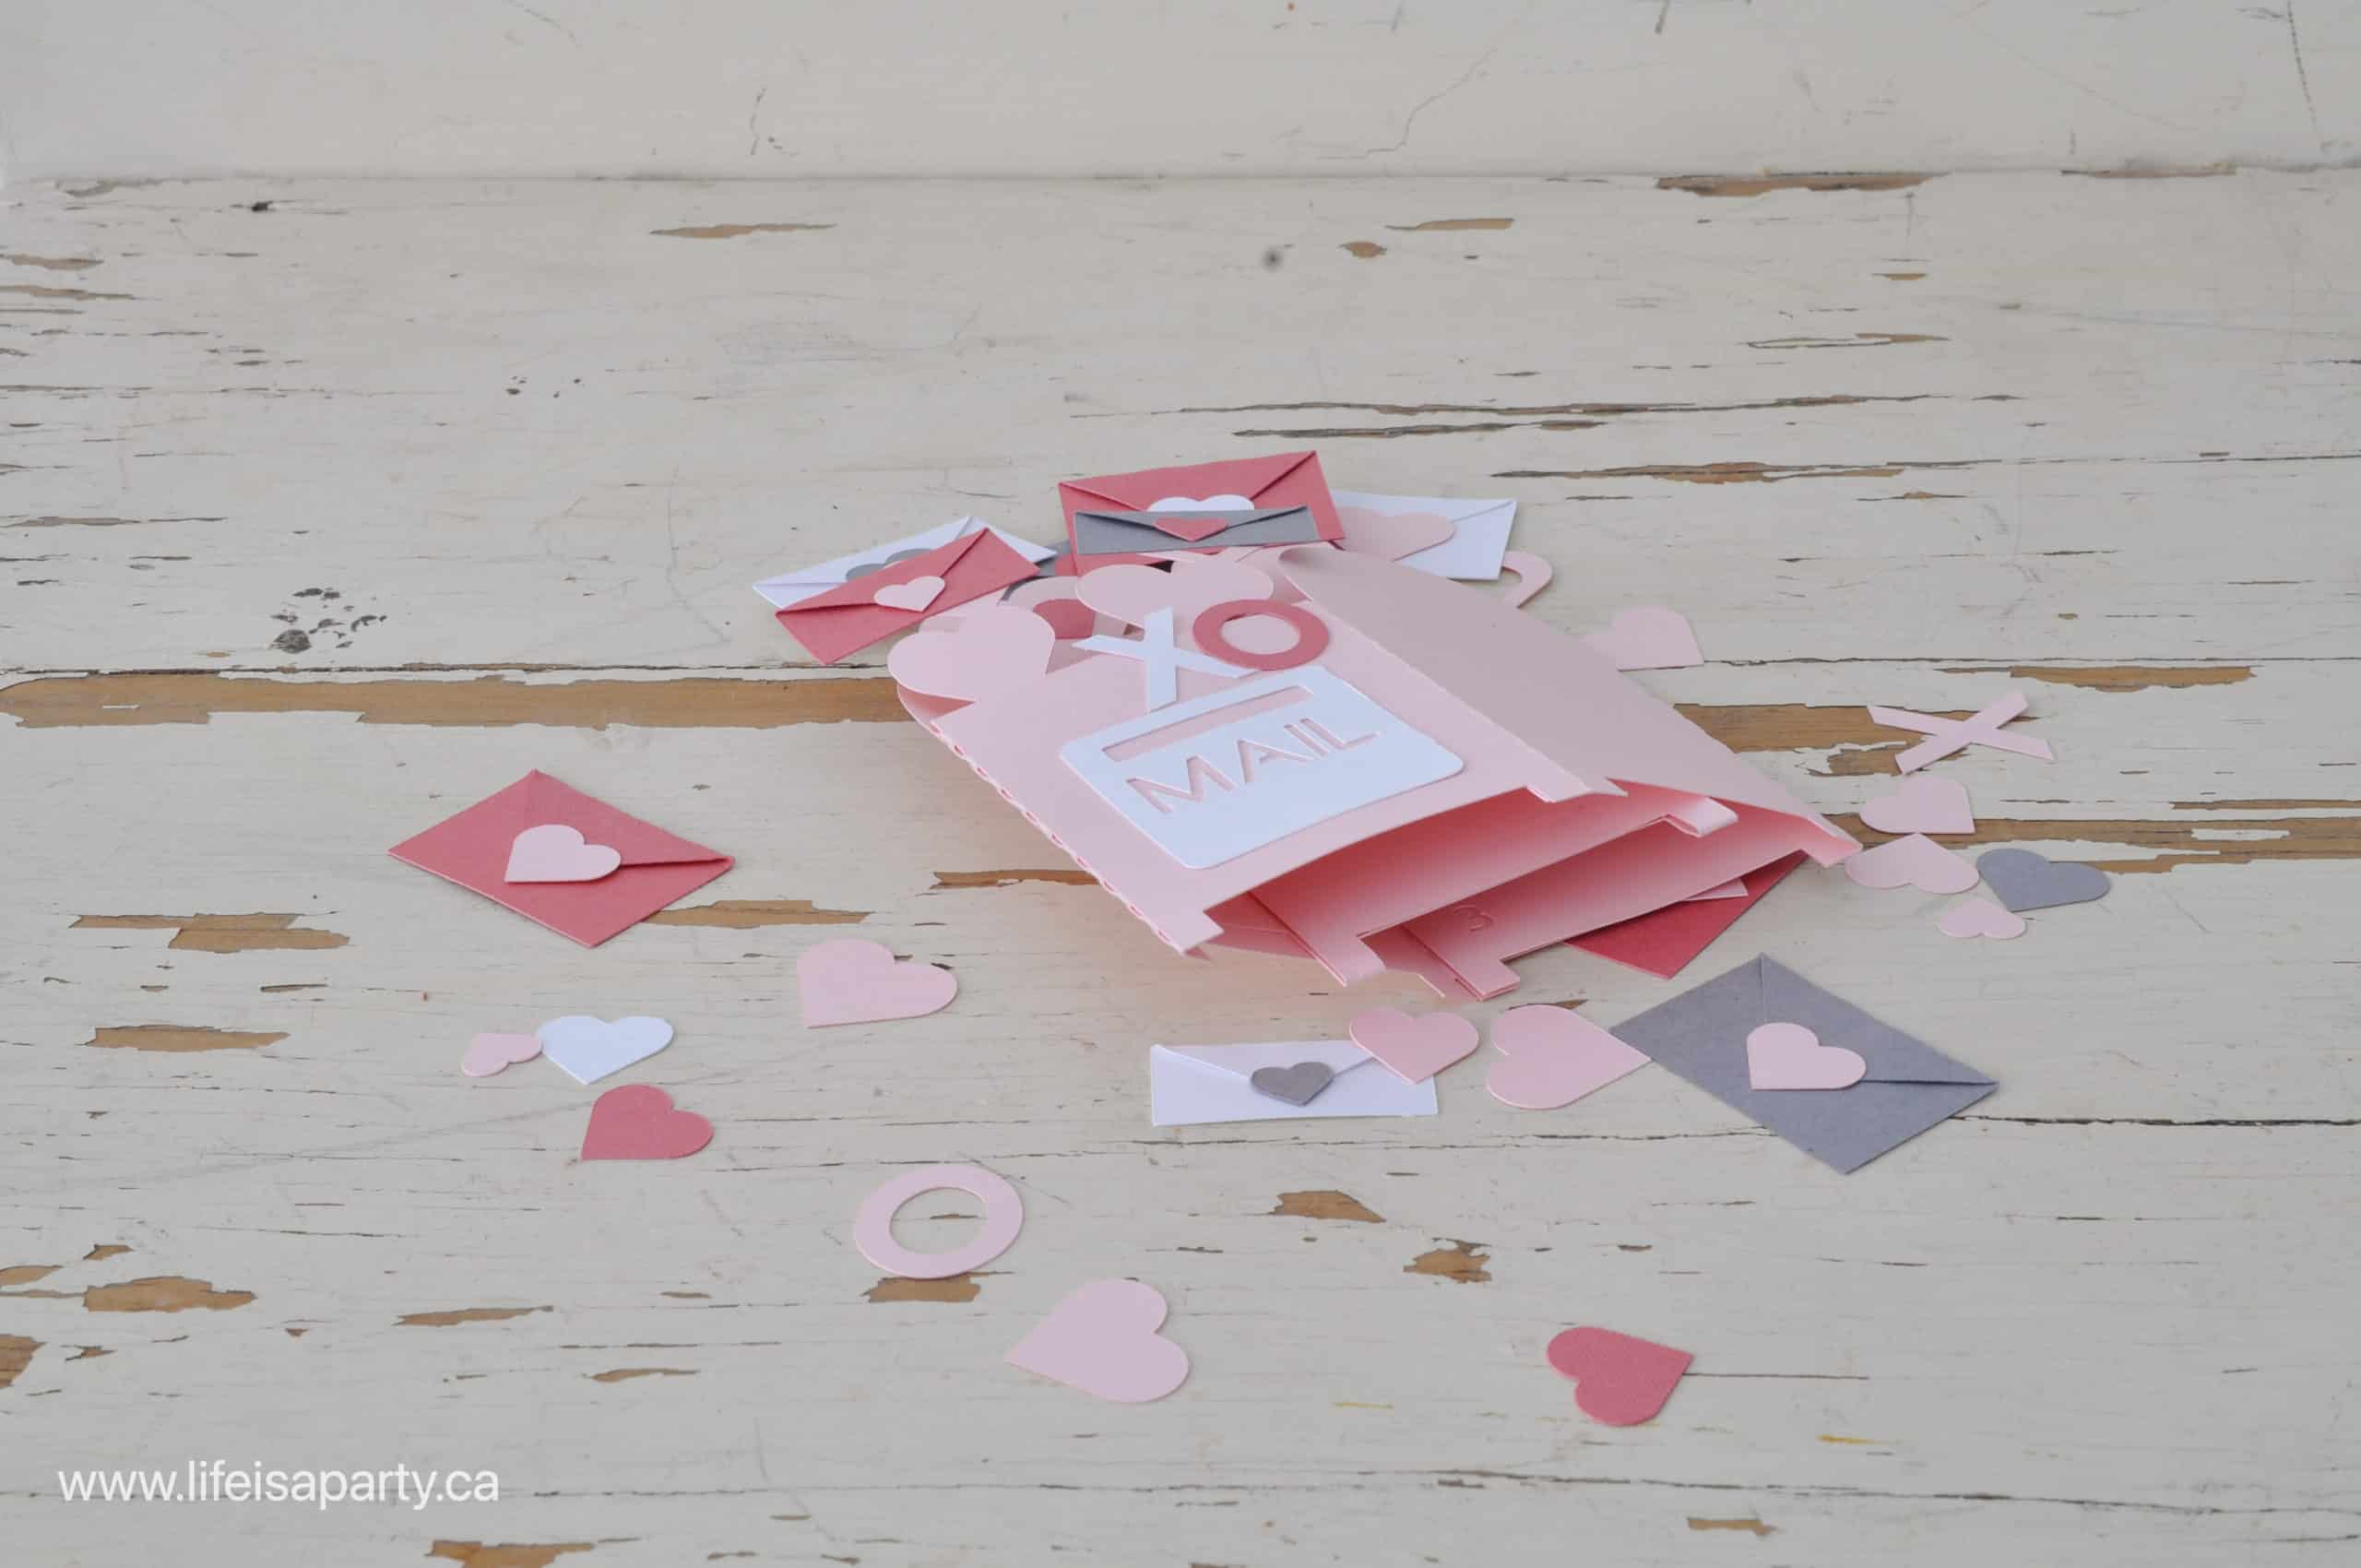
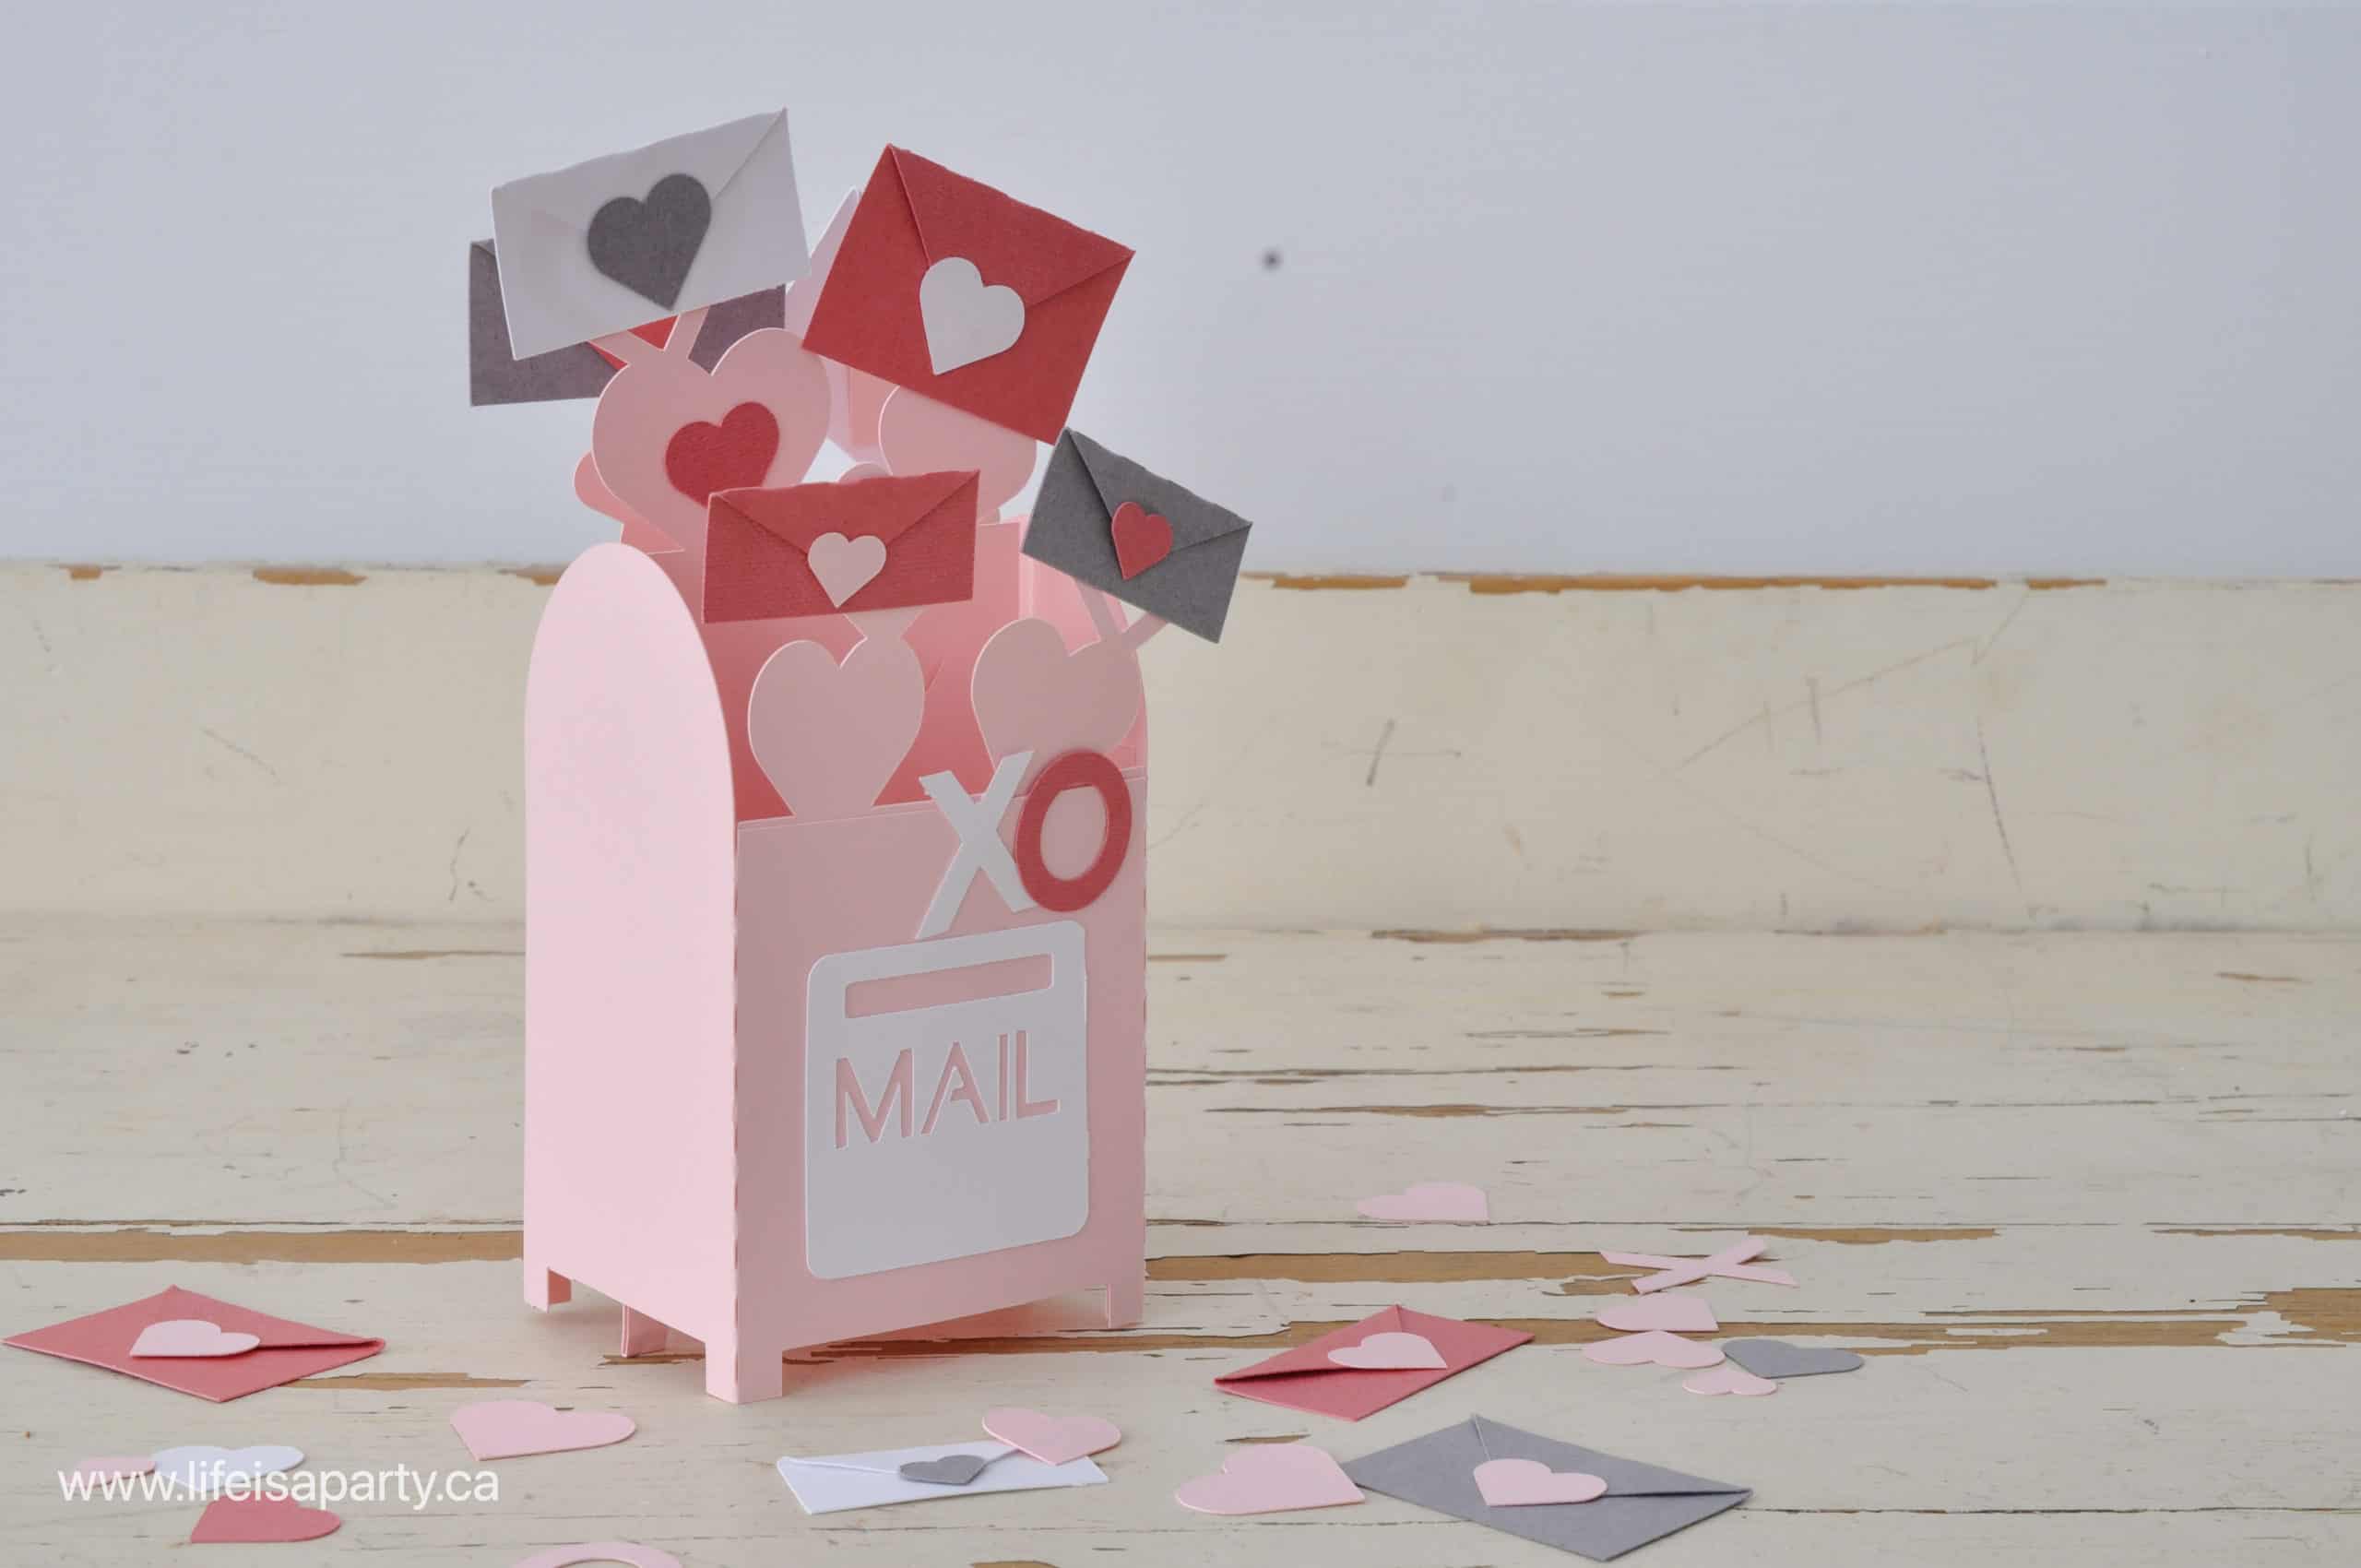
I'm excited to share this beautiful Valentine Box Card. If you're not familiar with box cards they are 3-D boxes, that fold flat for mailing. They're similar to a pop-up card. You can flatten them to fit in an envelope to send to someone, and then the recipient can pop them open to create a 3-D box like card to enjoy. Or make one as a cute addition to the a shelf in your craft room. I'm sharing the free Cricut design space cut file, so that anyone with a cricut machine can cut this out and enjoy it. It will work for a Cricut Joy, any Cricut Maker machine, or a Cricut Explore machine.
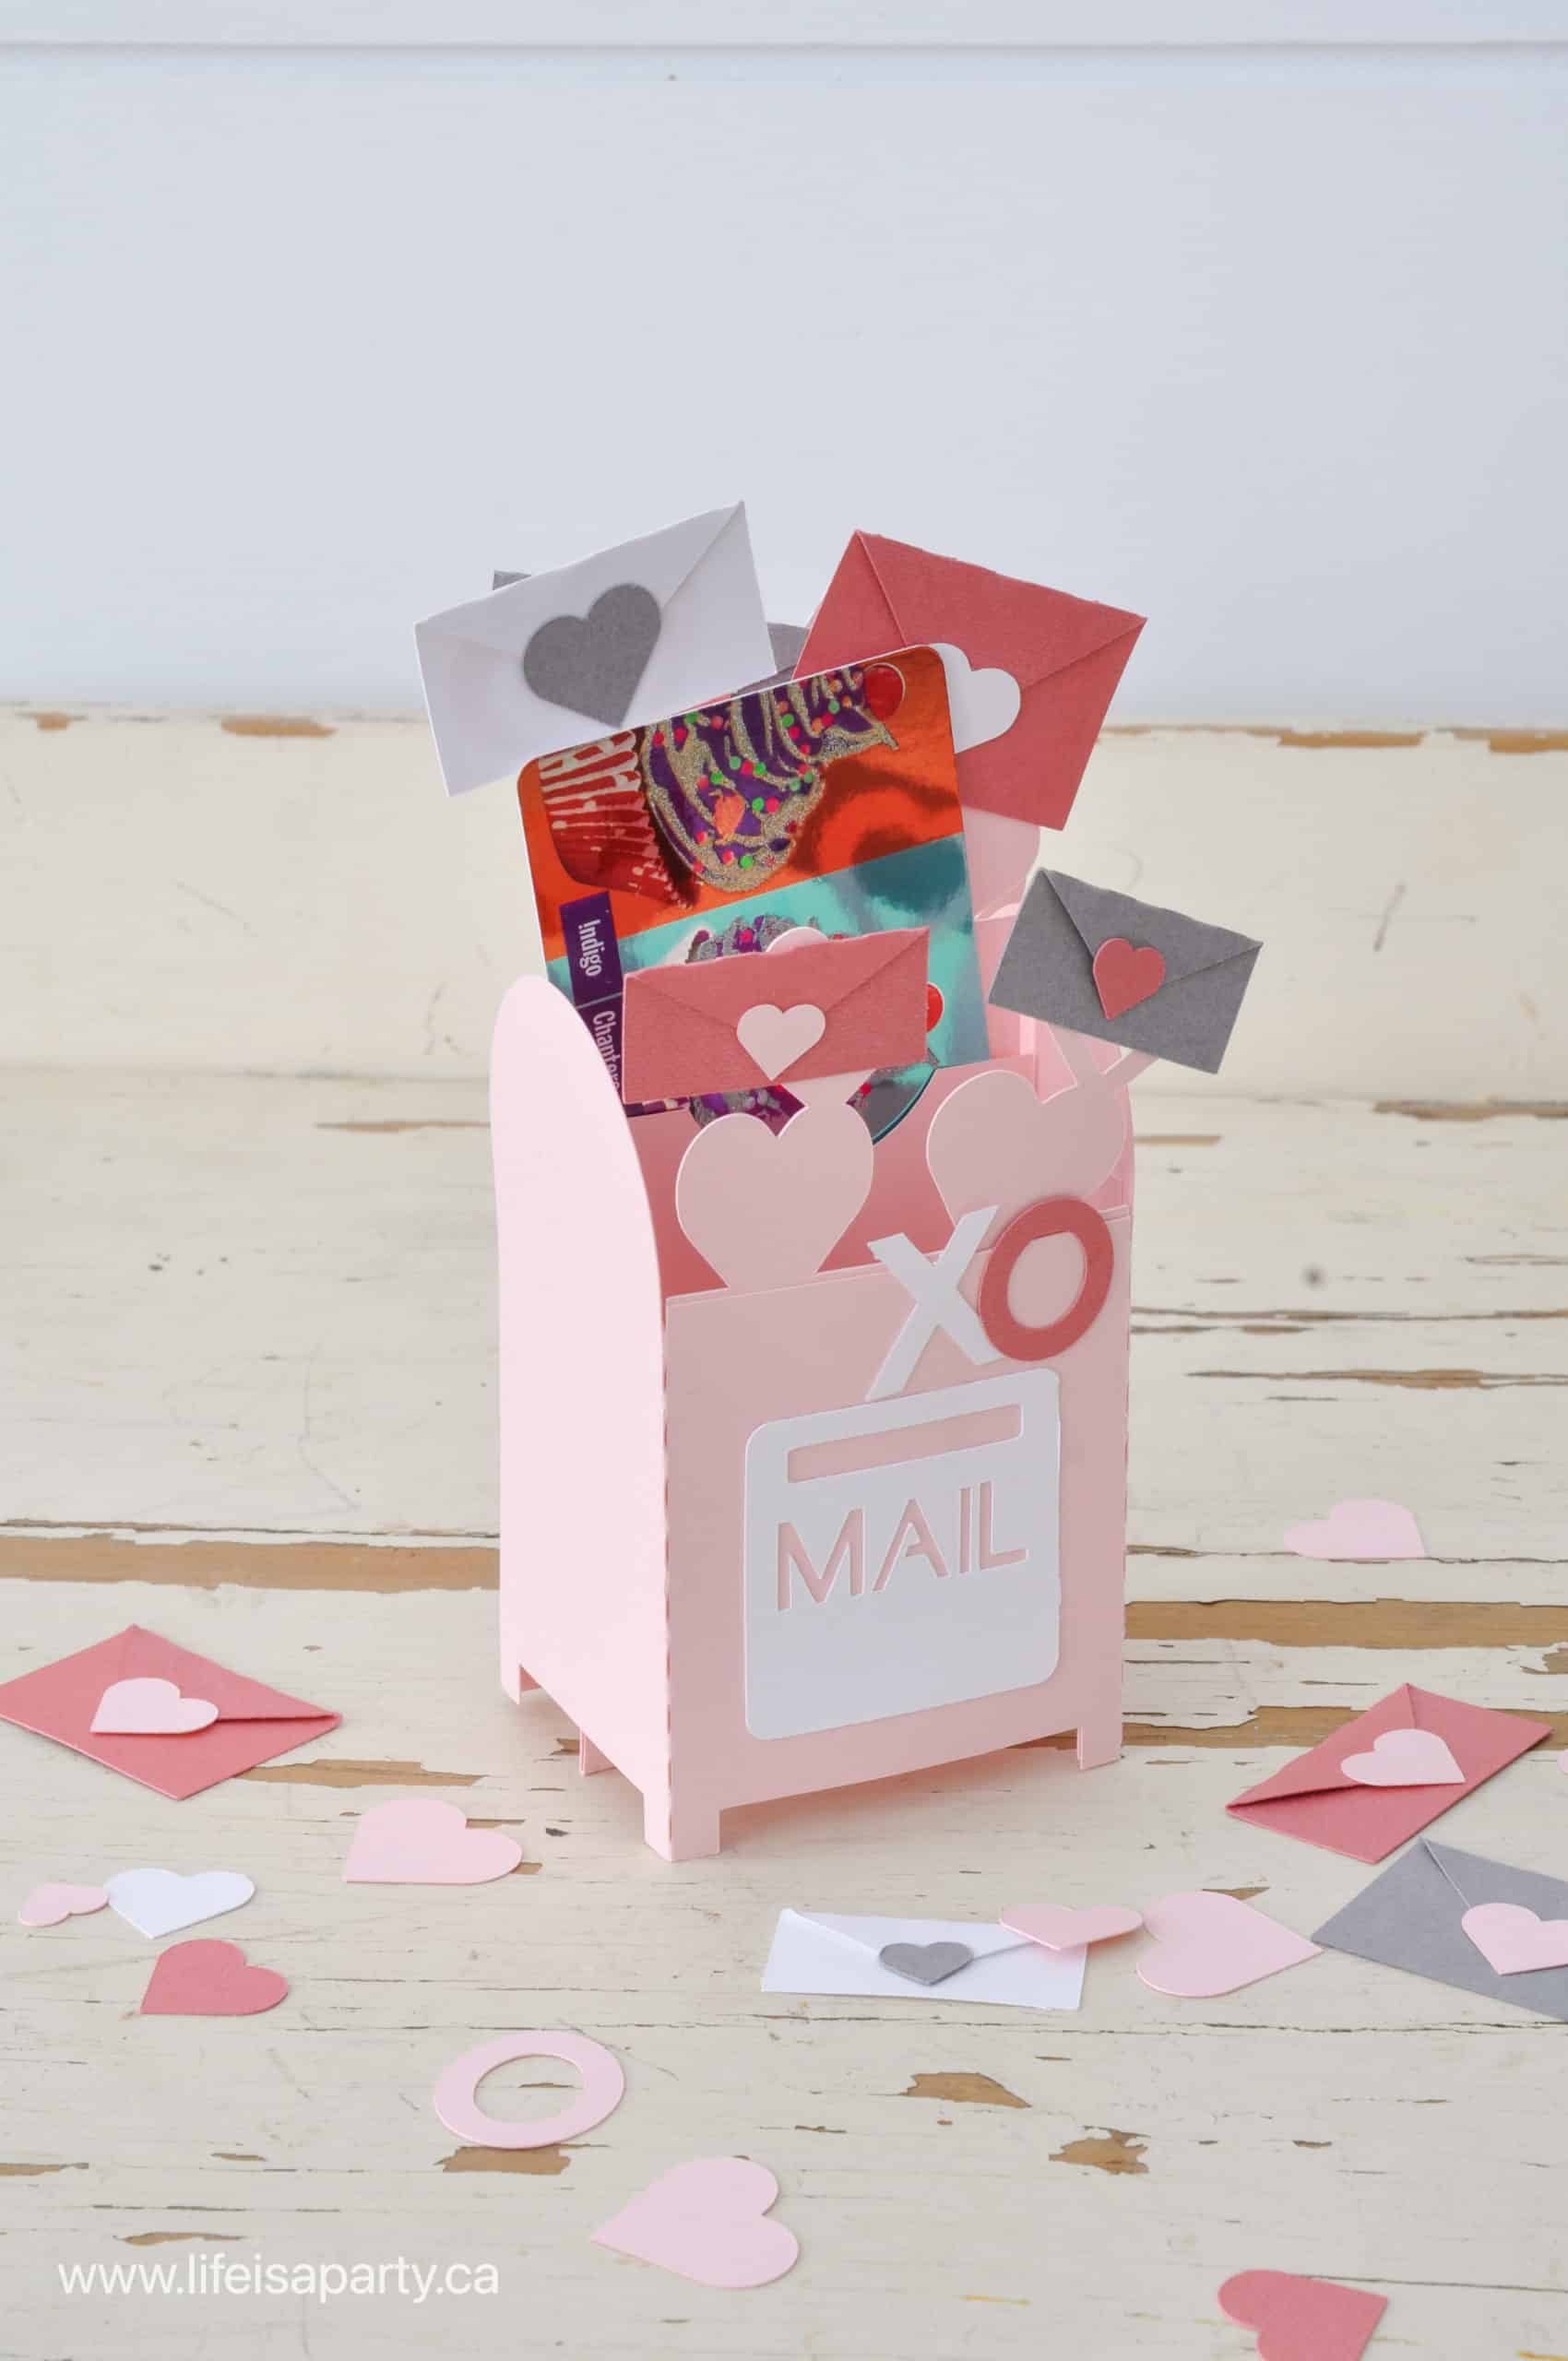
I just love the idea of sending a handmade Valentine's Day card to a sweet heart, or even a best friend. There are so many Cricut valentine ideas and cute cards and cricut projects you can make with a cutting machine, but I thought this card design was extra special and so much fun. It has a special pocket in the centre where you can insert cards, like a gift card, or a special message. It's a great way to send handmade valentines this year.
This project is fairly easy to put together, just a little time consuming. I think it's suitable for most skill levels.
Free Cricut Cut File
This design is available for free to Life is a Party subscribers. There's a link to the free cut files in our Free Resource Library. If you're not yet a subscriber, subscribe below.
Materials:
All you'll need to make this sweet card is your Cricut machine, a standard grip cutting mat, card stock -I used light pink, white, grey, and rose pink for mine, and some tacky glue
- Cricut machine
- Free Cricut Design Space File -subscribe for the free link
- Standard Grip Mat
- Card Stock -light pink, white, grey, rose pink
- Tape
- Tacky Glue
How To Make The Cricut Valentine Mailbox Box Card
Check out the video below for the full cricut tutorial.

Begin by opening up the free Cricut design space file. To access the link to the free file, subscribe below.
Once you open your free Cricut design space file, you're ready to cut out the card. Choose your cardstock colours, and follow the prompts on the cutting preview screen to add materials at the right times. We cut ours out with of medium card stock and used the "more" pressure setting.
After your card pieces are all cut out of card stock, it's time to assemble it. Because we want the card to be able to fold flat when it's finished, when you are gluing the main parts together take the time to bend it flat in each direction to ensure each piece is properly lined up.
Begin by gluing together the outer mailbox piece, with tacky glue along the flap. I tried a few different gluing methods for this but I found that glue tape or a glue dot didn't work that well here, and decided on regular glue. Hold the glued piece in place for a few seconds until it is set.
Next assemble the insert #2 to hold a gift card. Fold this piece to create the pocket that can hold the gift card. It's best to use scotch tape on the bottom and sides to great the pocket -this ensures the space is large enough for the gift card, and that the glue doesn't accidently get in the way.
Next add the three card inserts. Begin by gluing the piece labeled #1 to the front of the inside of the box. Next glue #3 to the back of the inside of the box. Lastly, fold in the tabs at the top and bottom of #2 and use these as spaces against the back or front to glue it into the middle of the card. After gluing in these pink pieces, be sure to let it dry for a few minutes before moving on to the embellishments.
Now embellish the front of the card with the mailbox white piece. Add an "XO" above the mail slot on the front.
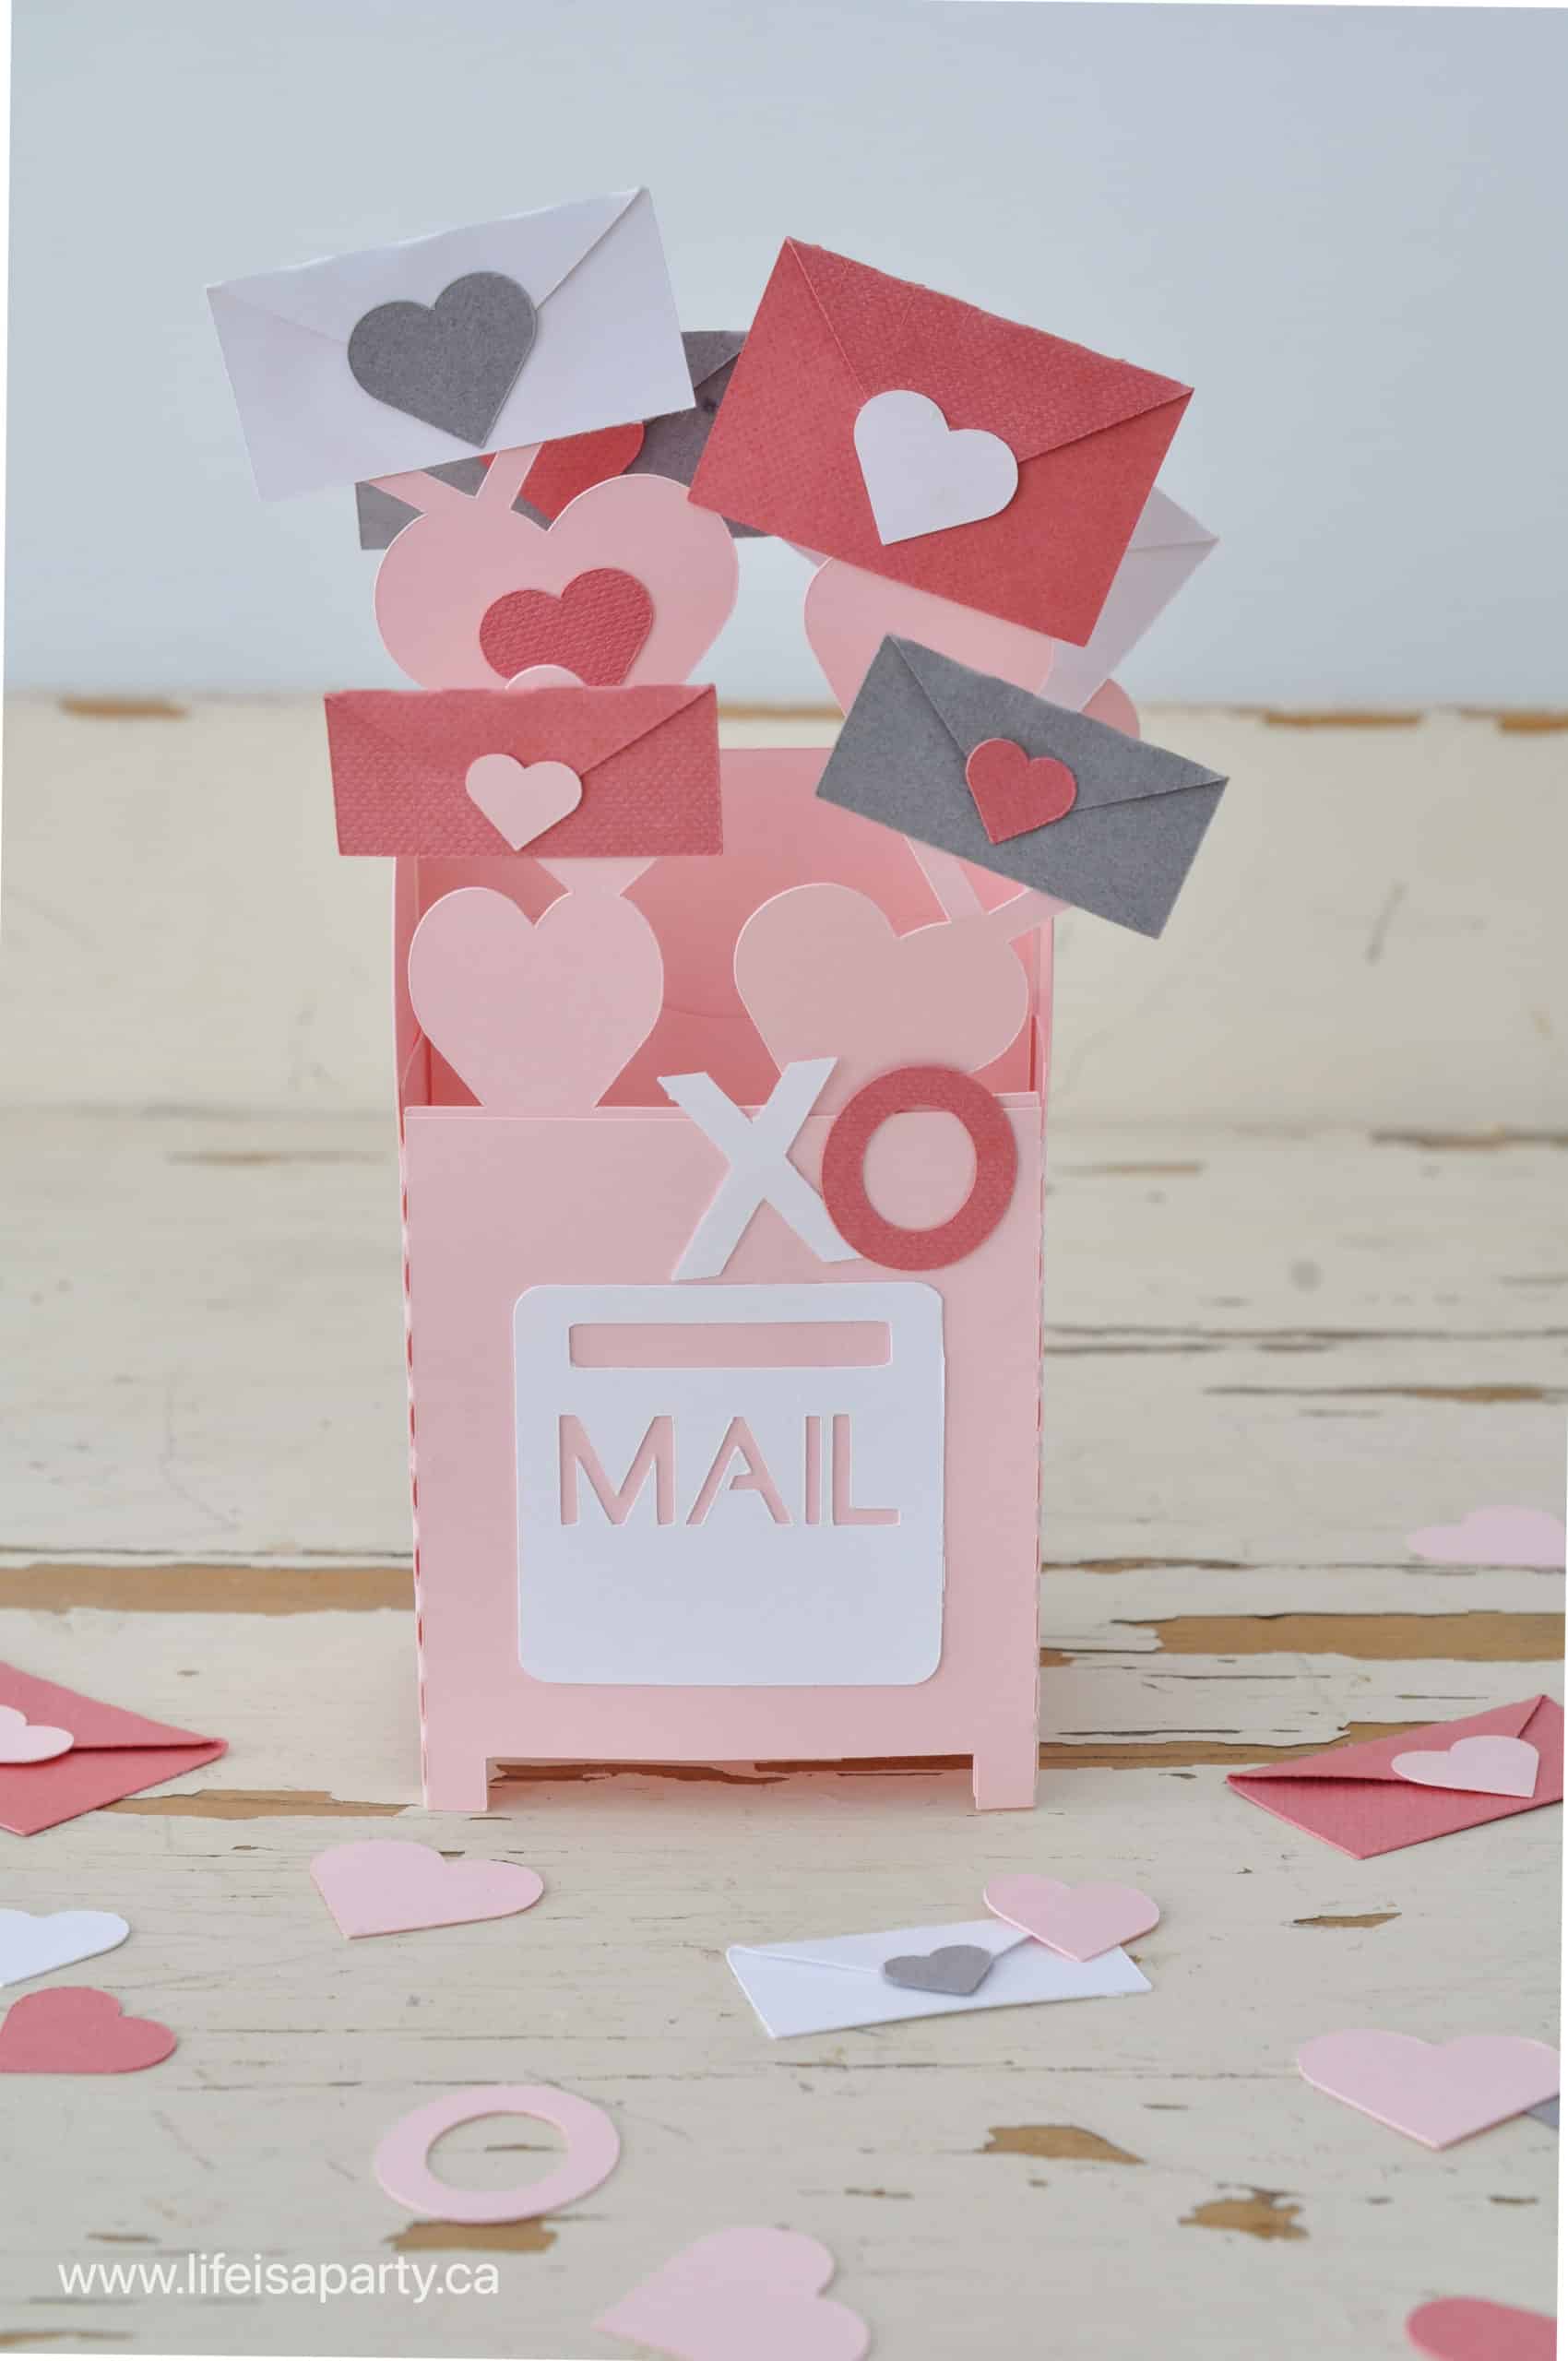
To assemble the love letters, fold the flap over on the dashed line and glue in place. Add a heart to the front of each one, decide on which ever heart colour and size you prefer.
Next decorate the top of the card by gluing various letters and hearts to the top. Vary the sizes and colours. There are extra hearts and letters that you can add as a little bit of confetti to the card envelope.
The finished cricut Valentine cards should fit in any A7 envelope.
Equipment
- Cricut Machine
- Standard Grip Mat
Materials
- Free Cricut Design Space cut file -see our Free Resource Library
- 1 sheet white card stock
- 1 sheet rose pink card stock
- 1 sheet grey card stock
- 1 sheet light pink card stock
- tacky glue
- gift card optional
Instructions
- Begin by opening up the free Cricut design space file. To access the link to the free file, subscribe below.
- Once you open your free Cricut design space file, your ready to cut out the card. Choose your cardstock colours, and follow the prompts on the cutting preview screen to add materials at the right times. We cut ours out with of medium card stock and used the "more" pressure setting.
- After your card pieces are all cut out of card stock, it's time to assemble it. Because we want the card to be able to fold flat when it's finished, when you are gluing the main parts together take the time to bend it flat in each direction to ensure each piece is properly lined up.
- Begin by glueing together the outer mailbox piece, with tacky glue along the flap. I tried a few different gluing methods for this but I found that glue tape or a glue dot didn't work that well here, and decided on regular glue. Hold the glued piece in place for a few seconds until it is set.
- Next assemble the insert #2 to hold a gift card. Fold this piece to create the pocket that can hold the gift card. It's best to use scotch tape on the bottom and sides to great the pocket -this ensures the space is large enough for the gift card, and that the glue doesn't accidently get in the way.
- Next add the three card inserts. Begin by gluing the piece labeled #1 to the front of the inside of the box. Next glue #3 to the back of the inside of the box. Lastly, fold in the tabs at the top and bottom of #2 and use these as spaces against the back or front to glue it into the middle of the card. After gluing in these pink pieces, be sure to let it dry for a few minutes before moving on to the embellishments.
- Now embellish the front of the card with the mailbox white piece. Add an "XO" above the mail slot on the front.
- To assemble the love letters, fold the flap over on the dashed line and glue in place. Add a heart to the front of each one, decided on which ever heart colour and size you prefer.
- Next decorate the top of the card by gluing various letters and hearts to the top. Vary the sizes and colours. There are extra hearts and letters that you can add as a little bit of confetti to the card envelope.
- The finished cricut Valentine cards should fit in any A7 envelope.
Video
I know your friends and family will love this handmade valentine's day card. Or, use it anytime of year when you want to send a little love. Remember if you love giving valentine's day gifts, you can also add a gift card to this handmade card. Or make a sweet treat by including a gift card to your favourite restaurant, ice cream, or coffee shop. If you love paper crafts then this is the perfect cricut valentine's day project.
I hope you have a very happy valentine's day! With great Valentine's day crafts like this to create on your cricut, life really is a party!


Melissa says
So cute! The instructions were easy to follow and the mailbox was fun to make. Thank you.