Dip Dyed Table Runner and Napkins: Easy how-to instructions to make your own napkin and table runner with a beautiful dip dyed ombre effect.

These easy dip dyed napkins and table runner are perfect for any entertaining and really fun project to work on. Use your favourite colour to create these ombre effect pieces.
I've been loving the dip dyeing I've seen around lately, and thought a cottage afternoon was the perfect occasion to try my fair hand at it.
Materials:
- white cotton fabric
- fabric dye
- basin or bucket
- spoon
How To Make Ombre Dip Dyed Napkins and Table Runner
1. Making the Napkins and Runner
I used some old white fabric, a thin white cotton, and ripped it into the right sized pieces. The runner was 27 x 80 and the napkins were around 16 x 19 inches, and I was able to get 8 napkins out of my fabric.
You don't need to be super precise with the sizes, we're going for a hand crafted, one-of-a-kind, very relaxed look. I didn't even finish the edges, just ripped the fabric along the length, and then tried to make straight cuts for the width (because it doesn't tend to rip straight). I kind of love the frayed edge that it left.
If you prefer, you could use plain store bought white cotton napkins and a table runner to start with.

2. Dip Dying
After your fabric is ripped to the right size, wet it with hot water and set aside.
Next I made the dye bath according to the package instructions. I used the Rit powdered dye, since it was a bit cheaper than the liquid dye. In hindsight, I probably should have bought the liquid dye. My dye bath made with the powder had a few undissolved little bits in it, that stuck to the fabric when I dyed it in a few spots and made dark spots…we'll call it character, but if you're doing it I'd go with the liquid to avoid this little problem.
I used a spoon, and folded the wet fabric in half over it. Then, dip away, making sure to leave the top portion white, and gradually moving the rest out of the fabric to create the ombre effect. Of course the longer you leave a section, the darker it will be. If you leave a section a fair while, and then move it, you will have a line. So, if you want the colour to be completely graduated, keep the fabric moving.
I was wearing a dark bathing suit -which worked great, or you might want to wear an old shirt. I also wore some latex gloves so I wouldn't end up with pink fingers.
To dye the runner, you just have to gather the fabric slightly so it will fit over your spoon, and into the bucket, and then use the exact same method. It's a good idea to start with the napkins, and work your way up to the runner, keeping in mind though, that the hotter the liquid is the more quickly and darker it dyes the fabric, so don't wait too long.

4. Hang To Dry
I did mine at the cottage, using the picnic table and the hose -which worked out perfectly and meant no mess inside. Once I was happy with my piece, I hung it over the clothes line, taking care to make sure it was lined up in the middle so the wet dye won't drip onto the white section. Then, I used the hose to rinse it, while it hung on the clothesline -easy peasy. Once they were all rinsed, I just left them on the line to dry.

When they were all finished, I used them for the pretty picnic I shared yesterday. Love how the frayed edges, and ombre effect looked when they were all done.

The first time I washed them, I made sure to wash them separately from anything else, used a cold water setting, and even added a cup of salt to help the dye really set. I love the pink for summer, but they'd look great in any colour…imagine a burnt orange for your fall table?
With an easy, pretty, dip dyed napkins and table runner, life really is a party!
More Inspiration
You might also like our Spray Paint Cutlery and Vase Makeover here.

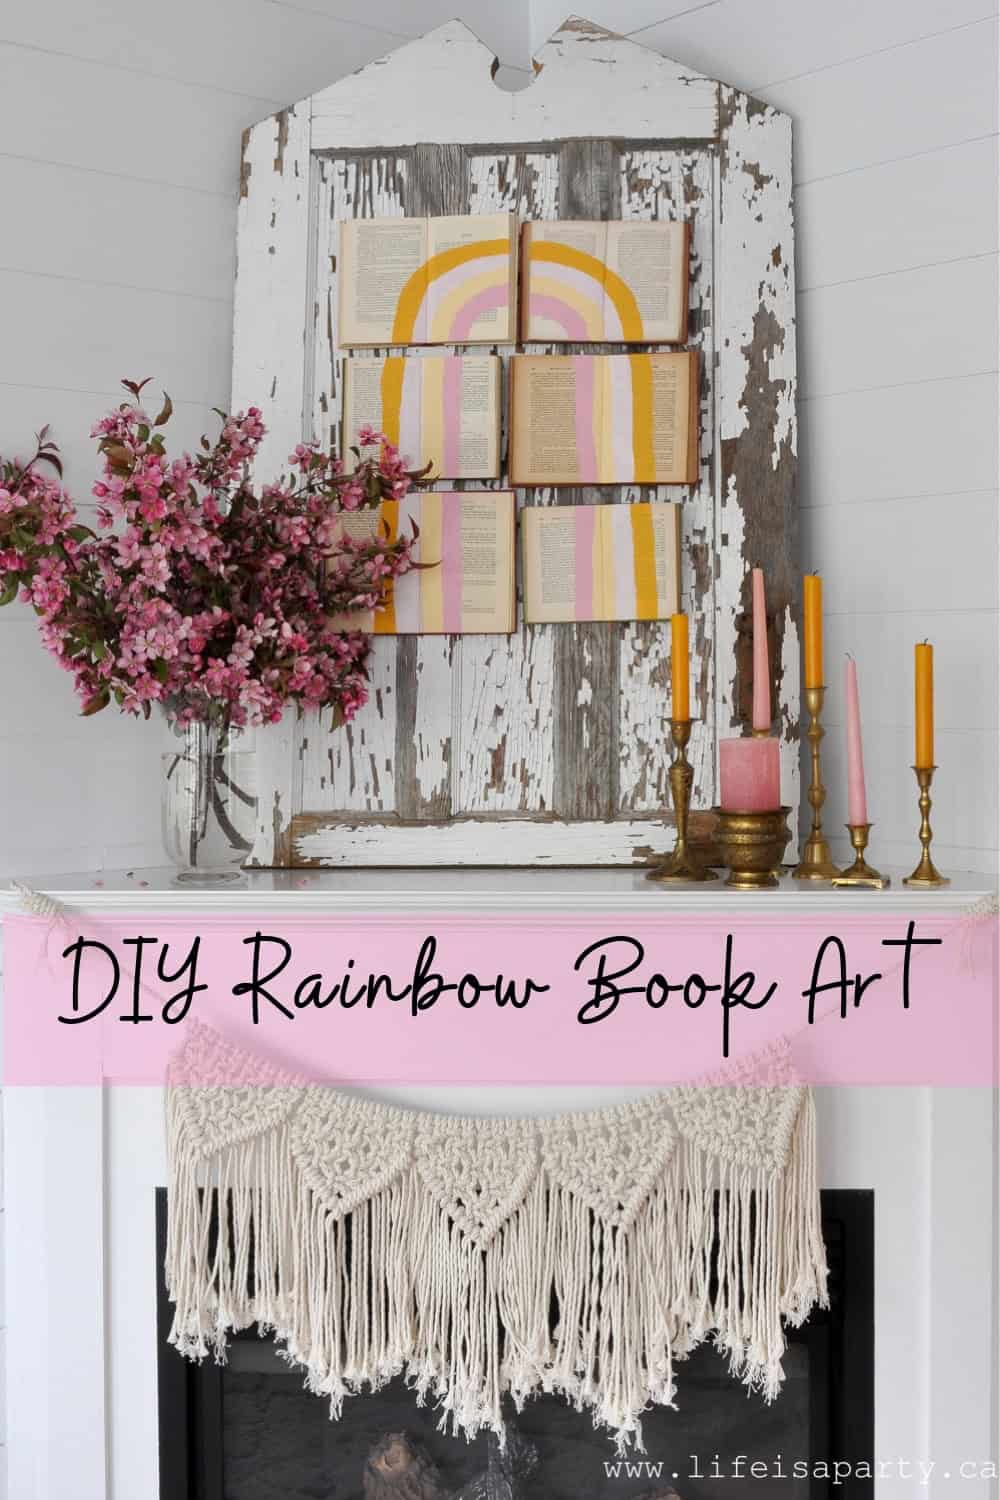
Also check out our DIY Rainbow Wall Art here.
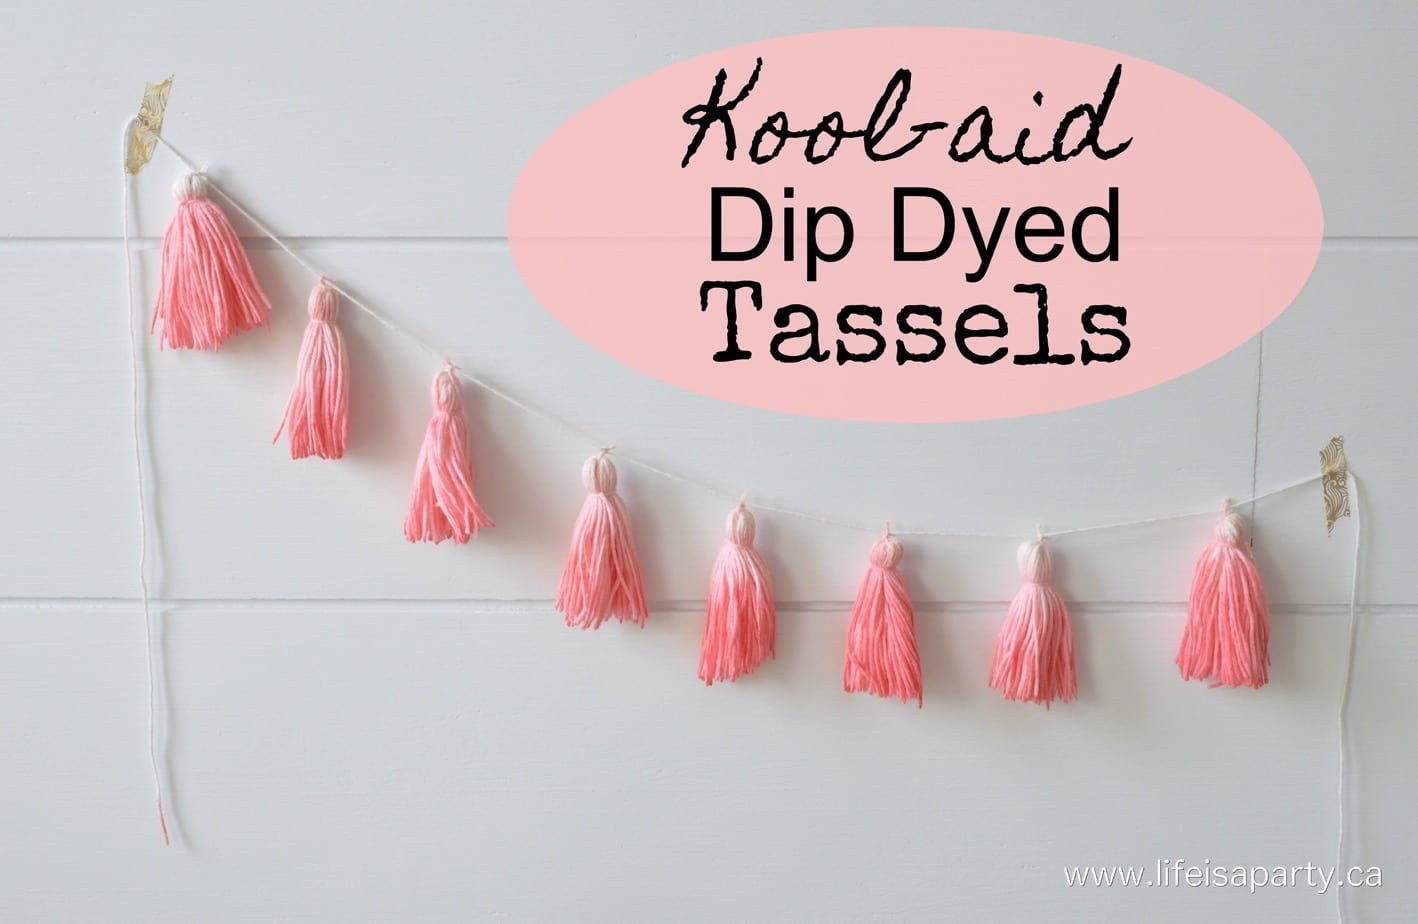
You might also enjoy our Kool-aid Dip Dyed Tassels.


Leave a Reply
You must be logged in to post a comment.