DIY Outdoor Concrete Table: make your own high-end outdoor patio table from cedar, and concrete for a fraction of the price of buying one.
Jump to:
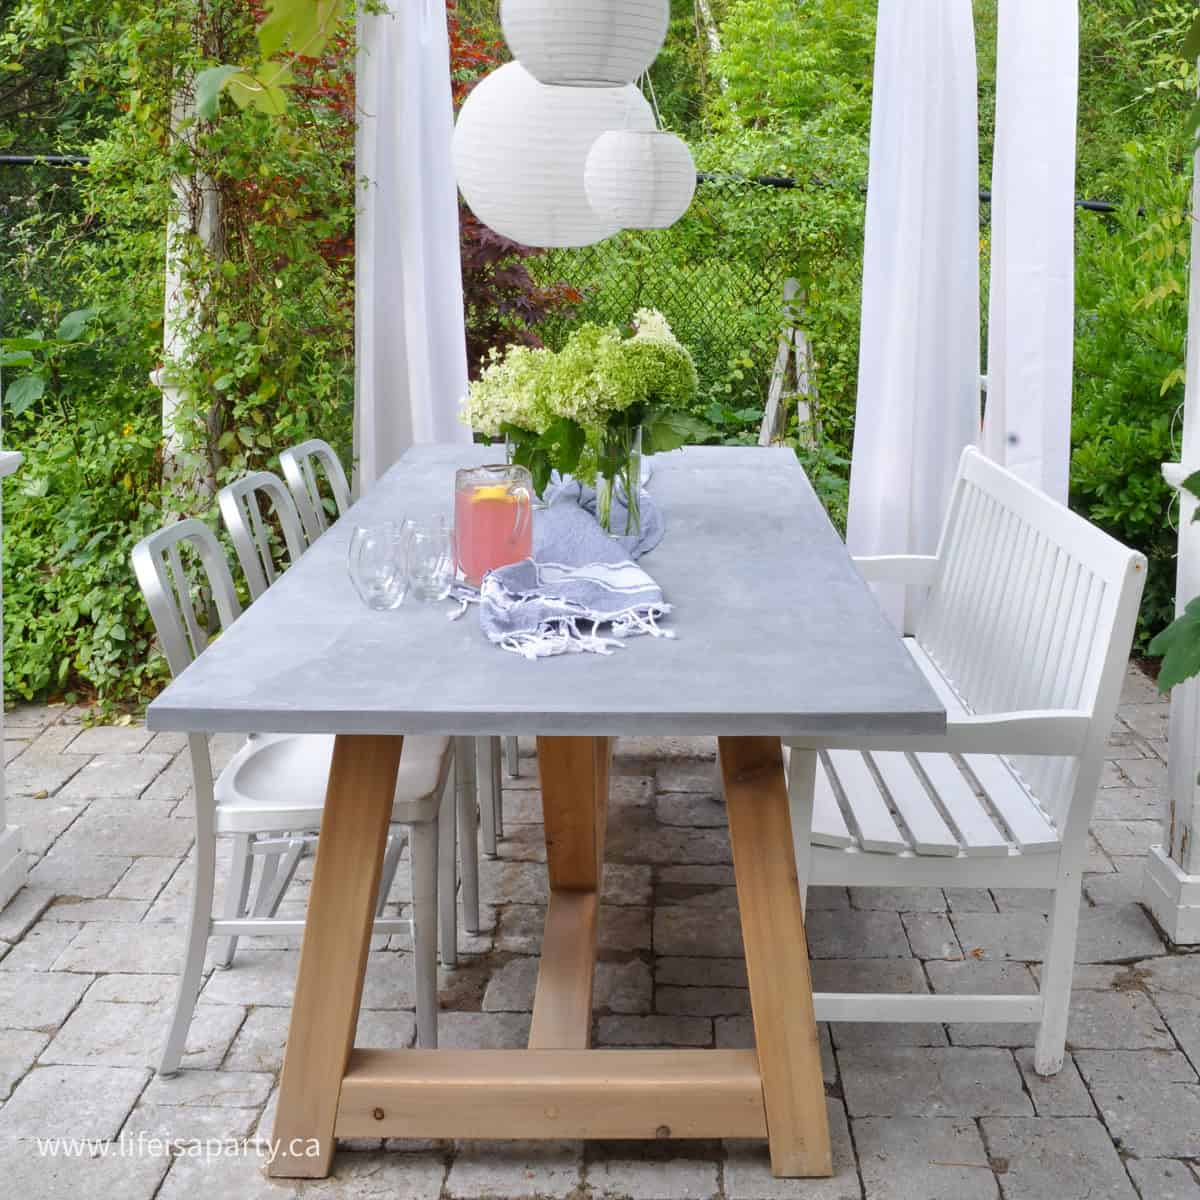
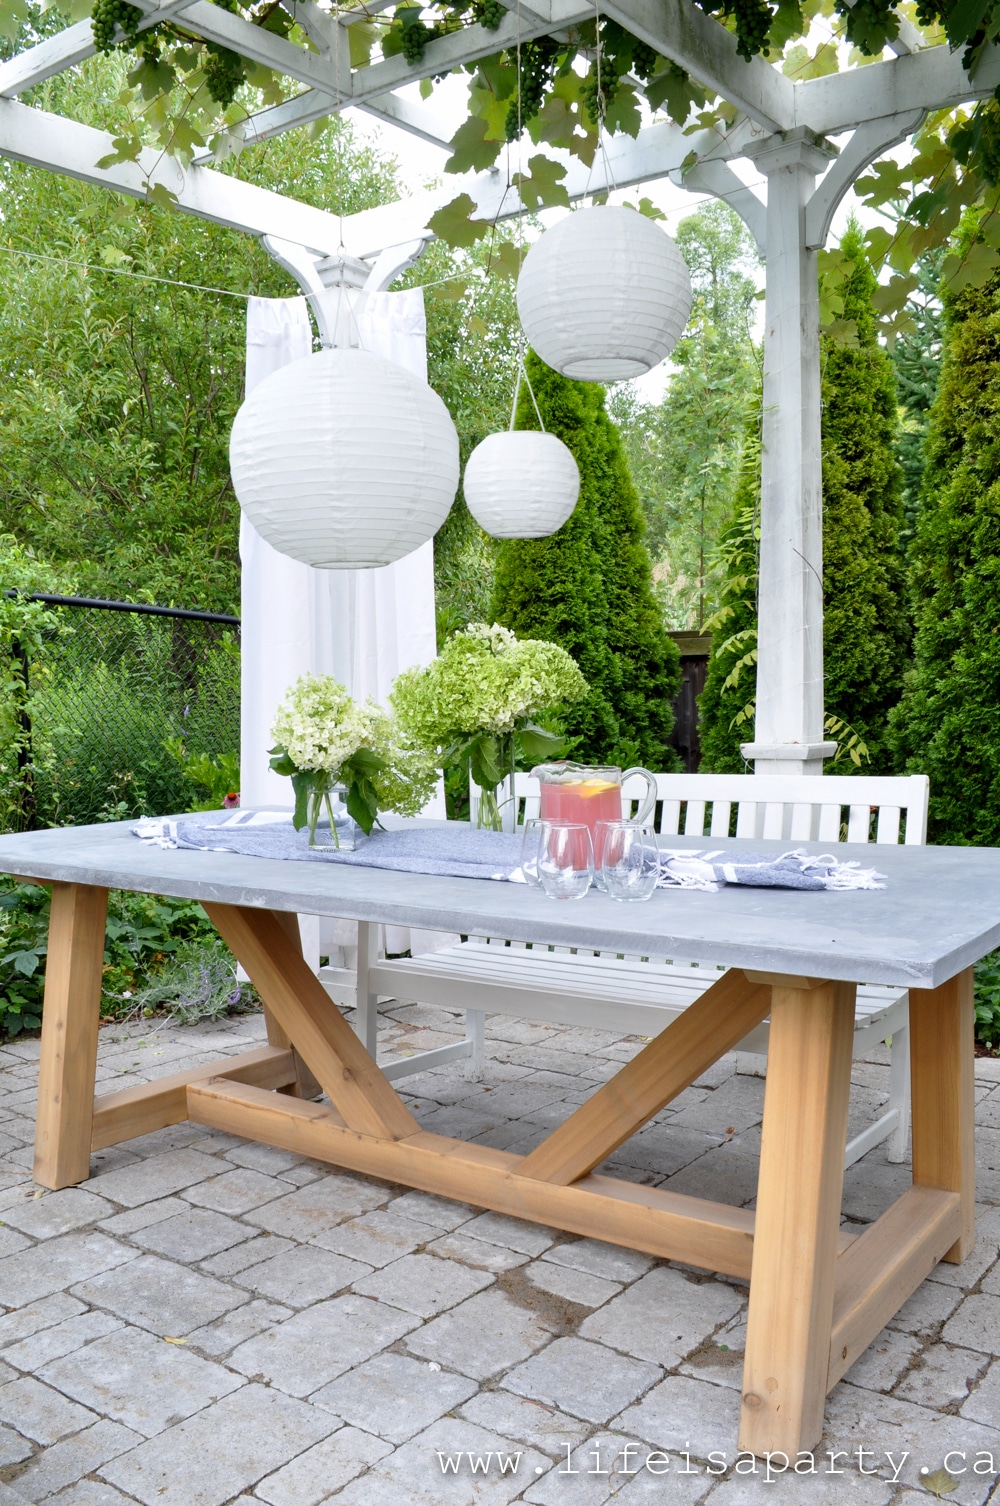
I've always loved the look of concrete patio furniture, so when I was looking for a new outdoor table for my patio I had to look for a concrete one. This DIY outdoor concrete table is so beautiful, and sturdy. It turned out so great. And if you're an experienced DIYer you can make it yourself. It's perfect for all my summer entertaining needs, and I'm excited to share with you the process of how to make an outdoor concrete table for yourself.
We partnered with my brother-in-law Shaun who has his own business called Benjamin Tileworks, and with Concrete Countertop Solutions to make my concrete table dreams come to life.
I was inspired by the beautiful tables from Restoration Hardware. They are gorgeous looking, but they do come with a very high price tag as well. I asked Shaun if he thought a DIY version was a possibility and he was up for the challenge. He did not disappoint. Our version turned out to be gorgeous too, and at a fraction of the total cost of the inspiration one.
Materials:
- 5 -4 x 4 x 8 cedar boards
- 3 -2 x 4 x 8 cedar boards
- LP adhesive
- exterior wood glue
- 12 -3 ⅛" structural GRK screws
- 6 -5 ⅛" structural GRK screws
- 2 -6" structural GRK screws
- ⅝" fir exterior grade plywood
- 80 grit sandpaper
- 120 grit sandpaper
- weathered oak wood stain
- 4 EuroForm square edges
- duct tape
- Euroform Z Clips
- #8 screws
- Fiber Mesh Reinforcement
- 5 bags White countertop mix
- Z Terra-Tint in charcoal
- Z Aqua-Thane M35 Sealer
How To Make The Wood Base
I would say that this isn't a beginner level project. To make this table base you will need some woodworking skills. Here's how we made wood base with all the measurements.
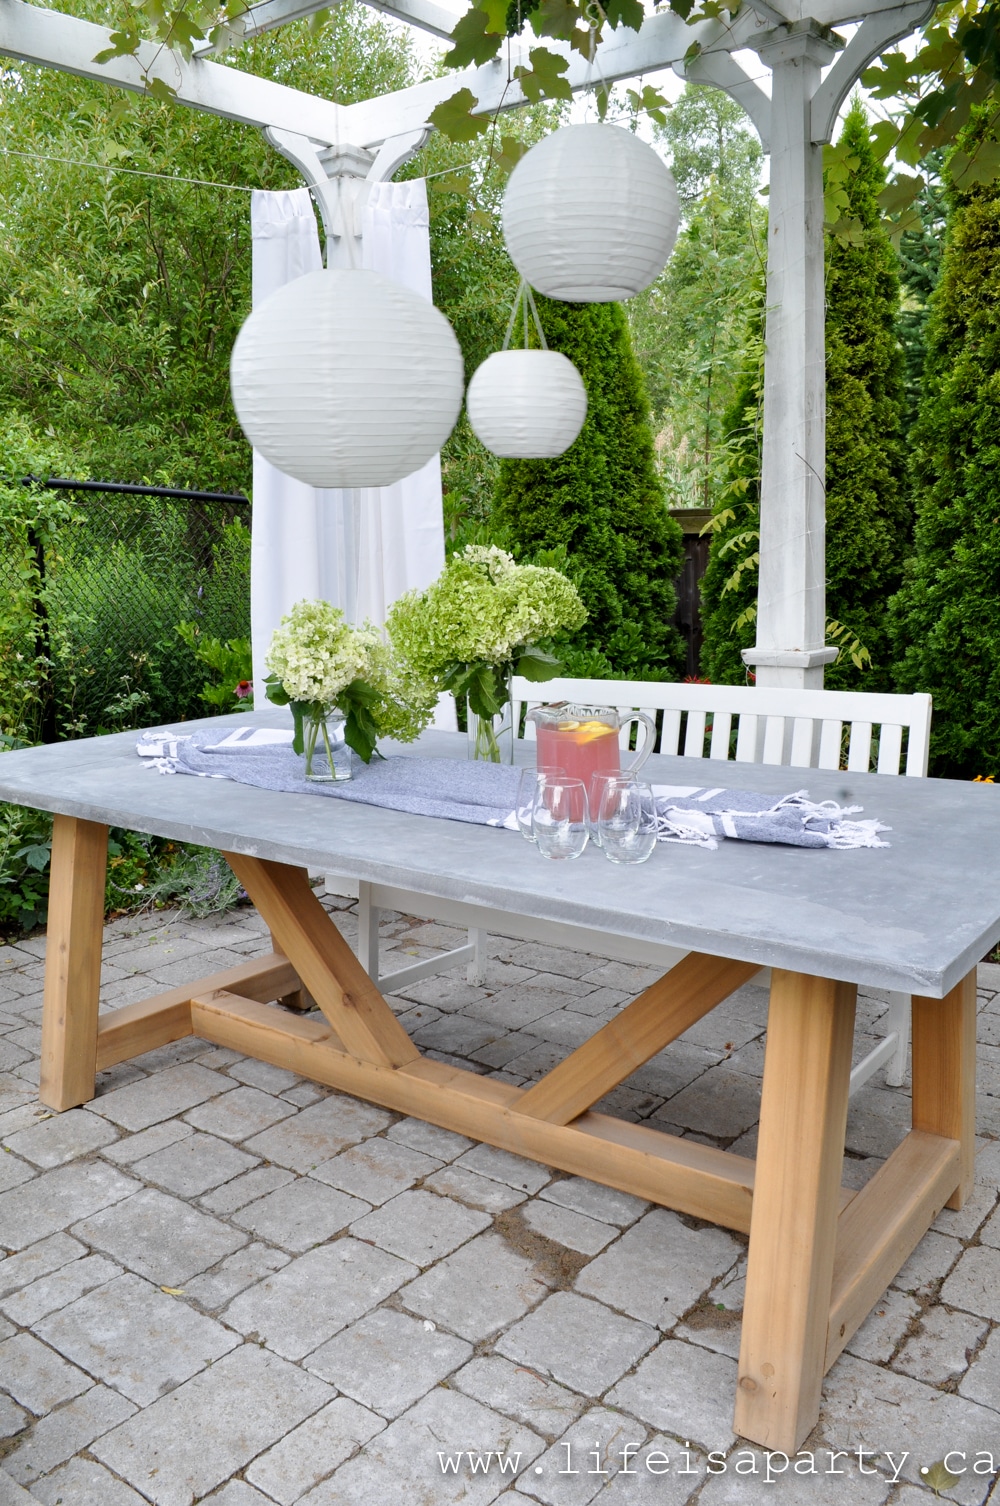
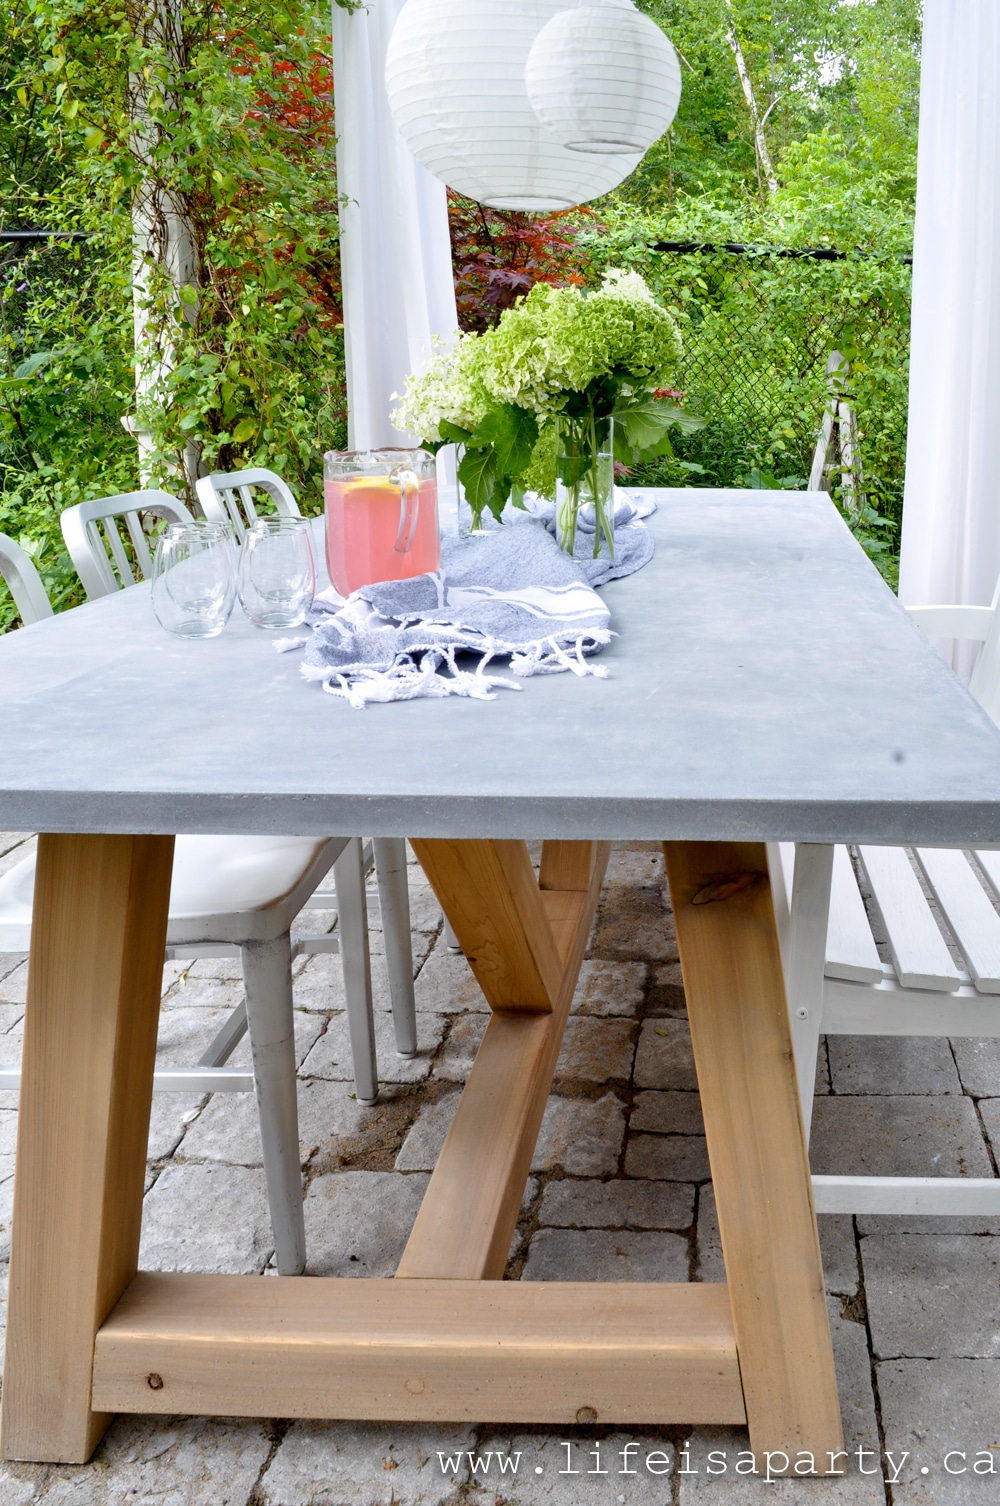
Our finished table is 84" long x 40" wide. The legs are 7" in from the top of the table.
The 4 legs are 26 ½" long cut at a 10 degree angle at the top and the bottom.
The legs are all connected with an "I" shaped cross piece at the bottom.
The shorter pieces connecting the legs are 24" long finished, cut at 28 ½ to allow for the joinery- a mortice and tenon joint, held with PL adhesive and 6" screws. The long base piece is 62 ⅜" finished, cut to 66" long with joinery.

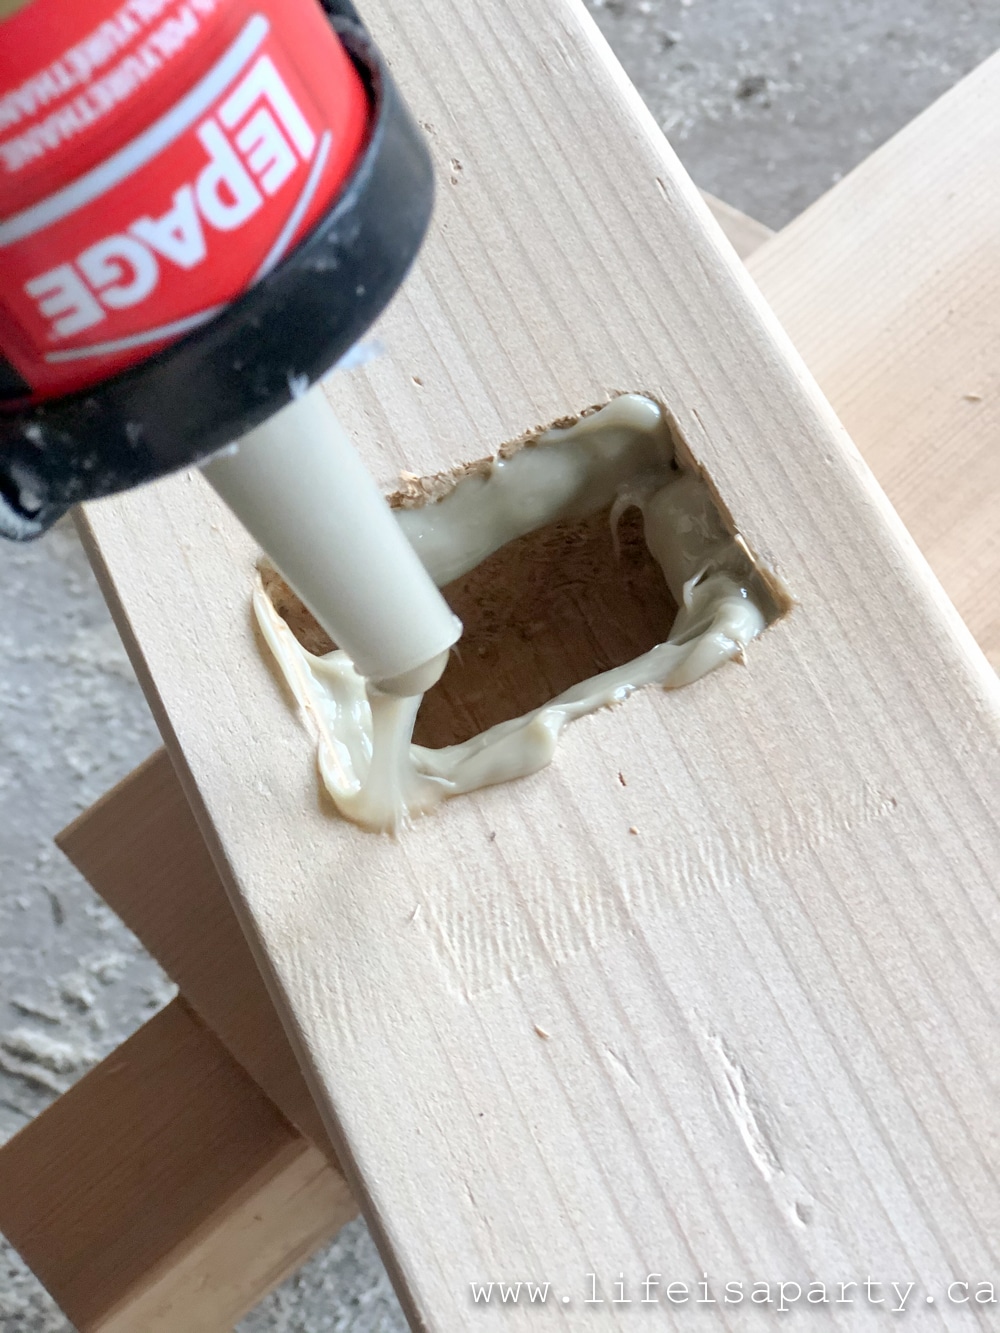
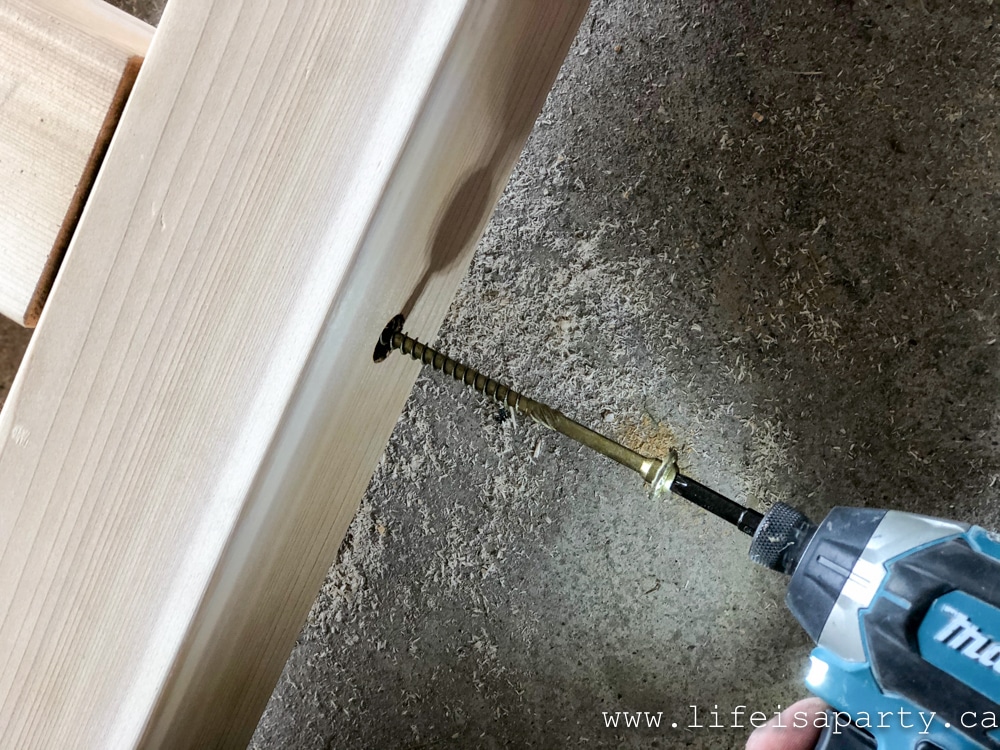
The angled cross pieces are 31 ½" finished, 33 ½" long with joinery. They have a mortice and tenon joint at the base and are screwed with one 5 ⅛" screws on each at the bottom, and two more on each at the top.

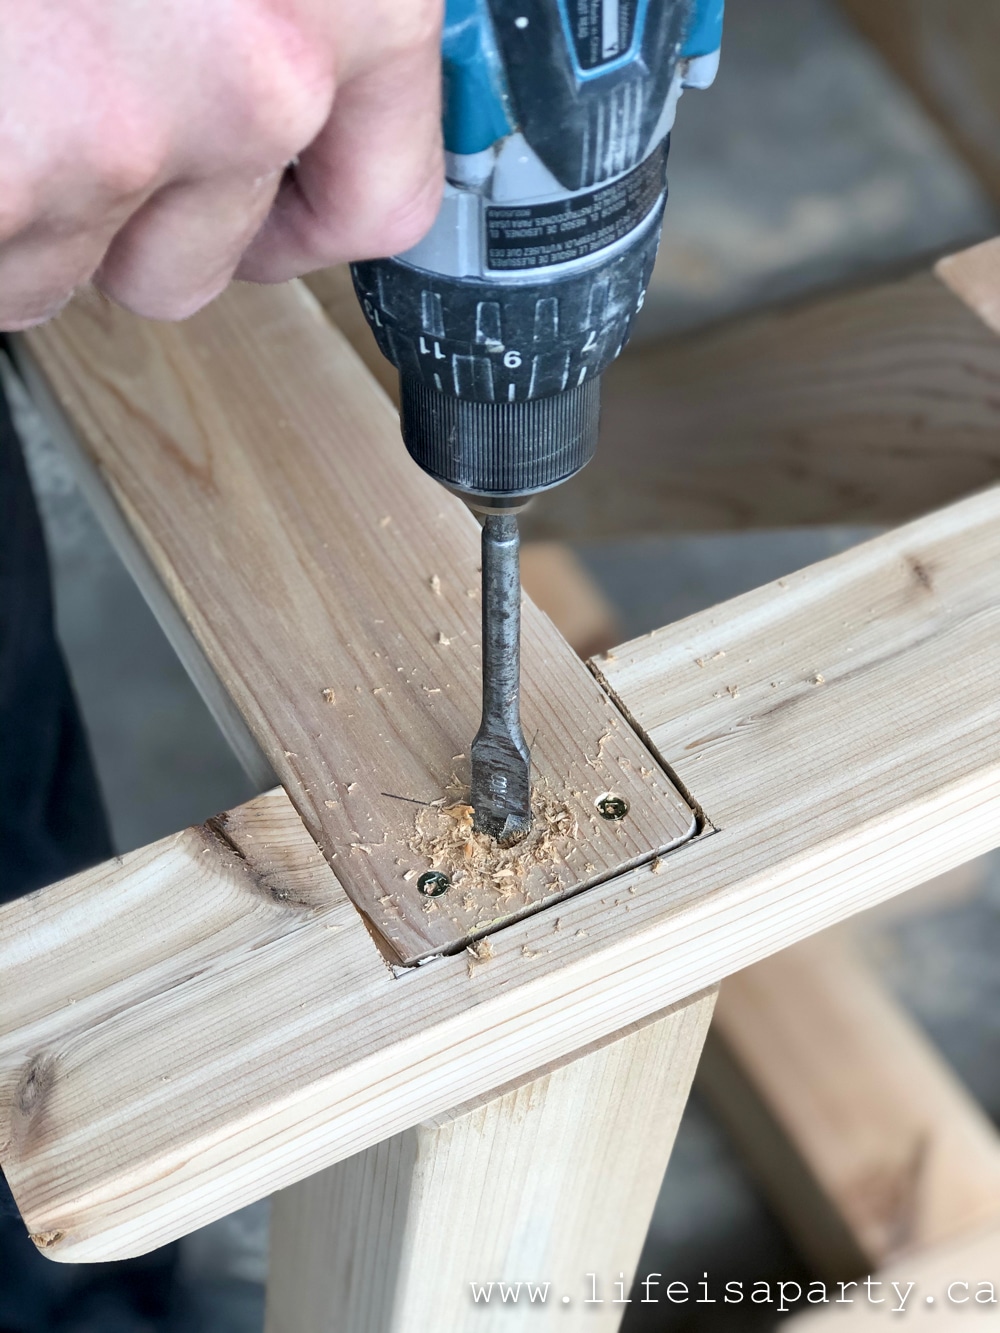
There are two 2 x 4 cedar boards that are 67 ⅜" long along the top, from leg to leg with a ⅜" lap joint with 3 times 3 ⅛" wood screws at each joint into two more 2 x 4 cedar boards that are 32 ¼" long.

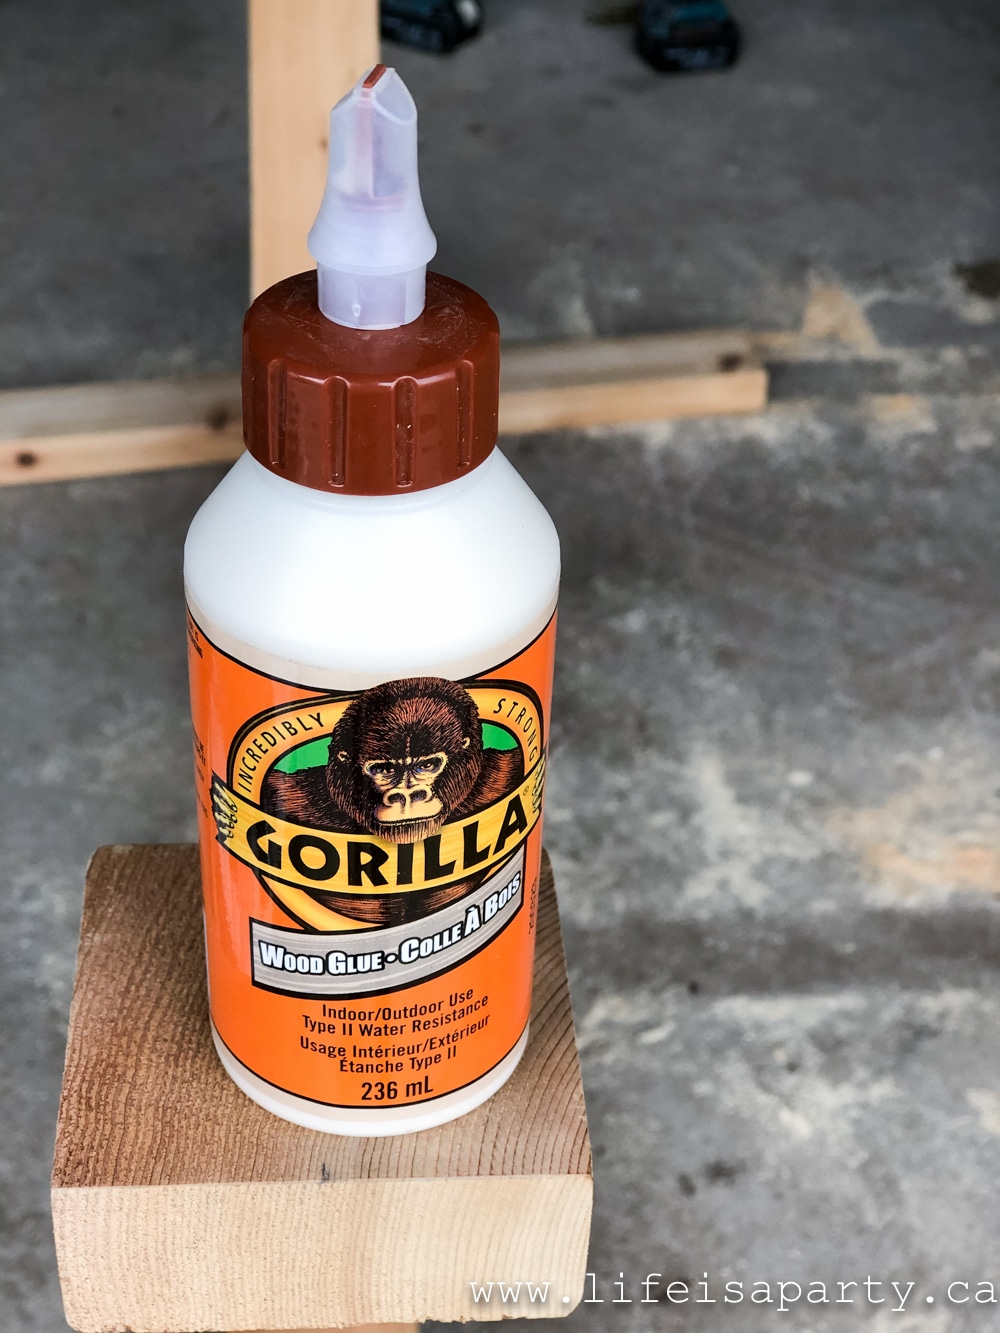
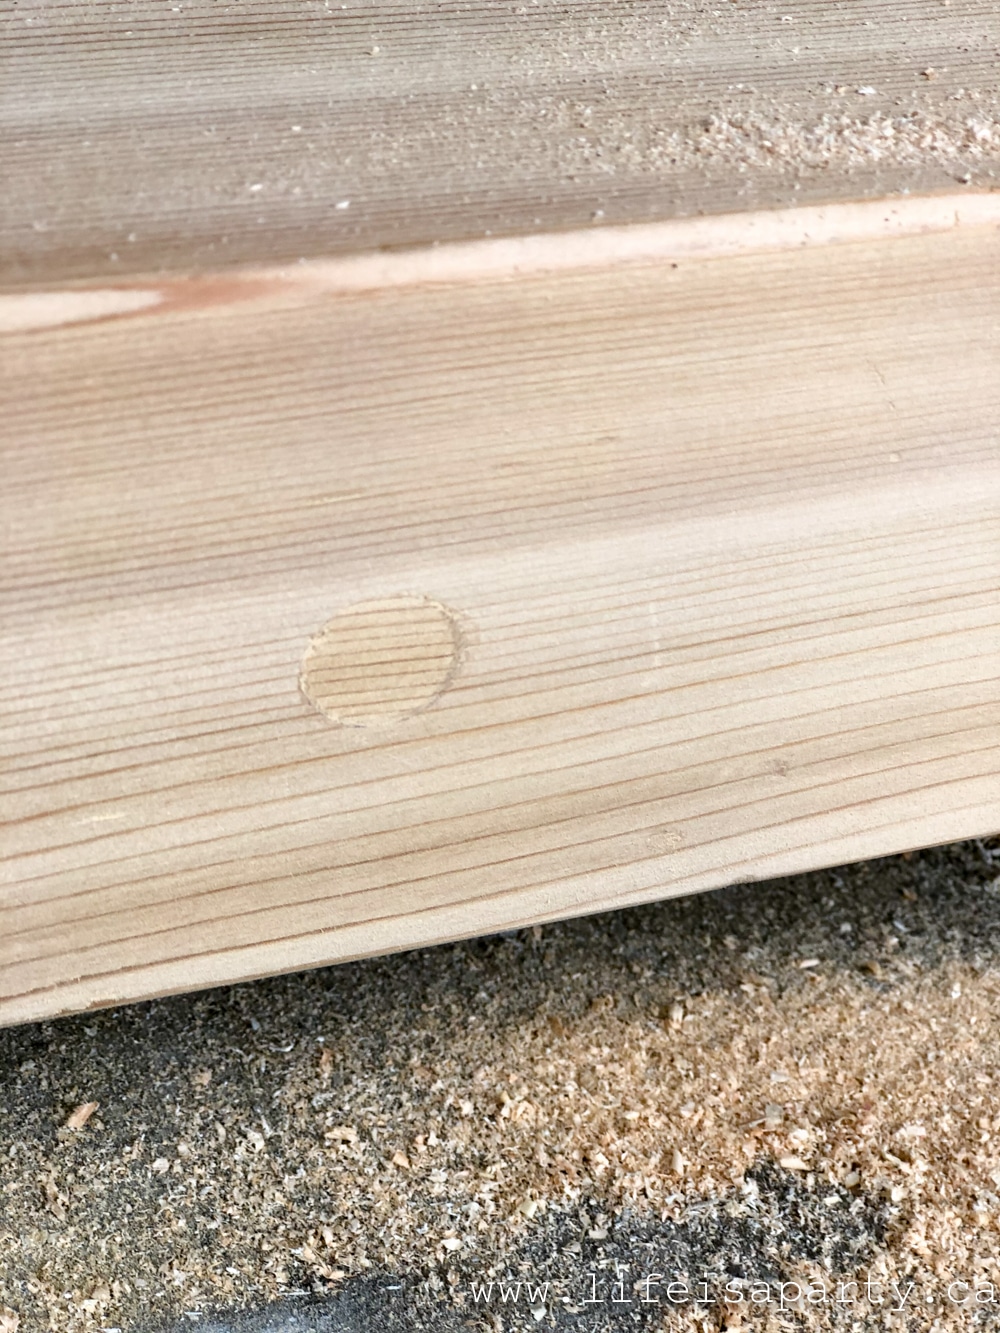
The exposed screws are capped with ⅝" wood plugs, held with exterior wood glue.
Staining The Wood Base
Once the base was all put together it was sanded with 80 grit sandpaper to get rid of the mill marks, or rough edges, and then finished by hand with 120 grit sandpaper. Be sure to wipe it down with a clean rag or paper towel to remove any dust before staining. I stained it with 2 coats of Minwax's Weathered Oak. It's kind of dark gray finish, and tons down the red of the cedar.
DIY Concrete Table Top
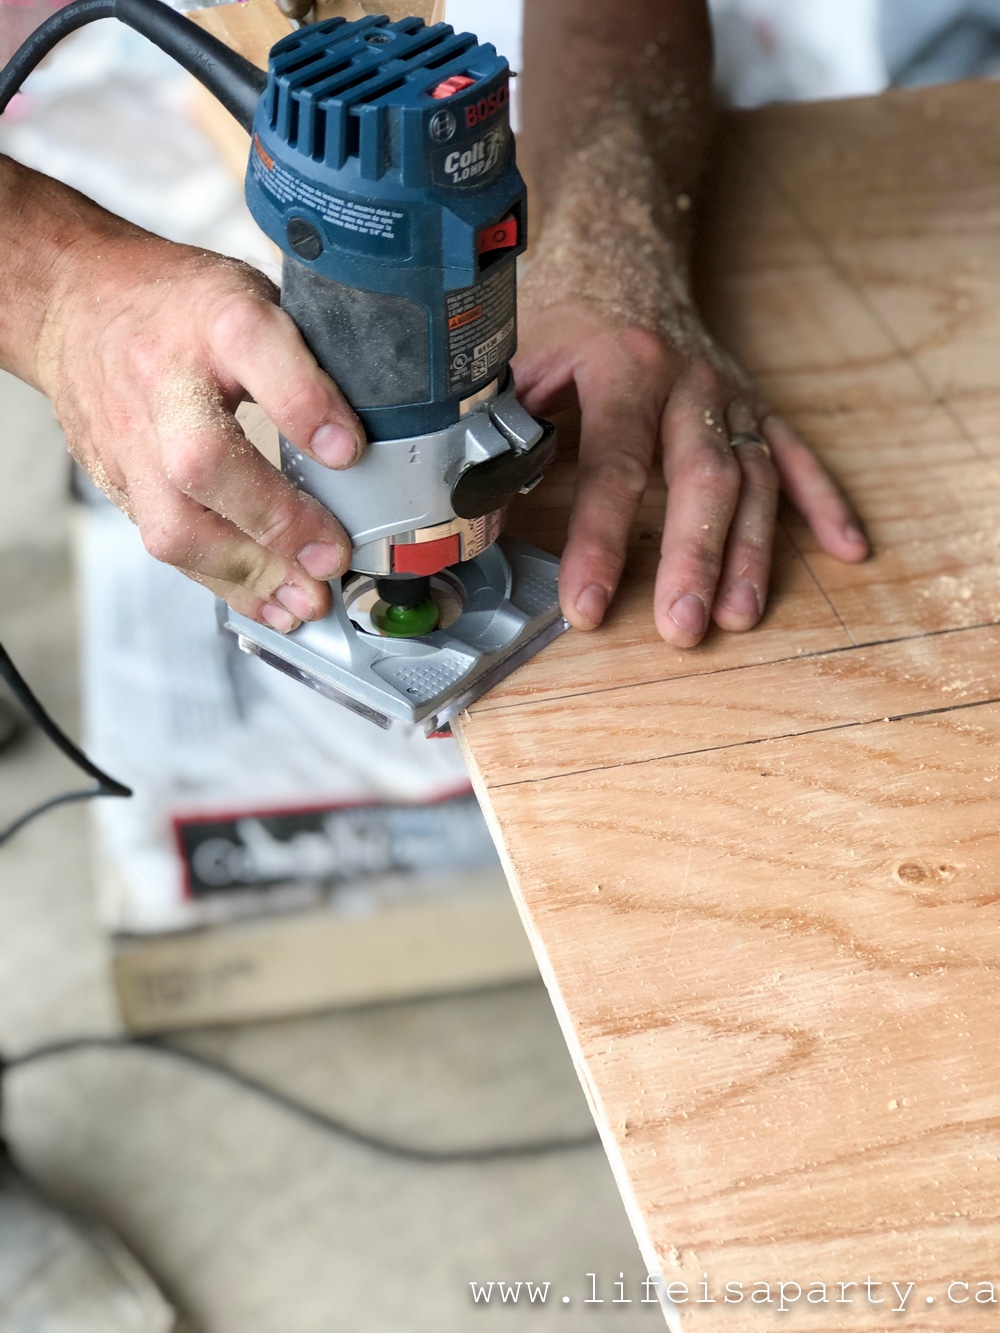
Next we added a plywood top for the base for the concrete tabletop which is ⅝" fir exterior grade plywood measuring 38" x 82" with chamfer edges done with a router and screwed in to the base with 3 ⅛" screws.
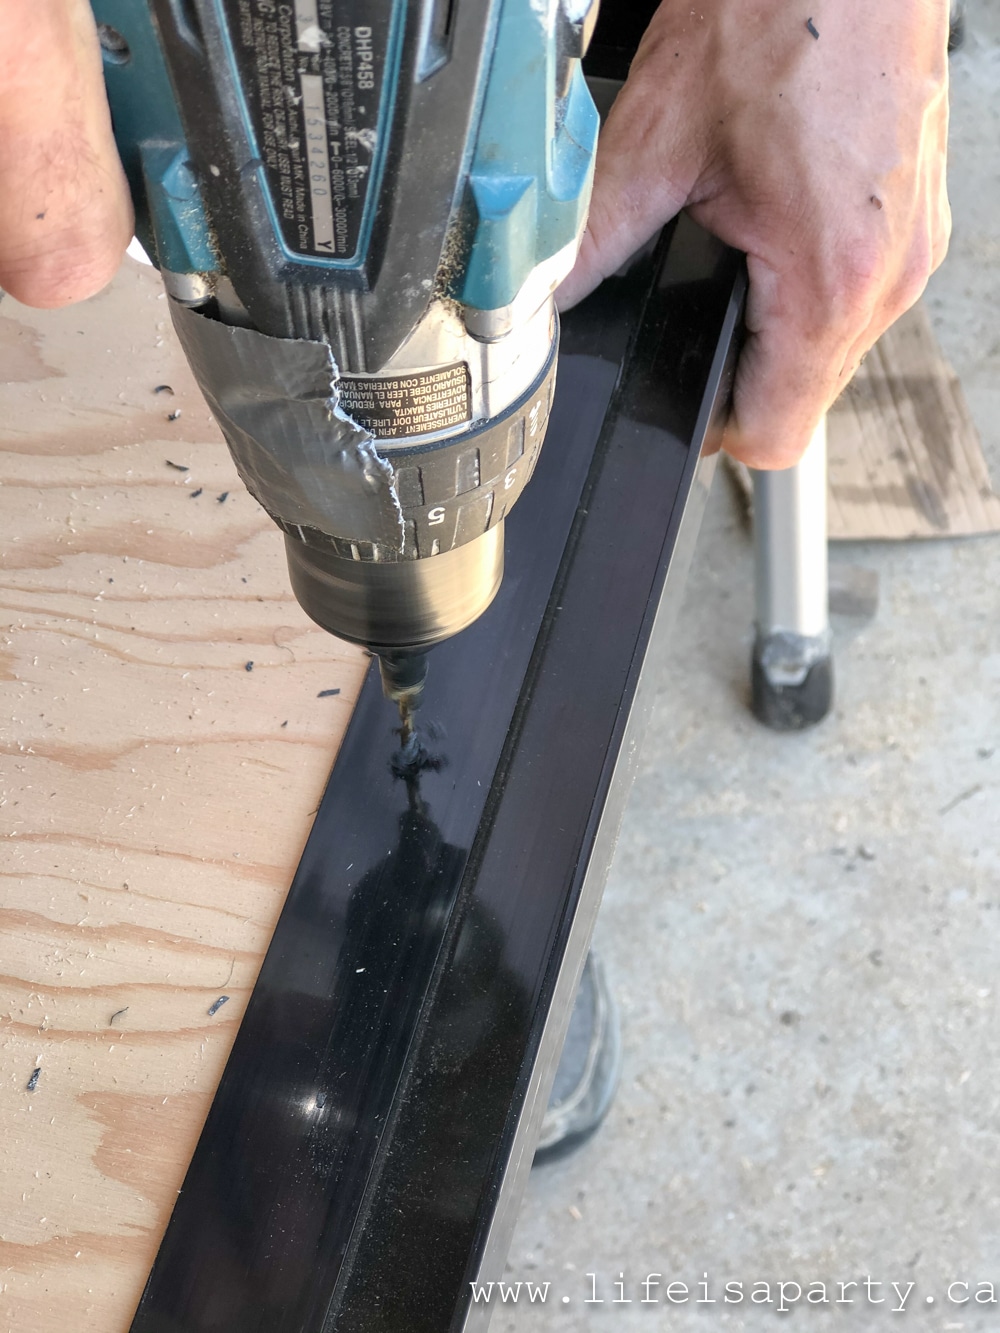
EuroForm Edges
To prepare the top for the concrete begin by cutting the EuroForm edges to form the edges of the table along the plywood base. These will create the sides of the mold. We cut them with a mitre saw at a 45 degree angle, and screwed them into the plywood with ⅝" screws. These cuts need to be very precise, so measure twice, this is a very important step.
Often when working concrete the concrete form is used, and then the finished concrete piece is flipped out and the top of the concrete becomes the bottom side of the table. With this method the entire mold is finished carefully, with silicon caulk in the edges to create a smooth edge. It would be difficult to use this method where the actual top of your concrete table is flipped with such a thick concrete slab that we need for a table this size. The EuroForm Edges are the perfect alternative to this method. We used them here to avoid having to flip the finished top piece. The edges make it possible to form the concrete right side up because they create a beautiful edge around the table, with none of the bottom piece of wood base showing on the finished table top.
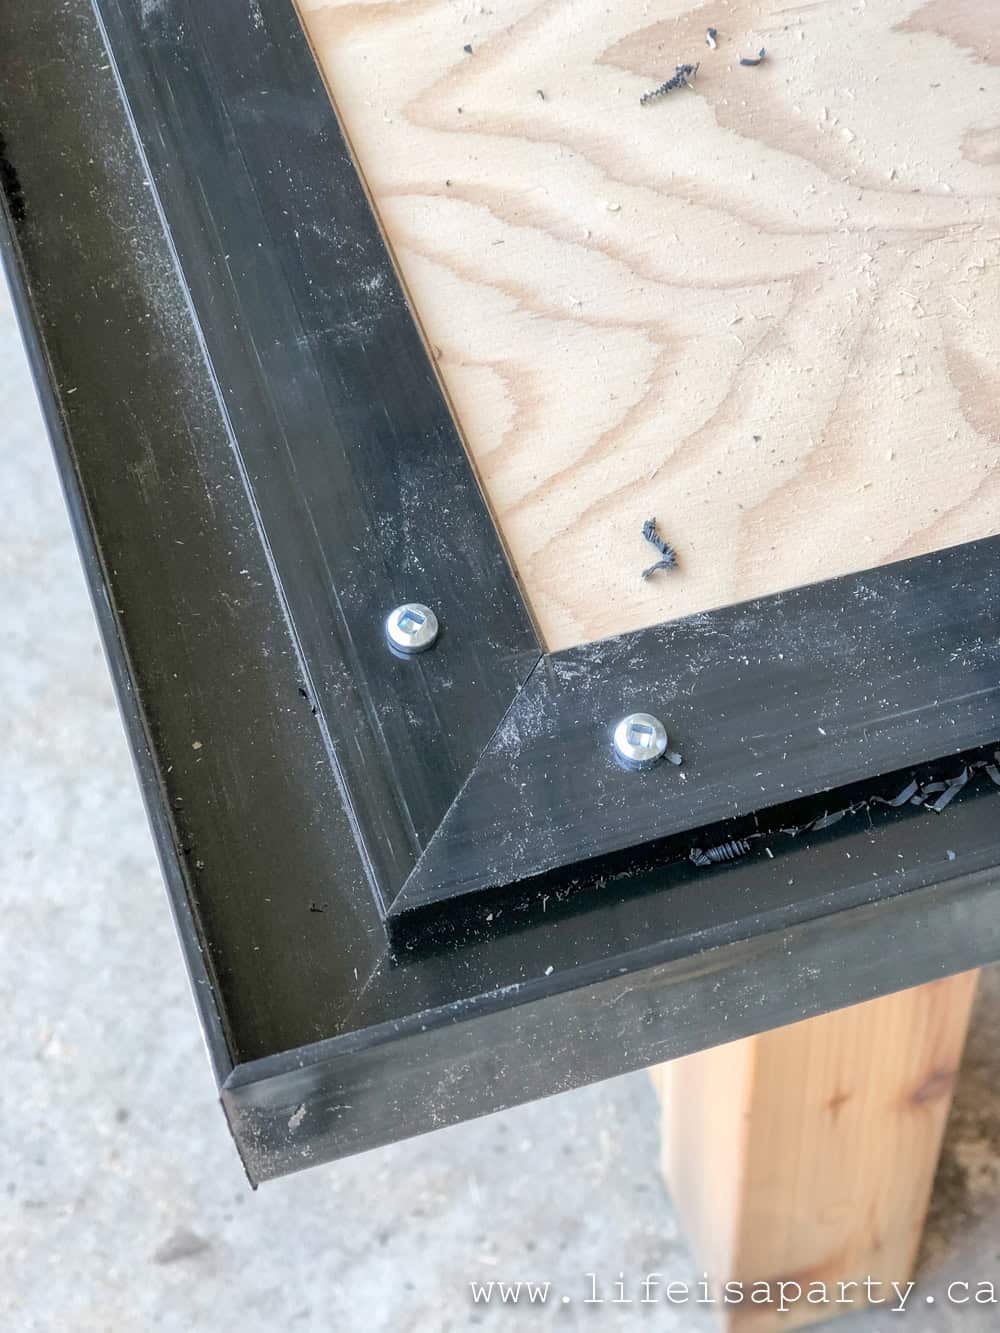
Next we used some duct tape on the outside edge of the corners to help hold everything firmly when we made the concrete top.
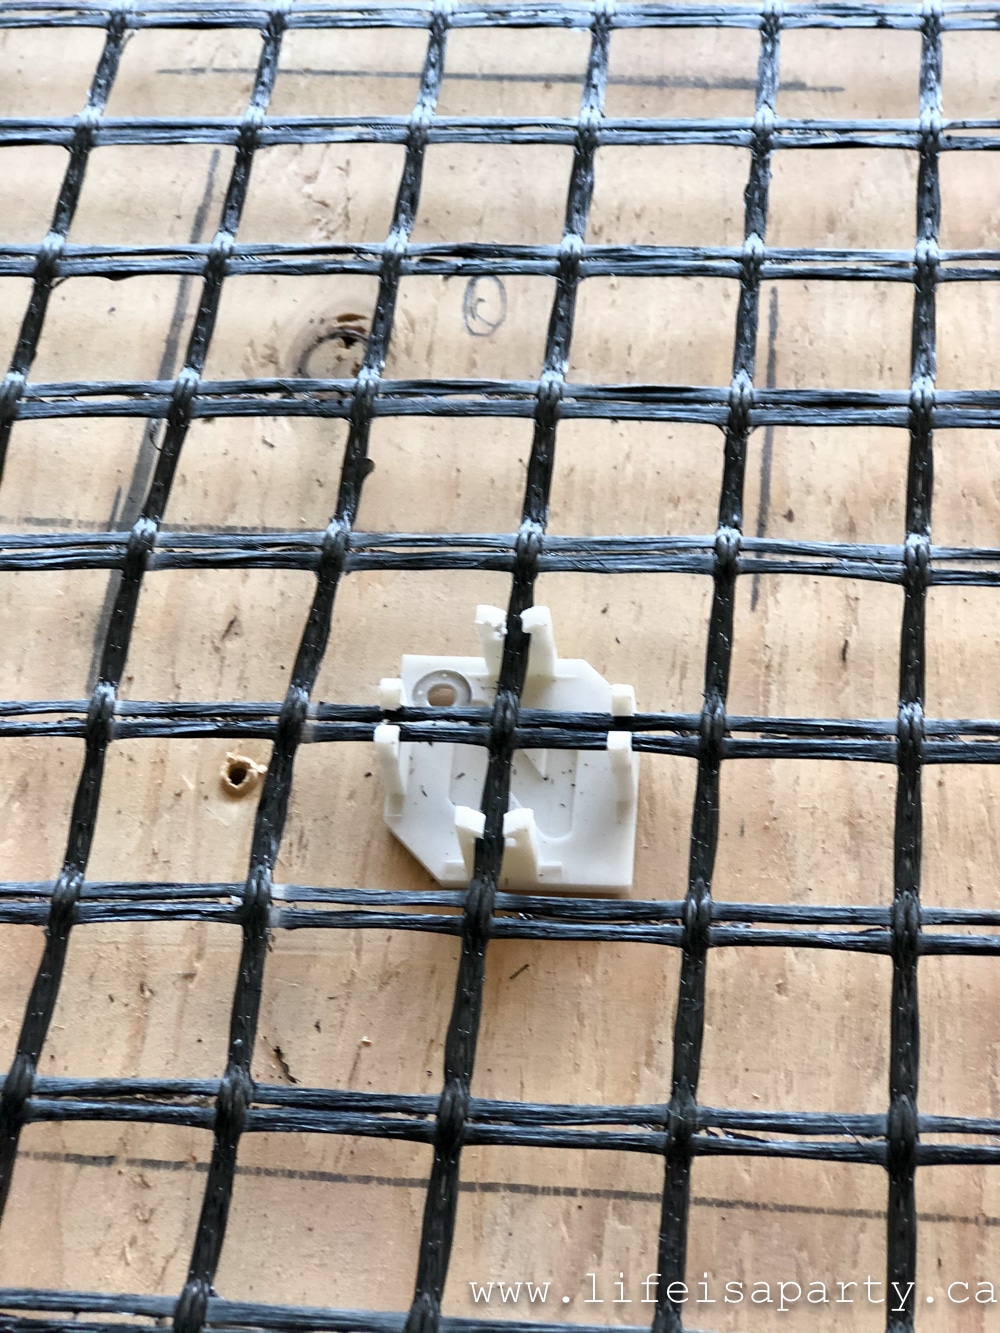
Fiber Mesh Reinforcement
Then we cut the fiber mesh reinforcement to fit with at least a 1" space from the edge and without overlapping the mesh. This mesh will give the concrete patio table extra strength.
Next we attached the clips to the bottom of the mesh, spacing them evenly and no more than a foot apart, and then screwing the clips holding the mesh into the plywood wooden frame.

Before pouring the concrete, be sure the the EuroForm edges are completely free of any dirt or debris the could end up in the concrete. We used a shop vac to remove small bits of debris. Anything left in the form will be embedded into your concrete and might show on the edges of the finished product.
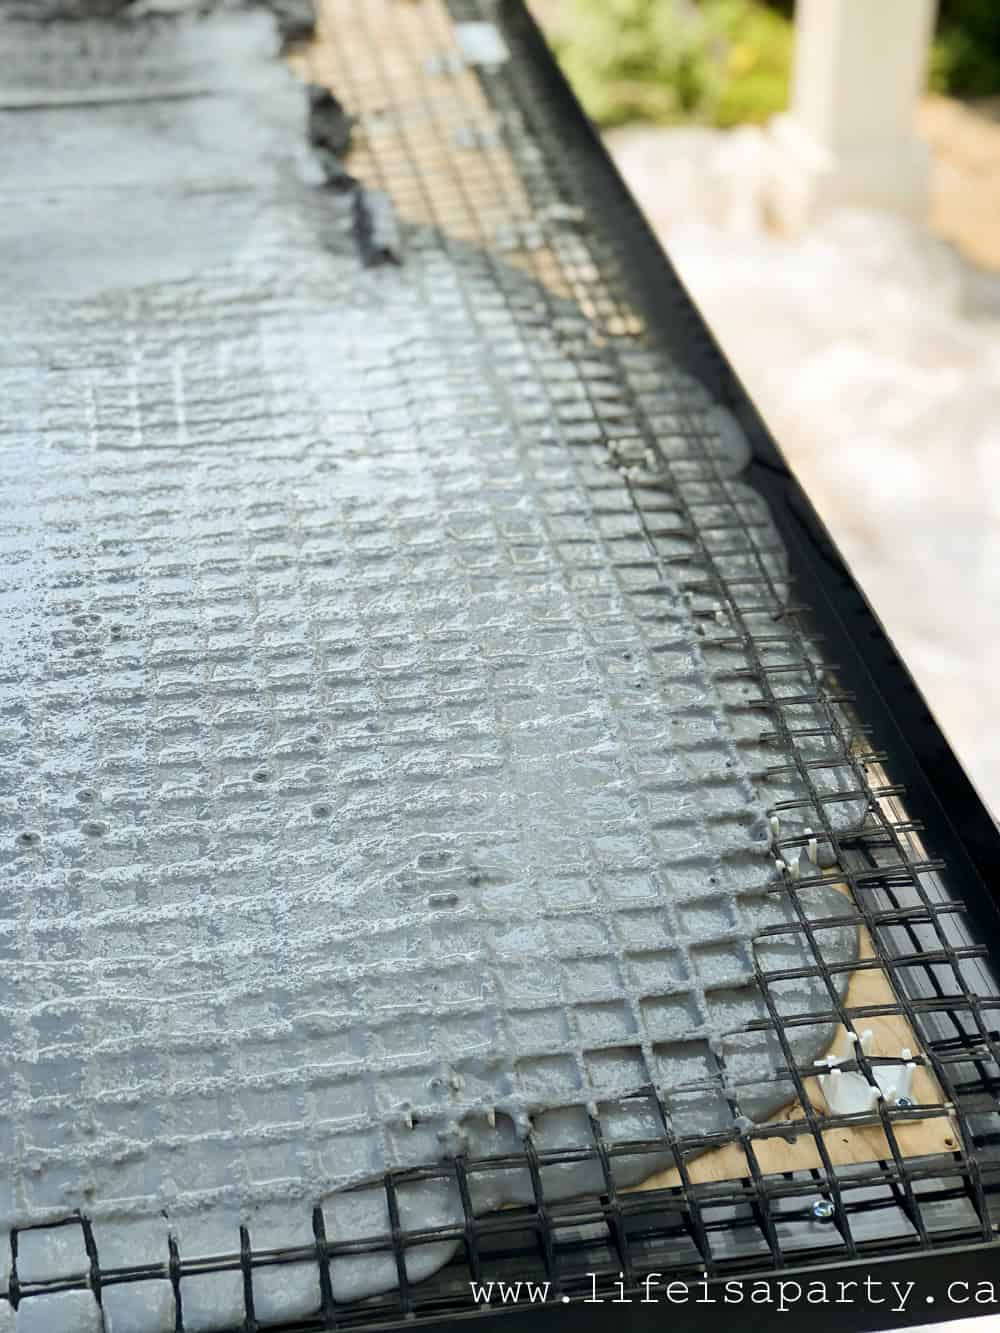
Pouring The Concrete
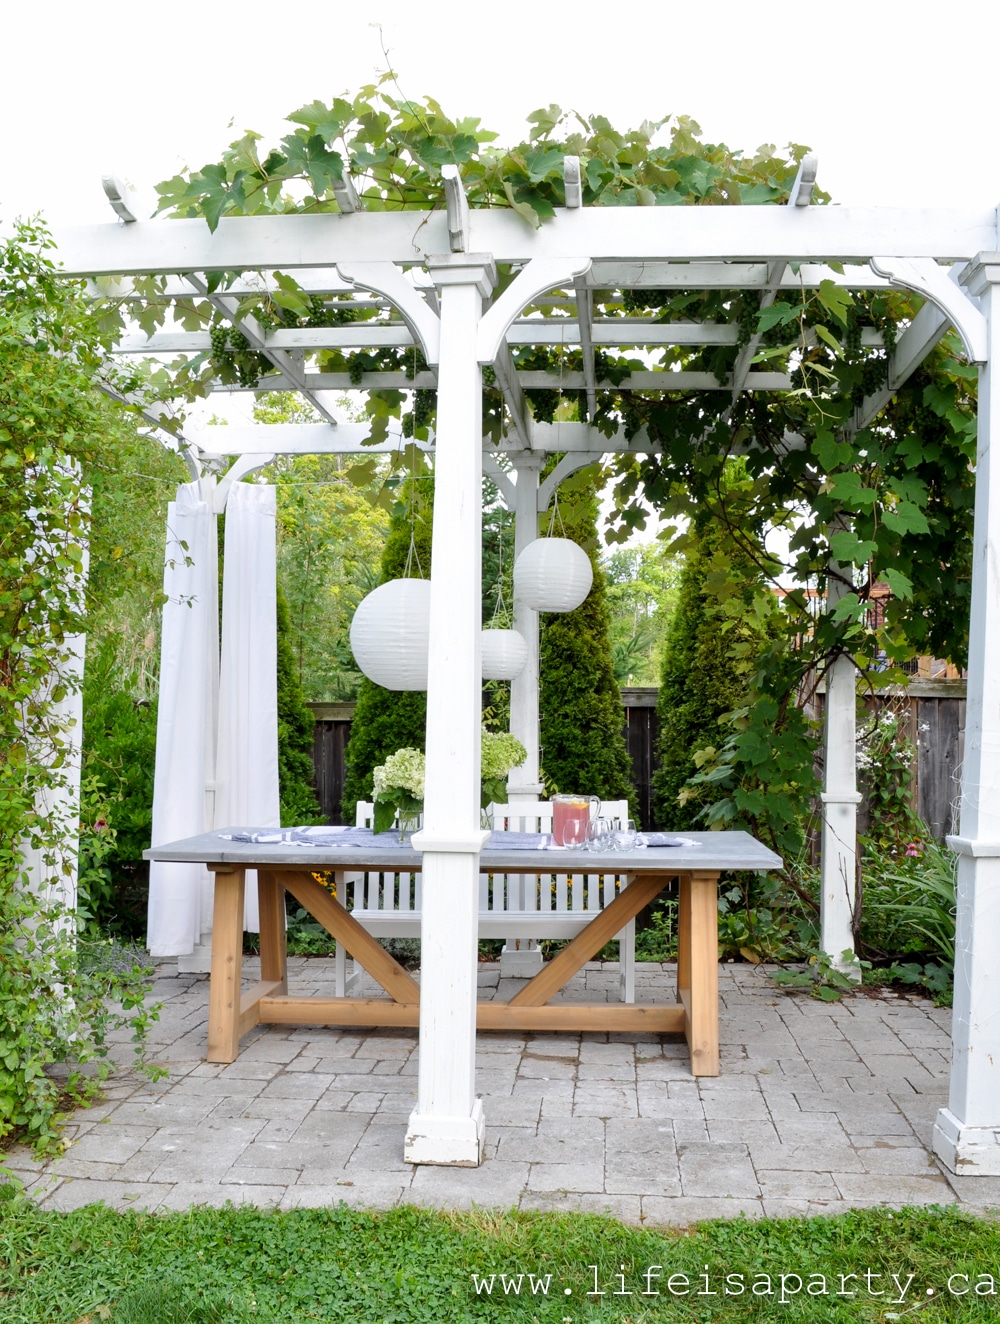
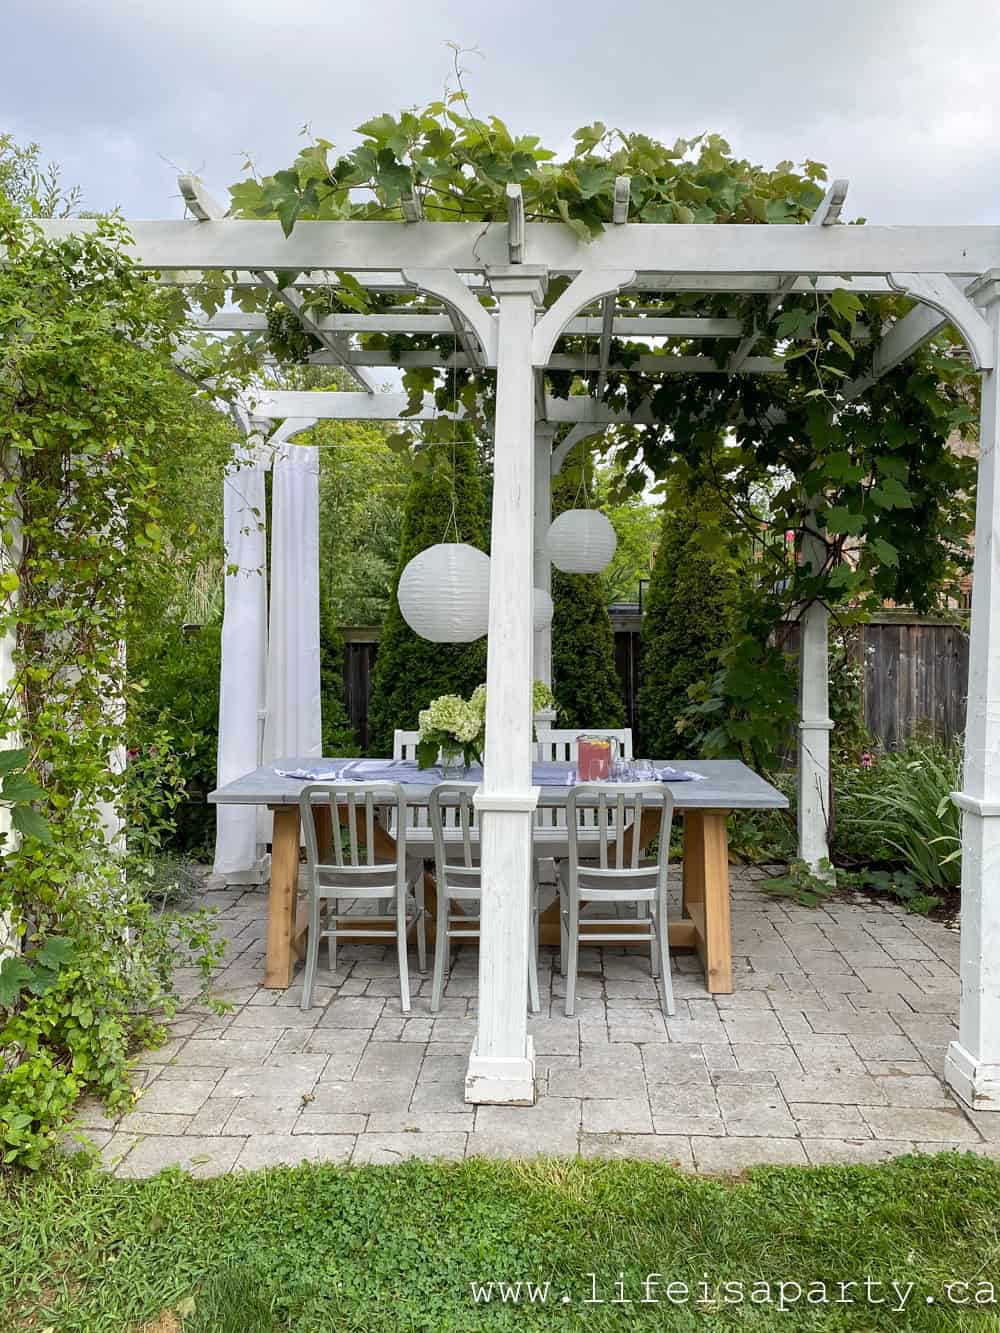
We put our table in place before we poured the concrete so that we won't have to move the heavy table after it was made. We also took the time to level the table before pouring, since our patio was uneven.

To mix the concrete follow the instructions on the package which say to add 3 quarts of cold water to the concrete mix along with two scoops of the terra-tint charcoal to each batch of white concrete. And then mix concrete thoroughly with a drill attachment for 3 minutes. When using the tint, you may find you have to just slightly increase the amount of water to achieve the right consistency in the wet concrete.
Take care to not pour your concrete on too hot or too cold of a day, and to not work in direct sunlight. Too hot conditions will cause the concrete mixture to set up too quickly, and not give you enough time to work with it. As well the manufacturer sometimes suggests using plastic to cover the poured concrete as it sets or to wet cure to help reduce the risk of concrete curl which sometimes happens when the top of the concrete surface and the bottom dry at different rates.
Concrete Countertop Solutions has some excellent how-to videos on their website that are really helpful if you're a visual learner -with lots of tricks and techniques.
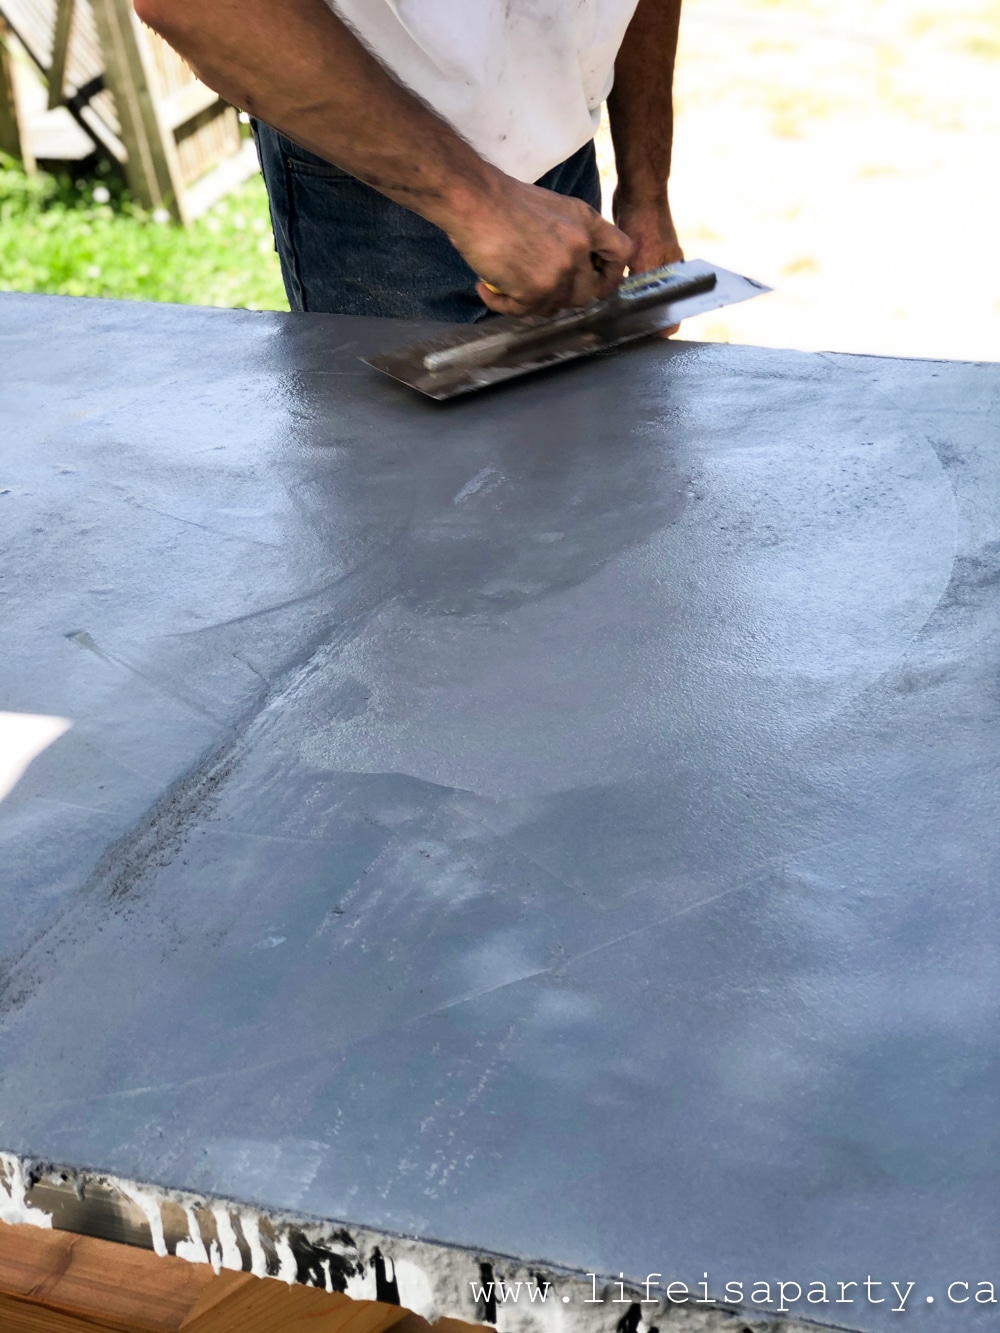
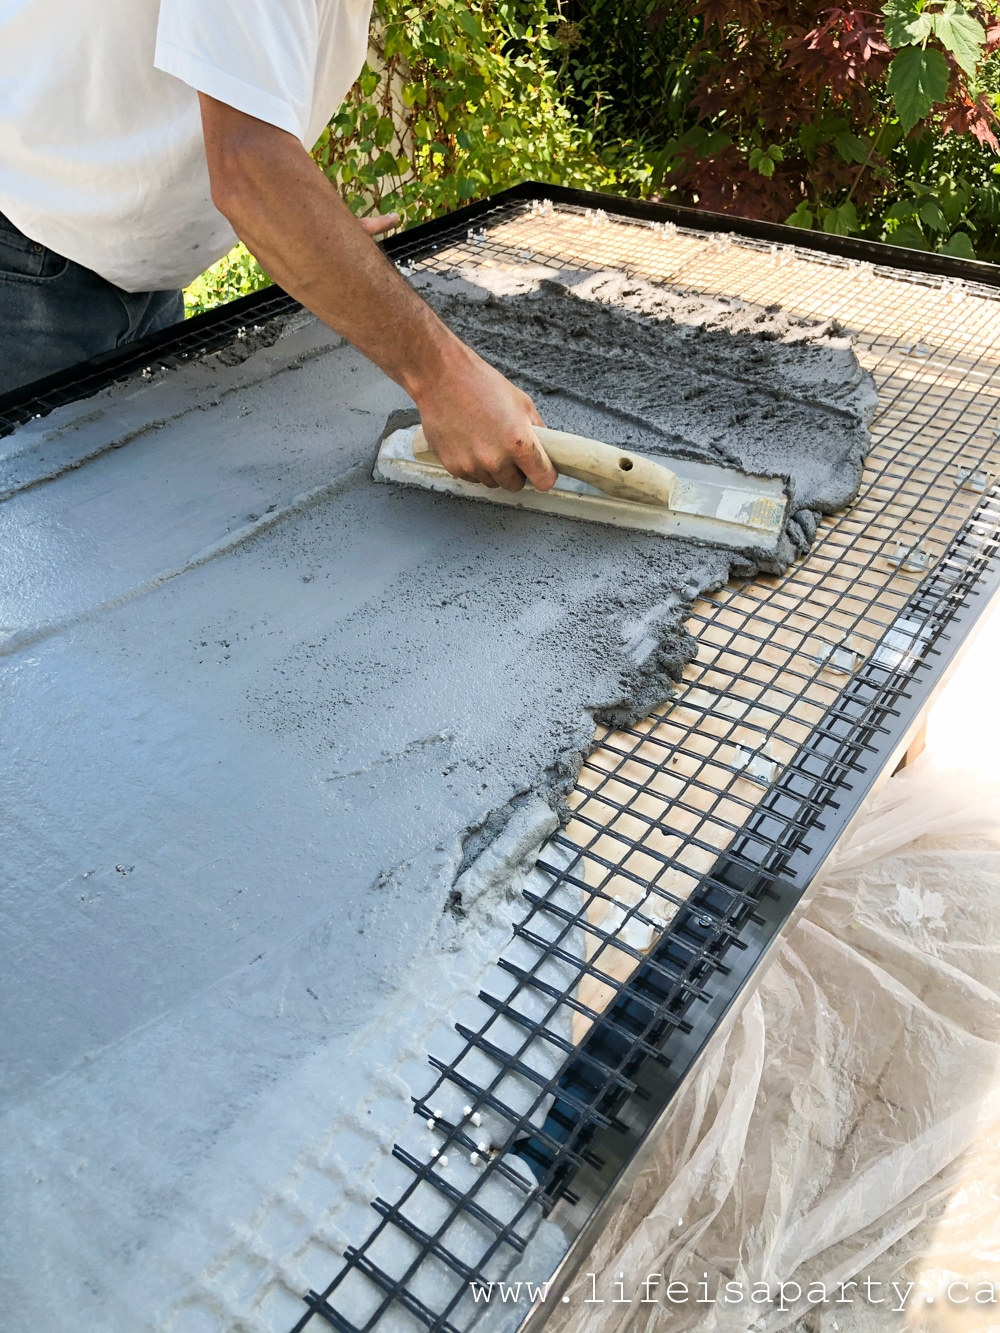
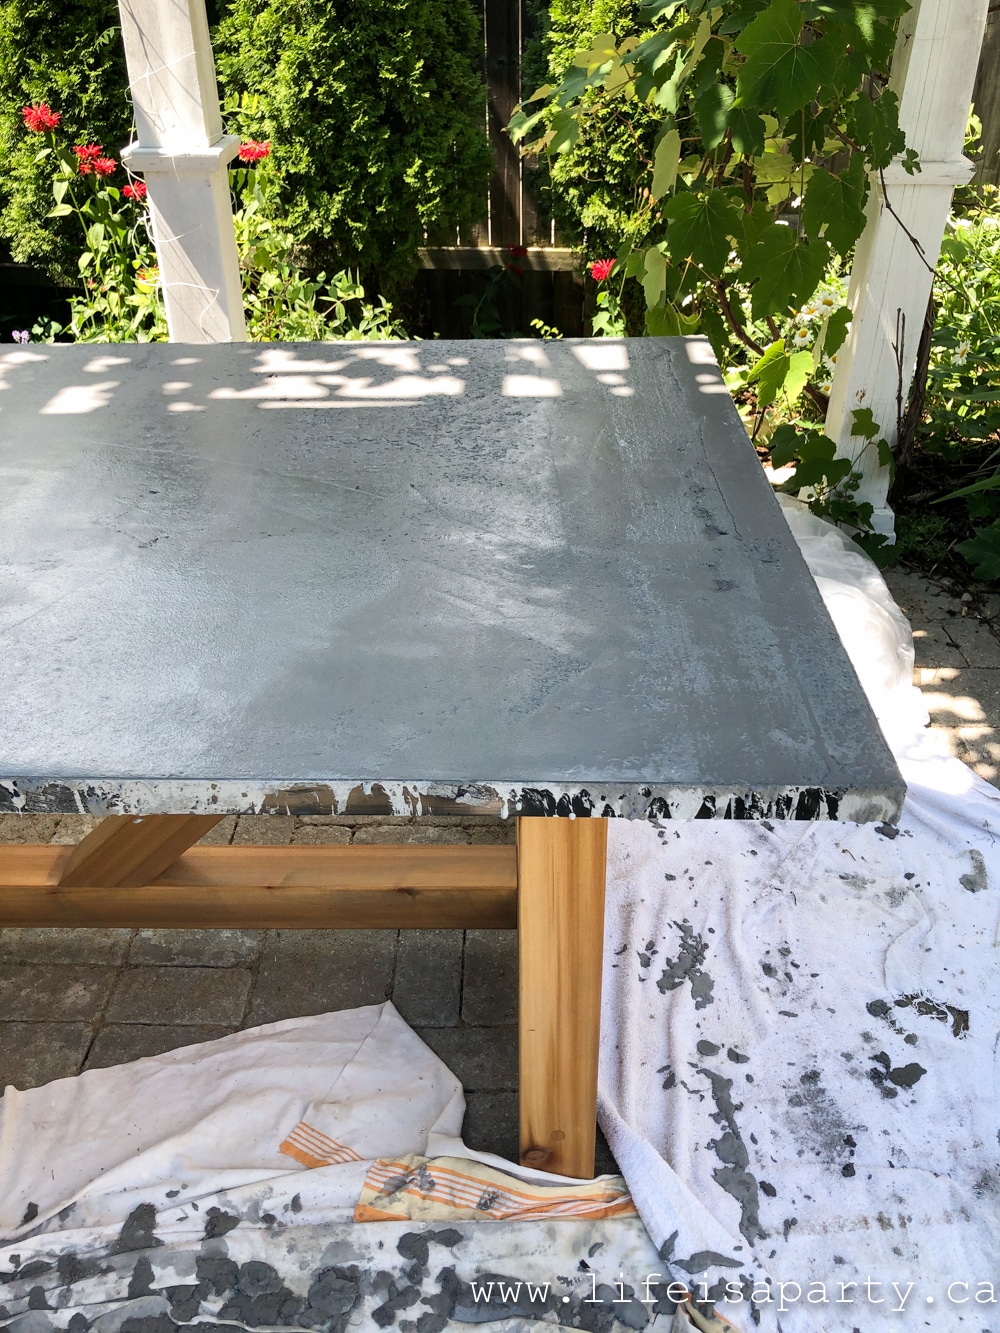
We used 5 bags of concrete to make our table top. Work the concrete into the mesh reinforcement and into the bottom of the mold and edges with a trowel. Finally use a straight edge along the top edges of the EuroForm edge to create a perfect level top. Then create a smooth surface on the top and finish with a trowel. If you have any air bubbles, use the trowel edge to poke them and then level smooth.
Removing The EuroForm Edges
After the concrete had set hard overnight we removed the EuroForm edges. The edges snap easily away from the table, leaving a beautifully finished edge and seamless look.
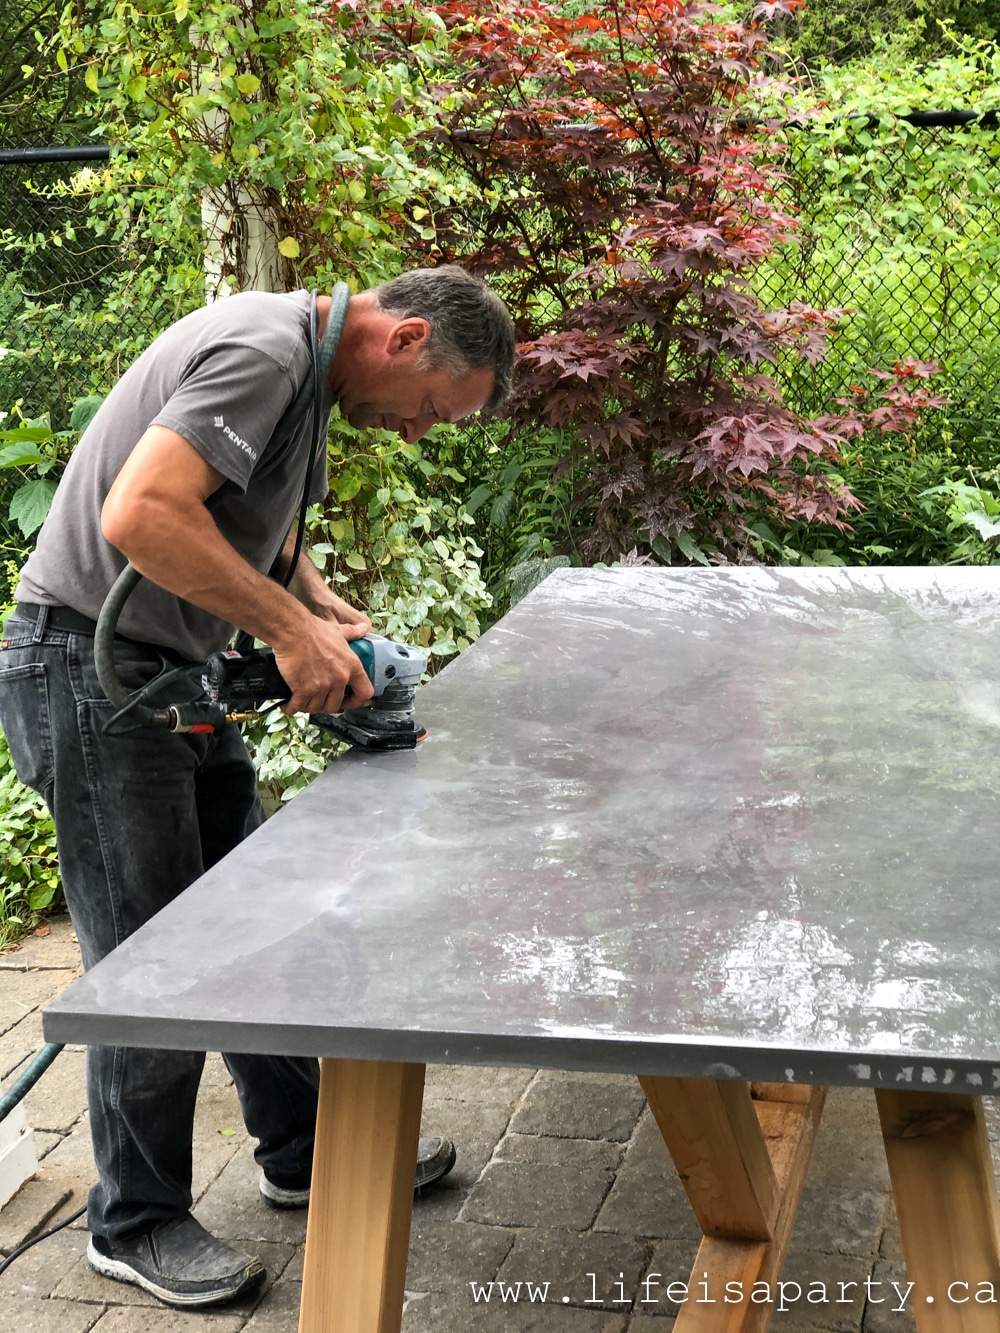
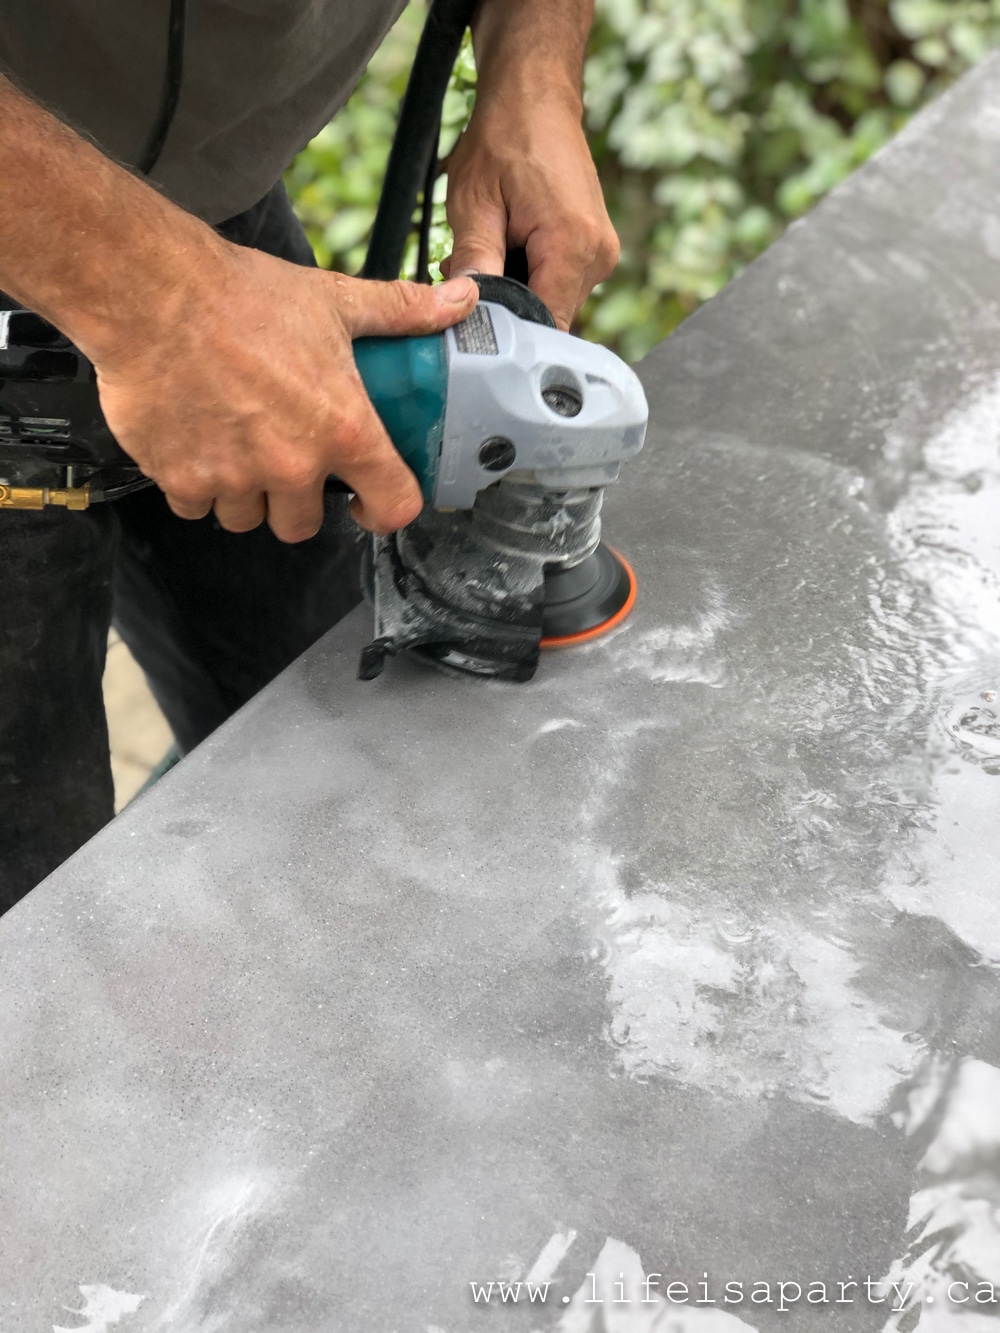
Finishing The Concrete
Additionally you can also sand down any rough area and polish the finished concrete table top and edge for an ultra smooth finish. We used a GFCI protected wet grinder to sand the top. We started with a 50 grit, followed by 200 grit for a smooth matte finish.
Sealing The Concrete
The last step after the concrete has completely dried and cured is to seal the table top with the Z Aqua-Thane M35 concrete Sealer to protect your concrete against staining and weather. Mix the two parts according to the package instructions and apply with a lint free sponge applicator. Apply a second coat 4-8 hours after the first. Keep in mind the temperature restrictions for application, especially when using this product outside in the summer.
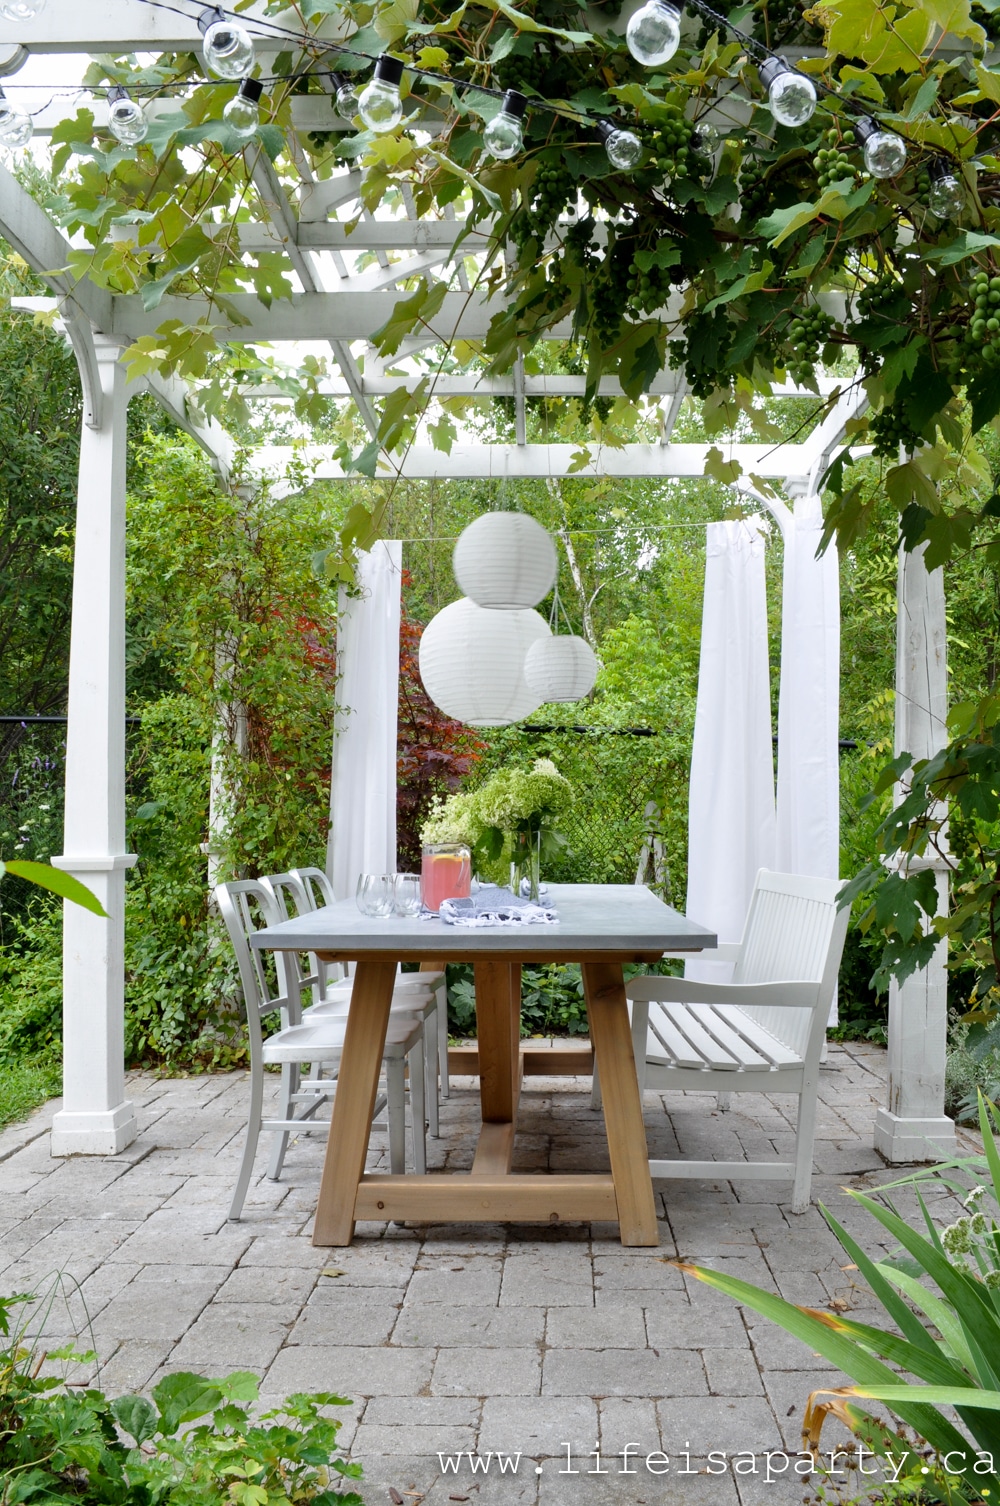
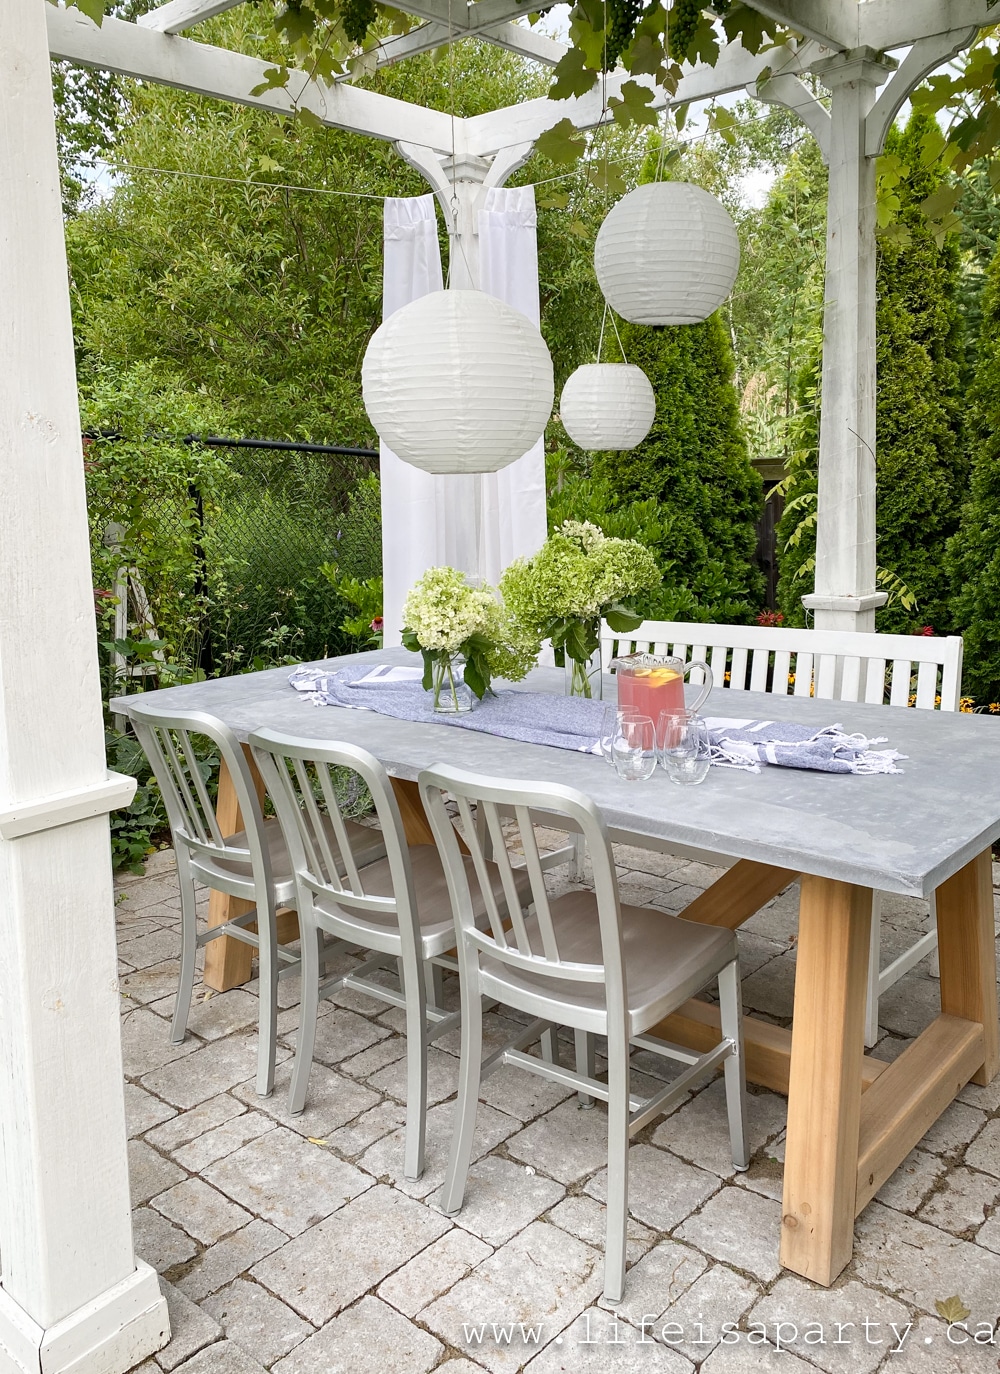
This table turned out so great. I love it. And it would be a great addition to any outdoor space. Shaun did such a great job putting it all together.
I'm looking forward to many gatherings with friends and family here over many, many years.
Protecting Your DIY Outdoor Concrete Table During The Winter
Since we live in Canada, and it will be very cold and snowy here in the winter we'll cover this DIY outdoor concrete table well with a tarp. It is very sturdy, and it should be fine being outdoors as long as it's covered during the winter. Concrete outdoor furniture is very study and a great choice for any weather conditions.
It's also very heavy so it would be very difficult to move from the space, but there's no danger of it being blown in the wind.
More Ideas
You could use this same method to create a DIY concrete side table, or an outdoor coffee table. It could be a great idea to start with a smaller project that like this on your first time because there is a bit of a learning curve when it comes to working on concrete projects. A smaller version of our table would be a gorgeous concrete coffee table.
We created our table for outdoors, but it's so beautiful that it would make a unique design for a dining room table, kitchen, or work table.

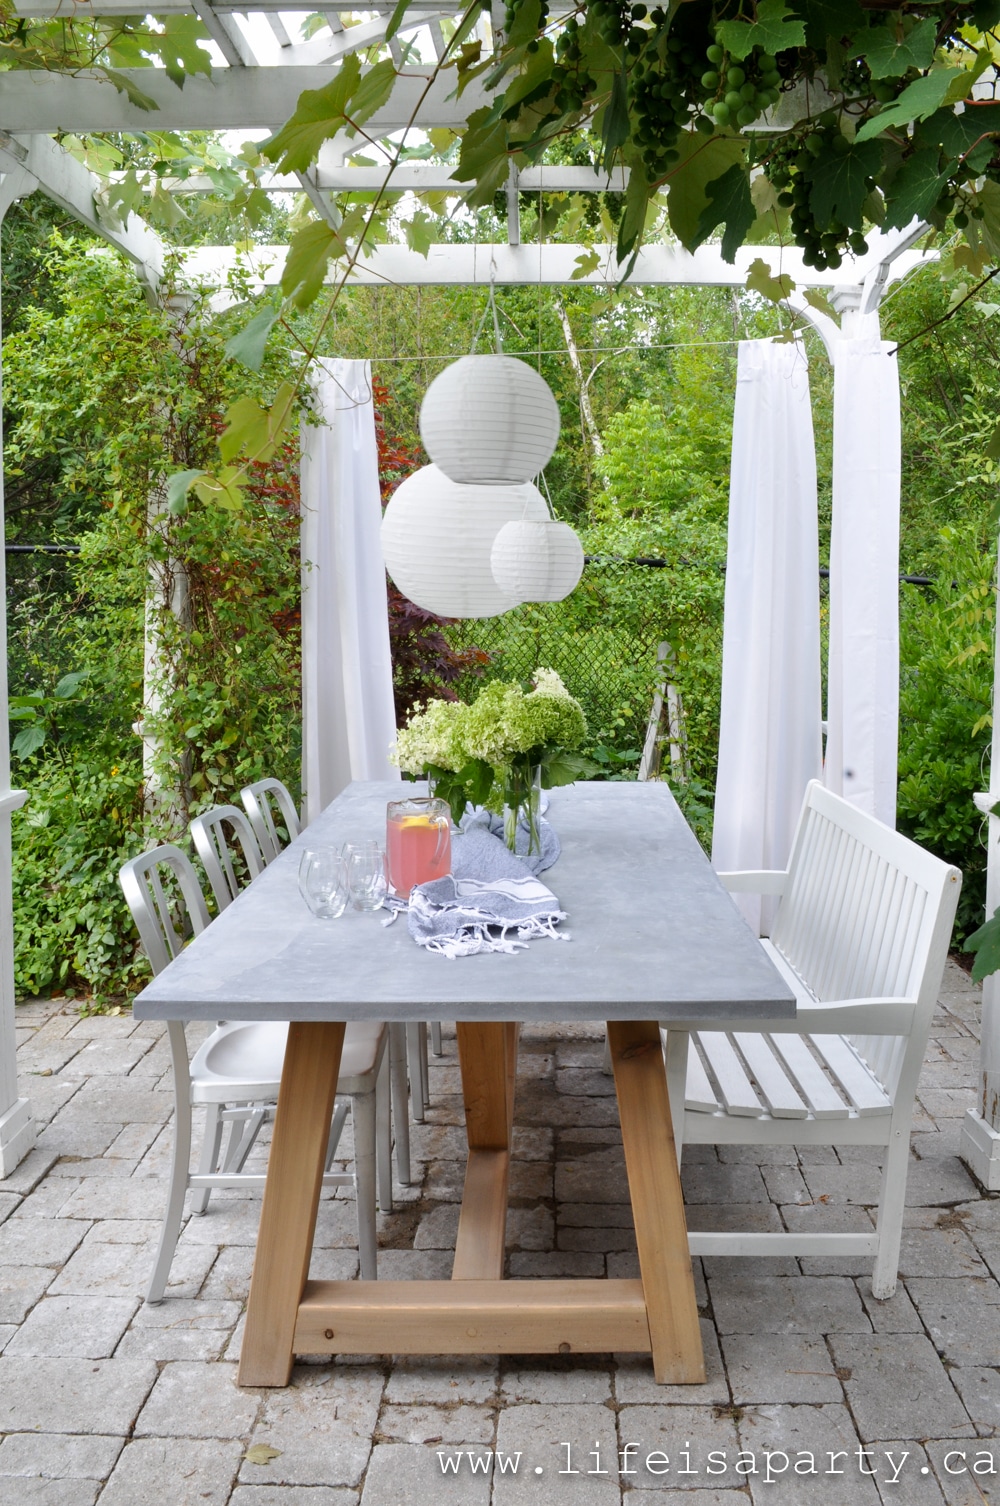
Here's to all the parties to come in this wonderful spot.
With a DIY Outdoor Concrete Table, life really is a party
More Inspiration
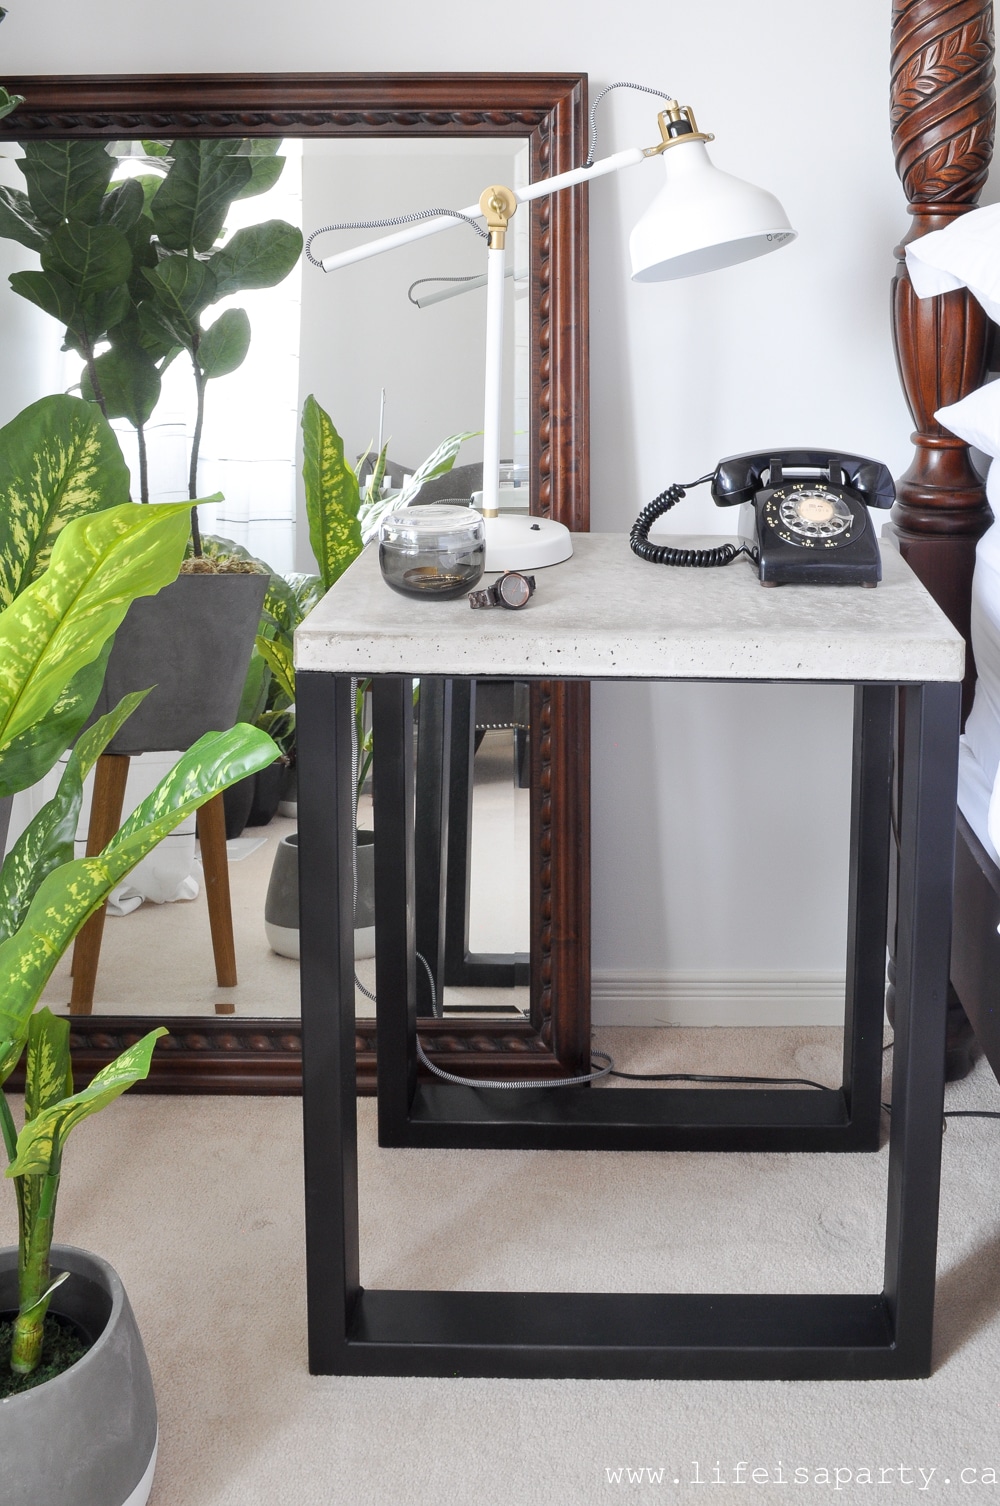
You might also like our DIY Concrete Side Tables here.
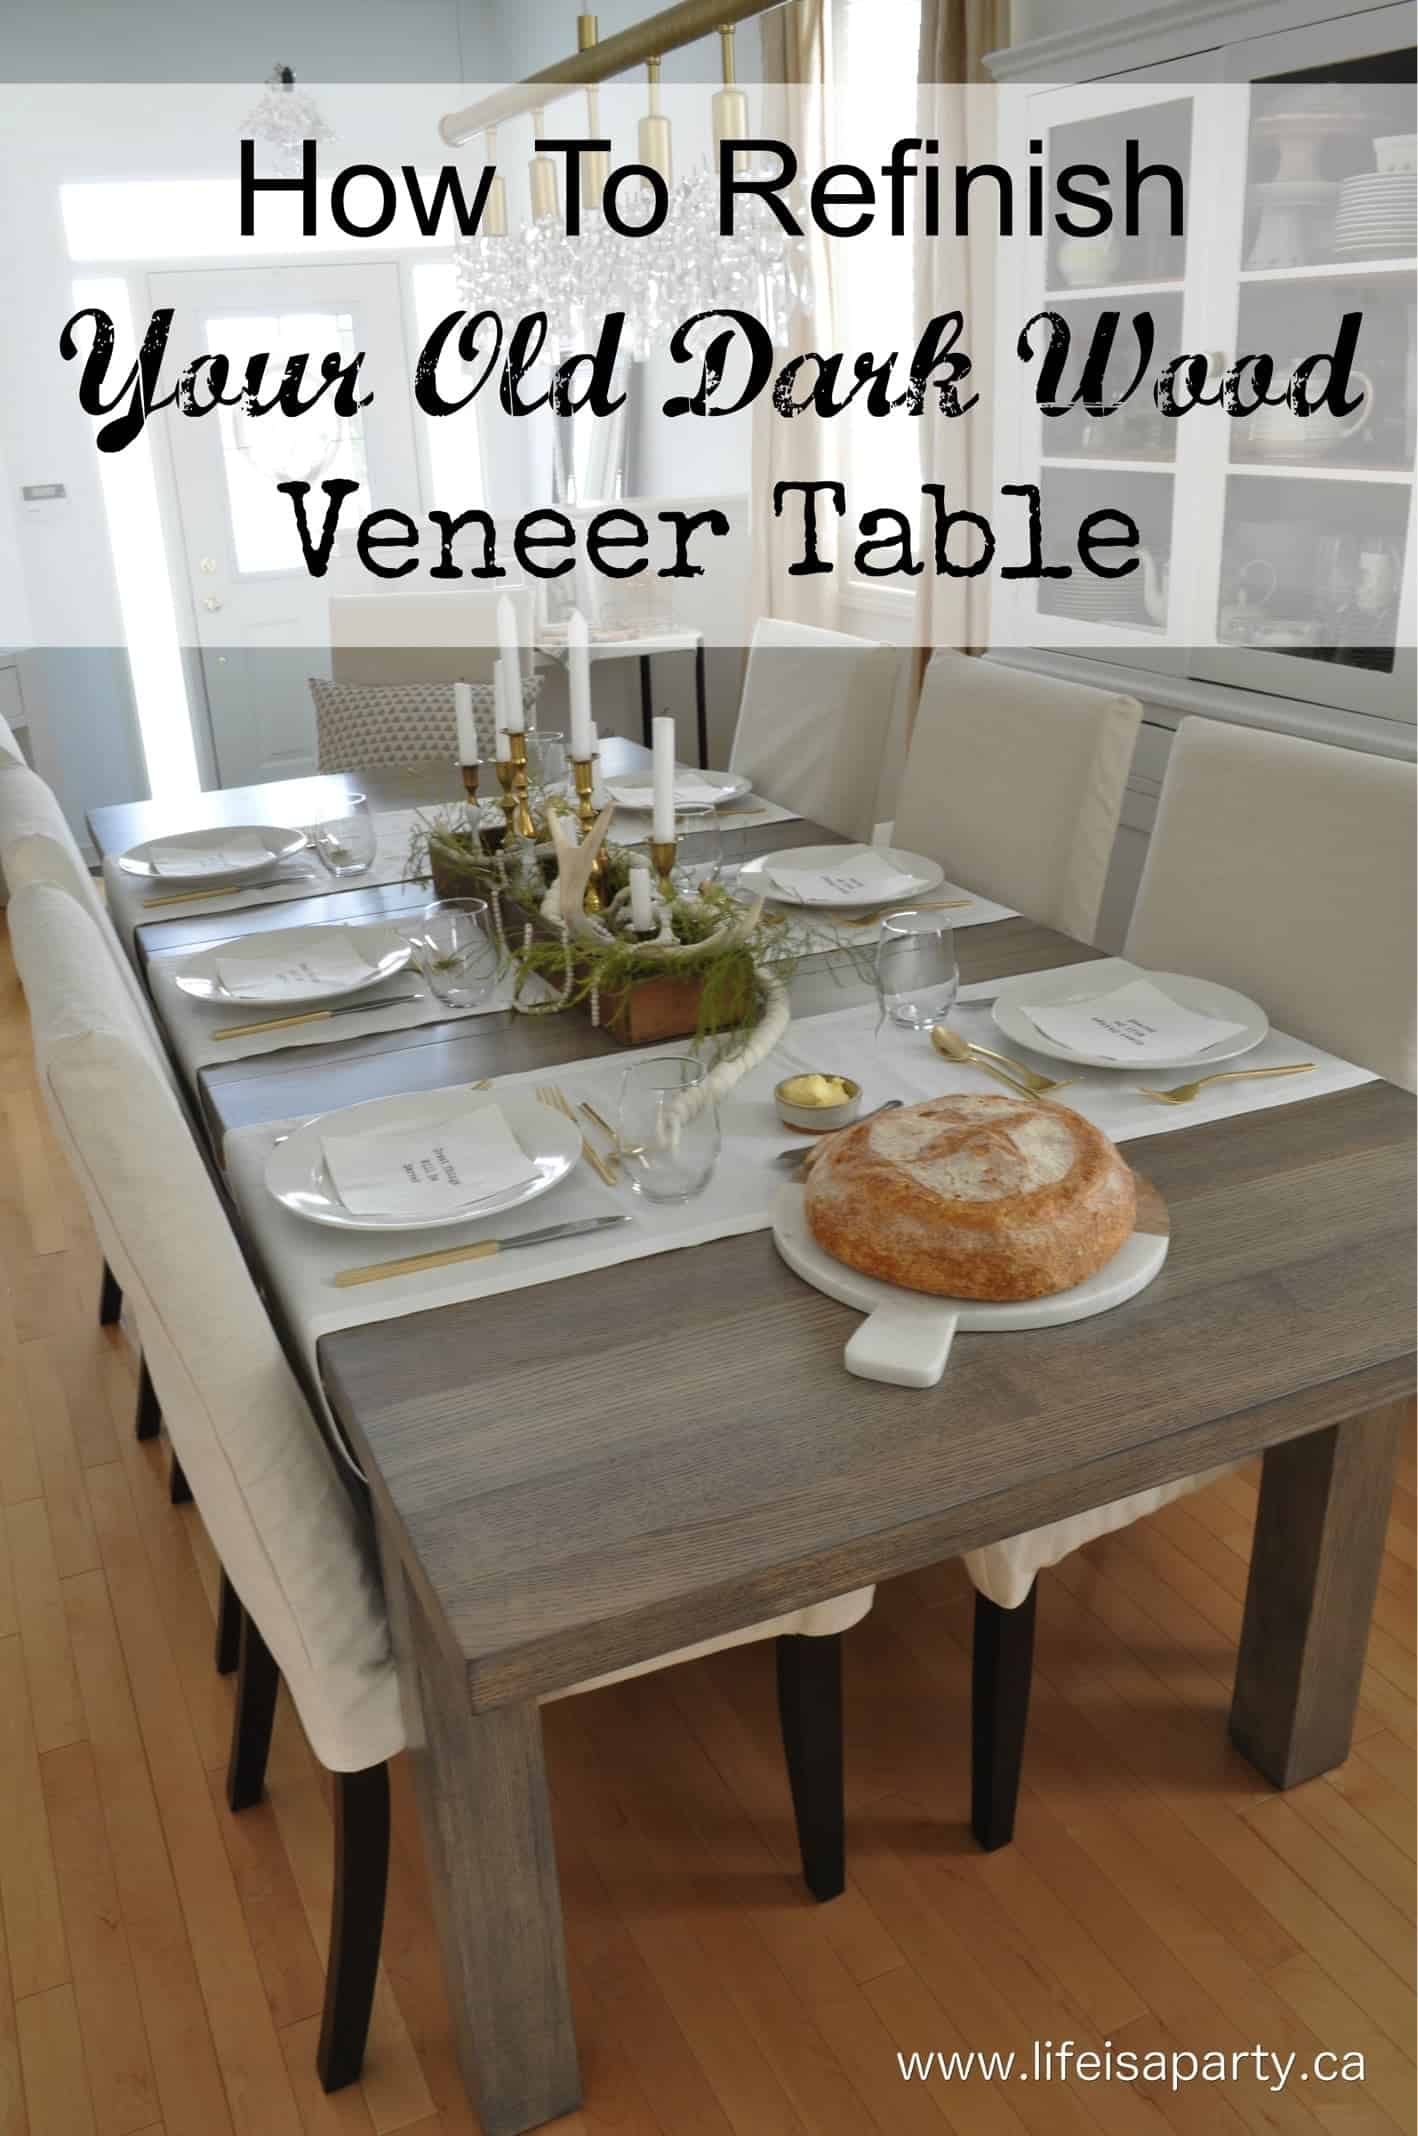
Also check out How To Refinish Your Veneer Table here.
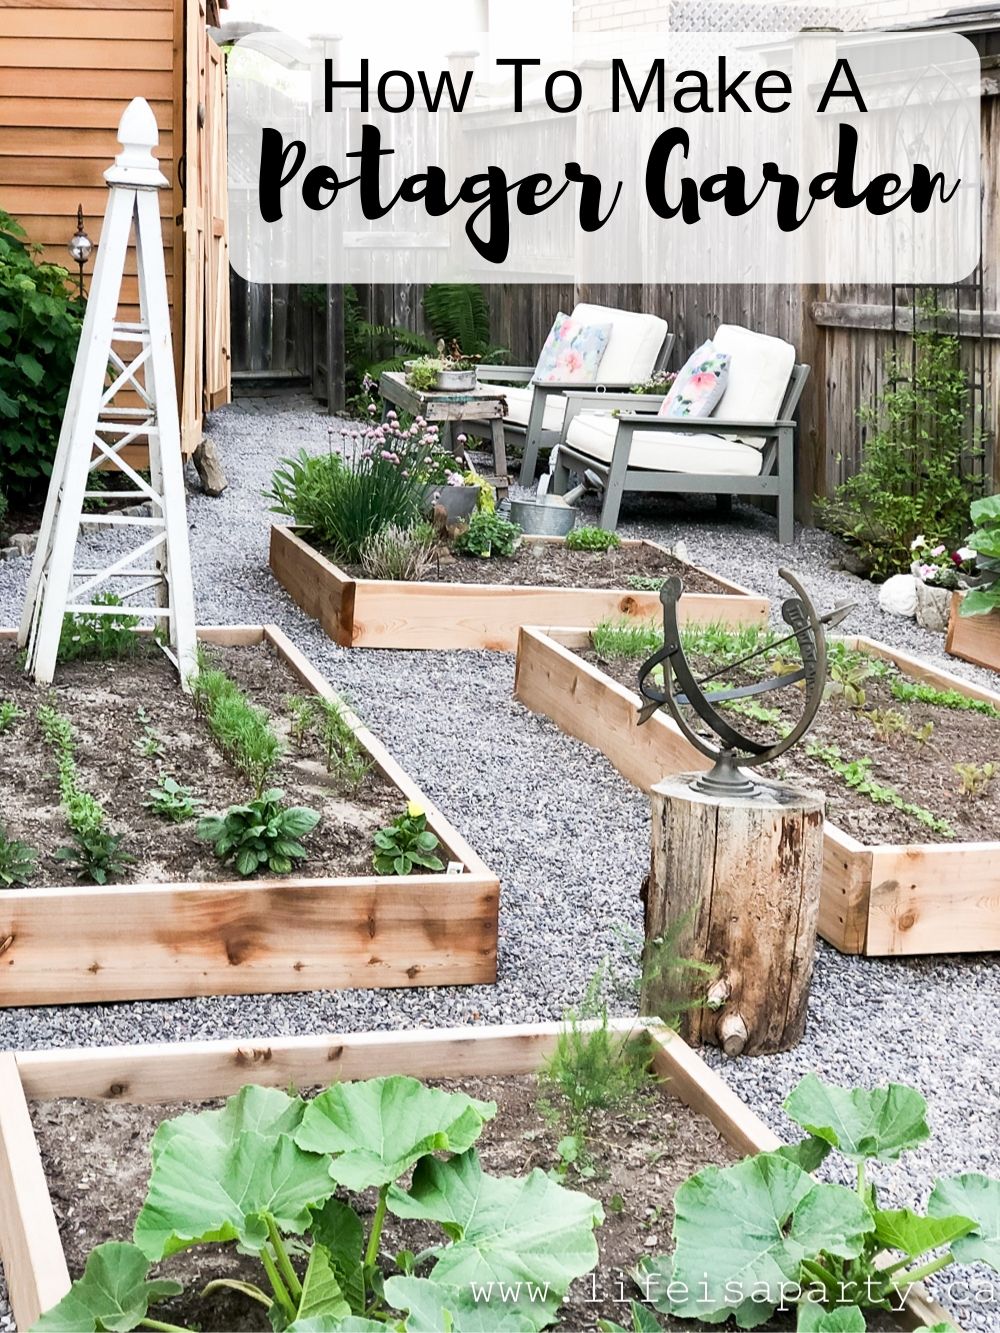
You might also enjoy our Potager Garden Makeover here.
This post is sponsored by Concrete Counter Solutions and Benjamin Tileworks. As always, all opinions are my own. Thanks so much for supporting the brands that make Life is a Party possible.


Dannyelle says
Hi Kelli, this table is probably over 500lbs, but it should be ok for your average deck.
Dannyelle
Kelli says
How heavy was this? Would it be too heavy to put on a deck without th proper support underneath it?
Dannyelle says
Hi Jessica, a lot of our materials were sponsored and supplied by the company we worked with. Sorry I can't be more help.
Dannyelle
Dannyelle says
Hi Brooke, we used 4 pieces of EuroForm square edges for ours, choose the set that matches your dimensions, which are all on the EuroForm website for reference.
Dannyelle says
Hi Jen, This was sponsored content, so we had a lot of supplies covered. You should seal the concrete and then you should you have no problem with water stains. Left unsealed it will mark, but it creates a really beautiful patina if you don't mind a more rustic look.
Dannyelle says
Hi Melissa, I loved it so much, I thought about it for an indoor table too. I hope it turns out great. All the best, Dannyelle
Melissa says
I’m planning on doing this for my INDOOR dining room table ?
Jen says
I am curious - how much did this cost to build? Also, is it hard to not get water stains on it? It is a gorgeous table!!
Brooke says
Hello! Did you buy 4 sets of the EuroForm square edges, or just use 4 pieces? Thanks in advance!
Jessica says
Do you remember what this project cost you at the time?
Dannyelle says
Hi Jen, thanks so much. This table has held up really, really well. We live just outside of Toronto, Canada, so lots of ice and snow in the winter. We cover it with a tarp to protect it during the winter months, which has worked out great. Two years later, it still looks amazing. Dannyelle
Jen says
Hi! I love this so much. I am thinking about attempting this but want to know how it has held up for you. It’s a beautiful table!
dnr says
Hi Liz,
I would just give your wood table a good sand before staining it. Sanding should remove most of the stains, but if not they add character. 😉
Best of luck with your project,
Dannyelle
liz says
What a beautiful table! Love it. we live in Ontario also and the weather is crazy (we had so much snow lately with other parts in Toronto zero! I wanted to ask you how would you try and stain an old teak table (we bought 45years ago) it has lot of stains from the constant use with having 2 boys.