DIY Concrete Side Table: this sleek, modern concrete side table is an easy DIY project. Store bought legs and a poured concrete top create a custom look.

Jump to:
- One Room Challenge
- Materials:
- How To Make A Concrete Side Table:
- Making The Concrete Forms
- Caulking The Forms
- Preparing Your Concrete
- Pouring Your Concrete
- Removing The Form
- Preparing The Steel Legs
- Applying The Legs To The Table Top
- Sealing The Concrete Tabletop
- Table Base Options
- Can I Use This Table Outside?
- More Inspiration
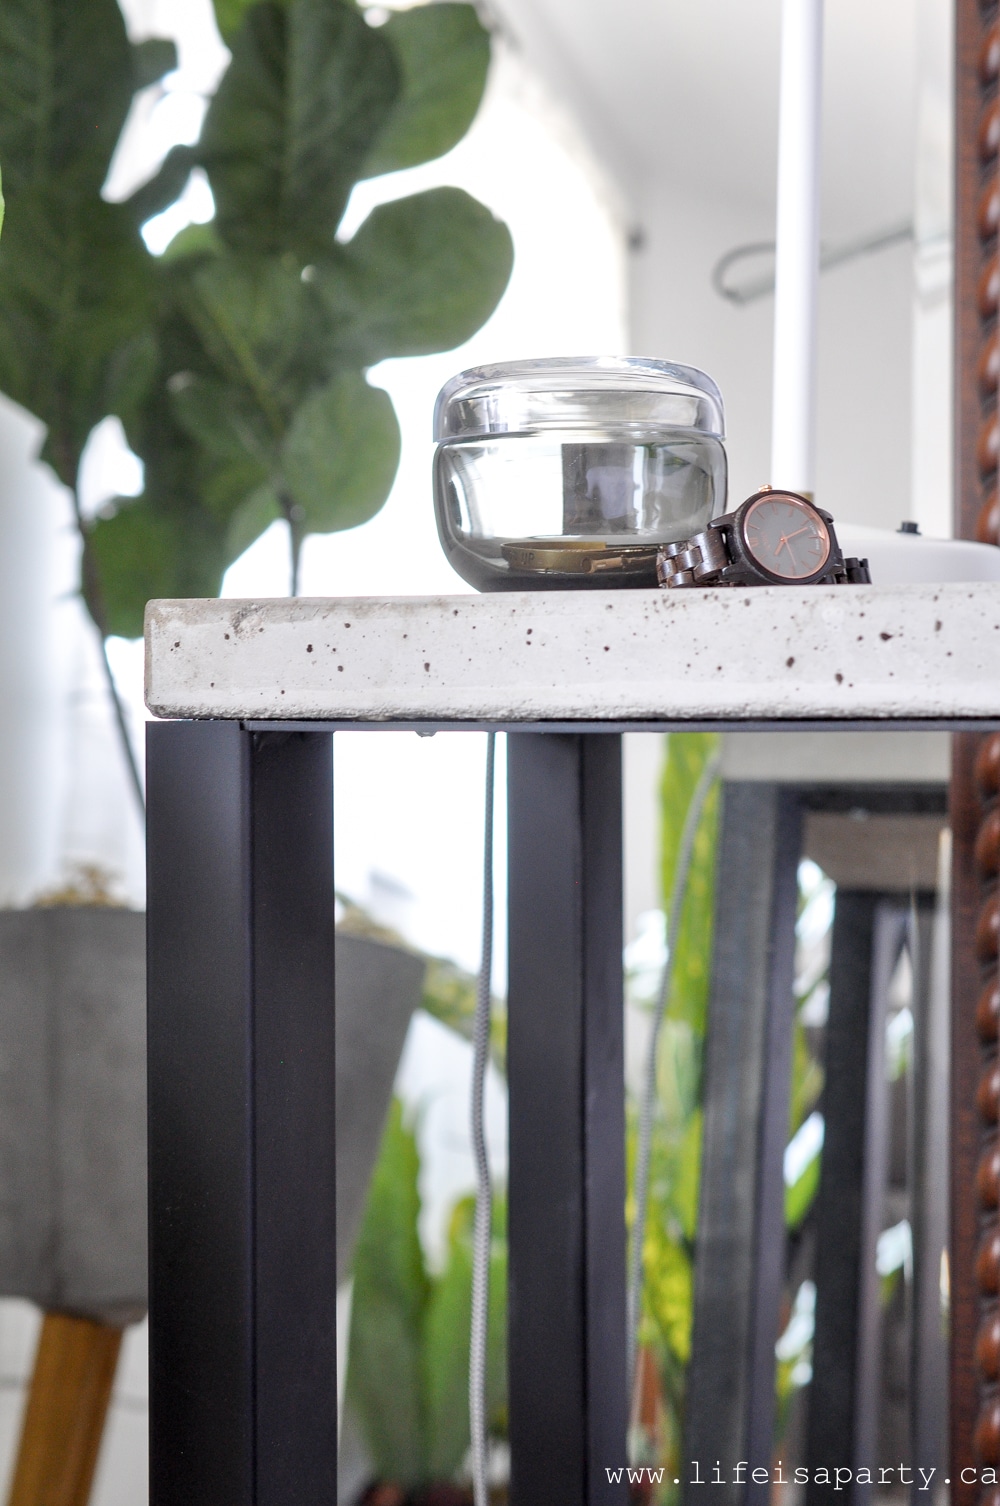
If you love simple, modern, clean lined concrete tables, but not the price of them in designer home decor stores, then you'll love this DIY version. Create the look for a much lower price tag.
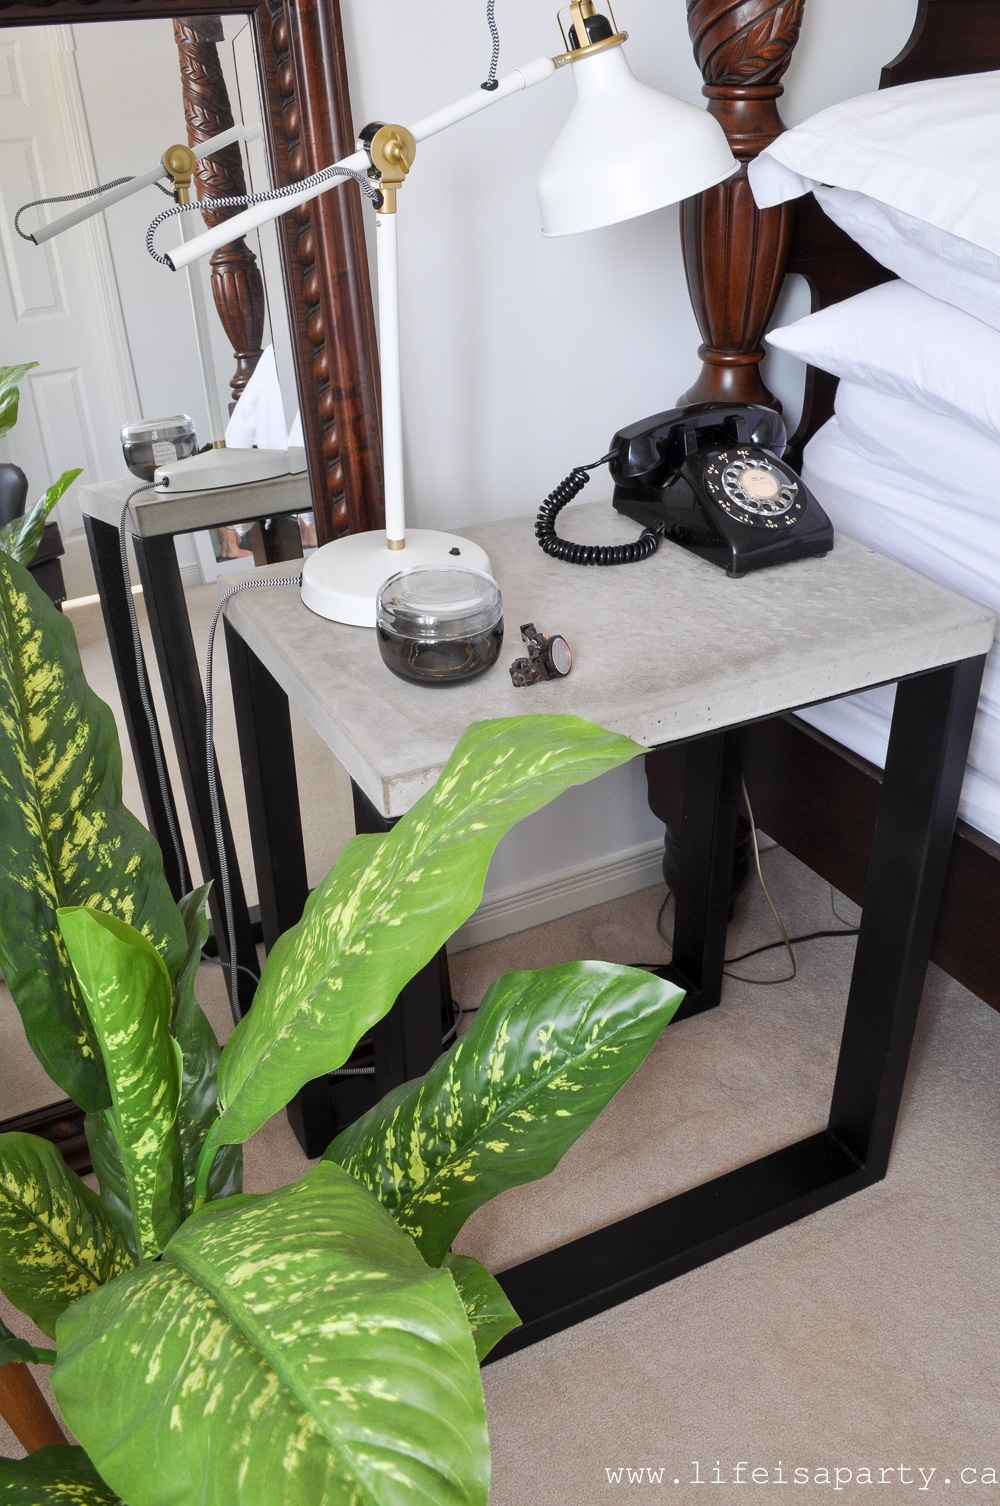
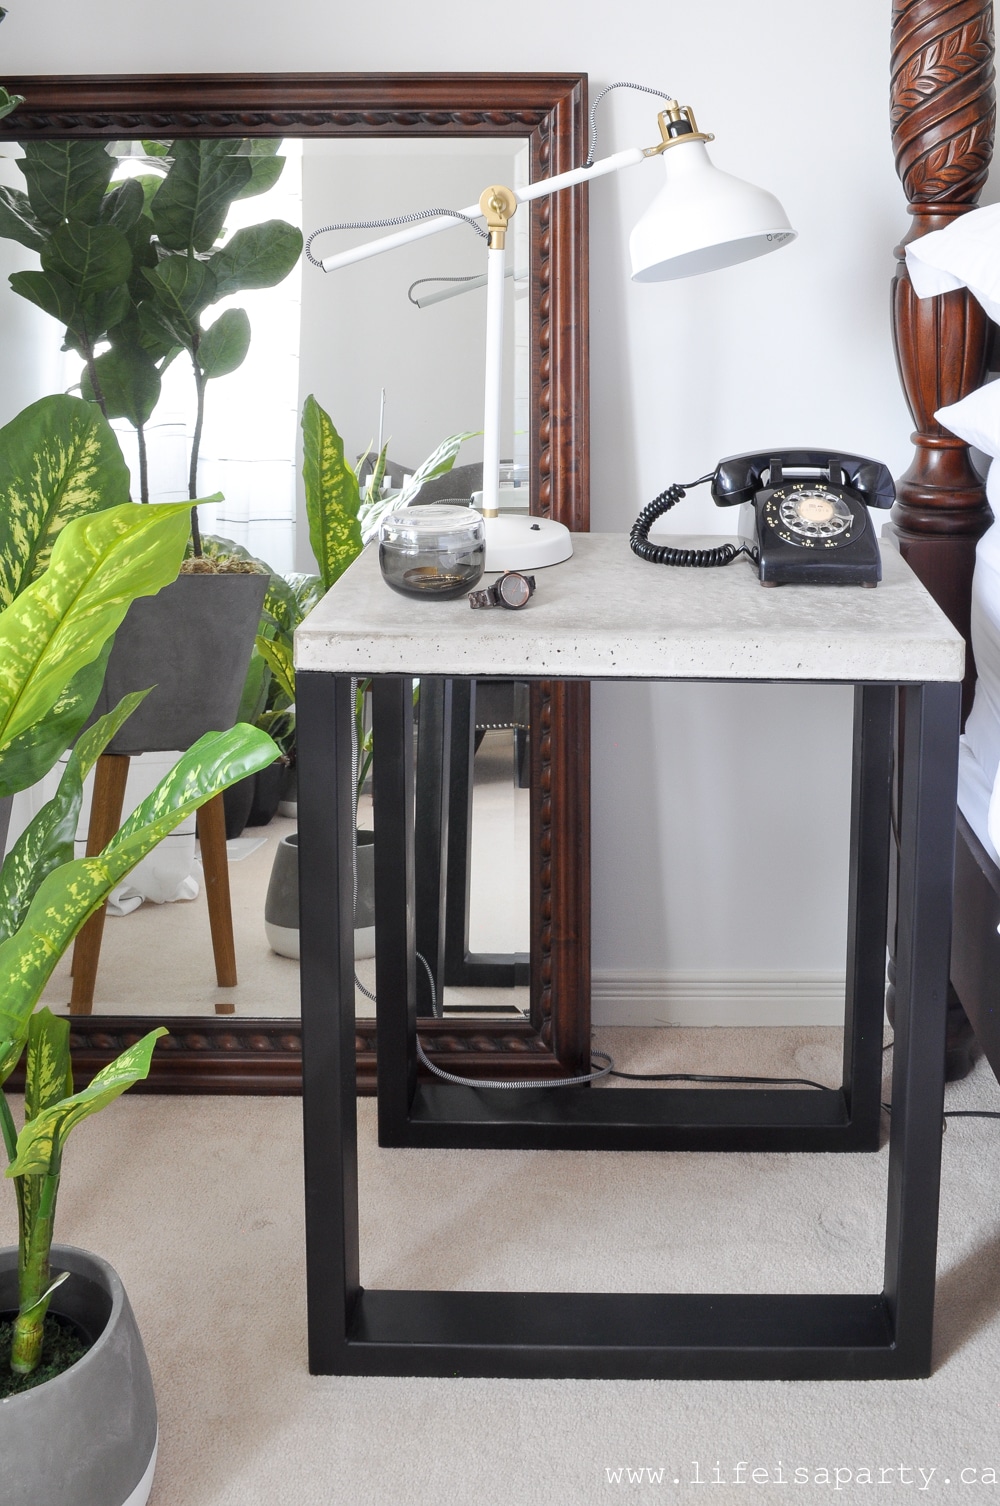
When decorating my bedroom for the One Room Challenge, I wanted to add some more modern elements to the room to juxtapose the traditional four poster bed. When I couldn't find the tables of my dreams I decided to make some by doing this DIY concrete project. I worked with Home Depot to create the concrete side tables of my dreams! This DIY project turned out so well, I'm really in love with the new DIY concrete table.
One Room Challenge
It's Week Five of the One Room Challenge, and next week is the big final reveal of the room. Today I'm sharing my favourite project of the challenge. The DIY Concrete Side Table turned out so great.
Miss any updates of our progress? You can check out all the One Room Challenge weekly updates here:
The Before and The Plan / Modern Boho Master Bedroom Reveal
Materials:
- Steel Furniture Legs
- Matte Black Spray Paint
- Concrete Mix
- Melamine Board
- #6 Wood Screws
- Saw
- Silicone Caulking
- Diamond Sanding Pad
- Lead Anchors
- Drill
- 1" Pan Head Wood Screws
- PL Premium Construction Adhesive
- Concrete Sealer
How To Make A Concrete Side Table:
My amazing brother-in-law Shaun of Benjamin Tile Works is so good at any tile, wood, or concrete project. He's helped me make so many DIY ideas come to life. I really can't thank him enough for helping me bring my vision to life on these tables. I usually come up with a concept and challenge him with how we can make it -and by we I mean I usually end up taking pictures while he does all the real work.
He's done some concrete work for me in the past -he created my amazing basement fireplace surround, and even made these little concrete houses for me in the past. He did a great job on these tables, and with these step by step instructions of what he did, I think any DIYer could make them.
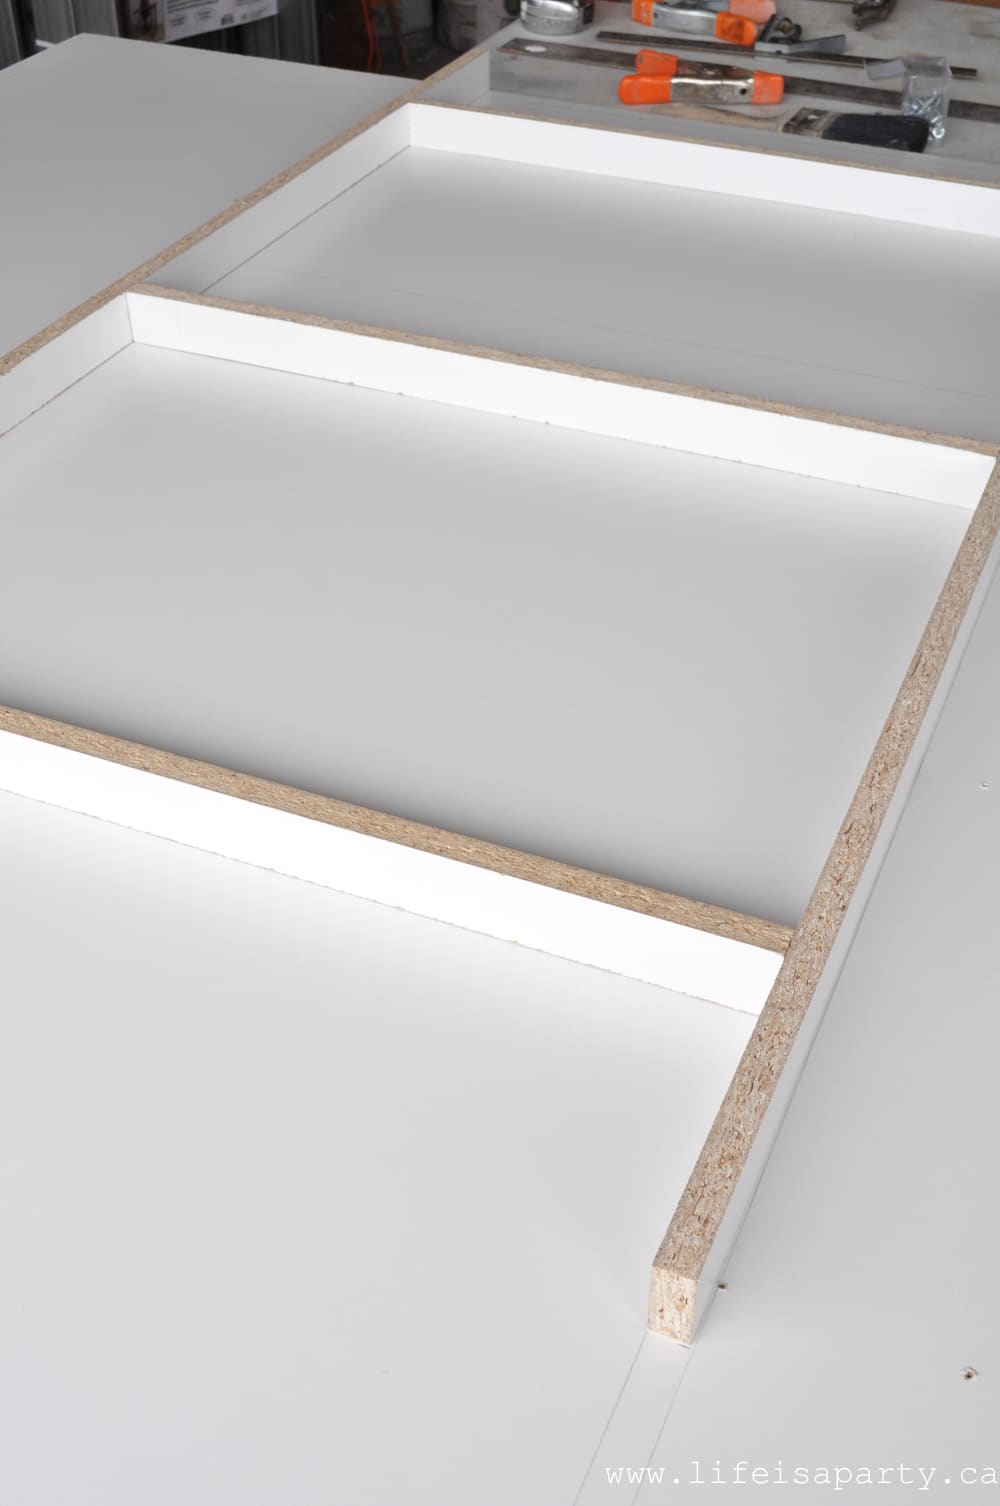
Making The Concrete Forms
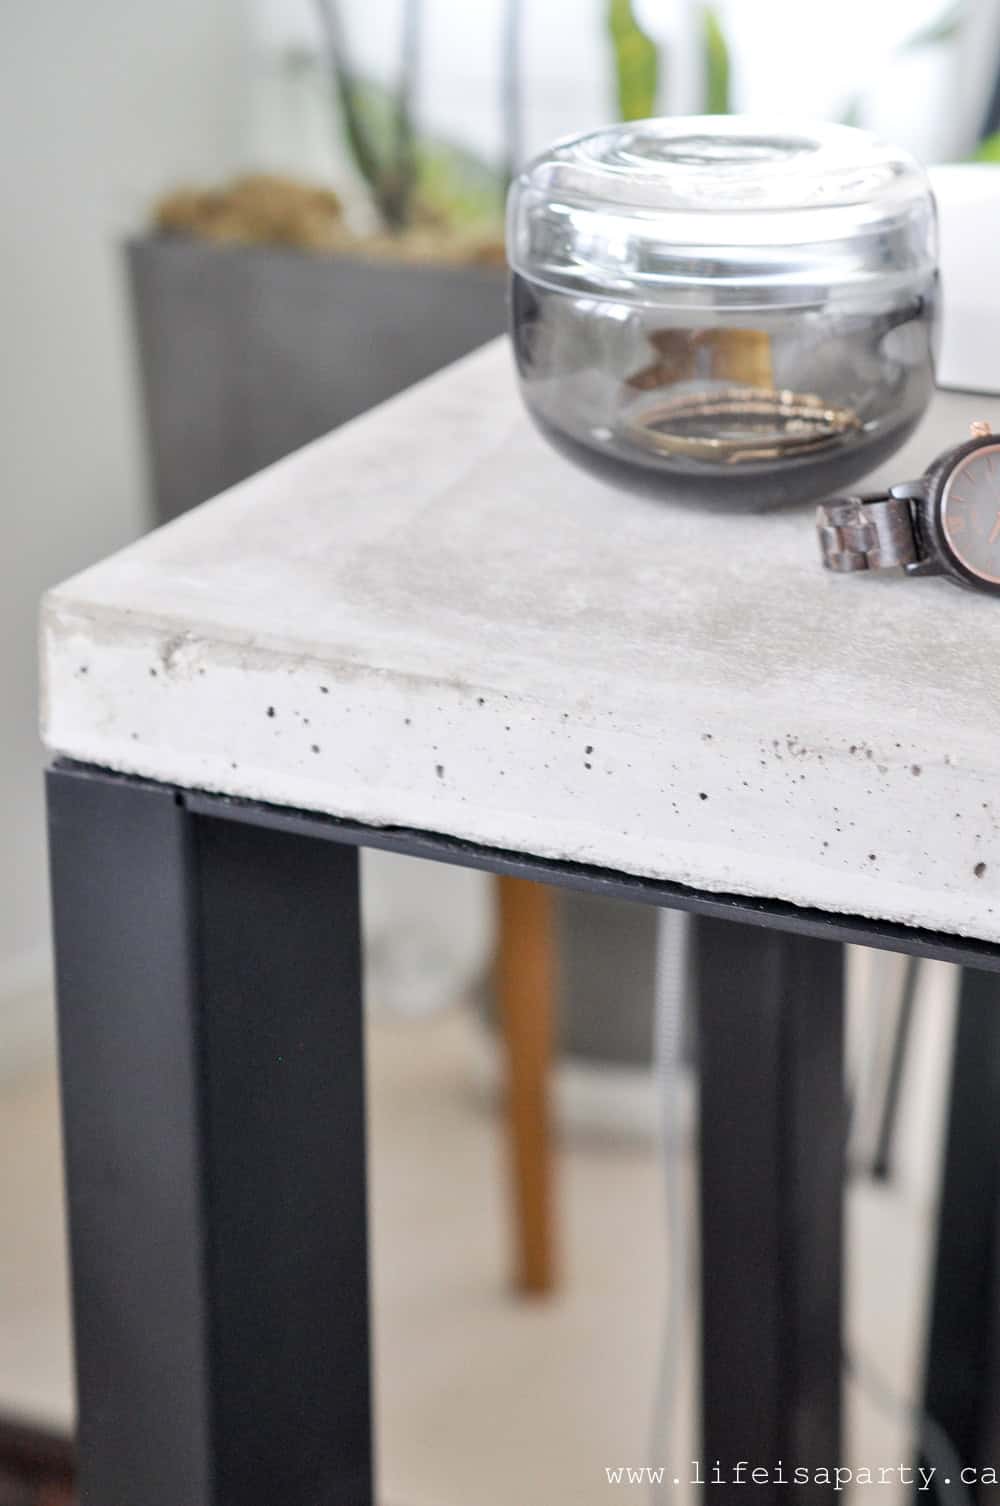
The first thing you need to create is your forms for the concrete table top. We made our side table tops 24" by 17". The length was based on the size of the legs. We wanted the legs to be flush with the concrete top. The forms were made from a piece of melamine. It's nice and smooth and creates a really nice smooth finish on the table top, compared to regular wood forms. We highly recommend using melamine for the forms for a beautiful finished table top as your end result.
We made our tops 1 ½" thick, the same thickness as the table legs for a cohesive look.
Begin by cutting the edges for the form. We made two tables at once, so we cut three 17" long strips, that were 1 ½" thick. We made our two forms together so the long sides edge pieces were just over 60" to accommodate two 24" sections, plus the thickness of the form edge.
Next lay out the first long side of the mould and drill guide holes through the form edge and right through the bottom so that you can screw it together from the back side with #6 wood screws.
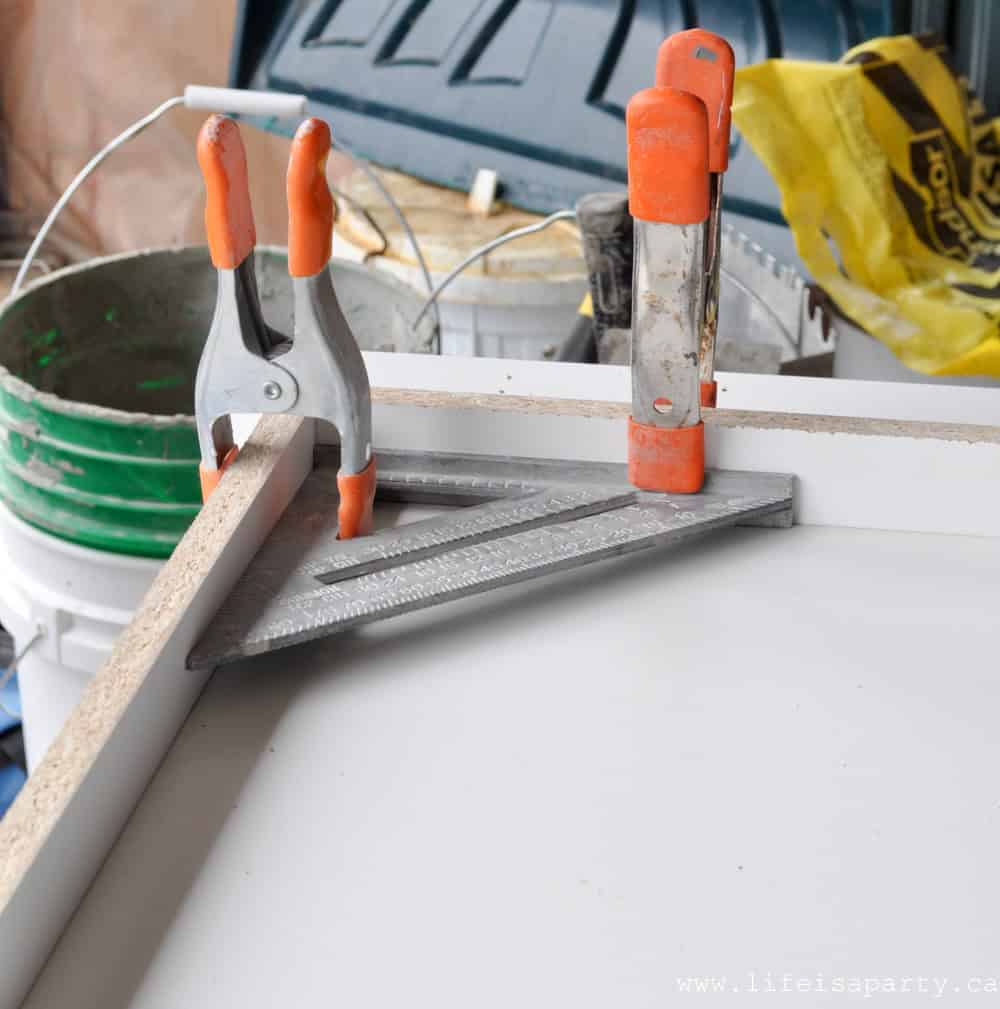
Use a square clamped into place to make sure your corners are perfectly square for your concrete mold. Pre-drill and screw into place the rest of the form edges.
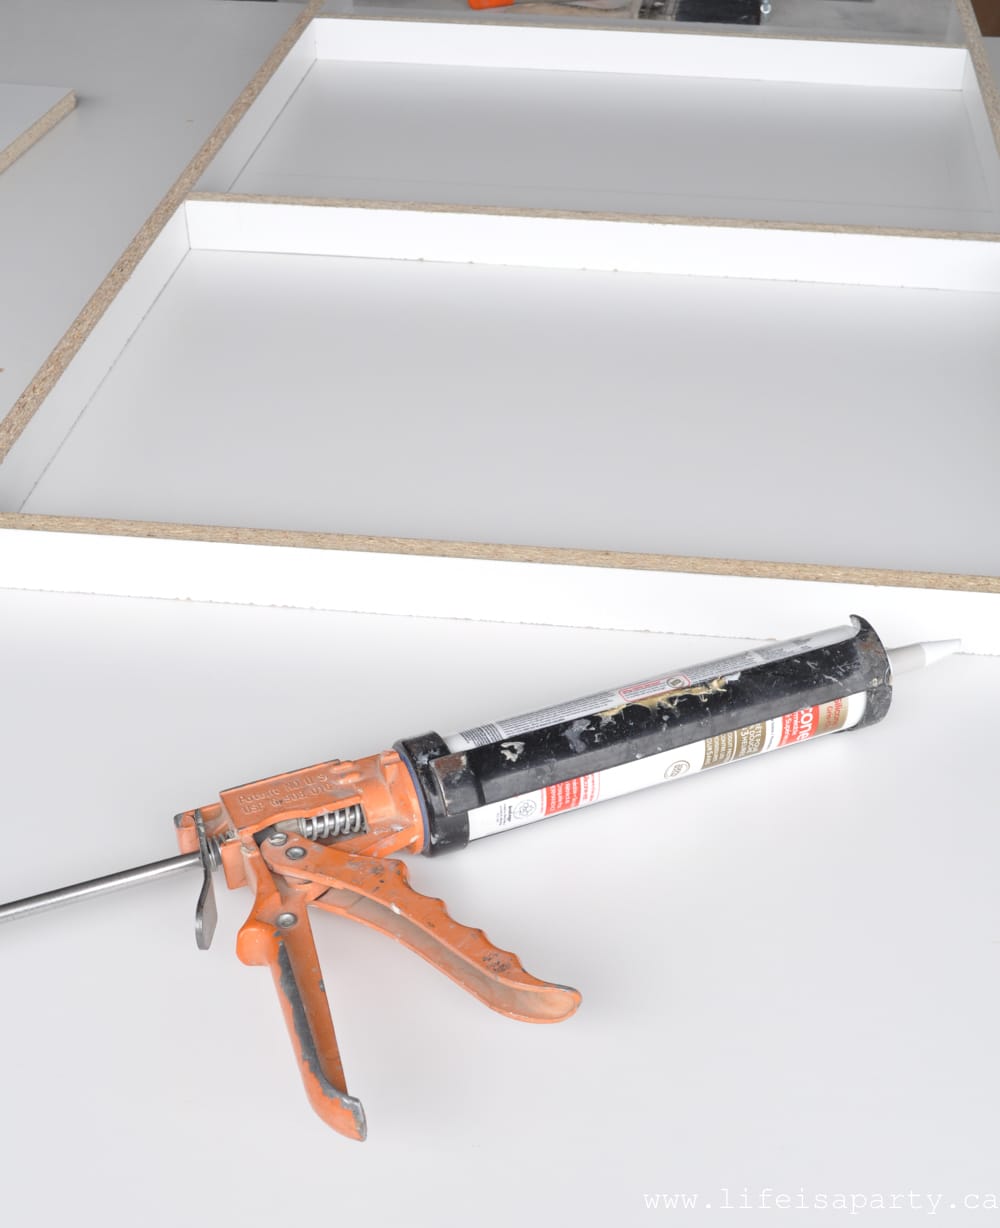
Caulking The Forms
Now to finish the moulds, caulk the inside seams with the silicone caulking, applying a silicone bead around the edge, and then smooth out the edges. Since whatever you leave on the inside of the concrete form will transfer into the finished concrete top impression, take some care to make sure it's as smooth as possible on the seams. The silicone caulking will need at least three hours to set.
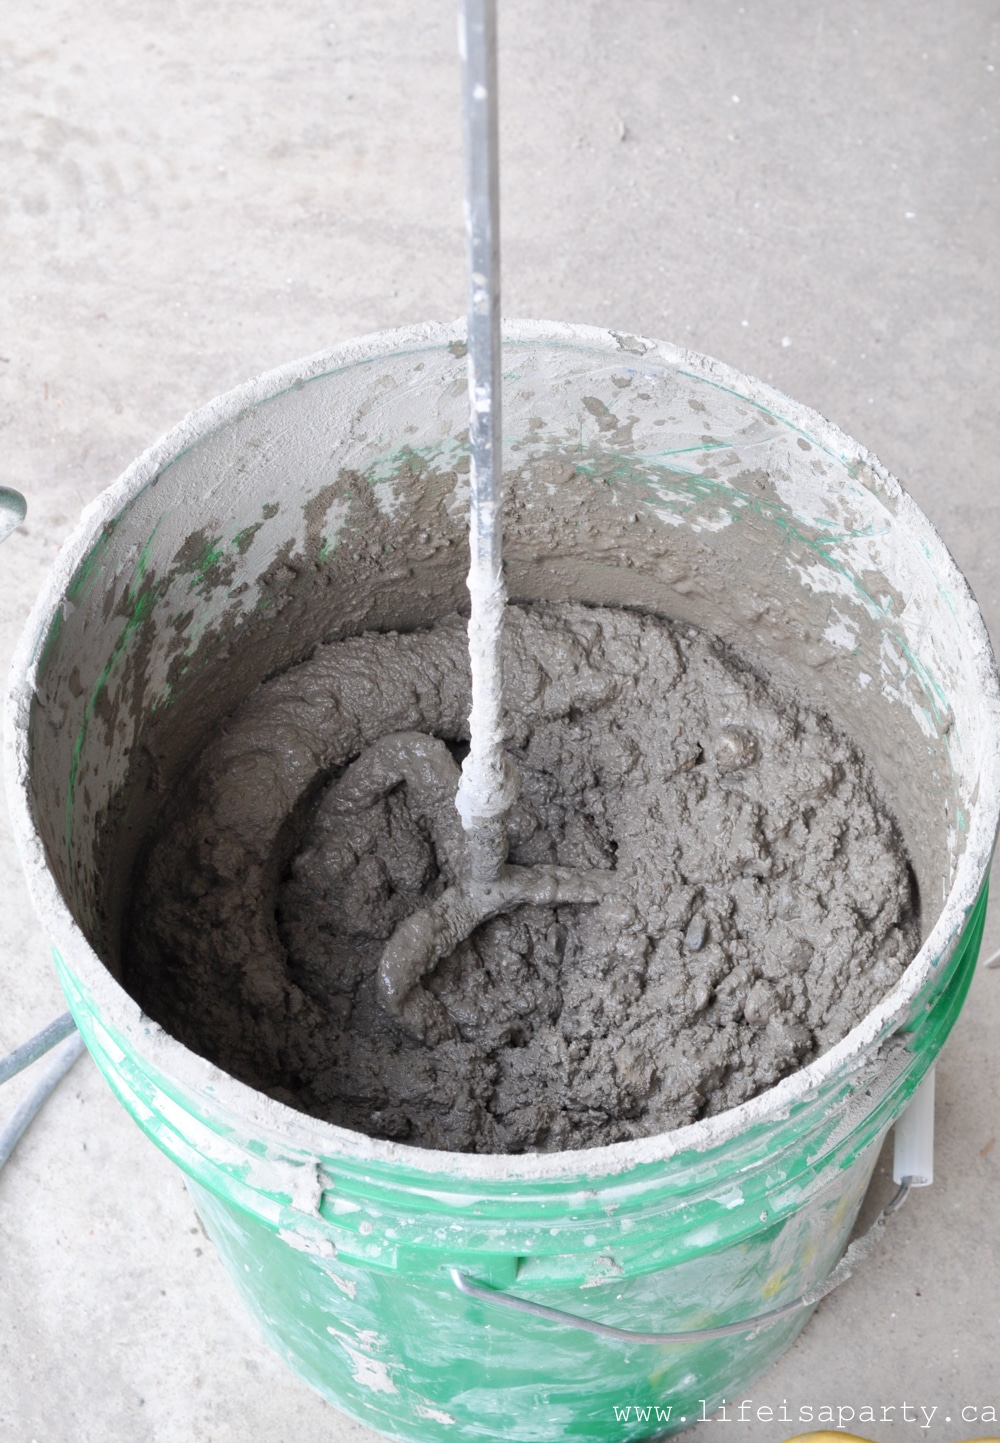
Preparing Your Concrete
Now you can mix your concrete. Follow the manufacturer's directions on the bag of concrete. Mix well, this step is very important. We used a drill attachment, and mixed our concrete in an empty bucket. The drill attachment is the perfect tool for this process, since the concrete is heavy and hard to mix thoroughly by hand. Make sure you get all the way to the bottom of the bucket when your mixing.
Because our tables were quite small we mixed the entire thing at once, but you could do it in small batches and do one table at a time if you wished.
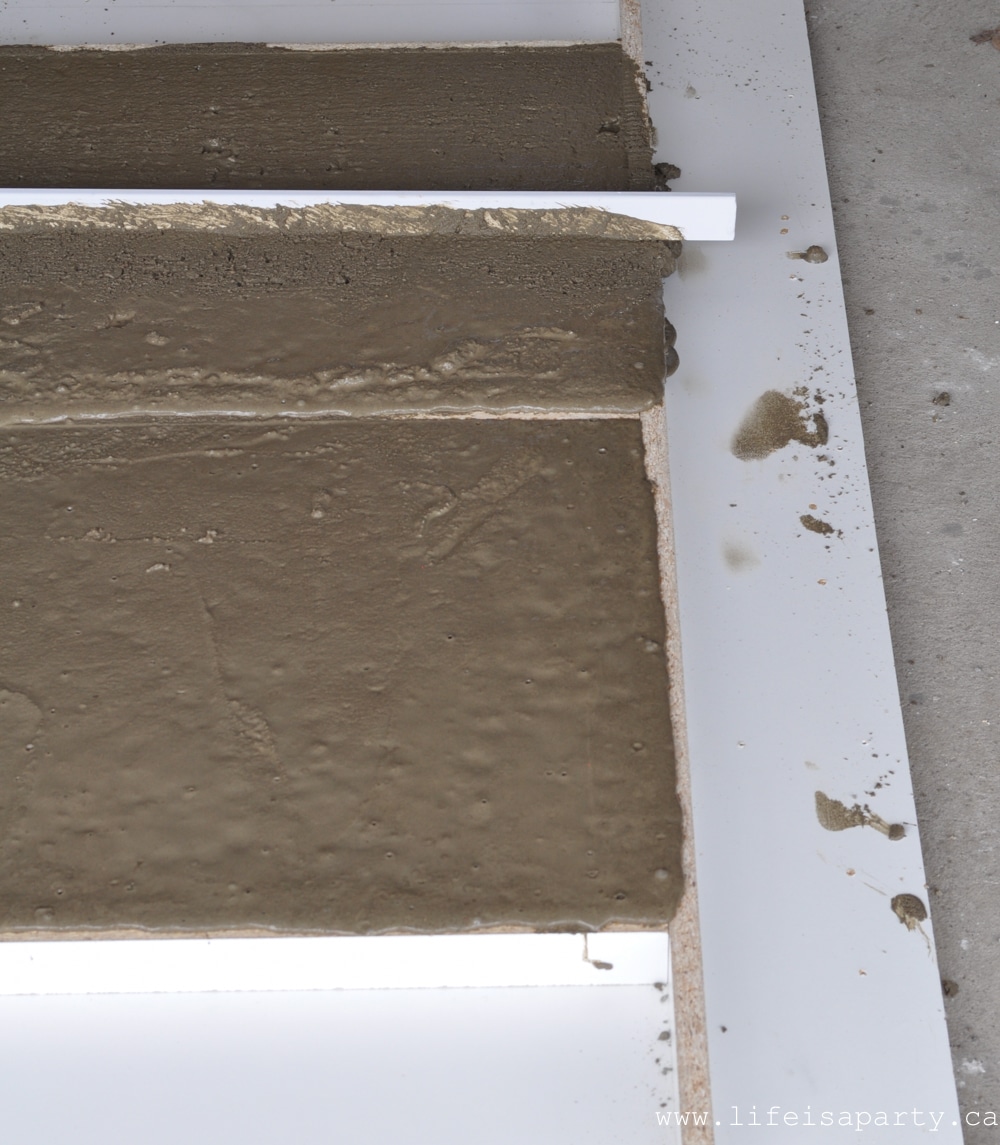
Pouring Your Concrete
Fill your moulds with the wet concrete mixture. Use a trowel to smooth out the top. Use a rubber mallet to gently give the sides of the form a good tap, to help get rid of air bubbles in the concrete mixture.
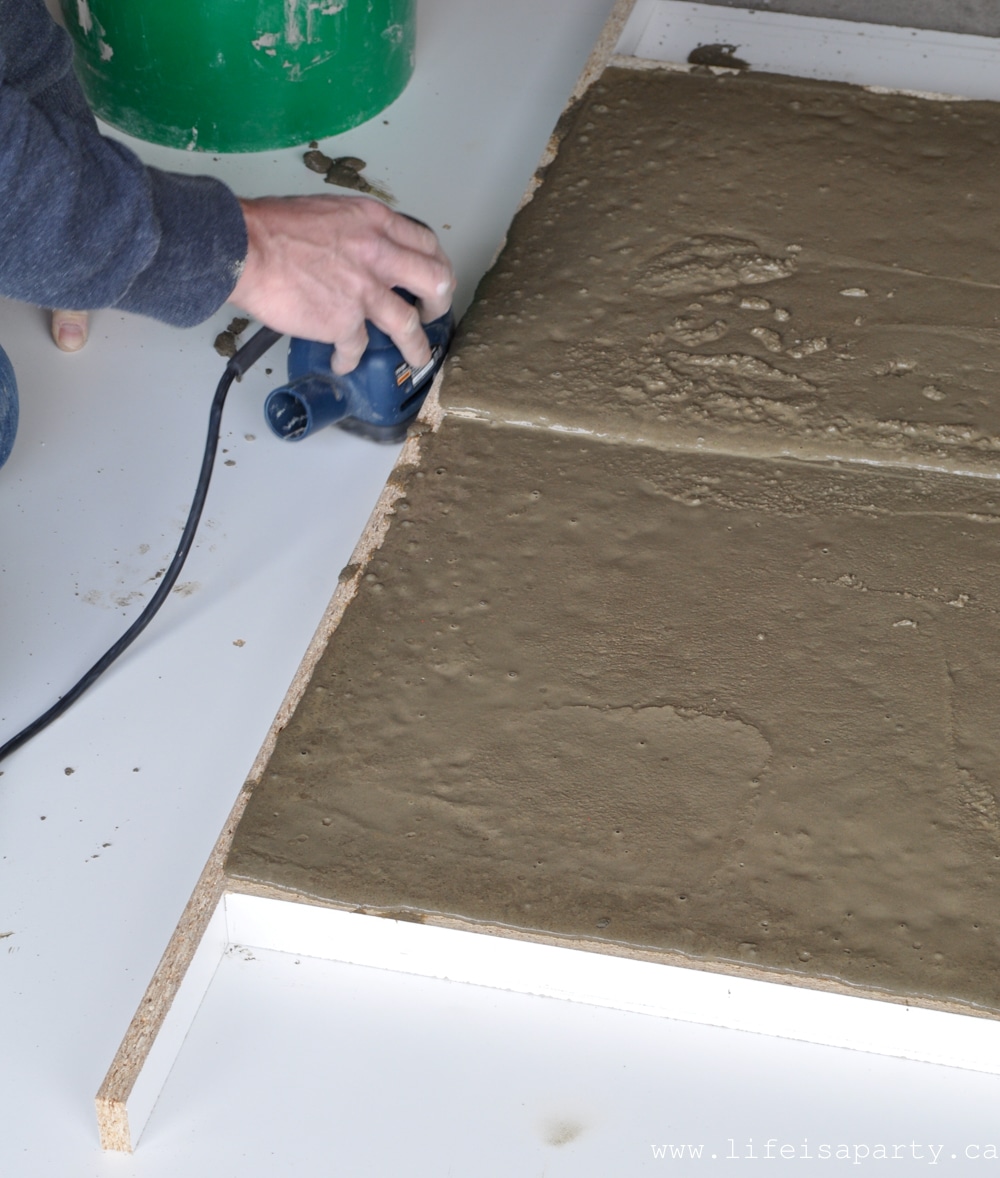
The next step, another trick (Shaun knows all the tricks) is to use a palm sander or orbital sander along the edges of the top of the form, just for the vibrations to also help get rid of the air bubbles in the cement mixture. Be sure to smooth the top and get it as level as possible.
Let the concrete tabletop set for 3 - 5 days.
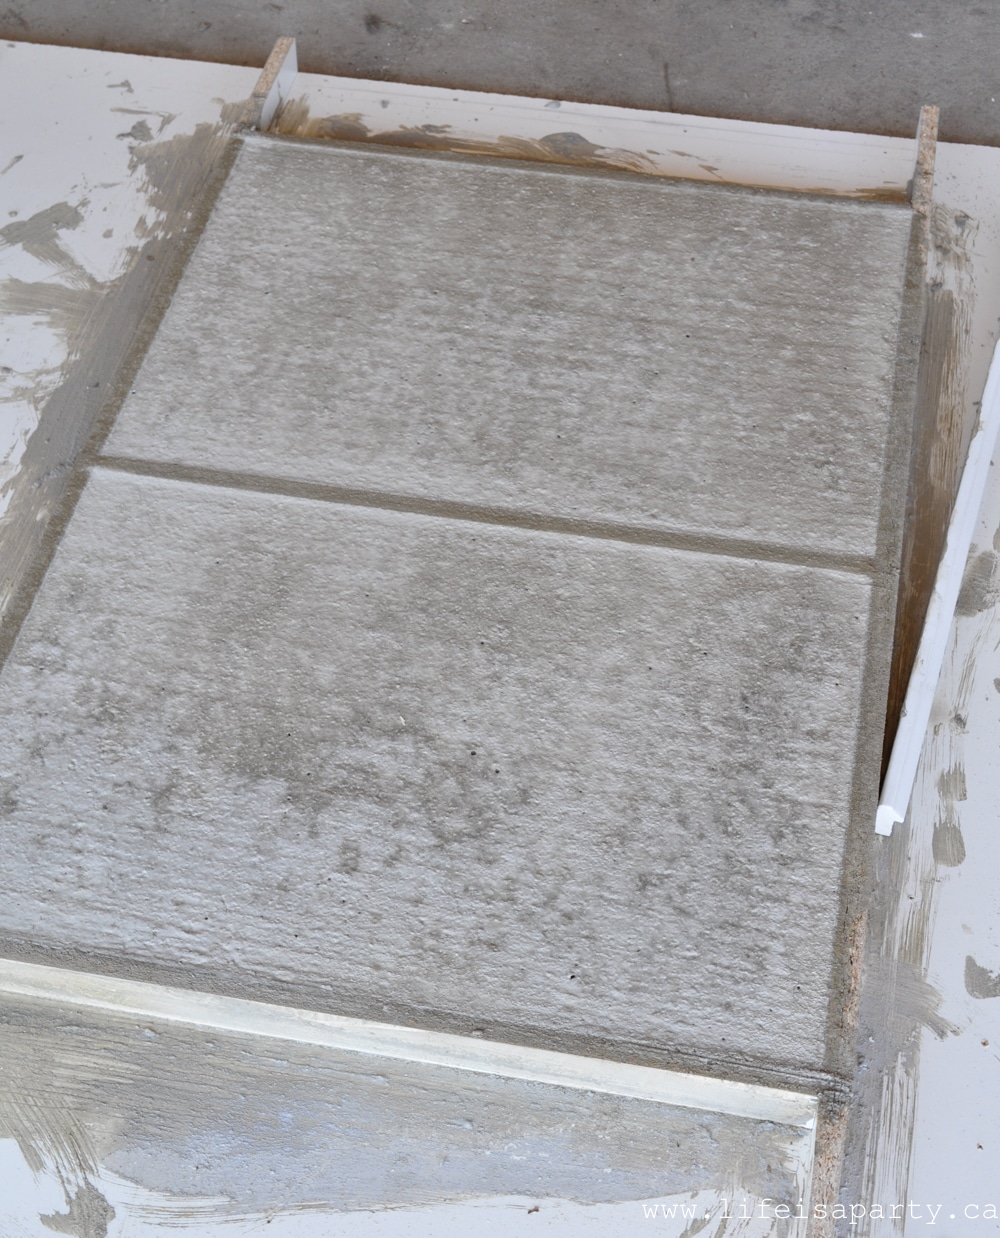
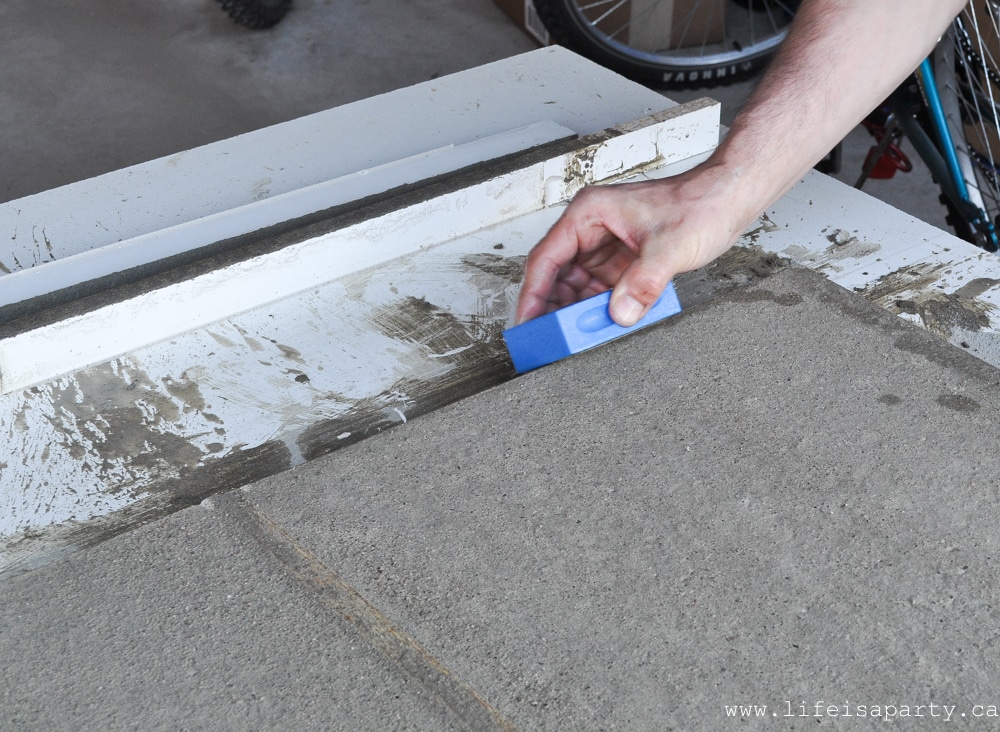
Removing The Form
Remove the form edges by removing the screws and gently prying it off the melamine. Take care not to force it, since it could crack or break still at this point. Use a wet diamond sanding pad along the edge to smooth it a little bit around the rough edges, if needed.
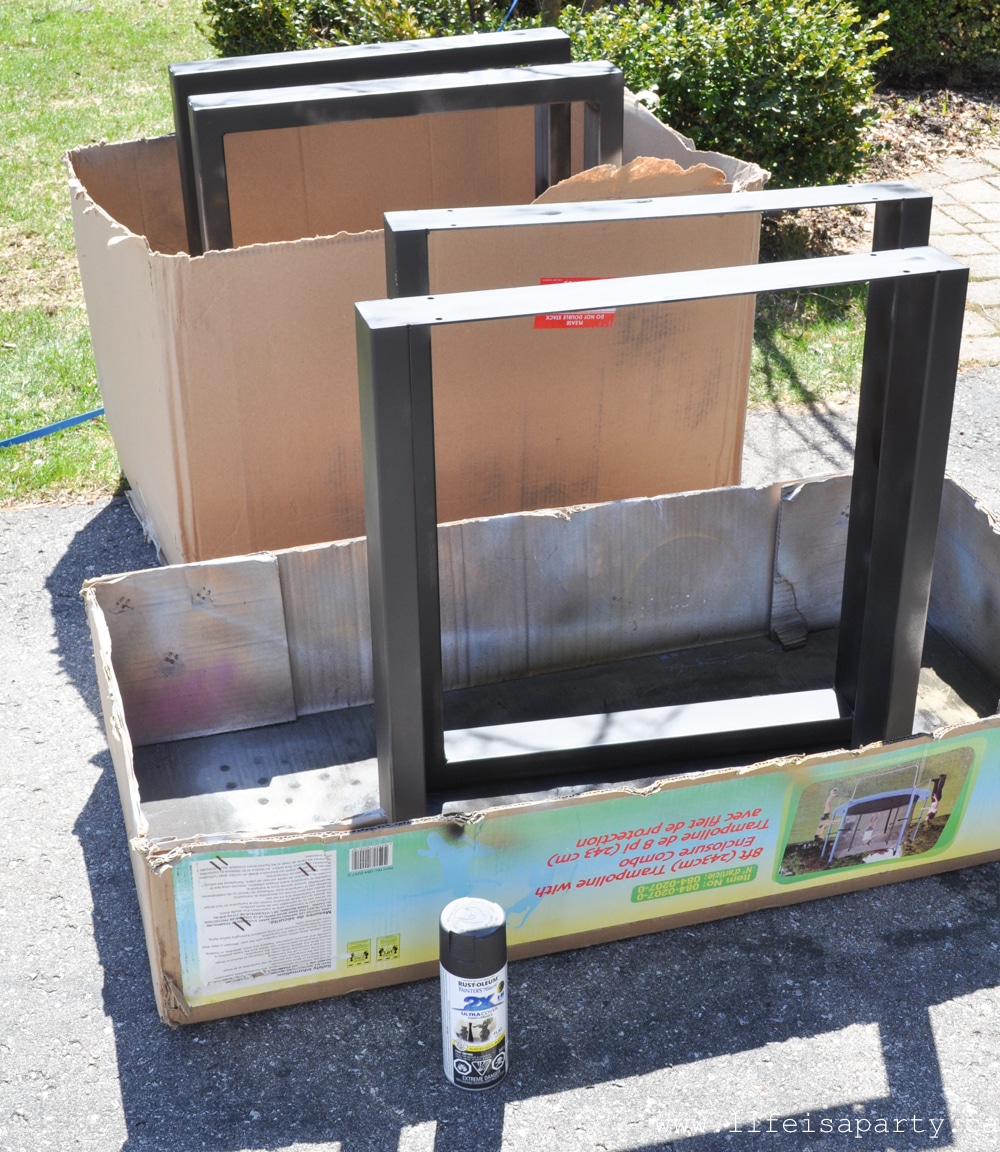
Preparing The Steel Legs
For the legs, wipe them down with varsol to remove any grease. Spray paint the table base with several coats in matte black.
Applying The Legs To The Table Top
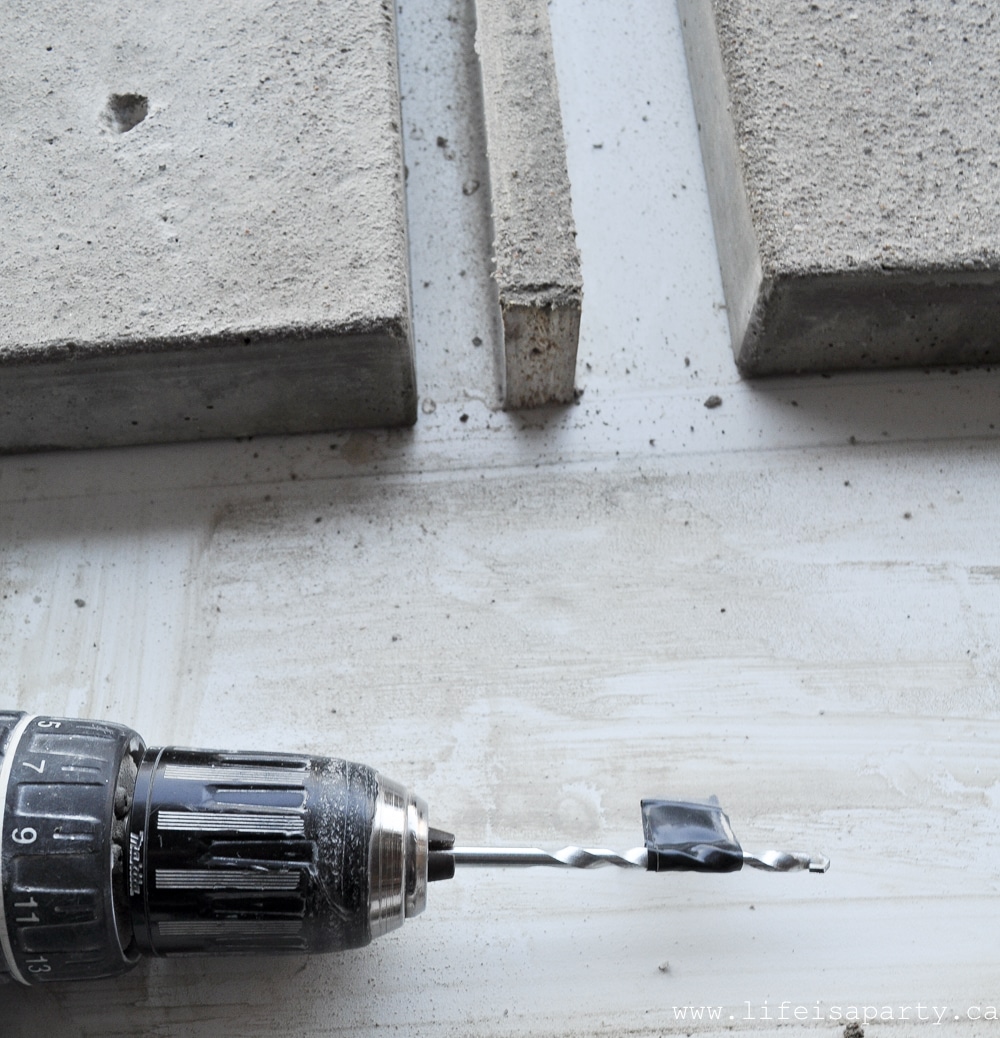
To attach the legs to the top piece, first mark out the screw holes on the bottom of the concrete table top. We only used the holes furthest from the edge to lessen the chance of cracking the concrete.
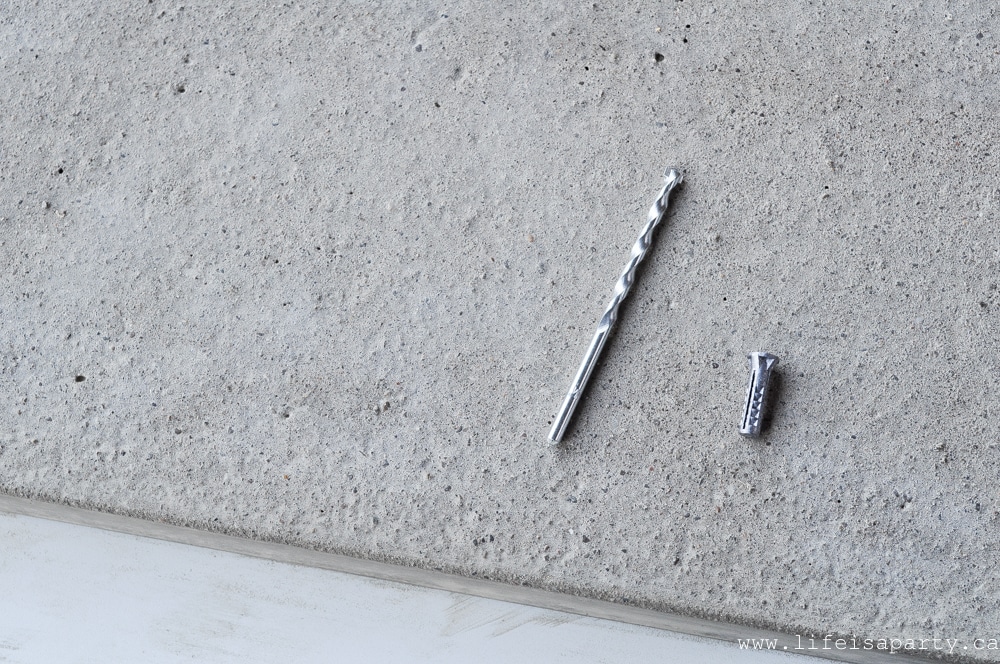
Drill holes for the lead anchors into the concrete, taking care since it's still fragile at this point. We were a little worried as we drilled the holes into the concrete. Ours wasn't quite set enough, probably because of colder night temperatures when we made it. If you let is set the whole 3-5 days though it should be fine. Of course do this part carefully though, you don't want all your hard work to be wasted by cracking anything here.
Then cut the tops off the lead anchors to make them shorter, and use the PL Premium Construction Adhesive to glue them into place in the drilled holes.
Next, add some PL Premium Construction Adhesive to the top edge of the table leg, and then glue and screw the leg into place. Again, take care since this is another time when you could crack the concrete. Then add the second set of legs and set up your table. It's very heavy.
Sealing The Concrete Tabletop
The final step is to apply a sealer to the concrete tabletop. Let the concrete cure for a full 28 days and then apply the clear coat sealer to the top of the table. (I haven't sealed it yet, but I will once the cure time is up.)
Equipment
- Saw
- Drill
- Caulking Gun
- Sander
Materials
- Steel Furniture Legs
- Matte Black Spray Paint
- Concrete Mix
- Melamine Board
- #6 Wood Screws
- Silicone Caulking
- Diamond Sanding Pad
- Lead Anchors
- 1 " Pan Head Wood Screws
- PL Premium Construction Adhesive
- Concrete Sealer
Instructions
- The first thing you need to create is your forms for the concrete table top. We made our side table tops 24" by 17". The length was based on the size of the legs. We wanted the legs to be flush with the concrete top. The forms were made from a piece of melamine. It's nice and smooth and creates a really nice smooth finish on the table top, compared to regular wood forms. We highly recommend using melamine for the forms for a beautiful finished table top as your end result.
We made our tops 1 ½" thick, the same thickness as the table legs for a cohesive look. - Begin by cutting the edges for the form. We made two tables at once, so we cut three 17" long strips, that were 1 ½" thick. We made our two forms together so the long sides edge pieces were just over 60" to accommodate two 24" sections, plus the thickness of the form edge.
- Next lay out the first long side of the mould and drill guide holes through the form edge and right through the bottom so that you can screw it together from the back side with #6 wood screws. Use a square clamped into place to make sure your corners are perfectly square for your concrete mold. Pre-drill and screw into place the rest of the form edges.
- Now to finish the moulds, caulk the inside seams with the silicone caulking, applying a silicone bead around the edge, and then smooth out the edges. Since whatever you leave on the inside of the concrete form will transfer into the finished concrete top impression, take some care to make sure it's as smooth as possible on the seams. The silicone caulking will need at least three hours to set.
- Now you can mix your concrete. Follow the manufacturer's directions on the bag of concrete. Mix well, this step is very important. We used a drill attachment, and mixed our concrete in an empty bucket. The drill attachment is the perfect tool for this process, since the concrete is heavy and hard to mix thoroughly by hand. Make sure you get all the way to the bottom of the bucket when your mixing.
Because our tables were quite small we mixed the entire thing at once, but you could do it in small batches and do one table at a time if you wished. - Fill your moulds with the wet concrete mixture. Use a trowel to smooth out the top. Use a rubber mallet to gently give the sides of the form a good tap, to help get rid of air bubbles in the concrete mixture. The next step, another trick (Shaun knows all the tricks) is to use a palm sander or orbital sander along the edges of the top of the form, just for the vibrations to also help get rid of the air bubbles in the cement mixture. Be sure to smooth the top and get it as level as possible.
- Let the concrete tabletop set for 3 - 5 days.
- Remove the form edges by removing the screws and gently prying it off the melamine. Take care not to force it, since it could crack or break still at this point. Use a wet diamond sanding pad along the edge to smooth it a little bit around the rough edges, if needed.
- For the legs, wipe them down with varsol to remove any grease. Spray paint the table base with several coats in matte black.
- To attach the legs to the top piece, first mark out the screw holes on the bottom of the concrete table top. We only used the holes furthest from the edge to lessen the chance of cracking the concrete. Drill holes for the lead anchors into the concrete, taking care since it's still fragile at this point. We were a little worried as we drilled the holes into the concrete. Ours wasn't quite set enough, probably because of colder night temperatures when we made it. If you let is set the whole 3-5 days though it should be fine. Of course do this part carefully though, you don't want all your hard work to be wasted by cracking anything here. Then cut the tops off the lead anchors to make them shorter, and use the PL Premium Construction Adhesive to glue them into place in the drilled holes. Next, add some PL Premium Construction Adhesive to the top edge of the table leg, and then glue and screw the leg into place. Again, take care since this is another time when you could crack the concrete. Then add the second set of legs and set up your table.
- The final step is to apply a sealer to the concrete tabletop. Let the concrete cure for a full 28 days and then apply the clear coat sealer to the top of the table. (I haven't sealed it yet, but I will once the cure time is up.)
Table Base Options
Aren't these side tables amazing looking? I really love how they turned out and what they add to the room. We have a really large bed so I used the regular table height 28" legs, but the legs do come shorter if you need something to be in scale with a regular lower bed, or a sofa. The smaller ones would work great for living room side tables too. You could also leave the legs as un-painted steel and just seal them for a more industrial look instead of painting them black.
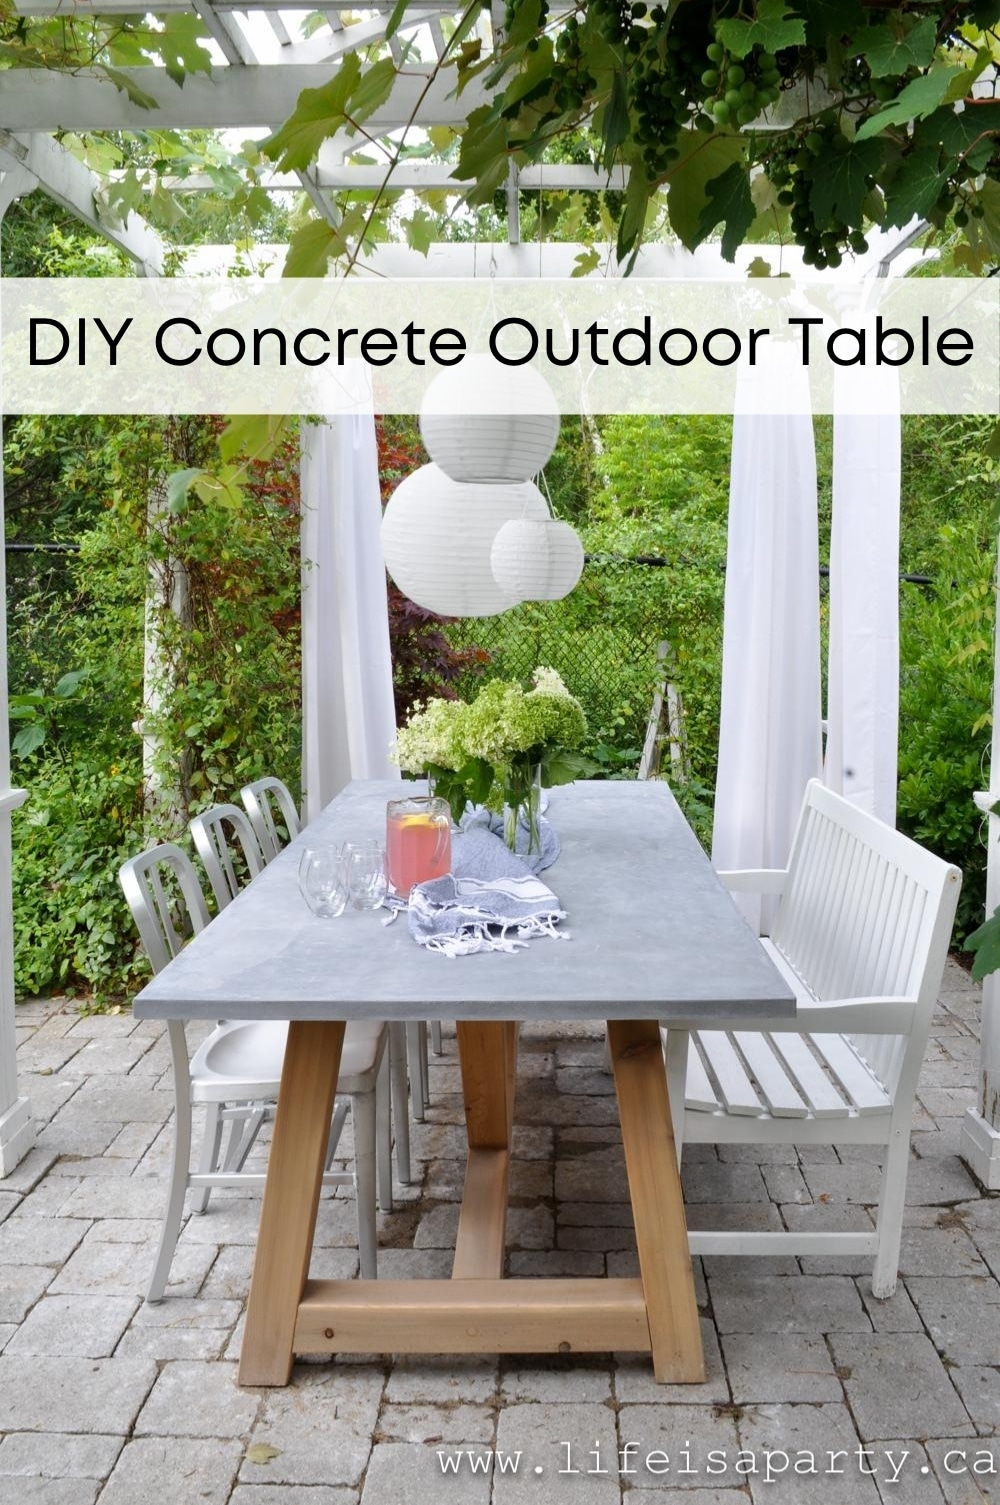
I think the steel legs add to the industrial feel of the concrete tables that we were going for. You could create a wood base for your tables. This would reduce the cost of this DIY. Check out this post where we made a large outdoor concrete table with wood legs for more inspiration.
Hairpin legs would also be another great option for this projects.
This table top is very heavy, so whatever you choose for your base, it definitely needs to be quite sturdy.
Can I Use This Table Outside?
Yes, you can use this table as an outdoor concrete table. In order to maintain an outdoor side table, make sure that the concrete is sealed. Also make sure the that the steel legs are painted with exterior paint so that they don't rust. We recommend covering the table in winter to protect it from snow if you live in a cold climate. Make a lower version of this table and use it as a beautiful outdoor coffee table.
This post is sponsored by Home Depot Canada. As always all opinions are my own.
I really could not have brought this room together without some amazing sponsors. Check out the finished room reveal here. A special thanks to

Home Depot, Wayfair, HomeSense, Afloral, Amara, Para, Minted, Bobbie Made, Benjamin Wood Works, and Auto Artwork Shop. All opinions are my own, as always. Thanks for supporting the brands that make Life is a Party possible.
More Inspiration
You might also like our DIY Outdoor Concrete Table here.
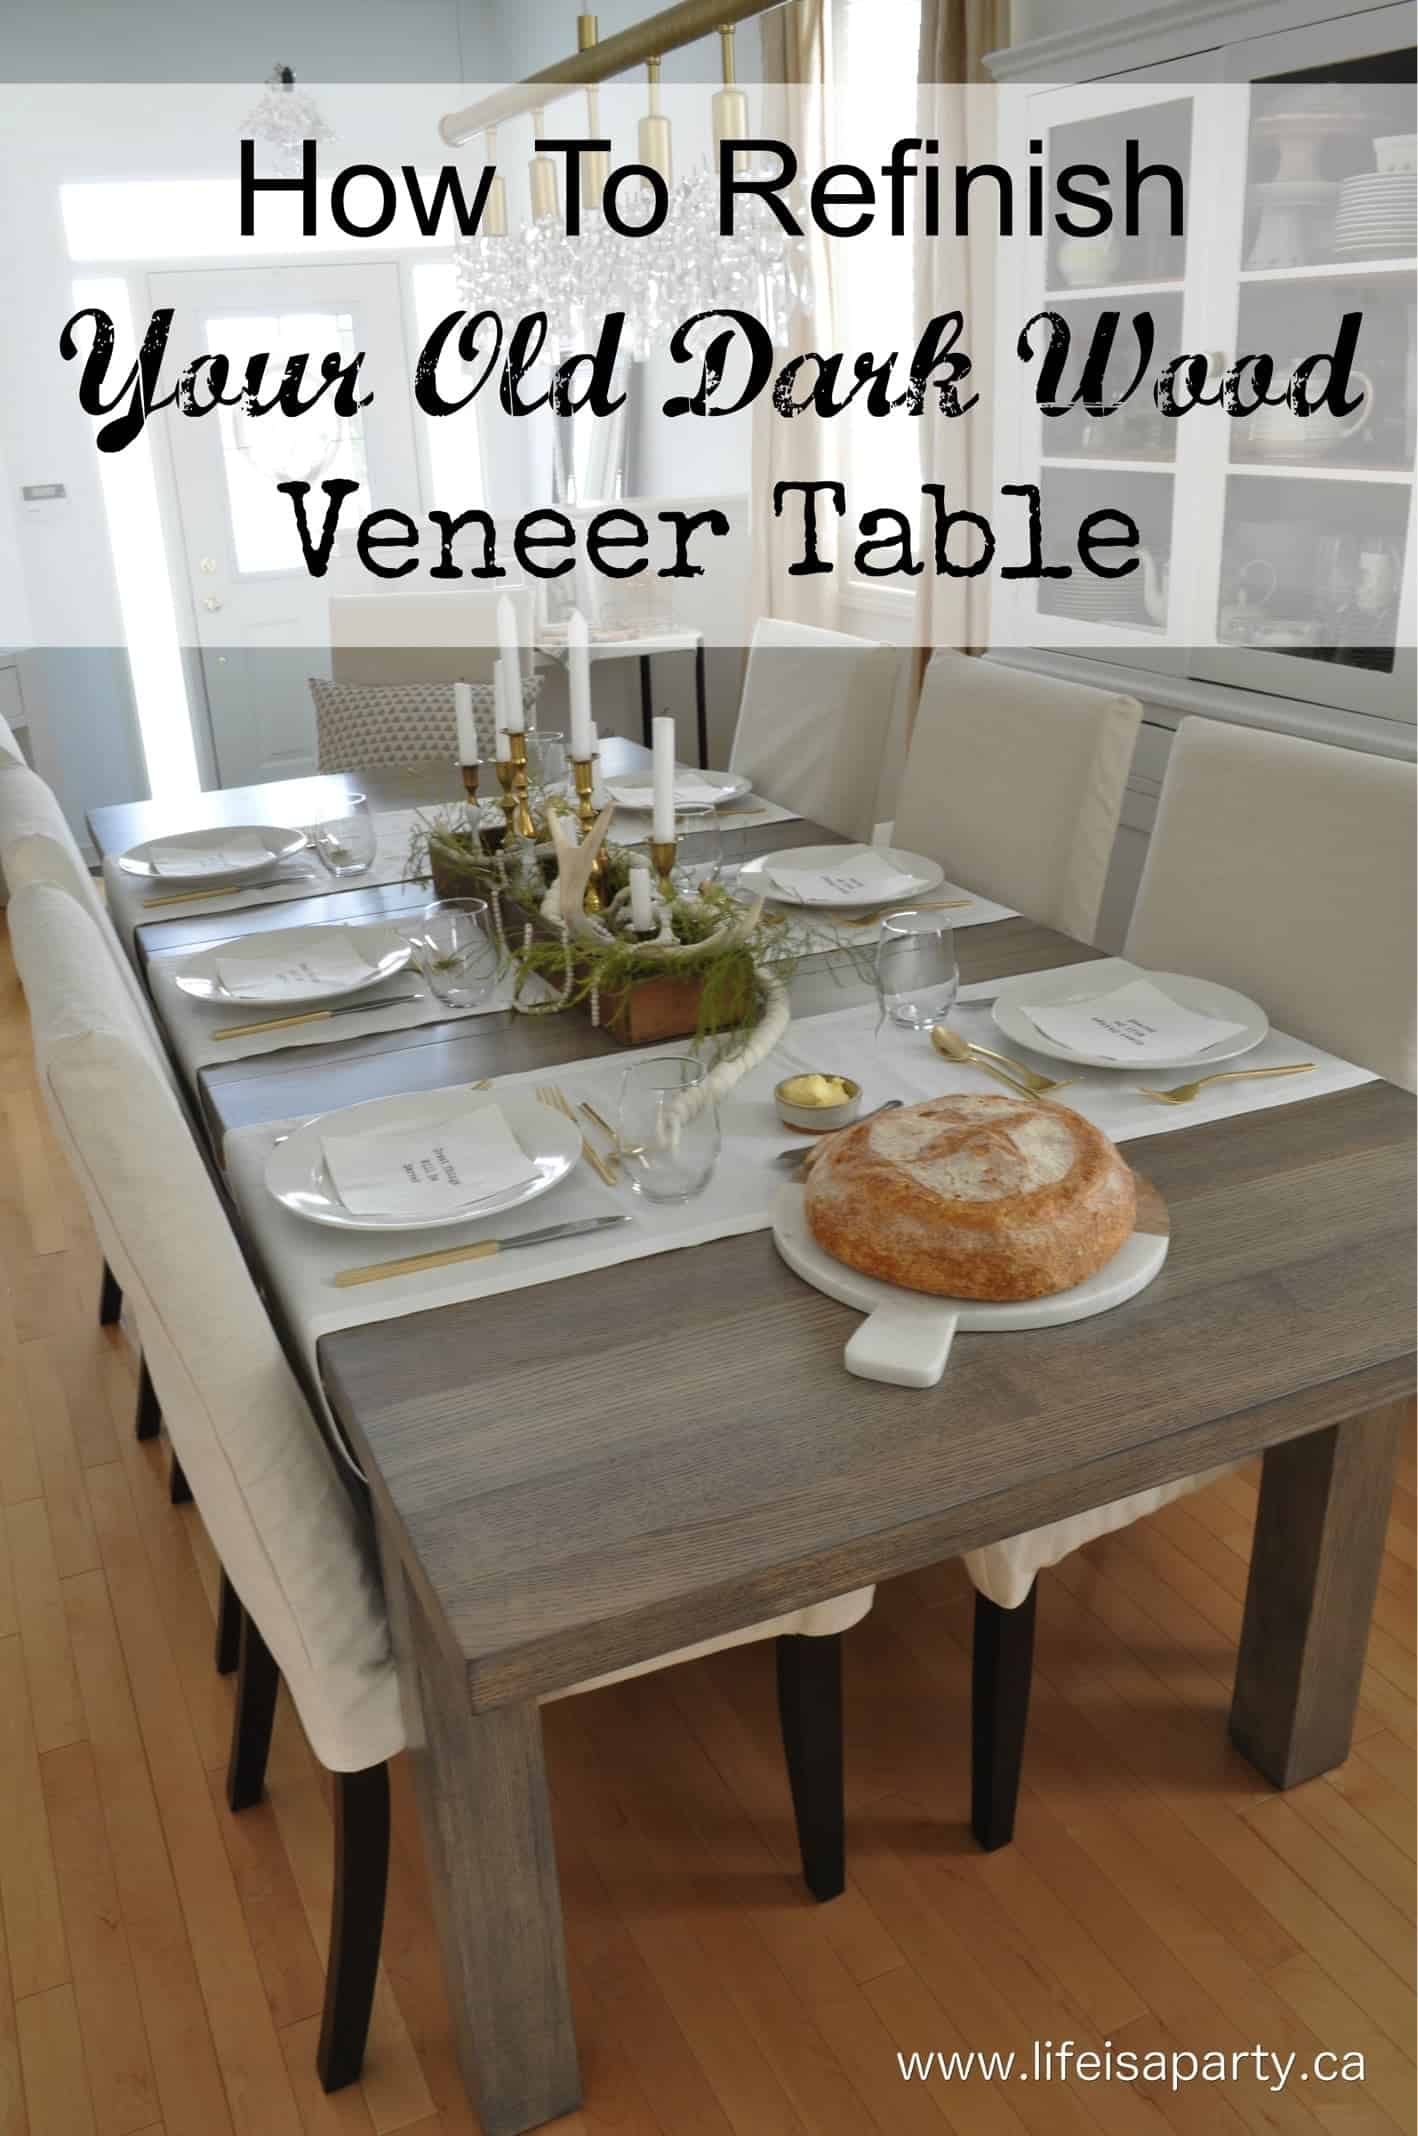
Also check out How To Refinish Your Dark Wood Veneer Table here.
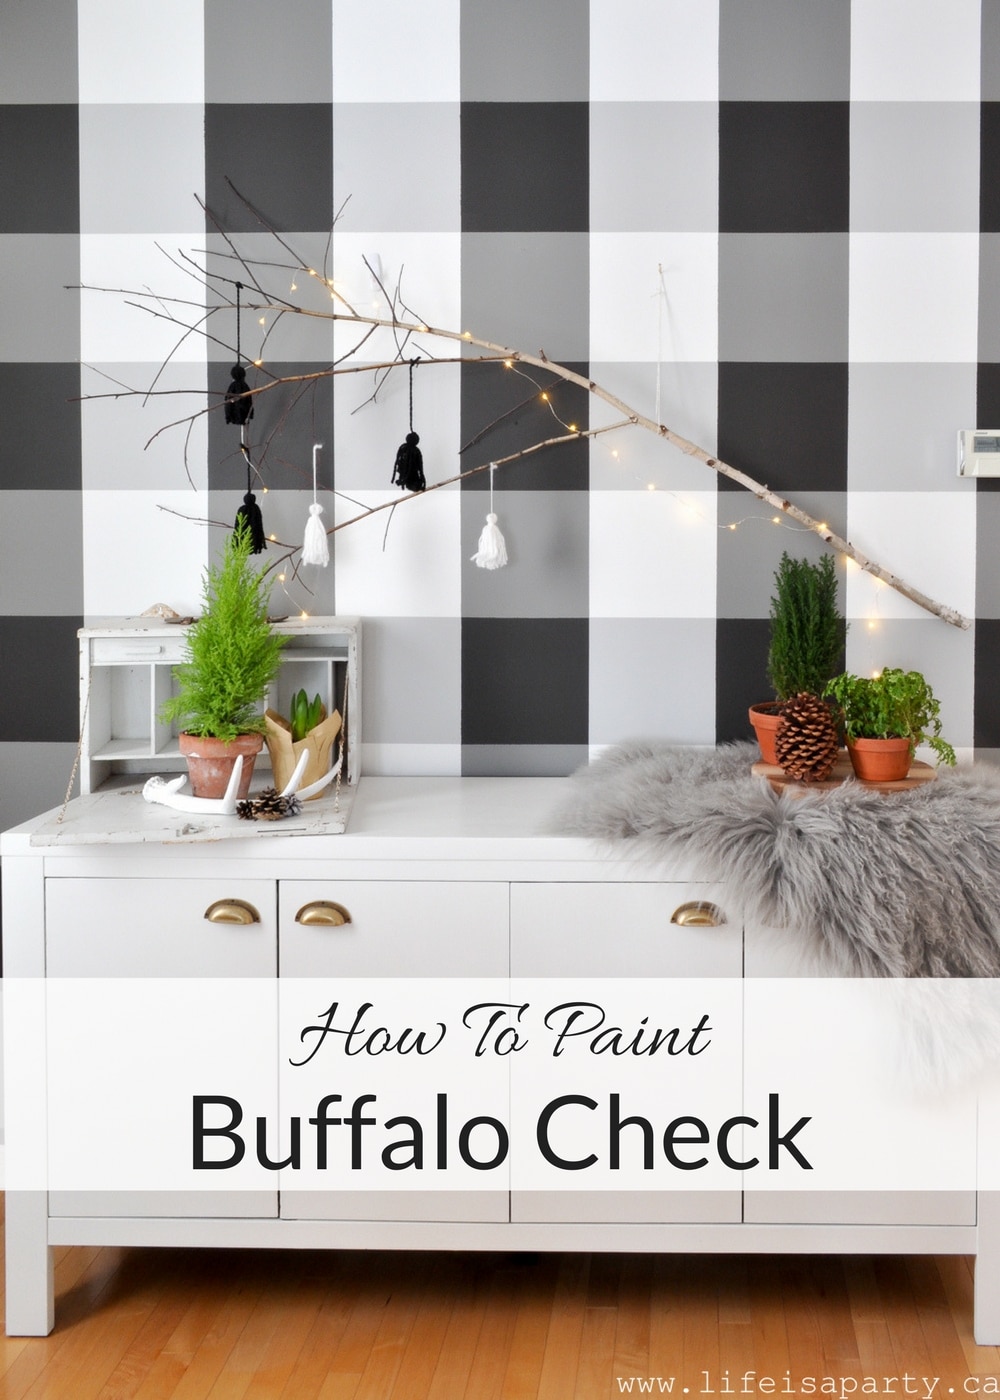
Also check out How To Paint A Buffalo Check Feature Wall here.


dnr says
Jessica, thanks so much.
Dannyelle
Jessica | Petal + Ply says
What a great DIY! The tables turned out perfectly. 🙂
dnr says
Lidia thanks so much.
Dannyelle
dnr says
Vicki and Jen, thanks so much. Amazing what you can do with concrete. 😉
Dannyelle
dnr says
Susanne, thank you. I was so nervous too, lol. So glad they turned out.
Dannyelle