DIY Graduation Party Decorations: use your Cricut to create banners, custom stickers, a cake topper and balloon decals.

Jump to:
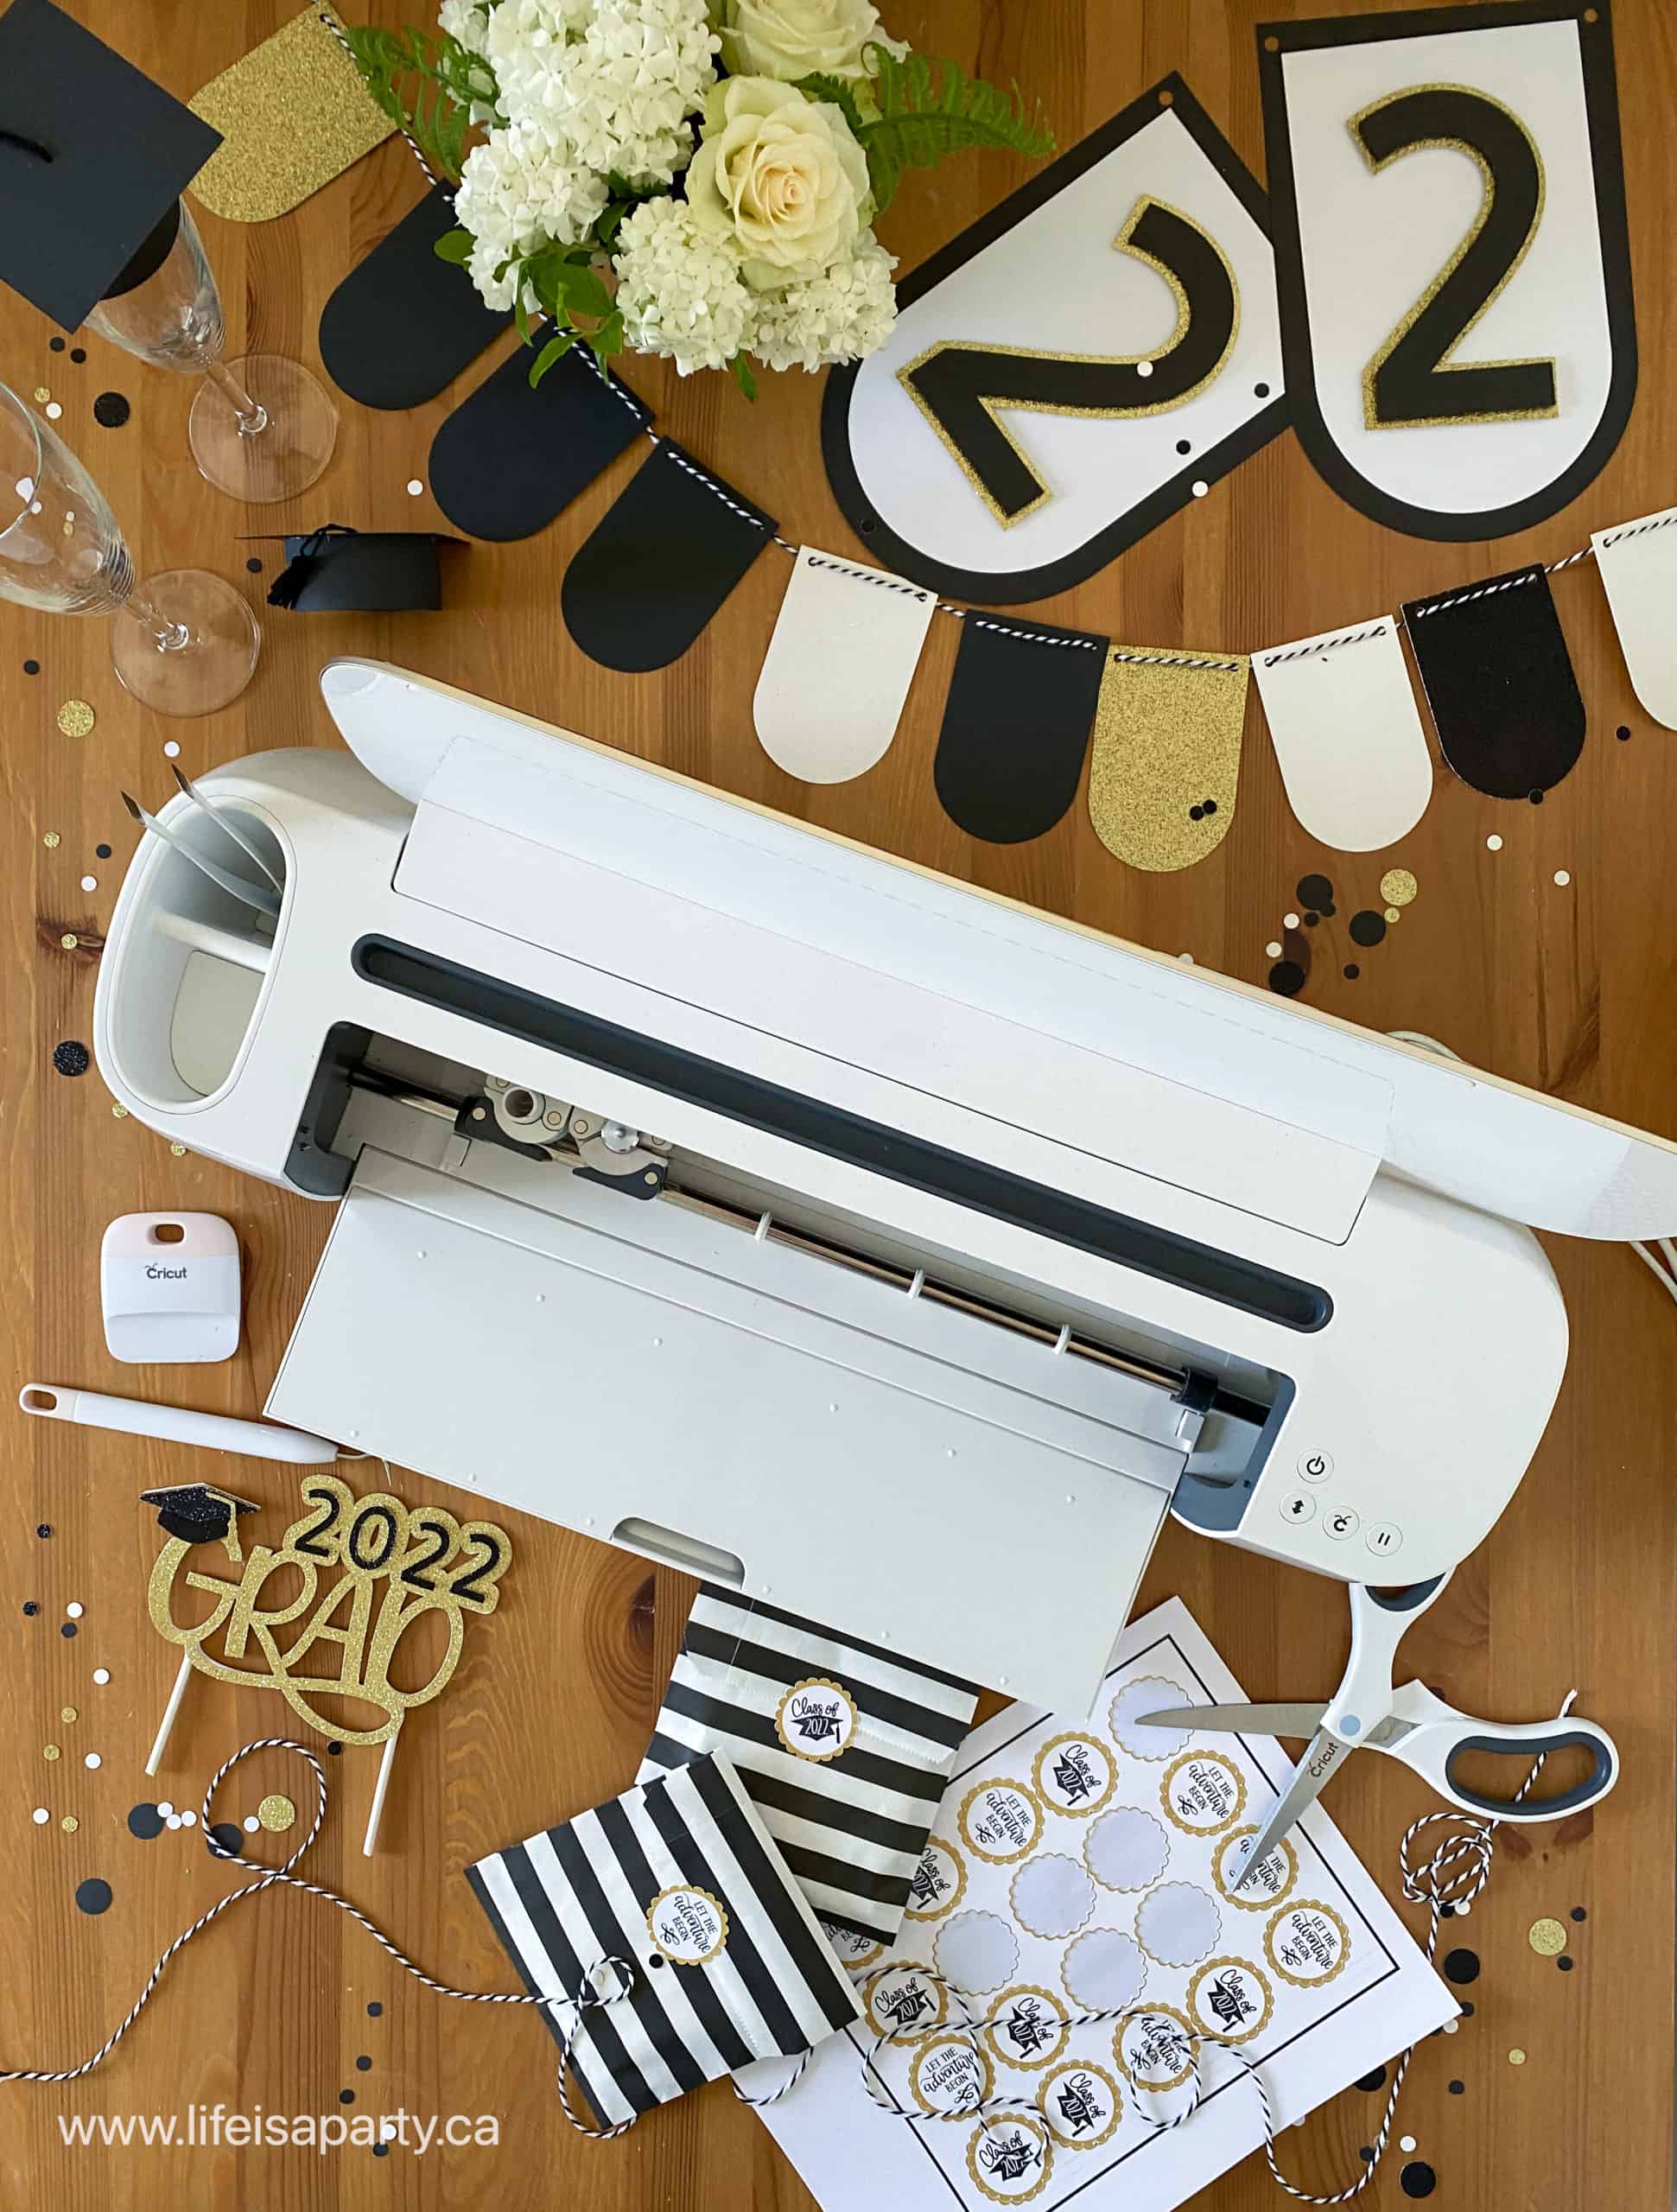
Heading into graduation season, we're celebrating all the graduates with a fun graduation party with lots of cute DIY graduation party decorations made on our Cricut machine. It's such a great way to make your own custom DIY graduation decorations. These ideas would work well for a high school grad party or for a special party on graduation day. Even if you don't think of yourself as creative, Cricut allows you to create beautiful and co-ordinated events, and turns a daunting task into a fun one! We used Cricut Design Space, the free software where you design your projects, and Cricut fonts and images and our best graduation party ideas to create all our custom DIY graduation party decorations!
For our party we used a black, white and gold party decor color scheme, but you could also incorporate the school colors if you'd like to as a fun way to personalize the decor. These would look great with the addition of one or two bright colors also. The best part about creating your own custom party decorations is that you can choose all your own colors and designs for any special occasions.
DIY Graduation Party Decorations Materials:
- Cricut Cutting Machine
- Standard Grip Cutting Mat
- White Card Stock
- Black Card Stock
- Gold Glitter Card Stock
- White Glitter Card Stock
- Black Glitter Card Stock
- Black Glitter Vinyl
- Gold Glitter Vinyl
- Gold Foil Vinyl
- Black Embroidery Cotton
- Hot Glue Gun and Glue
- Glue Stick
- 3D Adhesive Foam Squares
- Black and White Baker's Twine
- Cricut Sticker Paper
- Printer
- Snack Bags
- Lollipop Sticks
Bunting and Graduation Banners
It's always a great idea to create a backdrop for a food or dessert table for a party, it helps create a real focal point. We also wanted to incorporate the graduation year. We cut our banners and bunting out of cardstock and strung them with some baker's twine in black and white.

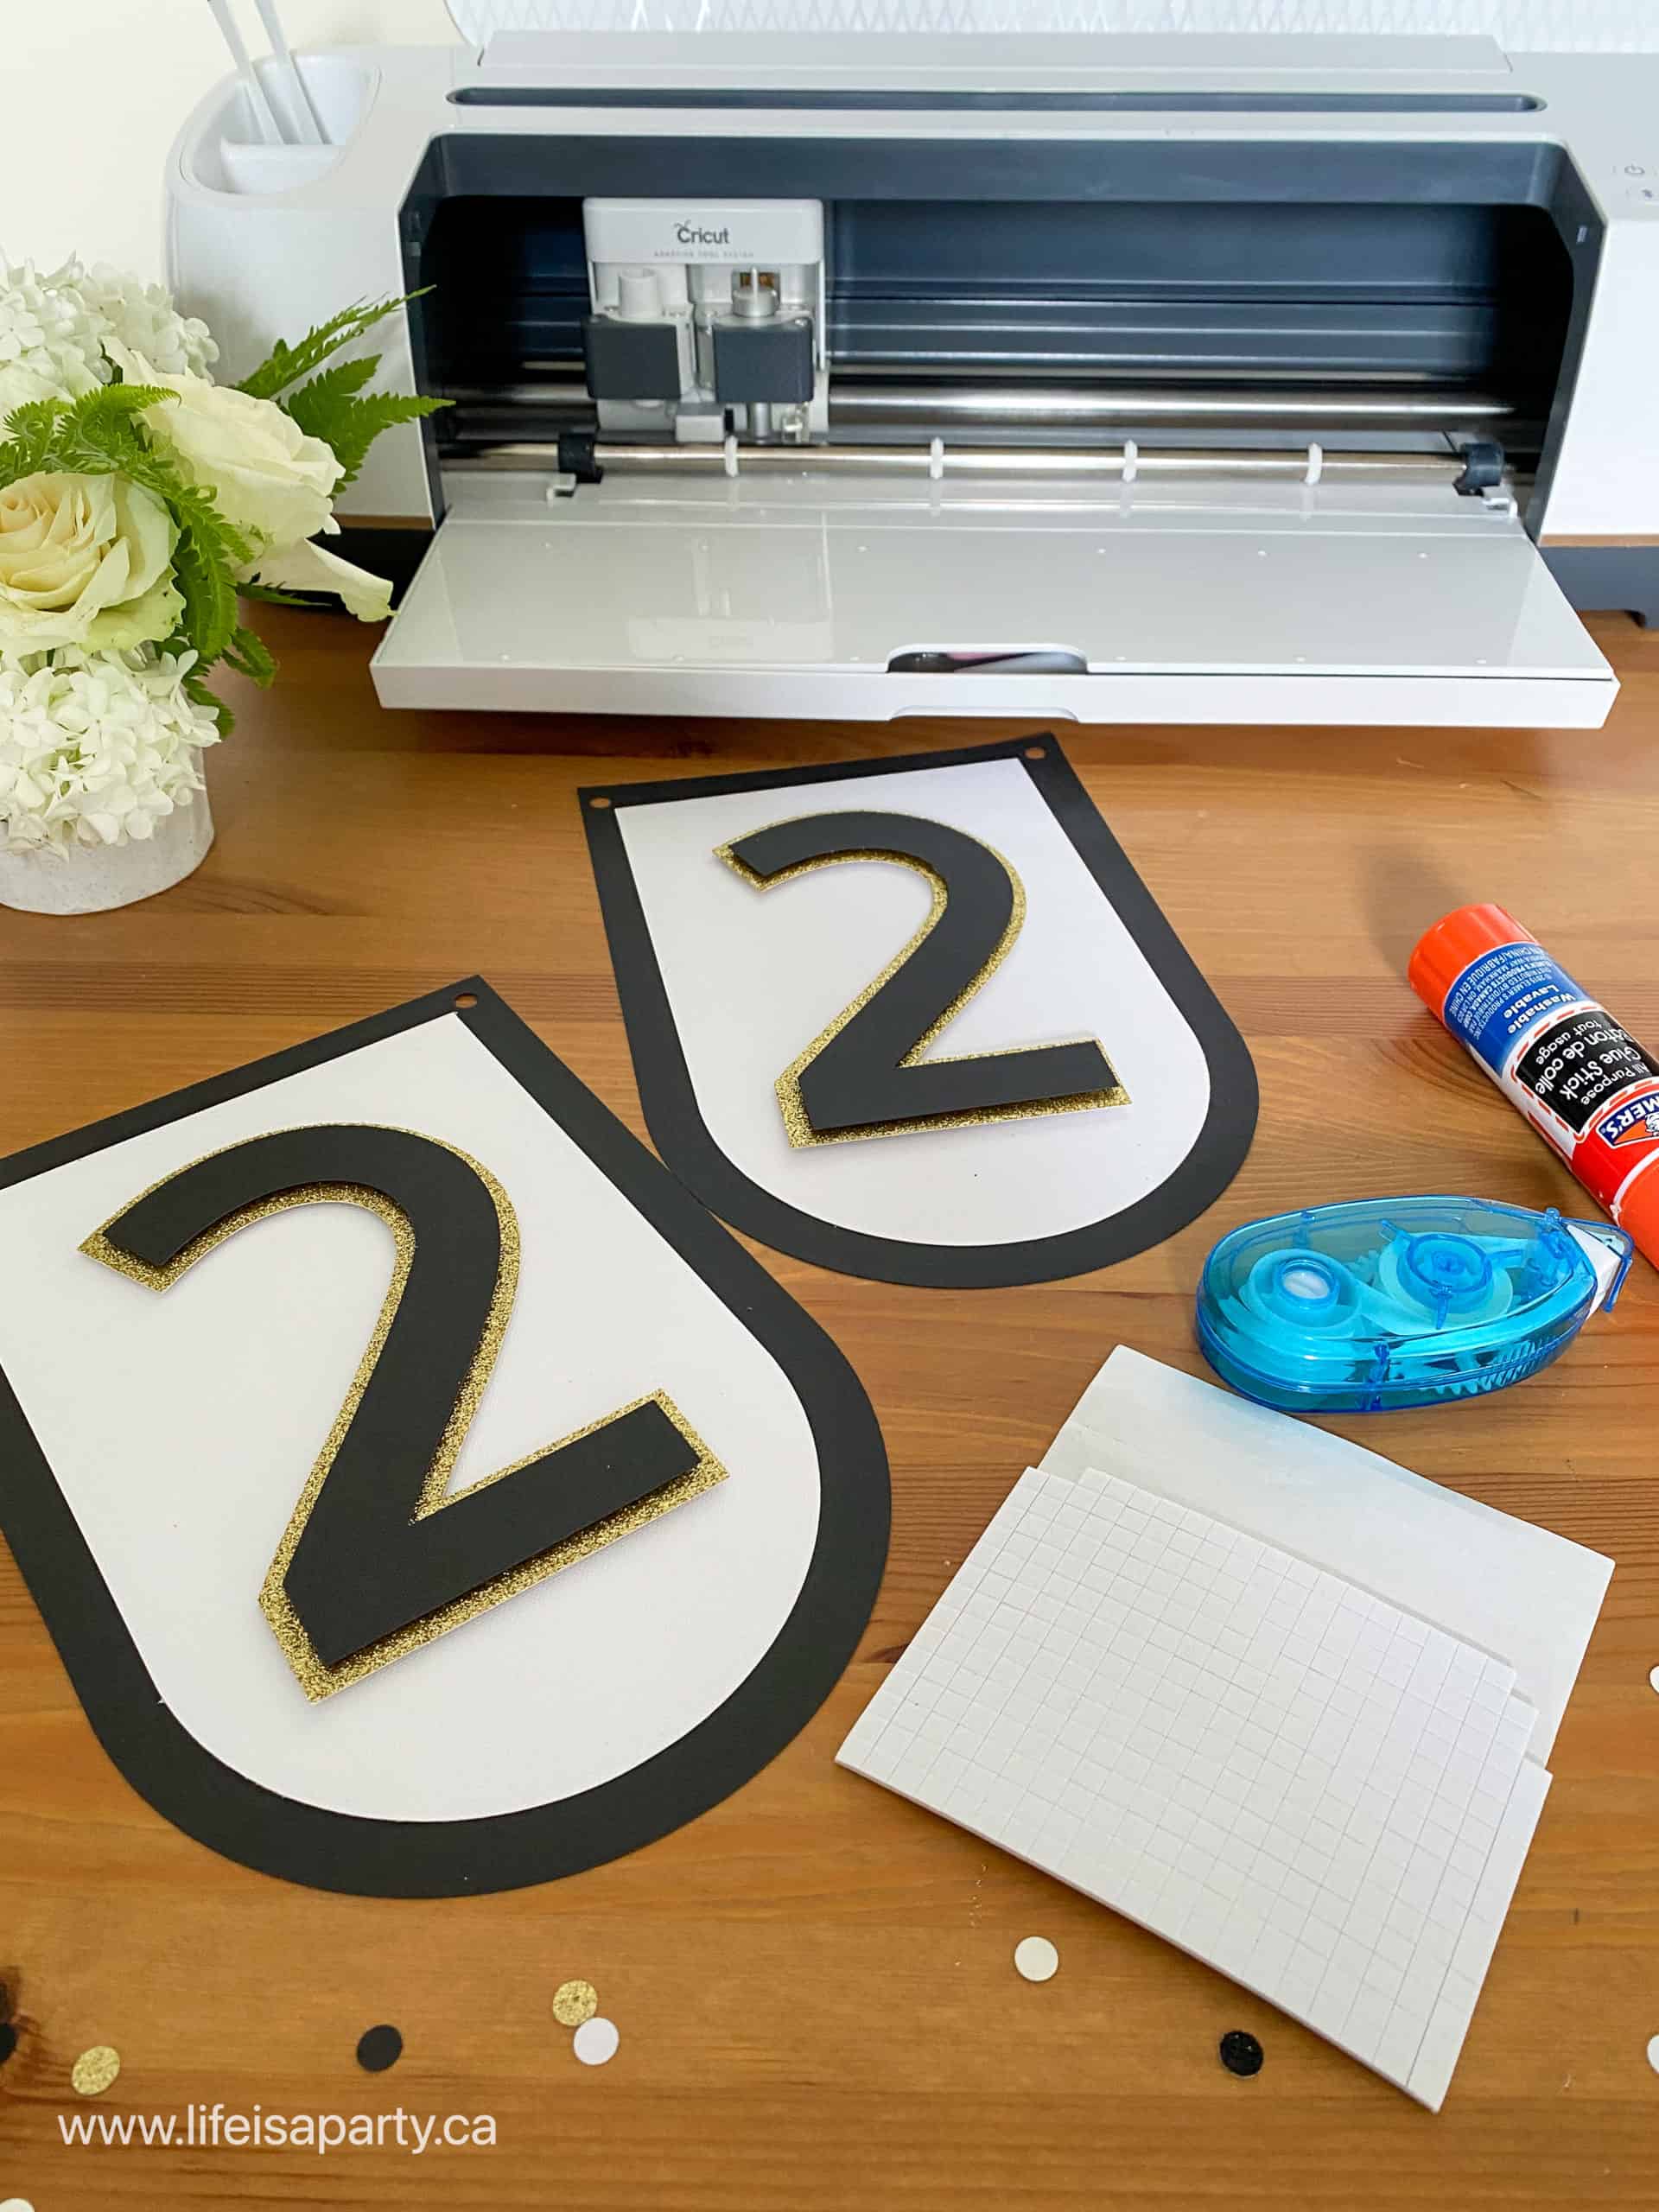
Graduation Year Banner
I wanted the 2022 banner to be a little larger than the rest, so I started with a black canvas and added the rounded arch shape from the shapes menu. I sized the outer black piece to be 6 inches wide. The layered white piece is 5 inches wide, and the font is Cricut Sans, font size 400, with an .25 offset gold layer behind it.
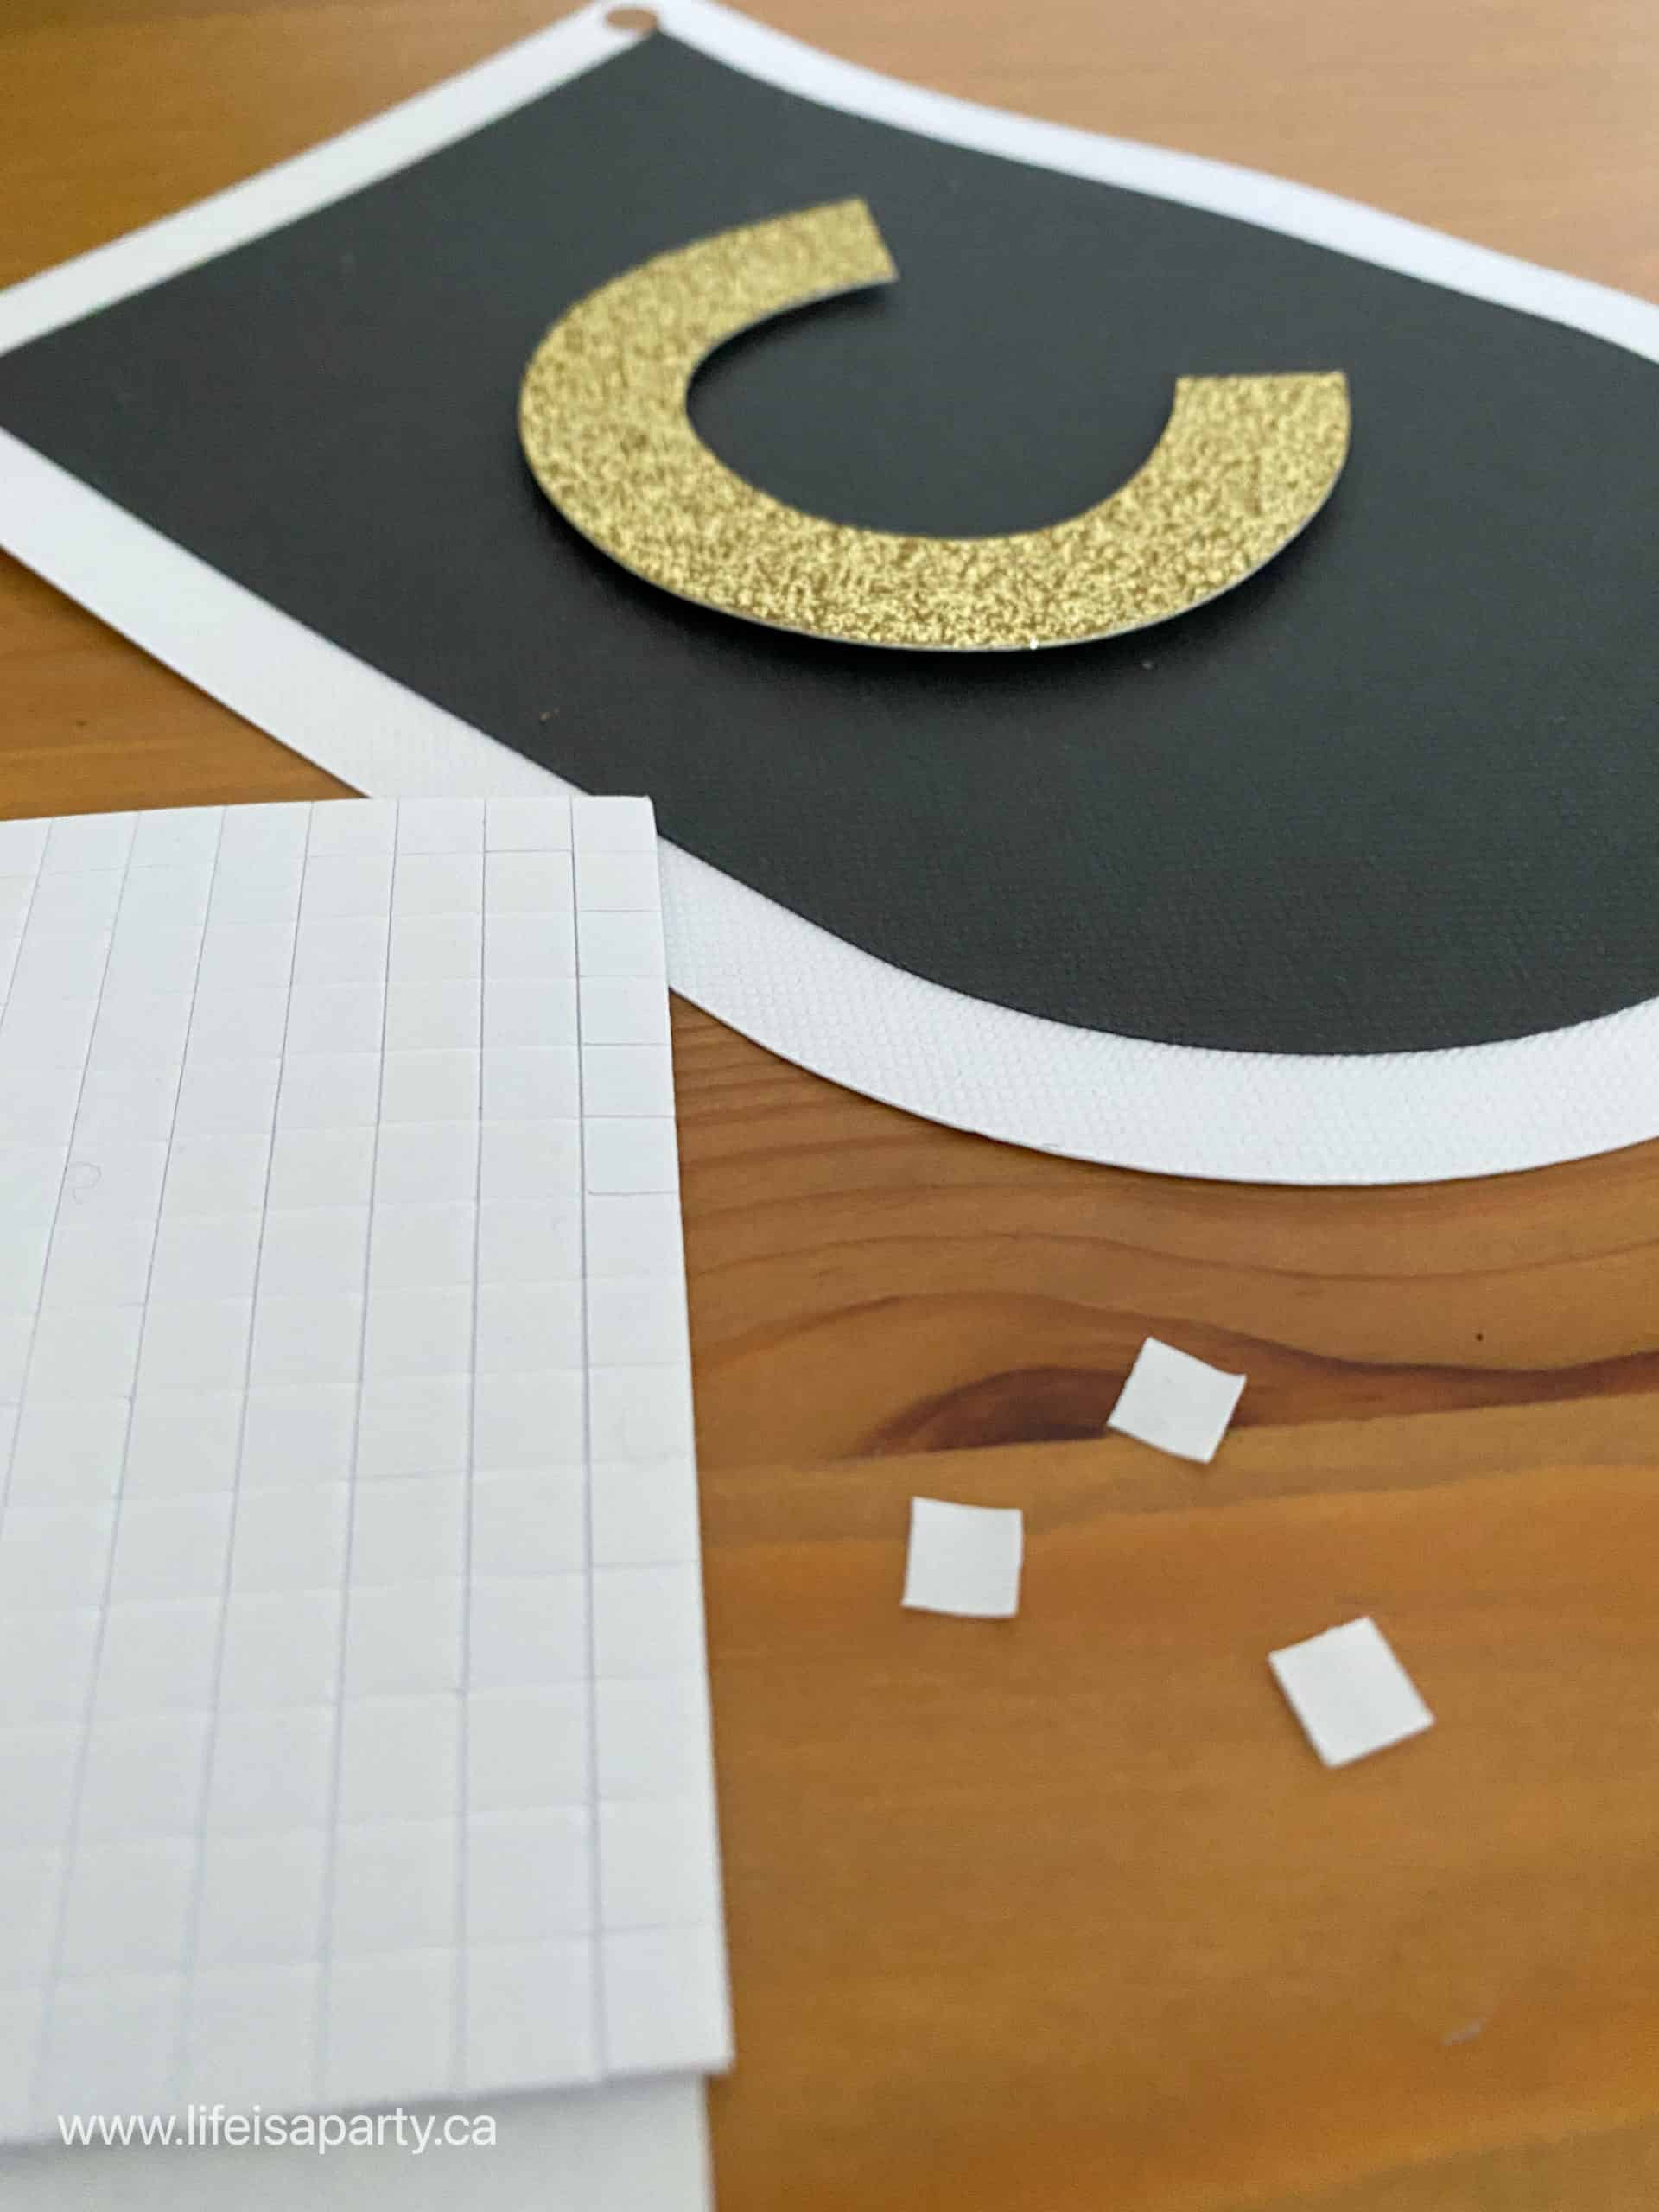
I cut it with black cardstock for the back, white cardstock for the next layer, gold glitter offset for the numbers, and black cardstock for the numbers. Layer the pieces together using a glue stick and small square adhesive 3D foam squares on the numbers to add height and interest.
Once they were glued together, we used a hole punch to add holes to each corner and black and white baker's twine to string them together to form the banner.
Congrats Banner
The congrats banner was made in much the same way as the graduation banner, but slightly smaller. The rounded arch from the shapes menu was 4 inches wide and white for the back piece, and 3.3 inches wide and black for the layer on top. We used the Cricut Sans font, lower case, font size 268 to write "congrats".

To assemble the banner we used a glue stick to attach the white card stock scalloped bunting piece to the black layer. The letters are attached with 3D foam adhesive squares to add dimension. After glueing, we added holes to the corner with a hole punch and strung them together with black and white bakers twine.
Scalloped Bunting
I wanted to repeat the scalloped shape, and made a plain bunting to go with the others that was slightly smaller. Add the rounded arch from the shapes menu to your canvas and adjust the width to 2.5 inches. We added a .125 inch circle to each upper corner and used the slice tool to create a hole for stringing. I cut out 10 of each, which fit on one 12 x 12 sheet of cardstock in white, white glitter, black, black glitter, and gold glitter.
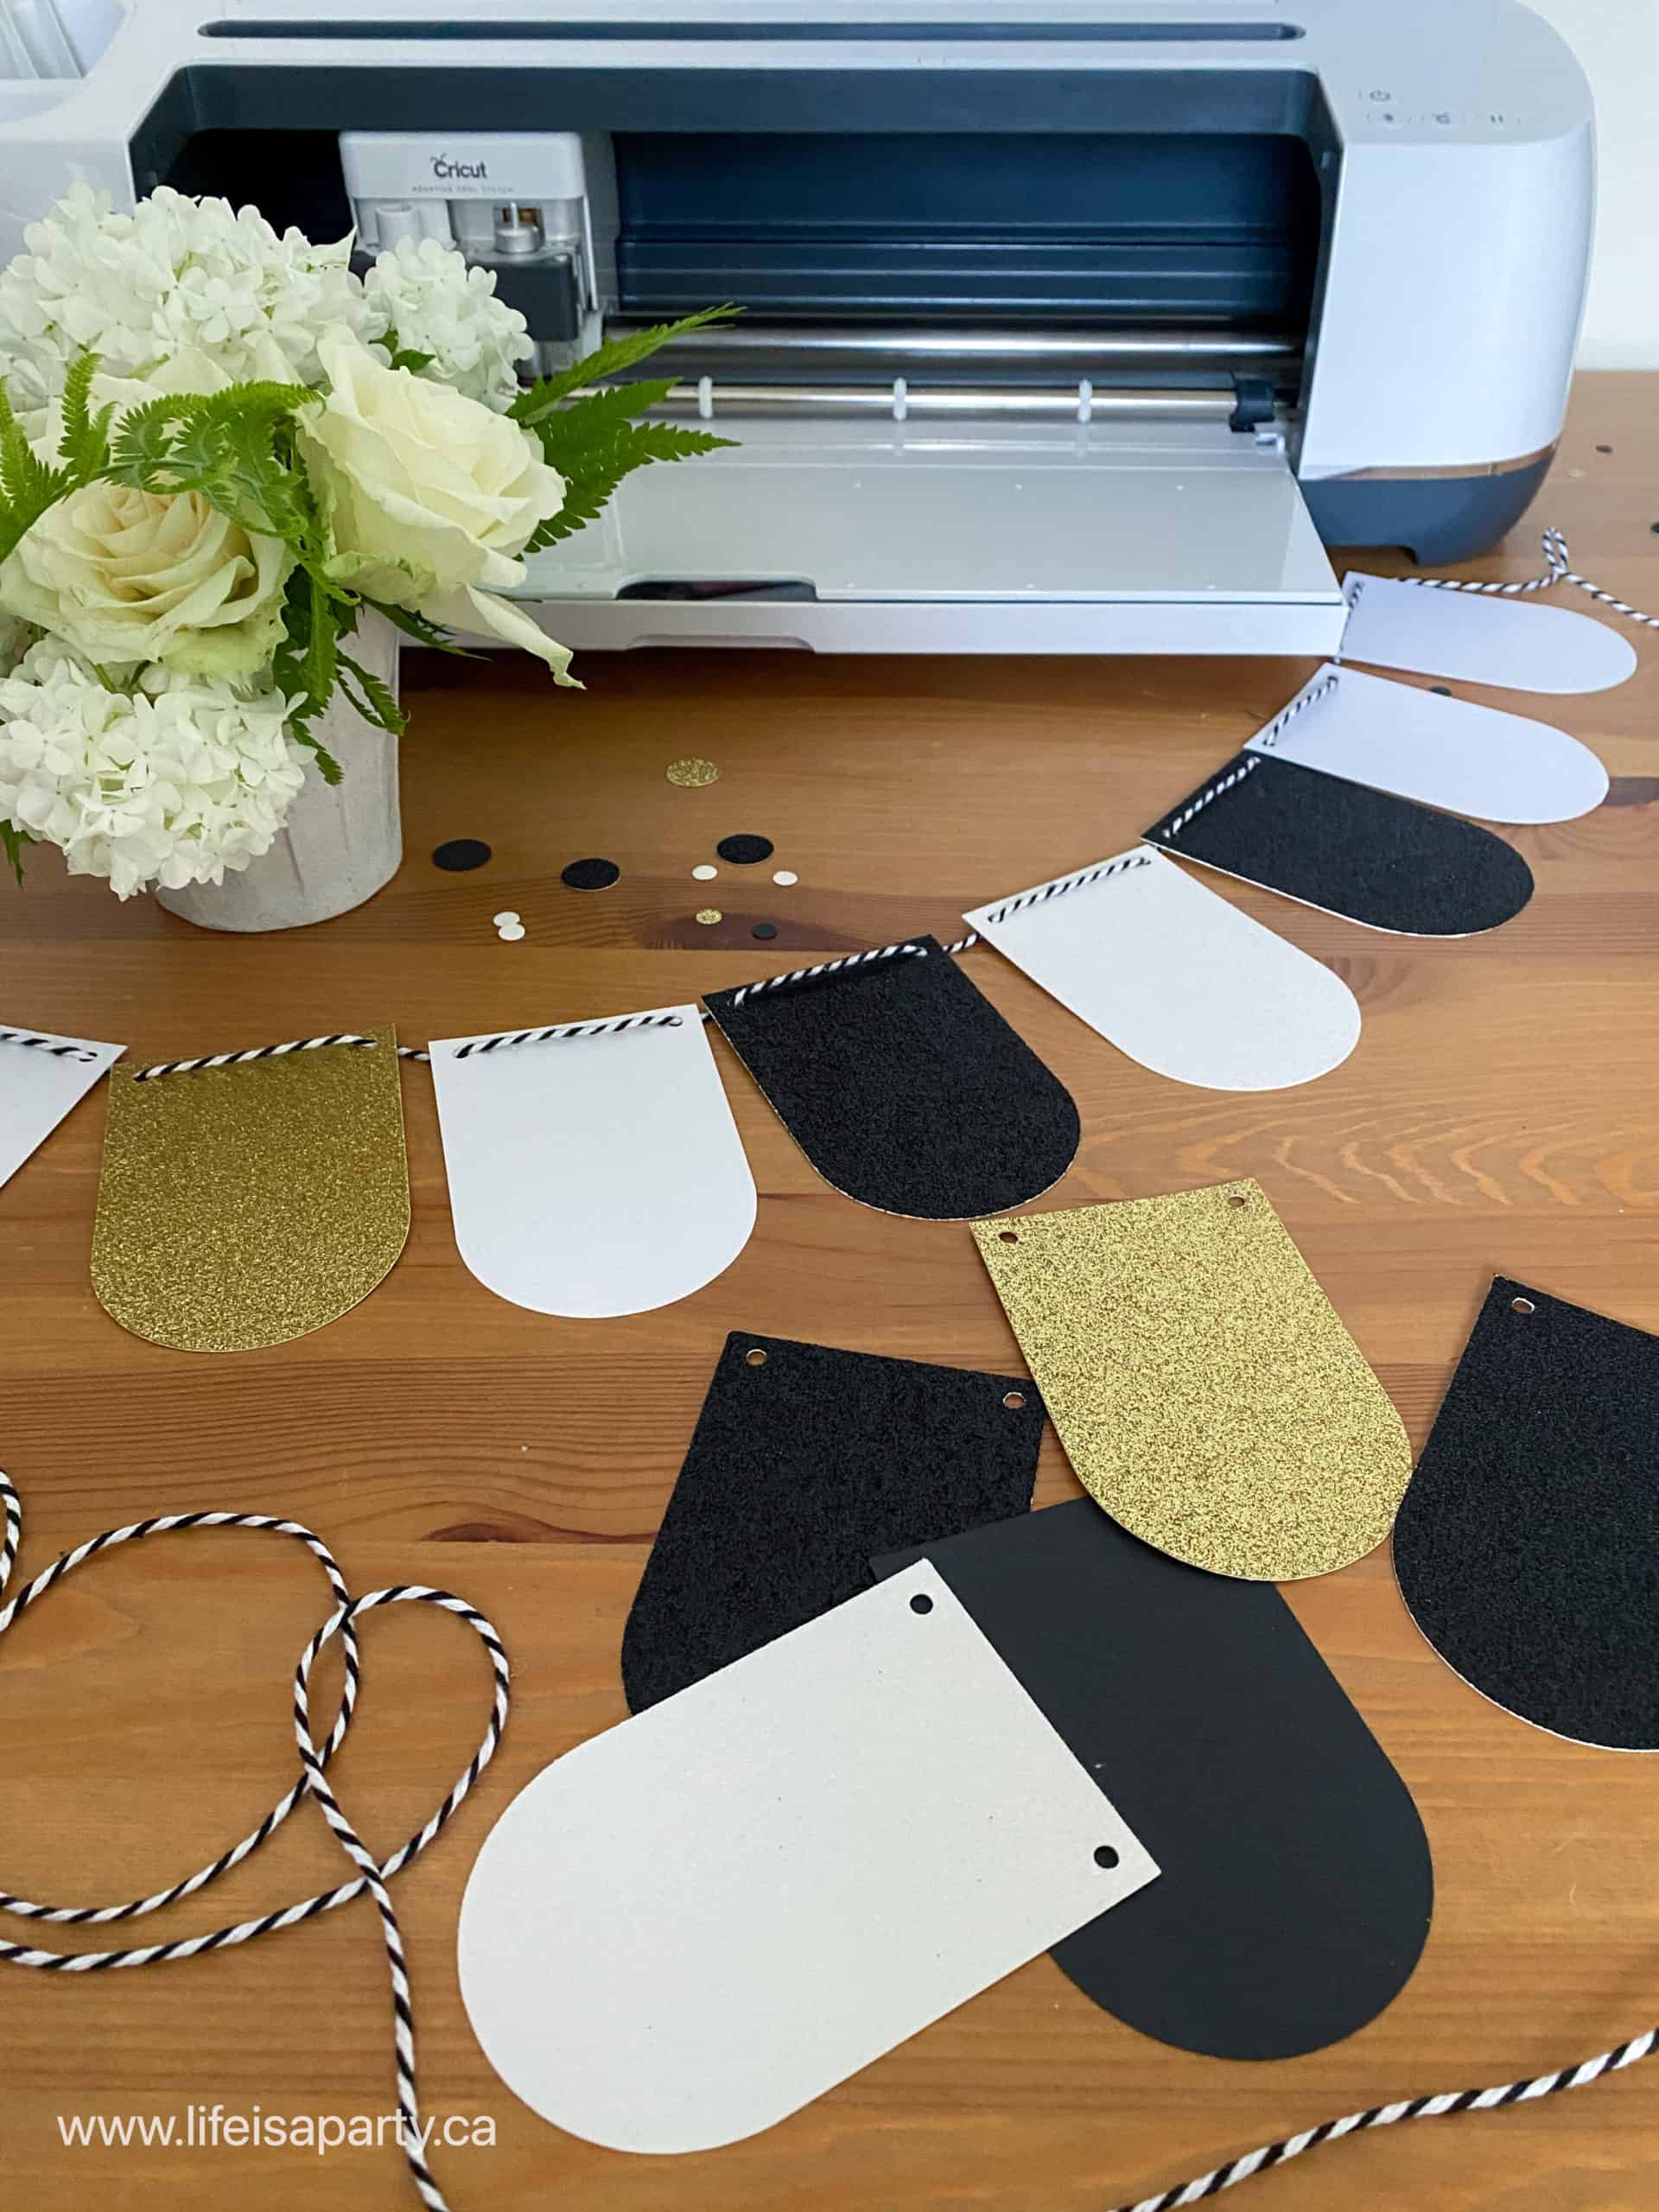
We randomly strung the different colours with baker's twine to create a pretty bunting. We strung ours as part of the food table but these would be great strung outside for a backyard graduation party or over a gift table for a graduation celebration. Paper decorations are such an easy way to decorate on a budget.
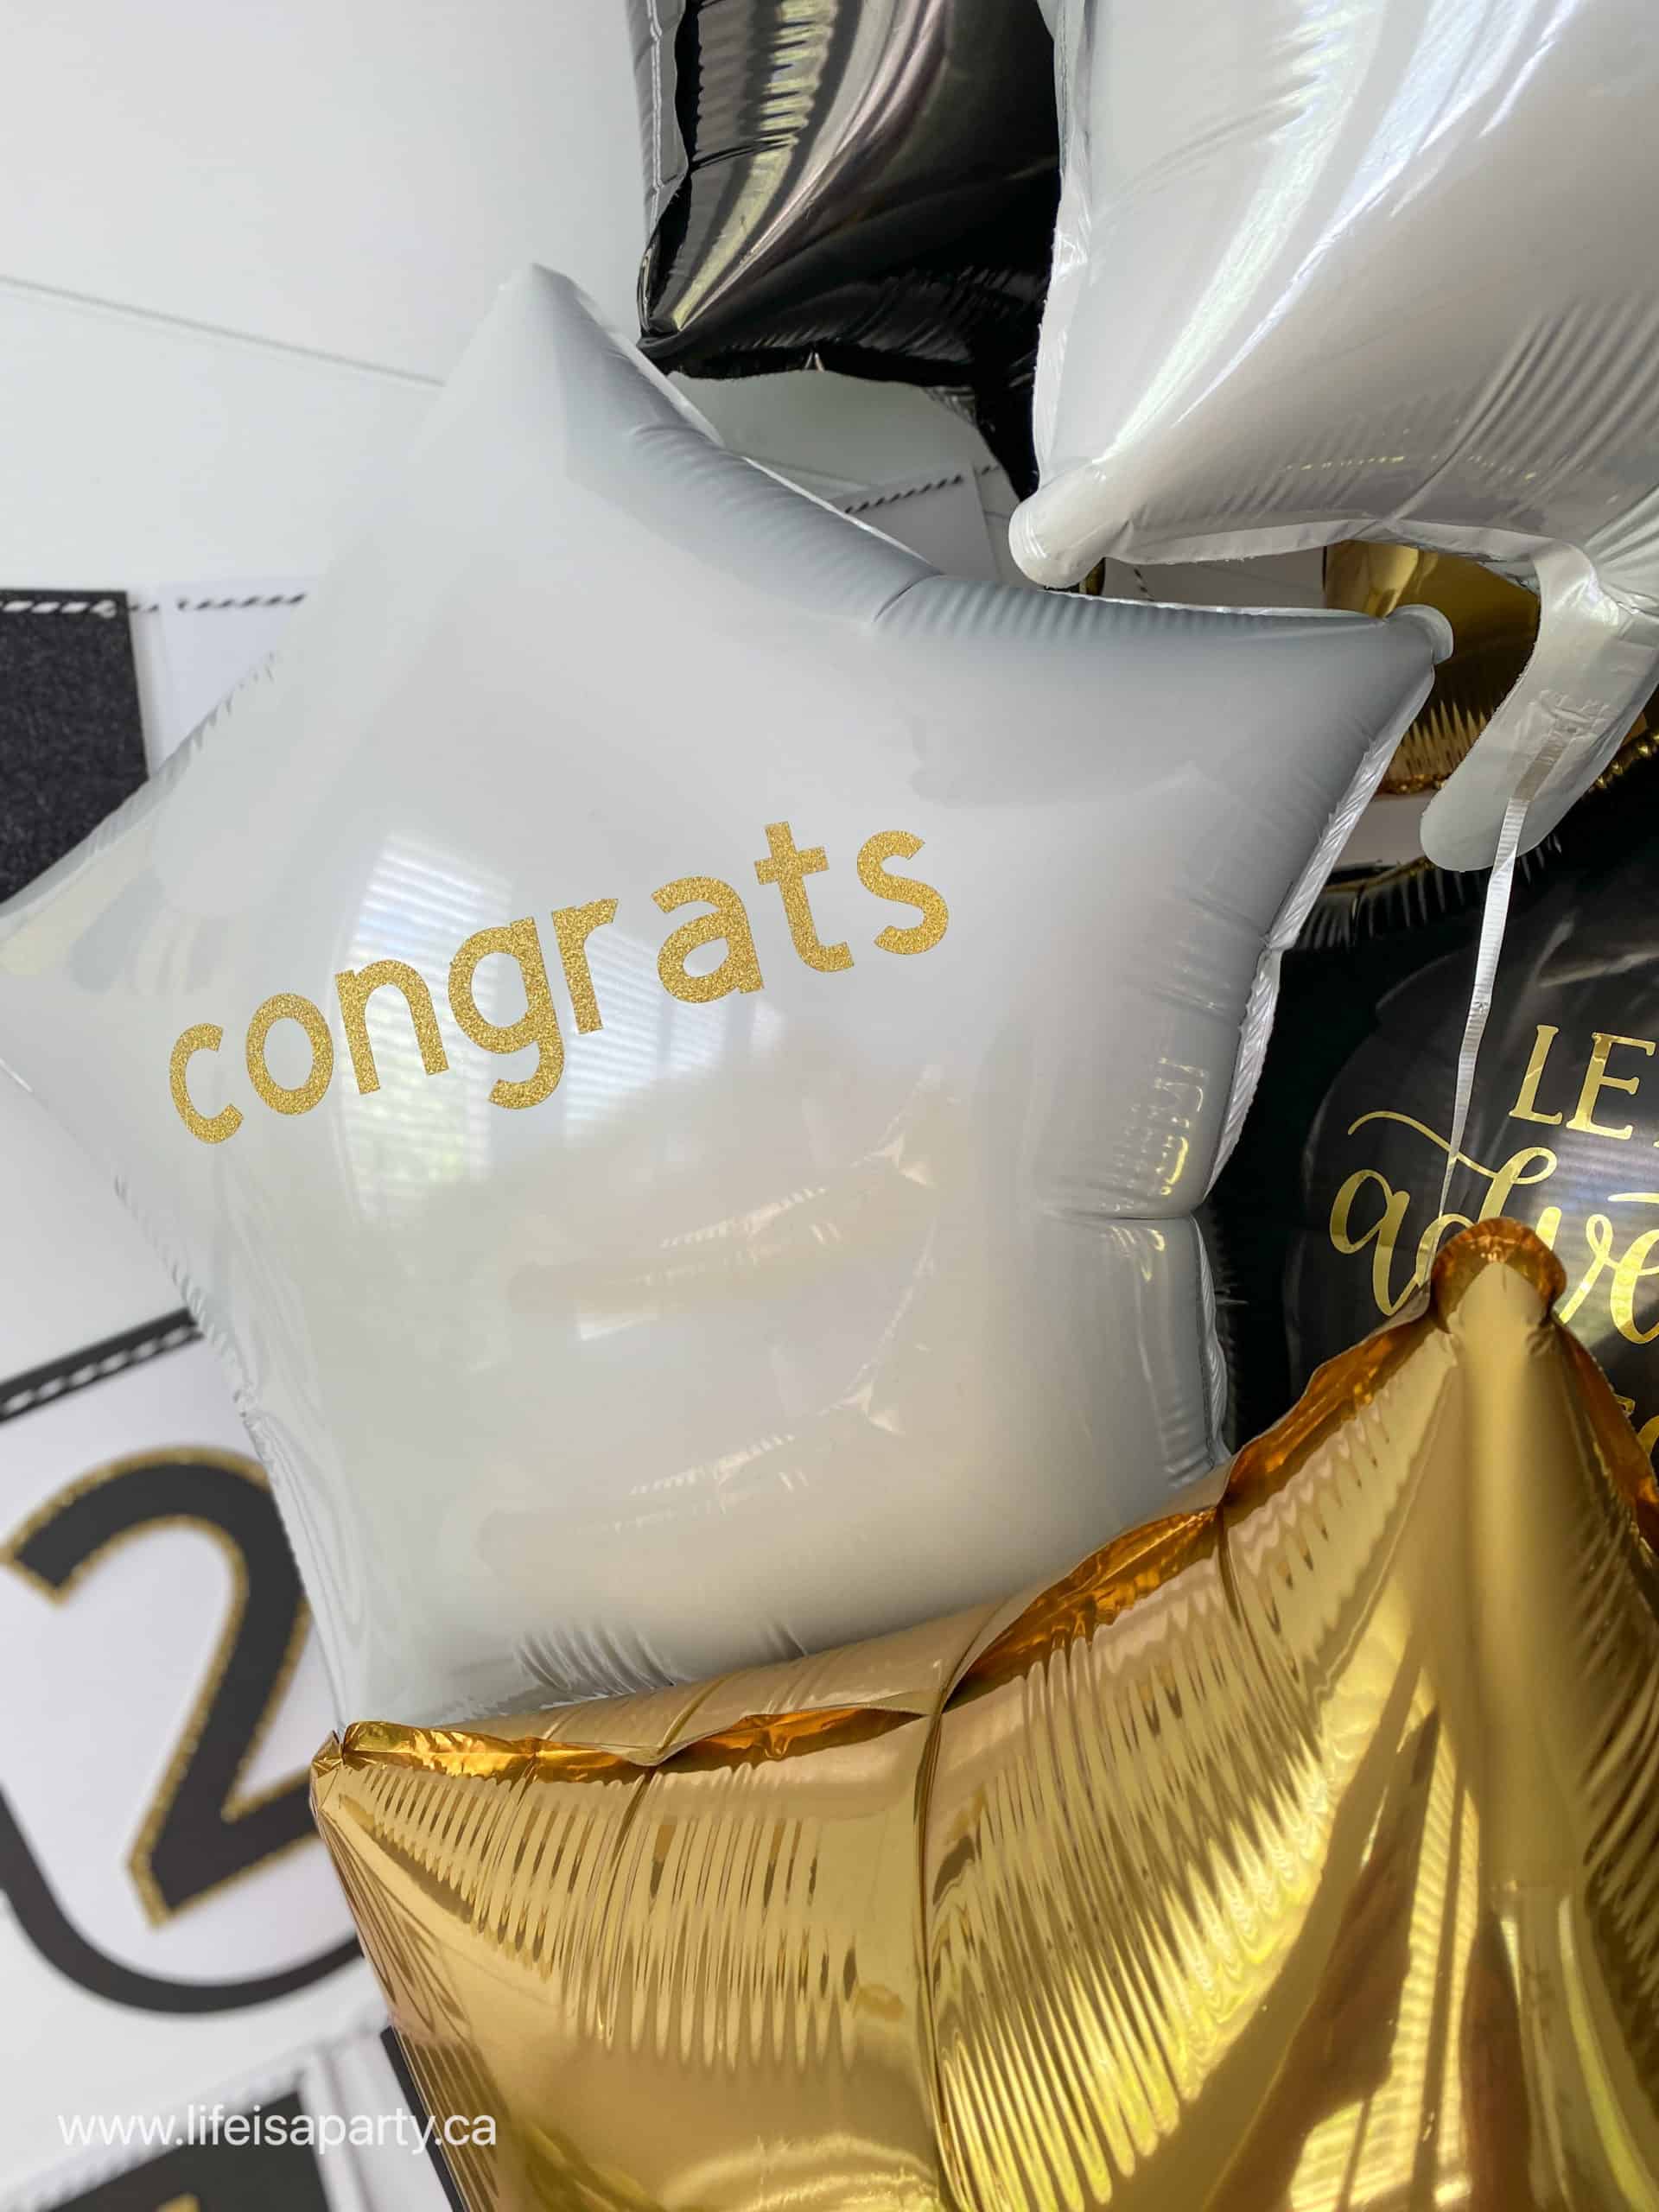
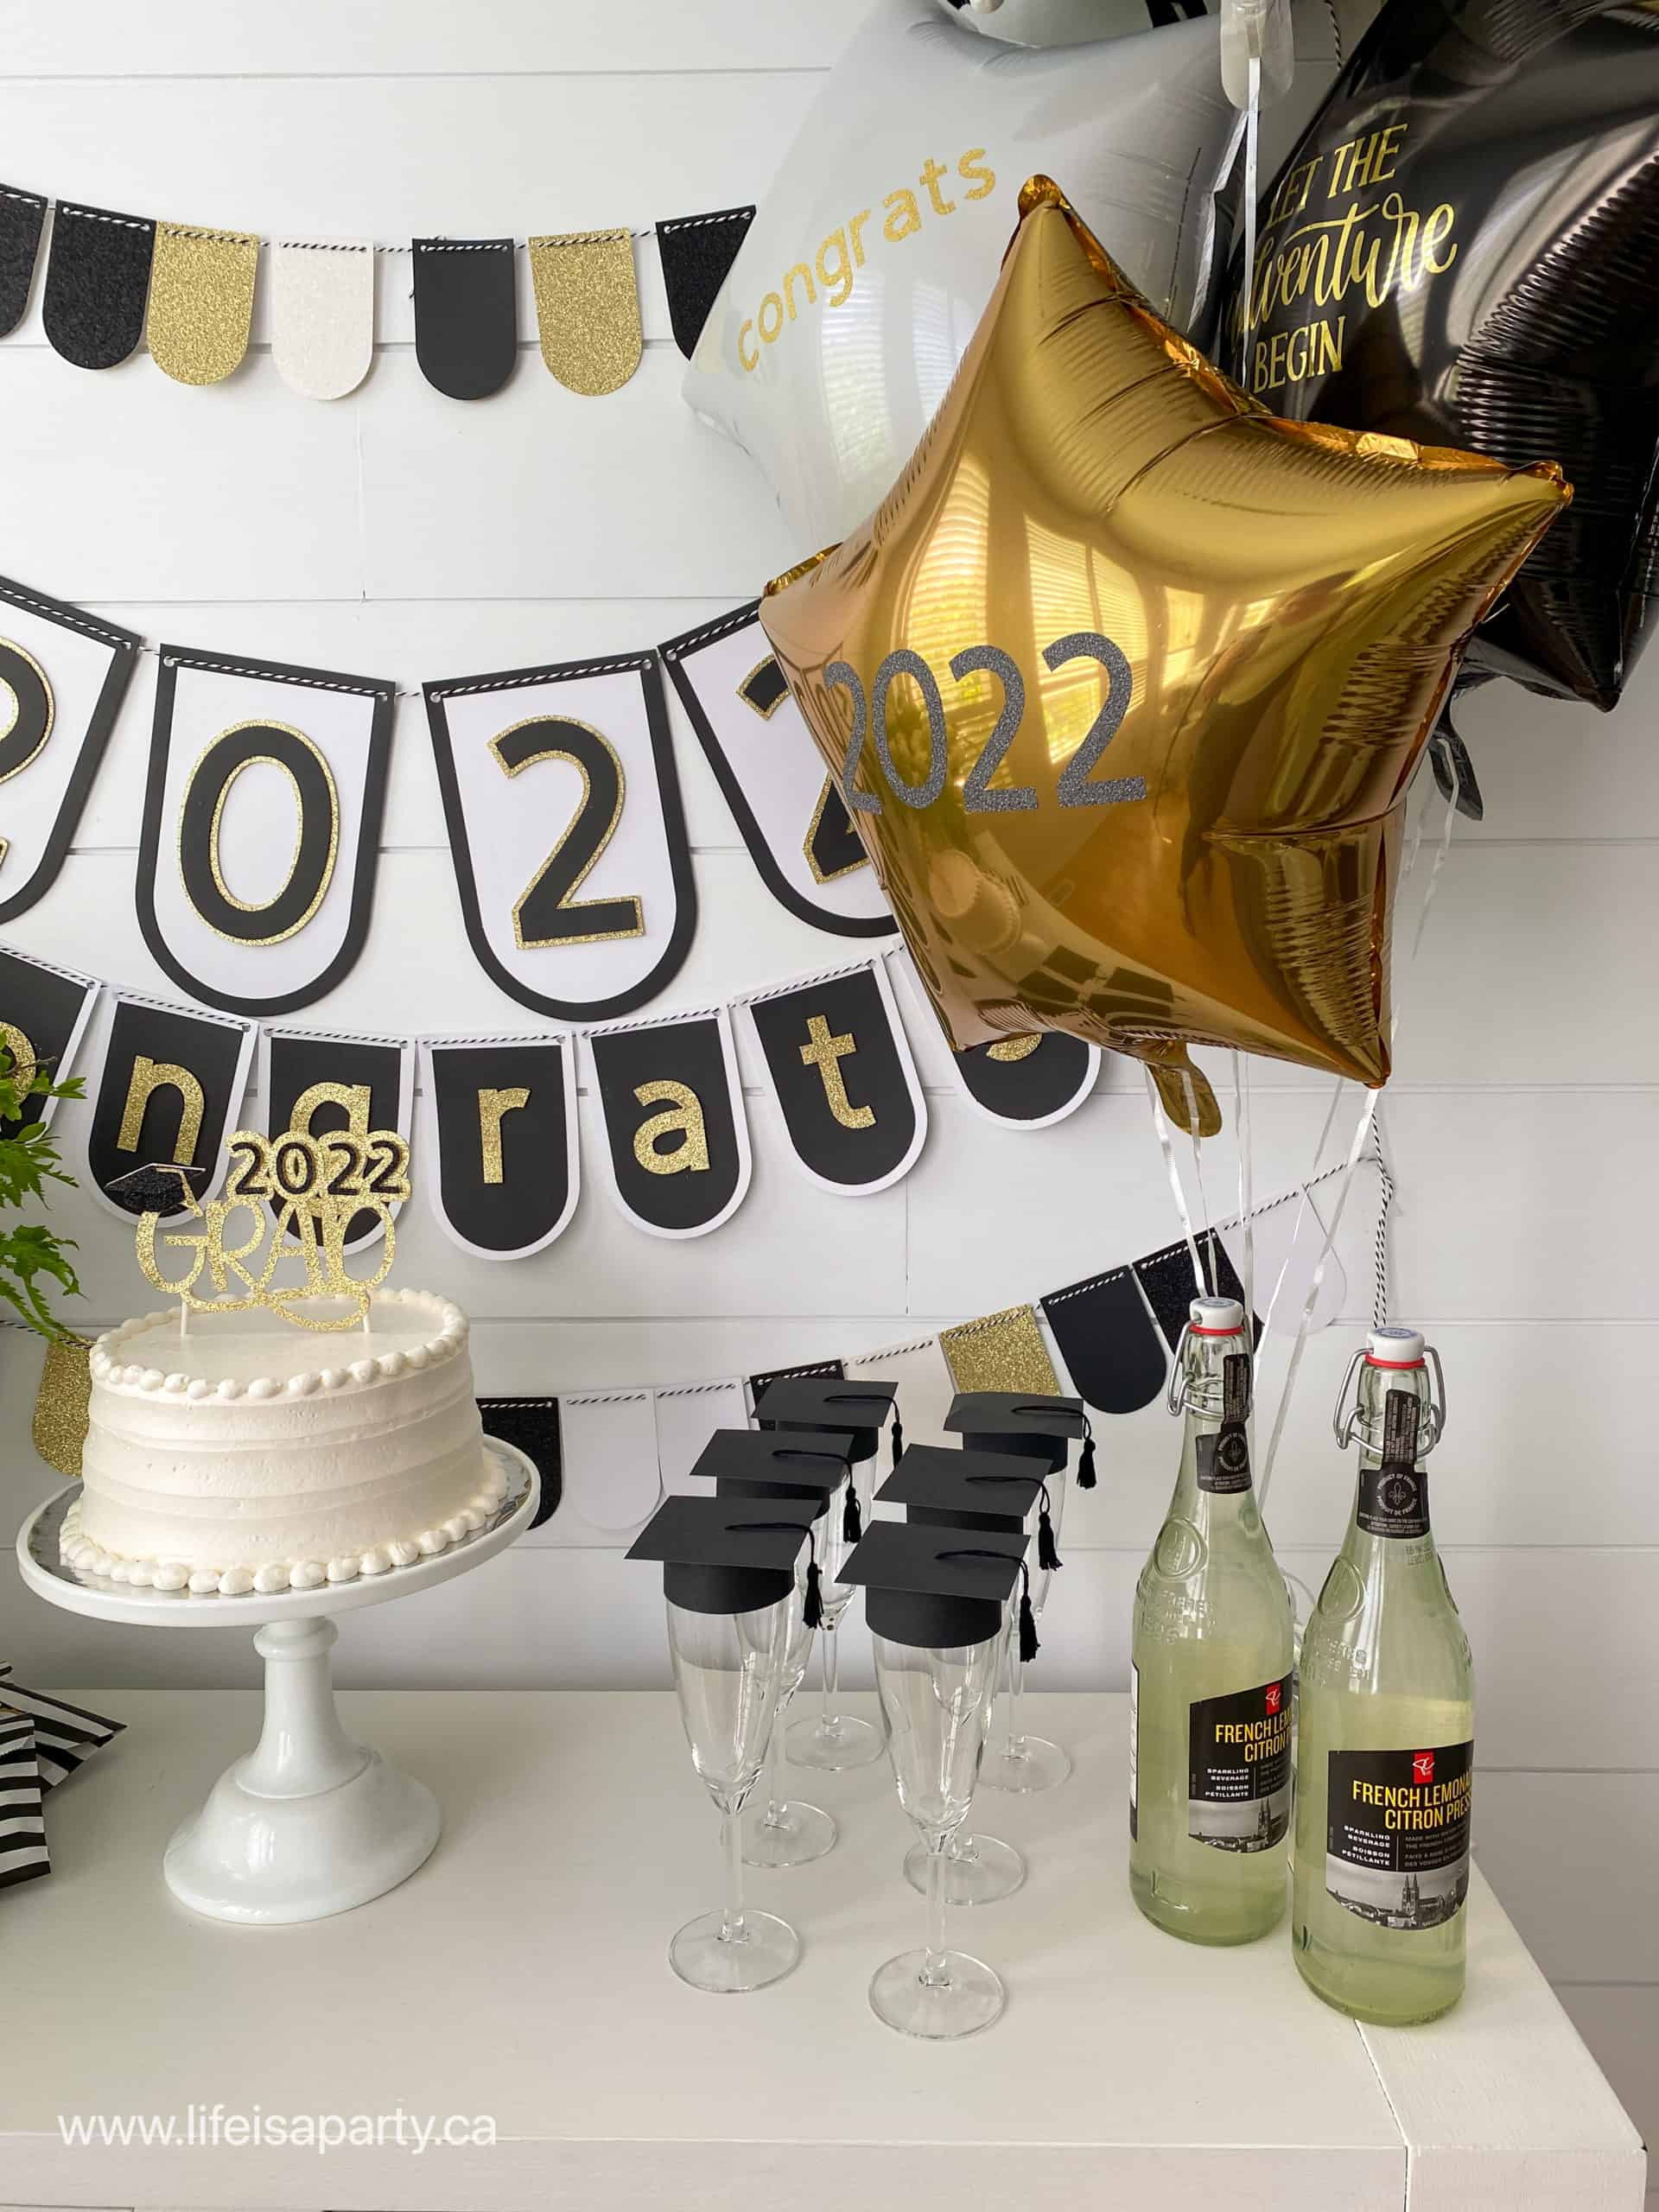
Personalized Balloons
We picked up some really inexpensive mylar balloons at the dollar store and personalized them with our Cricut and some vinyl. To create the designs search for "graduation" images in Cricut Design Space. There are tons to choose from, we used Adventure Begins #M9AE555E, and used contour to remove the design at the bottom. We also used the Cricut Sans font to write 2022, and congrats to match the banners. All three pieces were sized to fit, using the scale button to be about 7 inches wide to fit nicely on our balloons.
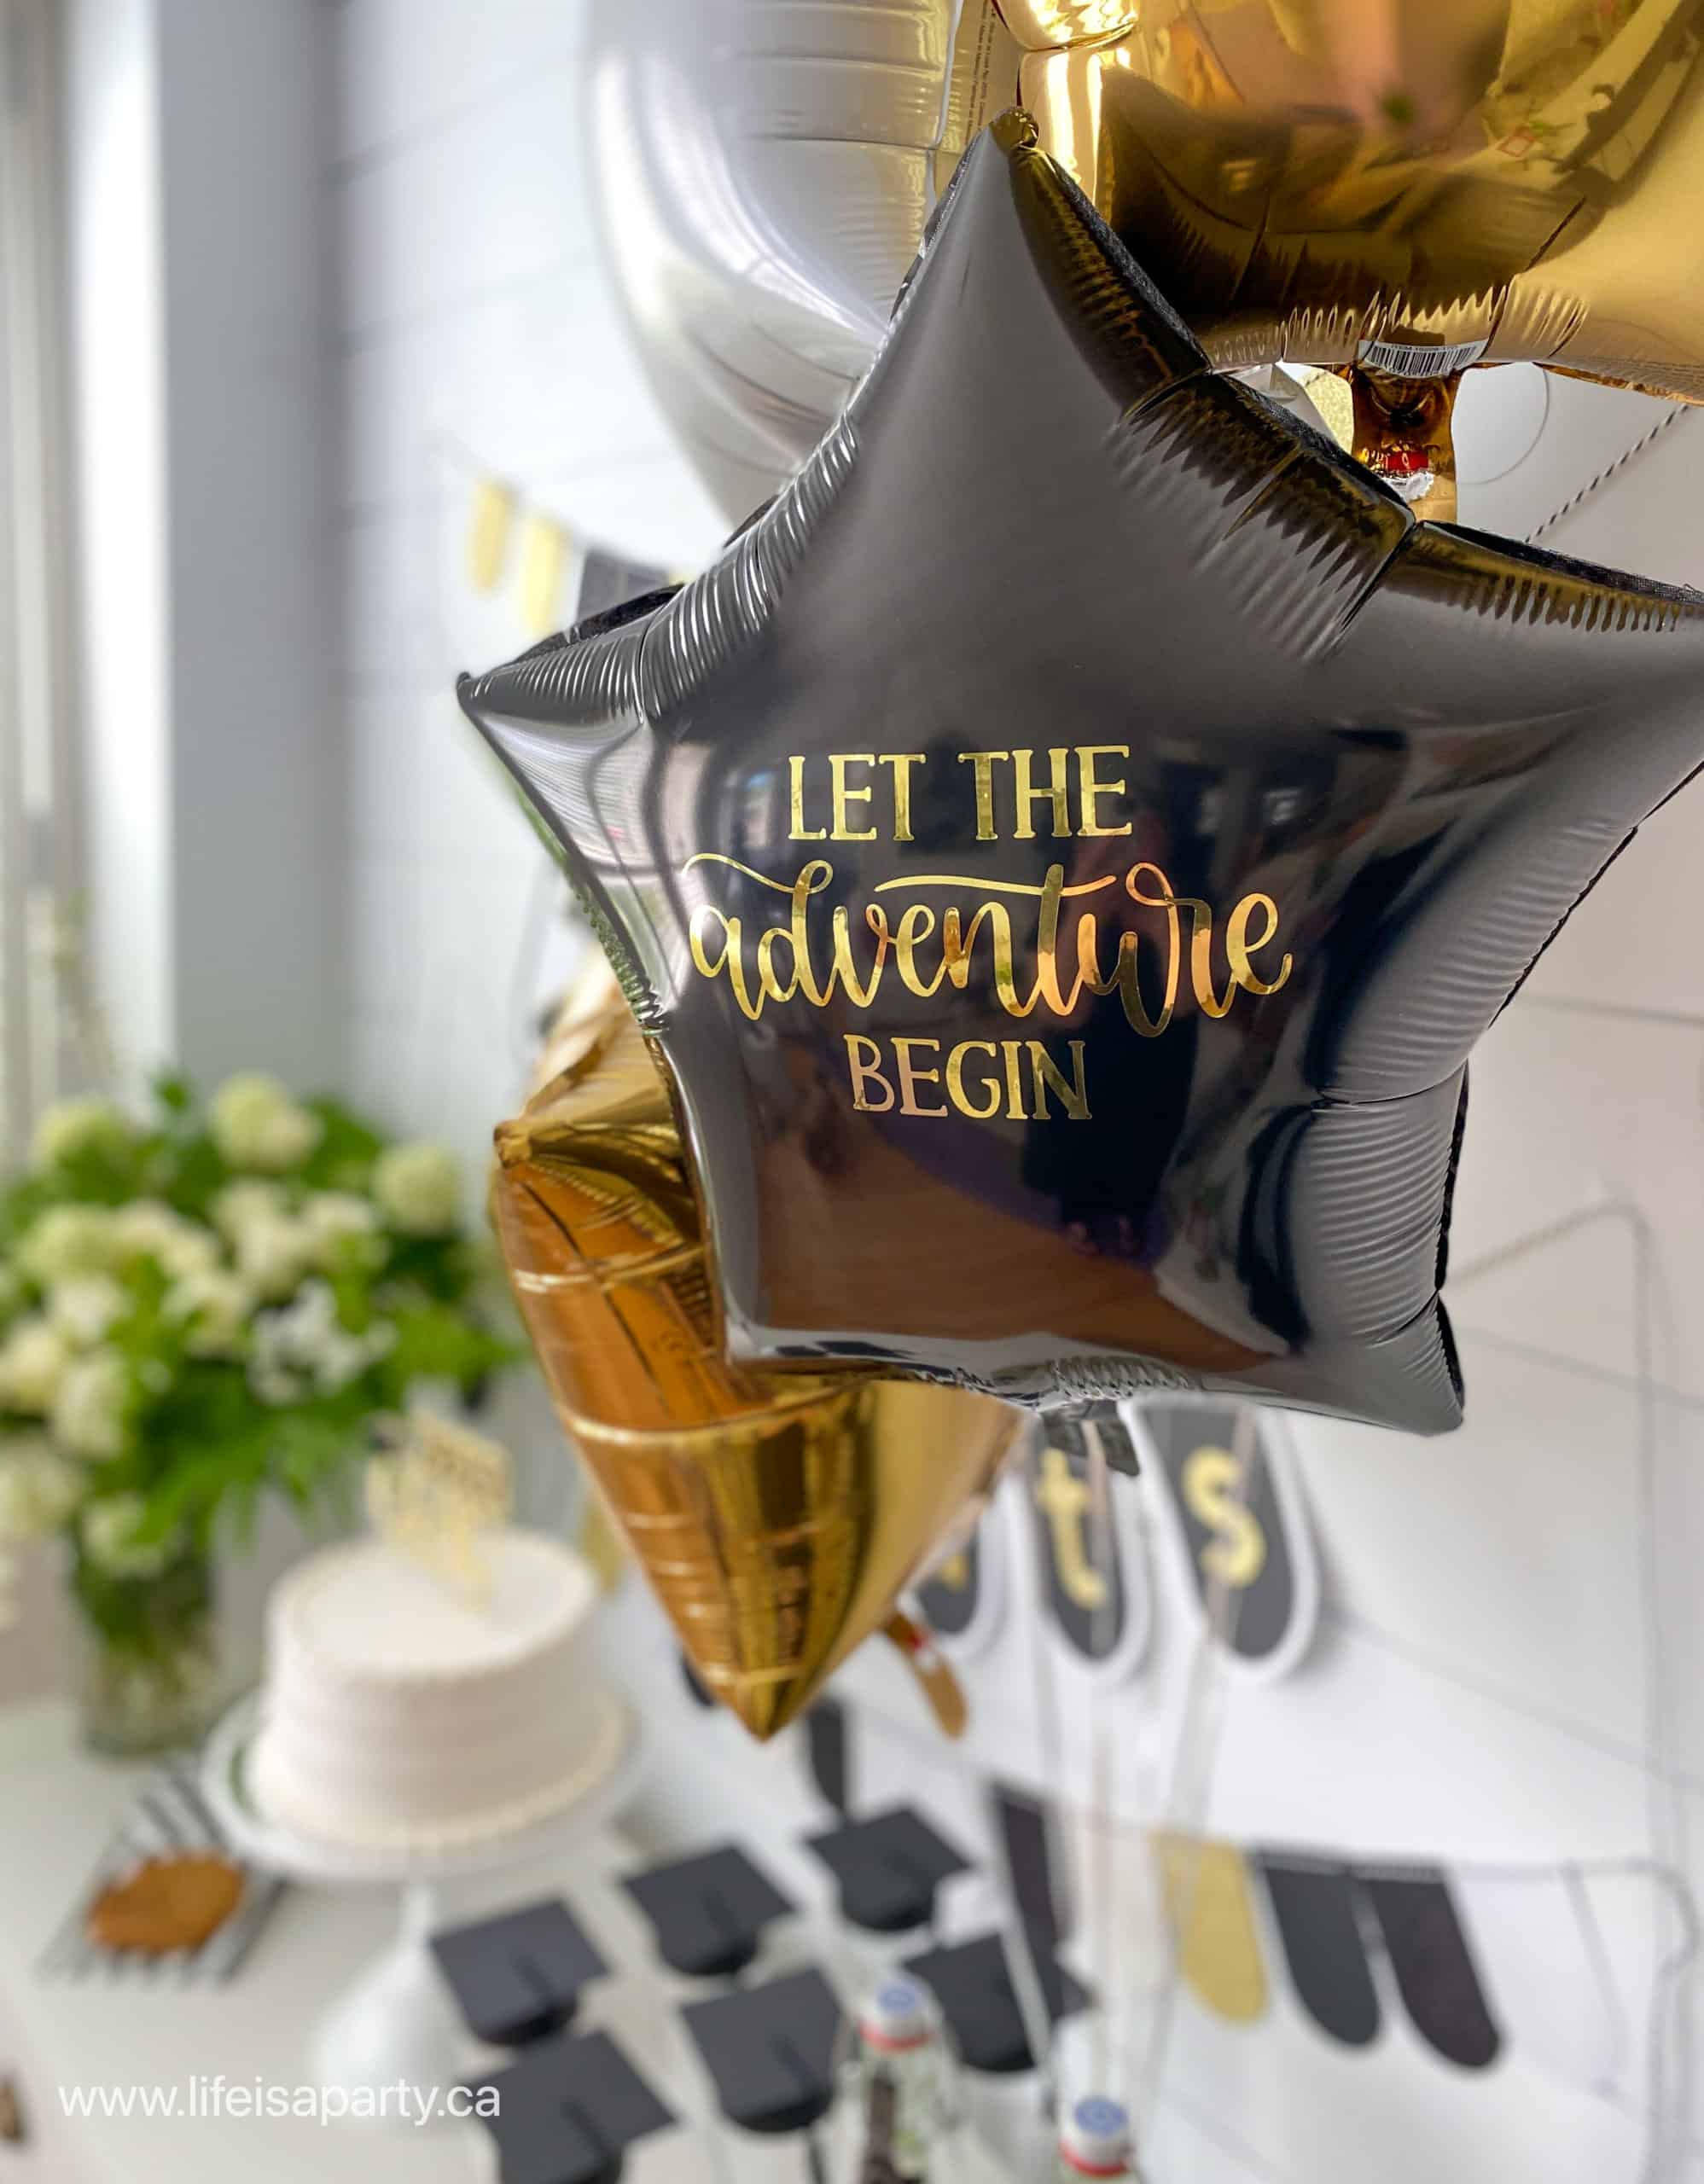
We cut the "Let the adventure begin" out of foil vinyl, and the black and gold removable vinyl. Once the pieces are all cut out of the vinyl, use your weeding tool to weed them. Next, cut a piece of regular transfer tape to fit the gold vinyl, and use a scraper to burnish it. Now use the transfer tape to place in on the front of the balloon and your fingers to gently burnish it onto the balloon, then carefully remove the transfer tape.
For the glitter vinyl, be sure to use strong hold transfer tape. I was worried it might be too sticky to remove from the balloon, but it worked out great.
You could customize this project for your own party theme and colors. You could even add a personal touch with the graduate's name, or school name. These would be great for high school graduation parties or a college graduation celebration. You could even use these as an inexpensive graduation centerpiece.
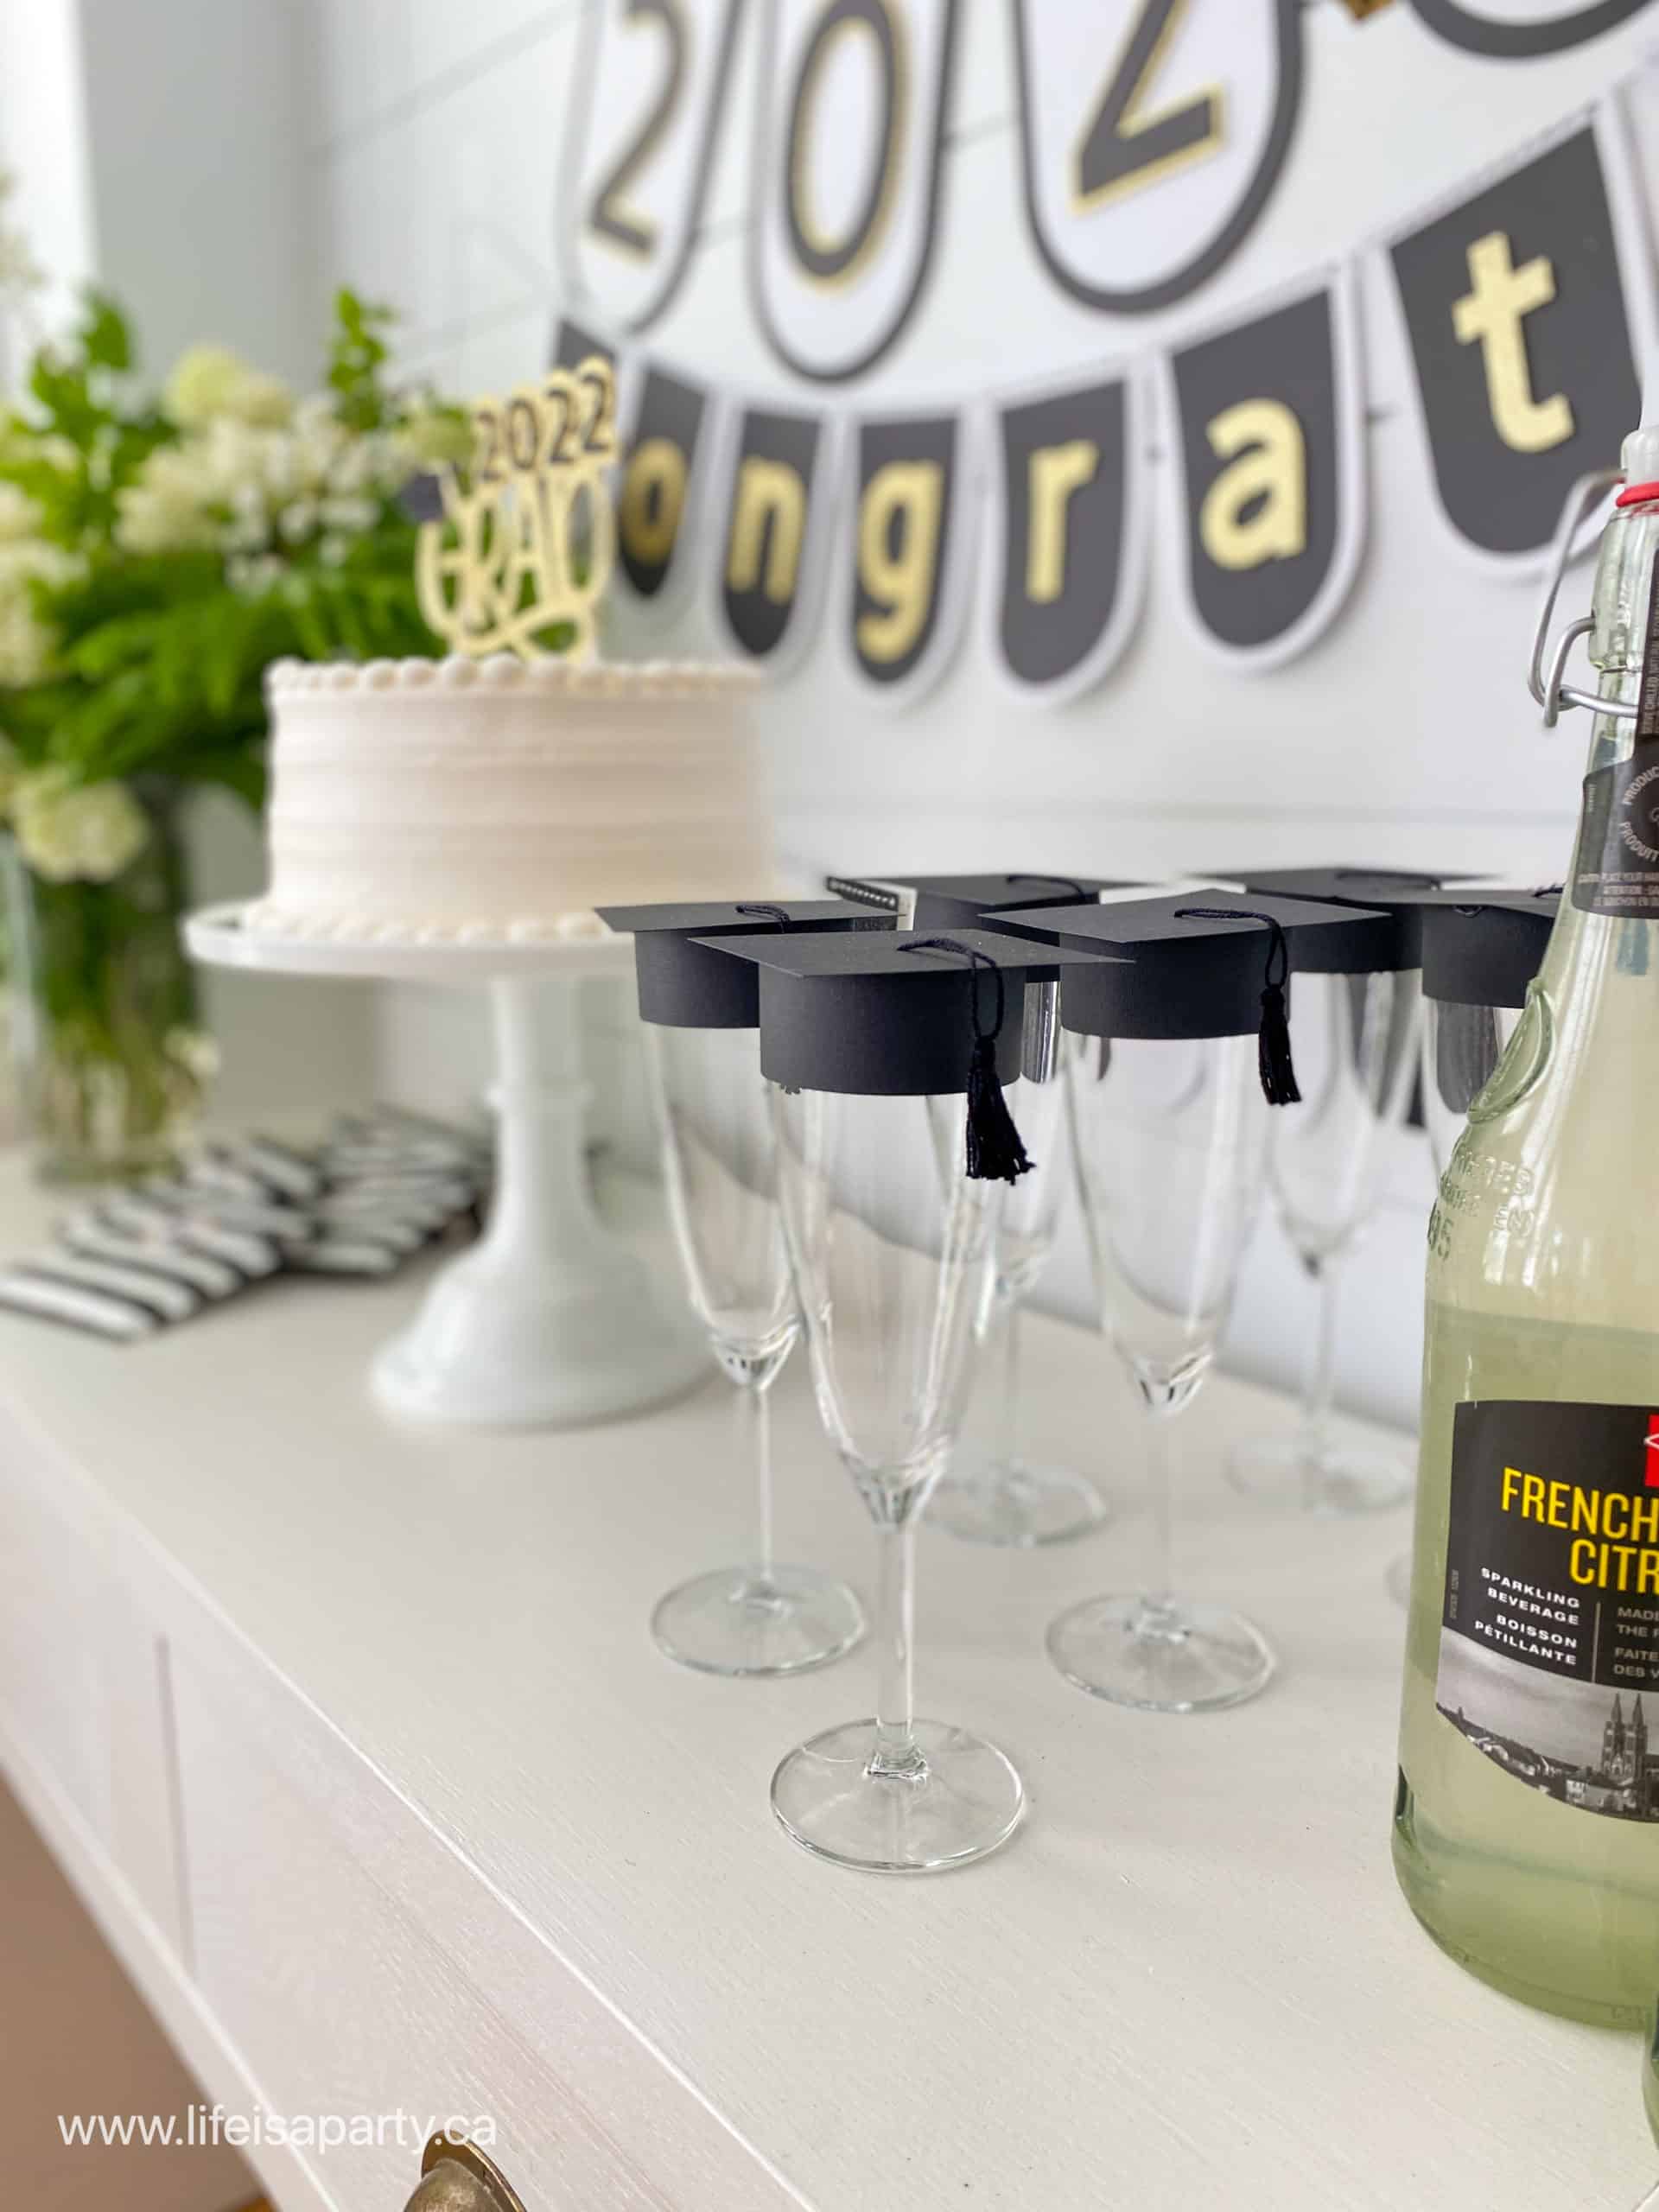
Graduation Cap Champagne Glasses
These were one of my favourite DIY graduation party decoration ideas. And they were really easy to make with this DIY tutorial. Search for "Graduate Champagne Glass" in projects. We chose to customize ours, because our glasses were slightly larger, so be sure to test it for size before cutting a whole set out. We cut them out of black card stock, and glued them together with a hot glue gun.
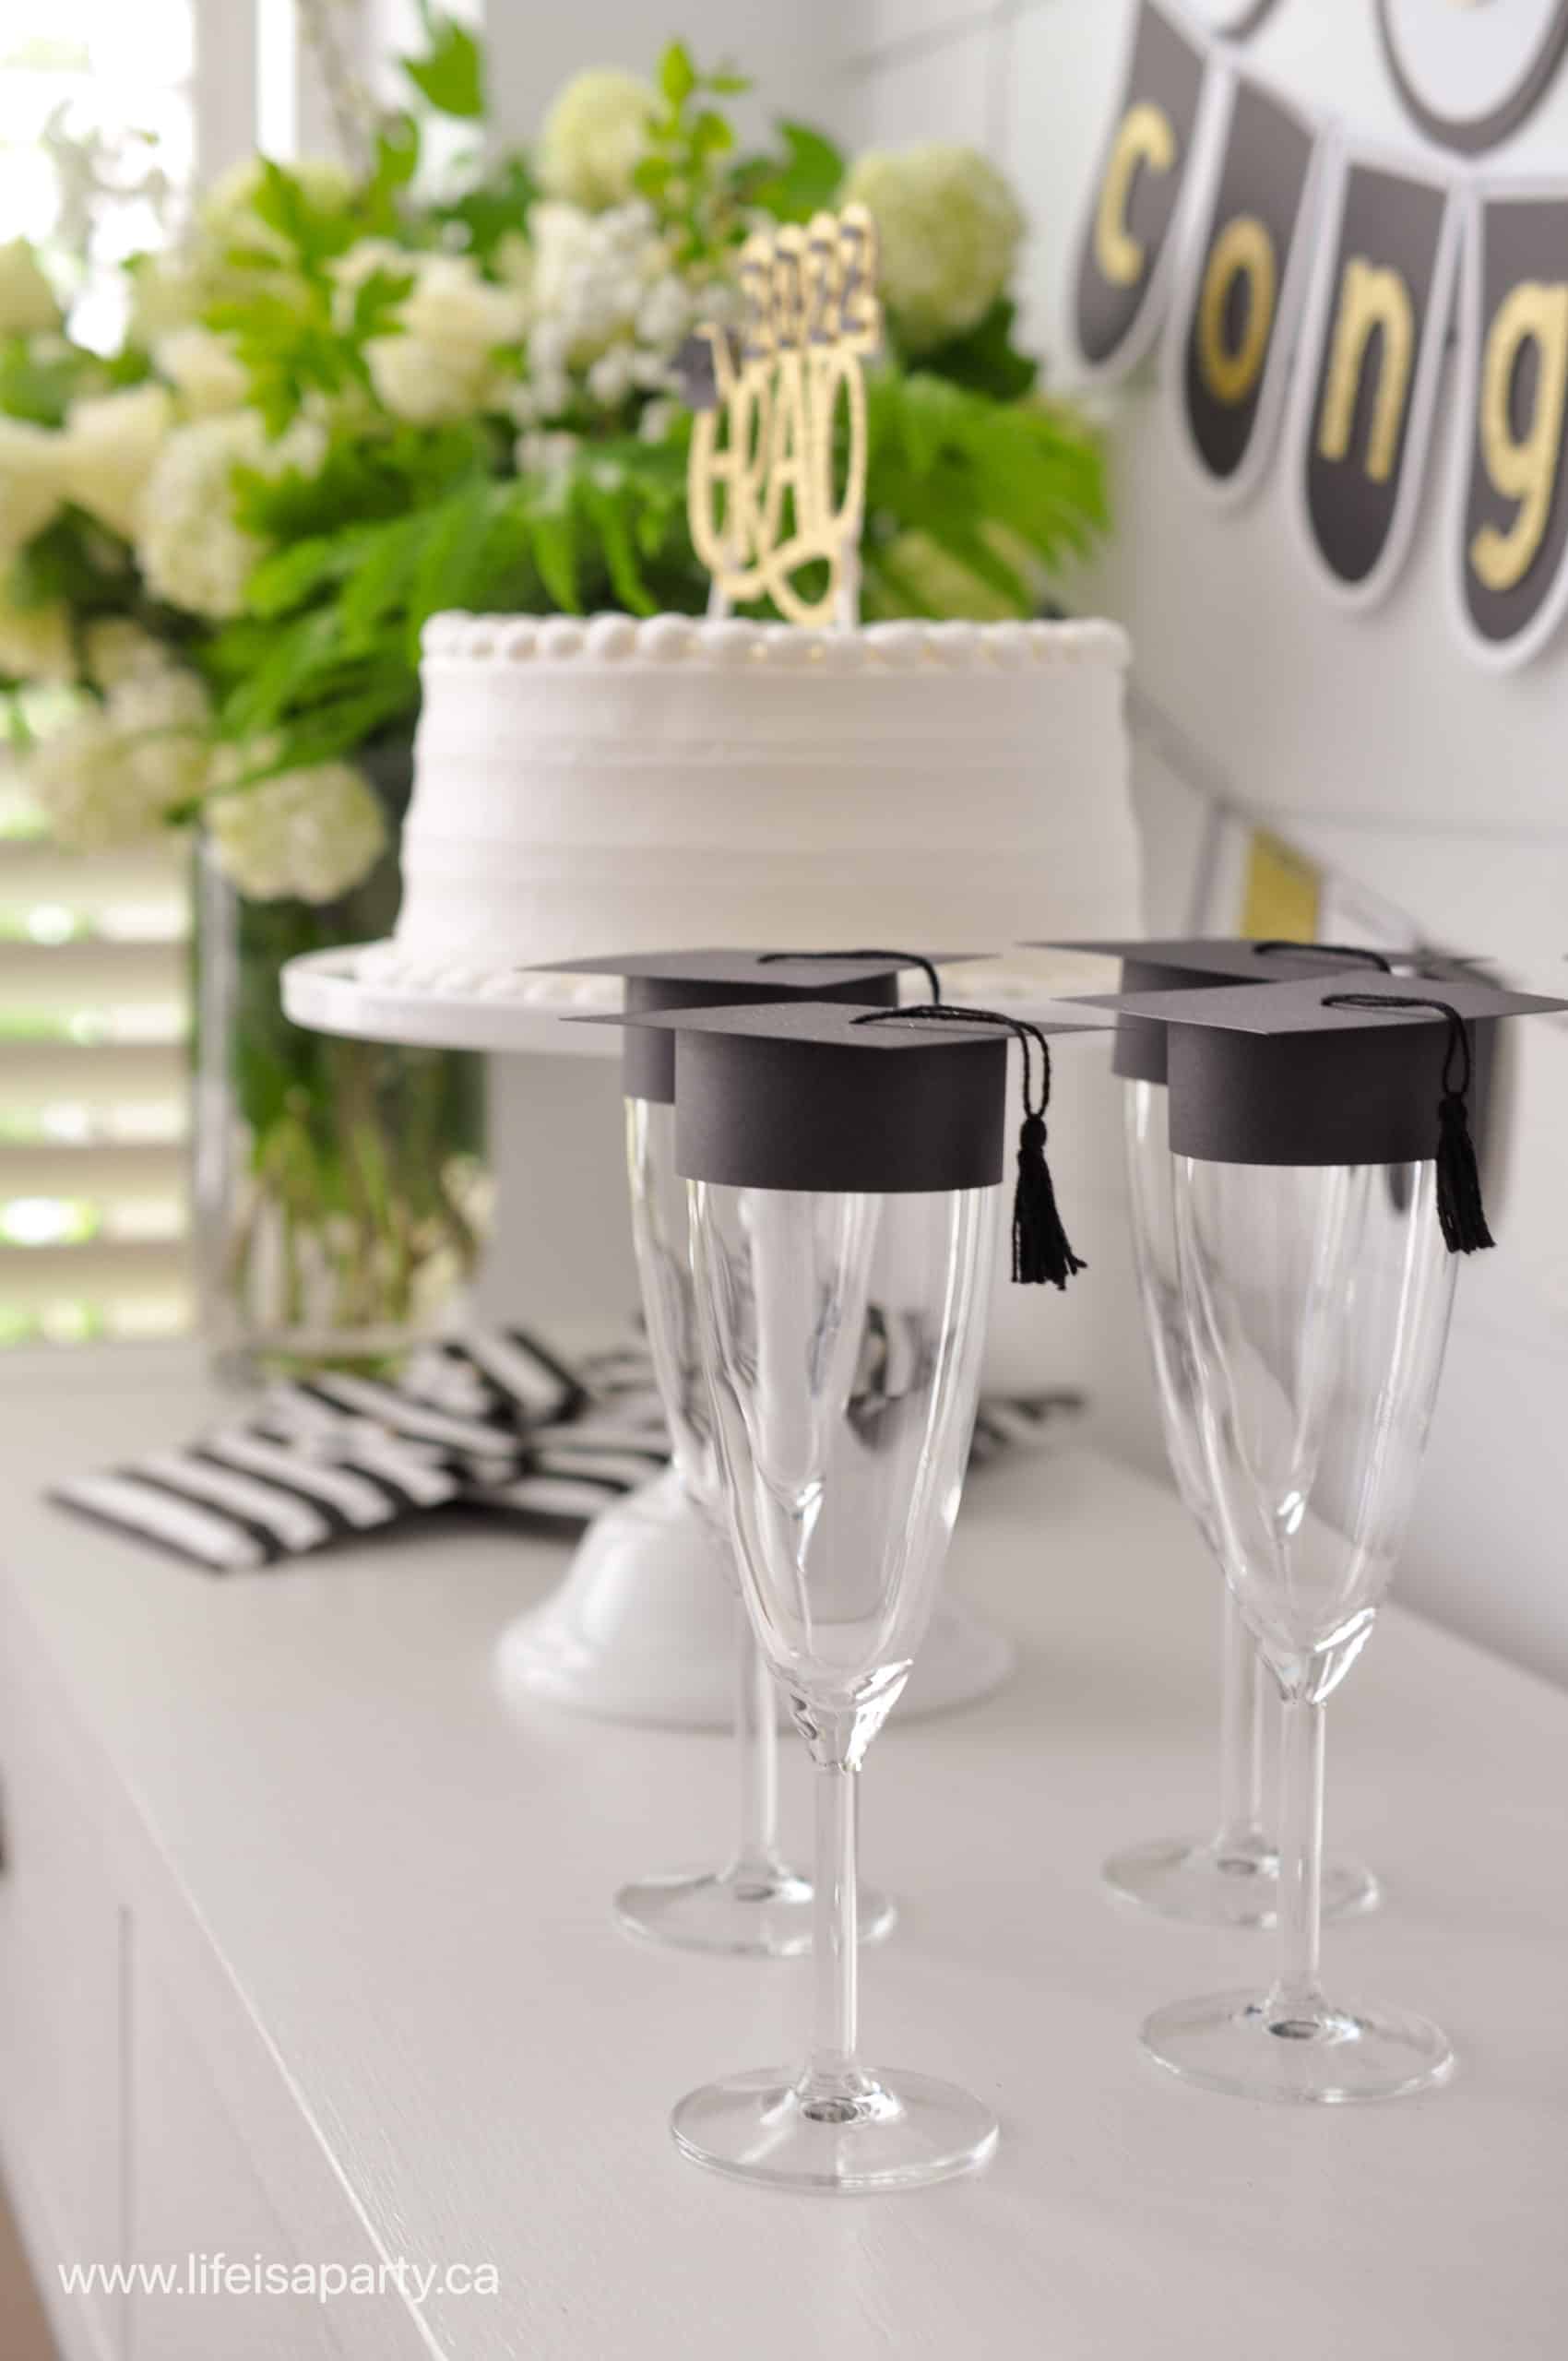
To make the tassel, I used some black embroidery thread and then used a darning needle to add it to the centre of the cap, with a small piece of tape on the inside to hold it. Be sure to make sure they're all the same length, we did this by lining the tassel up with the point of one corner of the hat. Once they're finished place them on to some champagne glasses.
These would also make fun party favors for party guests, friends and family members filled with a sweet treat like M and Ms or any other candy in your party colors.
DIY Stickers
One more fun addition to our special grad party was to make our own custom stickers using the Cricut Print Then Cut feature. To make these we chose some designs from Cricut images. Search "graduation" in images for lots of great options. We used the "Let the adventure begin #M9AE555E and "Class of 2022" #M39F801BE. We layered the images with a circle shape, and a scalloped circle shape, from the shapes menu. I thought the scallops would tie in well with the scalloped shaped bunting and banners. We made our finished stickers about 1.5 inches Don't forget to flatten the designs when you're finished so that you can use Print Then Cut.
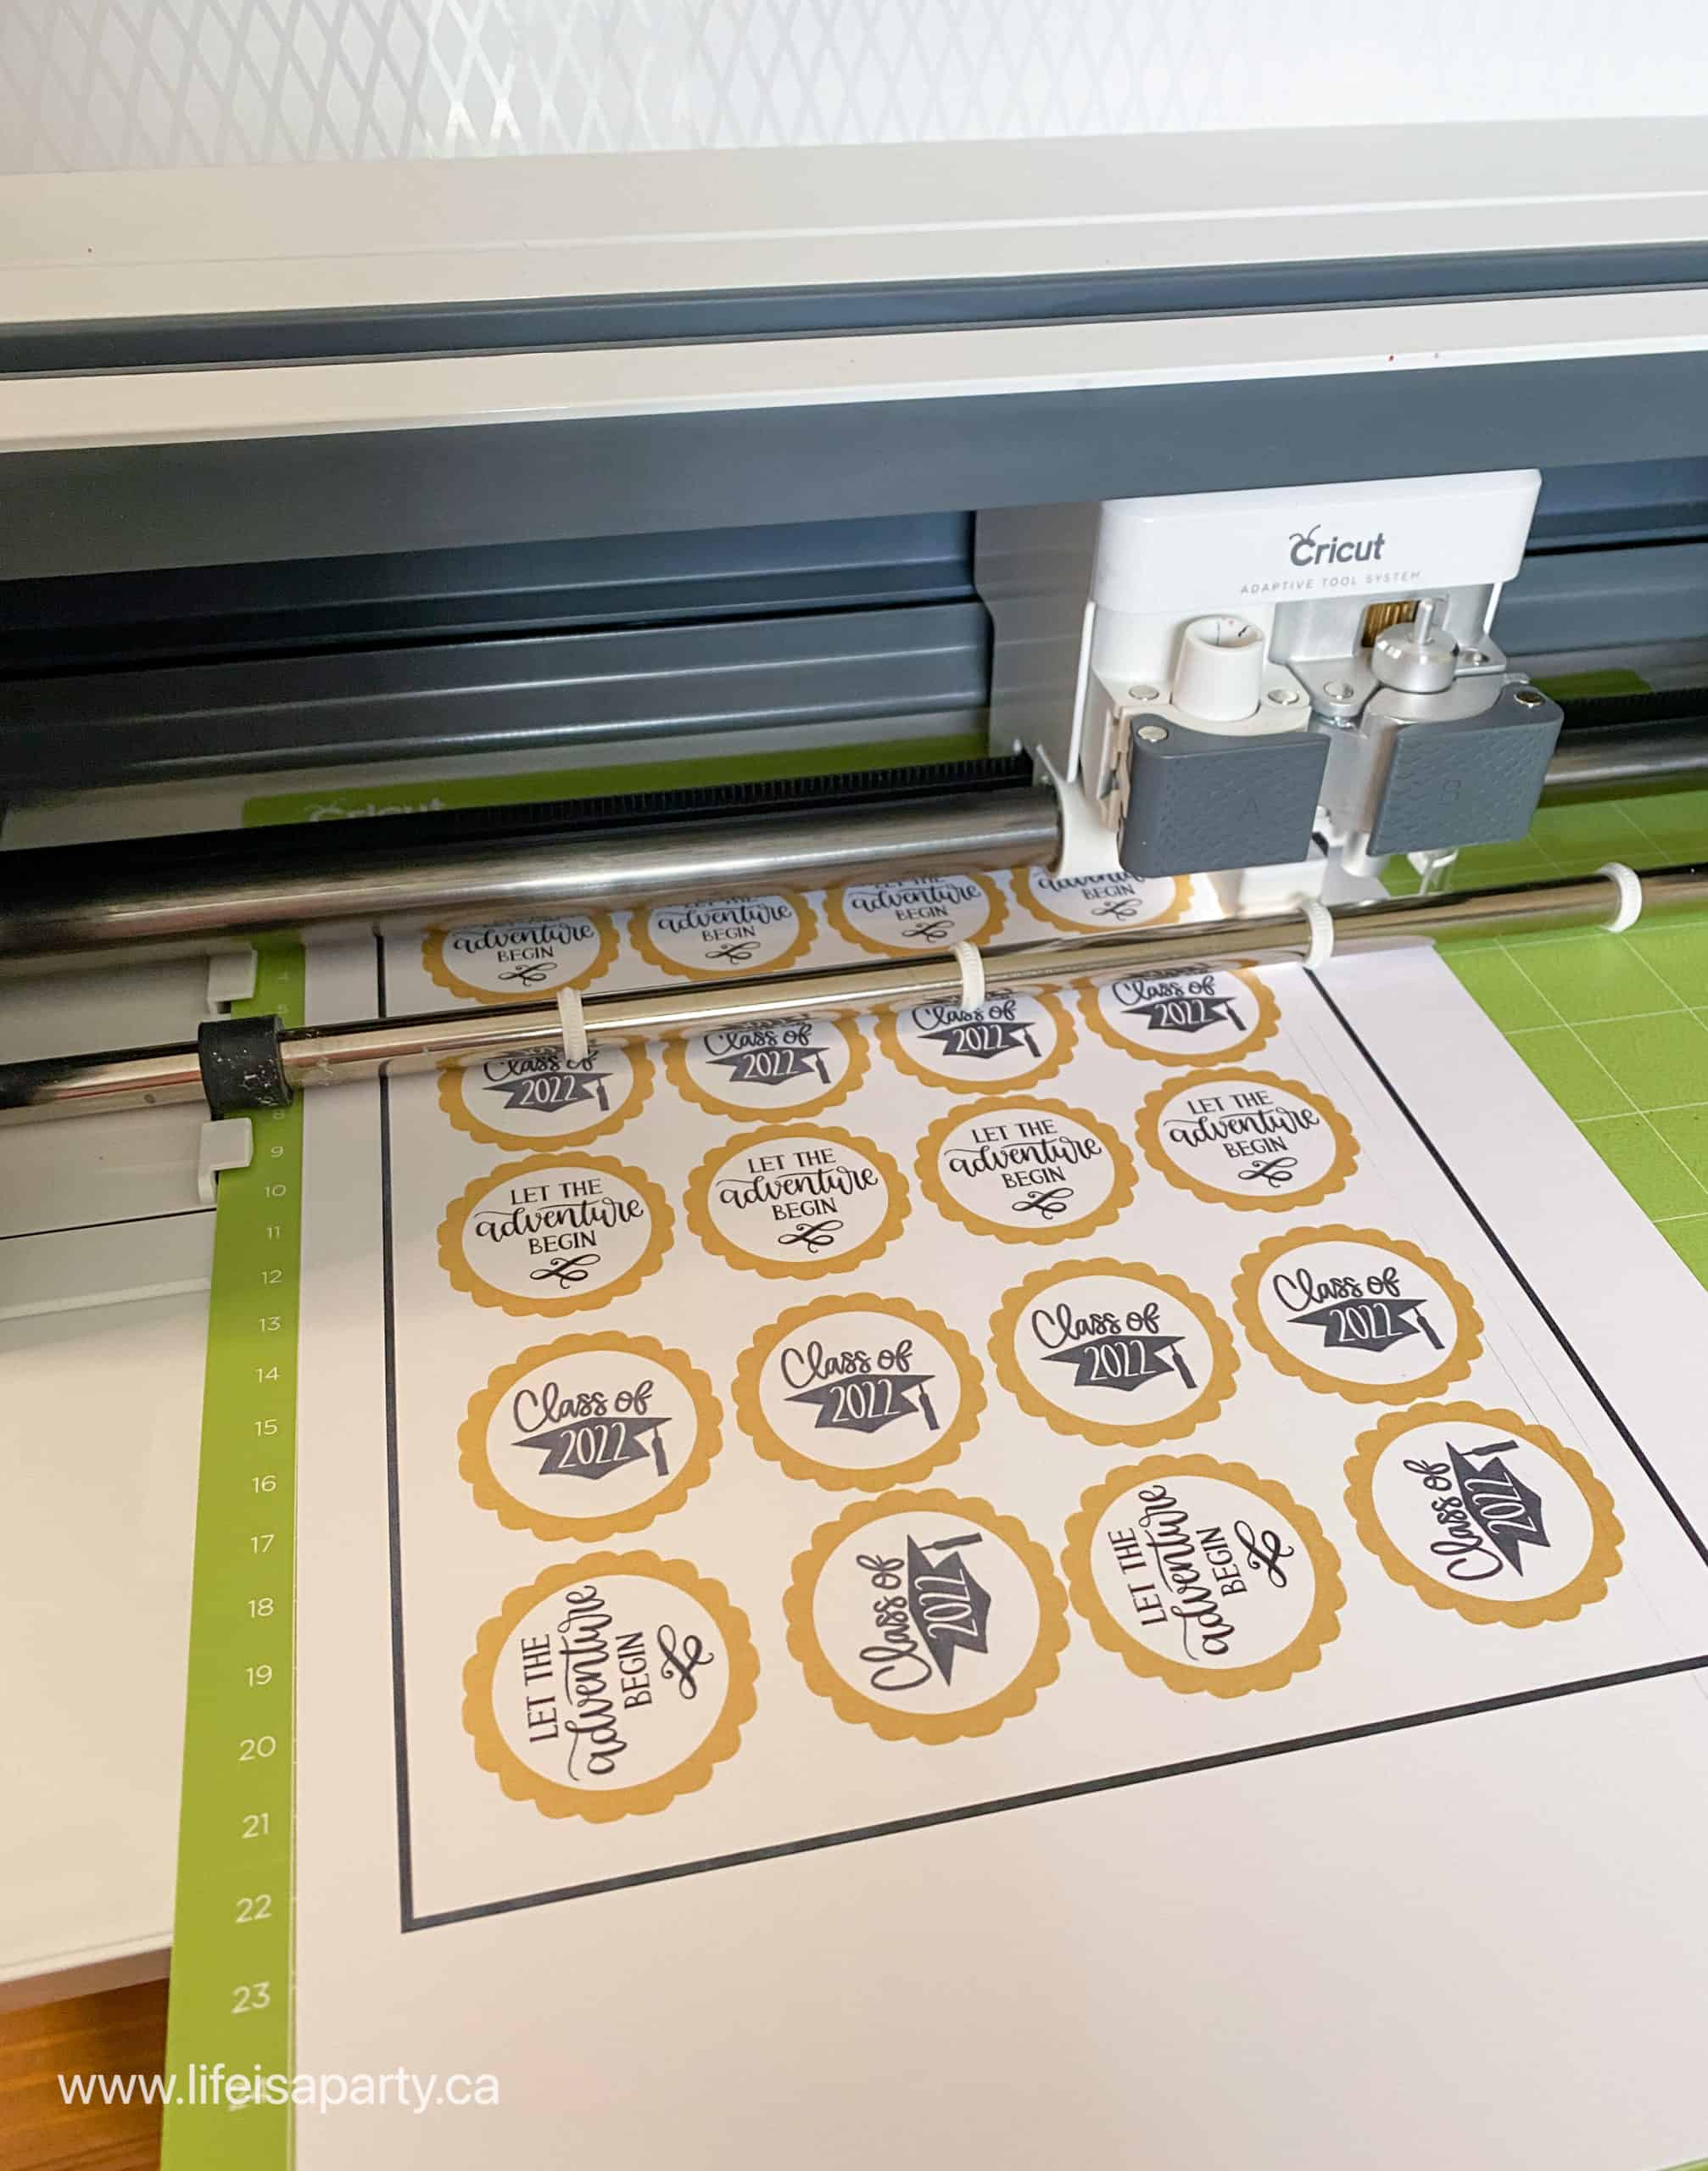
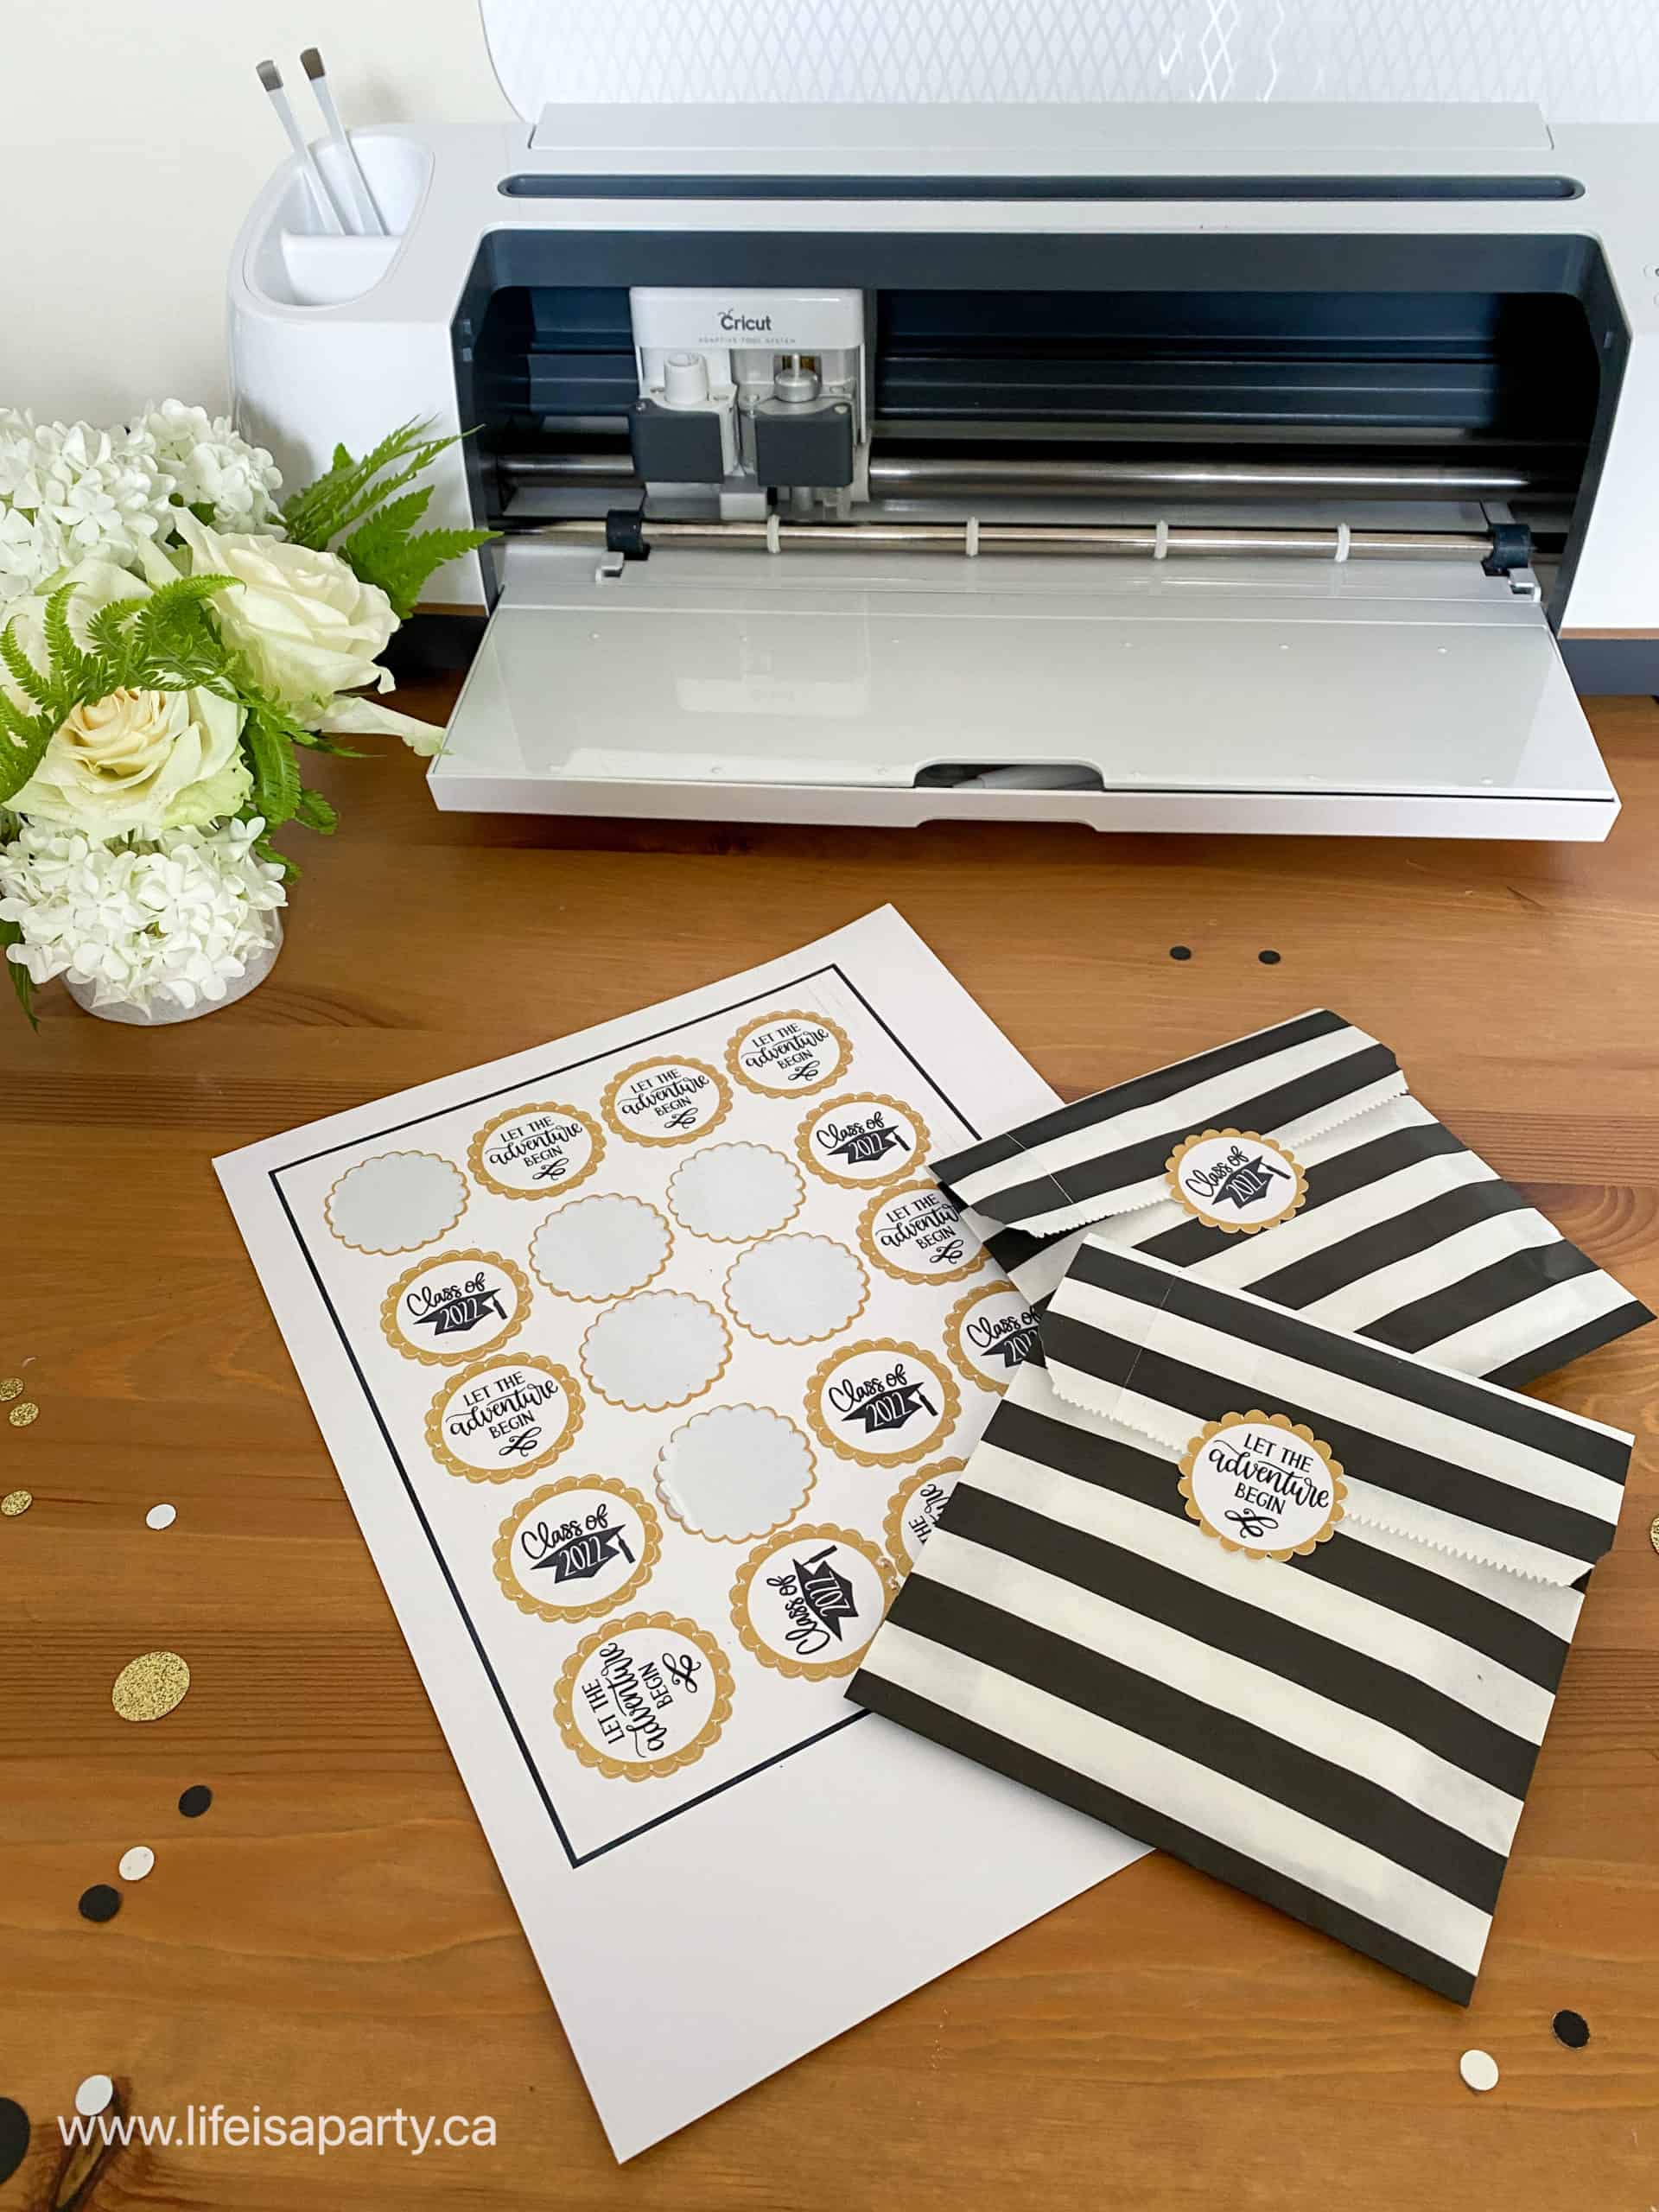 When you're ready to make it, you'll be prompted to print the stickers on your printer. We used Cricut sticker paper, which worked really well. Next you place the sticker paper, backer side down, and cut it out on your Cricut. The black registration marks around the outside of the sticker sheet allow the Cricut to read where the images are and cut them out perfectly. If your stickers are not lined up perfectly, you need to calibrate your Cricut machine. You will see the calibration button on the hamburger menu, by clicking on the top left corner of your screen. Follow the prompts to calibrate your machine for perfect sticker cuts.
Kiss Cut or Die Cut
You can create kiss cut or die cut stickers. When you are browsing your materials, choose sticker paper from the list for a kiss cut, or heavy cardstock for a die cut.
We chose images from Cricut, but you could also personalize the stickers with your own text, or school colors. You could even upload the school logo, or a photo of the graduate. This is such a cute way to add a special touch for the big day.
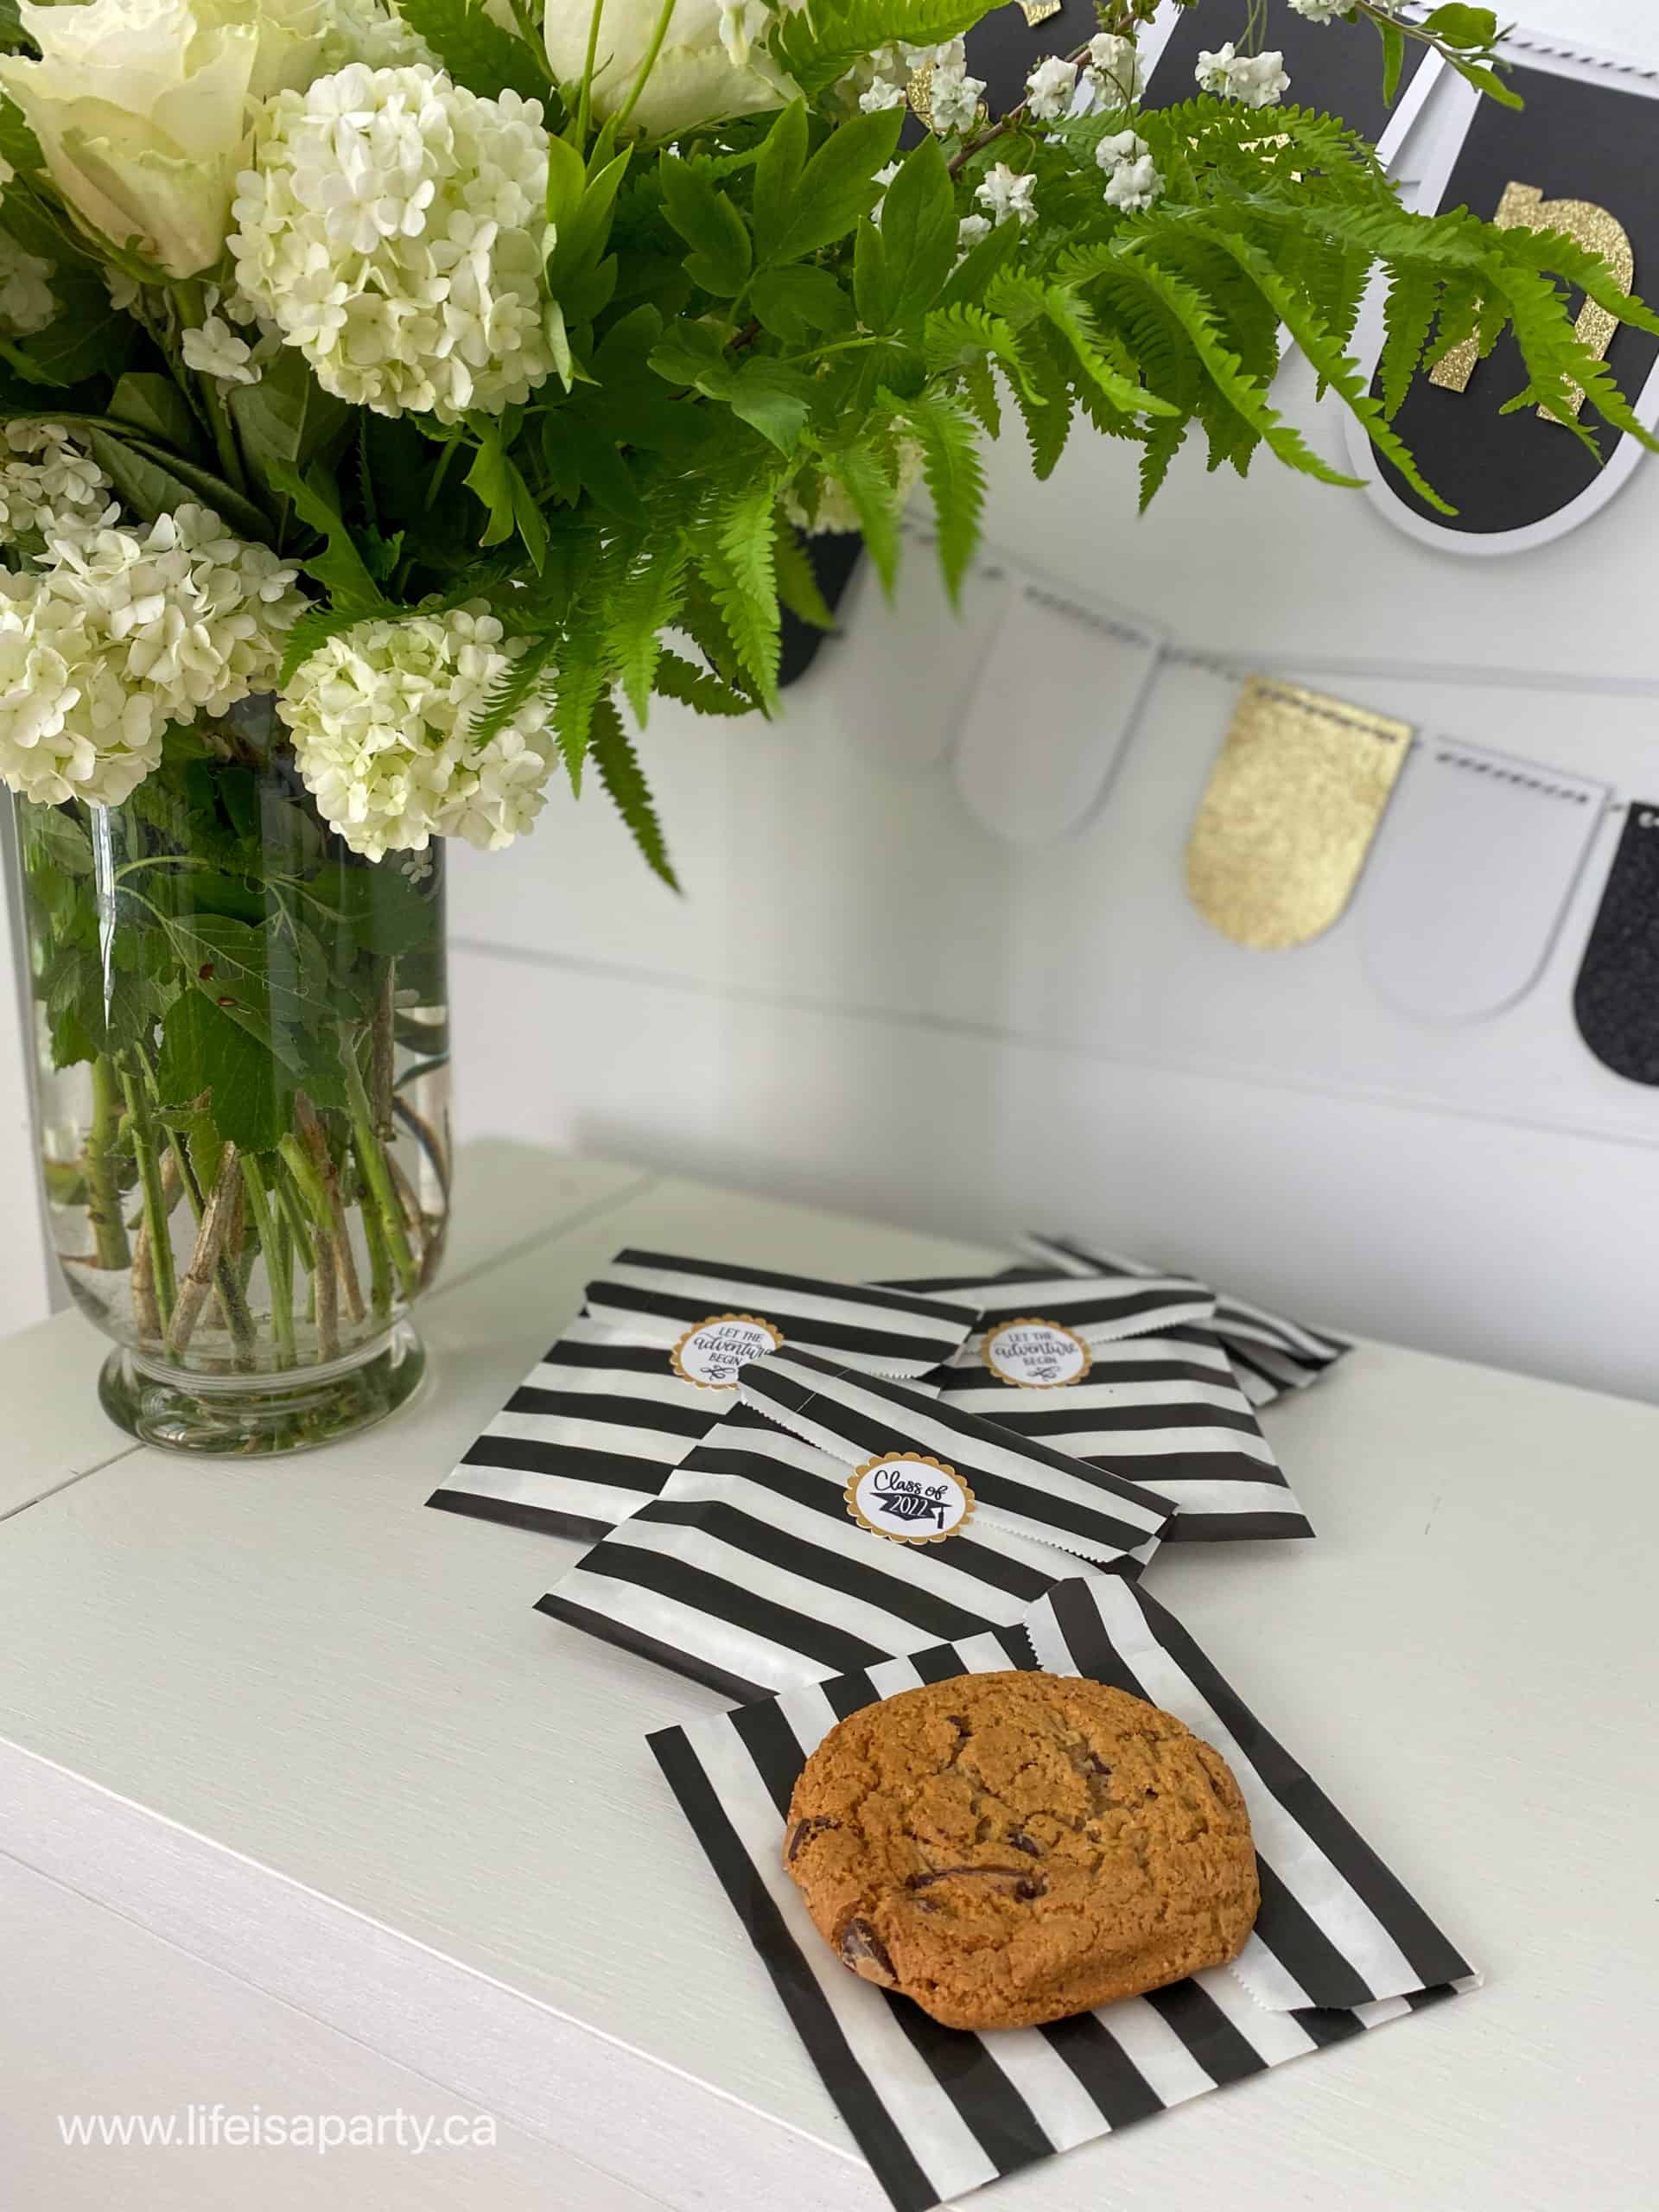
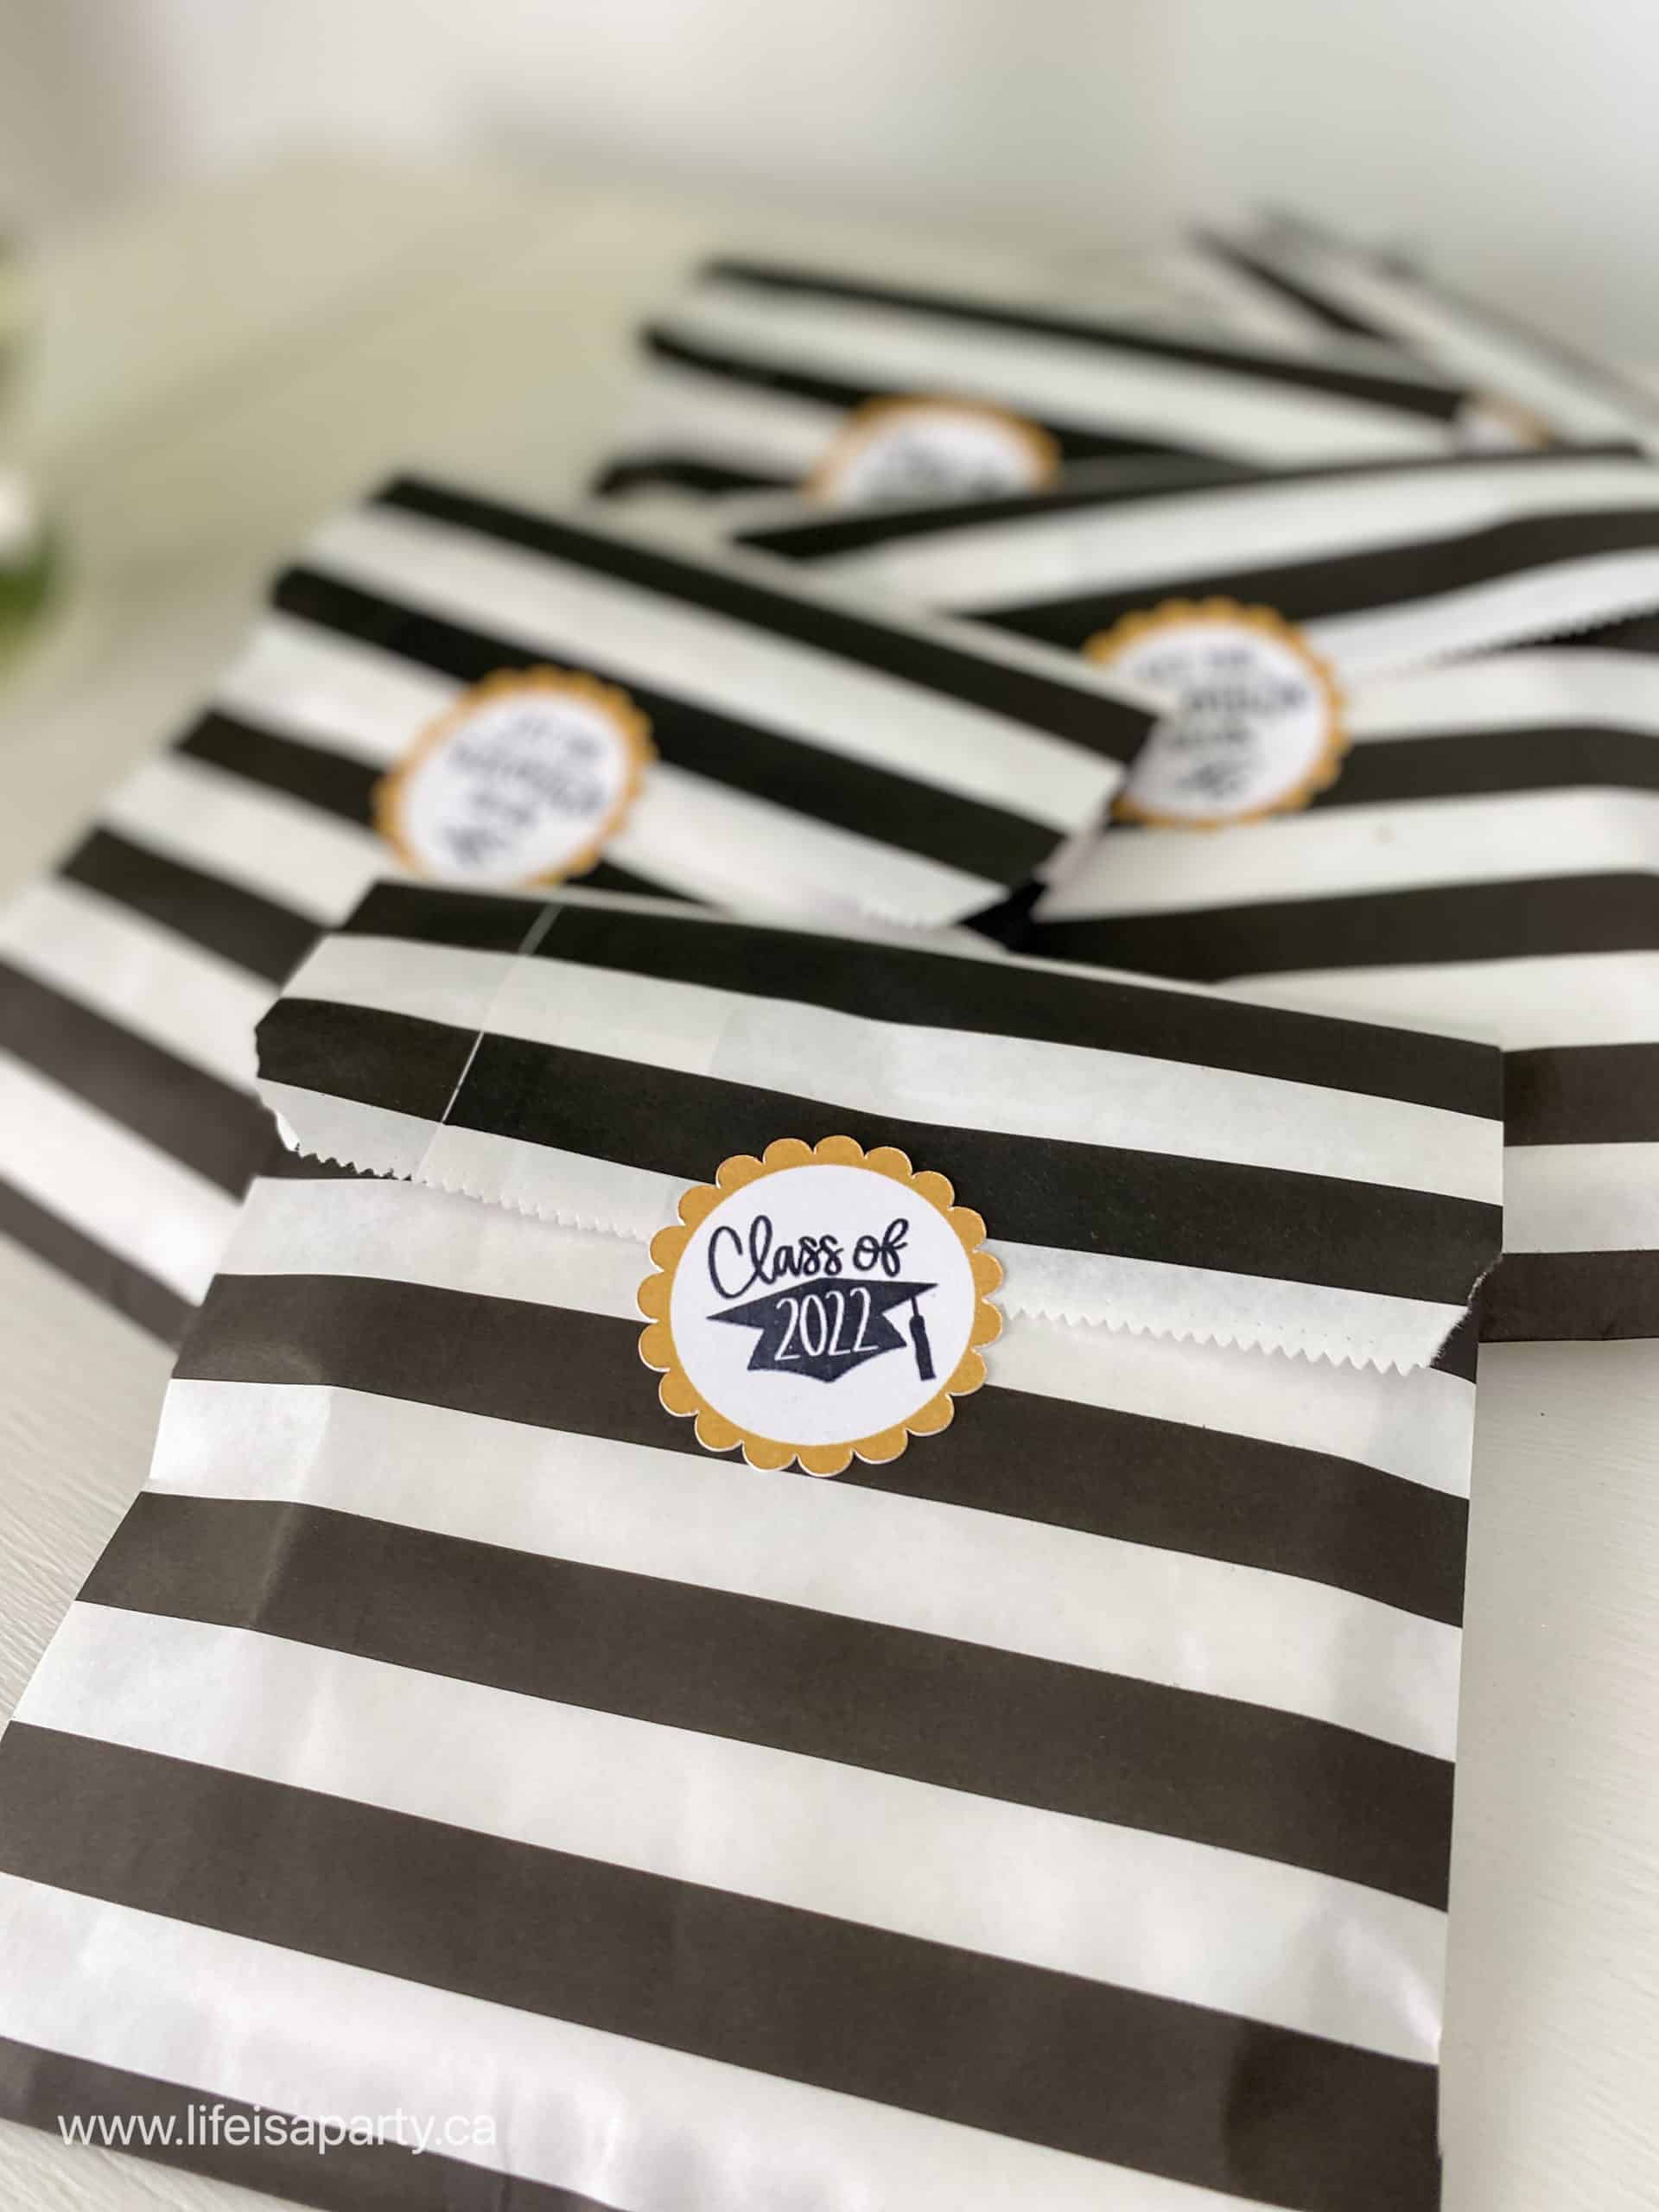
I used the stickers on treat bags. We picked up some of our favourite cookies and placed them in treat bags with the sticker. These could be enjoyed at the party, or taken home as party favors. You could also use these stickers to decorate candy jars, paper cups, or as straw toppers. The die cut stickers would make fun party favours too.
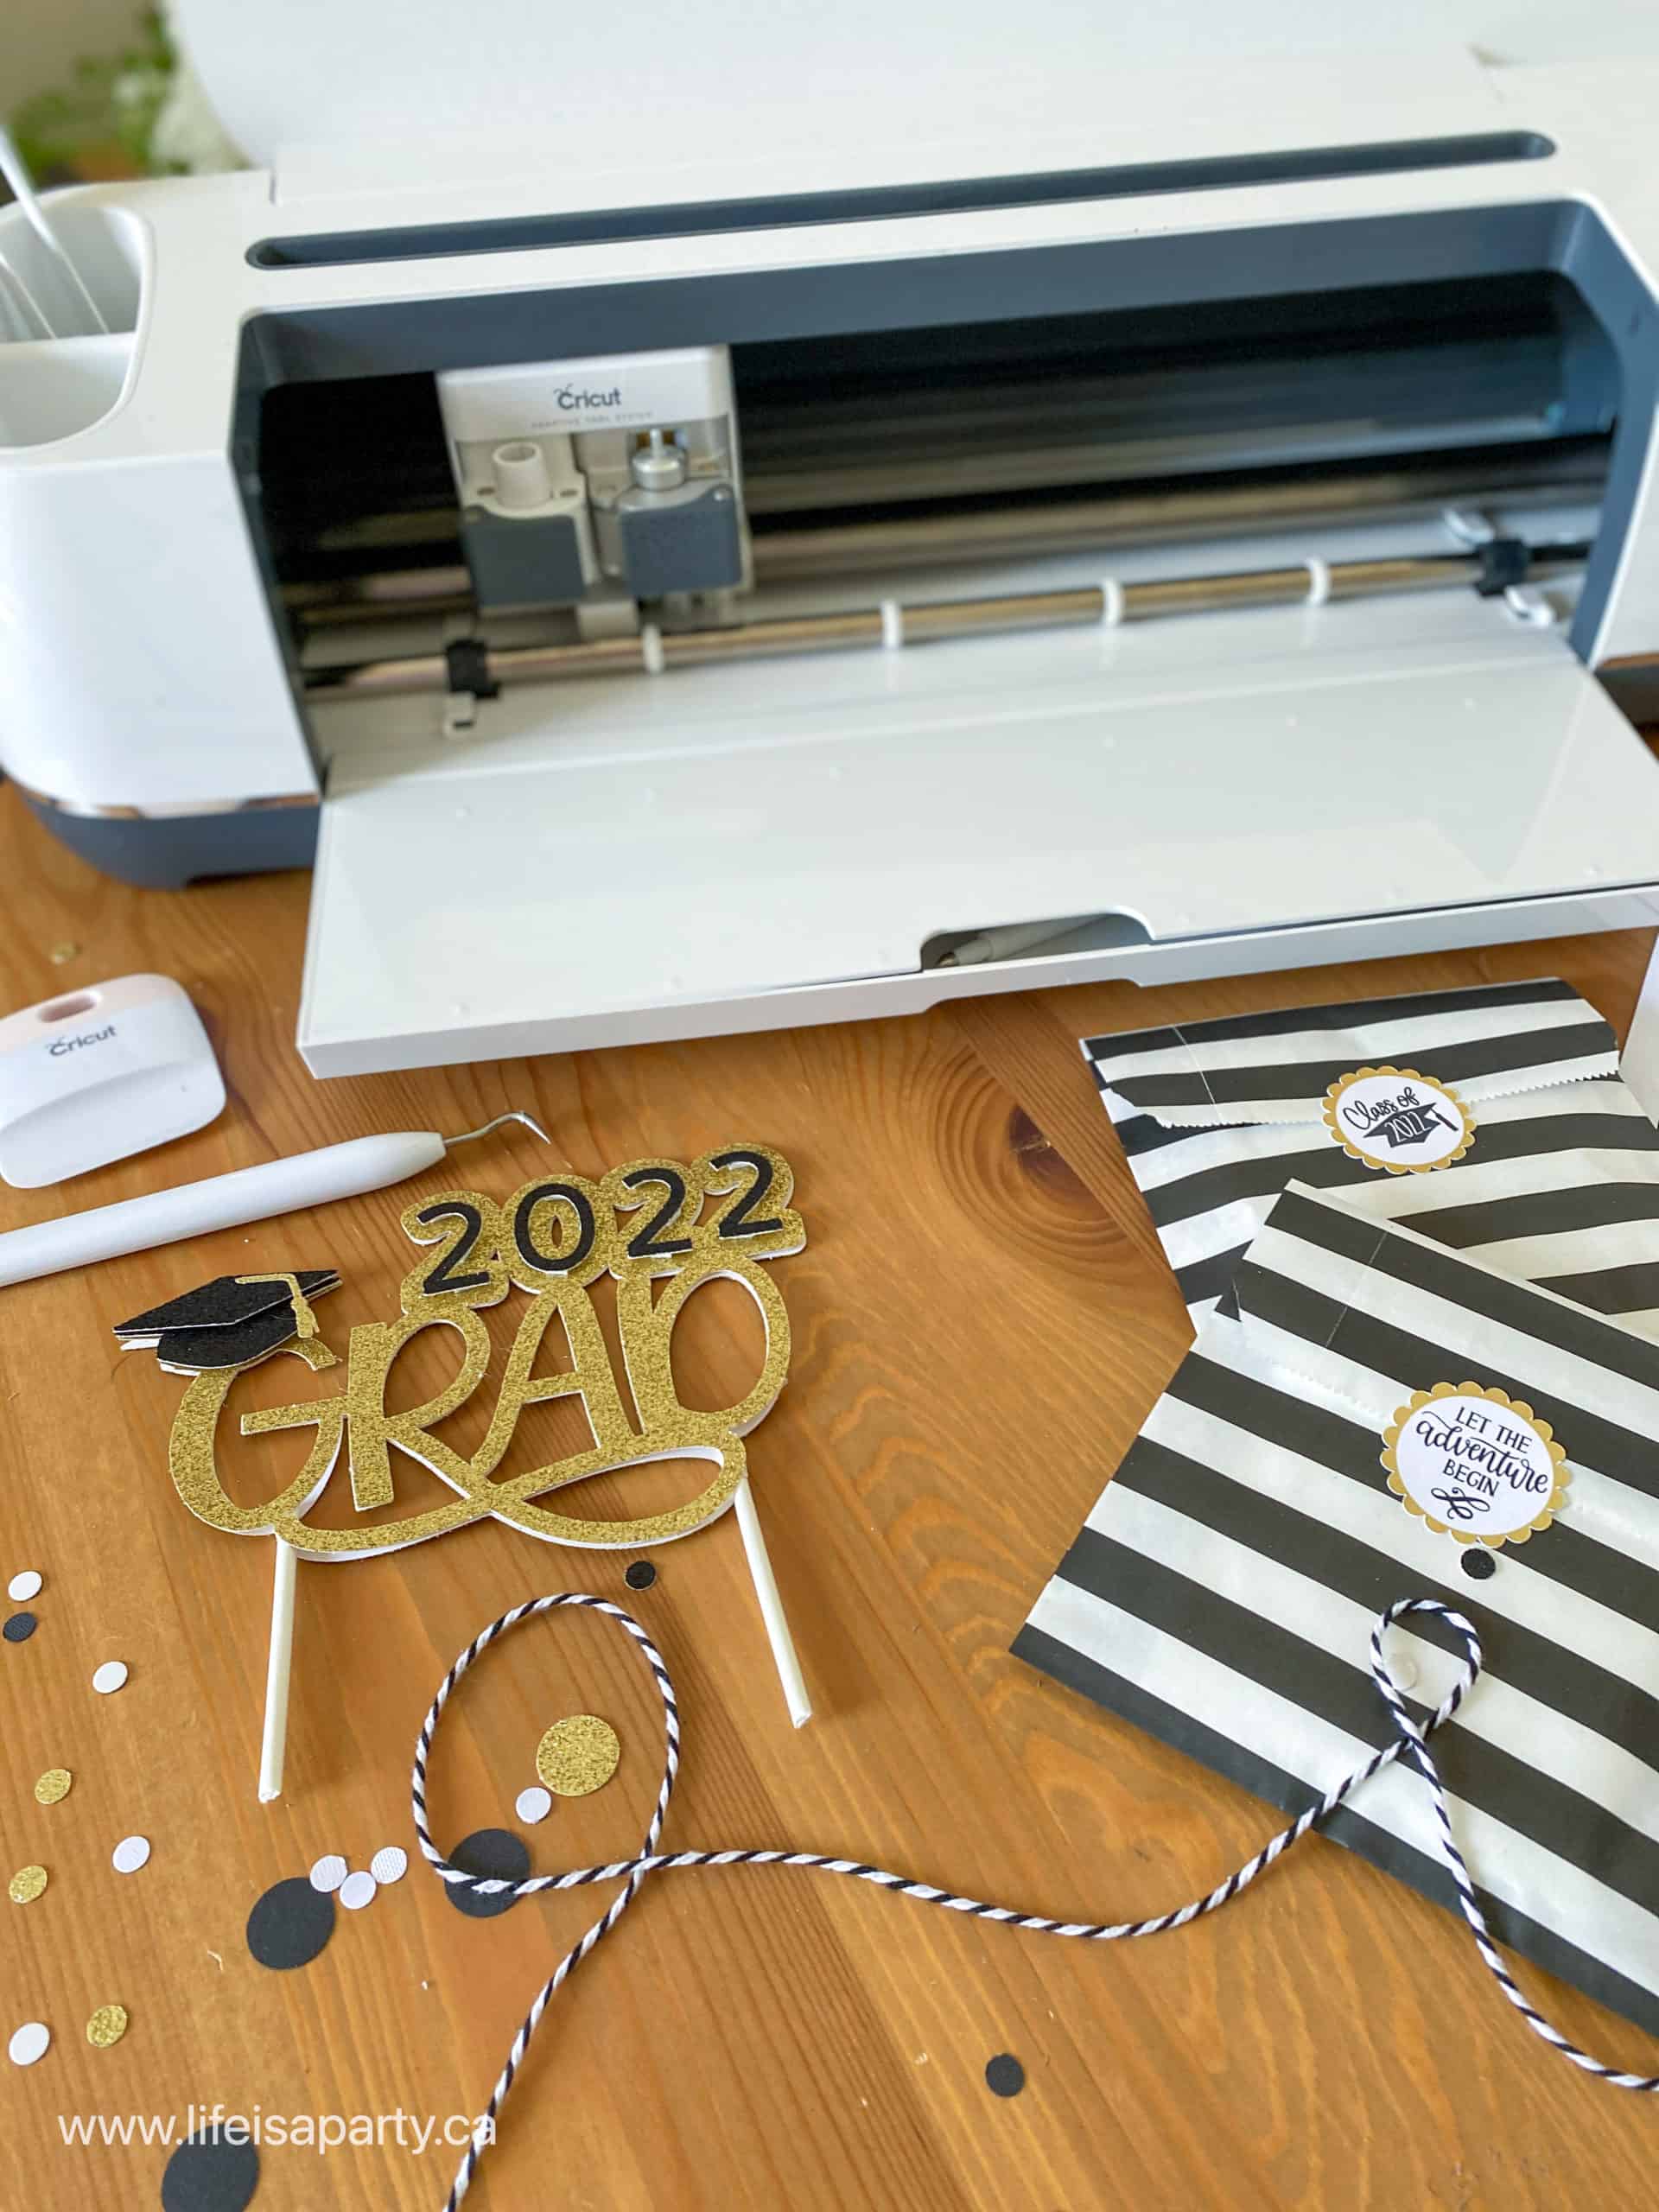
DIY Cake Topper
It's not really party without cake, is it? We made a fun cake topper and added it to an inexpensive cake as the perfect table centerpiece. It looked great on the table, and was a delicious treat to enjoy.
To make the cake topper we opened a canvas in Cricut Design Space, and added "Graduation Cap Cake Topper" from projects. We customized it by adding the graduation year. To do this we used Cricut Sans, font size 83 to add the year. We used the offset at 0.25 to create the outline of the numbers. Ungroup the letters, under advanced settings to move them around and get the right spacing. We changed the color of the main part of the cake topper to gold, and also made the offset outline of the numbers gold. Then we selected each offset one at a time and the main cake topper and welded them together. Welding them takes away the individual cut lines, and cuts them out all as one piece.
To cut out our cake topper we also cut out an extra main gold piece, but used the mirror setting. That gave us a gold glitter piece for the back as well, and hid the sticks we glued to the back.
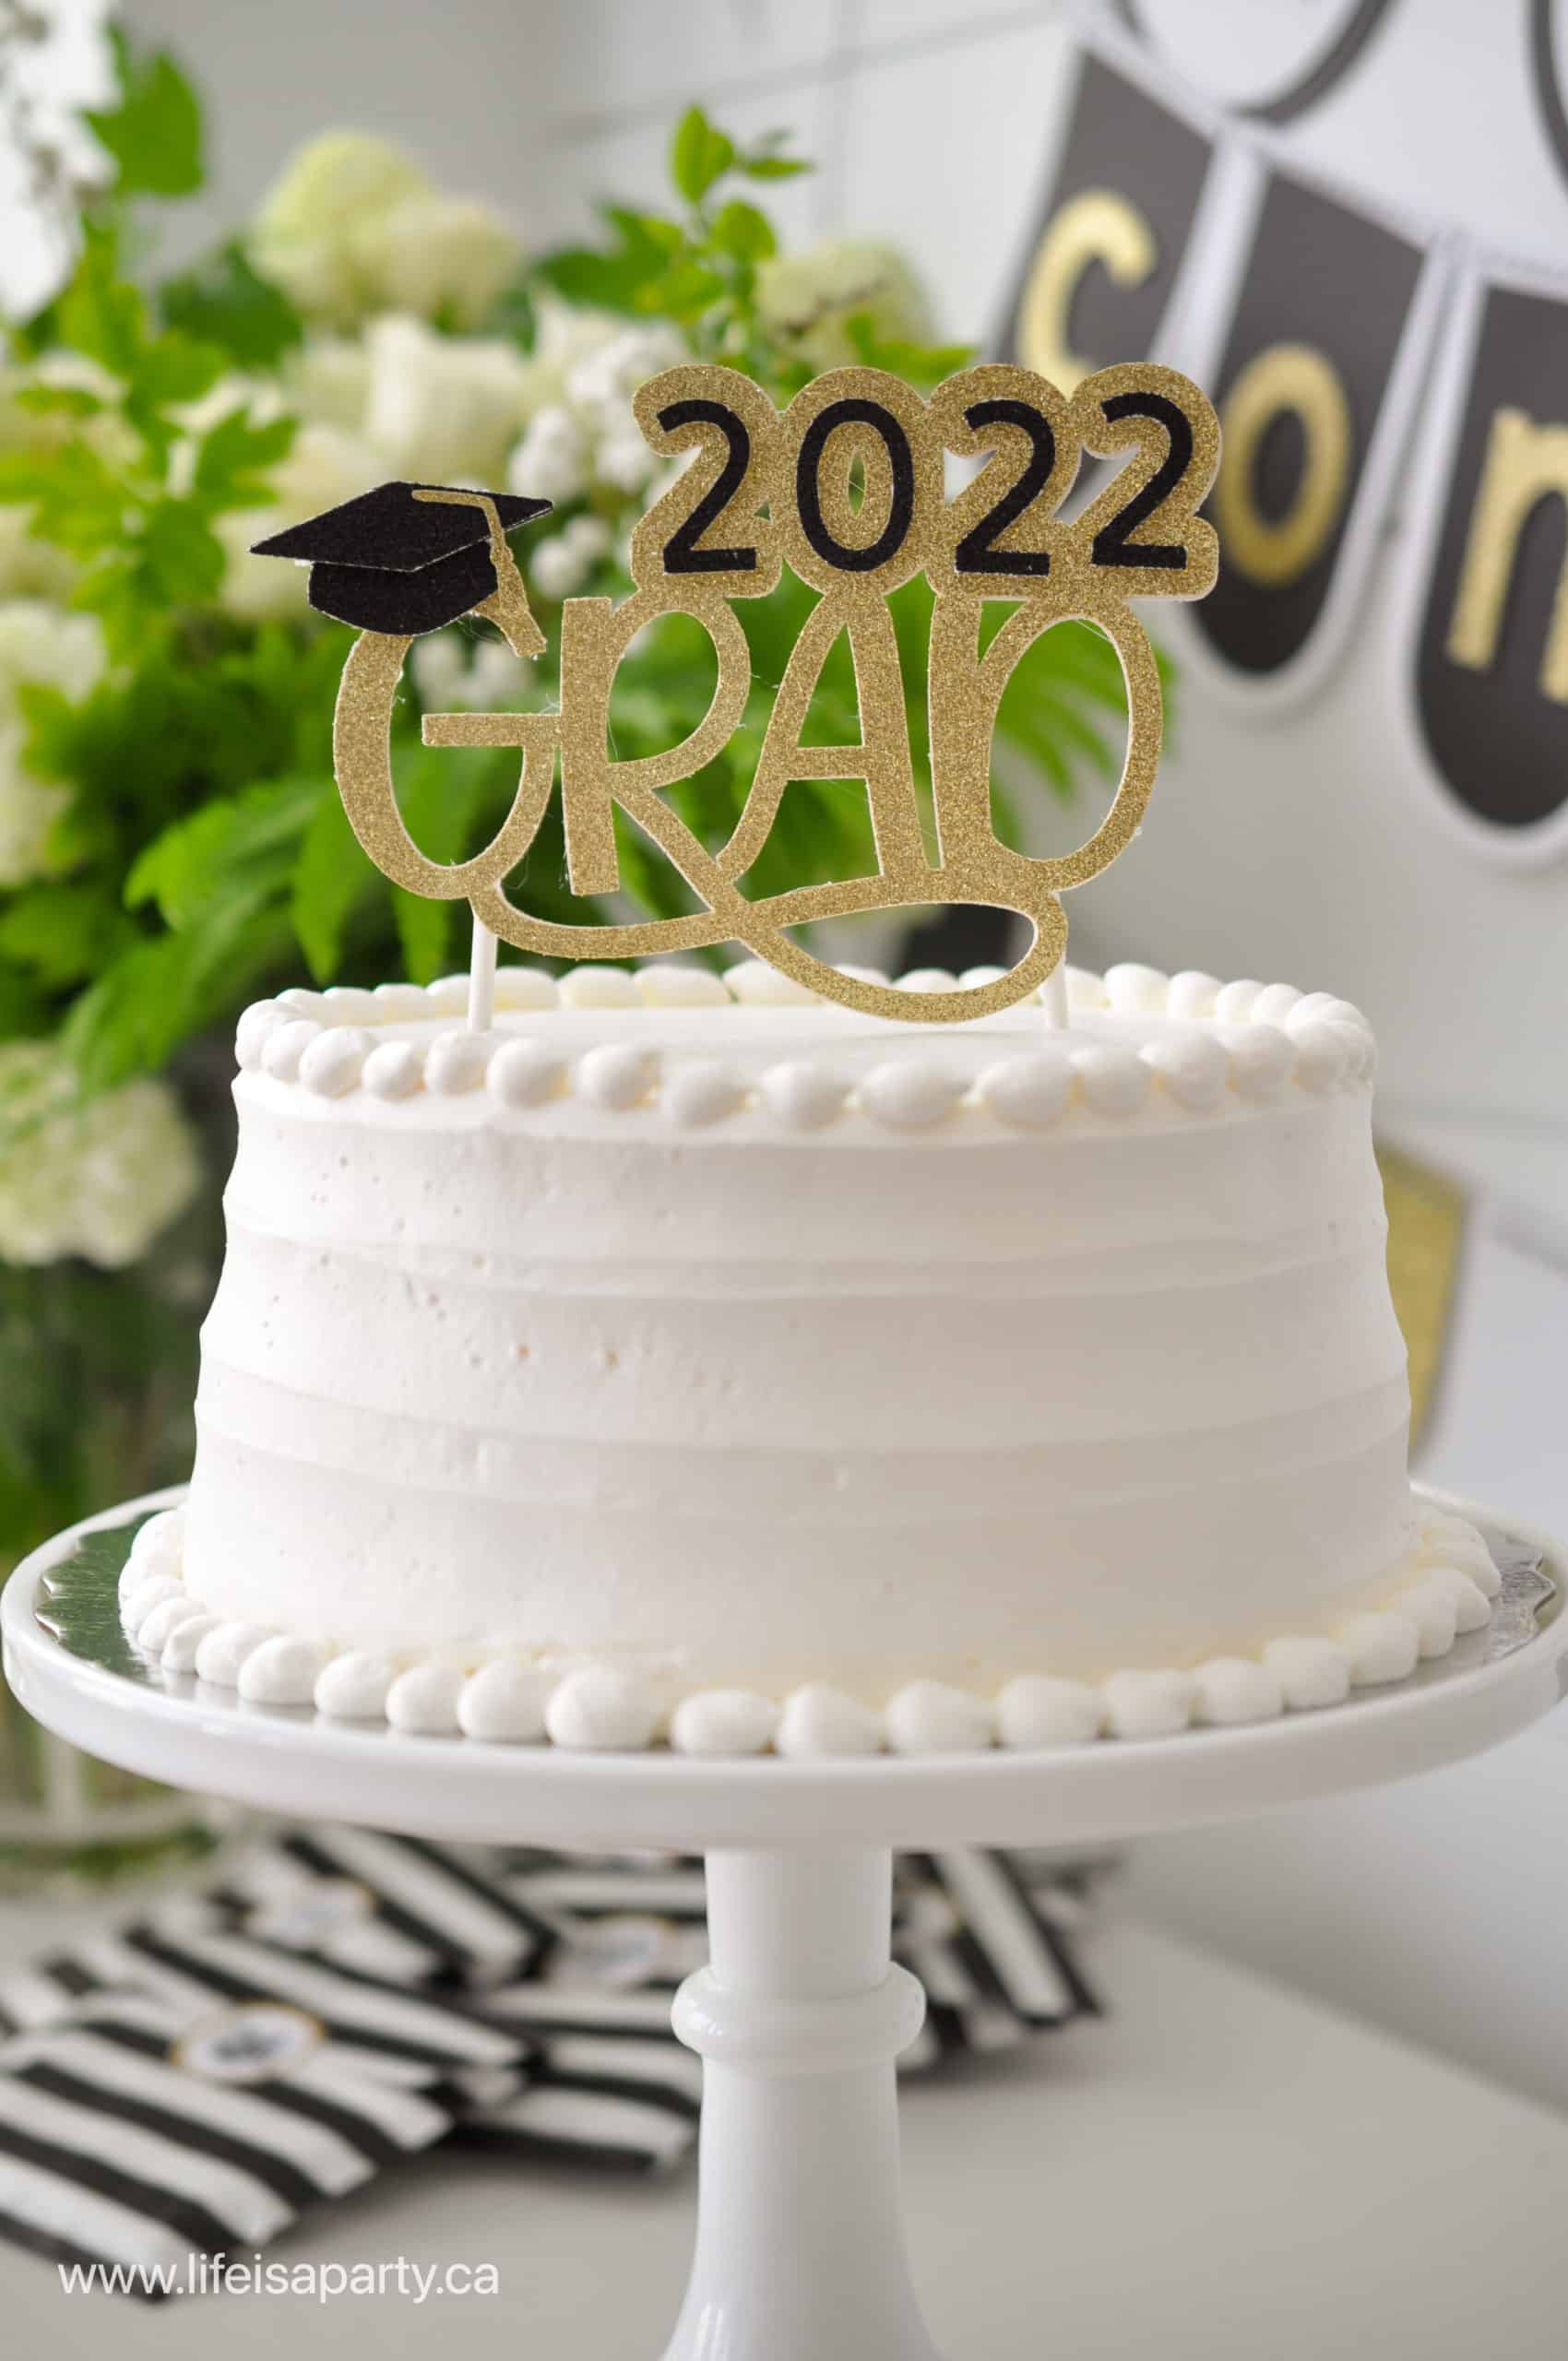
We cut our topper out of gold glitter cardstock and black glitter card stock. To put them together, we used 3D foam adhesive pieces for the black numbers and grad cap to add dimension. We used a glue gun to add two long lollipop sticks to push into the cake, then used more hot glue to add our back piece.
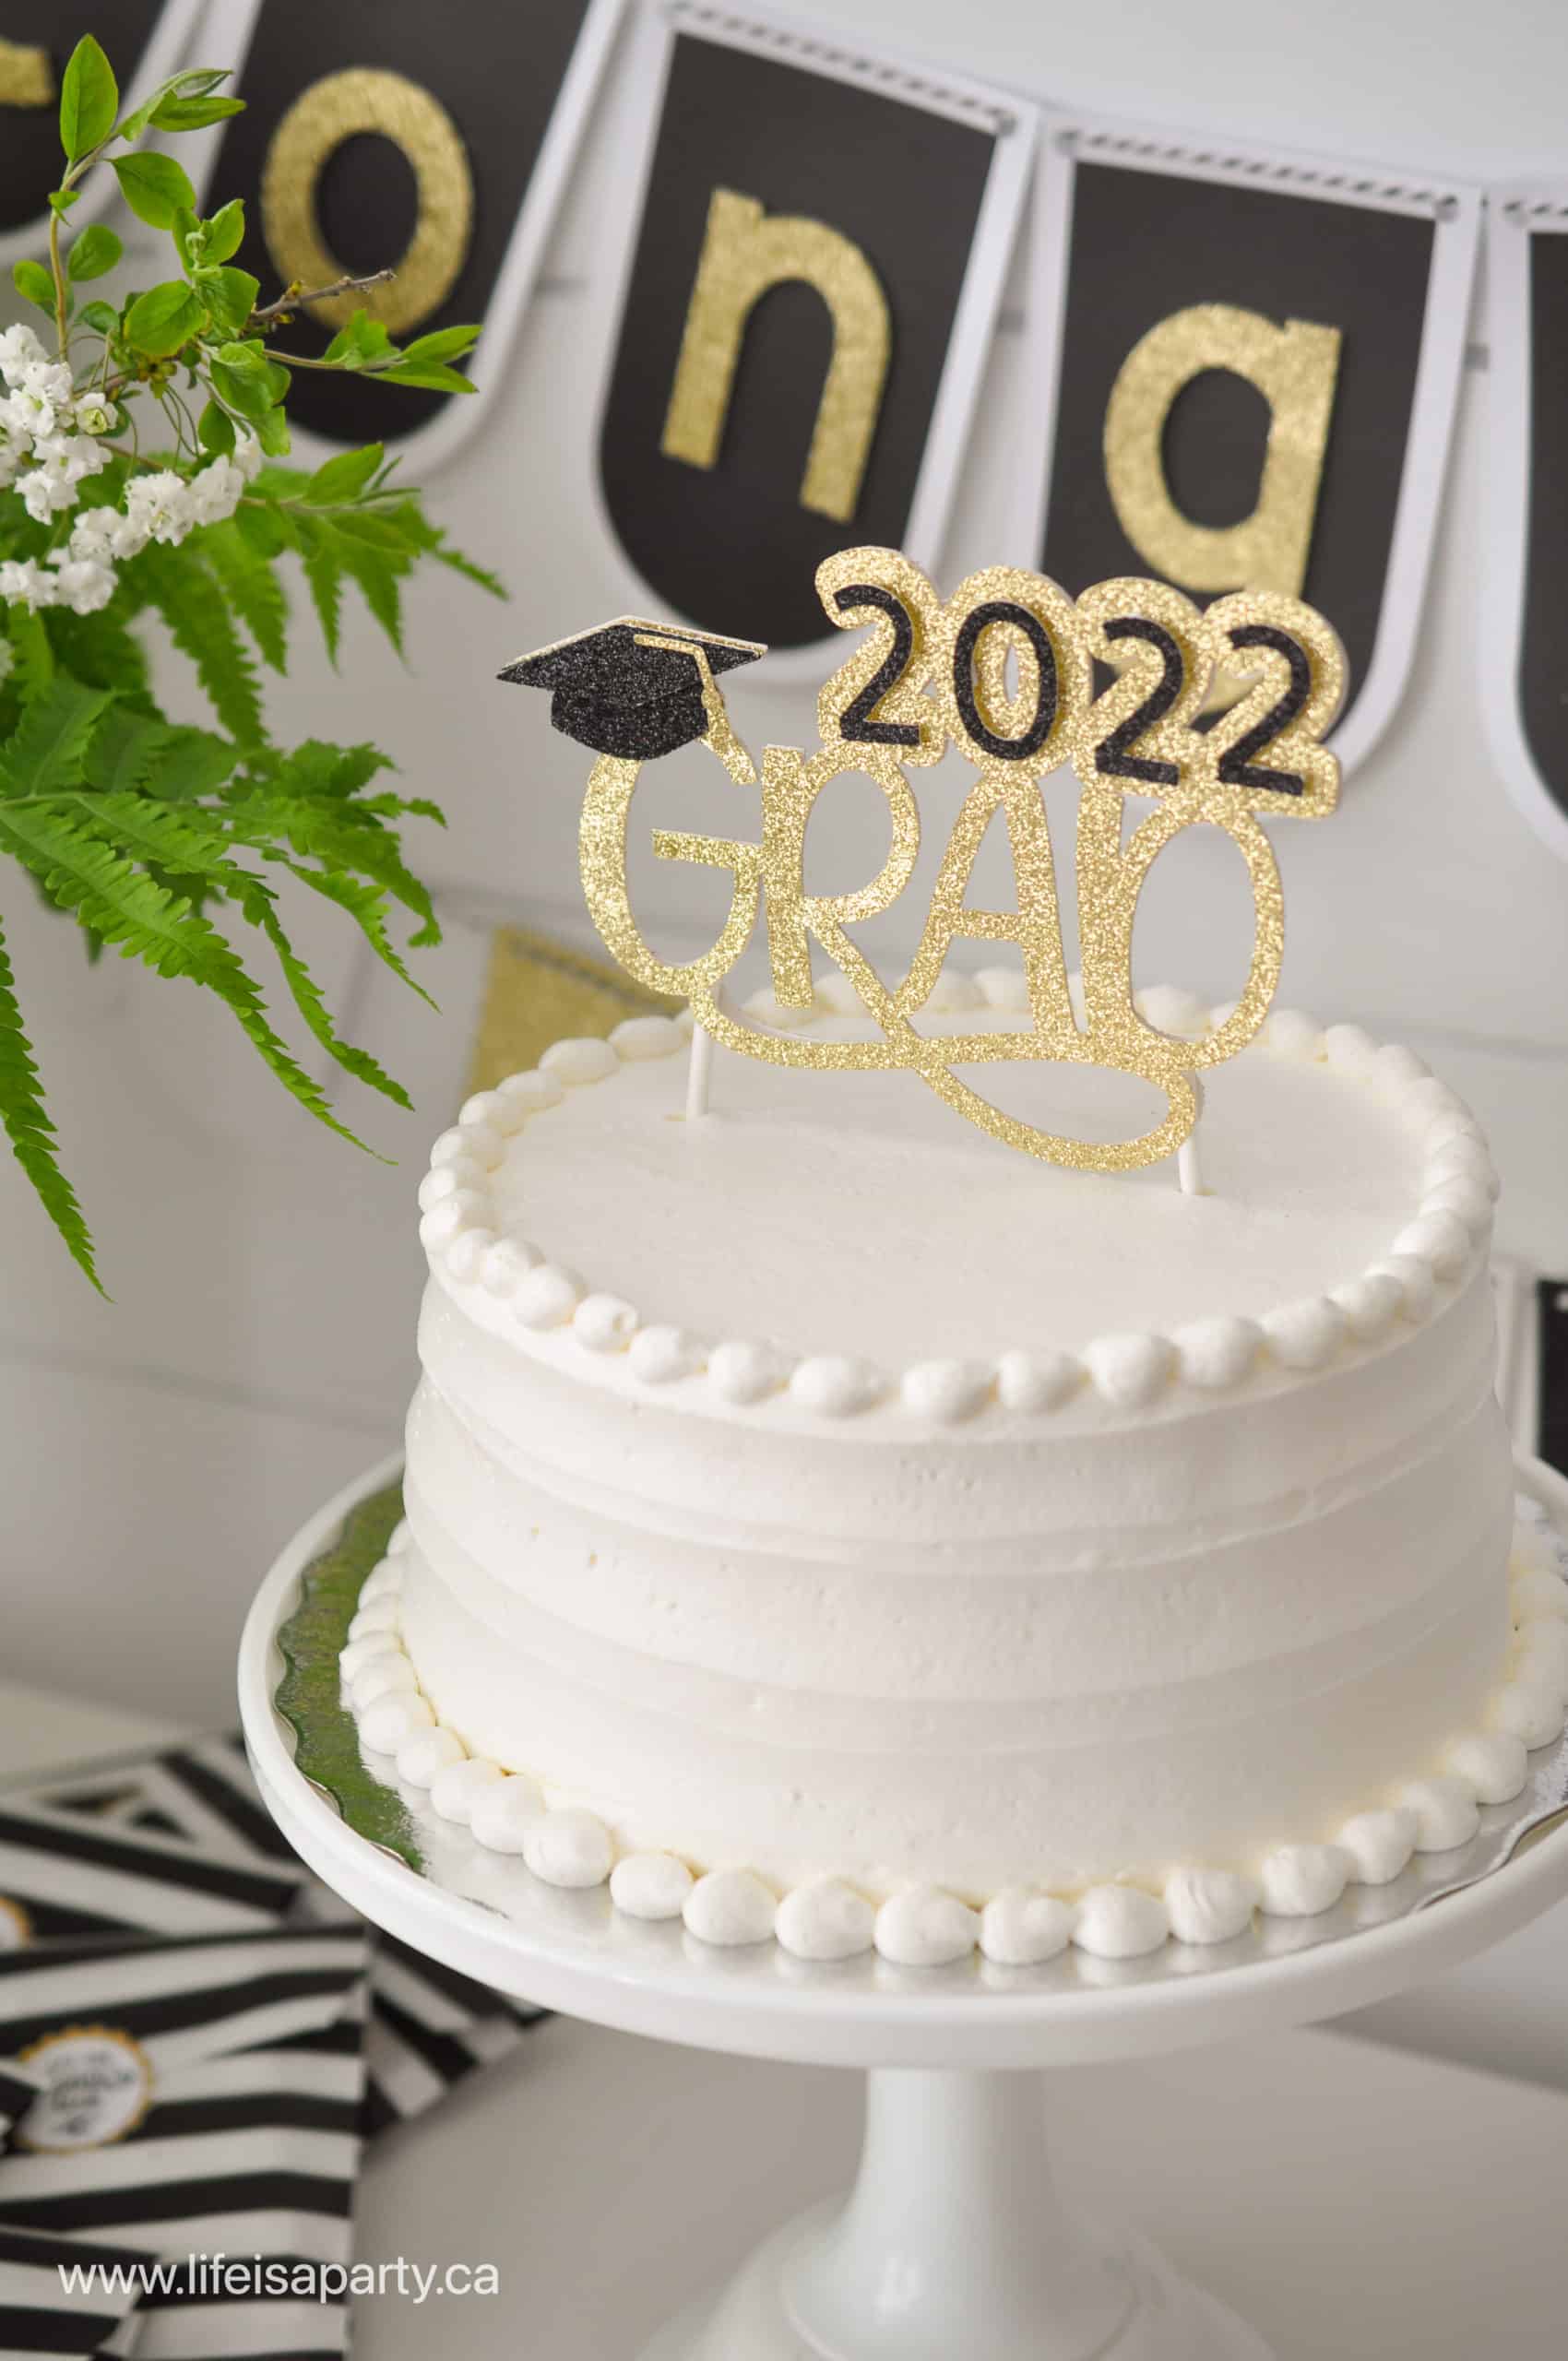
For the party we just pushed the lollipop sticks into the cake for the perfect grad cake that matched the rest of our DIY party decorations. If you were serving cupcakes you could easily make something similar that was small enough to use as cupcake toppers.
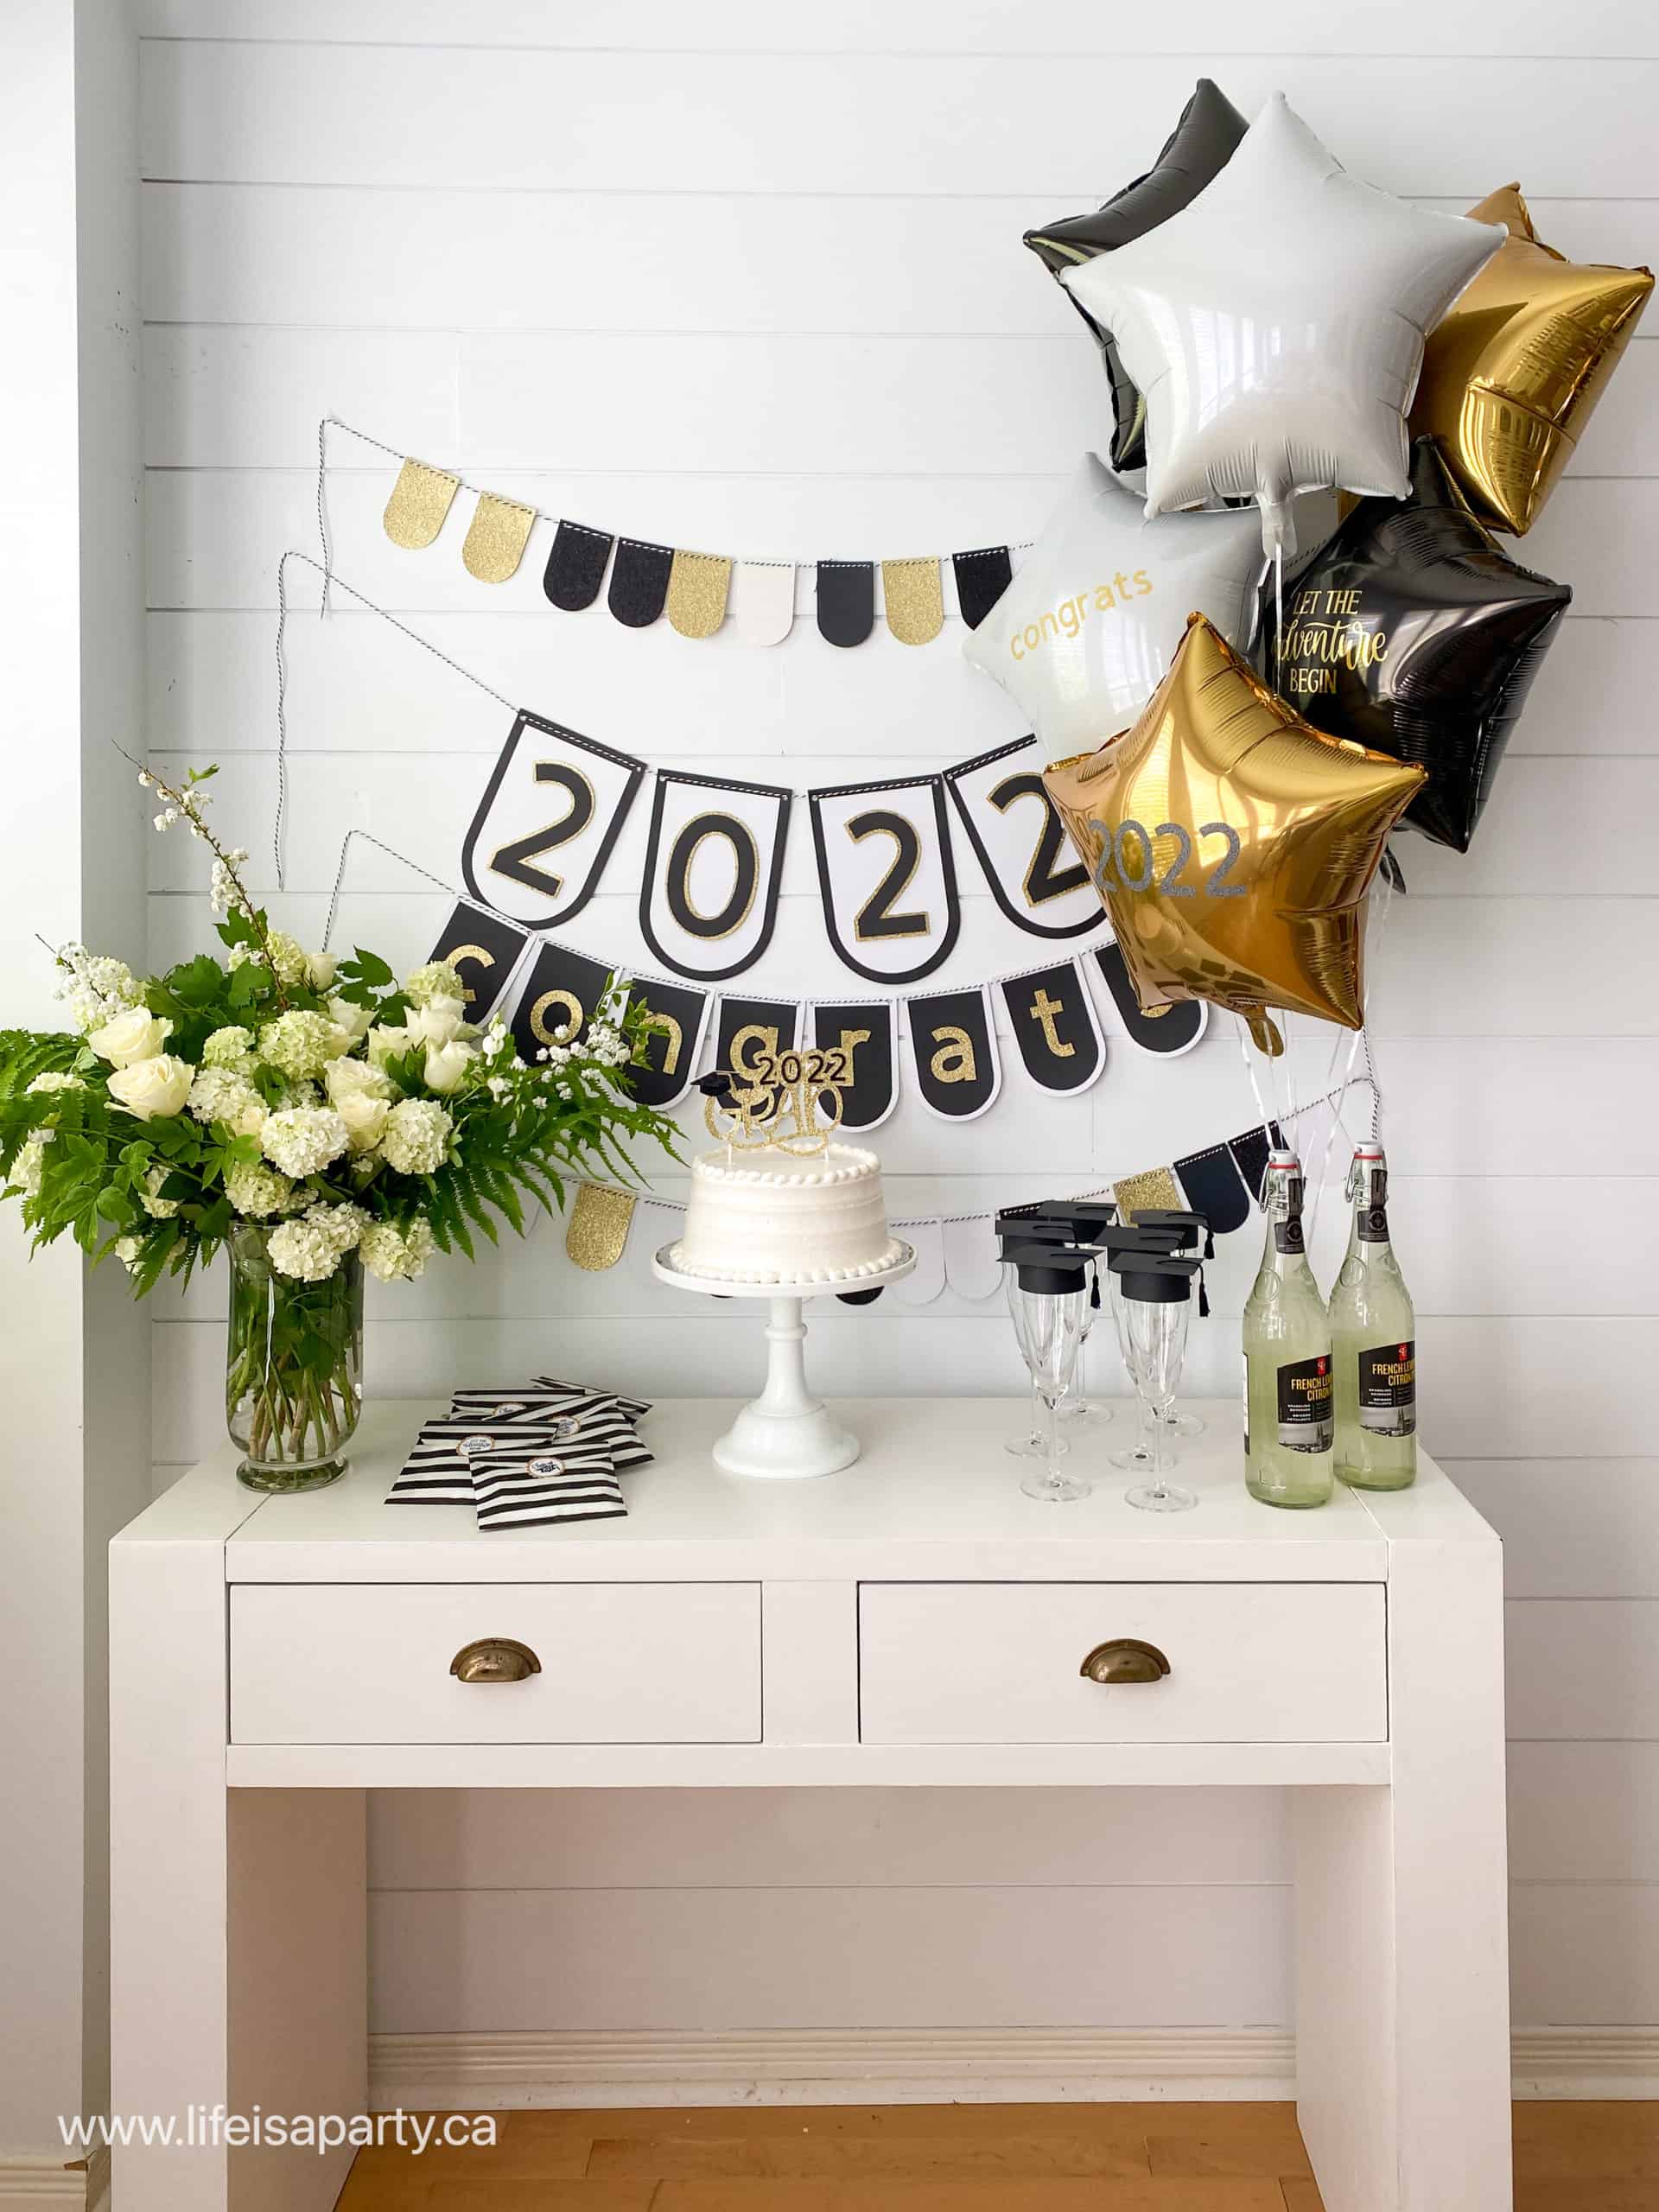
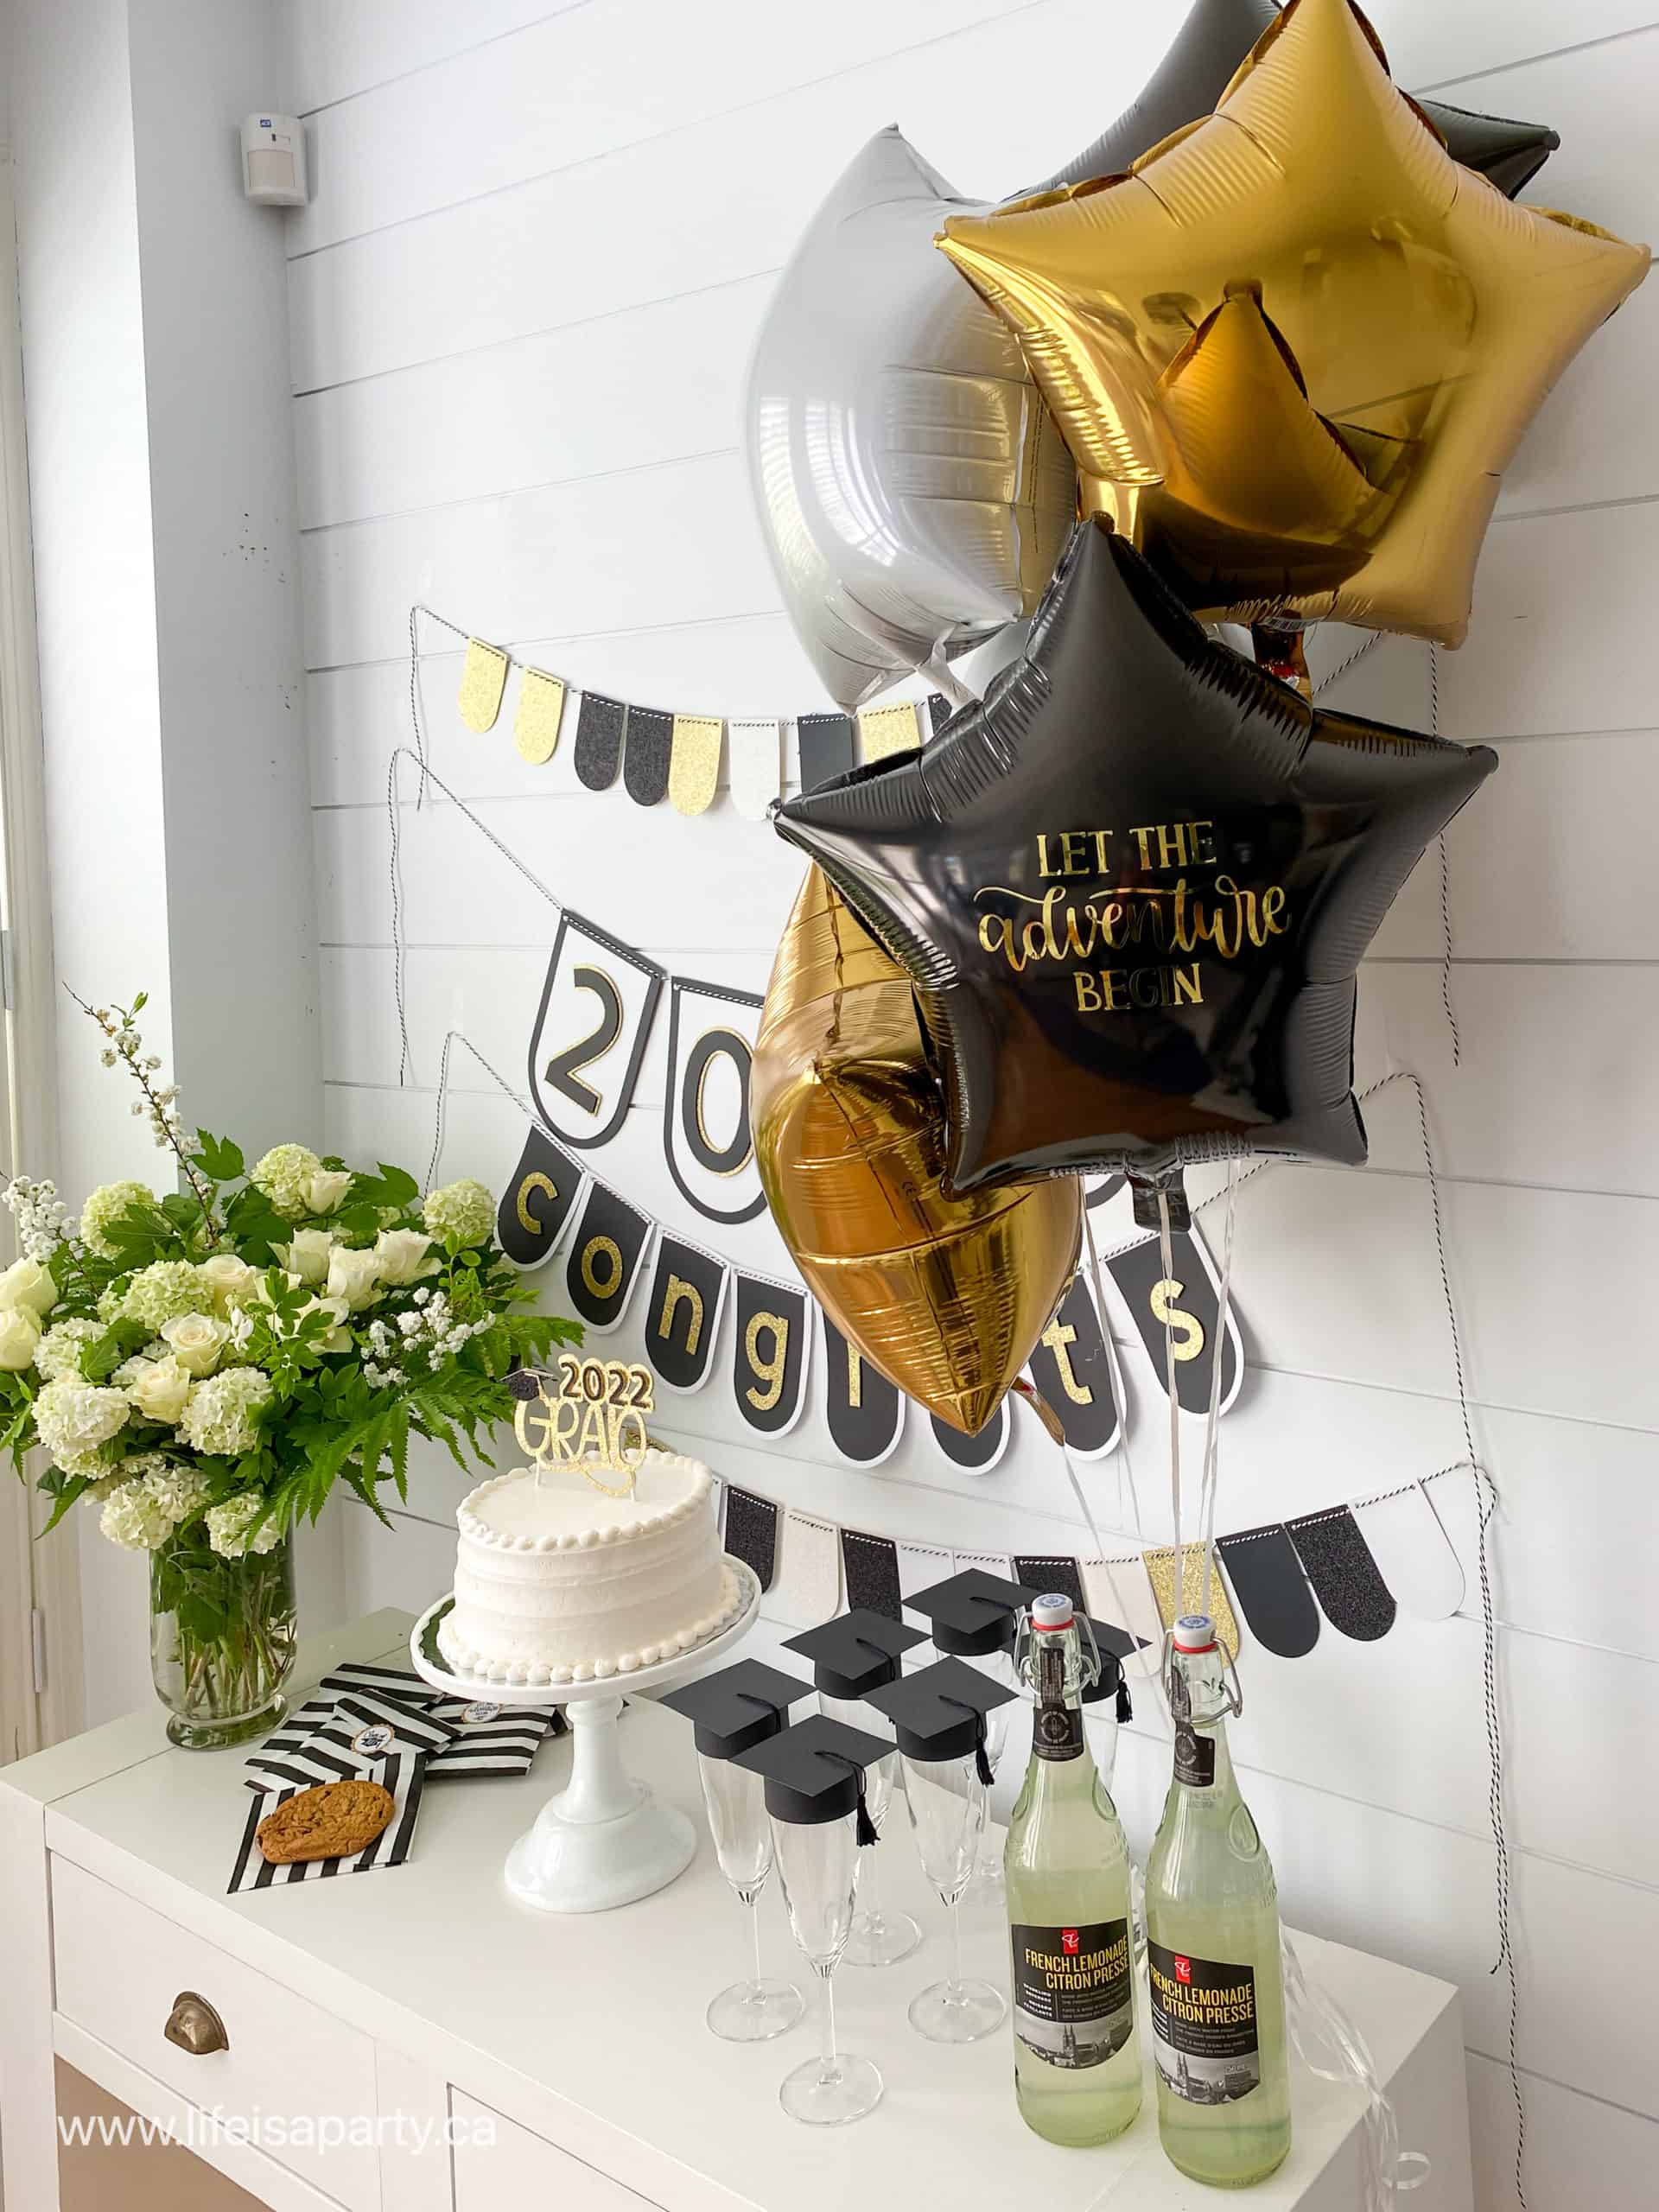
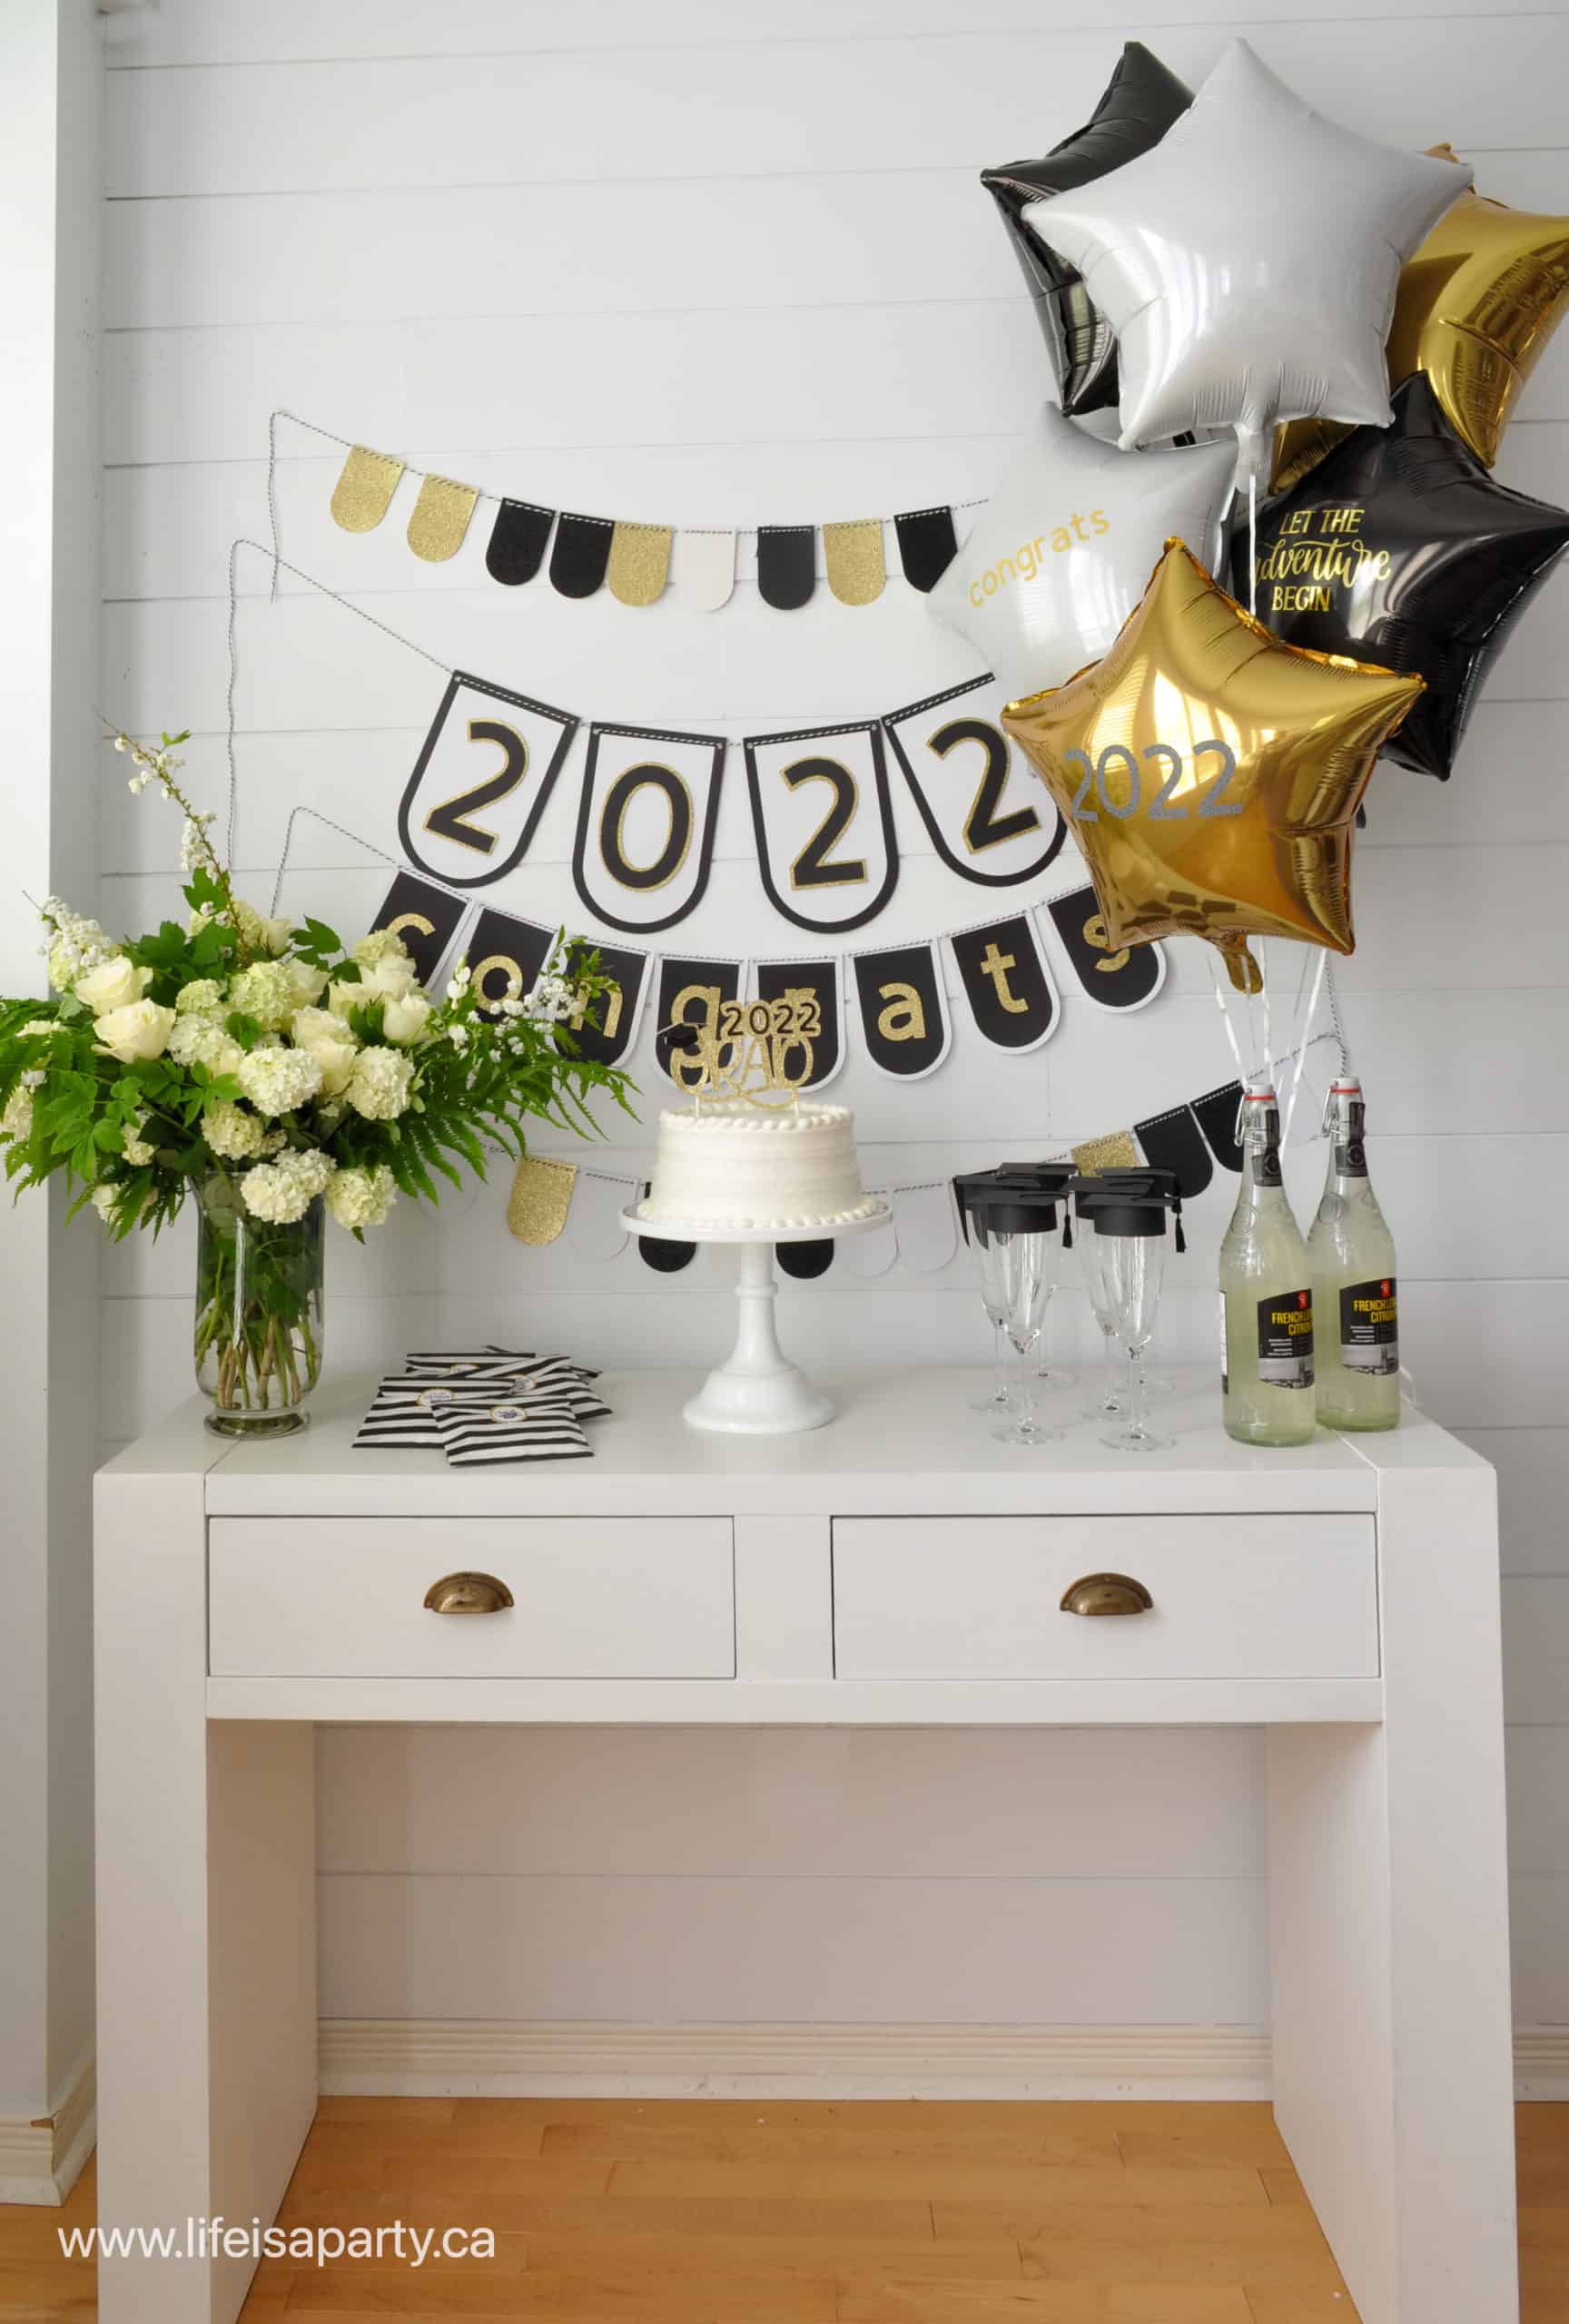
Graduation Party Set-Up
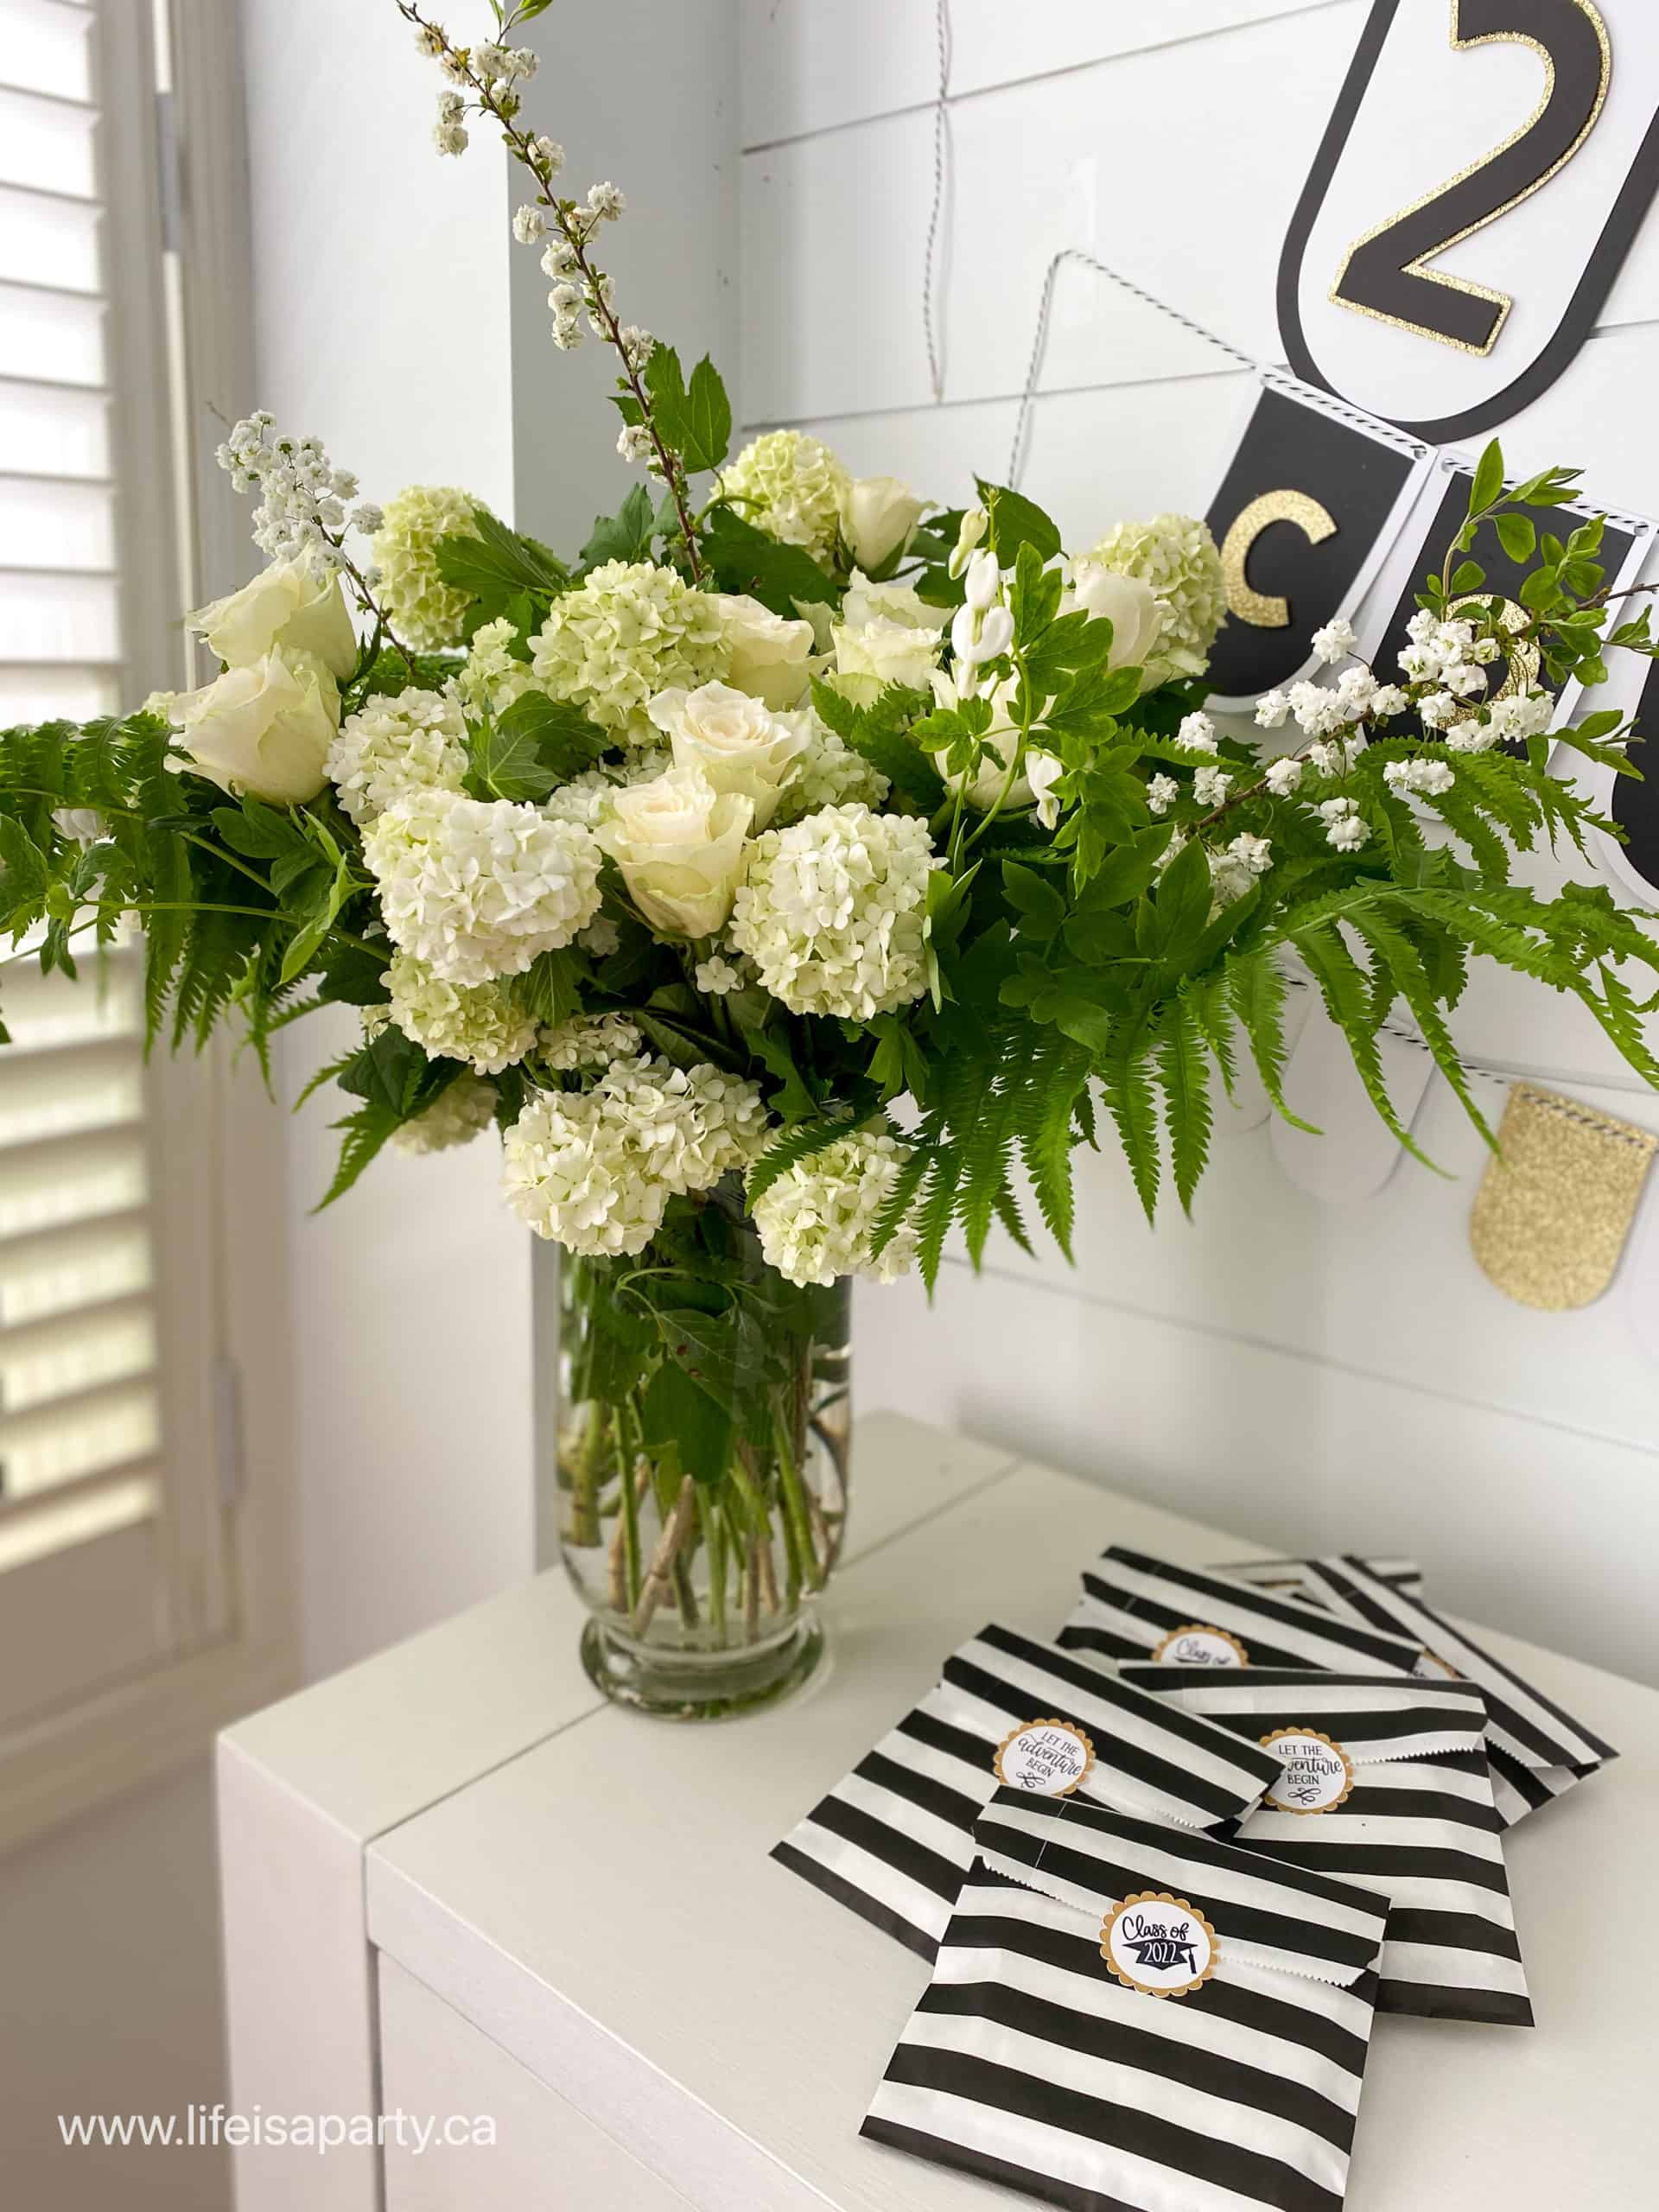
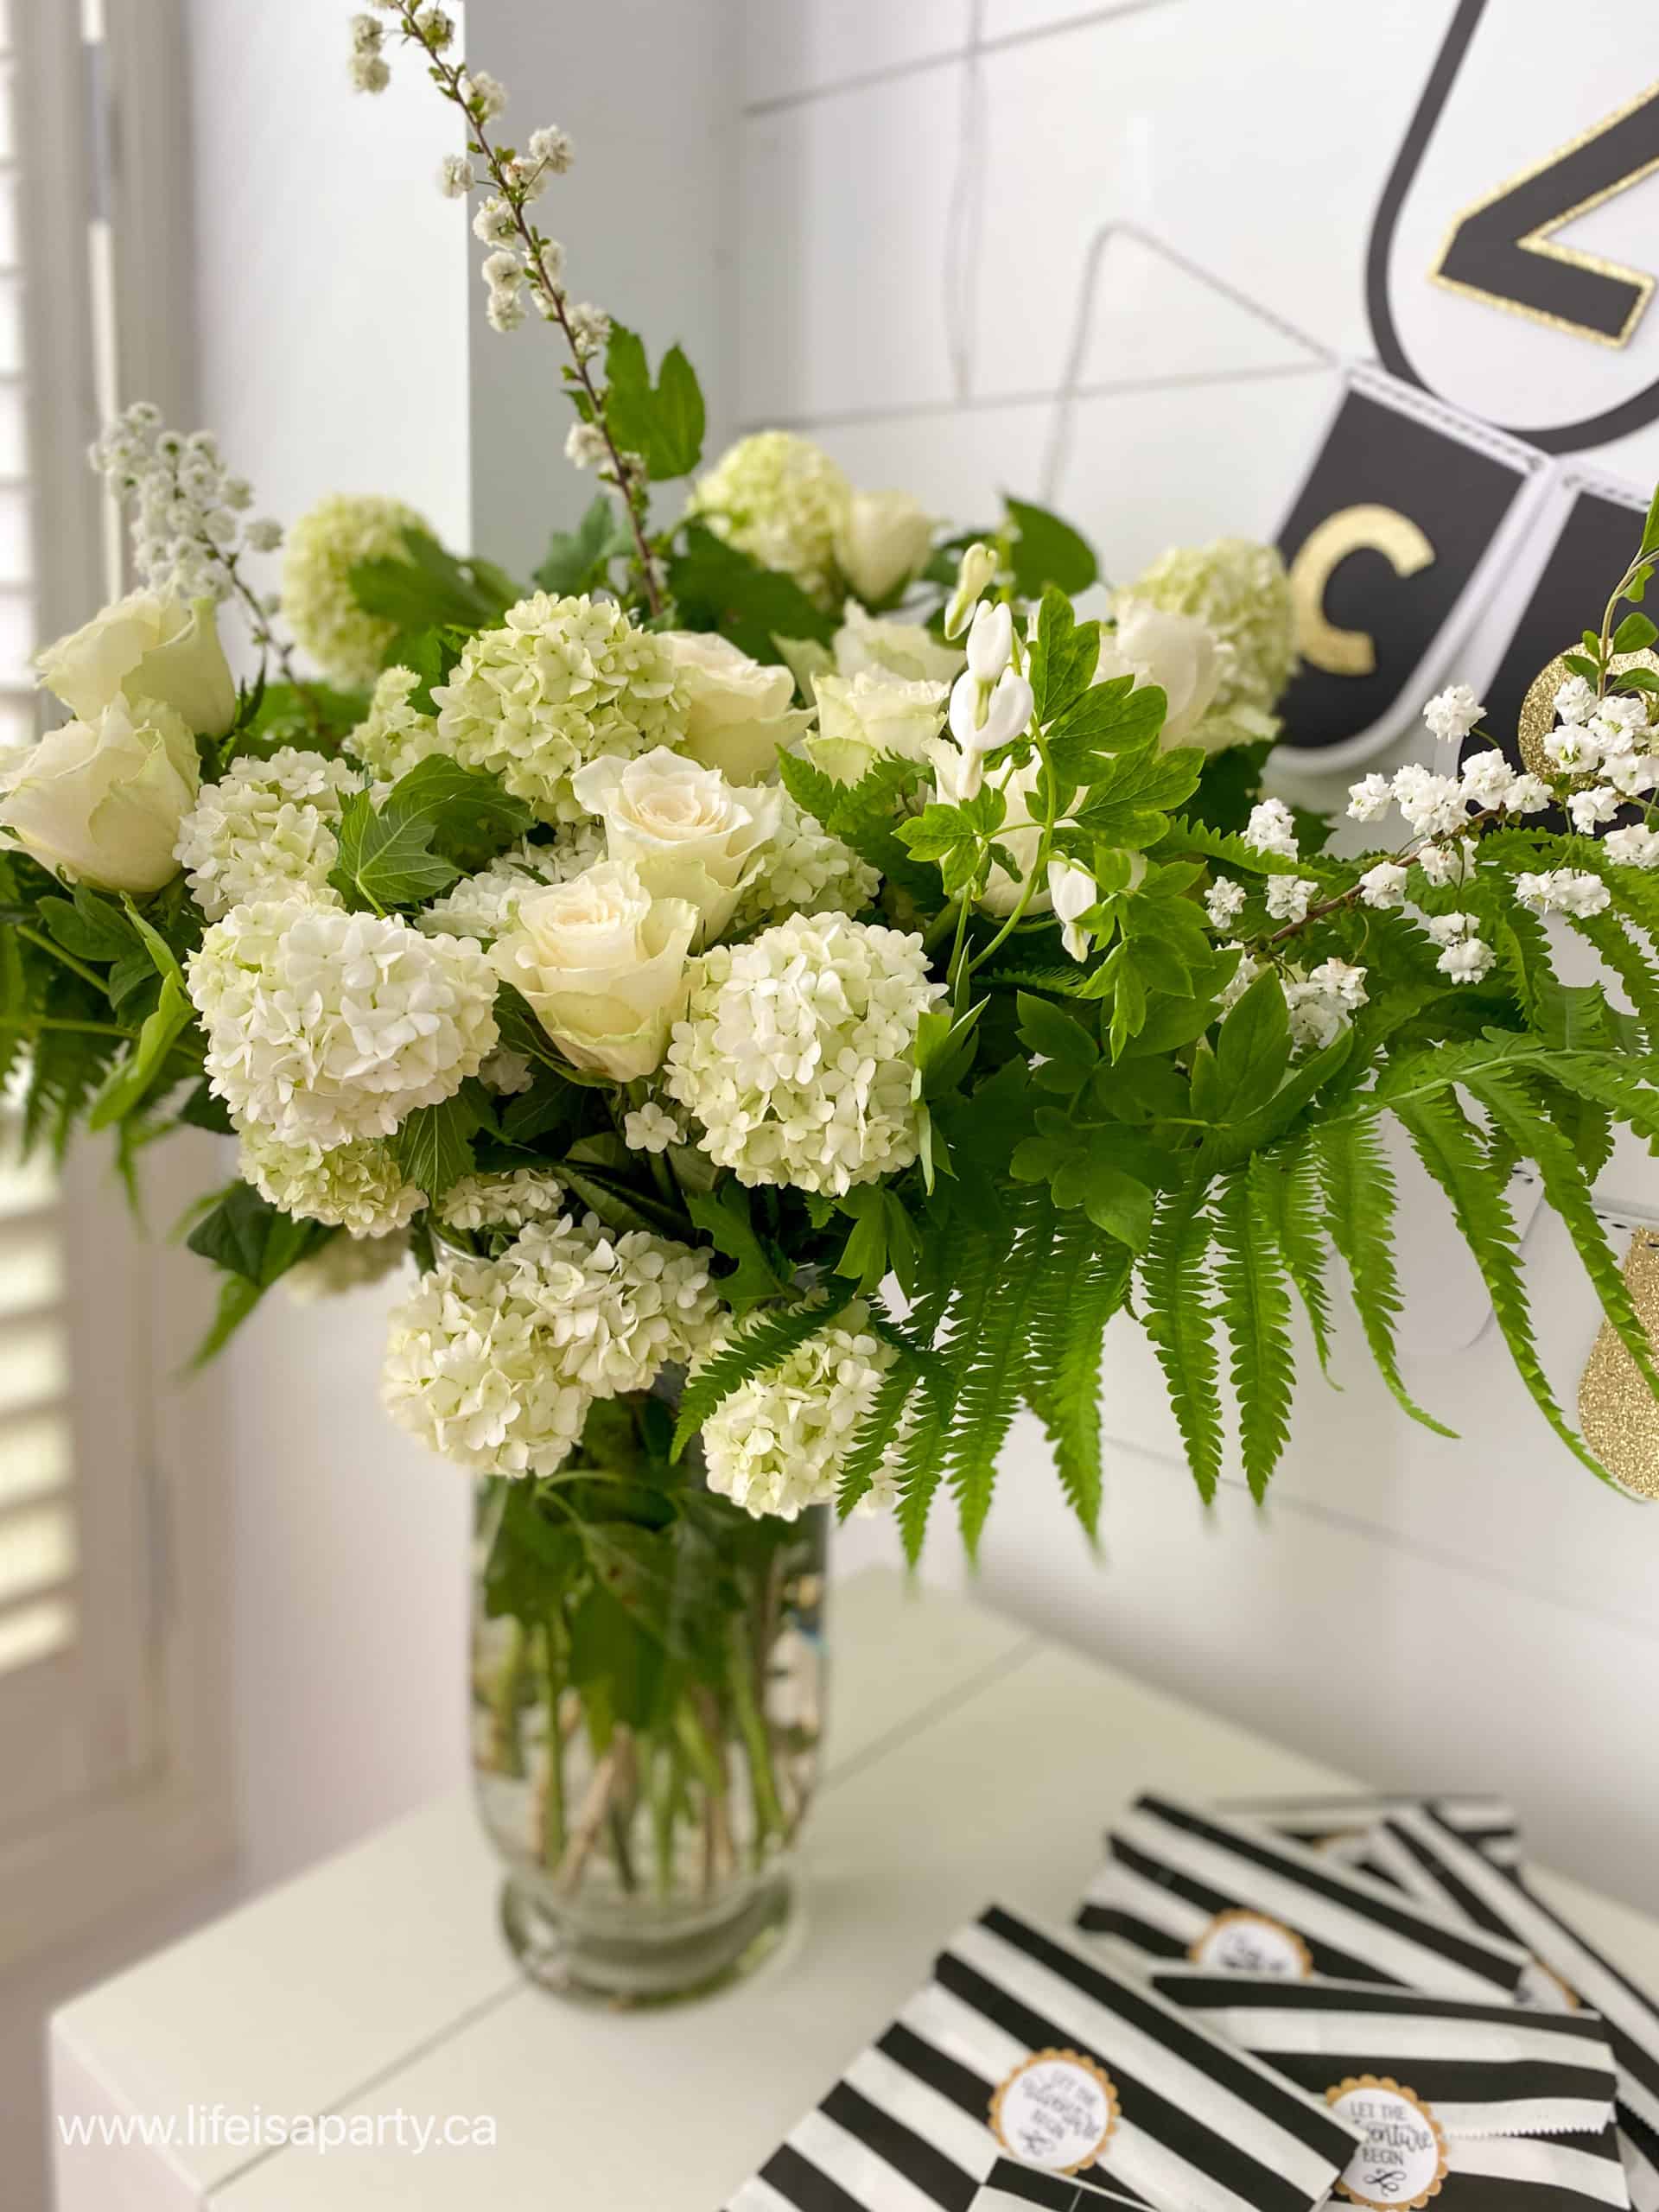
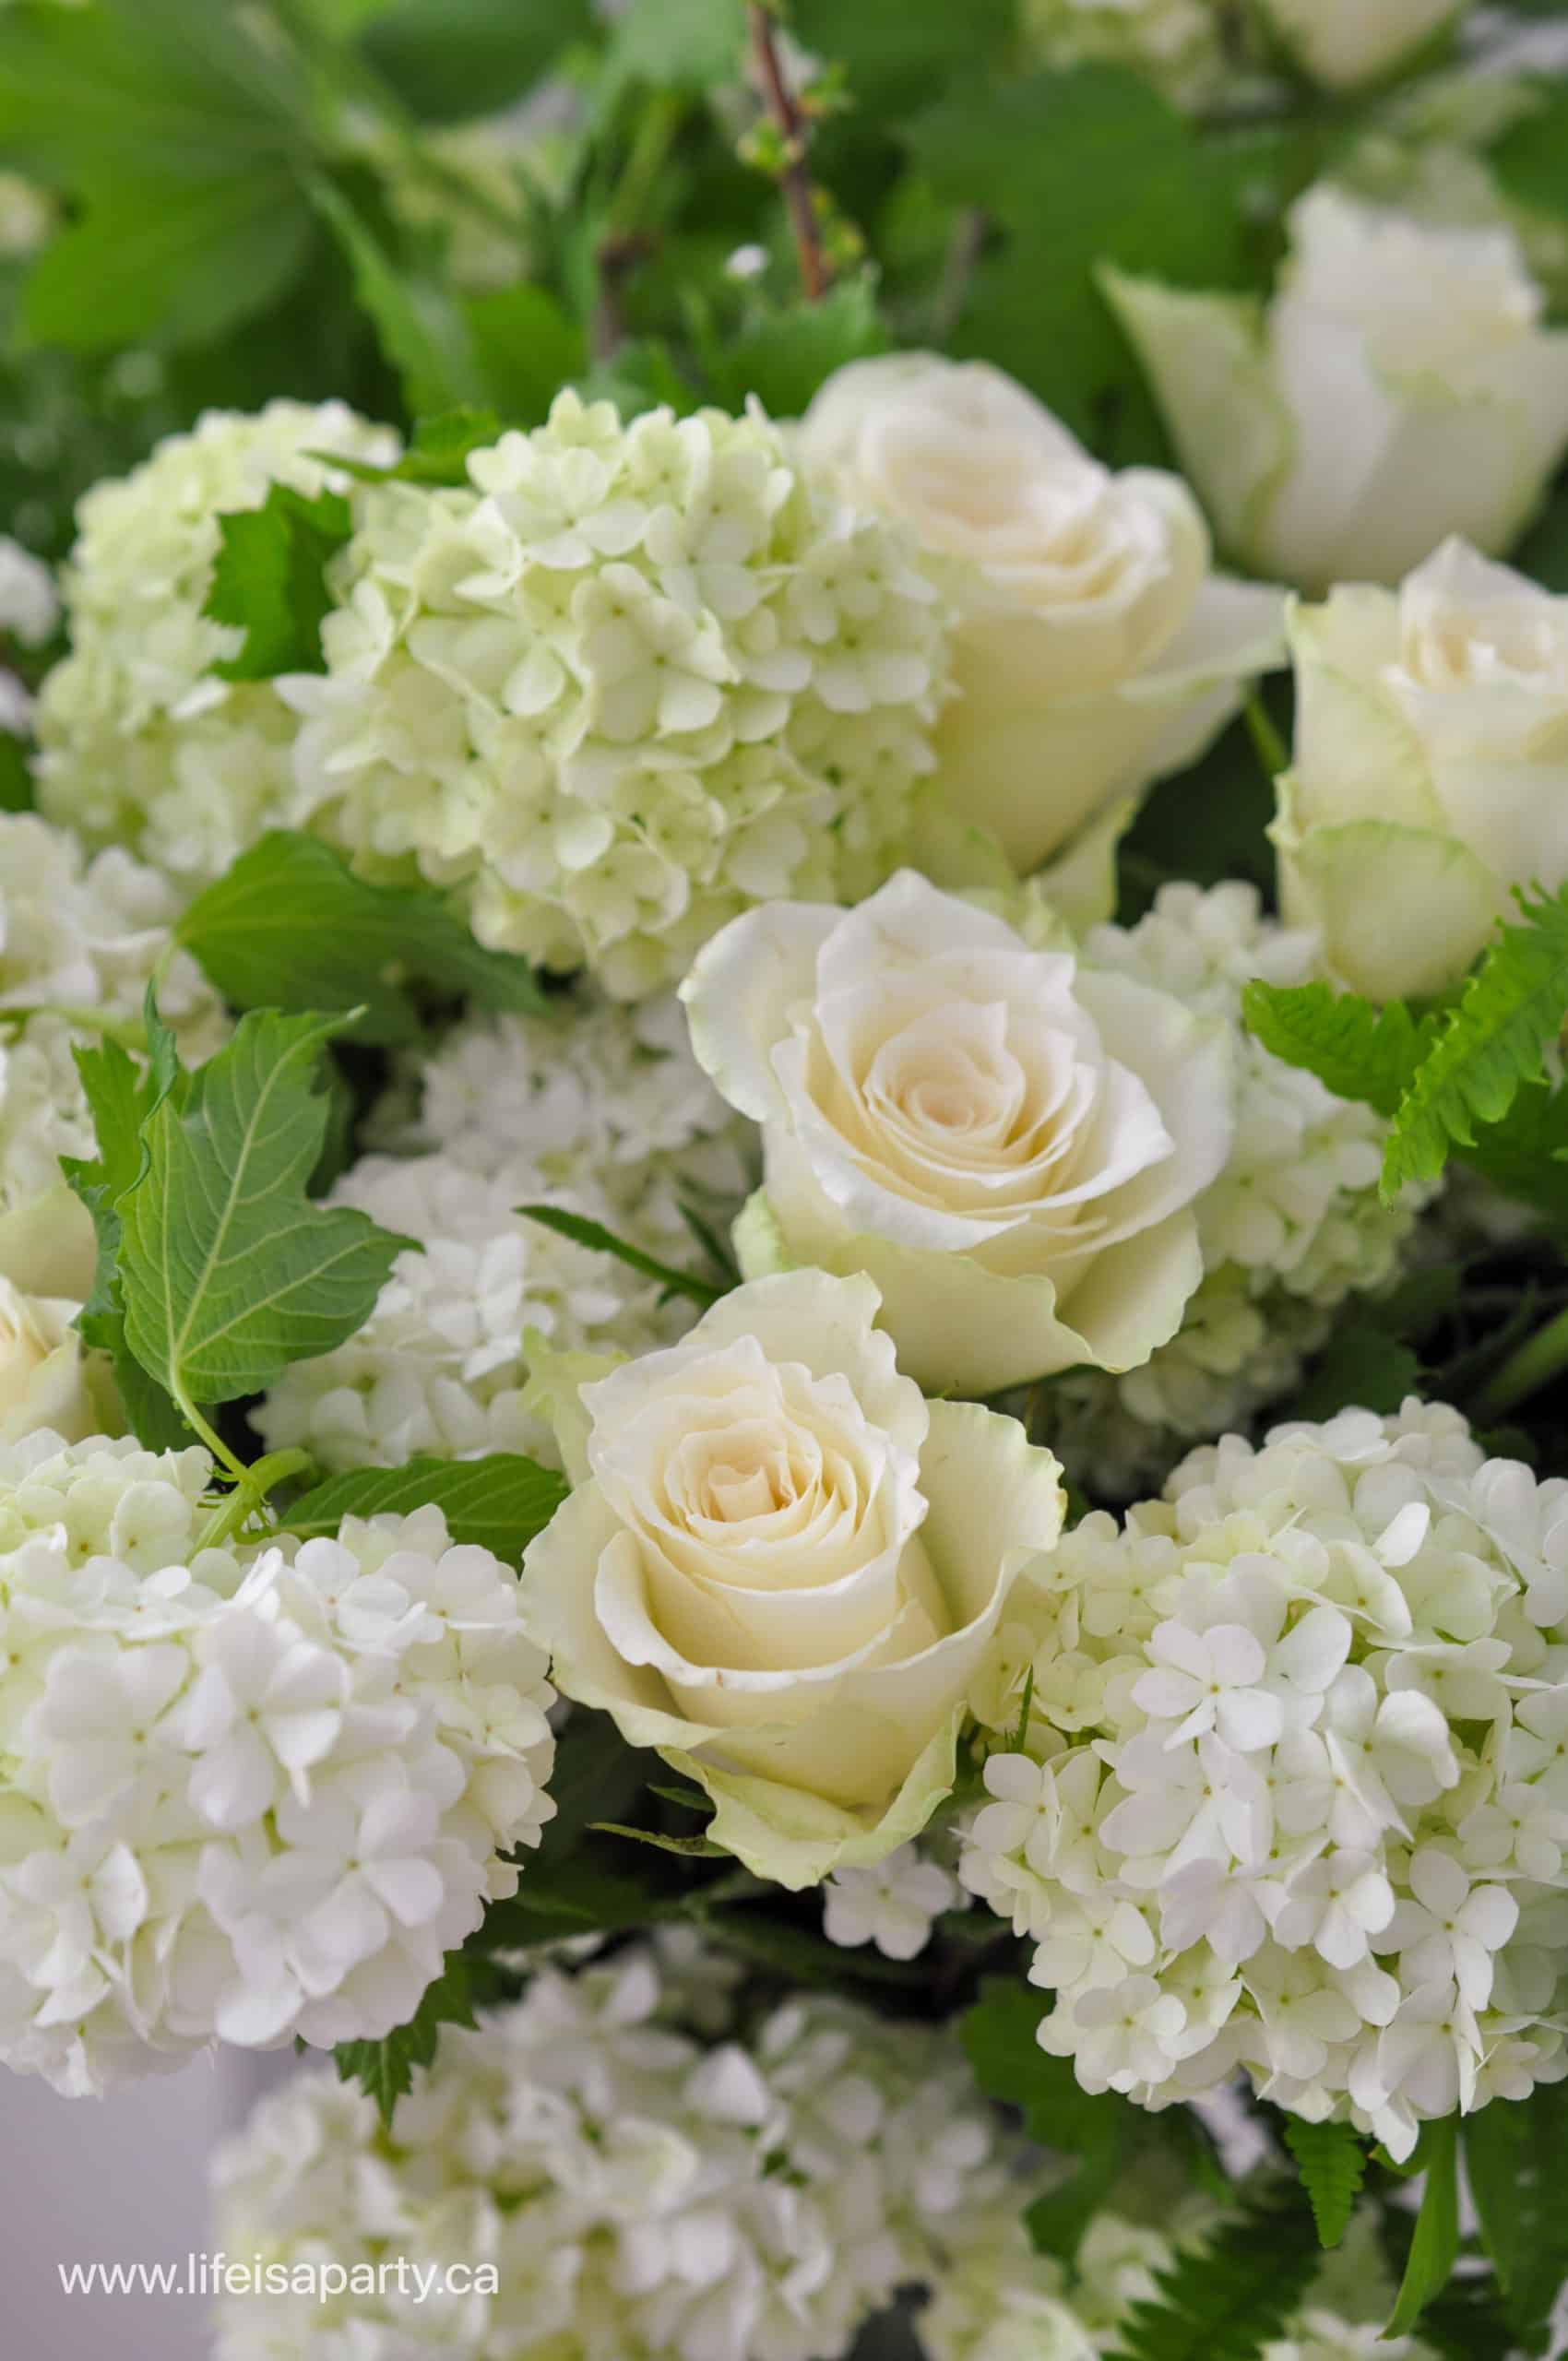
We set up all our custom DIY graduation party decorations to create an area where we could celebrate after the graduation ceremony. The food was kept simple. We served cake, and sparkling lemonade, and guests could enjoy the cookies or take them home as a party favor. We hung the banners and bunting with simple tape. One of my favourite additions were the flowers. We used a combination of grocery store roses, and flowers from the garden made a gorgeous all white arrangement.
To keep things easy, and focused on celebrating all the decorations can be made weeks ahead of time. For the balloons, cut out the vinyl ahead of time, and apply the vinyl to the balloons the day of. The balloons should last for days. We ordered the cake from our favourite bakery. The cookies were store-bought to keep things really simple for the actual party day.
I hope these decoration ideas help inspire you for your own graduation party. Choose your colors, and get creating, and celebrate your university or high school graduates! With a these gorgeous DIY graduation party decorations, life really is a party!
This post is sponsored by Cricut Canada. As always, all opinions expressed are my own. Thanks for supporting the brands that make Life is a Party possible.


Leave a Reply
You must be logged in to post a comment.