Fairy Garden Picnic: create a fairy garden scene with miniature DIY dollhouse style polymer clay food for your own miniature fairy garden.
Today I'm sharing with you how to make a Fairy Garden Picnic. I love the Fairy Garden trend, and it's been so fun thinking up little miniature fairy garden scenes to create. Miniature gardening is a chance to be like a kid again, and create a little magical world.
I thought it would be fun to create a miniature picnic for the fairies that live in my garden. Polymer clay is an excellent medium for fairy gardens. It's easy to work with, and it stands up great against the elements. I've used it in the past to create different fairy garden accessories and it isn't effected by the rain, wet, or sun.
Really the only limit to what you create is your imagination. Since one of my own favourite treats is a little bread, cheese, meat and wine, I thought the fairies might enjoy it to.

As you know fairies are tiny, so their food has to be too. This penny will give you an idea of the scale.

Supplies:
- parchment paper
- polymer clay -beige, white, brown, red, blue, orange
- tinfoil or wax paper box
- gingham fabric
- super glue
- miniature plastic wine glasses
- thin balsa wood
How To Make Polymer Fairy Food:
When working with polymer clay, I find it helpful to work on a piece of parchment paper, since any little specks of dirt, or another colour of clay while mark your project.

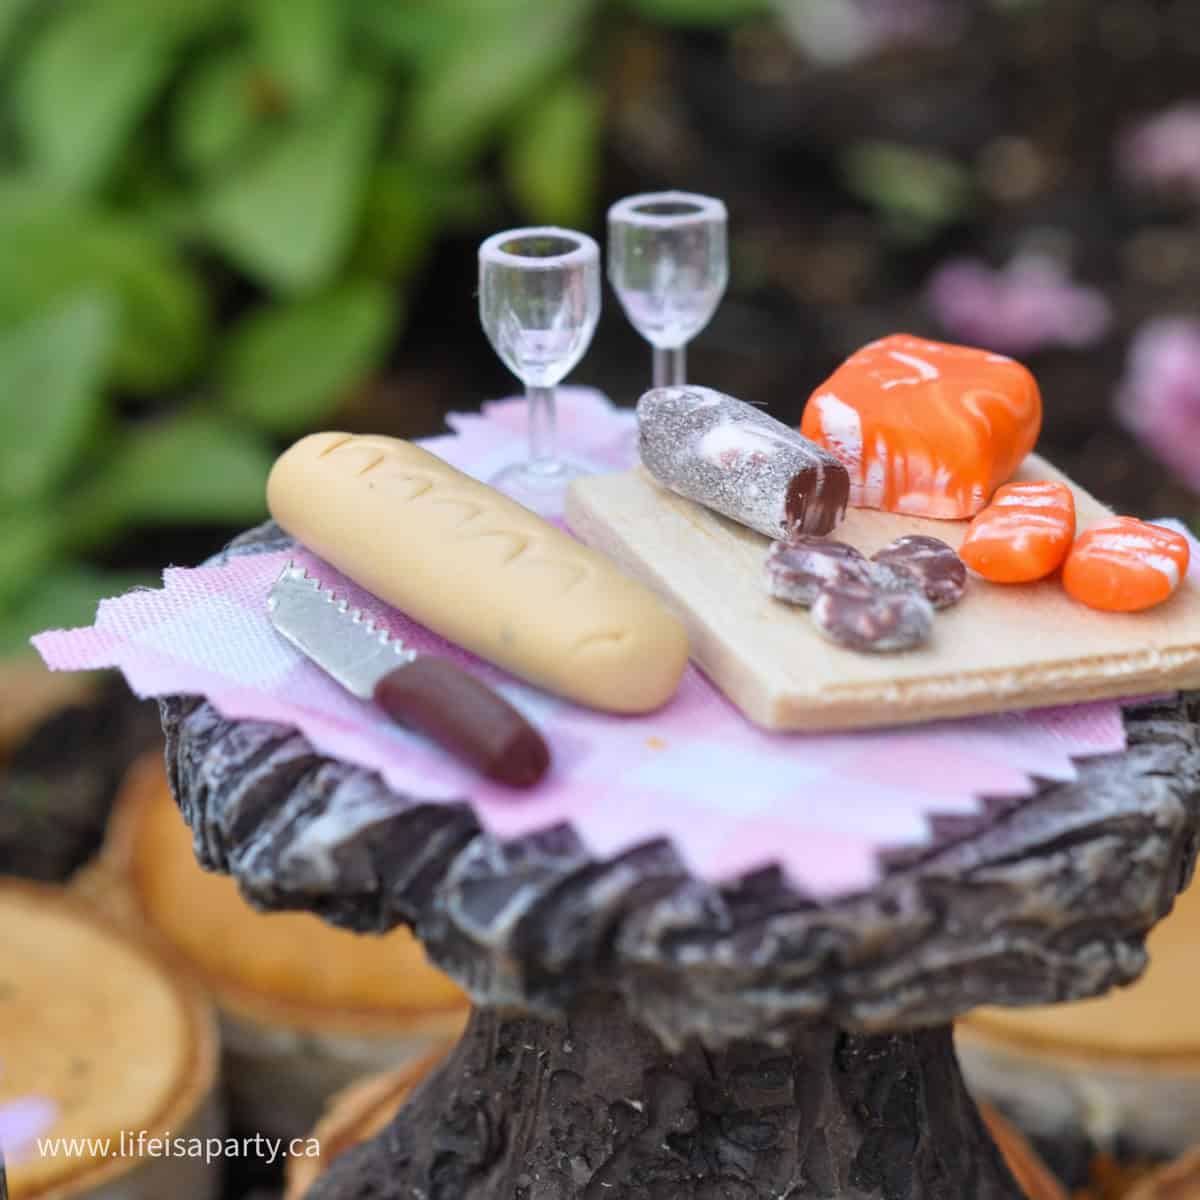
Miniature Polymer Salami
To create the salami, start by mixing some brown clay with a little red and a little blue to create a deeper brown. Combine and knead the clay in your fingers until the colour is uniform.
Now use a sharp edge to chop the clay into tiny, tiny pieces. Also chop a little white clay, you want about half as much white as brown. Then push the chopped pieces together and roll up into a ball.
Chop the new piece again, and then gather it together again, taking care not to blend the colours.
Roll the new piece into a cylinder shaped salami roll.
Next, use a sharp edge against a piece of chalk to create some chalk dust, and roll the salami in it, so it sticks to the outside.
Use a sharp, straight edge to chop a few slices off of the end of the salami. Take care to keep the pieces as round as possible.
Bake according to the manufactures directions, I baked mine about 5 min.

Miniature Polymer Bread
To make the miniature baguette, knead a small piece of beige clay until soft, and then shape into a bread loaf. Once the loaf is formed, use a mini cutter to make some marks on the top of the loaf, like a real loaf from the bakery.
Bake the clay according to the manufactures directions, according to your thickness. I baked mine about 8 min.

Miniature Polymer Cheese
To make the marble cheese, start with a small piece of orange polymer clay, and a few small pieces of white. Roll the white into thin strips, and add to the orange. Twist and pull the pieces together, taking care to keep the white distinct and not blend the two together into a lighter orange colour.
Form the piece into a rectangular block. Use a sharp straight edge to cut a few pieces of the marble cheese.
Bake the clay according to the manufactures directions, I baked mine about 5 mins.

How To Make A Miniature Knife
To make the knife, you will need the sharp edge of a tinfoil or wax paper box, that you use to cut the paper on.
Using sharp scissors cut a small piece of the foil cutting edge off of the box, with its cardboard backing still attached. Then cut the small piece into the knife shape, including a piece for the knife handle. After the knife shape is cut out, carefully remove the cardboard backing. It's easier to cut the knife out of the foil cutter when it's attached to the cardboard backing.
Next, soften some brown polymer clay, and shape it around the foil to create the knife handle.
Bake the knife for about 5 min, or according to the polymer clay manufactures directions based on the clays thickness.
Setting Up Your Fairy Picnic
Once the pieces are all made, baked and cooled it's time to put the scene together.
Cut a piece of gingham fabric into a tablecloth, using pinking shears to create the zigzag edge.
I picked up the little plastic wine glasses at the craft store.
The cutting board is made from a piece of very thin balsa wood, you can find at the craft store, and cut with scissors or an exacto knife.

Since I've made many fairy gardens over the years, I know that the tiny little cute pieces can get blown around and lost, so this time I glued things together before I put them in the garden and it's worked great.
I set my table cloth on some parchment paper, and then used super glue to attach the salami and cheese to the cutting board, and then the board to the tablecloth, along with the knife, bread and tiny wine glasses.
Be sure to shift the table cloth a few times so that any glue that seeps through doesn't permanently glue the table cloth to the parchment paper.

Since I might want something else next year, I used double-sided tape to attach the picnic table cloth onto my little fairy table. I set the picnic up under a tiny pergola -see how I made it here. The tiny fairy sized chandelier is made from a fish hook -see how I made it here.

With a perfect fairy picnic in my back garden, life really is a party!
More Inspiration
If you liked this post, you might also enjoy:
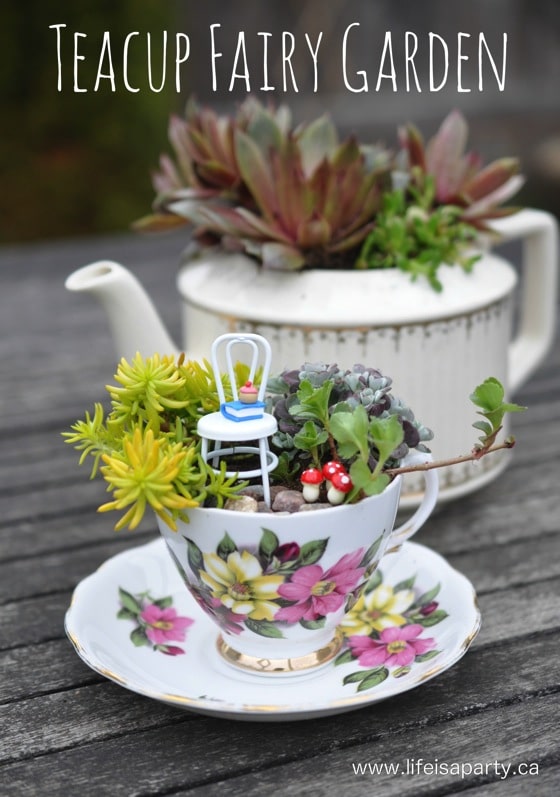
How To Make A Tea Cup Fairy Garden
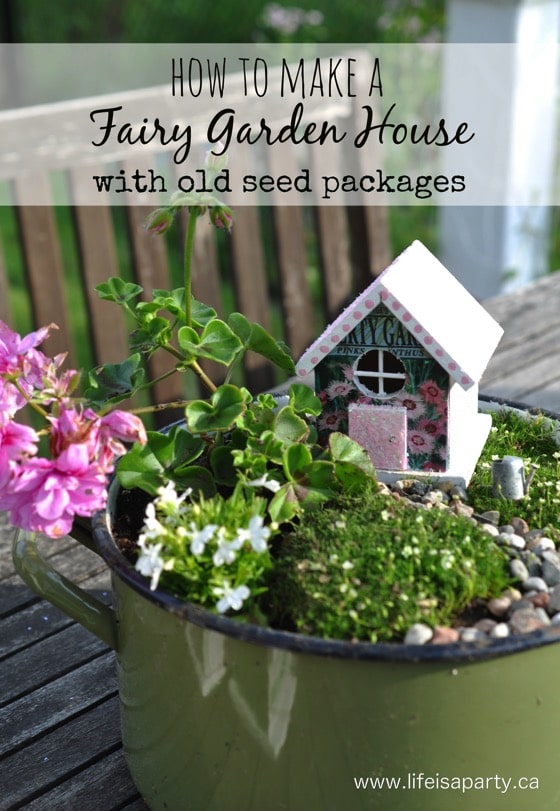
Also check out How To Make A Fairy House here.
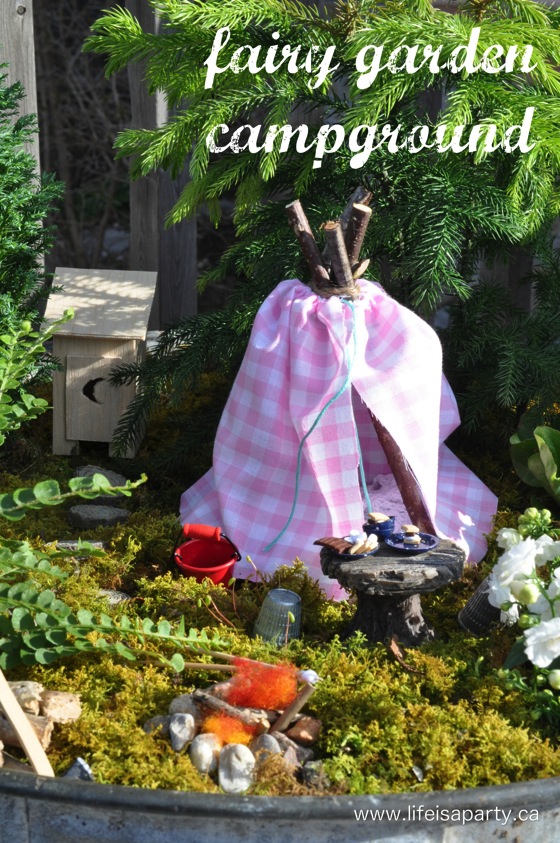
You might also enjoy our Fairy Garden Campground here.


Leave a Reply
You must be logged in to post a comment.