How to make the sweetest teacup fairy garden with succulents, including how to make a mini fairy-sized cupcake and book out of polymer clay.
Jump to:
Why We Love This Craft
- It's the perfect way to use a vintage teacup.
- The succulents are low maintenance.
- The little fairy sized book and cupcake are easy to make from polymer clay and hold up perfectly in outdoor conditions.
- They're so cute!
- Great for gift giving.
- They're easy to make with kids.
I love making any miniature fairy garden. See how to make a fairy garden here, how to make a fairy garden house, our teacup garden with tiny clay fairy houses, and how to make a fall fairy garden here.
But this teacup fairy garden might be the sweetest ever.
I wanted to make my mom a sweet little gift for Mother's Day this weekend, and my mom loves to garden and has a green thumb. She loves gardening so much that she has just about every plant at the garden centre, so giving her a gardening gift requires a little bit of creativity.

After our recent teddy bear themed tea party, we had quite a few pretty vintage teacups around, and I thought it might be fun to turn one vintage teacup into a fairy garden.
Materials:

- Vintage Teacups: Look for these at your local thrift store, or antique store.
- Small Succulent Plants: Choose draught tolerant succulent plants. Tiny containers like tea cups are so small that they dry out quickly, and aren't the best conditions for most plants. Succulents are drought tolerant plants. Look for really small varieties, so there's room even in a teacup for a few little fairy accessories.
- Small Stones: since we can't drill holes for drainage in our teacup, we'll put some small stones in the bottom. That way the roots of the plant in the soil won't be sitting in water.
- Soil: Look for succulent soil for best results.
- Fairy Garden Chair and Mini Mushrooms: look for cute fairy garden accessories at the craft store, dollar store, or at a garden nursery.
- Polymer Clay: We made some cute fairy sized accessories out of polymer clay. It is easy to work with, comes in lots of colors and holds up perfectly in outdoor conditions.
How To Make A Teacup Fairy Garden:
1. I started out with adding some stones to the bottom of the teacup.
Succulents don't like to be wet, and there's no drainage in the bottom of the cup, so rocks are important.
Using cactus/succulent soil will help too because it's sandy and quick draining.

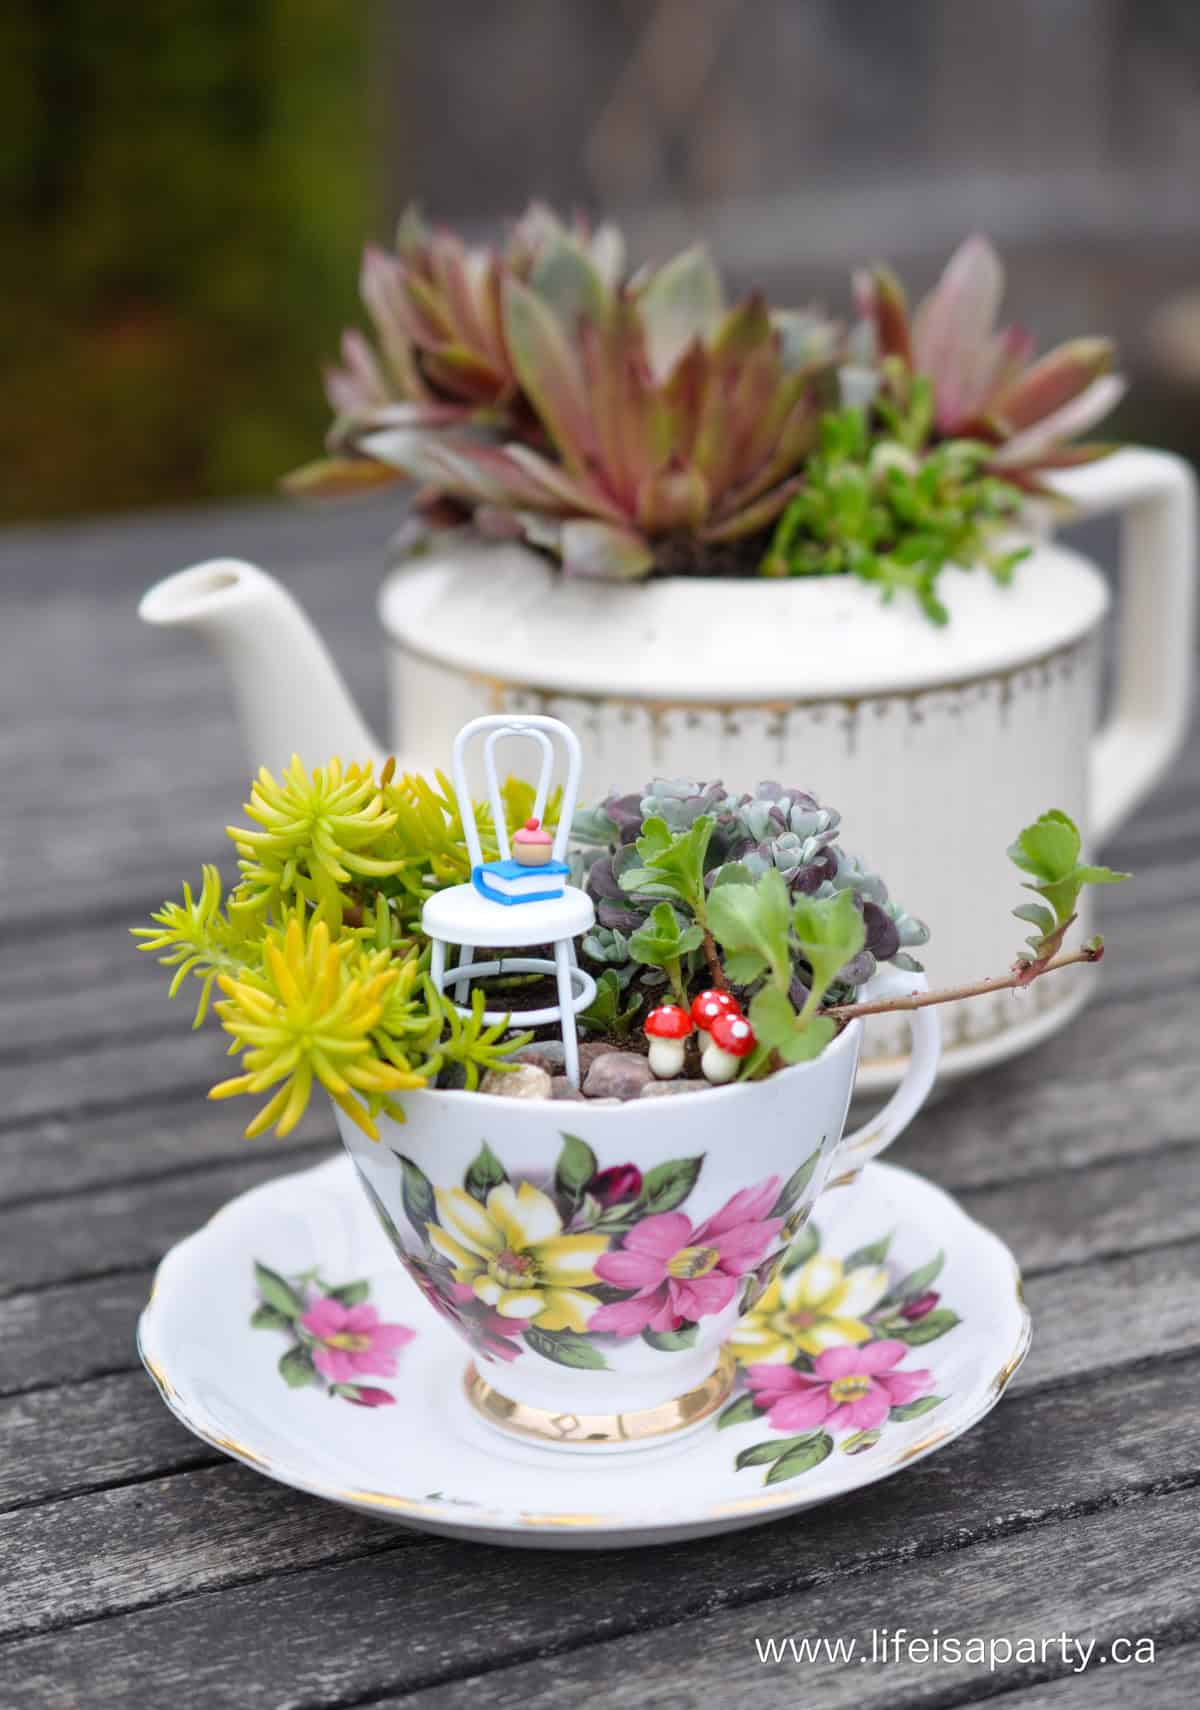
2. I picked up a few really sweet sedum plants at the garden centre, and used one I already had.
In case you're wondering the bright green/yellow one on the left is Stone Orpine "Angelina" and the greyish/purple one at the back on the right is Stonecrop "Cape Blanco".
These are great plants for tiny gardens.

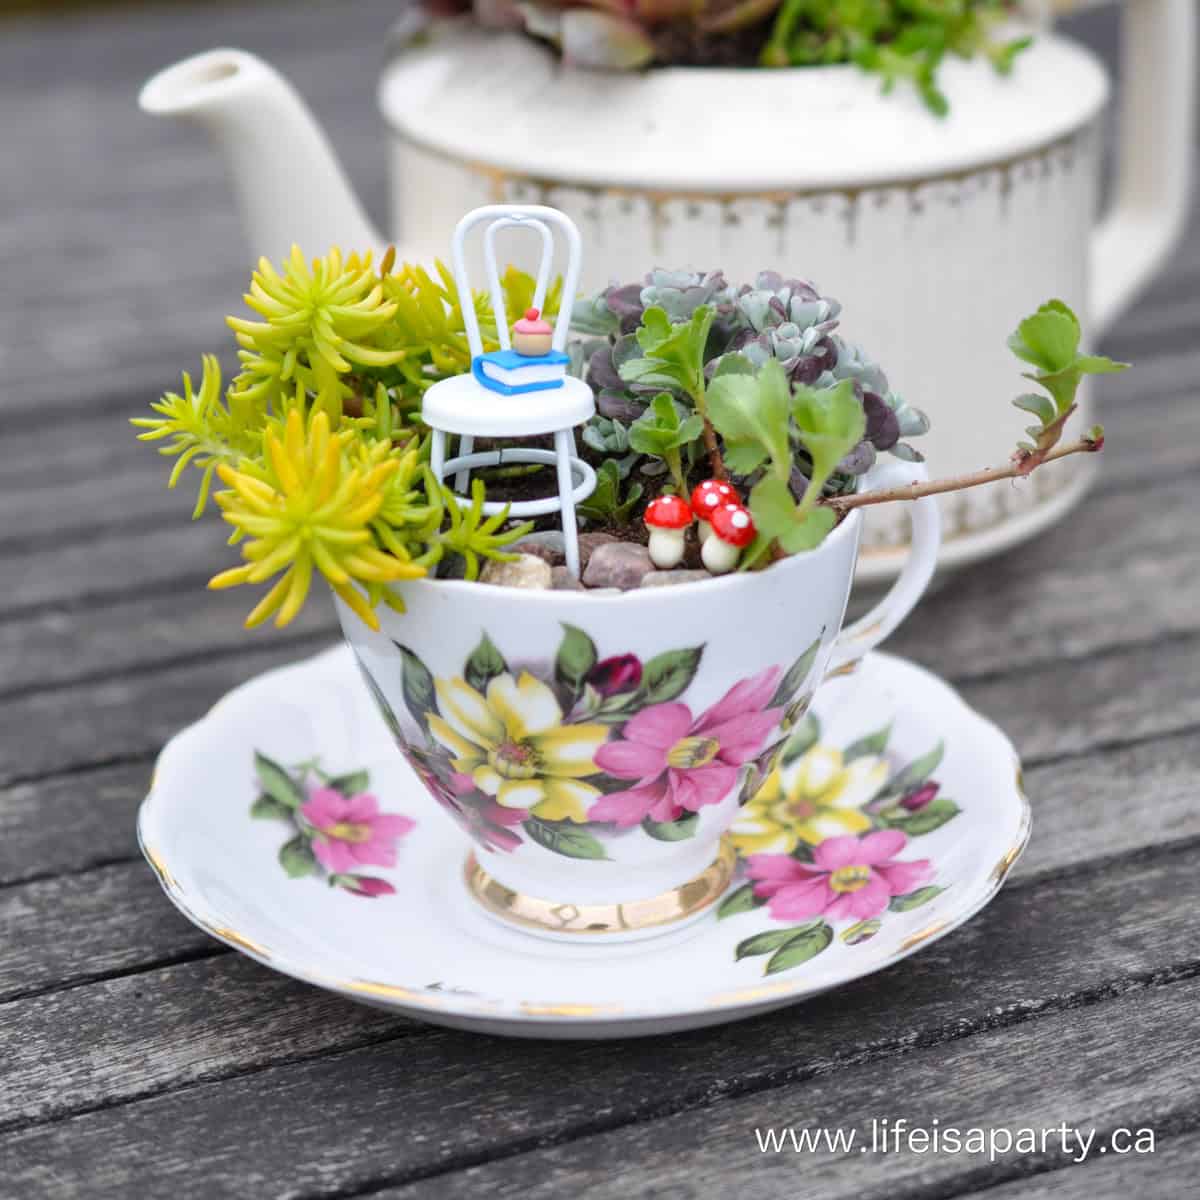
3. I positioned them, leaving a little room for a rock path using pea gravel and a miniature chair from the craft store. I also added a few faux mushrooms.

4. To really make it inviting for a fairy I wanted to make a few little fairy treats, and I made them out of polymer clay.
I just placed them on the chair, but you can also use a little super glue to keep them in place if you wish.

Making the Clay Objects:
Fairy Sized Book
To make the book, start with some white clay. Use a mini rolling pin to flatten it out, and then cut it with a straight edge.
After it's cut down to the right size, use a toothpick on the edge to add some grooves to look like book pages.
Next, make the cover. Roll out another colour, I used blue, quite thin, and then cut it slightly larger than the book pages. Wrap it around the white, making sure there is no gap at the back between the pages and the cover.
Bake in the oven according to the package directions, I baked mine at 250 degrees for 10 min.

When you're working with the polymer clay you could really create just about anything.
Just remember to think about scale.
I used the chair as my guide. Don't be afraid to redo something if it seems a little off. Part of the beauty of this clay is that you can re-work if you're not happy, up until you bake it. Think play dough, and have fun.
Fairy Sized Cupcake
To make the cupcake, I started out with a tiny cylinder for the cake base. To make the icing, start with a tiny ball of pink, and then flatten it out, and add it to the top of the cylinder cake. The cherry on top is a tiny ball of red clay.
Put it all together and bake the same way you did for the book.


I'm warning you, making your own fairy gardens is addictive, once you get started you start thinking of all kinds of little possibilities to add to your teacup mini gardens. Enjoy.
Display your teacup fairy garden outside on a side table, shelf, or grouped with larger pots, or indoors in your living room, or anywhere else.
More Fairy Garden Inspiration


Frequently Asked Questions
Yes. Small stones or gravel will help with drainage. Since there's no holes in the bottom of a teacup for excess water to run out the stones will hold the soil and plant roots out of any excess water until it evaporates. Succulents don't like sitting in water.
Look for fairy garden accessories in craft stores, sometimes in the miniature doll house section. They are also sometimes sold at dollar stores, or at a plant nursery.
No, they hold up really well. I've had some homemade fairy garden accessories made from polymer clay for 5 years and they still look great.
If you try making one of these Teacup Fairy Gardens or any other idea on my blog please leave a star rating and let me know how it went in the comments below. Thanks for visiting today!
Teacup Fairy Garden
Equipment
- small garden trowel
Materials
- teacup
- small succulent plants
- succulent soil
- small stones or gravel
- fairy garden chair
- fairy garden mushrooms
- polymer clay
Instructions
- Start by adding some stones to the bottom of the teacup. And then add a layer of succulent soil.
- Plant your mini succulents, leaving some room in the center of the teacup for creating your fairy scene.
- Add some stones to cover the soil around the plants, and then position your chair and mushrooms.
- Add the tiny polymer clay book and cupcake to the chair for a fairy to enjoy. You can also add a little super glue to hold it in place if you like.
Fairy Sized Book
- To make the book, start with some white clay. Use a mini rolling pin to flatten it out, and then cut it with a straight edge. After it’s cut down to the right size, use a toothpick on the edge to add some grooves to look like book pages. Next, make the cover. Roll out another colour, I used blue, quite thin, and then cut it slightly larger than the book pages. Wrap it around the white, making sure there is no gap at the back between the pages and the cover. Bake in the oven according to the package directions, I baked mine at 250 degrees for 10 min.
Fairy Sized Cupcake
- To make the cupcake, start out with a tiny cylinder for the cake base. To make the icing, start with a tiny ball of pink, and then flatten it out, and add it to the top of the cylinder cake. The cherry on top is a tiny ball of red clay. Put it all together.Bake in the oven according to the package directions, I baked mine at 250 degrees for 10 min.


rose says
Wow this is so cute??? i really love collecting tea cups and pots?and i always thinking planting on a cup but i dont know how??? and this idea is really amazing!!! I love to make tea party!
dnr says
Great idea to use for a Christmas gift, I know I'd love to receive one. 😉
Gloria says
So darn cute ! I am forever buying fairies and this will be a perfect way to use them. Will be sweet for Christmas gifts also ??
dnr says
Hi Wendy, Sounds great! I've found that mine are fine with a sunny window. Hope this helps, best of luck.
Dannyelle