How To Cut Vinyl On Your Cricut -Step By Step Guide For Beginners, including prepping design, cutting, and transferring.
Jump to:
- Does It Matter Which Machine I'm Using?
- Does It Matter Which Device I'm Using For Design Space?
- Which Vinyl Should I Use?
- Permanent Vinyl
- Removable Vinyl
- Iron-On Vinyl
- Printable Vinyl
- Smart Vinyl
- How To Cut Vinyl -Step-by-Step Guide for the Cricut Beginner
- Materials:
- Step 1-Preparing The Design In Cricut Design Space
- Step 2 -Cut Preview Screen
- TroubleShooting
- Step 3 -Add The Vinyl To A Cutting Mat
- Step 4 -Cut Settings
- Test Cutting
- Step 4 -Weeding
- Step 5 -Applying The VInyl To Your Project
- More Cricut Tutorials
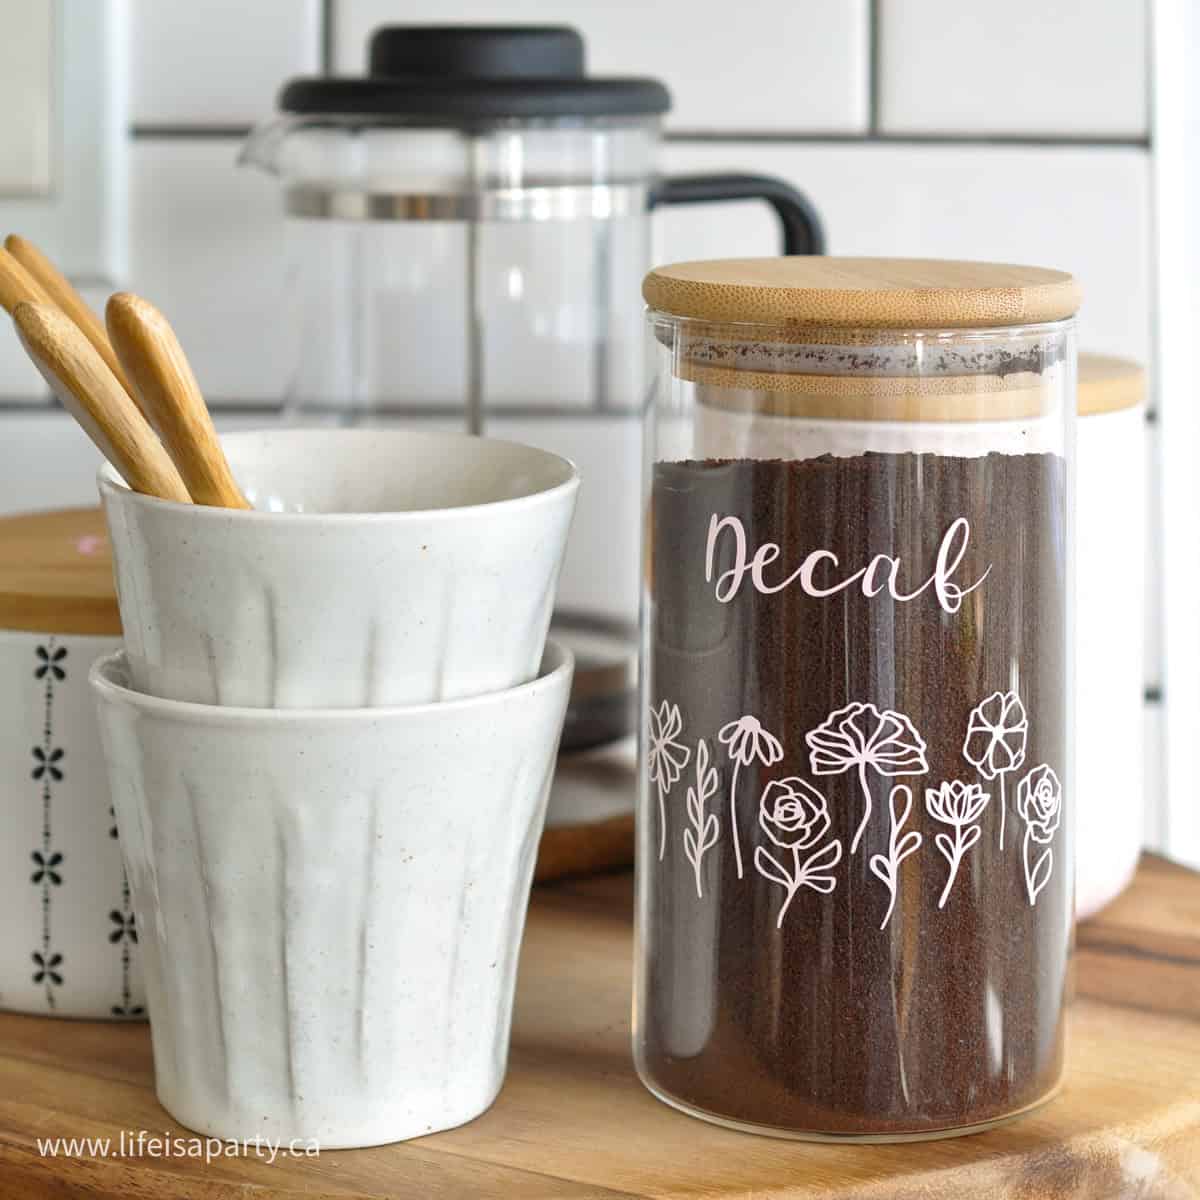
Cutting vinyl on your Cricut is one of the most common and fun projects to create with your Cricut machine. But it can also be a little stressful the first few times. You might not know where to start and feel stressed out about making a mistake and ruining expensive material. We've put together a step-by-step easy tutorial to help you get started on how to cut vinyl on Cricut, that you can refer back to again and again whenever you need to. Whether it's your first time creating a vinyl projects, or you want to know the basic steps you're in the right place.
Does It Matter Which Machine I'm Using?
Don't worry all the Cricut machines function pretty much the same way. Whether you are using a Cricut Maker, Cricut Explore Air, Cricut Joy, or the newer Maker 3 or Cricut Explore 3 any Cricut Explore machine, Cricut Maker machine or the Joy can all cut vinyl.
The Cricut Joy is obviously smaller, and has a smaller cutting mat, so that will affect how large of a project you can create. If you want to make a project larger than your Cricut Joy, you can also sometimes divide the project in several smaller cuts.
Want to know about the best Cricut machine for cutting out vinyl, check out this post.
Does It Matter Which Device I'm Using For Design Space?
All the Cricut machines use Cricut Design Space software to run. The Cricut machine needs some instructions about where to cut, and that is all done through Cricut Design Space. You can use Cricut Design Space on your desktop, iOS device, or Android device. They are all pretty similar, but desktop offers the most functions, and in general is the best device to work from if you have it available. Other than a few functions that aren't available though, the biggest difference is that some of the buttons will be in slightly different places for iOS and Android devices.
So no matter which device you're using don't worry, they will all work very well for cutting vinyl.
Which Vinyl Should I Use?
There are several different kinds of vinyl, and which type of vinyl to use all depends on what kind of Cricut projects you are making.
Permanent Vinyl
Permanent vinyl is an adhesive vinyl that will stick to your project surface permanently with a strong bond due to it's stronger adhesive. It's often used for surfaces that will receive a lot of wear and tear, like a phone case, or areas that might get wet like a the outside of a cup or mug.
Removable Vinyl
Removable vinyl is perfect for projects that you don't want to be permanent. It's used for things like a removable vinyl decal for the wall, or for decor that you might want to remove and change later. It doesn't leave any residue when it's removed.
Iron-On Vinyl
Cricuts heat transfer vinyl (HTV) is called Iron-on vinyl. It's applied to a surface with heat. It's often used for adding vinyl to clothing like t-shirts, but it can also be used on wood, paper, and other surfaces. This post will focus on how to cut regular vinyl, permanent or removable.
Printable Vinyl
If you want to add an image to a project, you can use printable vinyl. It can be printed at home with your laser printer.
Smart Vinyl
If you are using a Cricut Maker 3, an Explorer 3, or a Cricut Joy machine you can use new smart vinyl. Smart vinyl does not require a cutting mat. To use it, follow the directions below, but instead of putting the vinyl on a cutting mat to cut, load it directly into the machine. Smart vinyl is not compatible with the Cricut Maker, or the Cricut Explore Air 2.
How To Cut Vinyl -Step-by-Step Guide for the Cricut Beginner
Materials:
- Cricut Cutting Machine
- Brayer
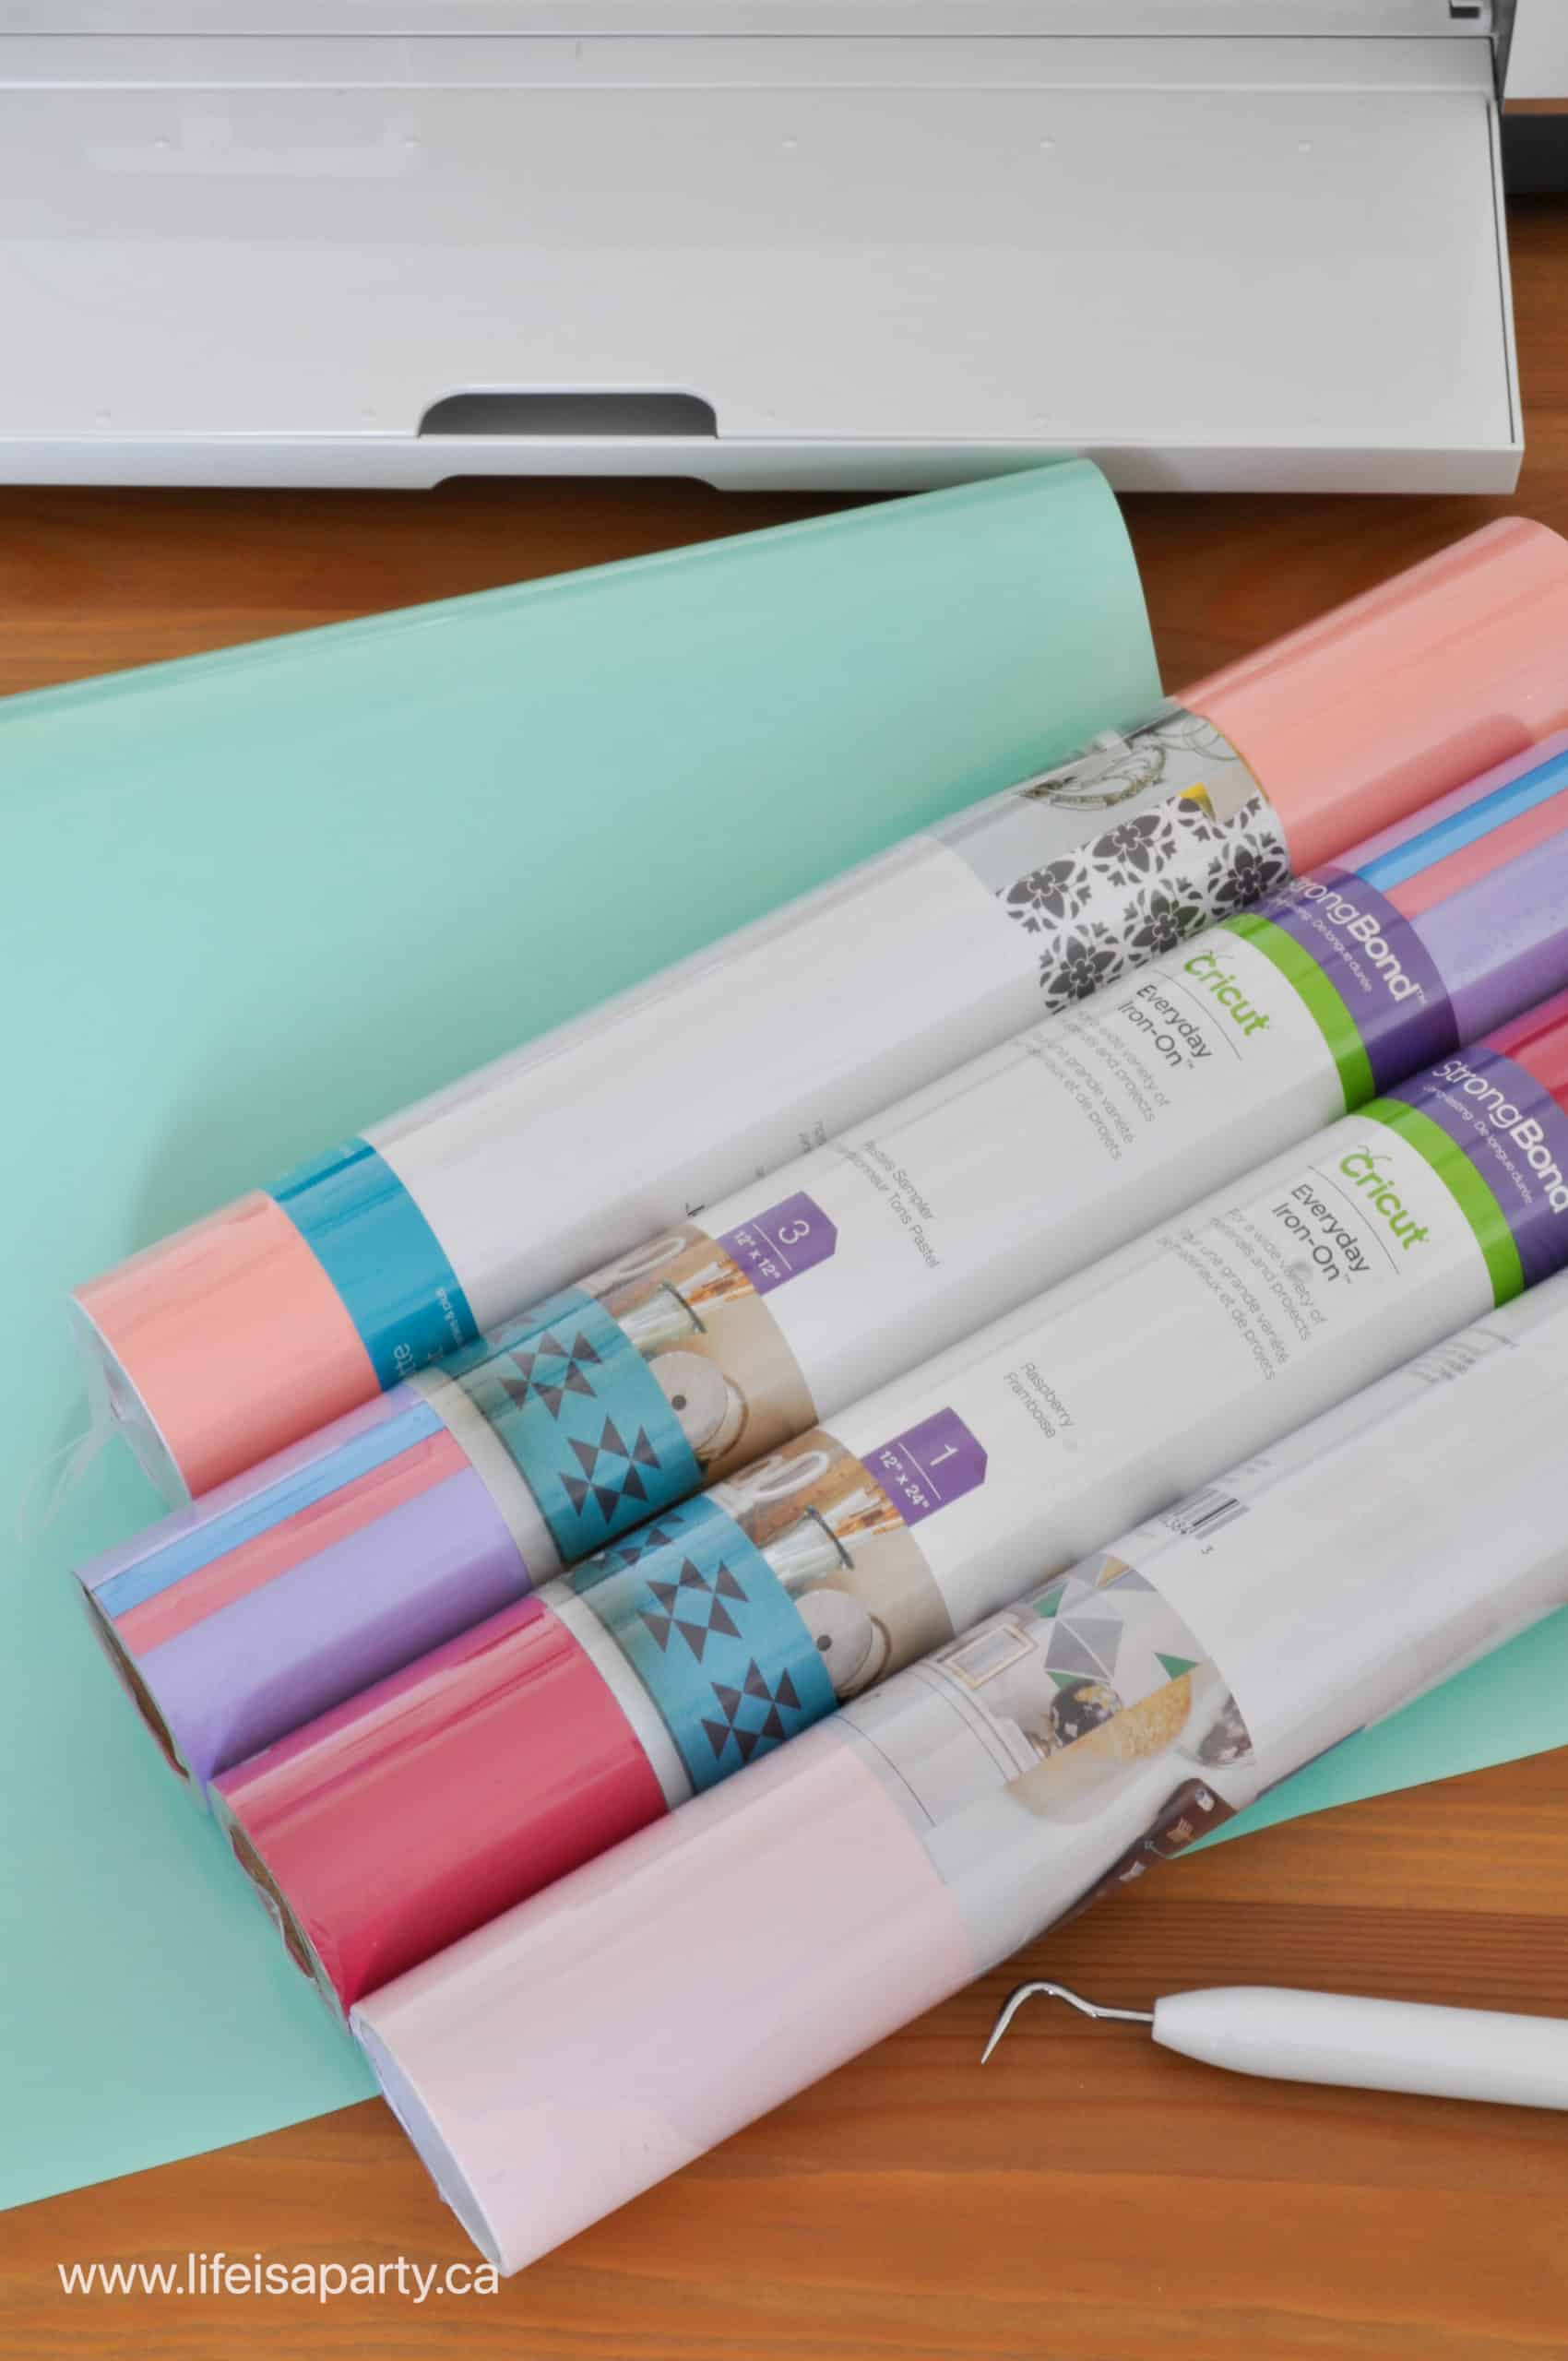
- Cricut Vinyl
- Scraping Tool
- Green Standard Grip Cutting Mat
- Weeding Tool
- Transfer Tape
- Project Blank ie. mug, cup, phone case or other
If you prefer to learn by seeing, check out our YouTube video tutorial below.

Step 1-Preparing The Design In Cricut Design Space
Open Cricut Design Space and create a new project as your first step. You can create your own designs in Cricut Design Space, use a ready made project, or an image from Cricut Access or an svg file using the upload button to add your cut file. You can resize your design to work perfectly for your project, and even change the colours to coordinate with your vinyl and give you a better idea of the finished project.
Once you're happy with it, you're ready to hit the Make It button, in the top right on desktop.

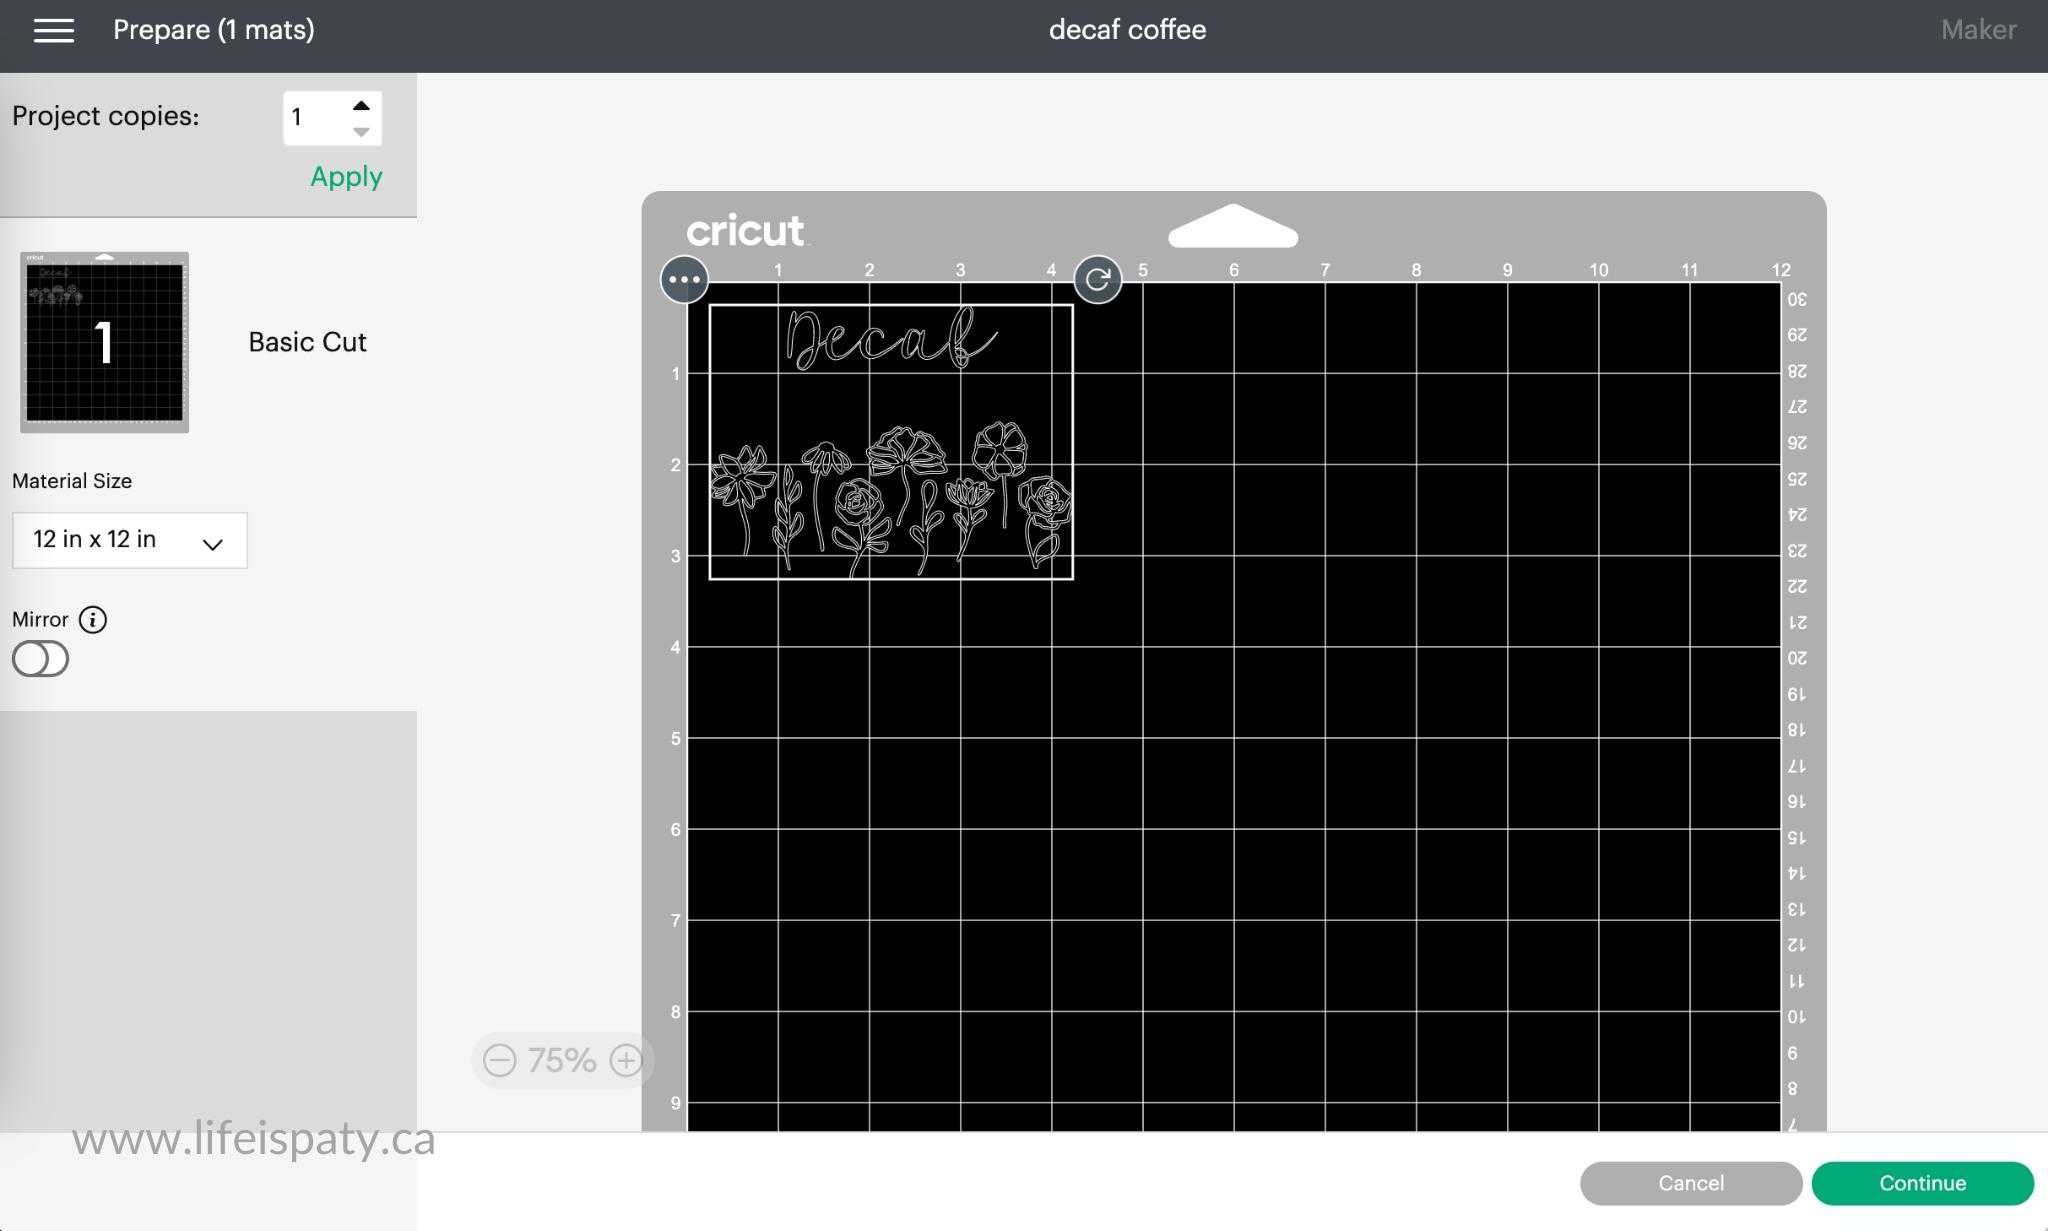
Step 2 -Cut Preview Screen
Once you click Make It, you'll be taken to the cut preview screen. Here you can see a preview of how your project will be cut out. Check to make sure it's laid out properly, the sizing looks good, and that the right objects are grouped together on the same mats for cutting. When you are happy click the continue button at the bottom, and you'll be moved to the next screen.
TroubleShooting
You may need to use the Attach function to hold your design together. If you go to the cut preview mat and things are out of place, go back to the project canvas and attach anything you need to.
If you find that something you would like to cut out of the same colour of vinyl as something else is on a different mat, there are a couple ways to fix it. This sometimes happens when you're using more than one svg or Cricut image and the colors don't match exactly.
One way is to go back to the project canvas and use the Color Sync function. Click on the Color Sync button at the top of the layers panel on desktop. Move objects by clicking on them in the layers panel and use your mouse to move them to the right color.
The other way to fix it is to adjust the mats in the cut preview screen. Click on the three dots in the corner of an object on the cut preview screen, and select Move Object, then select the cutting mat you'd like it to be on. It will be moved to the mat selected, and you can then click on it and move it into position with the objects, ready to cut.
Step 3 -Add The Vinyl To A Cutting Mat
Which Cricut Cutting Mat Do You Use For Vinyl?
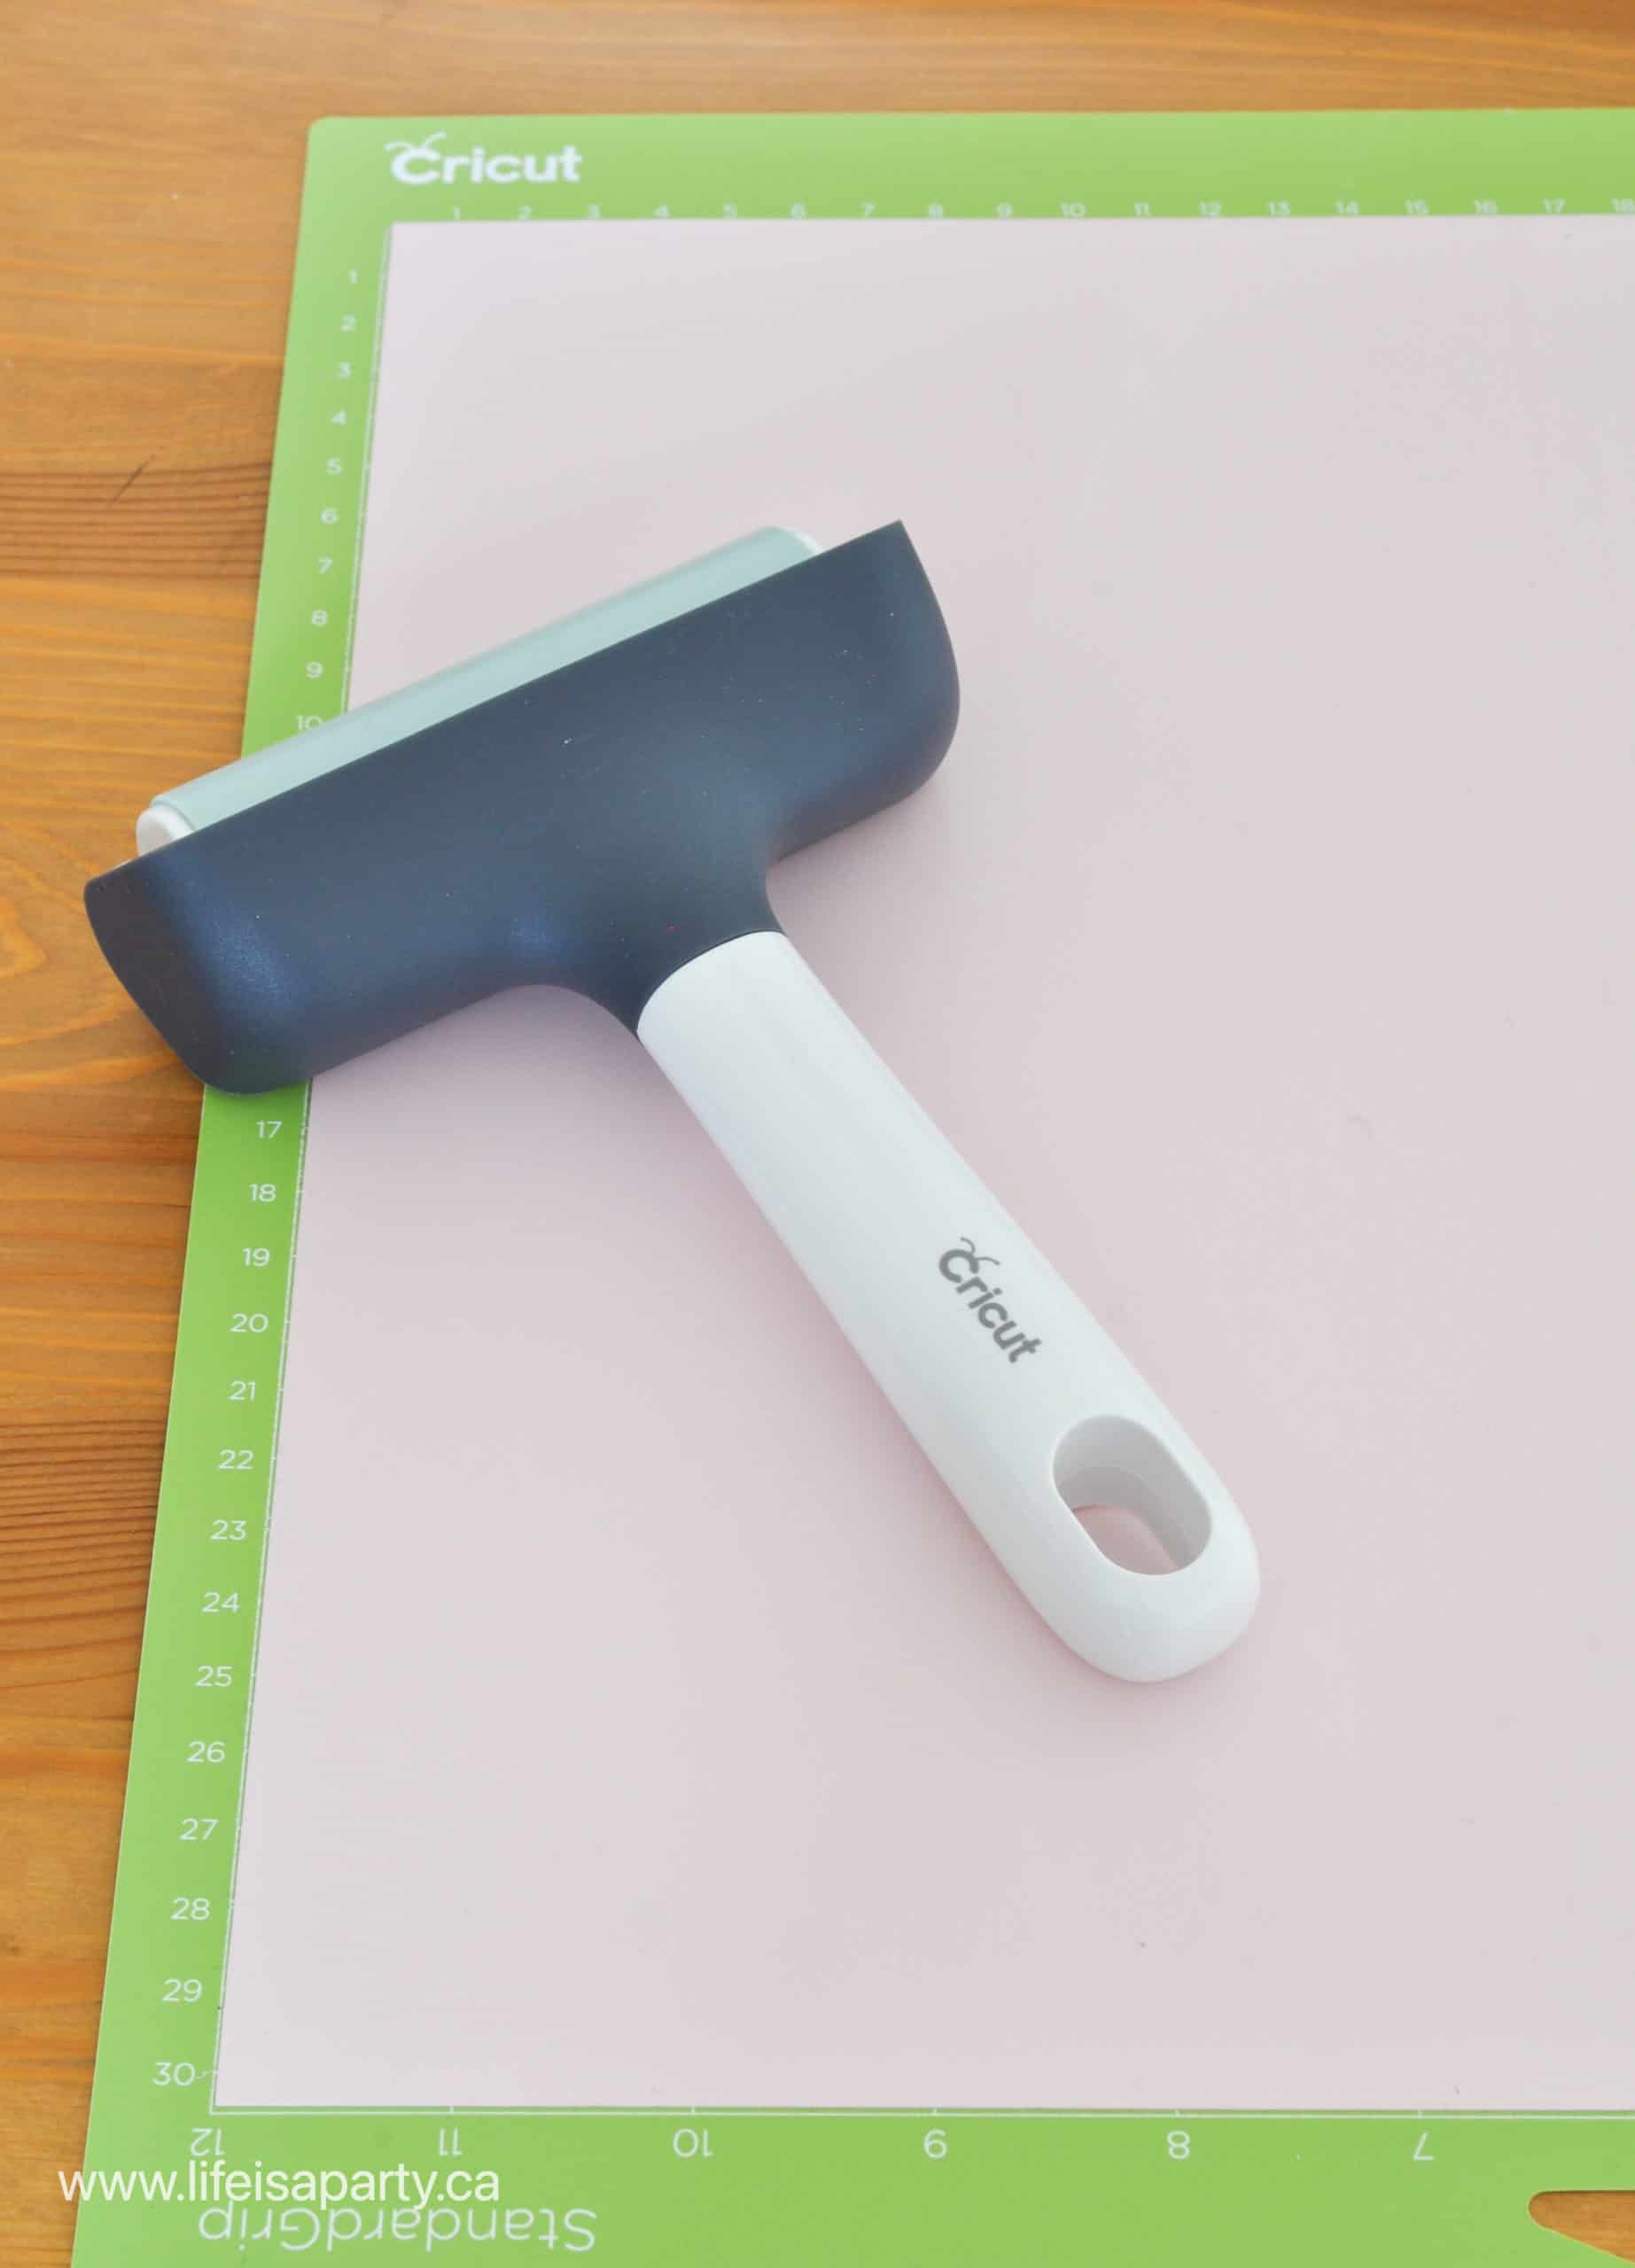
The first thing to do is get your Cricut cutting mat ready, by laying a green standard grip mat on a flat surface. Remove the protective sheeting and lay aside to replace after you're finished using the cutting mat. Lay your piece of vinyl in the top left corner of the cutting mat, lining it up and keeping it straight.
The green standard grip mat is the best mat to use with regular vinyl projects.
Which Side Of The Vinyl Goes Up?
Add the vinyl to the cutting mat with the paper backing side down and the shiny side of the vinyl facing up. When cutting permanent or removable vinyl, it's always vinyl side up.
Do You Remove The Vinyl Backing Before Cutting?
Do not remove the backing of the vinyl before cutting it.
Use your fingers, a brayer tool, or a scraper tool to smooth out the vinyl and remove any air bubbles.
Step 4 -Cut Settings
Power on your Cricut and make sure your Cricut machine is connected to your device, via bluetooth, or with the cable. You can select the machine at the top of the screen.
Next you will select the base material. This is the material you are cutting, in this case vinyl. There are several different vinyls to choose from. If you don't see the vinyl you are looking for on the screen, Browse All Materials, on top right. You can use the search feature in the top right corner to type vinyl and see all the different types of vinyl. Select your vinyl type for this project from the list. If it's a vinyl that you will use often, like the premium vinyl, you can click on the star beside it to have this vinyl setting added to your favourites list for next time you're looking for a cut setting.
For older machines, you will have to use the smart dial on the top of the machine and turn it to the right setting.
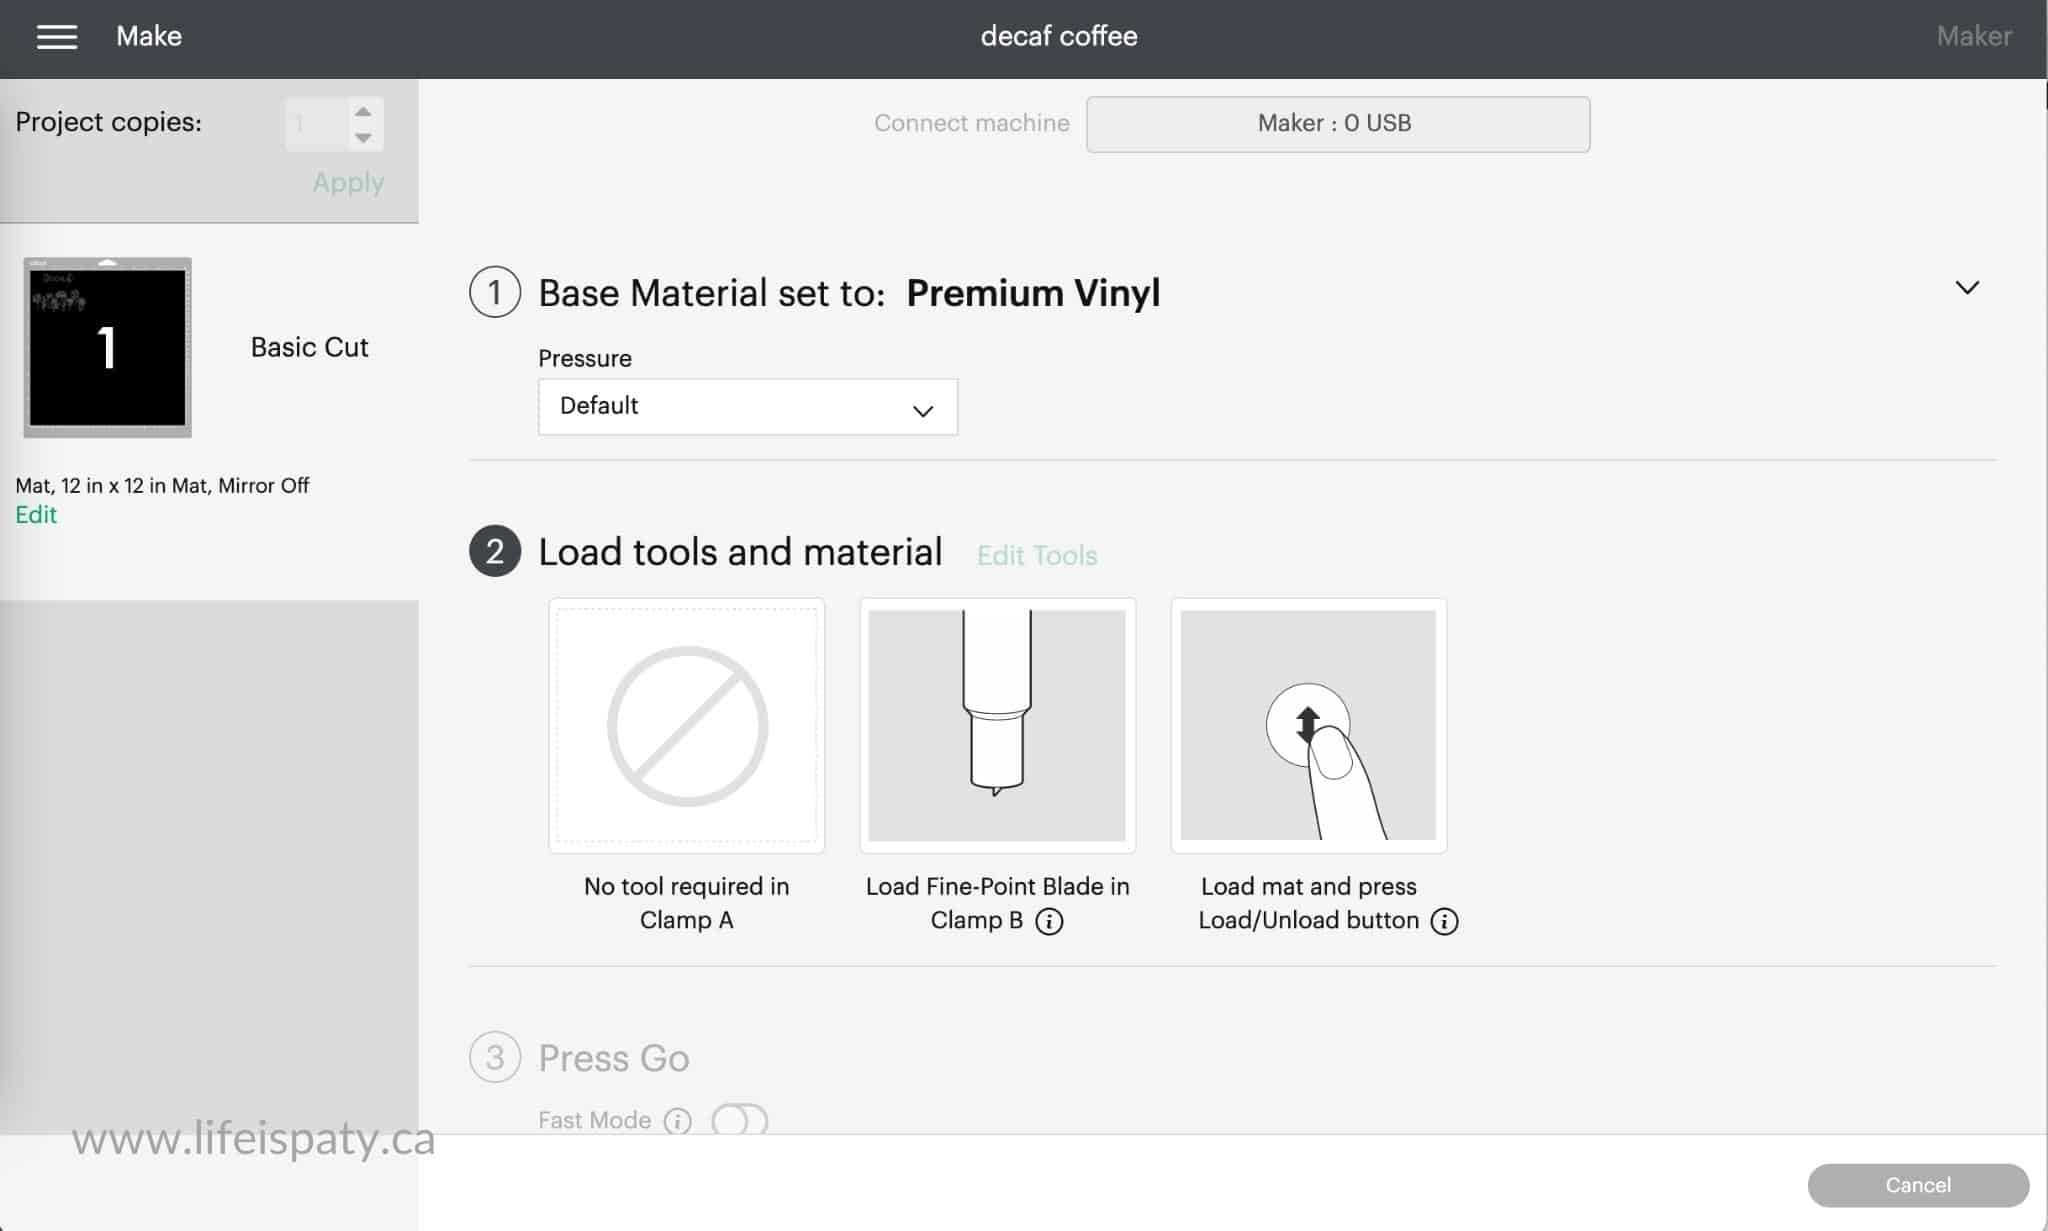
Once you have selected the base material, you can also choose the pressure setting for your cut. There is less, default, and more available to choose from. You will probably want to leave it at the default setting.
Next, you will be prompted to load tools and materials. For cutting vinyl, you'll be using a fine point blade. Make sure the premium fine-point blade is loaded in the blade housing, as prompted, and now load your cutting mat into your Cricut. Line up the mat with the guides and push the Load/Unload button with the arrows on it.
Lastly, make sure your machine has nothing behind it so that the mat can feed in and out, and press the Go button to begin the cut.
If your cut uses multiple mats, remove the vinyl after each cut, add the new colour, load it into the machine and press the Go button for the next cut. Repeat this process until your entire project is cut out.
Test Cutting
If you are working with a new material for the first time, it's often recommend to do a test cut. In the long run this can help you save costly materials. To create a test cut you would add a simple shape like a square or circle to a new canvas and size it to be less than an inch in size. Proceed to cut it with the default settings for the material. Once it's cut, determine if you has cut through, or whether you should add pressure. If the cut isn't successful, do another cut with adjusted settings until it's successful, and take note of the settings for actual project, or create custom settings for a specific material.
Is it worth the effort to test cut? Anyone who's wasted a full sheet of material before would probably say yes. The idea is to do a tiny cut and make sure the settings are perfect for the right cut before proceeding with the project. Yes, it does take a little extra time, but in the long run it might save you time and material, rather than making a mistake on the larger project. Most common materials, like everyday vinyl will work just fine with the default settings, but it can be trickier with less common materials like glitter vinyl, where you may find it worthwhile to test cut, or if you are using a different brand Cricut.
Step 4 -Weeding
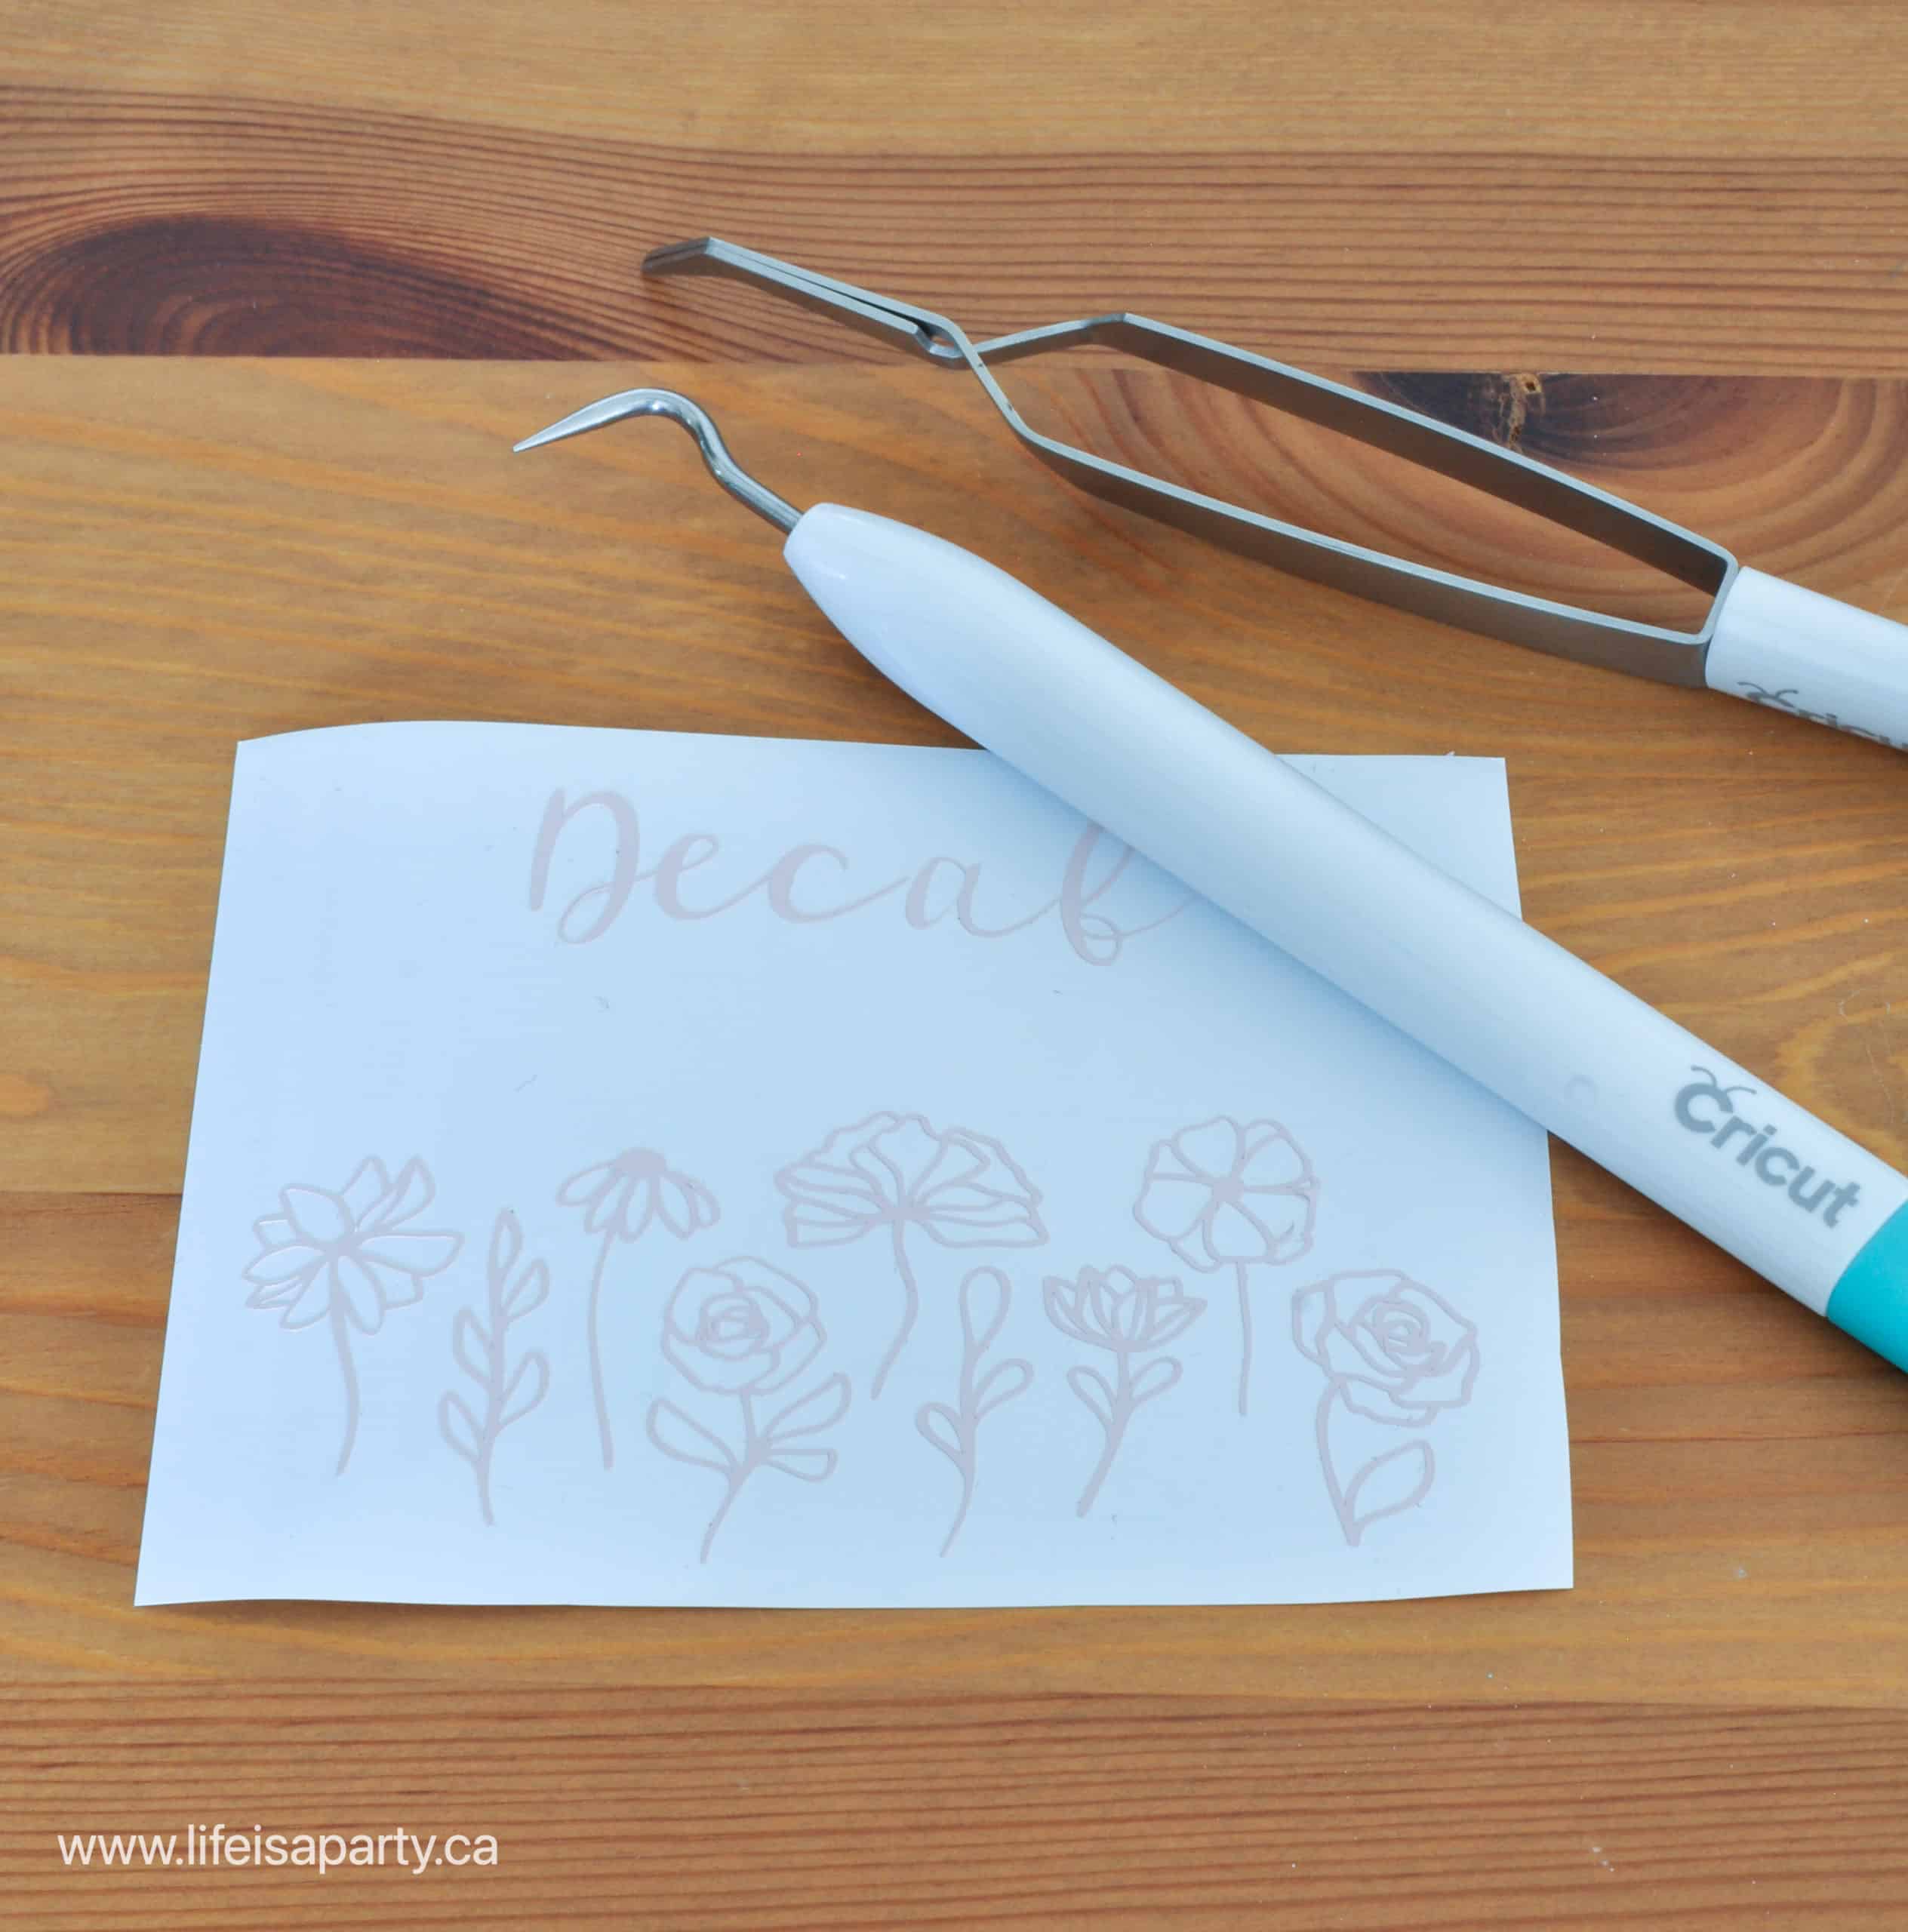
After your vinyl is cut and removed from the Cricut mat, it's time to weed the design. Weeding means to remove the excess vinyl from the carrier sheet, leaving just the cut image.
What Is A Kiss Cut?
Your vinyl has been cut with a kiss cut, meaning that the vinyl is cut through, but the paper liner on the back is still intact.
Use a weeding tool to remove the excess vinyl. It can be difficult to see the cut lines sometimes especially with intricate designs, so be sure to work in a well lit area for removing the little pieces.
Step 5 -Applying The VInyl To Your Project
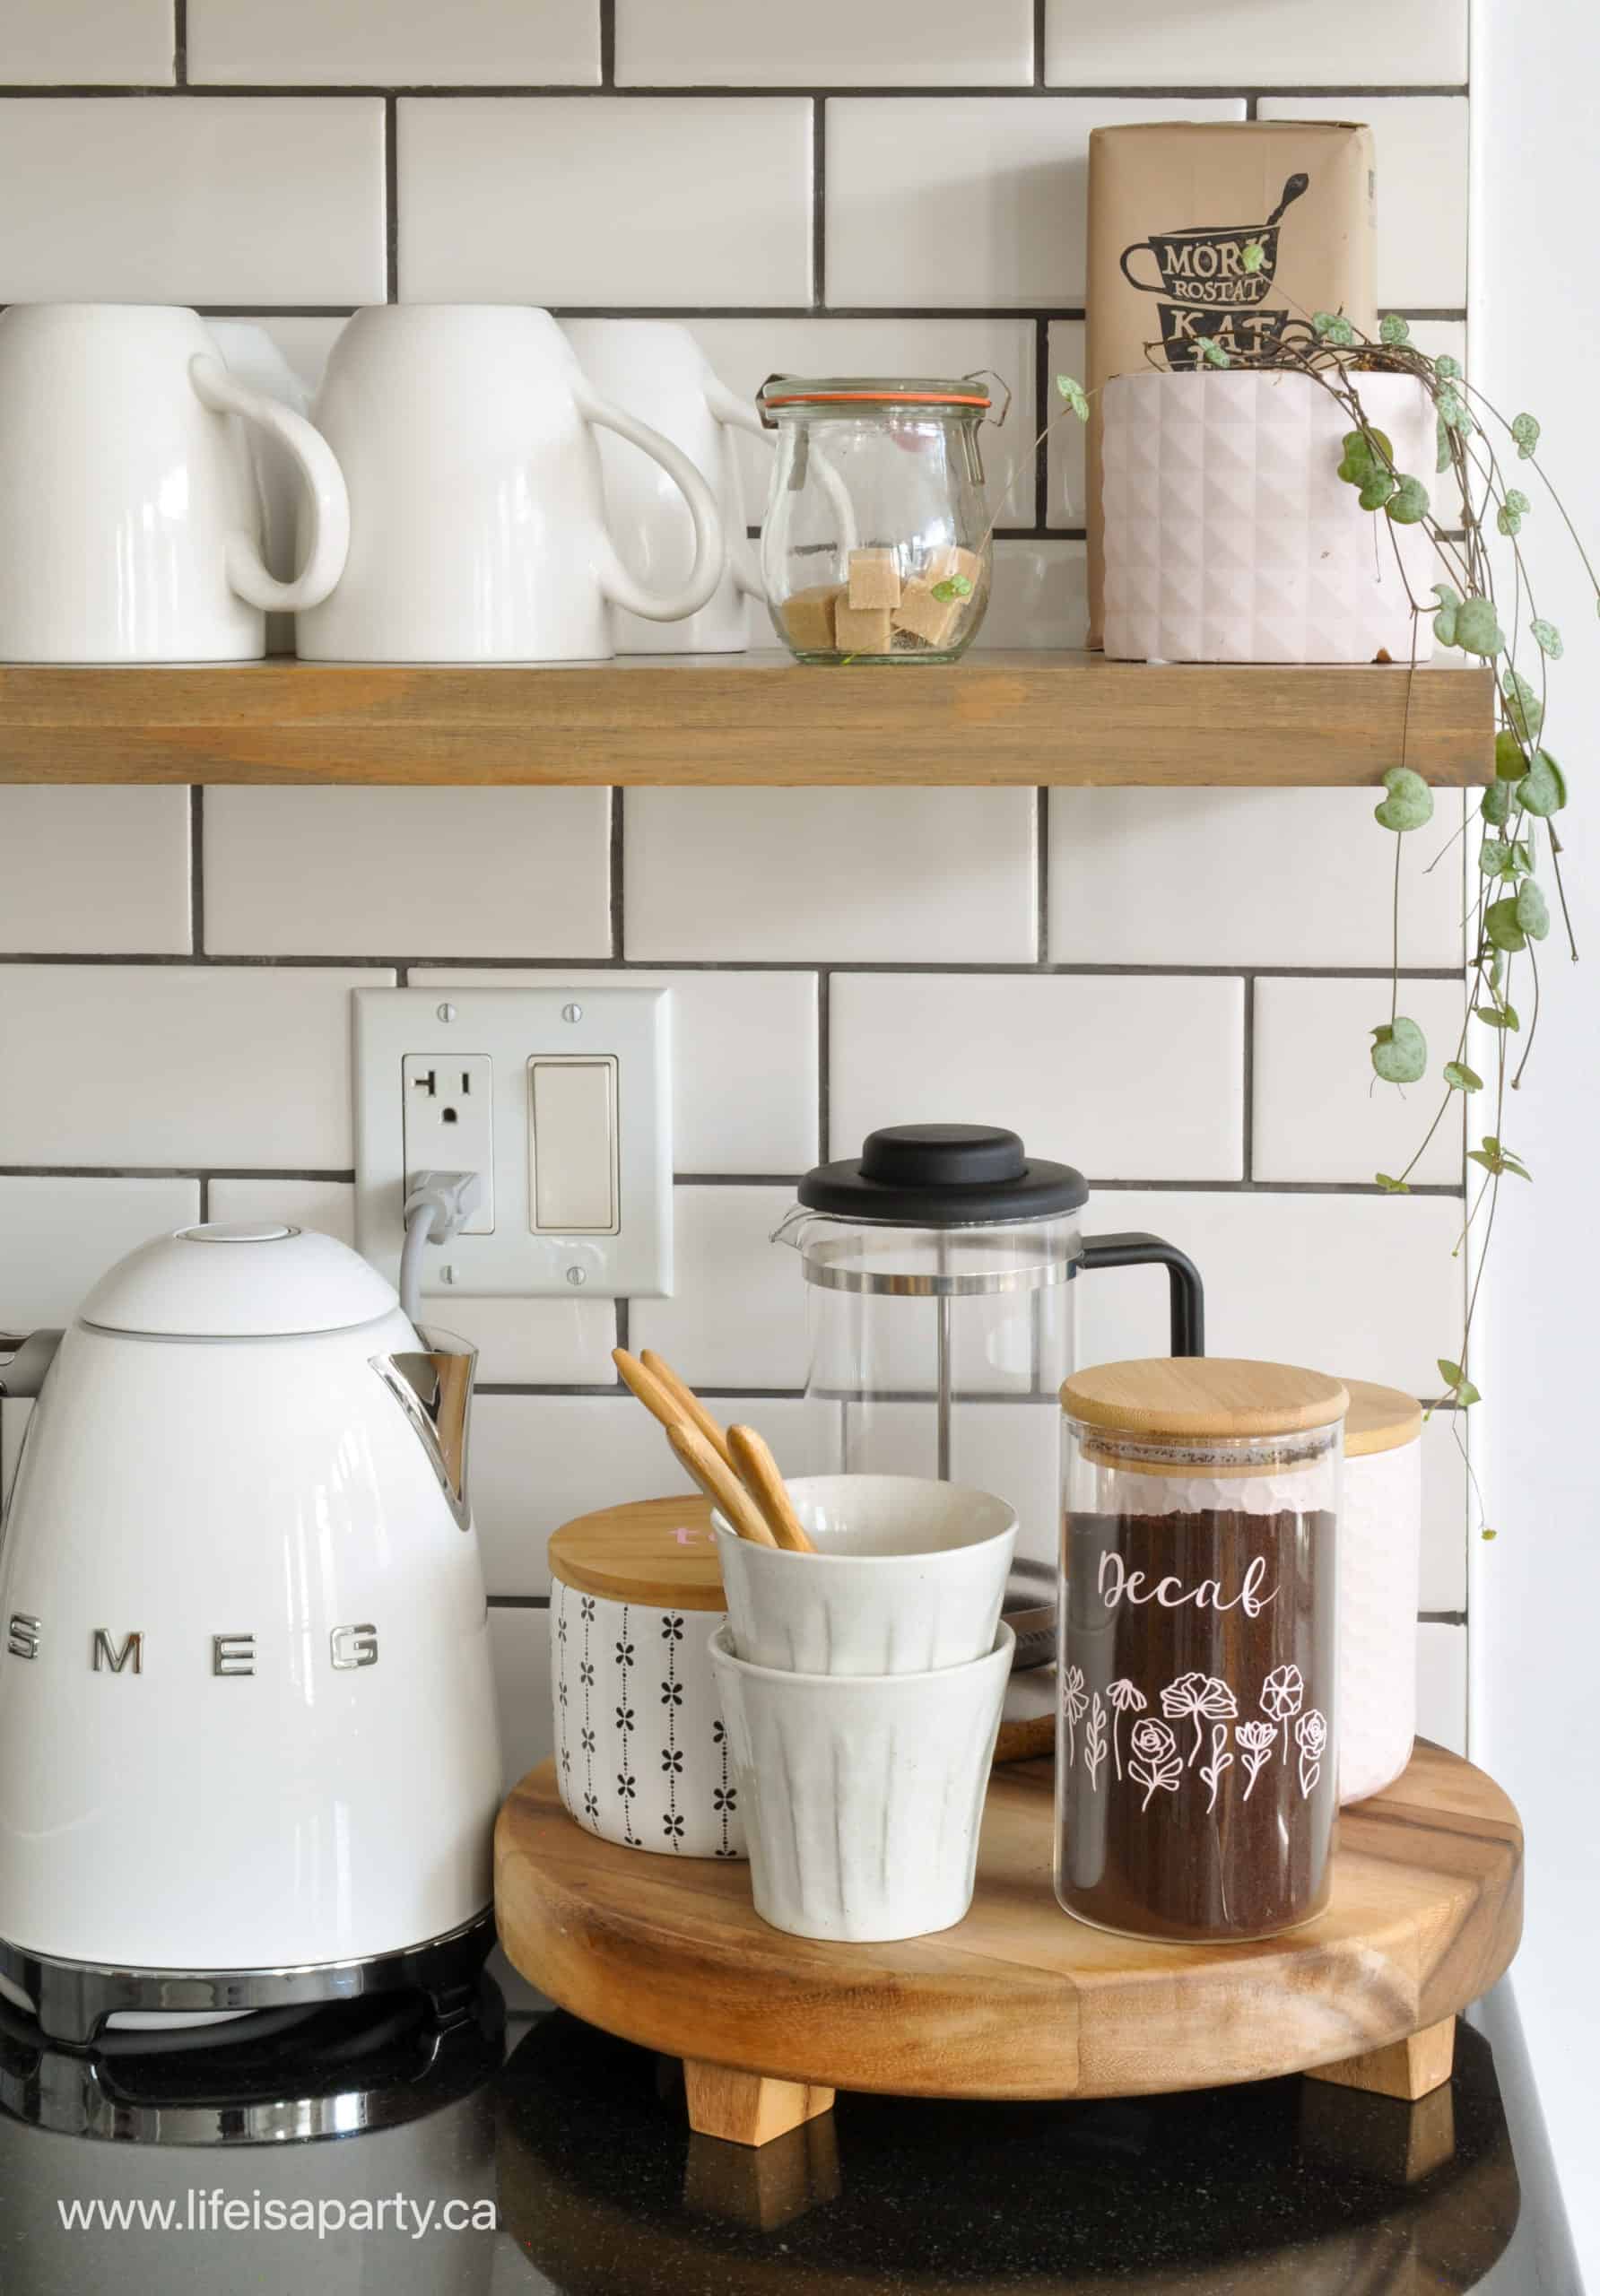
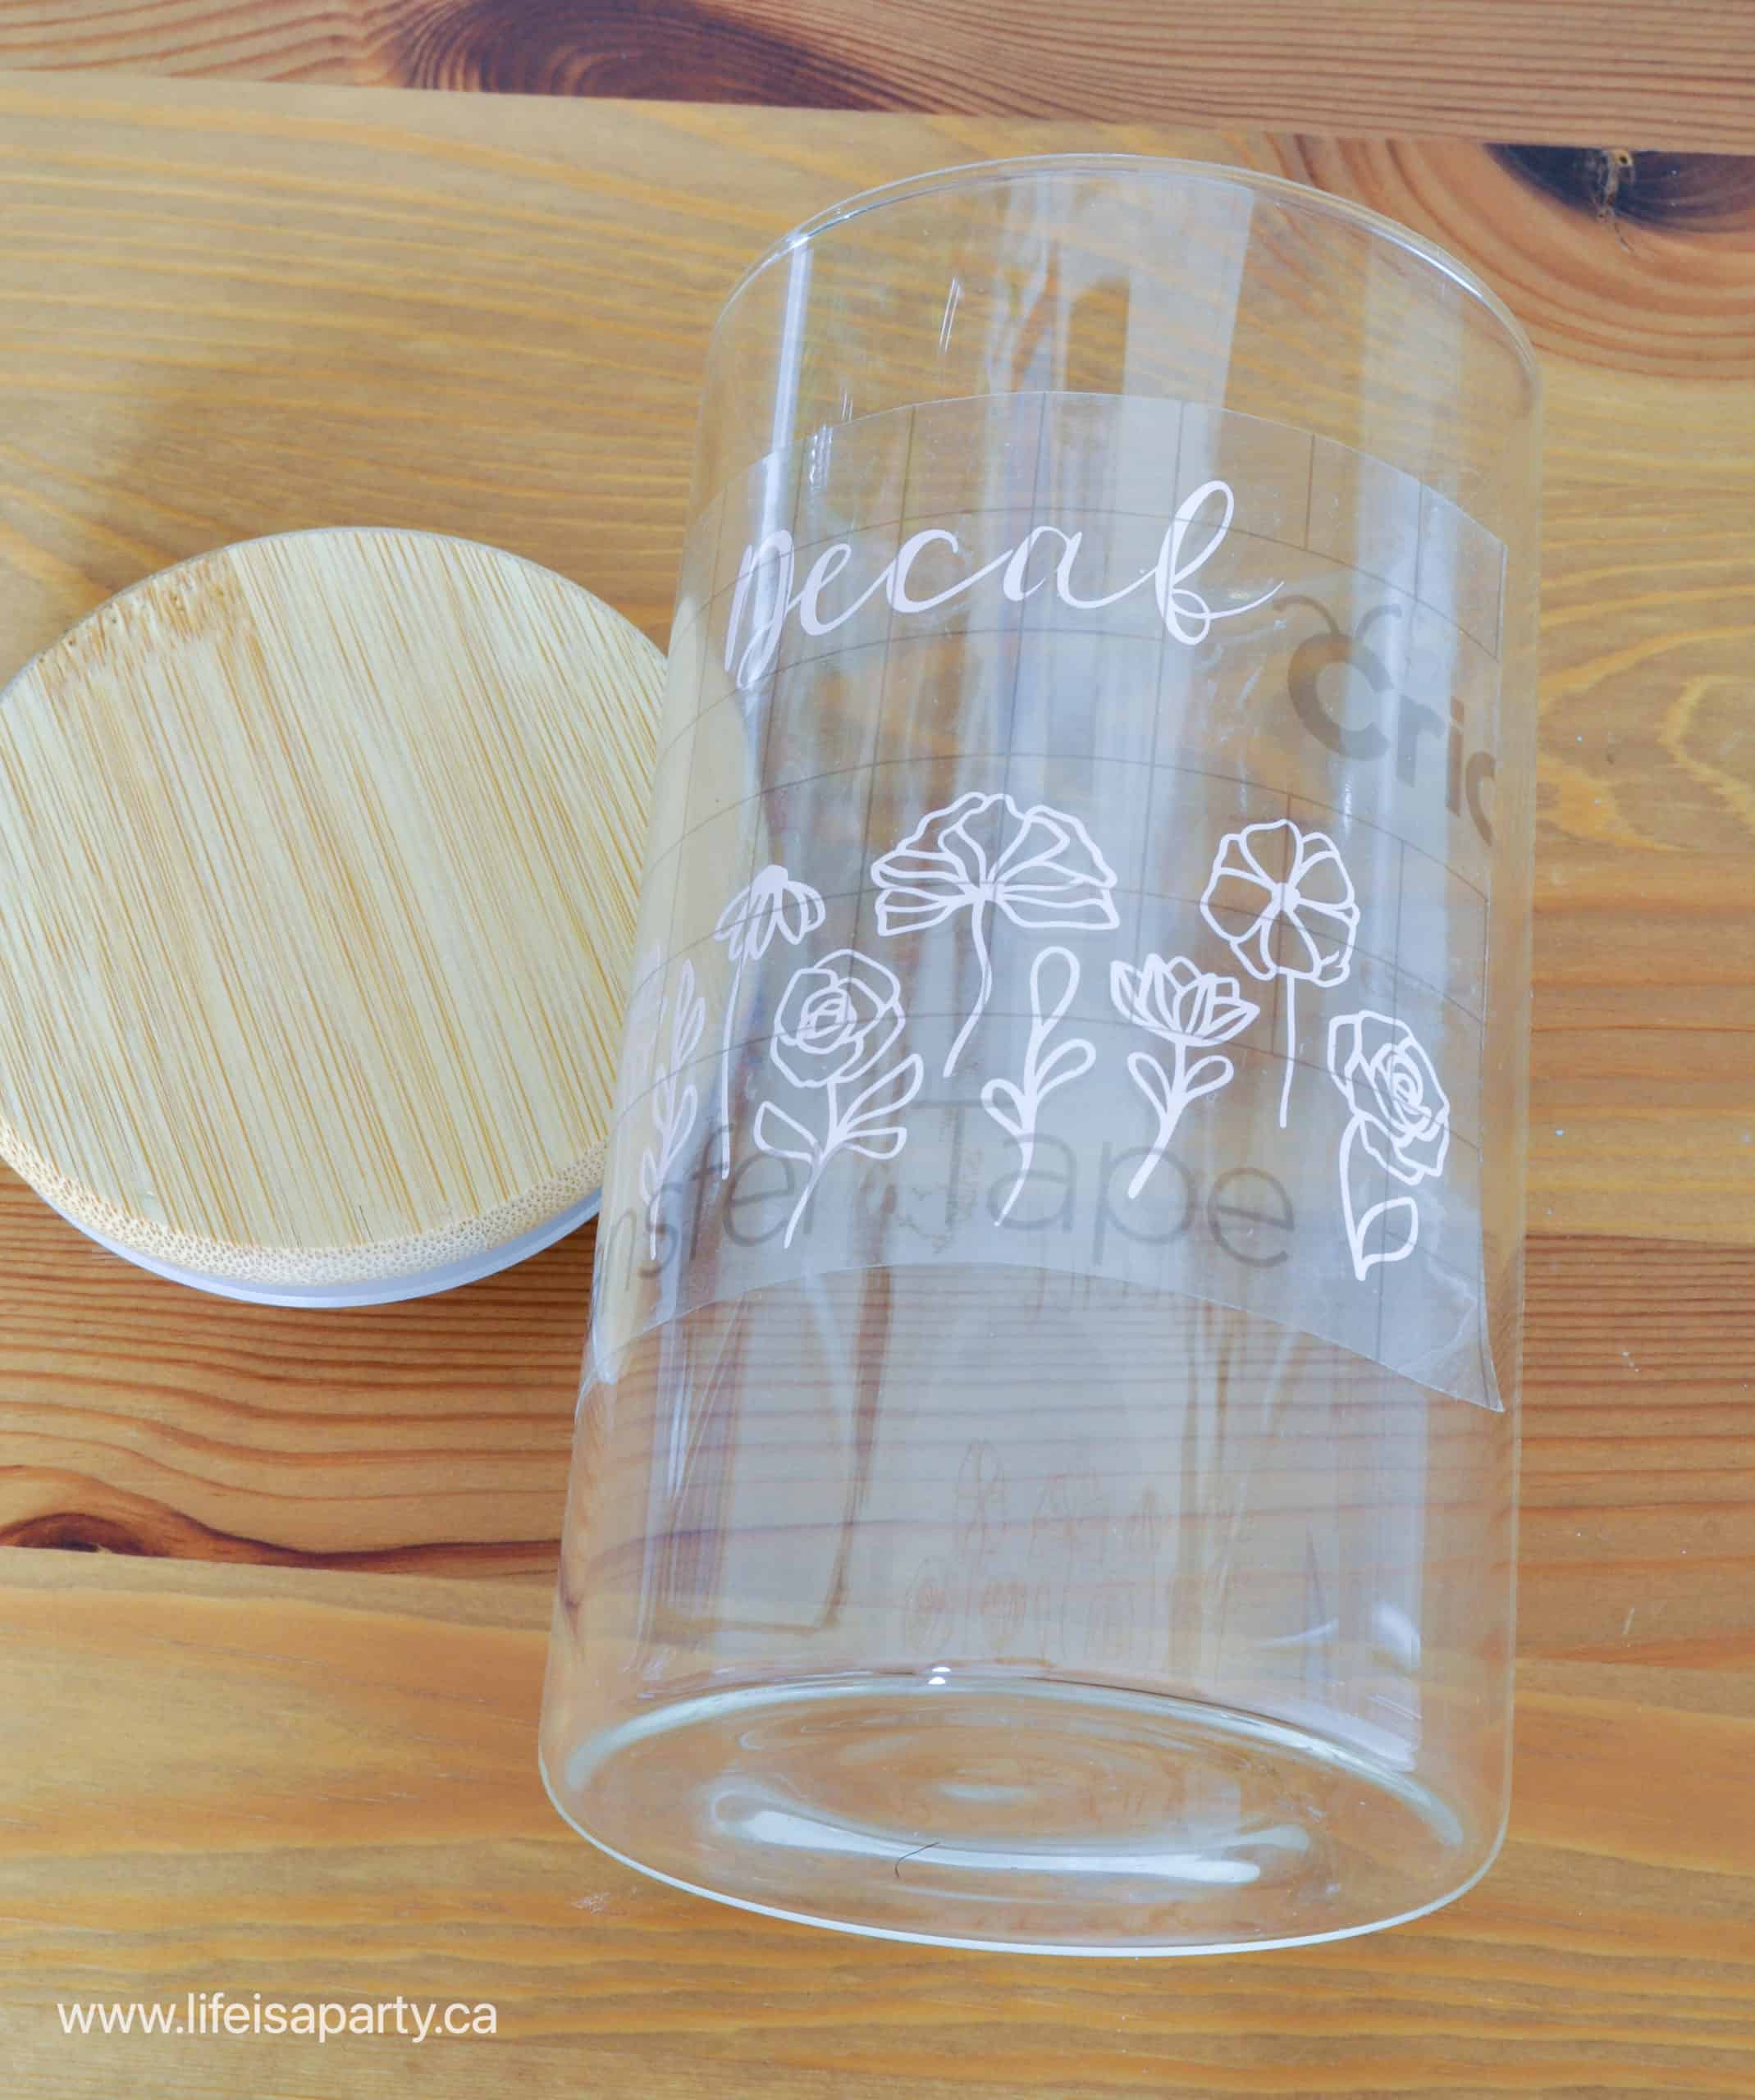
If you are applying the vinyl to a hard washable surface like a cup, mug, or phone case you will want to prepare the surface before adding the vinyl to remove unseen dirt, or oils that may keep the vinyl design adhesive backing from adhering well to the final project. For best results, you may use an alcohol wipe to clean it before adhering the vinyl.
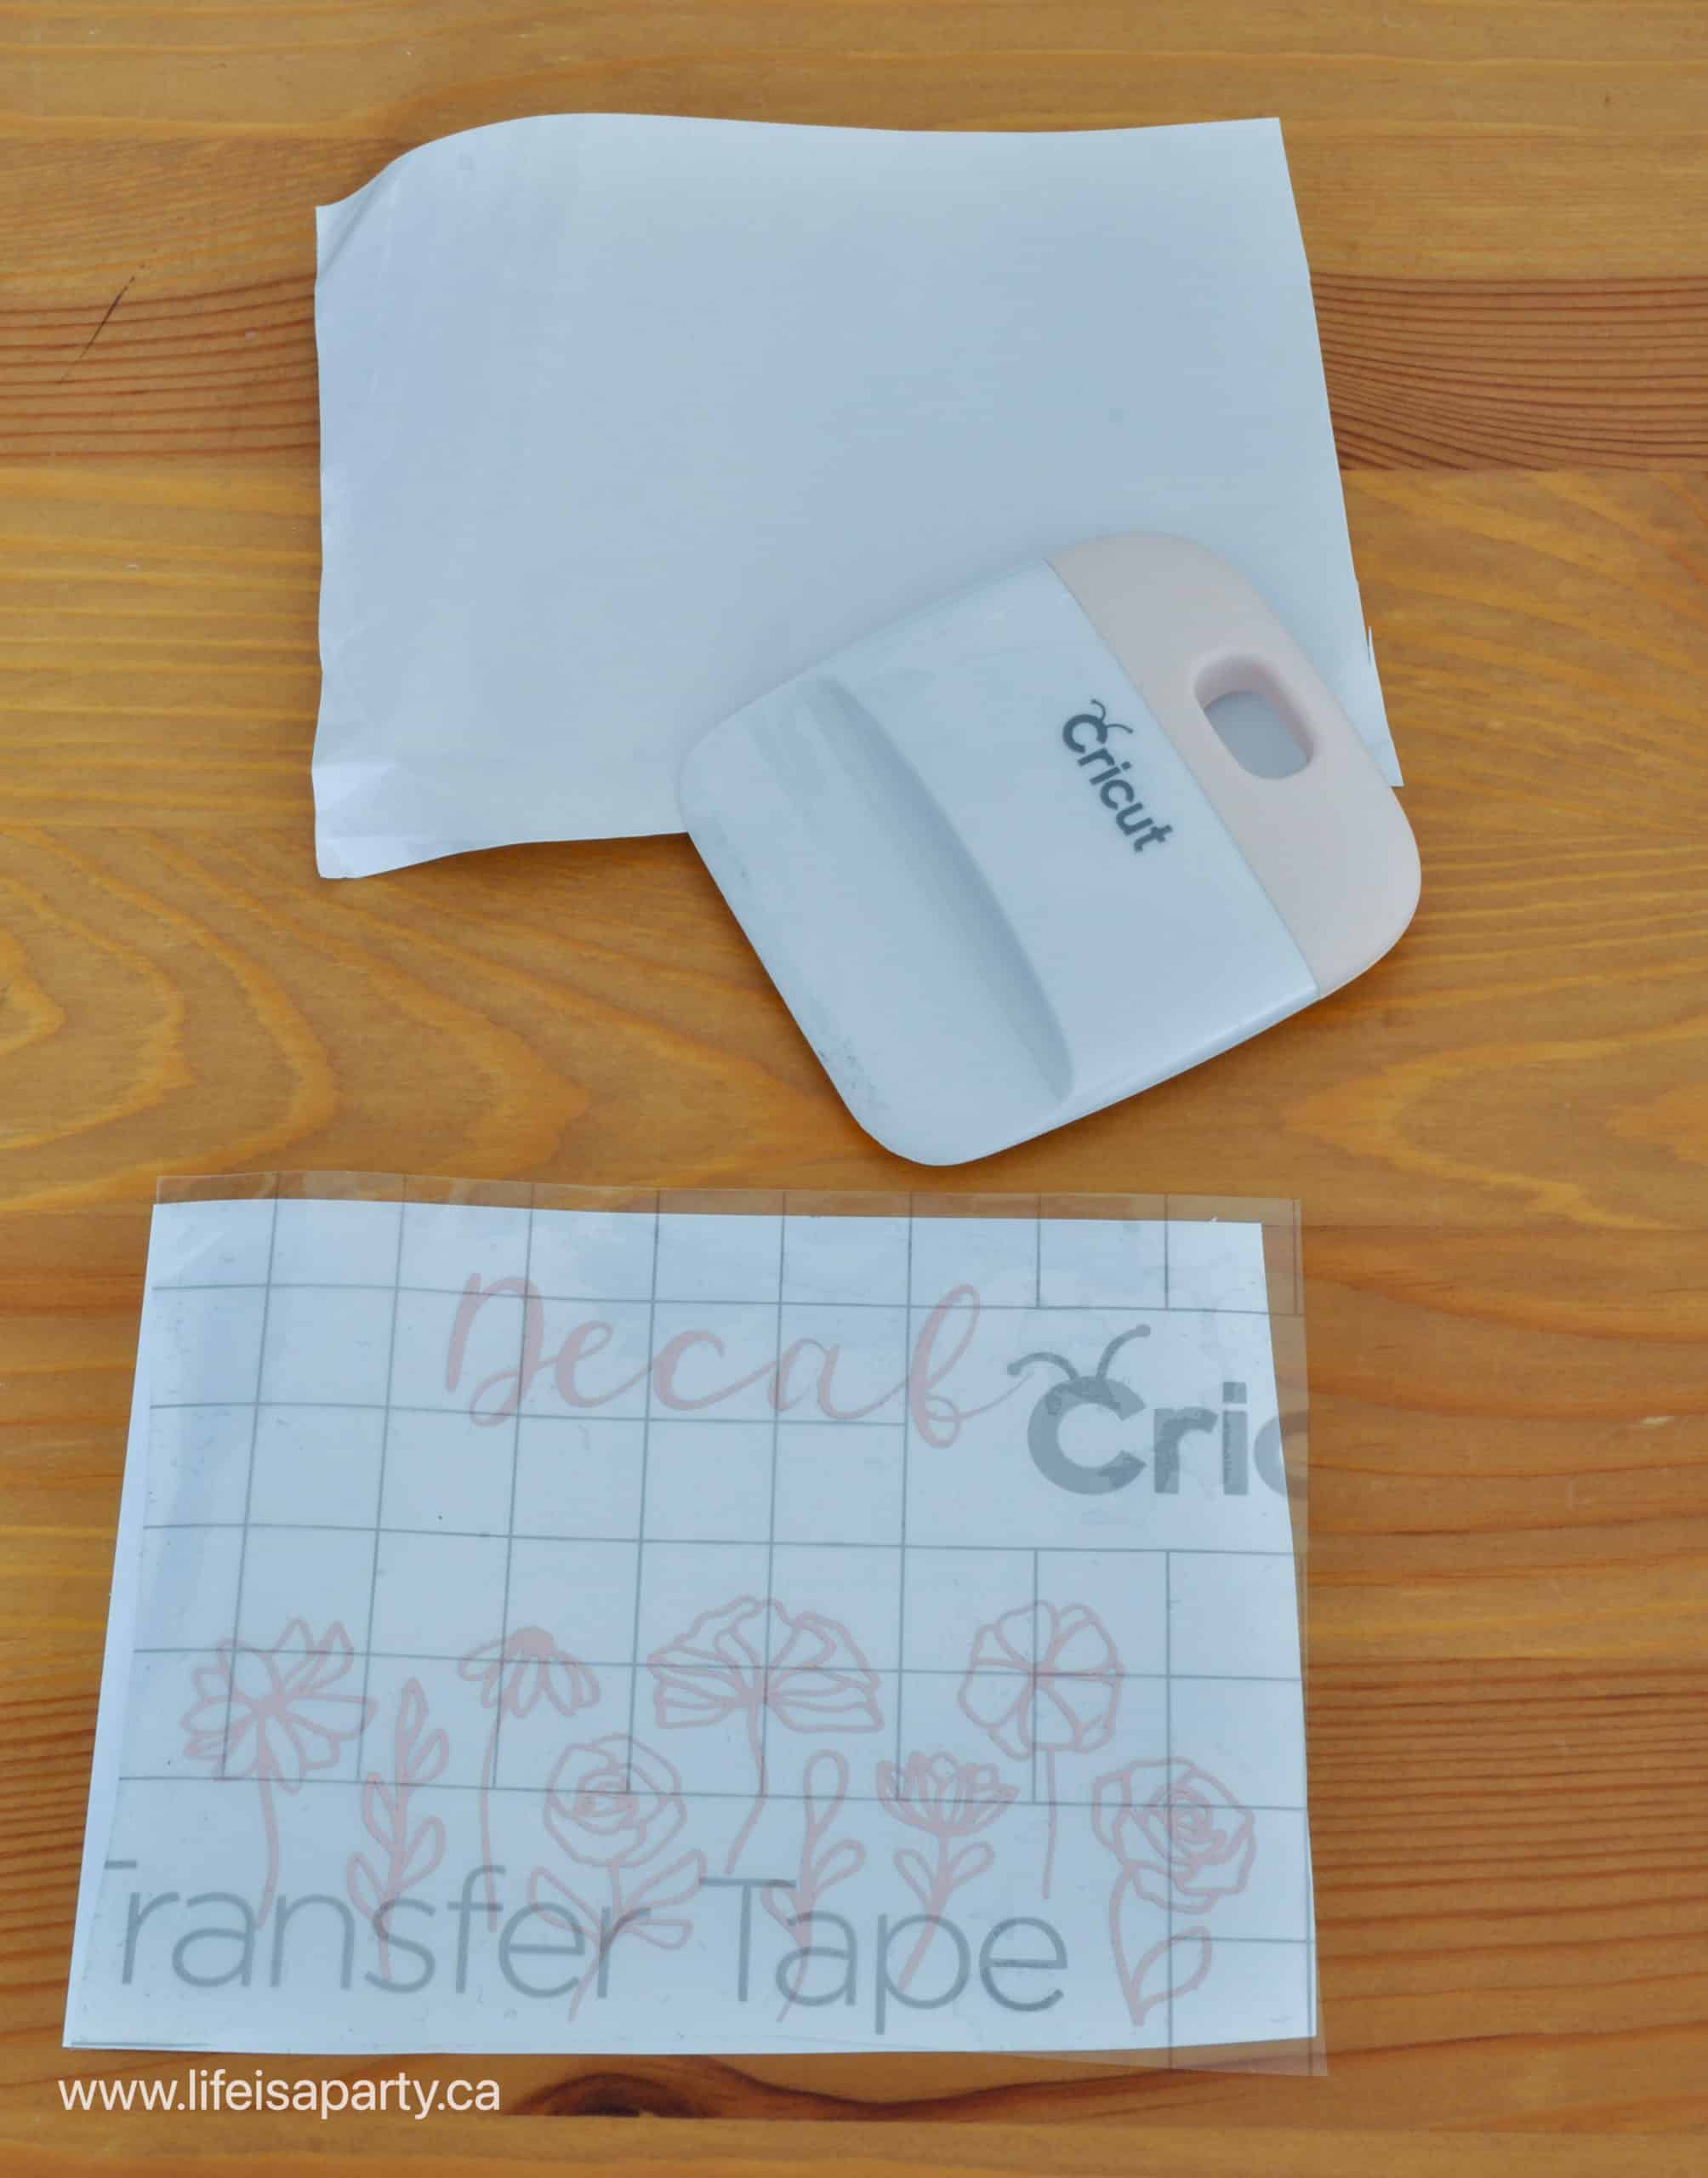
The next steps are to apply the vinyl to your project, using a piece of transfer tape, sometimes called transfer paper. You can read more about using How To Use Transfer Tape here. To use the transfer tape, cut a piece large enough to cover the entire image. Next, remove the backing piece and place the clear transfer tape top layer over the entire design. Use the grid pattern on the Cricut transfer tape to line up the design. Next, use a scraper tool to burnish it. Once the craft vinyl is fully adhered, slowly pull the transfer tape with the vinyl layer stuck to it, off of the paper backing. Now transfer the vinyl to your final product by placing the transfer tape on to your piece and burnishing it. Lastly, slowly remove the transfer tape a little bit at a time, at 45 degree angle.
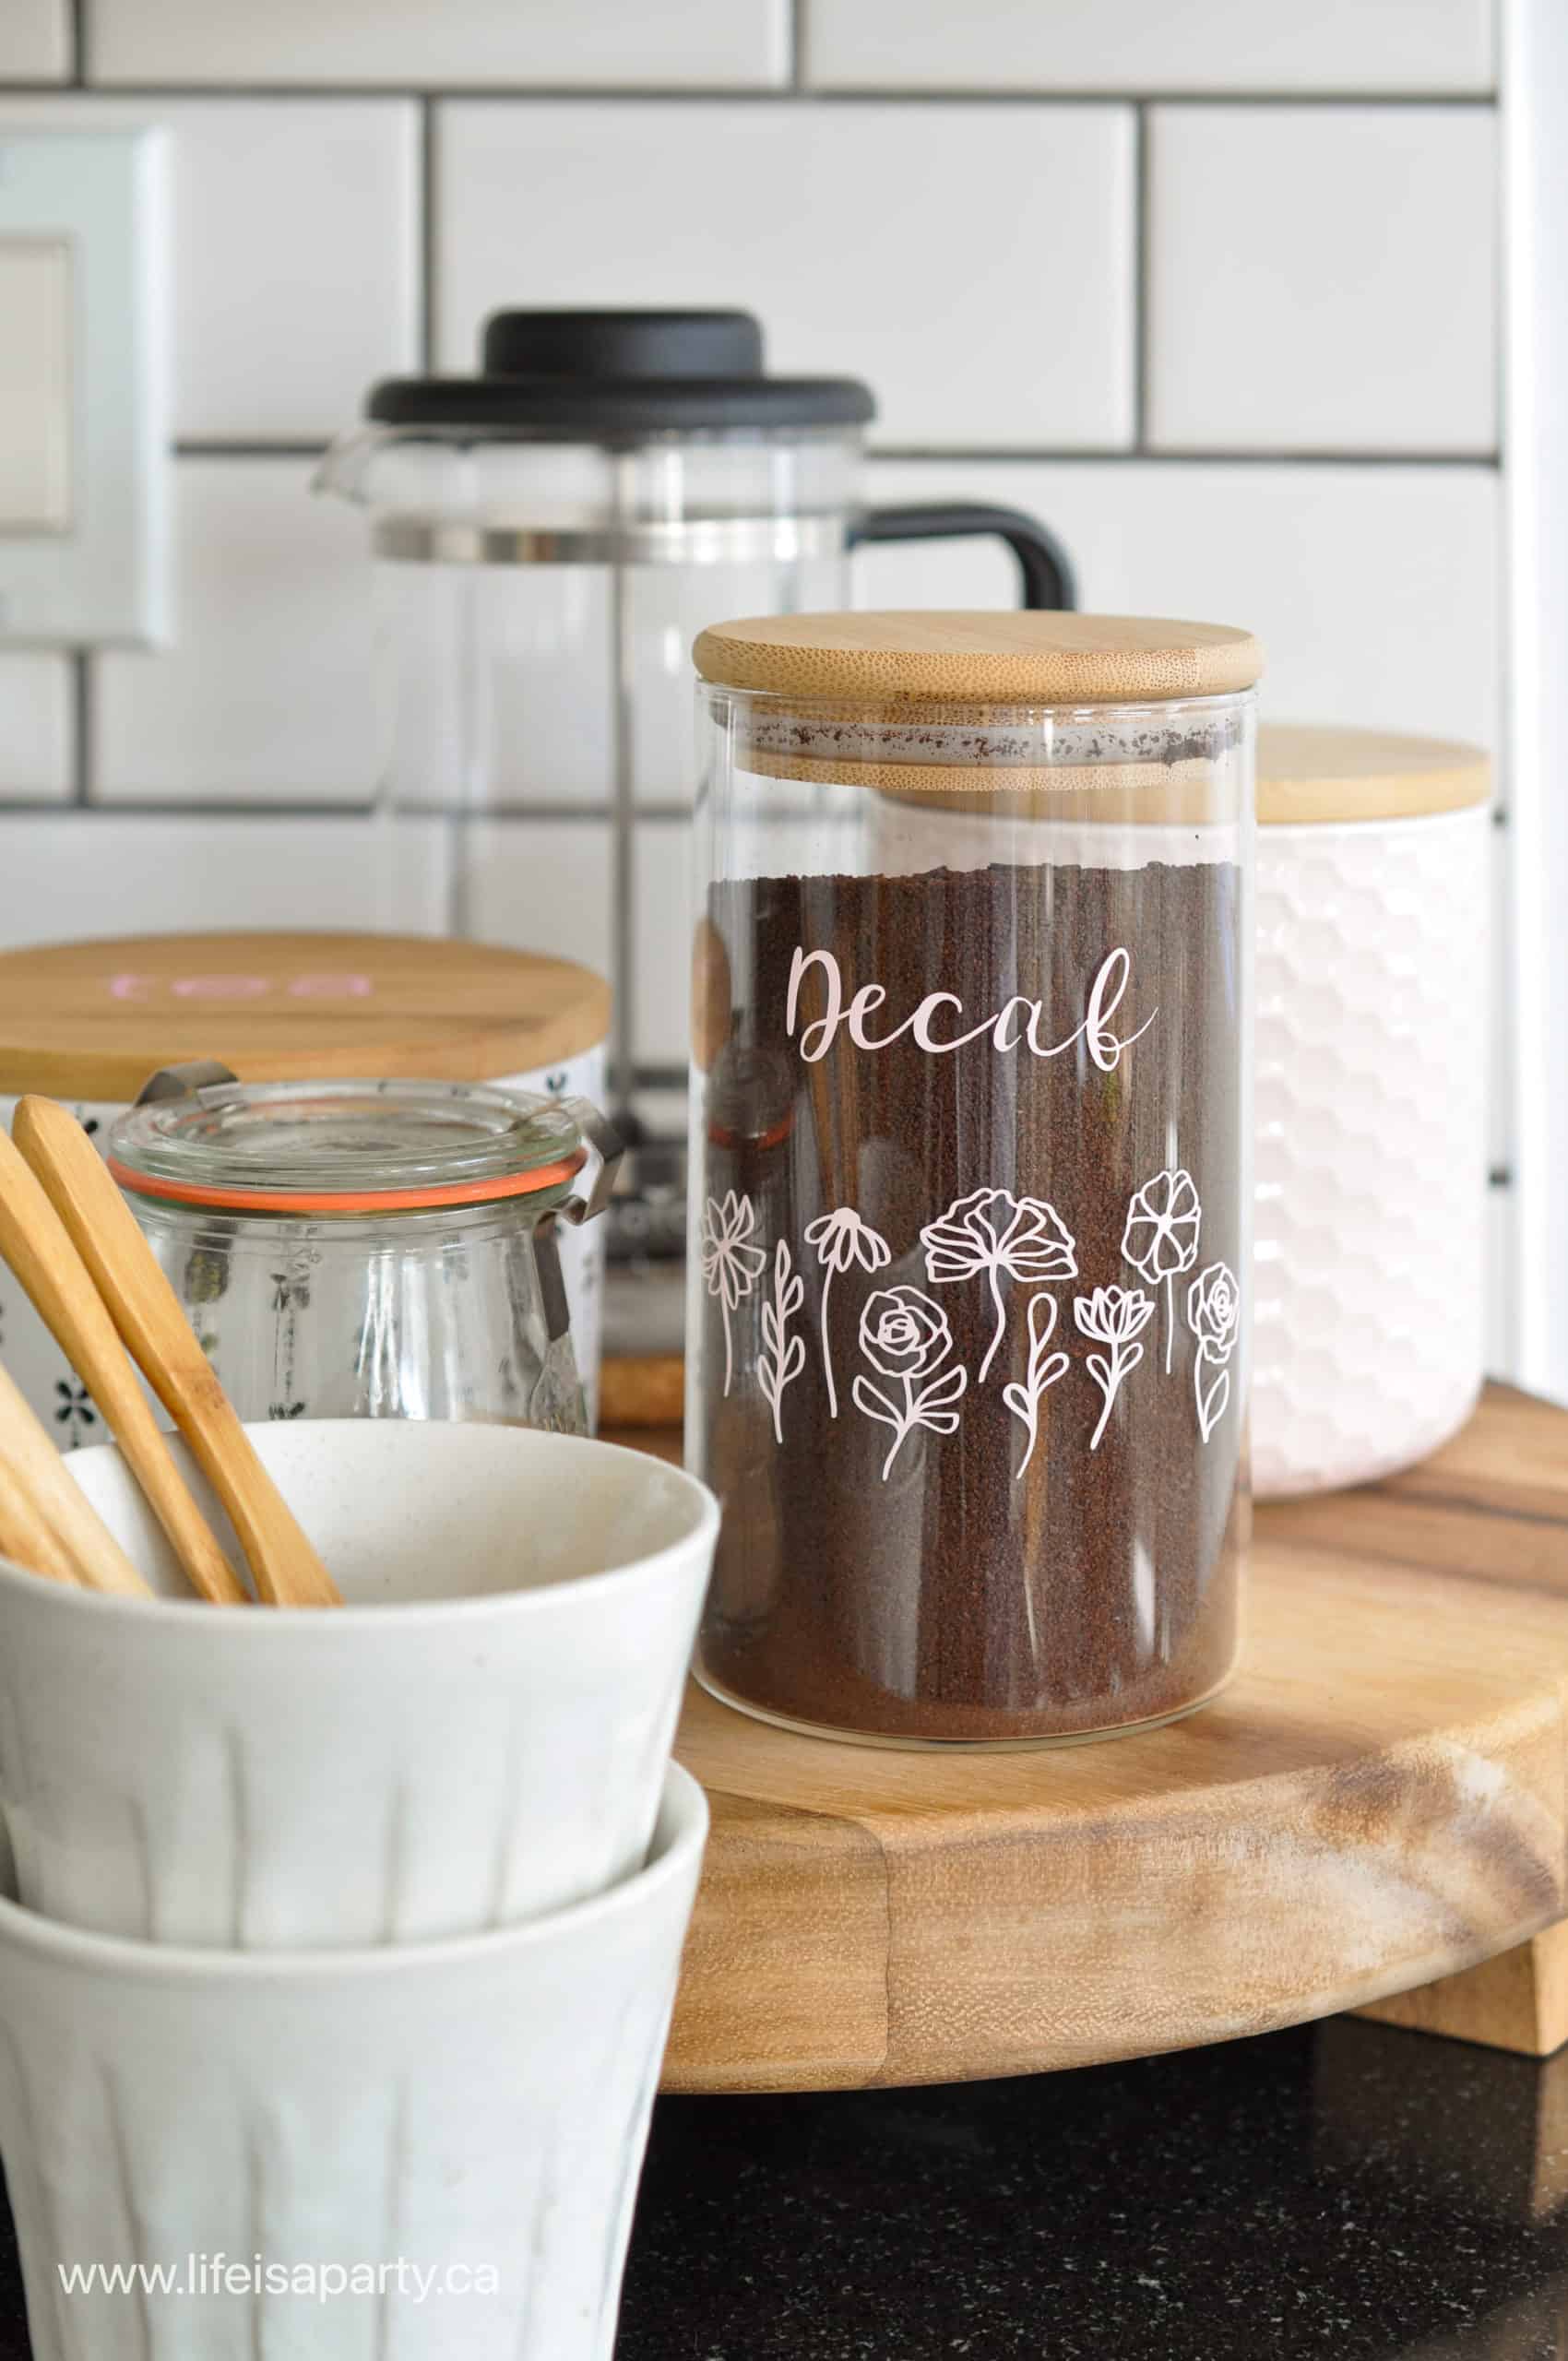
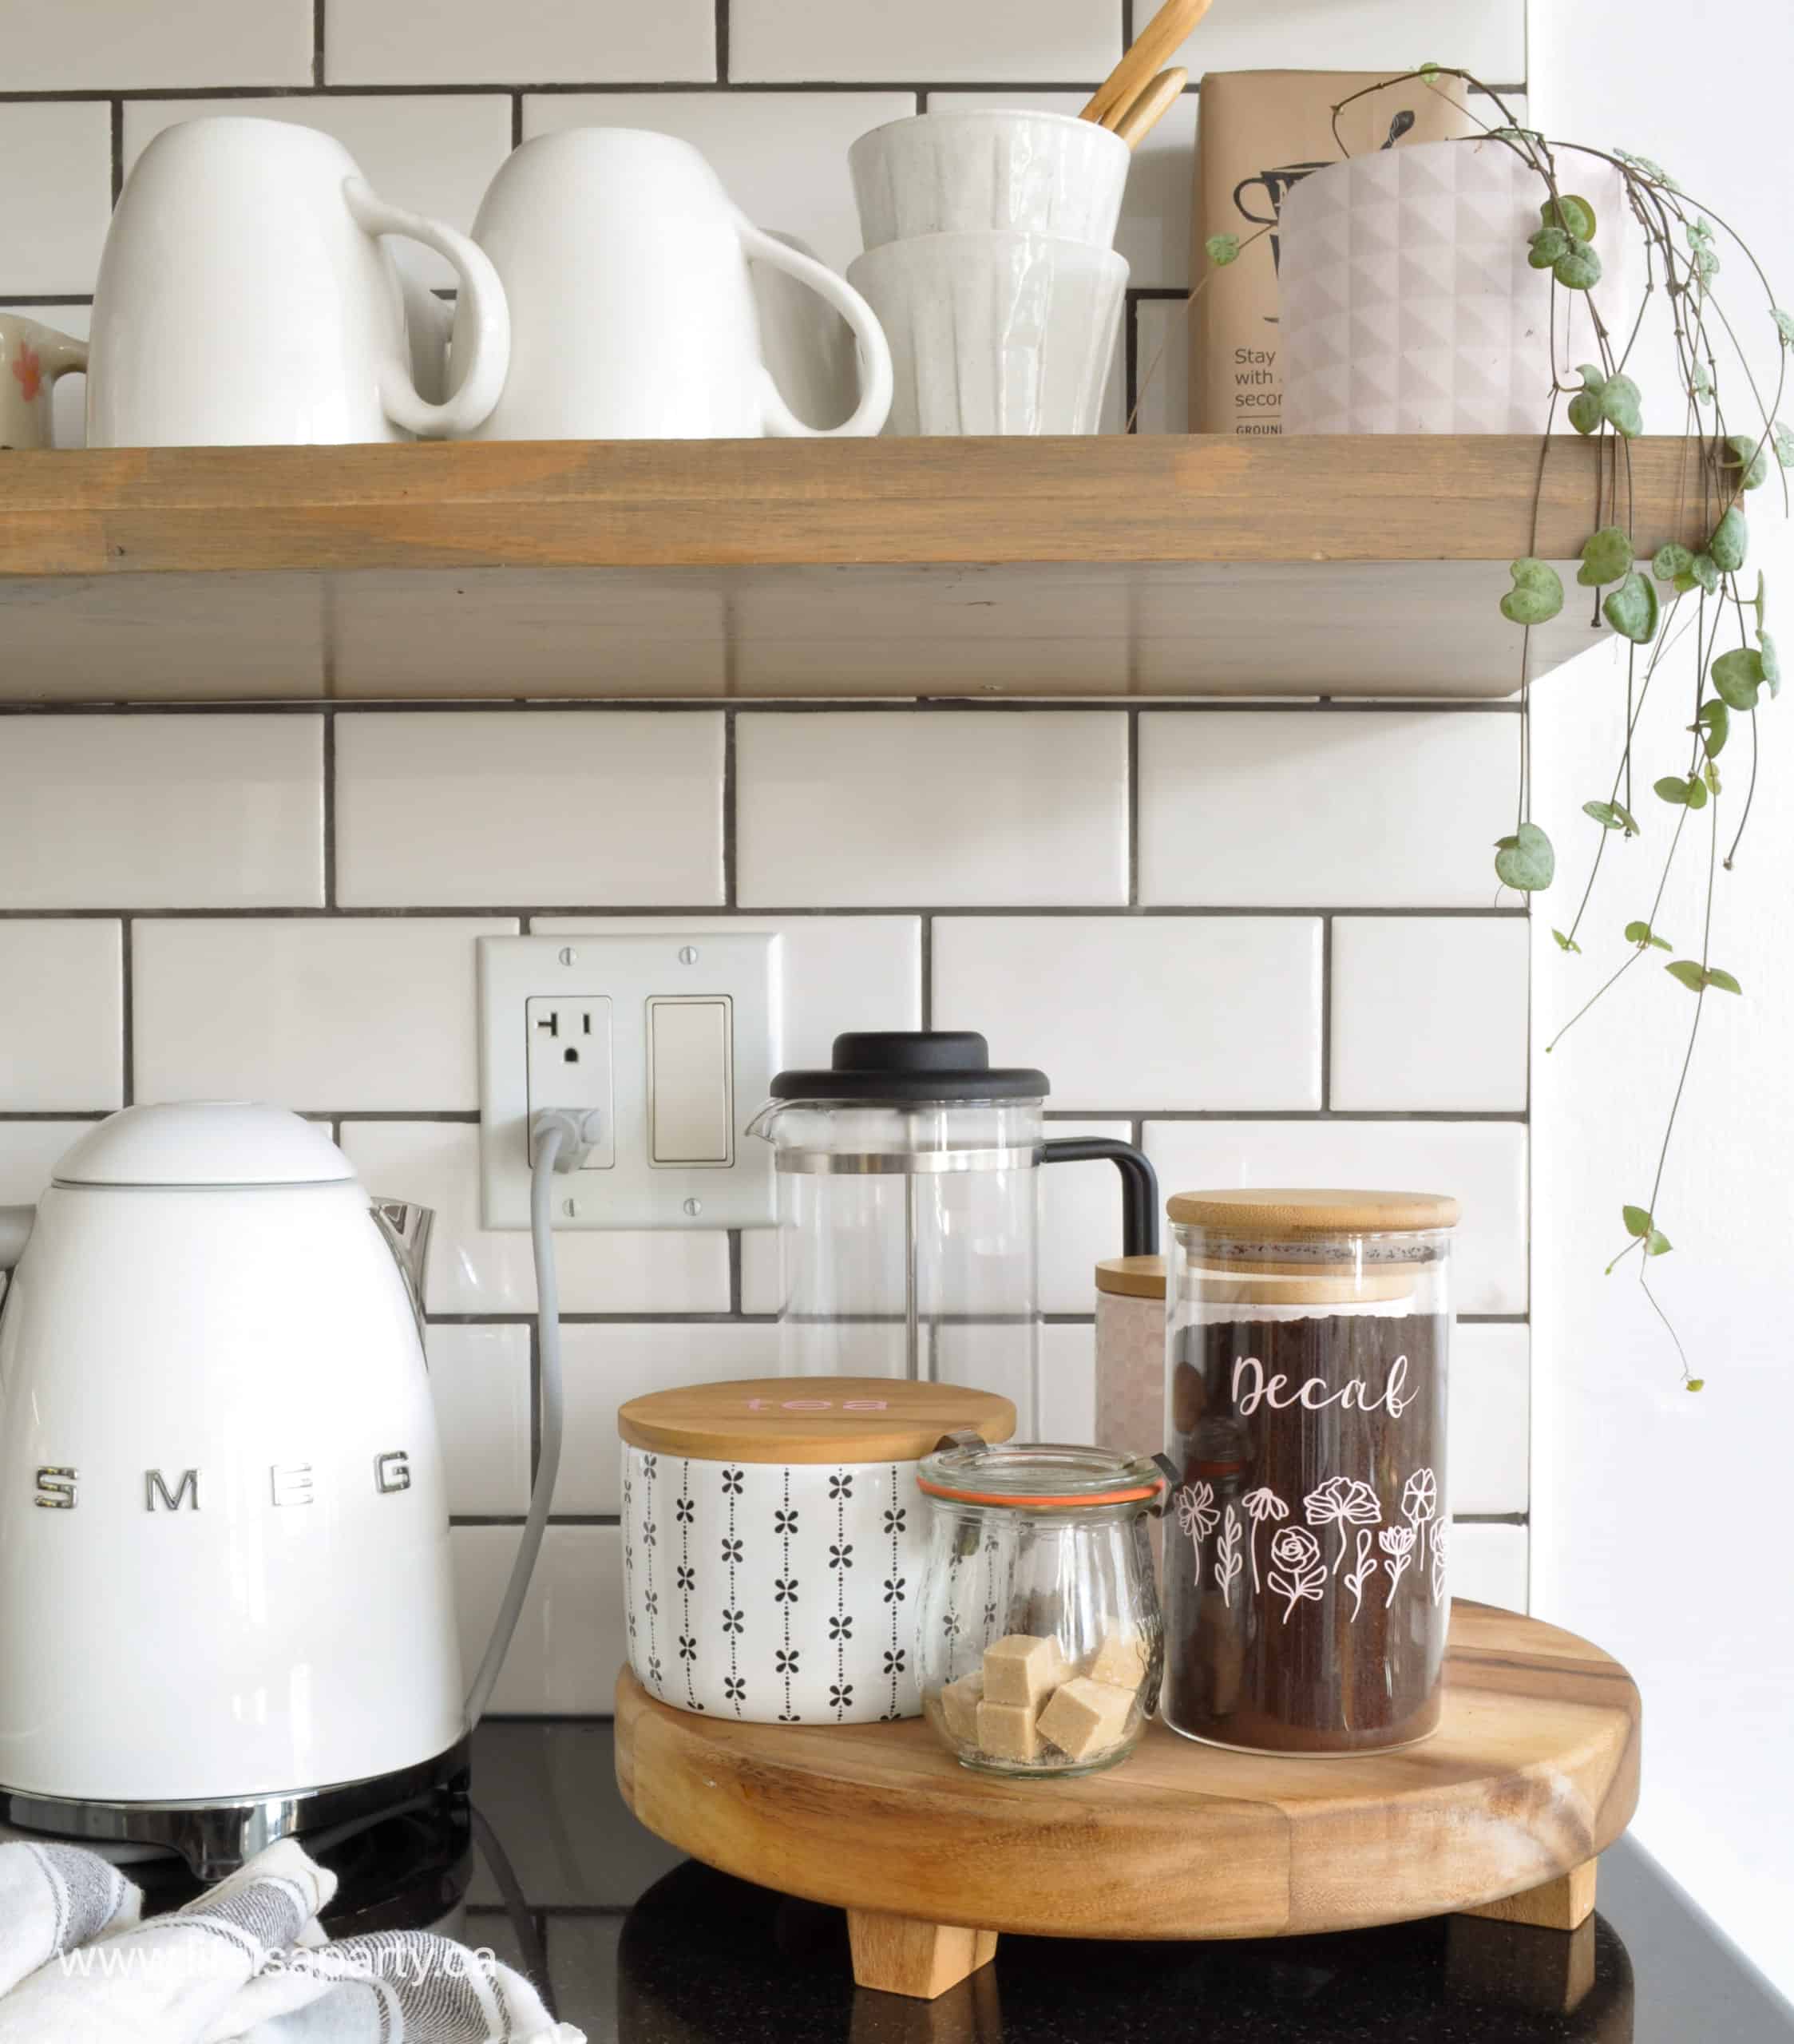
Cutting vinyl on your Cricut machine is an amazing way to personalize and decorate countless projects. This ultimate guide walks you through each step on how to cut vinyl on your Cricut, making it easy to do even for a beginner. Save this post for reference in the future by pinning it to your Cricut board in Pinterest.
More Cricut Tutorials
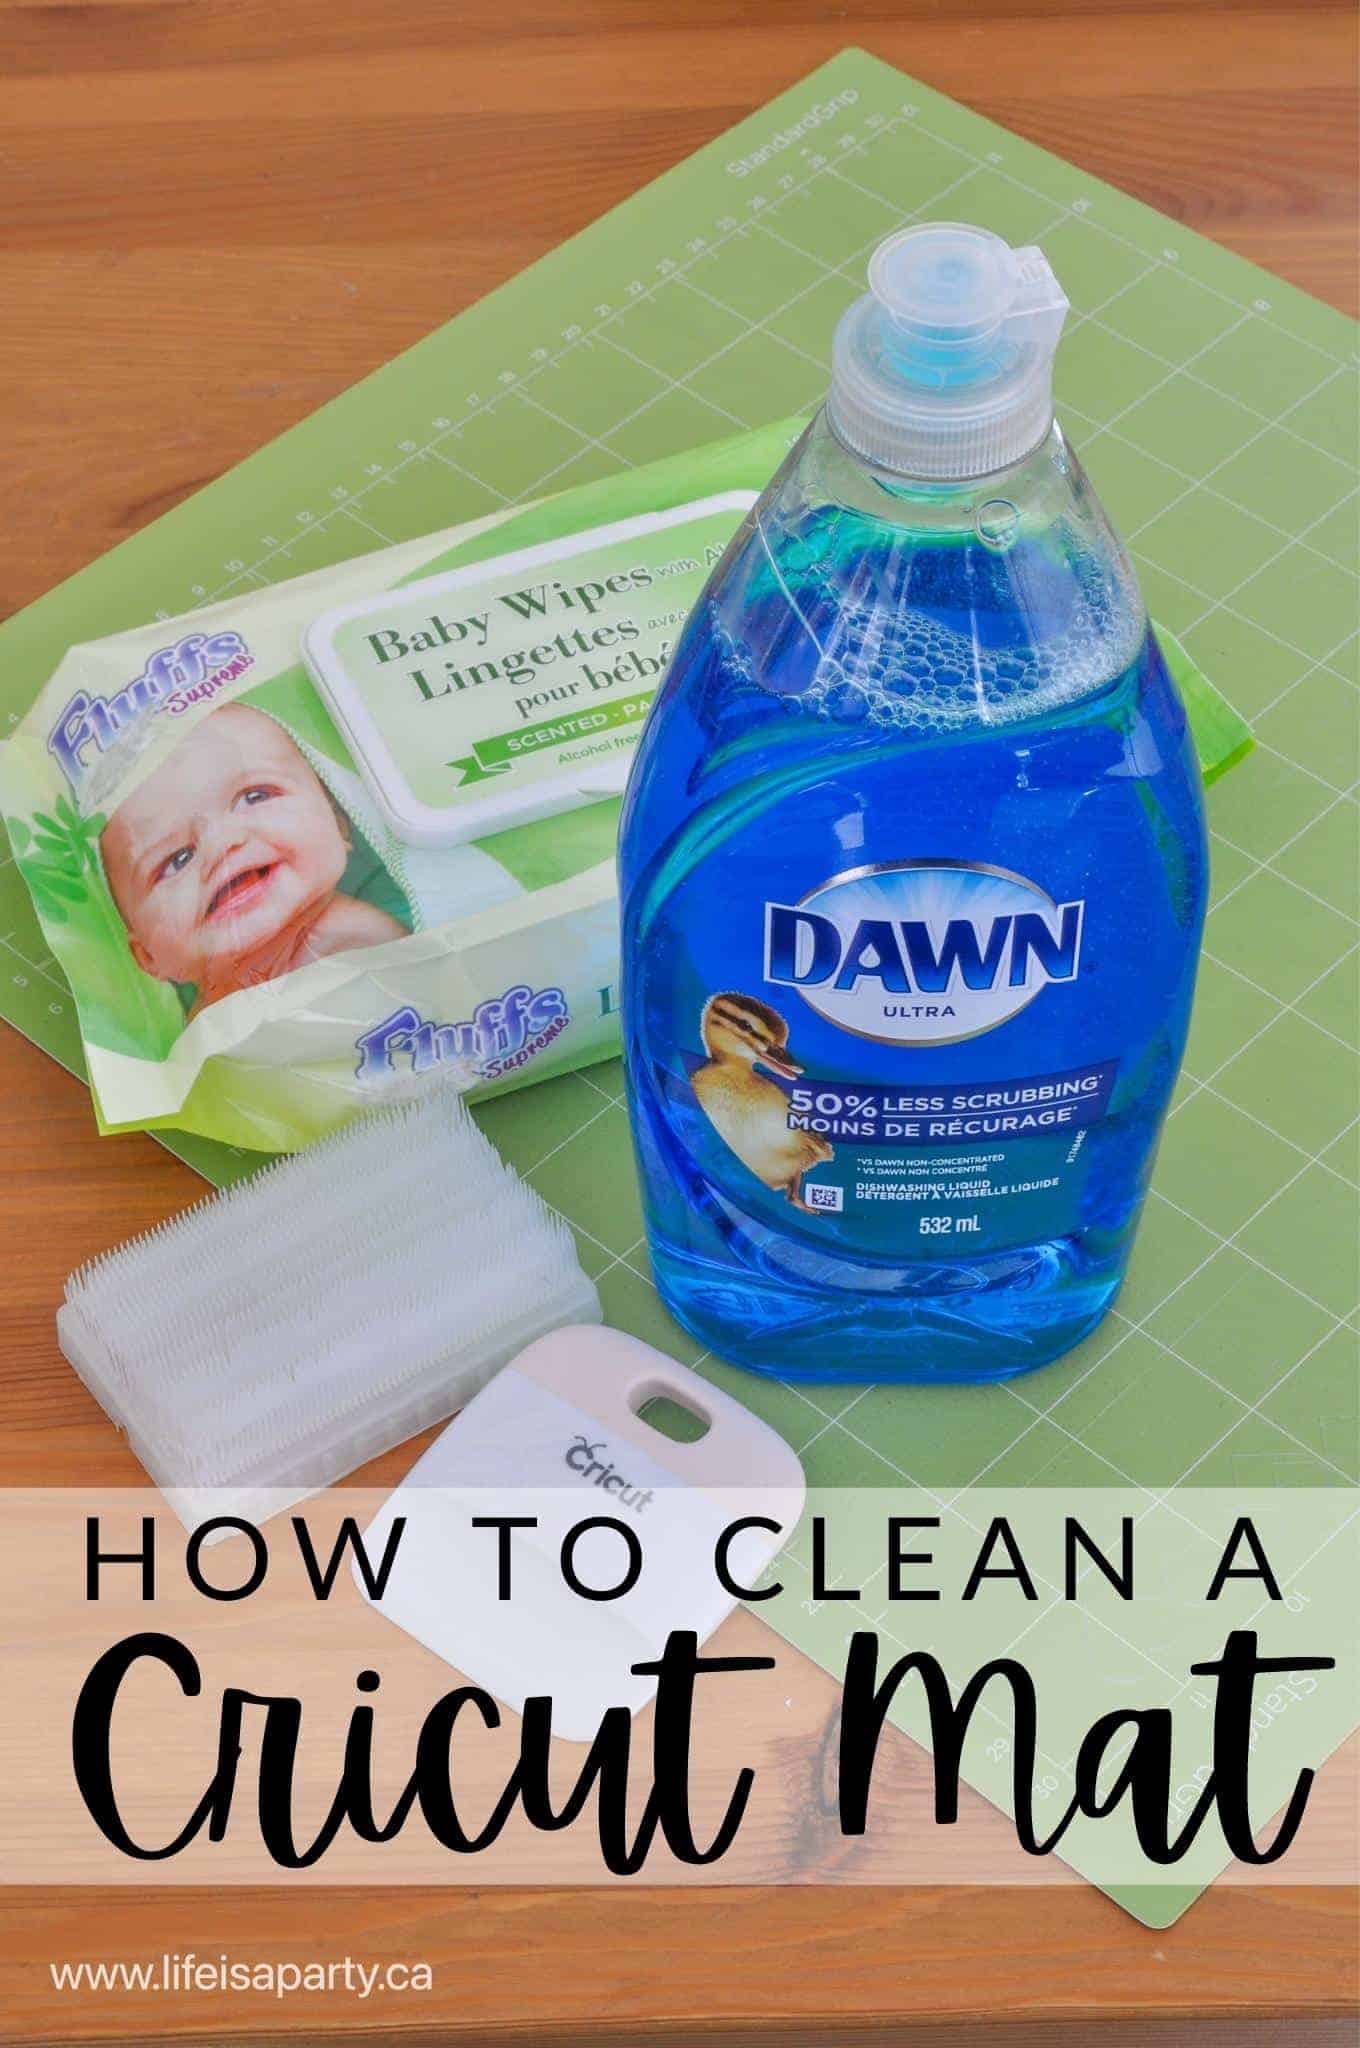
You might also like our post on How To Clean A Cricut Mat here.
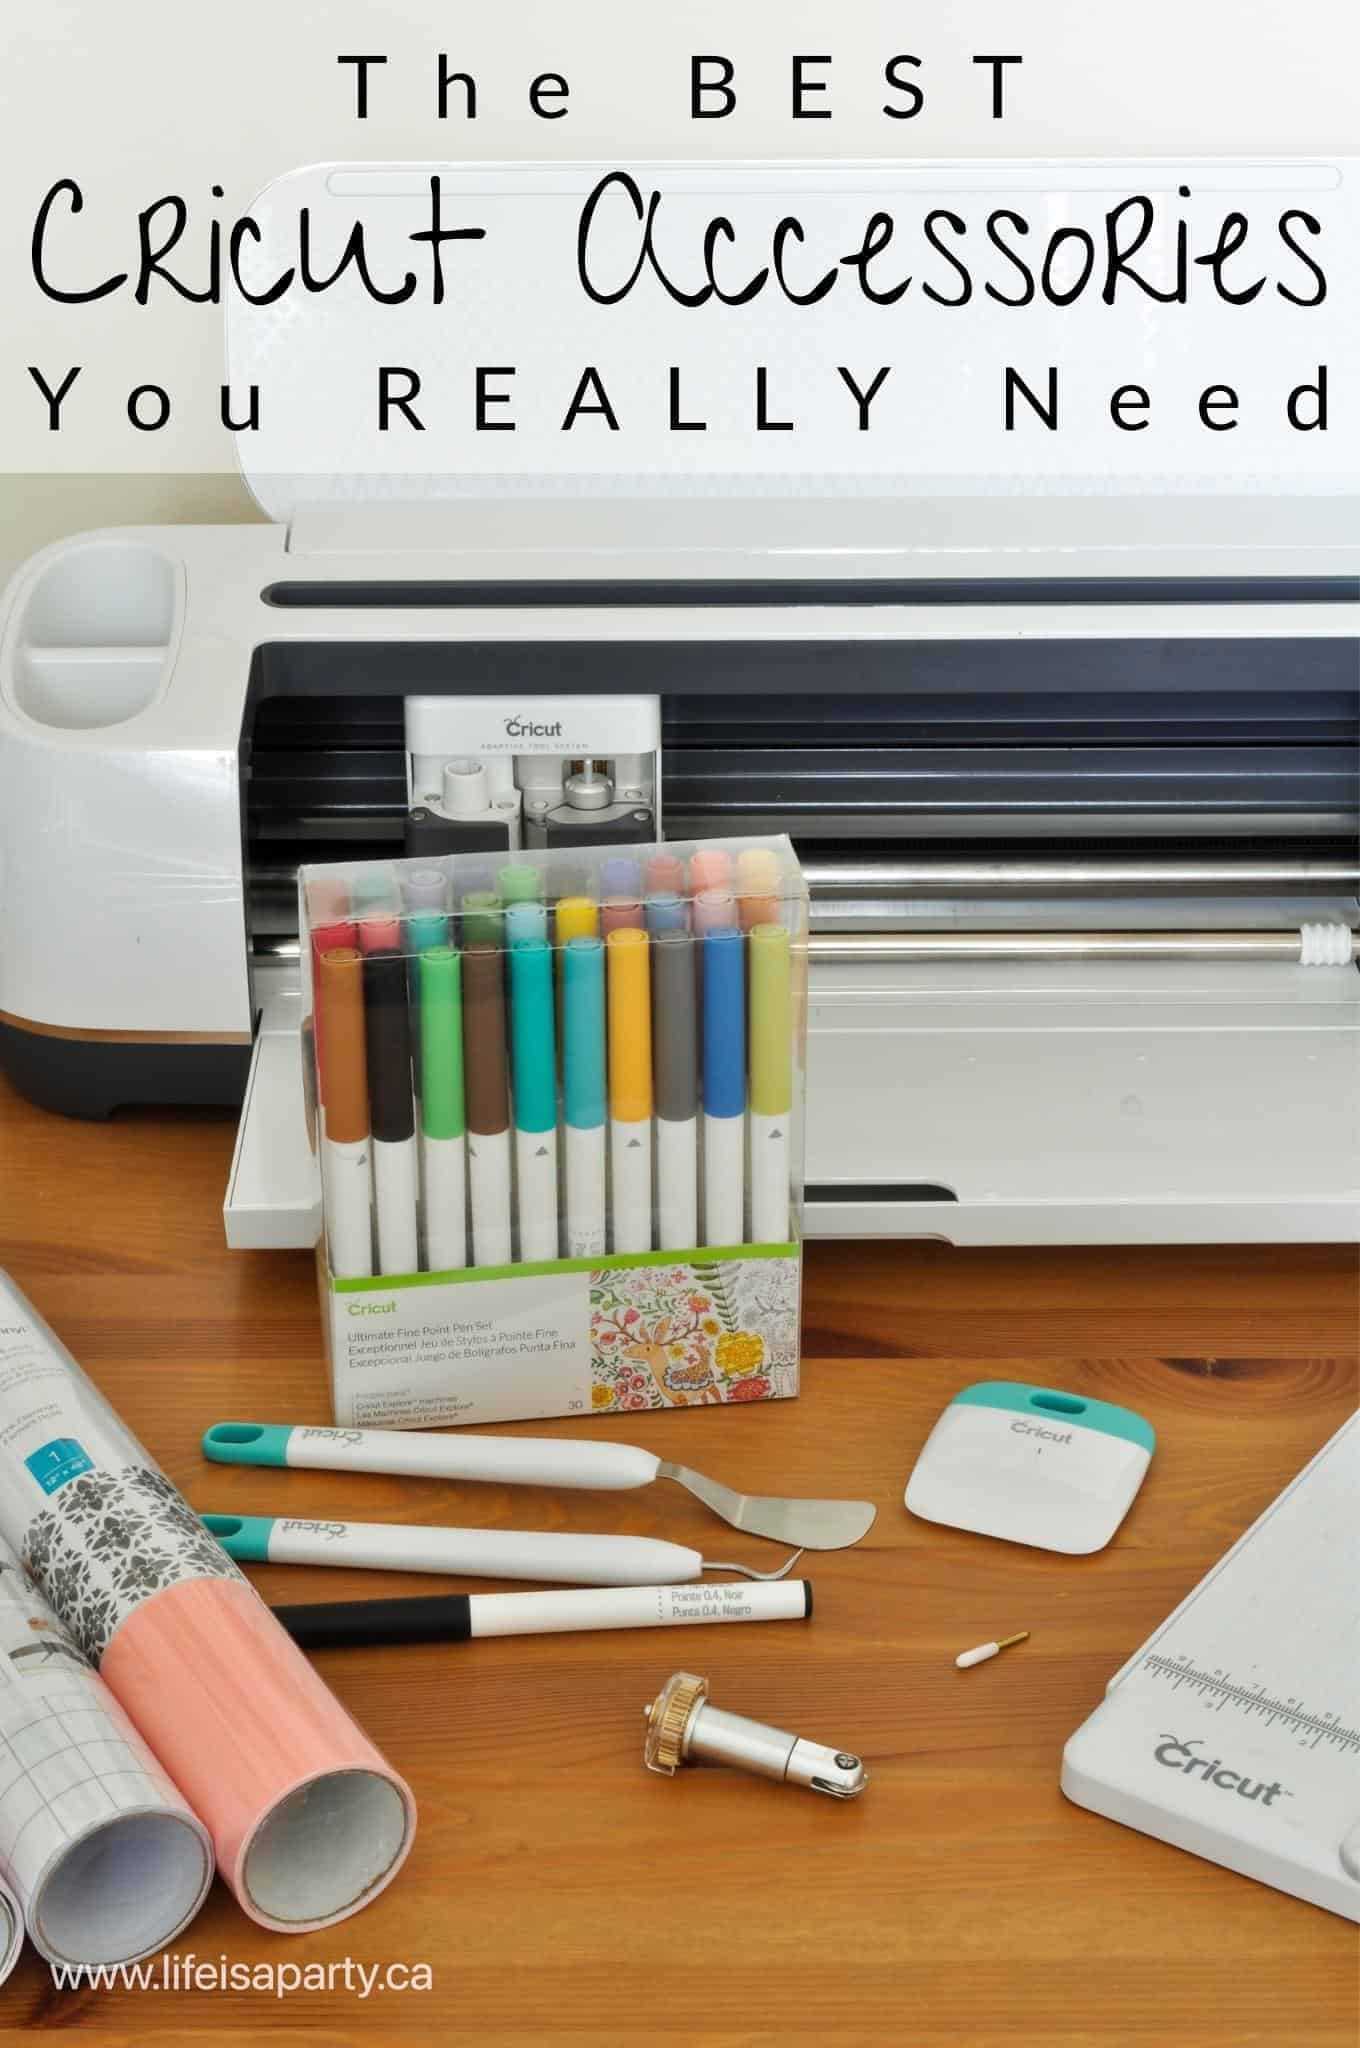
Also check out our post on The Best Cricut Accessories You REALLY Need here.
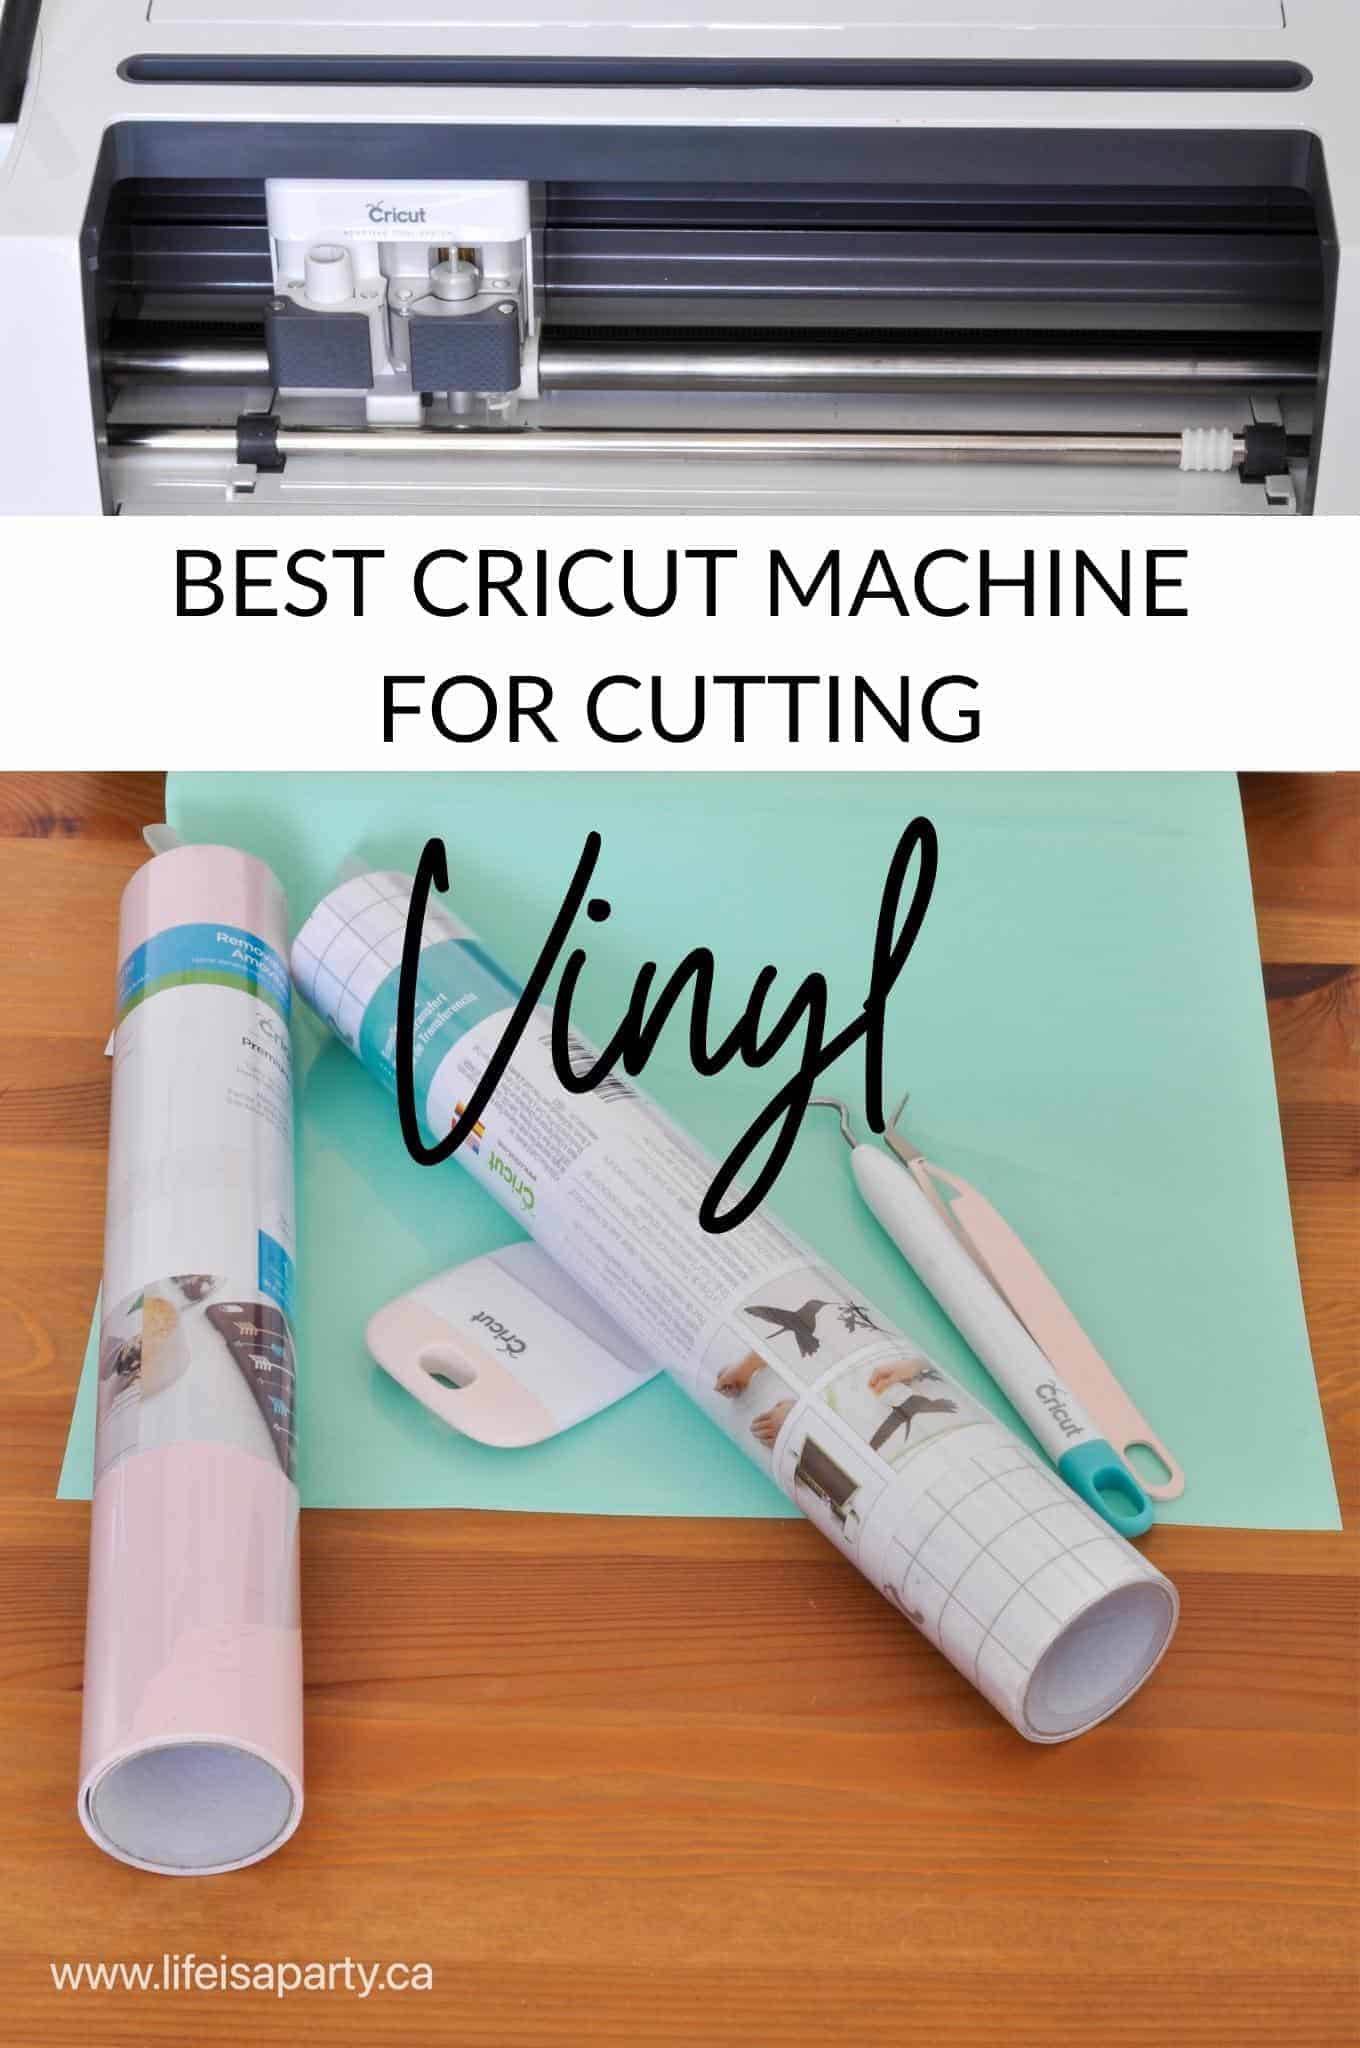
You might also like our post on The Best Cricut Machine For Cutting Vinyl here.


daman gem says
This guide is super helpful! I’ve always wanted to learn how to cut vinyl with my Cricut, but it felt so overwhelming. The step-by-step instructions made it feel manageable, and I can’t wait to start my first project. Thanks for sharing your tips!
bdg lottery says
Thank you for this step-by-step guide! I’ve been hesitant to start cutting vinyl with my Cricut, but your instructions are so clear and easy to follow. Can’t wait to try my first project!
BBGO Game says
Thank you for this detailed guide! I found the step-by-step instructions really easy to follow, and the tips for settings on the Cricut were especially helpful. Can't wait to try cutting some vinyl for my next project!
Rejekibet says
This guide is so helpful! I’ve been wanting to try cutting vinyl with my Cricut, but I was feeling a bit overwhelmed. Your step-by-step instructions make it really easy to understand. Can’t wait to give it a go and start my first project! Thank you!
MUSIC DOWNLOADER says
This guide is super helpful! I just got my Cricut and was feeling overwhelmed, but your step-by-step instructions made it so easy to follow. Can't wait to start making some fun vinyl projects! Thank you for sharing!