How To Use Cricut Transfer Tape: step by step guide on how to use Cricut transfer tape with vinyl projects.

Jump to:
- What Is Transfer Tape?
- When Do You Use Transfer Tape
- How Does Transfer Tape Work?
- How To Use Cricut Transfer Tape For Your Project
- Vinyl Transfer Tape Tips
- Troubleshooting Transfer Tape
- When To Use Strong Grip Transfer Tape
- Which Transfer Tape Is The Best?
- What Can I Use Instead Of Transfer Tape?
- More Cricut Posts
Years ago, when I first started using my Cricut machine, I didn't think that transfer tape was really that necessary. It didn't take me long with trying to add vinyl with intricate designs to projects and messing up the spacing, or putting things on crooked to learn that transfer tape is pretty much essential for vinyl projects. Using transfer tape for your projects is the best way to transfer vinyl and a real game changer. This step by step guide will show you exactly how to use Cricut transfer tape.
What Is Transfer Tape?
Transfer tape, sometimes called transfer paper, is essentially a carrier for your cut adhesive vinyl decals to your actual project -like a mug, or sign, water bottle or phone case, just to name a few possibilities. Without transfer tape it's hard to move the delicate cut vinyl pieces from their backer to the actually project without damaging them or placing them without the right spacing or at a wrong angle.
Transfer tape ensures that you can transfer the cut vinyl in exactly the same placement as it appears on the vinyl backer.
When Do You Use Transfer Tape
Transfer tape is generally only used for vinyl Cricut projects. After cutting a vinyl pattern on your Cricut machine, it will be on a backer piece. The goal of transfer tape is to "transfer" the cut design from the backer to the final project surface without damaging it, or ruining the spacing or layout of a piece. It is a great help when working with vinyl.
Whenever you have a cut out piece of vinyl to go onto a project's surface, you will need to use transfer tape for the best results. Transfer tape is especially helpful when working with larger projects.
How Does Transfer Tape Work?
Once you have a vinyl piece cut out and weeded you will place the clear transfer tape directly over the top and remove the vinyl backing paper. You can then move and position the vinyl to your exact desired location, and move it easily from transfer tape to its final resting place.
How To Use Cricut Transfer Tape For Your Project
Check out my YouTube video below that walks you through the whole process of how to use Cricut transfer tape, step by step.

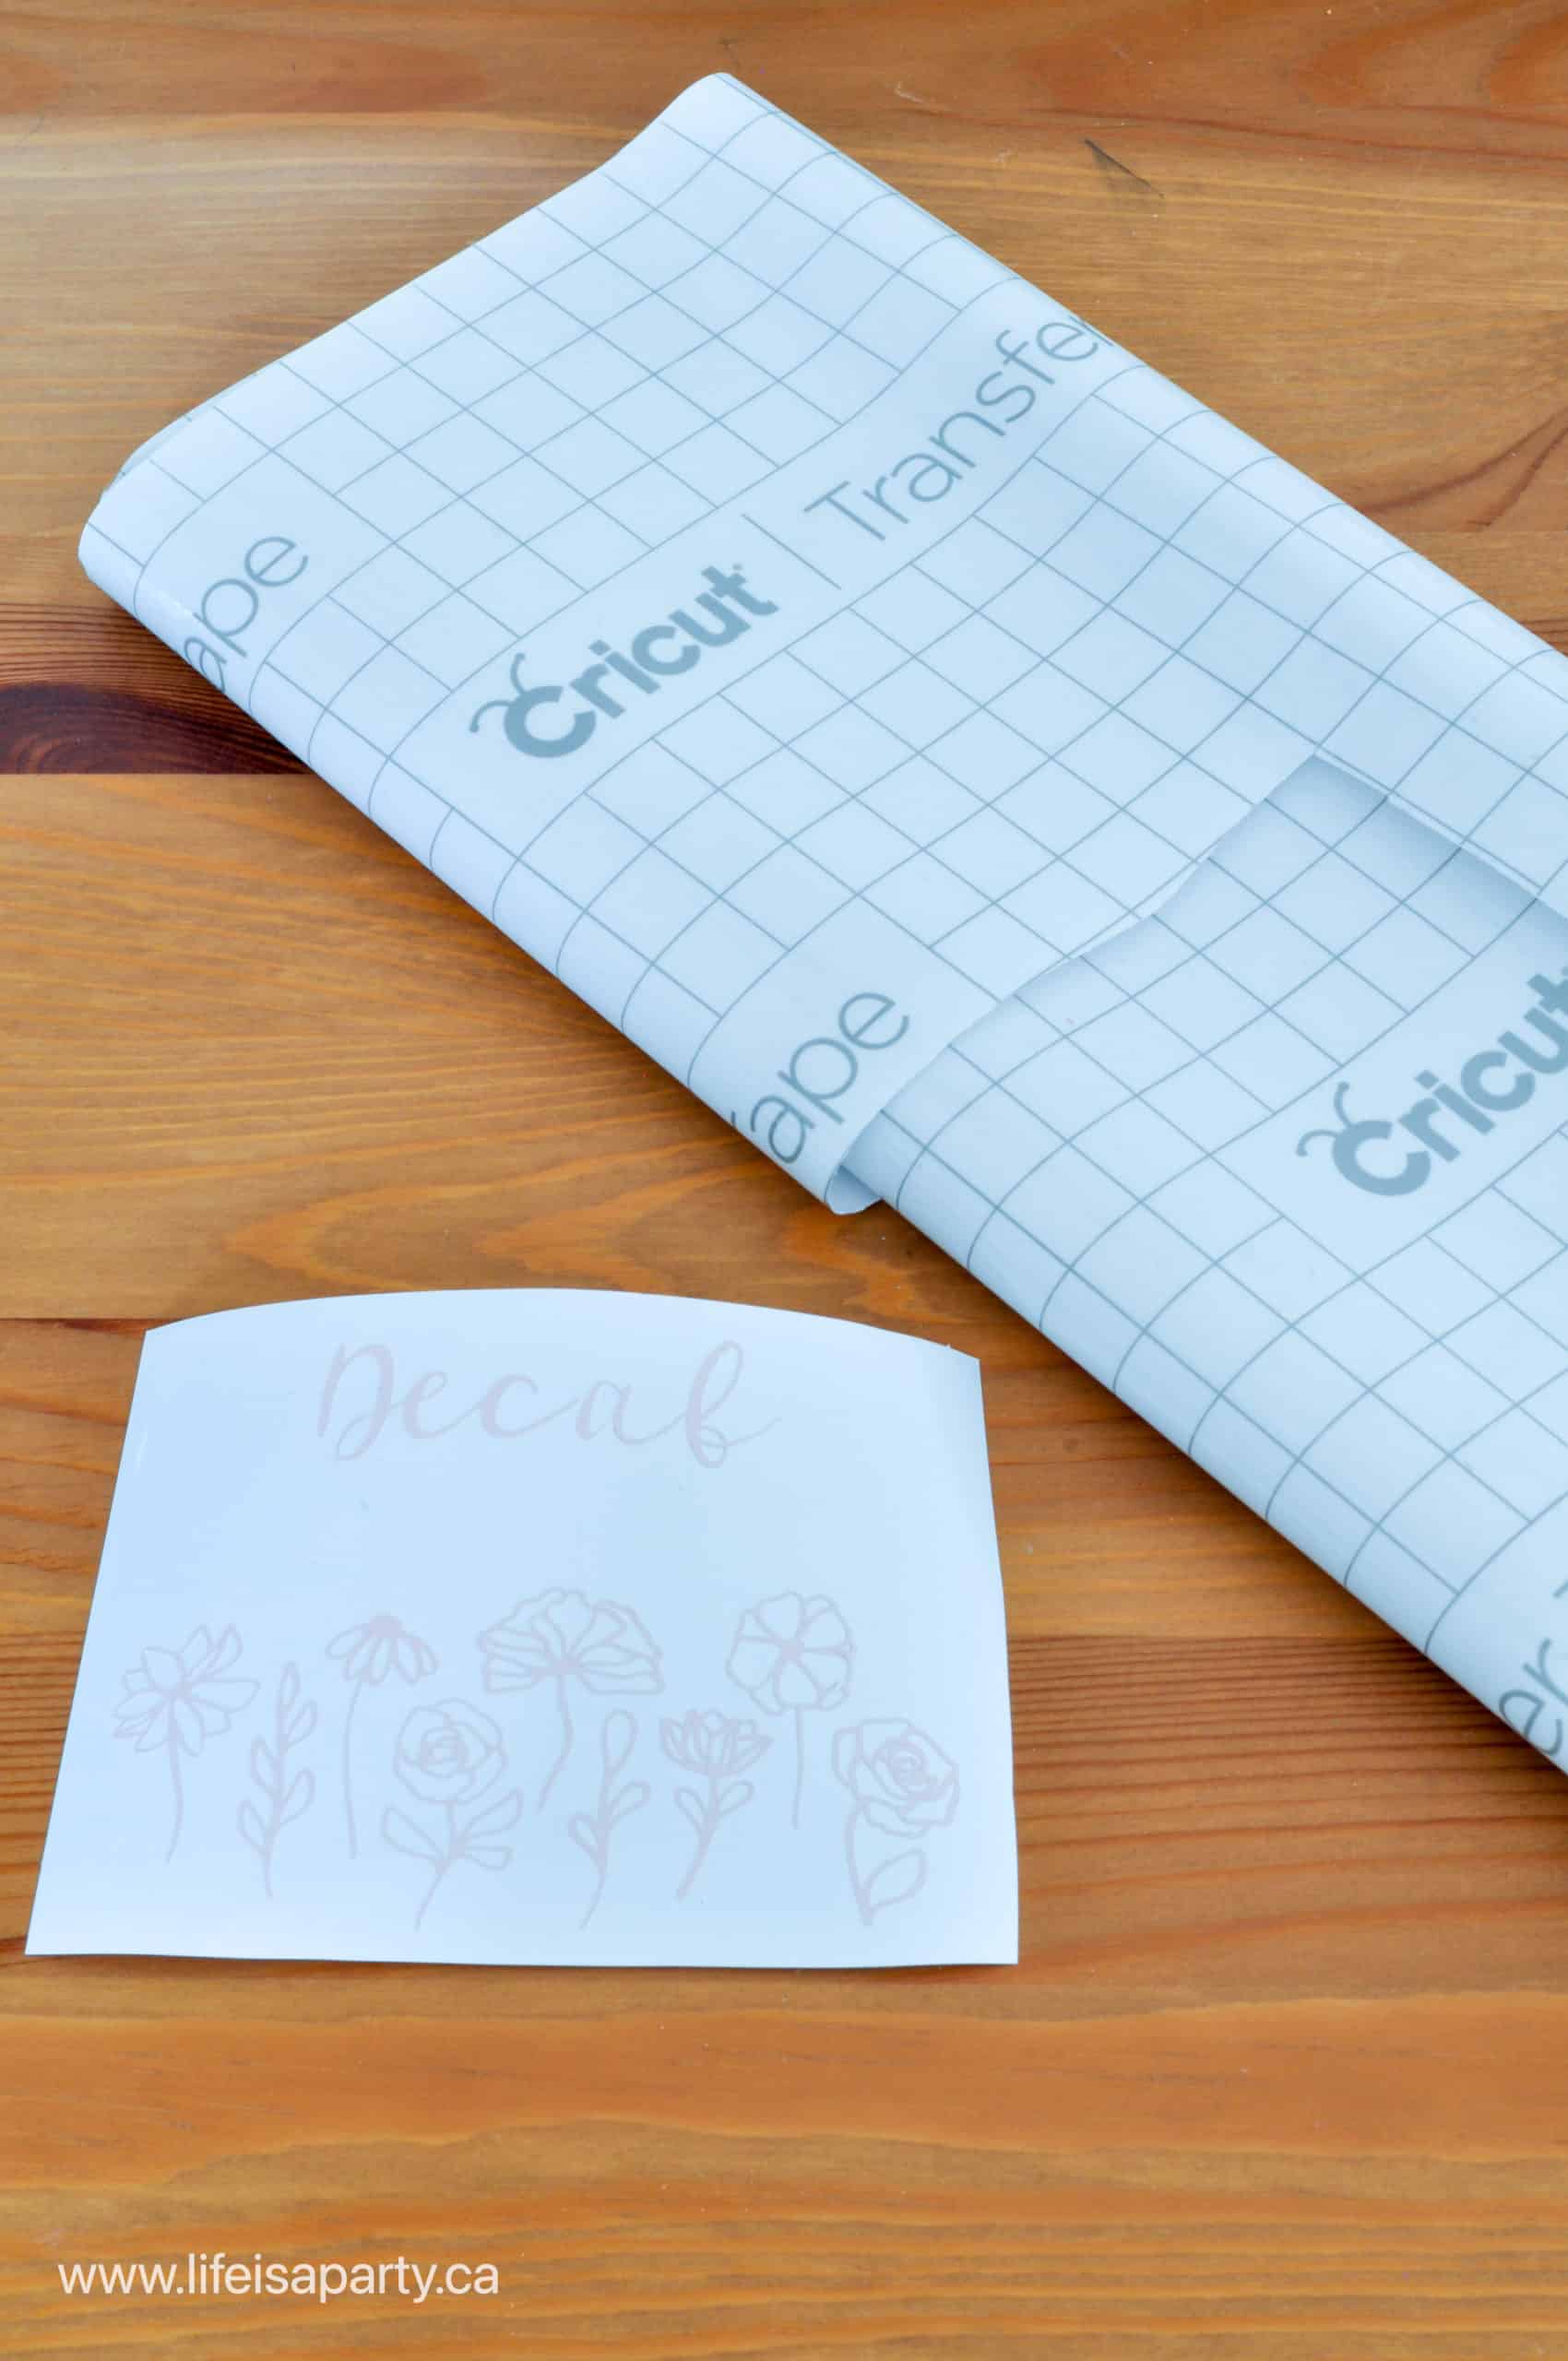
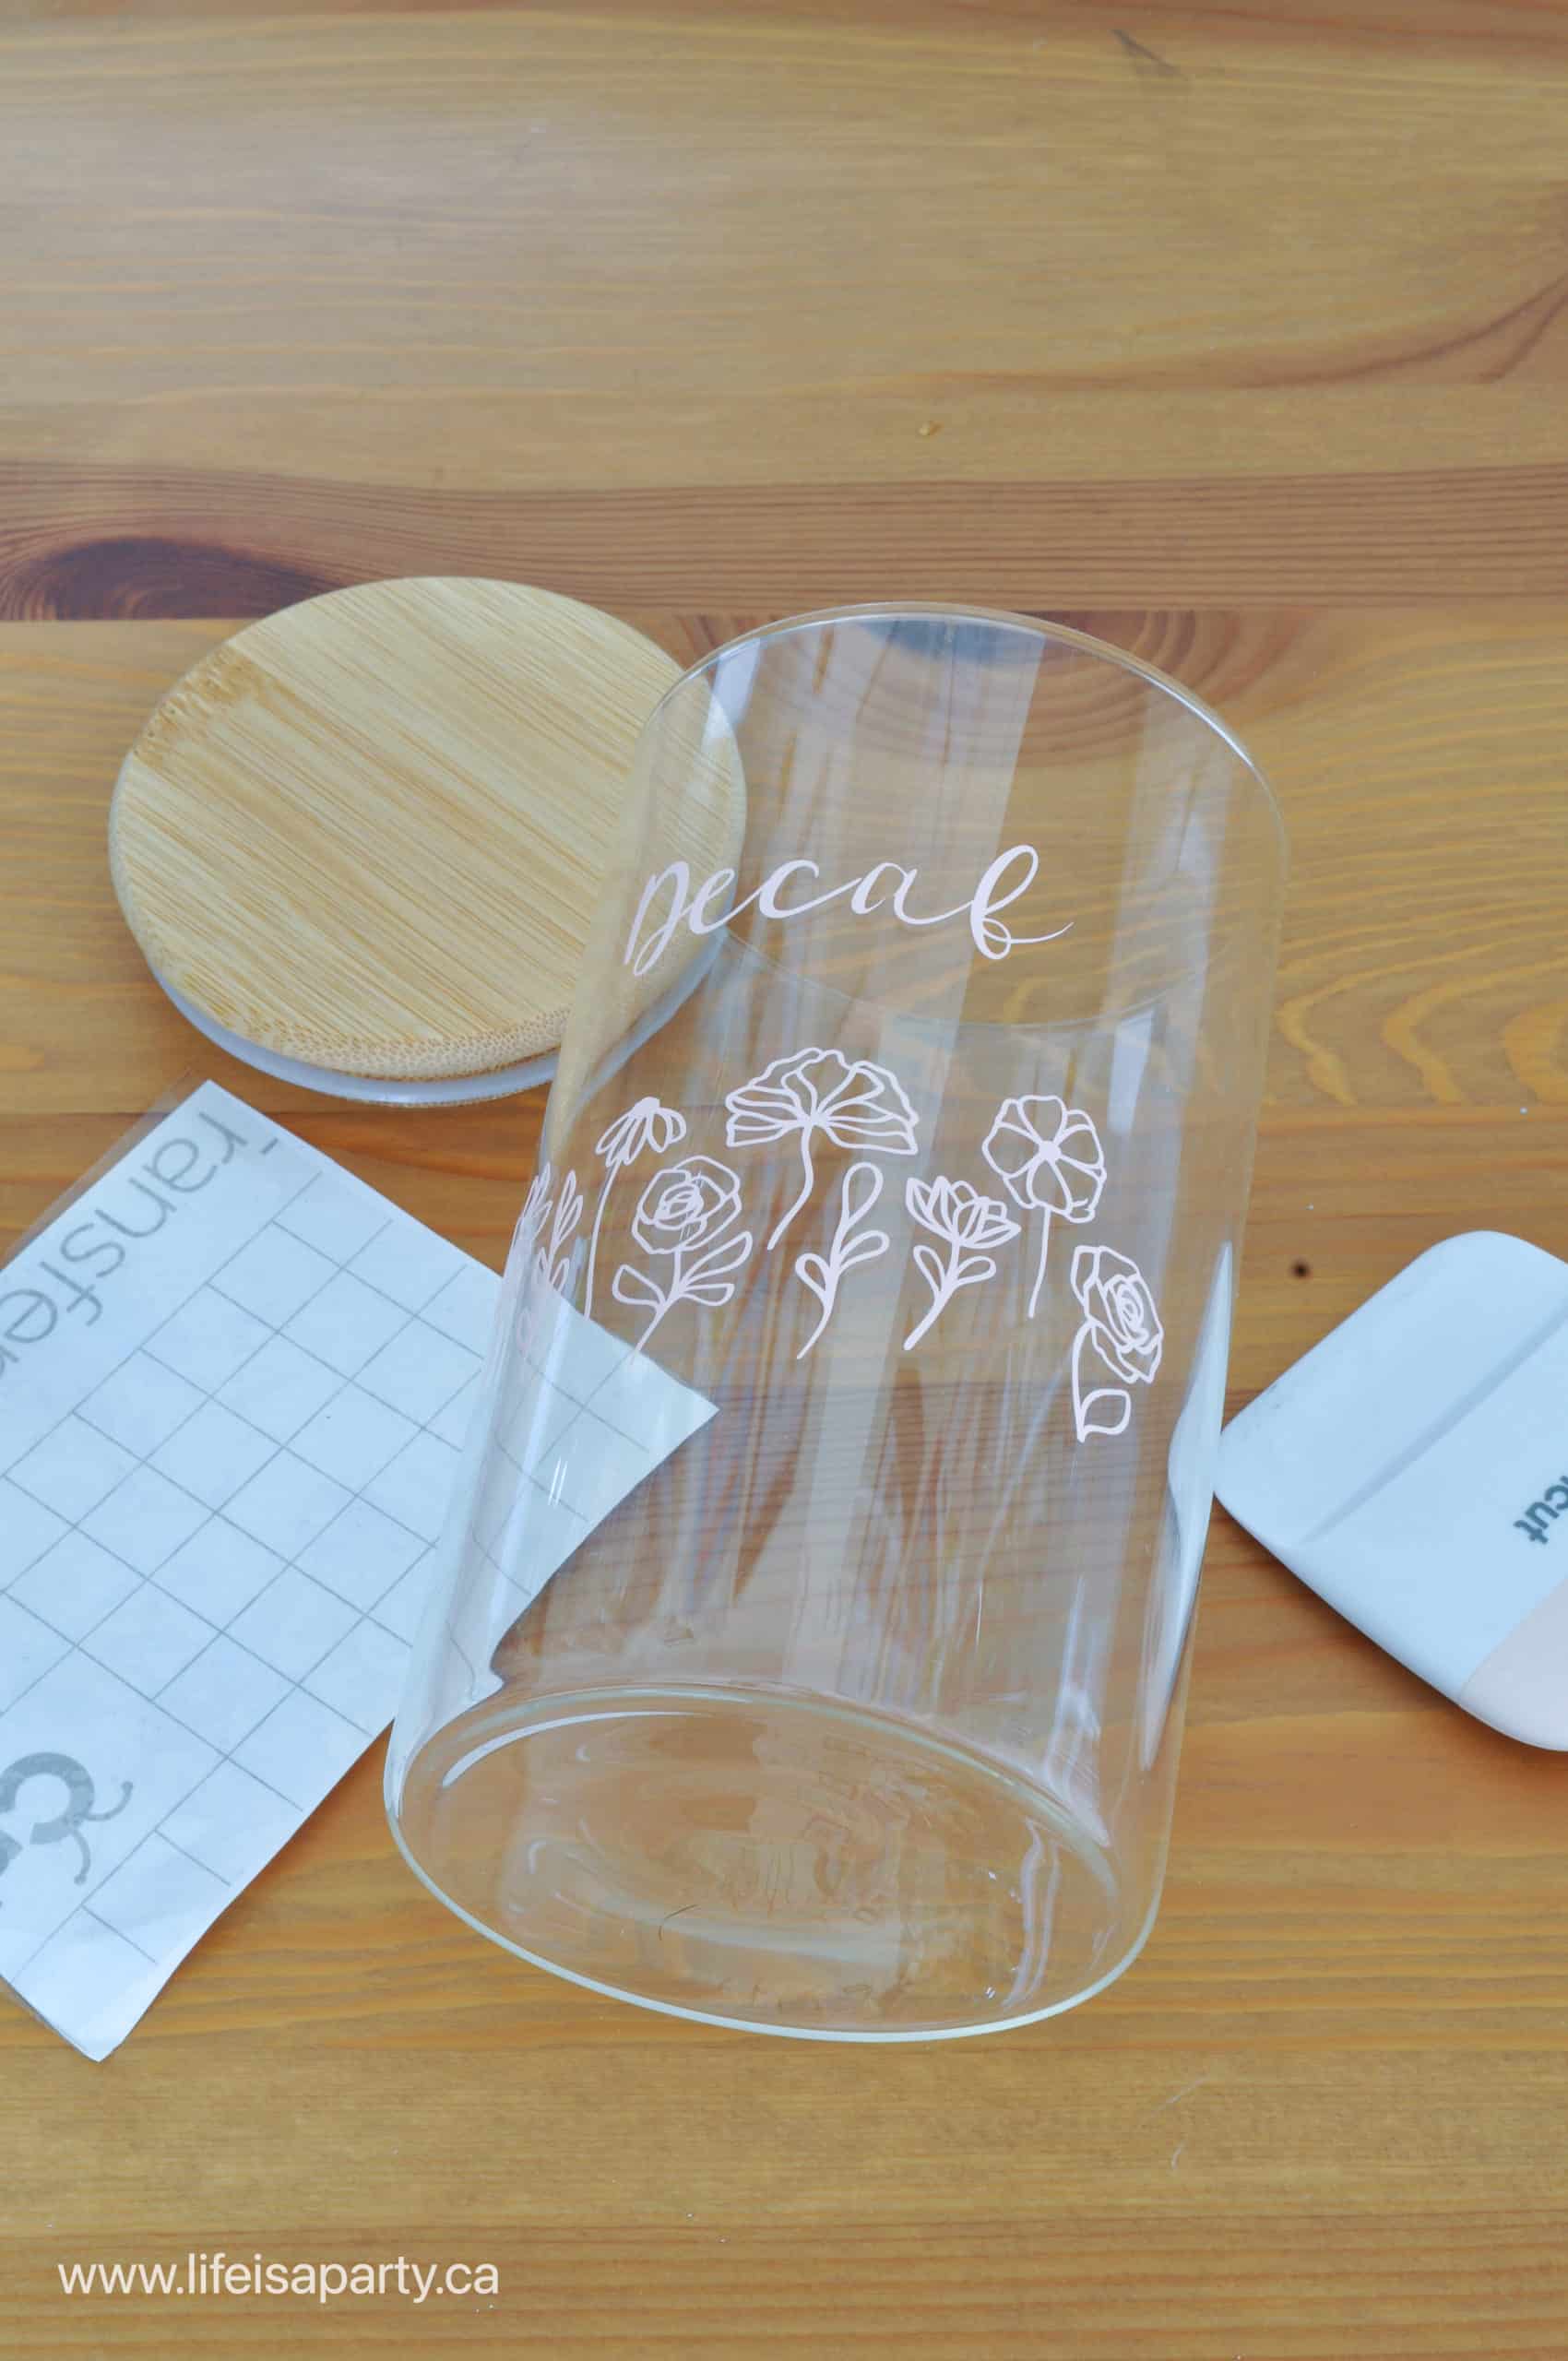
The first thing to do is to cut out your vinyl on your Cricut machine with a kiss cut, and remove it from the cutting mat. Next, you will need to weed the excess vinyl with the weeding tool, so that you are left with your vinyl design on its own carrier sheet.
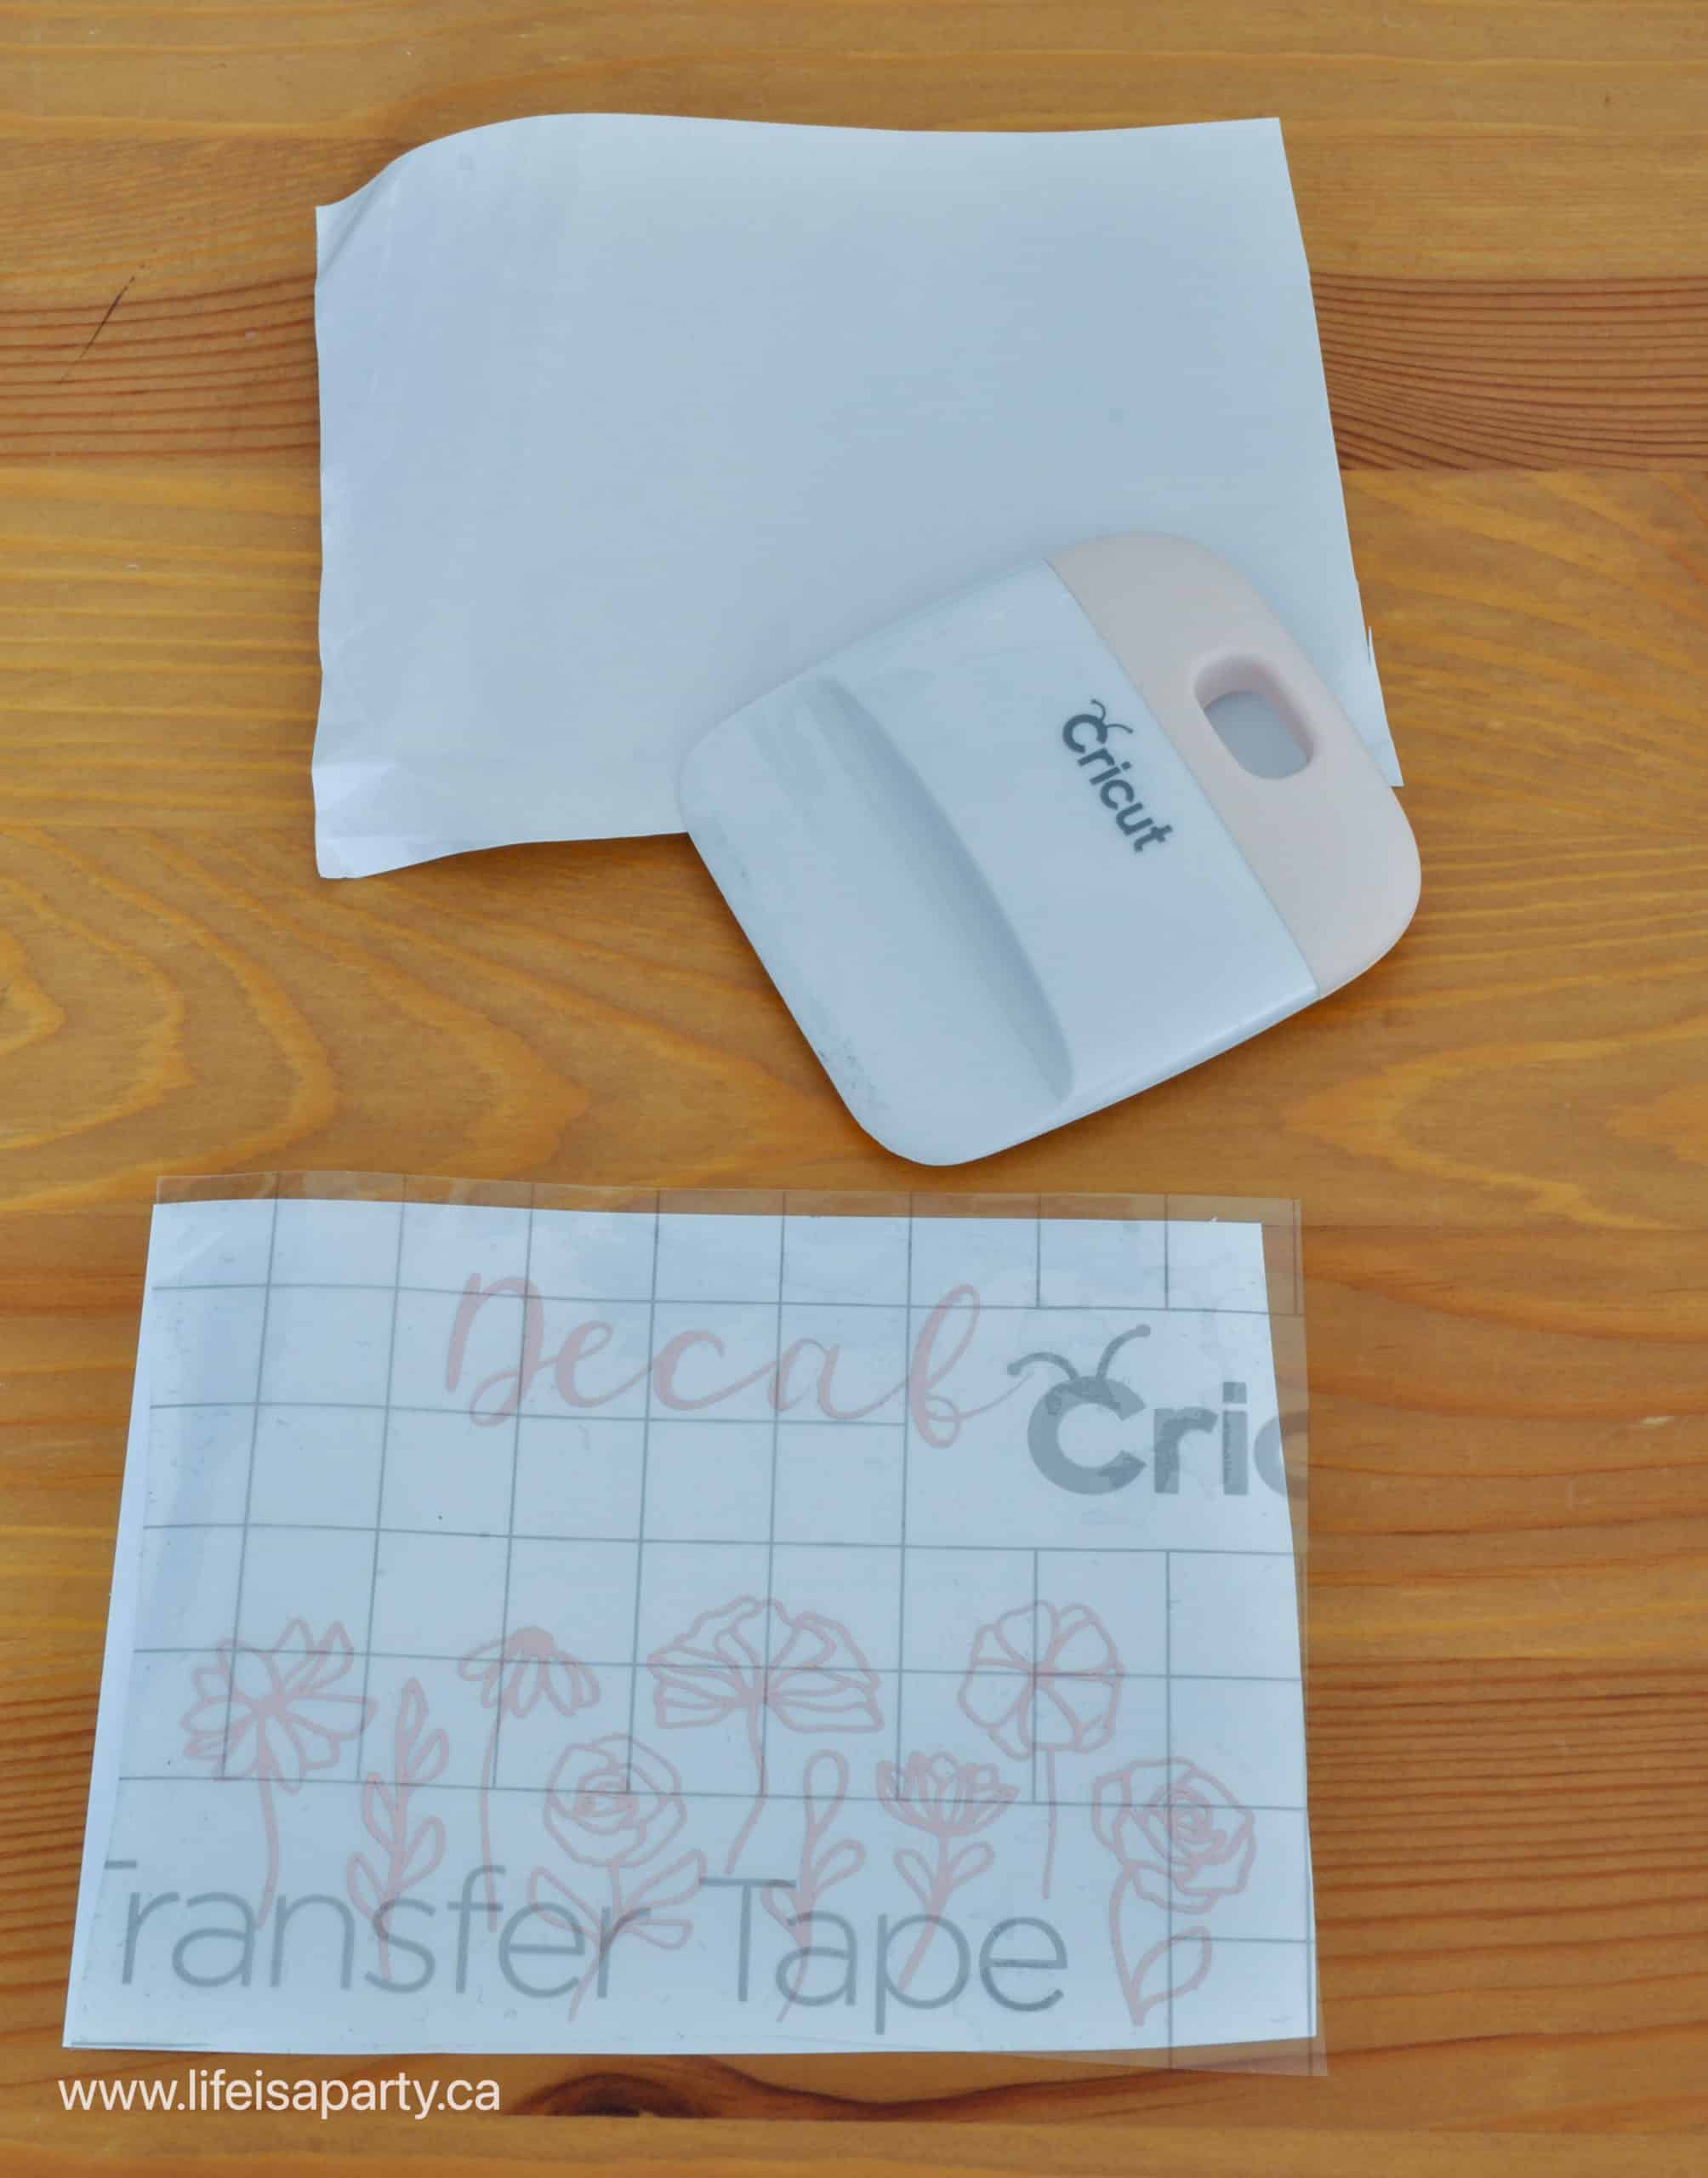
To use the transfer tape, cut a piece large enough to cover your entire design. Remove the transfer tapes paper backing, and use the grid pattern on the tape to help line things up over the whole design in a straight line, then apply the sticky side of the transfer tape to the top of the vinyl design.
Next use the scraper tool to barnish the vinyl on to the piece of transfer tape.
Now, slowly remove the vinyl from it's backing sheet at a 45-degree angle. If the vinyl isn't sticking to the tape, go back and burnish it with the scraper tool some more.
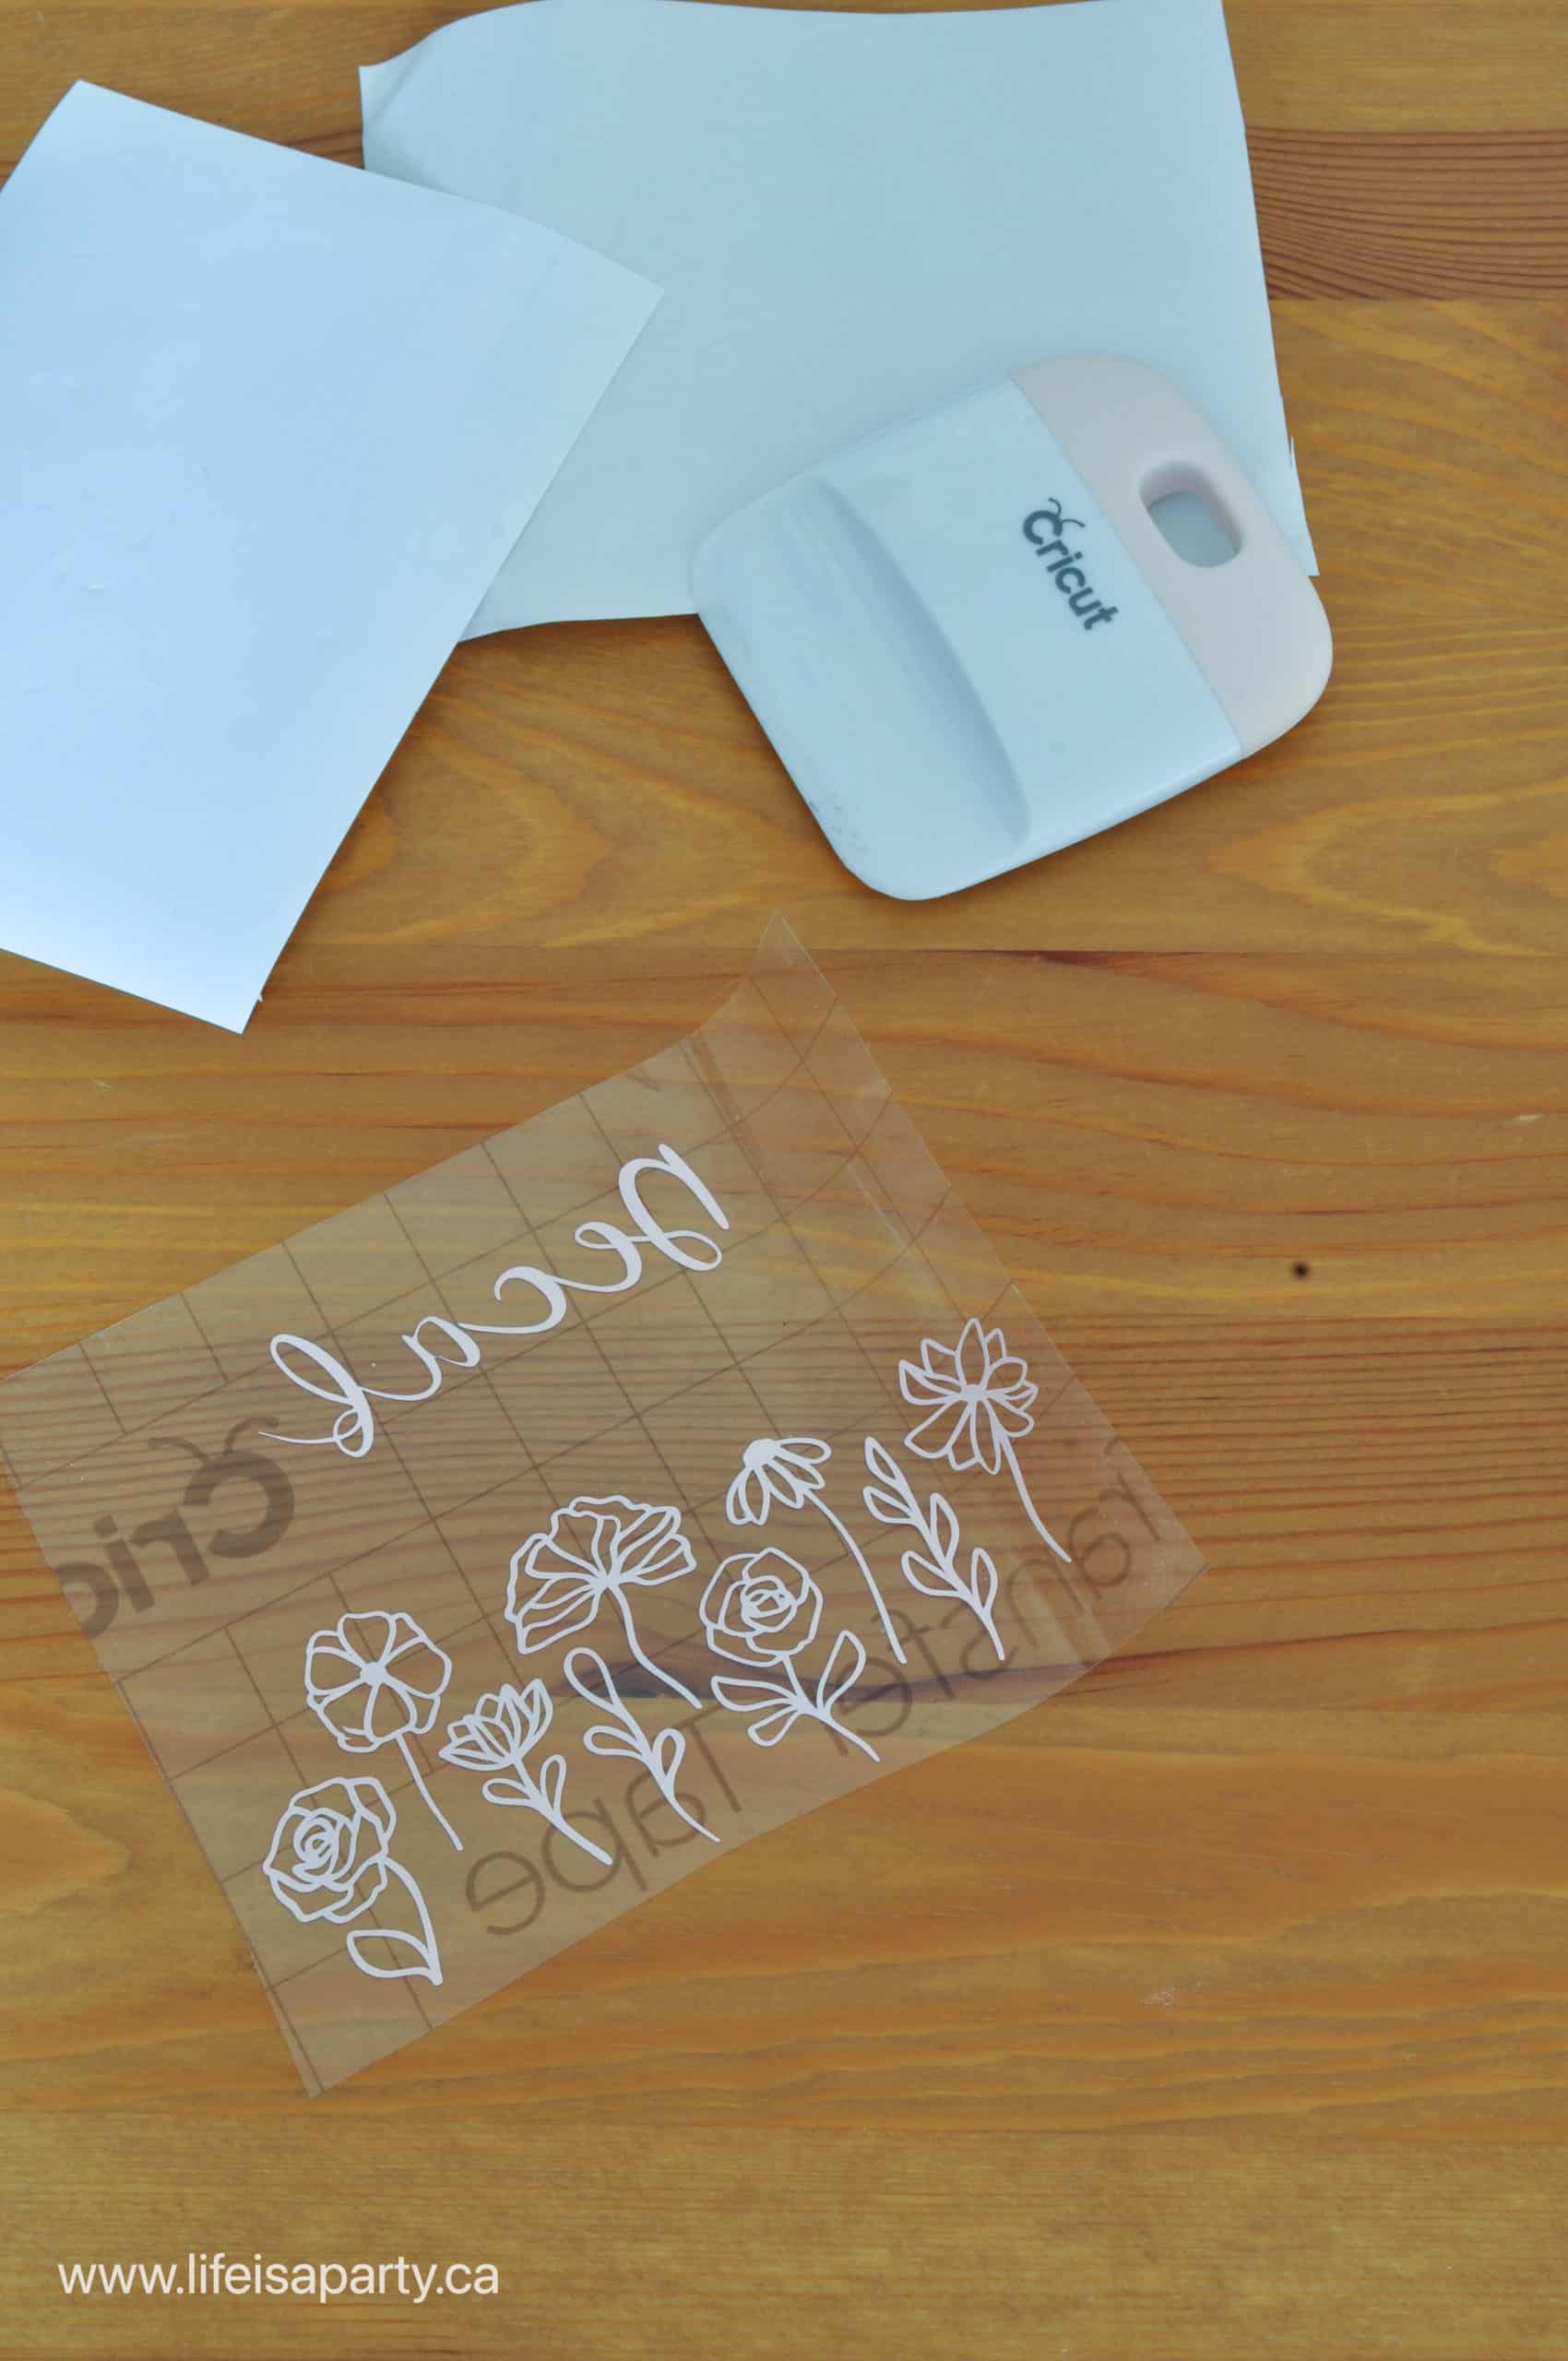
Now carry the design on the transfer tape to the surface of your project. Use the grid to help line up your placement. Then use the scraper application tool again to burnish the craft vinyl onto the project surface.
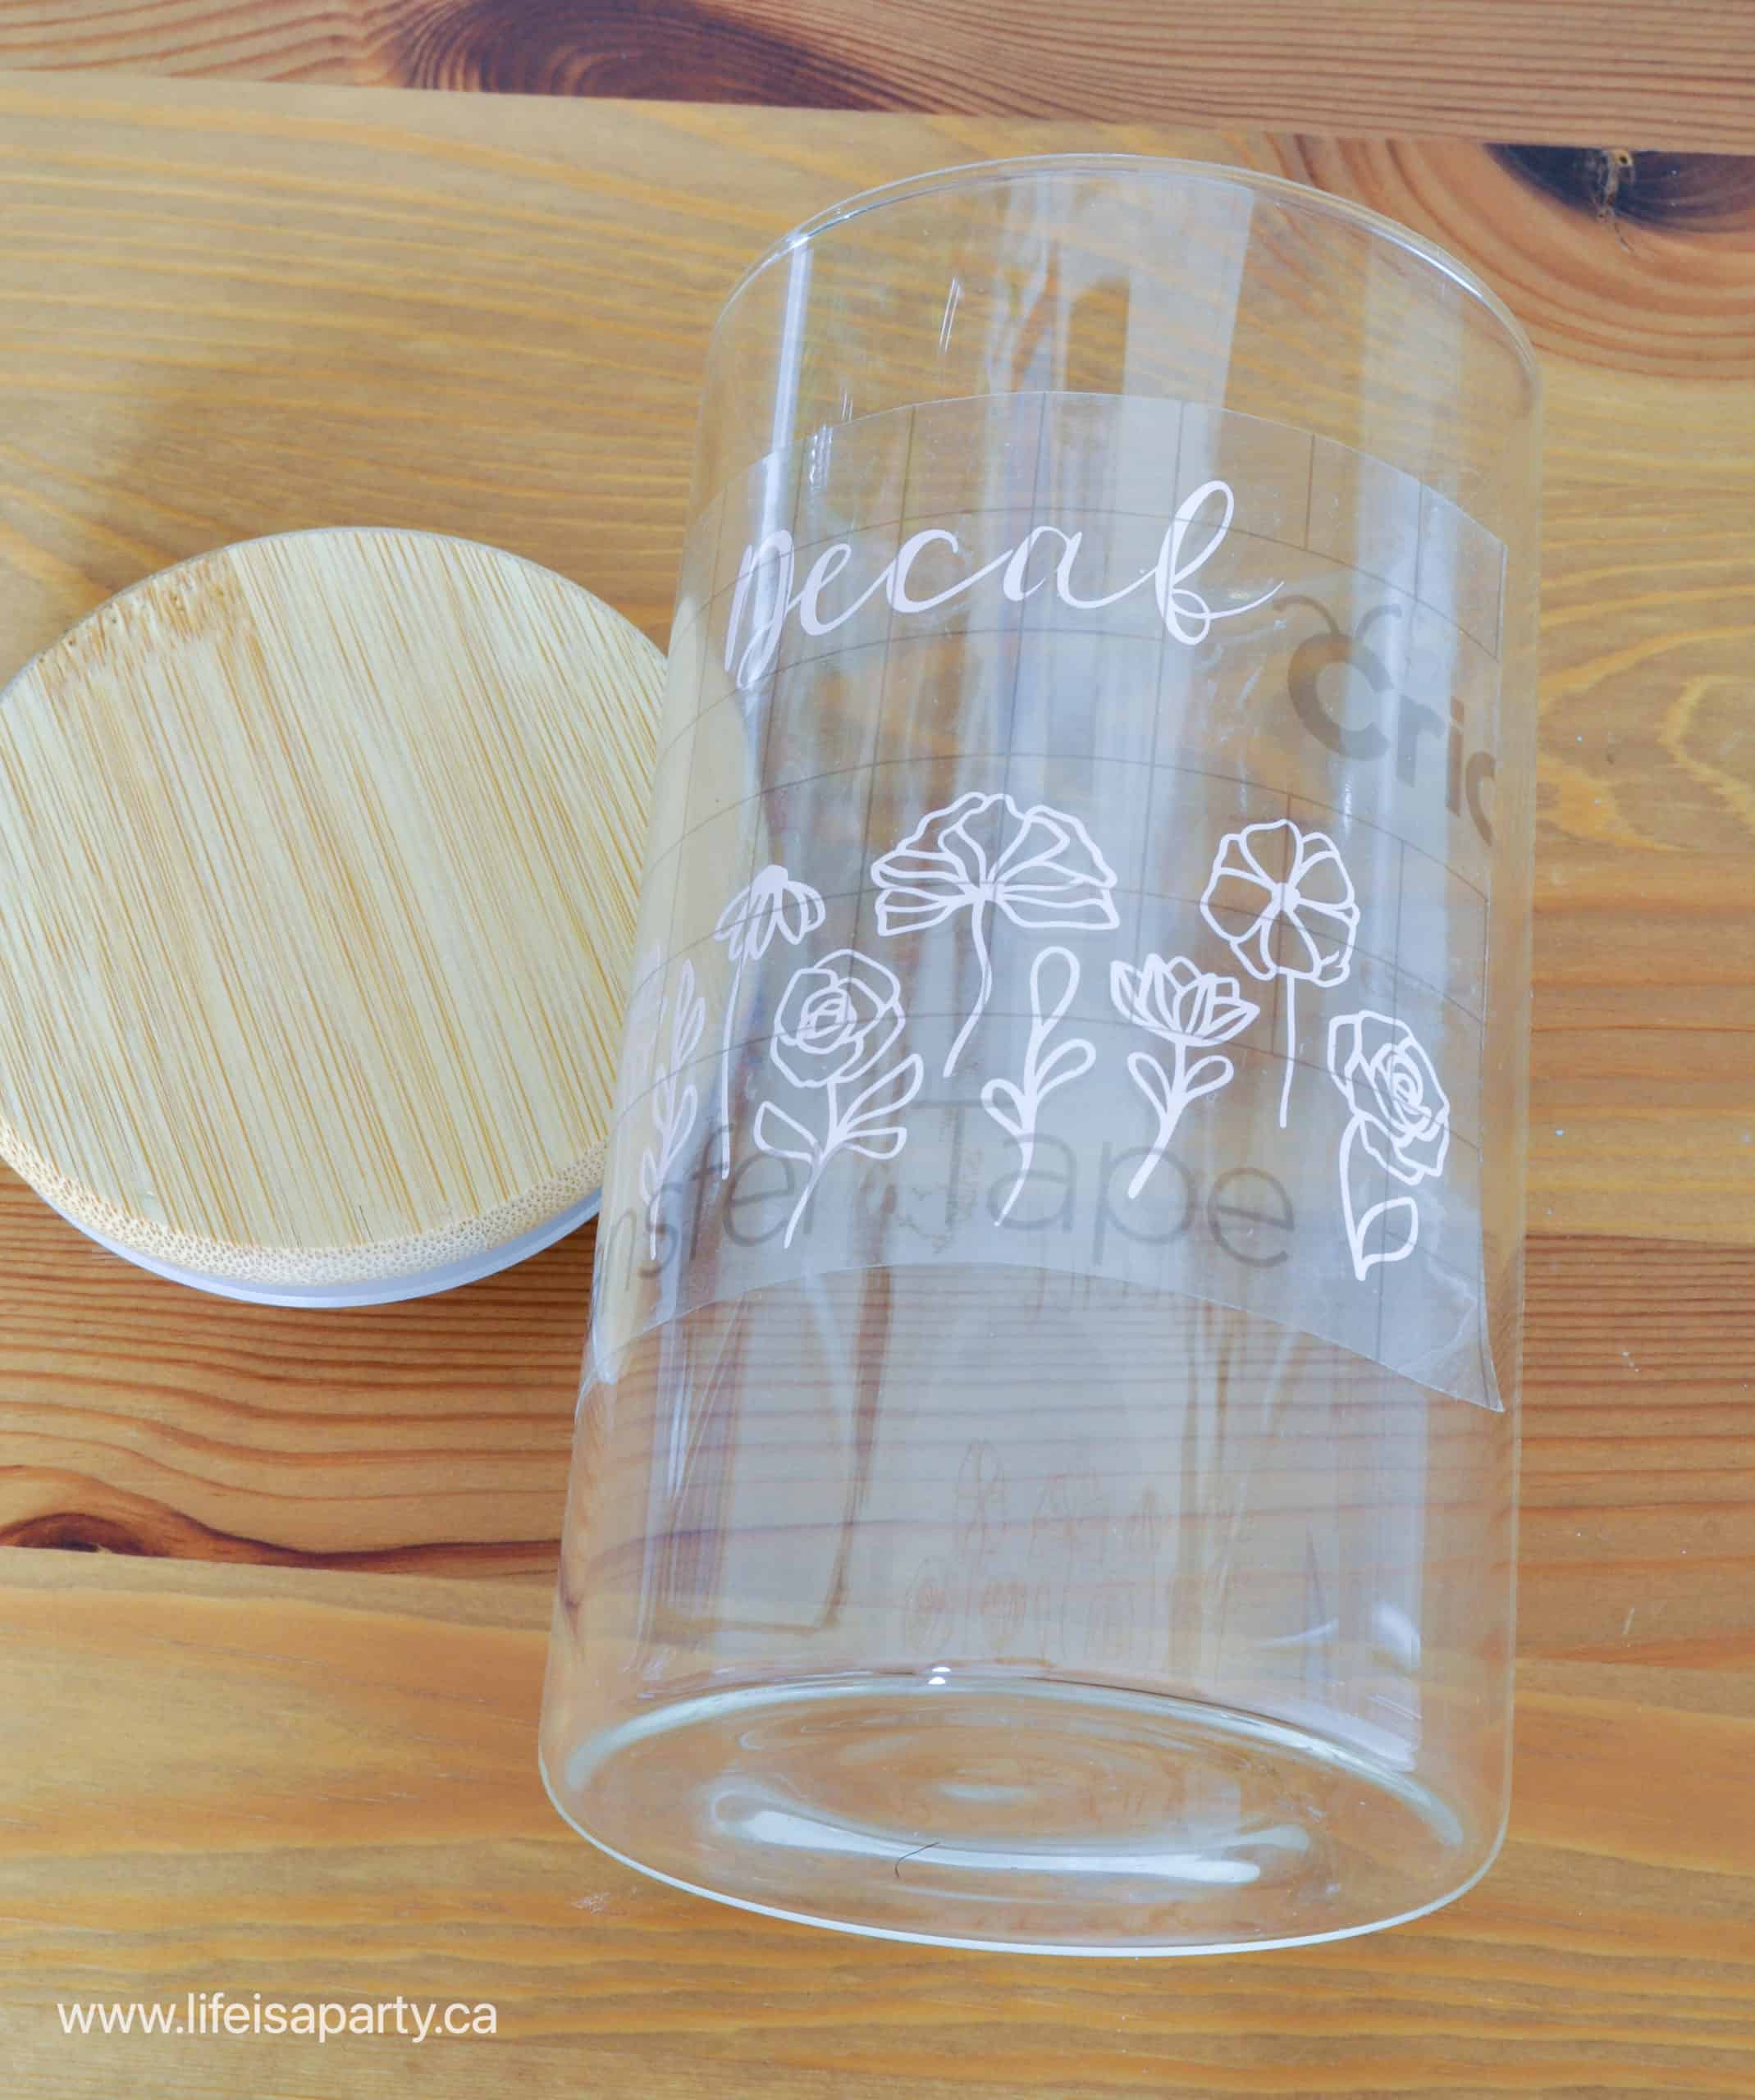
Lastly, slowly remove the transfer tape from the vinyl, leaving the vinyl cutouts in place on the finished project.
Vinyl Transfer Tape Tips
For A Curved Surface
Cut slits into the transfer tape if you're applying the design to curved surface. This will help to get things to lay smoothly and avoid air bubbles even if it's not a flat surface.
Troubleshooting Transfer Tape
Sometimes working with transfer tape is tricky. It can be challenging to get the vinyl to stick to the transfer tape, and also to get the tape off of the vinyl. You need the tape to be sticky enough to adhere to the vinyl, but not so sticky that it then won't allow you to remove it from the vinyl.
If you can't get the tape off of the vinyl project, remember to pull back at a 45 degree angle, work slowly, and do some extra burnishing if necessary especially on little pieces of the vinyl as you remove the tape.
If you don't have a Cricut scraping tool to use for burnishing, you can also use the edge of a credit card or gift card, or your finger nails.
You can also stick the transfer tape onto a clean towel or any cloth before using it to reduce the amount of tackiness of transfer tape.
Also you can reuse transfer tape several times, it will become less sticky the more times you use it.
If it isn't sticky enough to adhere to the vinyl, you may need to start with a new piece again.
Make sure the project area you are sticking your adhesive vinyl design to has a clean surface. You may clean the area first with an alcohol wipe, before transfering your vinyl.
When To Use Strong Grip Transfer Tape
There are different strengths of transfer tape, with different purposes. Regular grip is what you need for any regular vinyl. The standard grip works well for any regular vinyl project. The strong grip transfer tape is a high tack transfer tape. If you are working glitter vinyl the texture on it makes it difficult for regular transfer tape to adhere to it. For these projects the best choice to use is strong grip transfer tape because of its extra strong bond.. It's extra tack makes it perfect for working with this type of vinyl.
A word of caution though, strong grip transfer tape is too strong for normal vinyl projects. If you use strong grip on permanent or removable vinyl, you own't be able to get the vinyl off of the transfer tape and onto your project. I've learned this lesson the hard way, one day when I was out of regular transfer tape and thought I would use the strong grip. Be sure to only use strong grip for the materials it's recommended with.

Which Transfer Tape Is The Best?
There are many different types of transfer tapes available, from different brands. The best idea is to experiment with the different types and see which one you like working with best. I find that the Cricut transfer tape is the best transfer tape. I like that is is clear, and has the grid lines, making it easier to line up on final projects. Other people like other projects, so be sure to try a few out.
What Can I Use Instead Of Transfer Tape?
Sometimes you may run out of transfer tape, or find it too sticky for your project. There are a few other options that some people like to use. You can use painter's tape instead of transfer tape. Just overlap pieces to make it large enough to cover the design. Some people also like to use contact paper. You can also use Press and Seal Saran Wrap as a transfer tape alternative. Some people like to use the Press and Seal in a situation where they're transferring vinyl to a surface like poster board, where the transfer tape might be too sticky and mark the surface of the poster board.
I hope this step by step on how to use Cricut transfer tape has been helpful. It is a really important step when working with vinyl. It can be a little tricky the first time or two you're using it, but after that it should be a pretty easy step.
More Cricut Posts
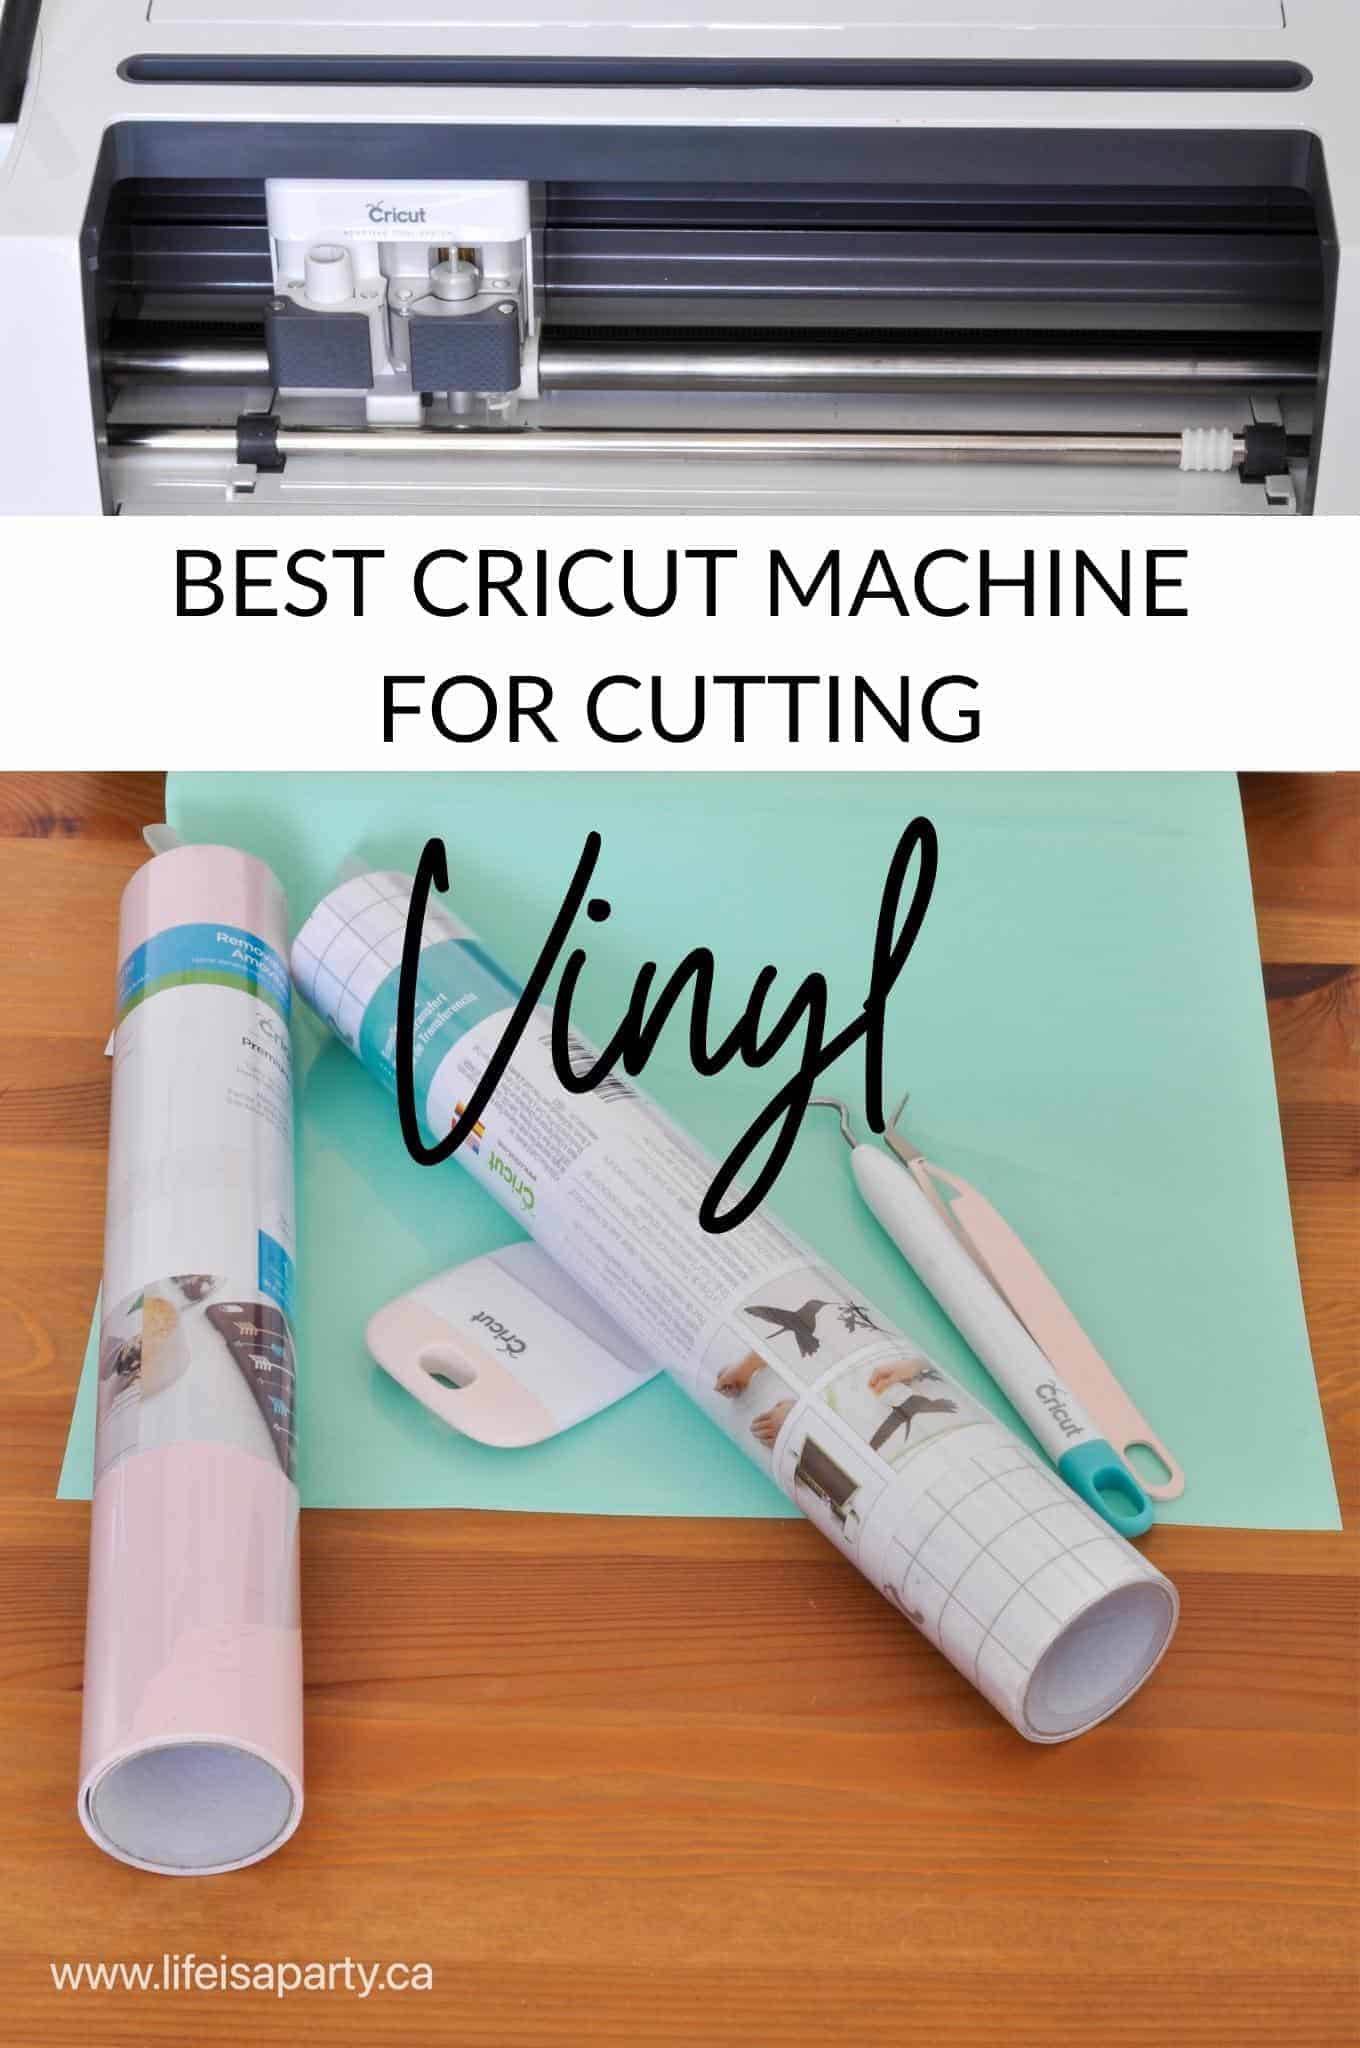
You might also like our post on the Best Cricut Machine For Cutting Vinyl here.
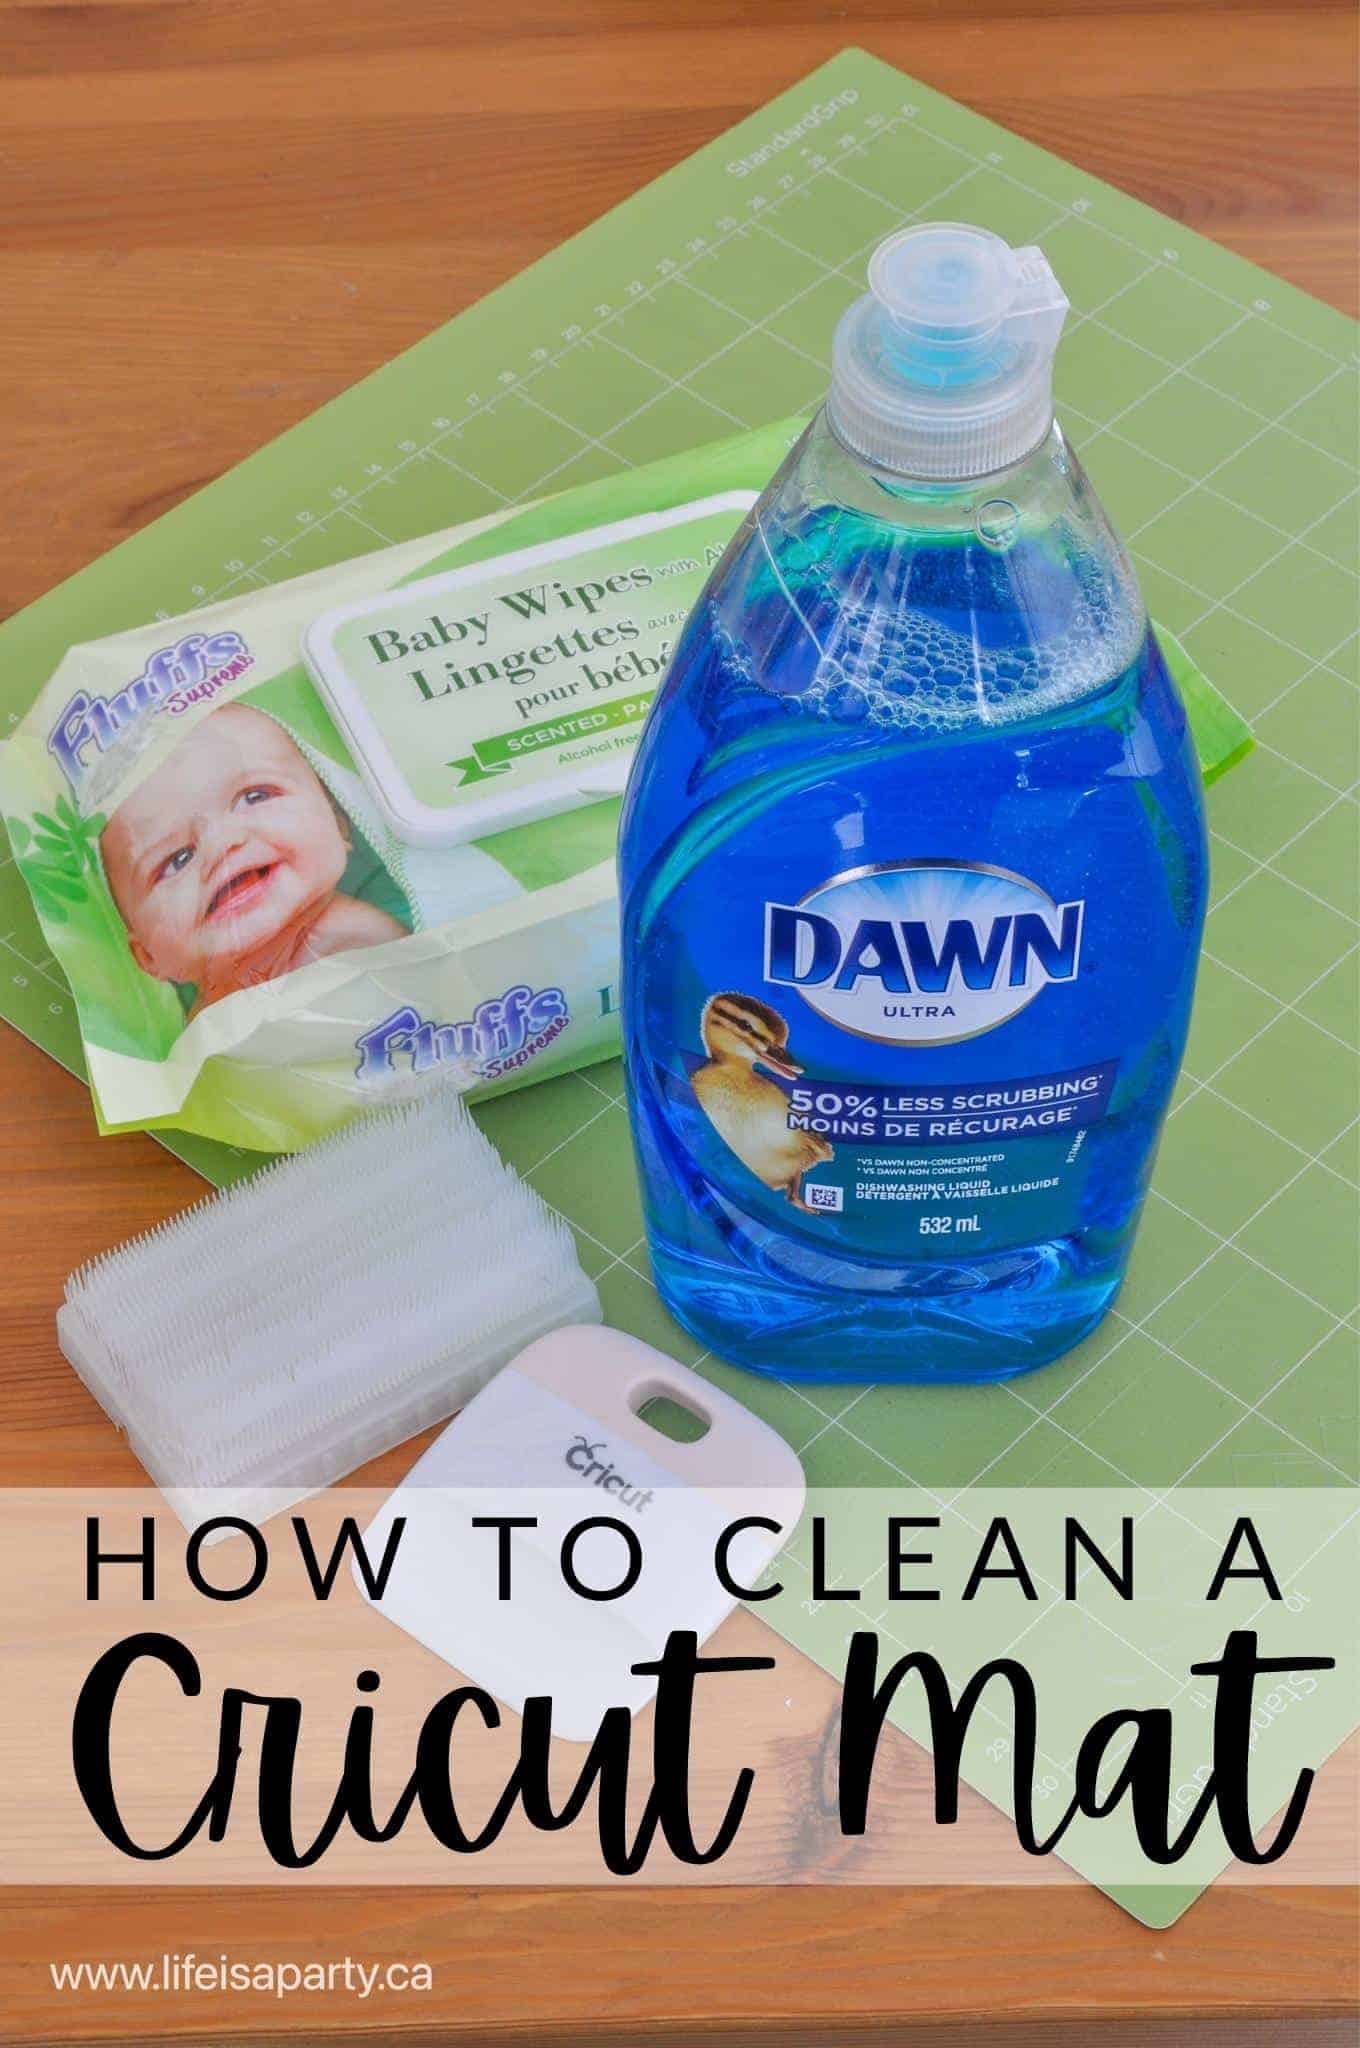
Also check out How To Clean Your Cricut Mat here.
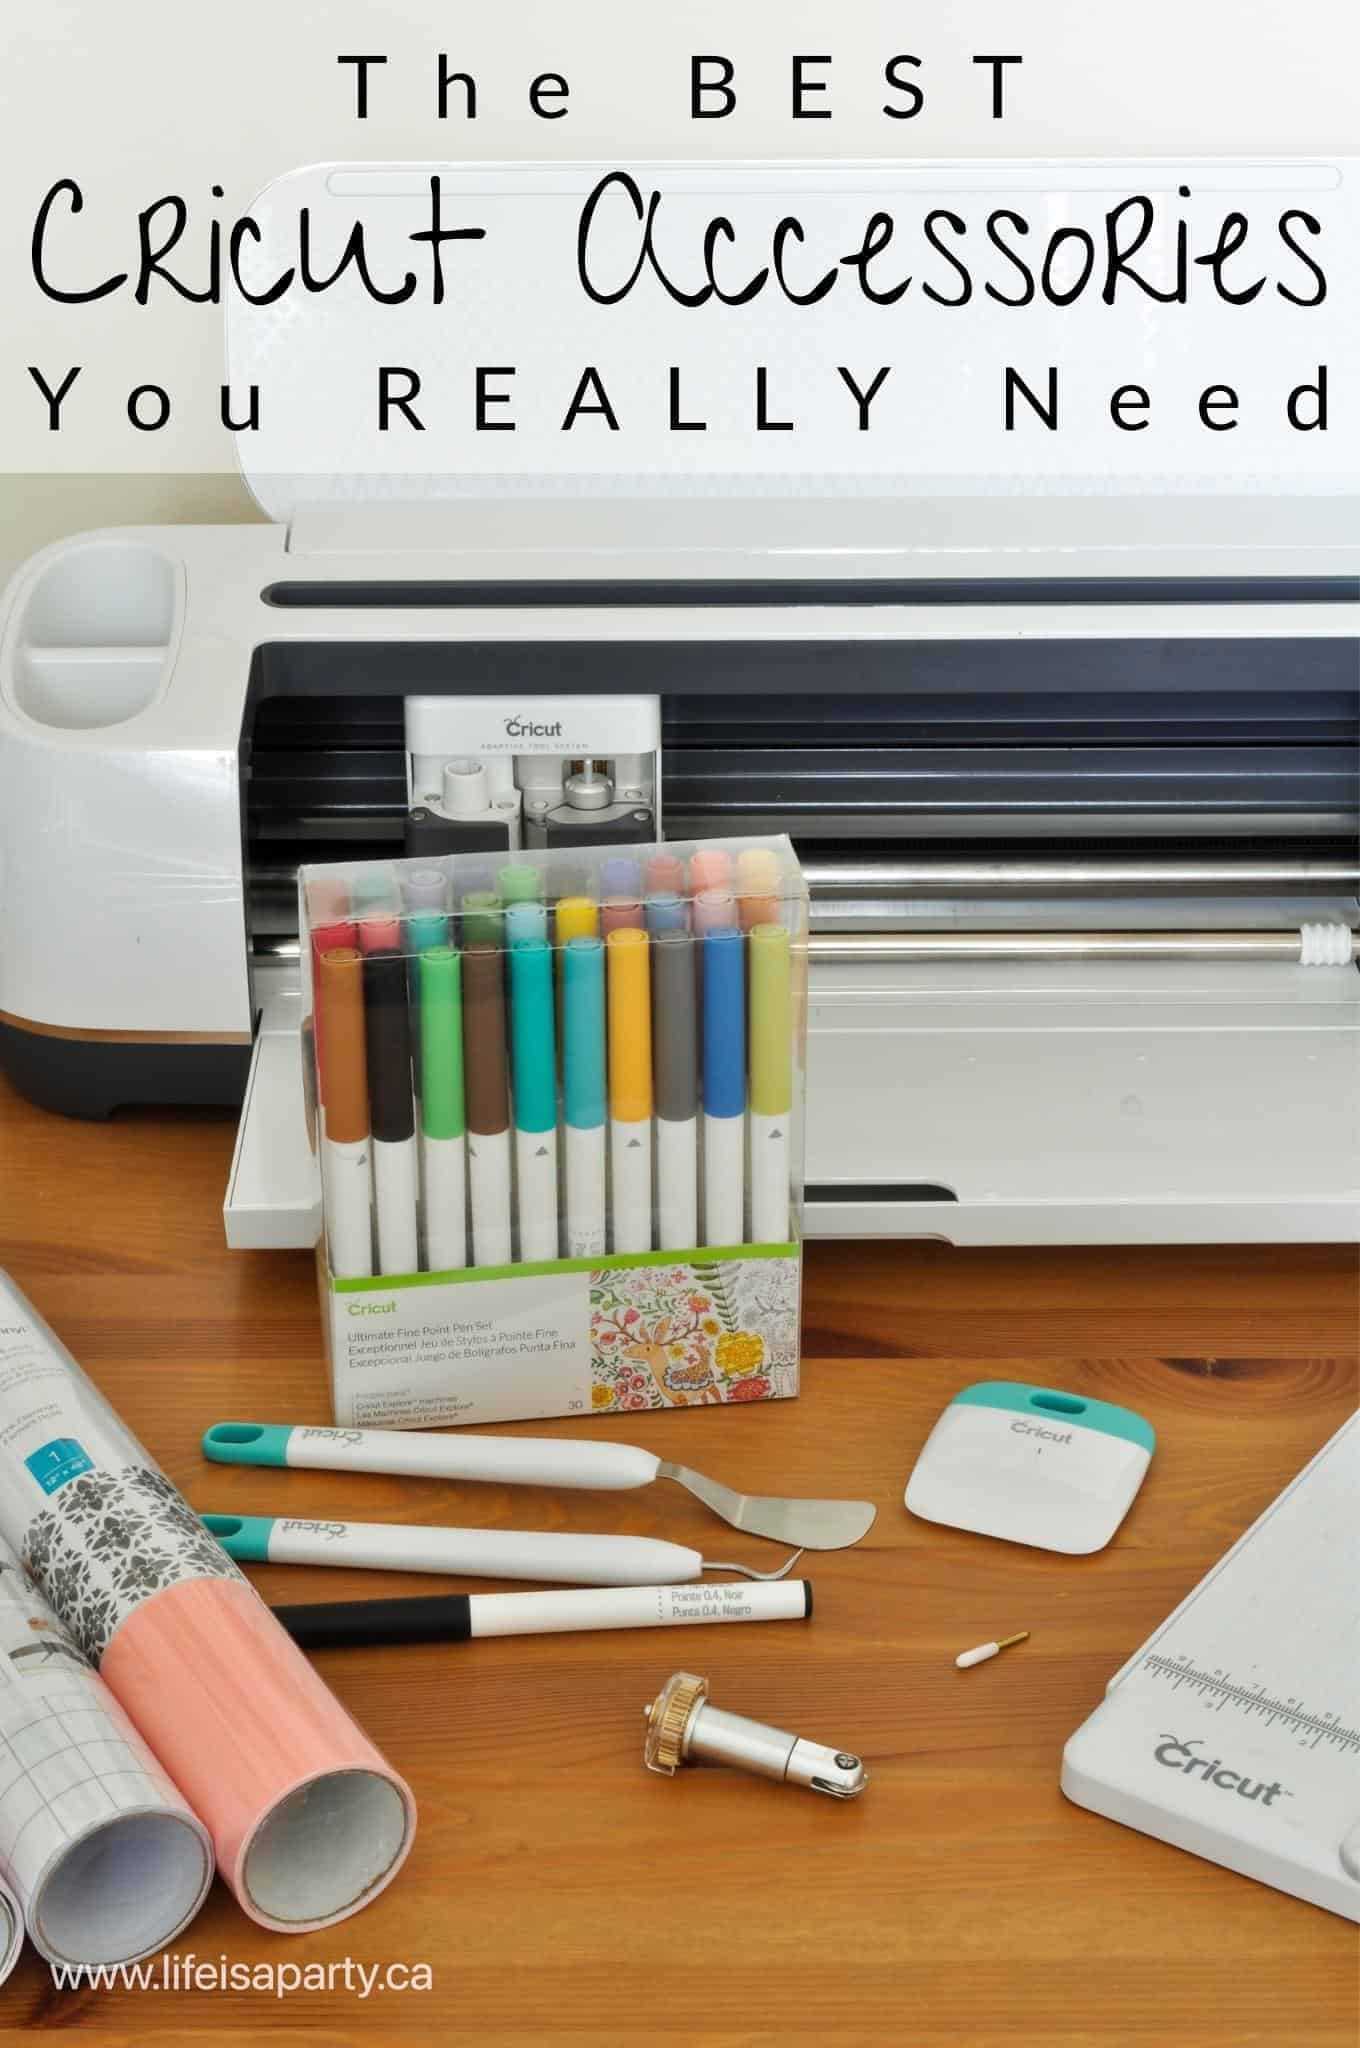
You might also enjoy The Best Cricut Accessories You REALLY Need here.


y89 slots says
Great tips! I struggled with transfer tape before, but your step-by-step instructions made it so much easier. Can't wait to try these techniques on my next project! Thanks for sharing!
Ytmp3 Official says
I absolutely loved this guide on using Cricut transfer tape! The step-by-step instructions made it so easy to follow, and I’m excited to try out these tips for my next project. Thanks for sharing your expertise!