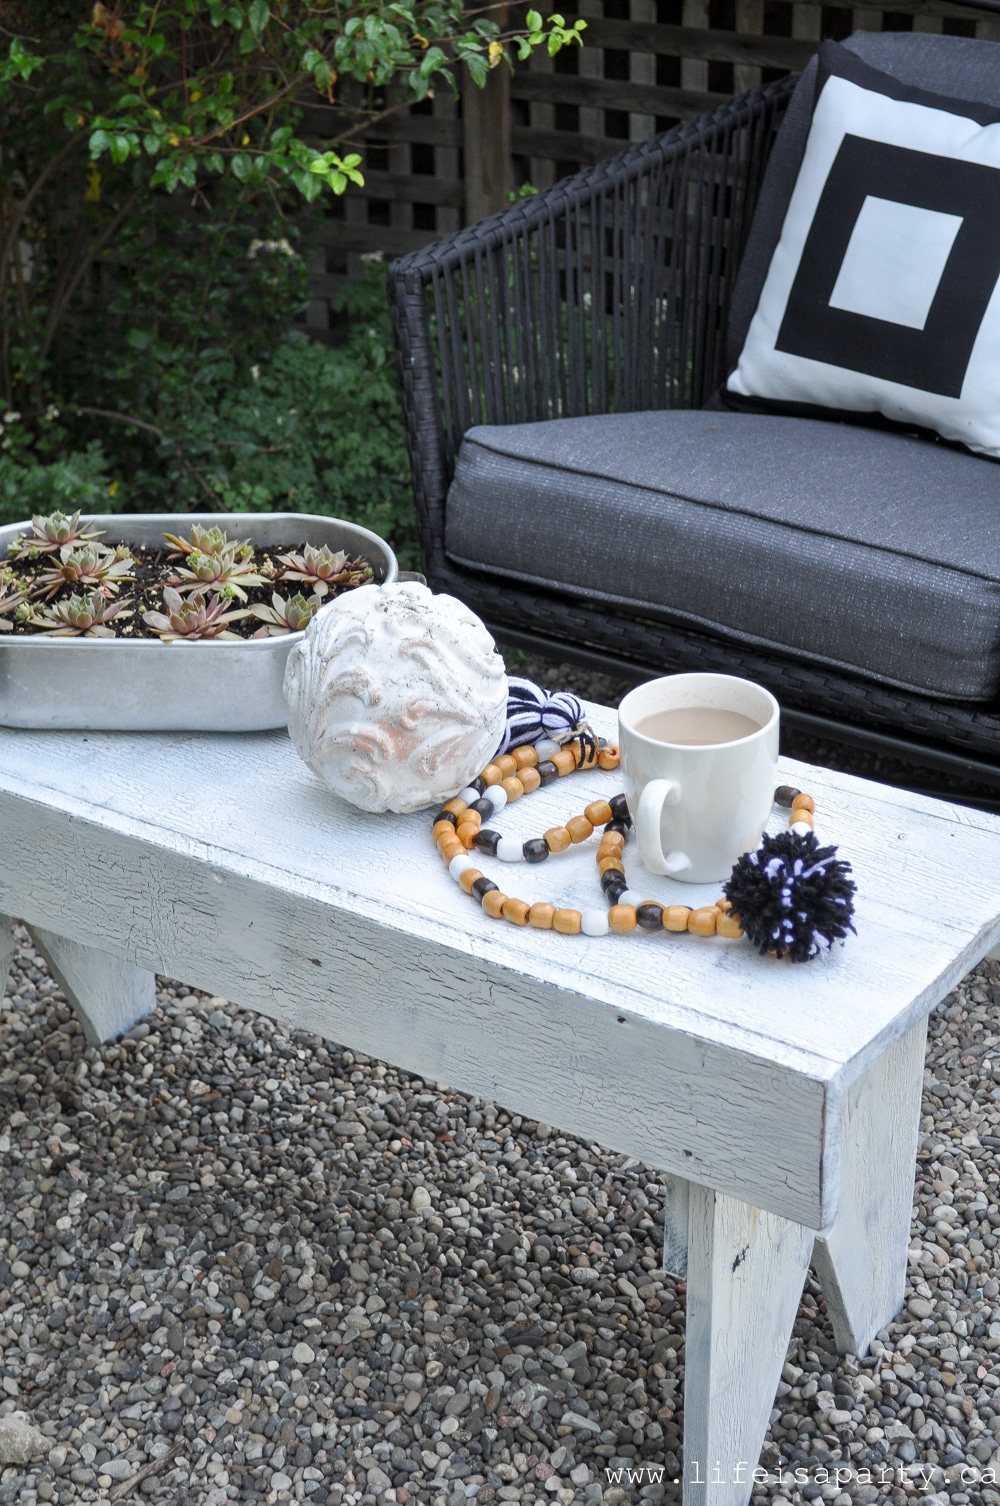
Rustic Garden Bench Painting Makeover: a wooden bench gets a rustic makeover with a crackle DIY paint finish to give it a antique look.
 When I decided to work on a little seating area in white garden, I knew I'd need a little coffee table for the space. Rather than buying something new at the store, I thought it would fun to do some bench painting on an old piece.
 I love to add something old and rustic to my decor. Mixed in with the new, an antique piece just adds so much interest and a sense of layers to a space. It also helps make the space look like a collection that's come together over time and not just a whole set picked from a show room.
 Hunting For An Old Piece
I remember when I was a young adult and just starting out I wanted cool old vintage pieces, but at garage sale prices -can anyone relate? Those are pretty hard to come by, especially when you're looking for something specific.
Now that I'm a little older, I don't mind shopping at antique fairs for pieces I'm really looking for, and paying a little more. So I went off to my favourite antique fair in the spring with something specific in mind. I was looking for a wood garden bench that was old and had the perfect chippy white paint finish. I saw lots, but not one white one all day. Murphy's Law, at the fall fair when I'm not looking for one anymore I'll probably find a bunch. 😉
Anyway feeling rather defeated, we stopped at one old garage sale/junk shop on the way home. I didn't find the perfect chippy white paint garden bench, but I did find one that I liked the shape of and was about the right size. The price was right too. So I happily bought it and decided to to some bench painting and try to create the old chippy white paint effect on my own.
I worked with DecoArt Paints on this piece, and used their amazing crackle finish on it. It's so easy to use, and I love the results. Here's how I did it.
Bench Painting Materials:
- DecoArt Americana Decor Outdoor Living Paint -Iron Gate
- wooden bench to paint
- DecoArt Americana Decor Outdoor Living Paint -Picket Fence
- sand paper
- DecoArt Americana Decor Crackle Medium
- paint brush
- DecoArt Americana Decor Light-Satin Varnish
 How To Create the Crackle Finish
The first job when working with an old piece is to make sure the surface is smooth and clean. Sand any rough bits, and wipe the whole piece off with a rag to remove any dust.
Base Coat Colour
With the crackle finish the base coat colour you paint will be the colour that the cracks are. I'm doing a black and white scheme in the garden, so I painted my base coat in black with DecoArt Americana Decor Outdoor Living Paint in Iron Gate. This paint is perfect for outdoors, and goes on nice and thick. I only needed one coat.
Crackle Medium
After the black paint dried, it was time to add the crackle medium. There are a few tips on the label, like try to paint an even coat, and the direction you paint it on is the direction the crackles will be. The medium has a whiteish bluish colour when it's wet, so it's easy to see where you've painted. Let this crackle medium dry before the next step.
Final Colour
The next step is to paint the piece in your final colour. I choose DecoArt Americana Decor Outdoor Living Paint in Picket Fence for mine. You don't want to over work the paint, or the crackles might not show as much. You can only do one coat, but the paint is so nice and thick, that one coat is fine. It's doesn't crackle right away, so don't be worried if it takes a few minutes before you see the cracks.
I love how mine crackled and it really does look like a fun old vintage piece.
 Vanish Topcoat
After the white paint dried, I wanted to make it look even older, by sanding down the edges a little and making it look more worn. After sanding I wiped it down with a cloth again to remove any dust. Then it was time to seal the whole piece with DecoArt Americana Decor Light-Satin Varnish. This will help the piece last out in the weather and the paint finish to last a long time.
I love how my little bench turned out and the rustic vintage feel it adds to our new little seating area. If you missed the big garden reveal that tells all about how we created this new seating area in our white garden be sure to check it out here.
And if you need me this summer ... you can find me here enjoying my coffee. 😉
With a little bench painting, life really is a party!
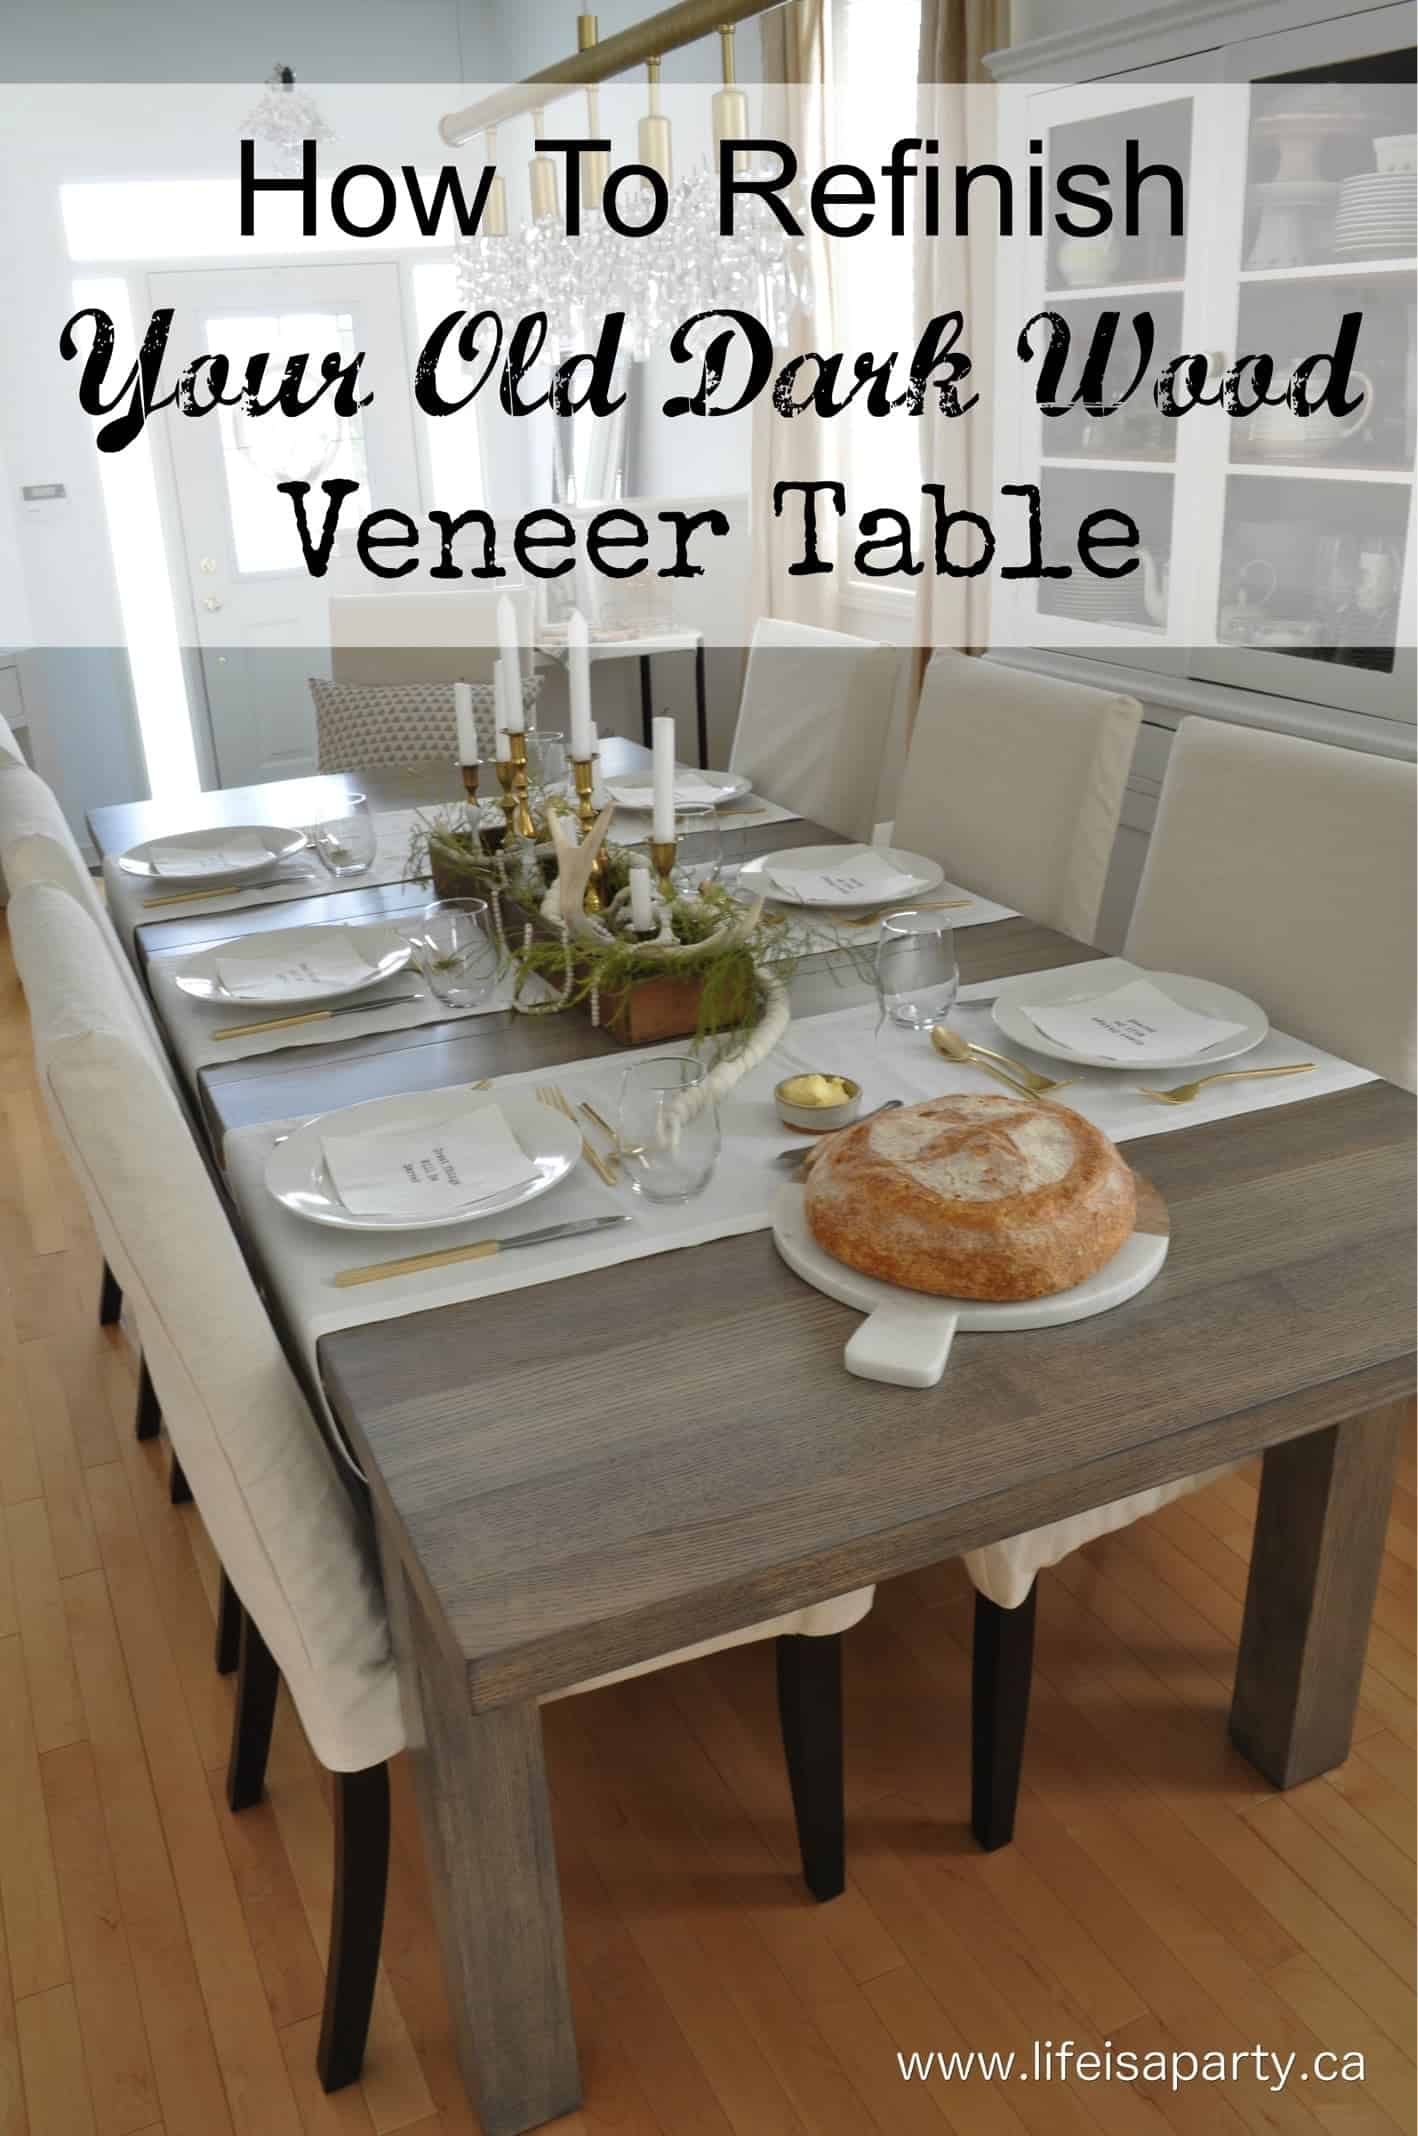
You might also like How To Refinish a Dark Wood Veneer Dining Room Table.
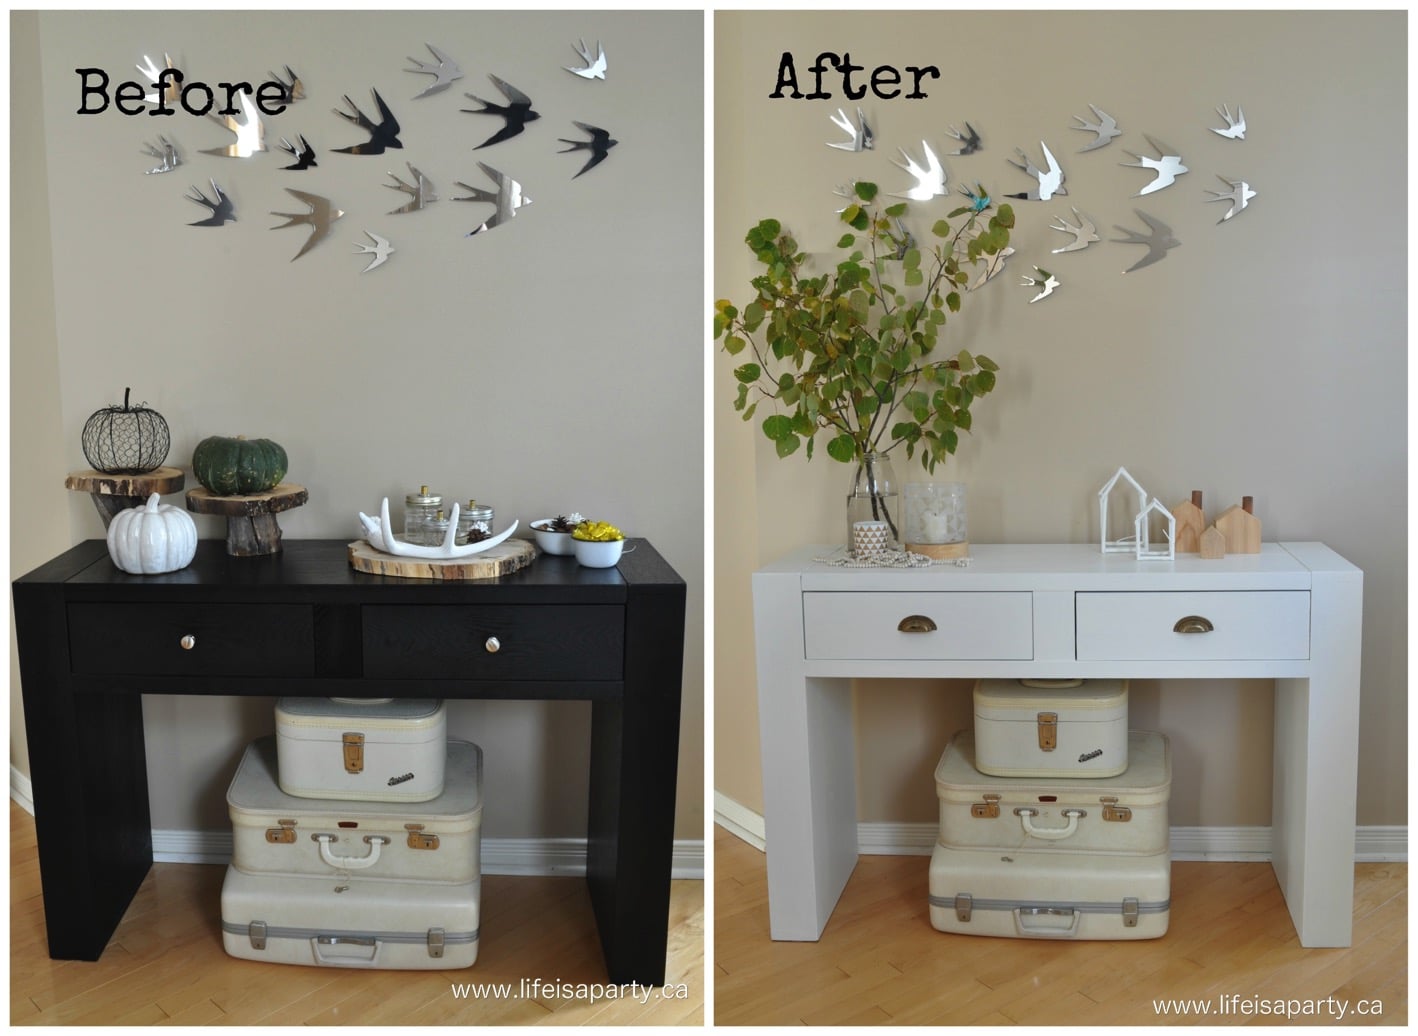
Also check out our Black Furniture Makeover here.
You might also enjoy Antique Wash Stand Makeover here.

 Hunting For An Old Piece
 How To Create the Crackle Finish
 Vanish Topcoat


Leave a Reply