Rainbow Art Party: DIY rainbow decorations, art activity stations, and rainbow art themed party food ideas.

Jump to:
- The Invitations
- Outdoor Rainbow Art Party Decorations
- Indoor Rainbow Party Decorations
- Rainbow Guests Photo
- The Rain (It was a Rainbow Party After all)
- Rainbow Art Party Activity Centres
- Grab An Art Smock
- Rainbow Play Dough
- Spiral Art
- Watercolour Painting
- Marble and Tire Track Painting
- Bubble Art
- Acrylic Painting
- Water Gun Painting
- Drying Art Gallery
- Art Party Favor Bags with Paint Chip Thank You's
- Rainbow Art Party Food
- Paint Chips
- The Rainbow Veggie Tray
- Rainbow Art Party Dessert Table
- Picture Frame Art Party Backdrop
- Paint Chip Food Labels
- Rainbow Cake
- Rainbow Paint Brush Rice Krispies
- Rainbow Jello
- Rainbow Fruit Tray
- Paint Your Own Masterpiece Cookies
- Rainbow Paint Can Candy Bar
- More Inspiration
Last week my oldest daughter, Paige, turned nine. Nine, as in almost ten...where does the time go? She wanted a Rainbow Art Party, and today we're sharing all the fun details of the decorations, the art activities, and the rainbow art themed food. This is such a fun party theme, full of bright colors, really fun art activities that our party guests loved. It's the perfect theme if your birthday child is a little artist.
The Invitations
I did a little photo shoot with our birthday girl one day to make our cute party invitations. Then I just added some text to them on the computer,and printed them at home. She really loved them, and they were the perfect way to invite her friends her craft party.

I thought I'd start out by sharing all the pretty decorations with you.
You can find all the Rainbow Art Party Activities here. And all the Rainbow Art Party themed foods here.
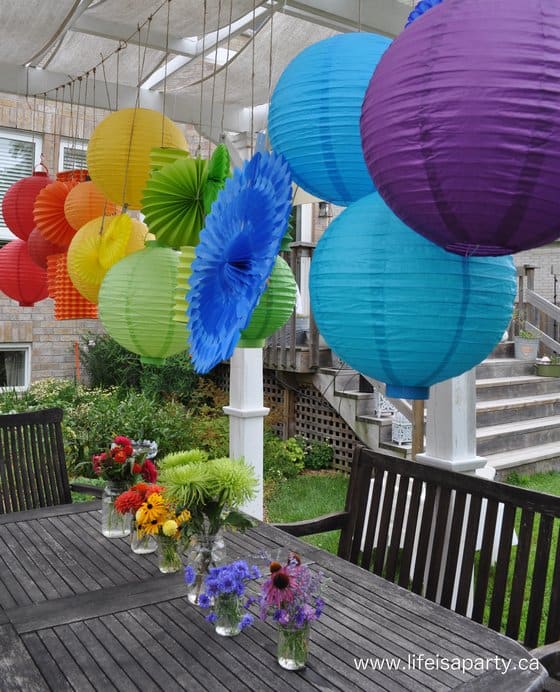
My very, very, very favourite decorations ro4 my child's art party were the rainbow paper lanterns and rainbow flowers.
Outdoor Rainbow Art Party Decorations
We love decorating of birthdays. Check out our best at home birthday party decorations here.
I collected paper lanterns from all over in all shapes, sizes, and rainbow colors for weeks and weeks. We hung them all in a line, in traditional rainbow order. They looked so, so pretty hanging on our pergola. Paper lanterns are such a great alternative to helium balloons. They're reusable, inexpensive, and you don't have to worry about picking them up at the last minute, so I think they're perfect party decor.
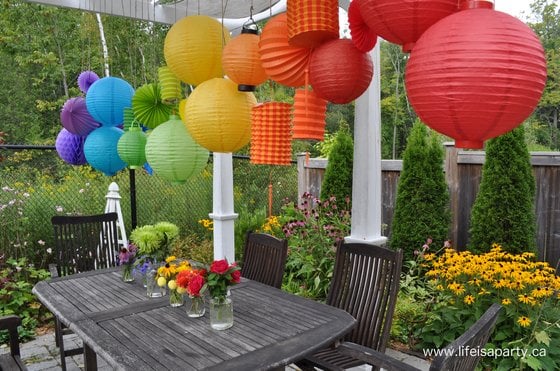
I always love to do special flowers for a party, and came up with the idea of doing one pretty mason jar for each colour of the rainbow for our art-themed party and lining up the different colors in the same rainbow order as the paper lanterns.

All the flowers are pretty much from my mom's garden, with the exception of the green mums that I picked up at the store. I love how it turned out. It was just a simple design, but had so much impact.

Using different sized mason jars as vases was the perfect way to accommodate flowers of all different sizes.
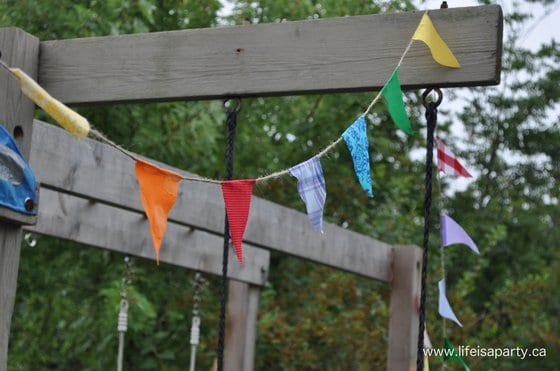
We planned to have the art activities outside in the yard when guests first arrived at the party, and then move into the house where it was cooler for the food. I wanted to add a little rainbow to the play structure so we made a simple rainbow bunting.
To make the rainbow bunting I used some twine and hot glued on some scrap fabric flags in our rainbow colours. This was such a fun decor piece for an art birthday party.
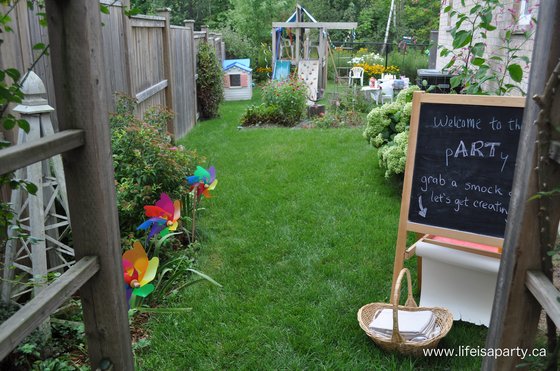
We planned to welcome guests through the side gate, and into the yard.
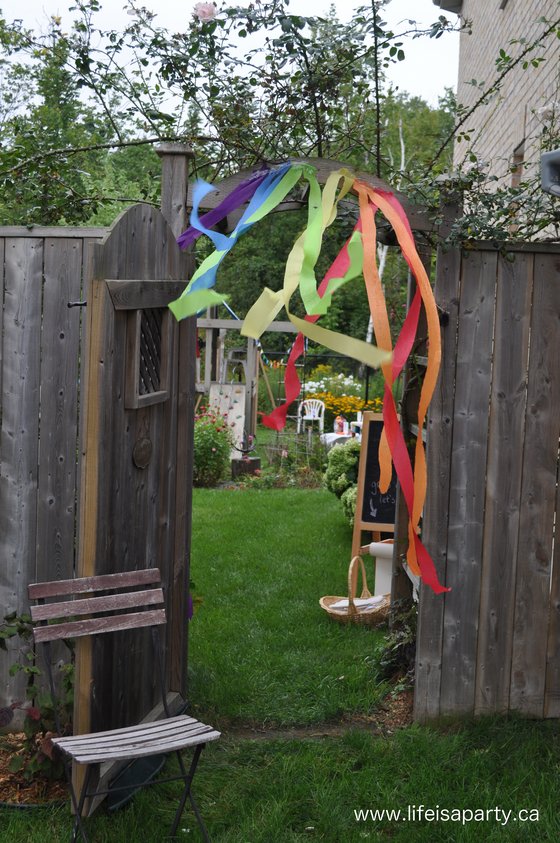
I decorated the rose arbour with simple rainbow streamers. They looked so pretty blowing in the wind.

Guests were welcomed by the chalkboard, and a basket of art smocks for our little guests.

I added these giant rainbow pinwheels to the garden edge.
Indoor Rainbow Party Decorations
Inside, there was a pretty rainbow decorated mantel. During the photo shoot for the invitation we got lots of fun shots of the birthday girl with a bouquet of rainbow balloons. For the mantel I printed a few and put them in simple dollar store frames.
We made more rainbow bunting and added in some pretty rainbow candles.

In the kitchen, we didn't have too much room for decorations. We decorated the chalkboard and I made a fun art birthday cake (think diaper cake but way better) as an art theme centerpiece. I used mini hat boxes as the base, and held craft supplies in place with elastics, ribbon and a little tape. We layered crayons, pom poms, feathers, markers, and glue sticks, with a paintbrush flag. It made for a fun addition.

In the dining room, I made this great birthday banner. I used free paint chips from the paint store, a letter stencil, and a black sharpie. It was so easy and turned out so cute.

On the dining room table was my second favourite decoration, a rainbow of candles.

I came up with the idea and wanted to start shopping but forced myself to check my candle stash before I bought anything.

I had them all, with the exception of two pairs of tamper candles. Guess I should do a candle inventory more often. I love how pretty they looked all together. I tried to keep it somewhat uniform by only using glass and a few metal candle holders. If you wanted to create something similar, you could look for any colors you didn't have a the thrift store, as a great way to find inexpensive candles and candle holders.

Rainbow Guests Photo
One of the other best decorations -our guests! We asked the guests to all wear denim on the bottom and a certain coloured shirt on top for a special art project, all with the plan of taking a fun group shot. I love how it turned out. And you can see the birthday girl in her party outfit, white with a rainbow tutu -so much fun! This was a fun easy group project, since everyone has jeans, and I worked out with the guests what color shirt they had, to coordinate it so that we had some of each color for our rainbow. The best part of this, is that you have a special keepsake photo at the end.

The Rain (It was a Rainbow Party After all)
It was a great party...despite the rain. That's right it poured. The party started at 11, and by 10:30 we were pretty much set up for me to take pictures and add just a few more details. At 10:50 it started to rain -hard. We scrambled to get everything inside, including all the pretty paper lanterns before they were ruined. We forgot the paint smocks, but my mom quickly threw them in the dryer for a few minutes. 😉 As our guests were coming through the door, we were drying off the things from all of the 7 art centres we had originally set up in the backyard. Everything was thrown in the patio doors dripping wet while running around like chickens with our heads cut off when it started to pour.
But parties aren't about everything being perfect, they're about having fun together. So our guests pitched in and we set everything up inside and had a great time. I love our friends and family. I was most sad about the lanterns that had nowhere to go inside and ended up in my bedroom. They were slightly damp but out of the way to be dealt with later. We all joked that everyone could see how pretty they were on the blog! So there we have it, at least we had some pictures before the rain came!
And I must say that the birthday girl didn't seemed that bothered by the rain (that interrupted her party for the third year in a row -next year an indoor party) and just had a great time enjoying her favourite pastime, art, with all her favourite people! Proving that life is what we make it, so we may as well make it a party -even in the rain!

Rainbow Art Party Activity Centres
The birthday girl chose the entire theme because she loves art, so we decided to set up seven different simple art activity stations for our little guests to enjoy. We used kids tables, covered in plastic table cloths for easy clean up as our little work tables.
My daughter Paige made the sweetest little signs for each station. We used simple IKEA frames, and she drew pictures to go with each activity. Each table had the sign, and the art supplies for the activity.
We didn't set up a timer or schedule for visiting all the art stations. The party had a relatively small group of kids, and all the parents stayed as well. We let the kids follow their inner artist and visit as many craft activities as they liked, and revisit them for a second round if they wished.
Grab An Art Smock
We started out with giving everyone a paint smock to protect their party clothes.

Rainbow Play Dough
The first centre was Rainbow Play Dough. I found this great "One Metre of Play Dough" in rainbow colors and the kids (and some of the grown-ups too) loved it.

Spiral Art
The second centre was Spiral Art. I remembered doing spiral art when I was a little girl. I picked up two kits at the dollar store for this station and all the pretty gel pens we could find.

Watercolour Painting
The third Centre was Watercolour Painting. My girls really enjoyed this station. I picked up some watercolour paper, we added a few pencils for sketching and the watercolor paint set.


Marble and Tire Track Painting
The forth centre was Marble and Tire Track Painting. I picked up a few shallow boxes at the grocery store, and we put some paint on a plate for our artists to roll their tires and marbles in. Then, they used the box to rotate the cars and/or marbles over a piece of paper to make some great prints. This art activity was a bit different and lots of our guests really enjoyed it.


Bubble Art
The fifth centre was Bubble Art. To create pretty bubble printed paper, we made a mixture of paint, water, and dish soap. Then you create bubbles by blowing into the mixture with a straw, and then placing the paper on top to create the print. (A tip if you have very young artists, is to put a few pin pricks in the top half of the straws so that they can't accidentally suck it in by mistake.)

Acrylic Painting
The sixth centre was Acrylic Painting with a Canvas and Easel. For this station we set up acrylic paints in the colours of the rainbow, with an art palette for mixing, and a sweet little blank canvas for everyone with mini easels and paint brushes from the local dollar store. These were just the right size for our little artists. And they all liked taking home the mini easels as well.

Water Gun Painting
The seventh and final centre was Water Gun Painting. We filled water guns with very watered down paint. Before the party, I used painters tape to mark each canvas with the guests initial, after the paint was squirted on and it dried the tape was removed to reveal the initial. You could also use a spray bottle for this activity.

Drying Art Gallery
I set up a little art gallery for the paintings to dry and be viewed at. I made the banner from paint chips and a stencil -love how it turned out.

To attach the art to the wire fence, I found some pretty rainbow striped washi tape, and added it to simple wooden clothespins. It worked out great -after the rain stopped. 😉

Art Party Favor Bags with Paint Chip Thank You's
We also set up loot bags for our guests, so that throughout the party any art that didn't need to dry could be tucked inside, along with their paint smocks once the painting was done. We also included a fun watercolor set for some more creating at home. It was fun using the paint chips for some creative ideas for the party.

I found pretty paper bags in every colour we needed to fit our rainbow themed birthday party. Then, we made thank you tags with more paint chips, and attached them to the bags with the rainbow washi tape.


Rainbow Art Party Food
We had so much fun at our Rainbow Art Party, and I had a great time coming up with the food, and I can't wait to share all the yummy details with you.
Paint Chips
While we were doing the art activities I had a chip buffet set up for munching on. This was one of my very favourite ideas of the party. I set up a Rainbow Chip Buffet, and we made a fun label that said "Paint Chips". Get it, I know I have a gift.

I bought unused empty paint cans at the paint store, and painted a paint stir stick for each colour we used and placed it in the paint pails. Then we filled each can with chips in the colors of the rainbow.

We had ketchup chips for red, cheesies for orange, regular chips for yellow, guacamole chips (I found at the bulk store) for green, and blue tortilla chips for blue. Everyone loved it, and nibbled away between activities until lunch. I envisioned it set up outside, and then had to quickly set it up on the toy box when everything was moved inside because of the rain, but you get the idea. 😉
The Rainbow Veggie Tray

For lunch we kept things simple and ordered pizza and wings, along with this Rainbow Veggie Tray of radishes, cherry tomatoes, carrots, yellow pepper, broccoli, cucumber, black olives and "black cherry" tomatoes. We couldn't come up with a blue veggie, but we're pretty close to a full rainbow.

Rainbow Art Party Dessert Table
The main food event of the party was the Rainbow Dessert Table.
Picture Frame Art Party Backdrop
I had a lot of fun putting the rainbow dessert table together. We started out with the pretty backdrop of rainbow coloured frames. I found them all at the second hand stores for a couple of dollars each. To start with I removed the backs and glass, and then painted them with spray paint in different colours. The empty frames were attached to the wall with 3M hooks, they really work great and when you remove them, there really is no mark on the wall.
Paint Chip Food Labels
To make the food labels, I used some more paint chips.

Rainbow Cake
The centerpiece of the table was the rainbow cake. I made it out of two cake mixes, and used food colouring to tint the layers. My one little tip: this time I bought disposable cake pans at the grocery store, it was so much easier than using my regular two pans, three times to bake the six layers. With some extra disposable cake pans I could bake it all at once.

I bought the special birthday candles that have a coloured flame. They were a hit.

The first slice was met by the appropriate oohs and aahs from the guests -as hoped for.

Along with the Rainbow Birthday Cake there were lots of other sweet treats.
Rainbow Paint Brush Rice Krispies

We made Rainbow Paint Brush Rice Krispies. These were also a big hit -delicious and pretty easy too. We made regular rice krispie treats, cut them into rectangles and put a craft stick in one end to look like a paint brush handle. Then we did the other end in melted colored. We used chocolate melts in all the colors of the rainbow.

Rainbow Jello
We also made Rainbow Jello. It looked so pretty layered in rainbow order in plastic cups. This process is a little time consuming, but creates such a beautiful effect.

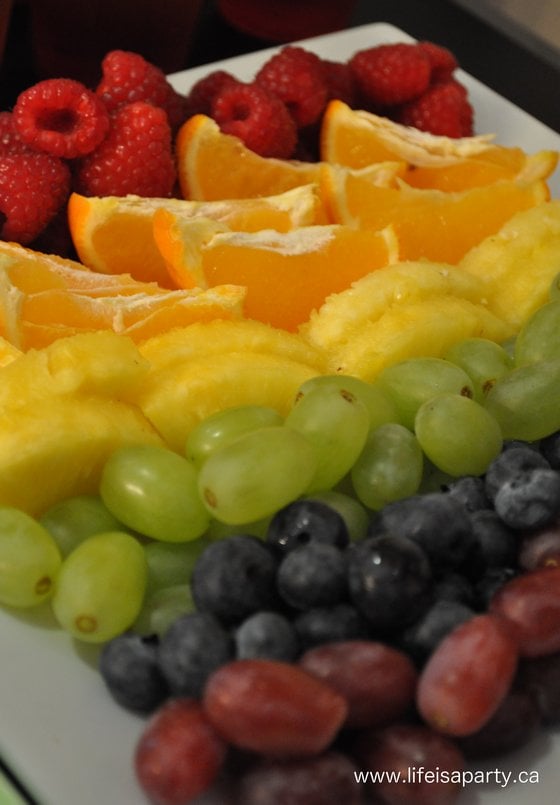
Rainbow Fruit Tray
We did a Rainbow Fruit Tray for good measure, although I have to say it didn't see too much action. 😉
Paint Your Own Masterpiece Cookies
Lastly, my friend Heather made the amazing "Make Your Own Masterpiece" Sugar Cookies.

She made sugar cookies, and flooded them with white royal icing to make the perfect cookie canvas, and outlined it all in a sweet little icing gold frame.

Guests used edible markers to draw their own picture.

These were also a huge hit -they were just so cool...and delicious. Our guests loved using the markers in creative ways to make their own little edible masterpieces.

Rainbow Paint Can Candy Bar
As another treat for the loot bags we set up a Rainbow Candy Bar. I found the fun little paint buckets at the dollar store, and then we found candy in every colour at the bulk store. It looked so pretty. We had little plastic bags and tongs so that guests could help themselves, fill up their bag and then add it to their party favor.

The party was a great success, and the birthday girl was all smiles. This was one of the best birthday parties we ever had. The kids of all ages loved getting their creative juices flowing, and making all kinds of art at the party. This theme appealed to both boys and girls, and kids of different ages, from 4 year olds to 10 year olds. Everyone could create as much or as little as they wanted and visit all or just favourite art centres. I highly recommend this theme for your child's next birthday party.

With a rainbow art party to celebrate someone special, life really is a party!
More Inspiration
You might also like our Ice Cream Themed Birthday Party here.

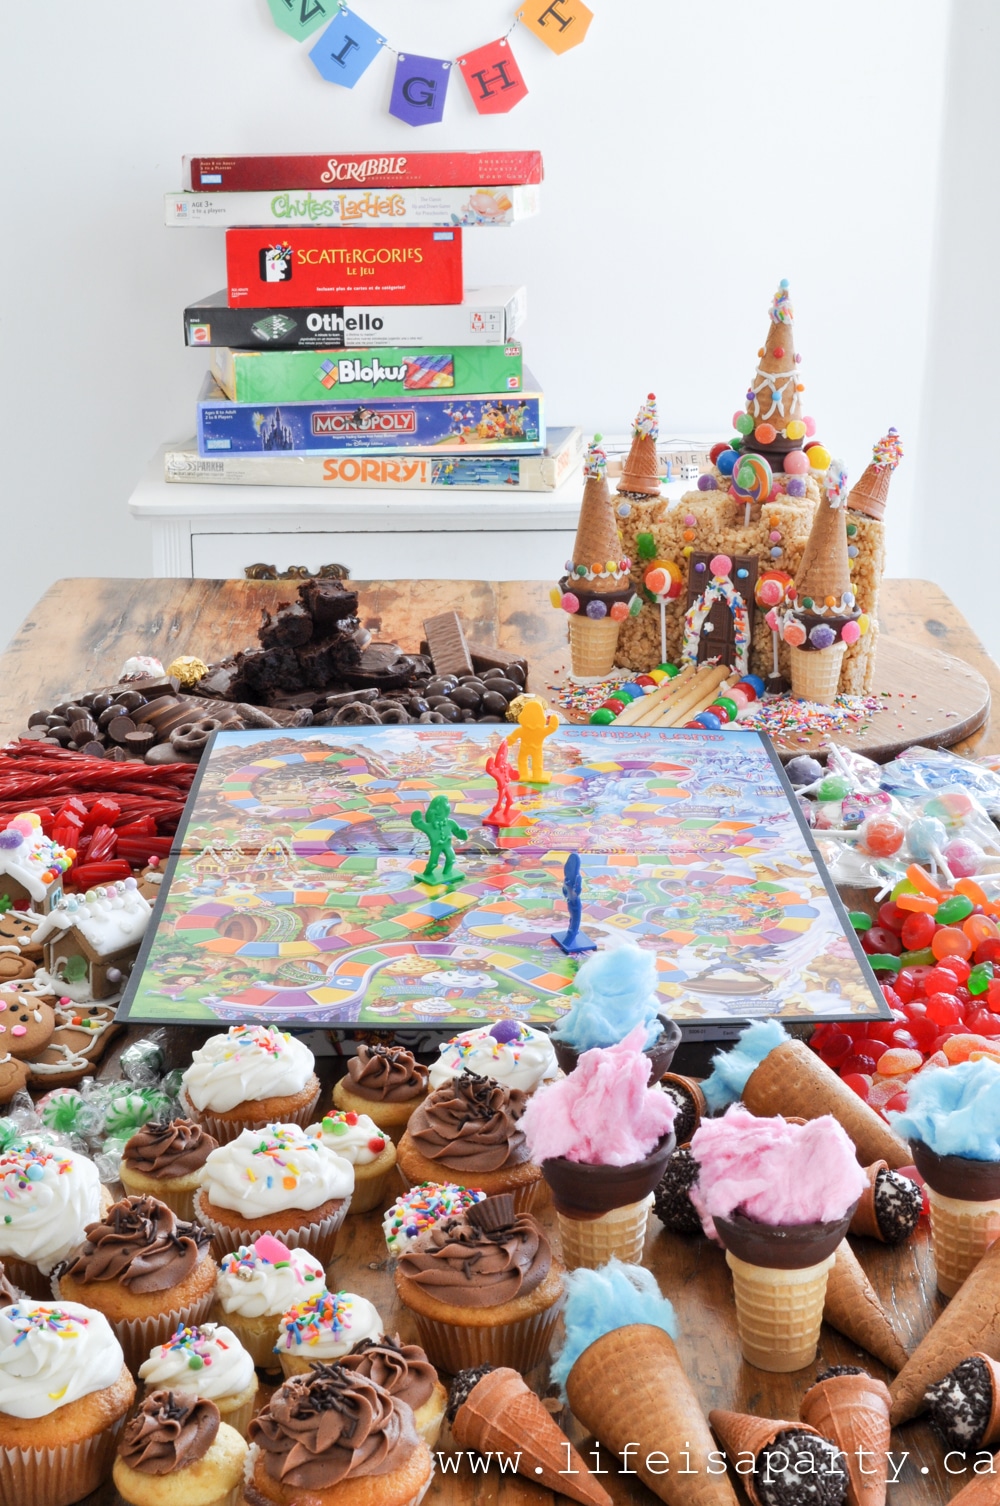
Also check out our Board Game Night here.
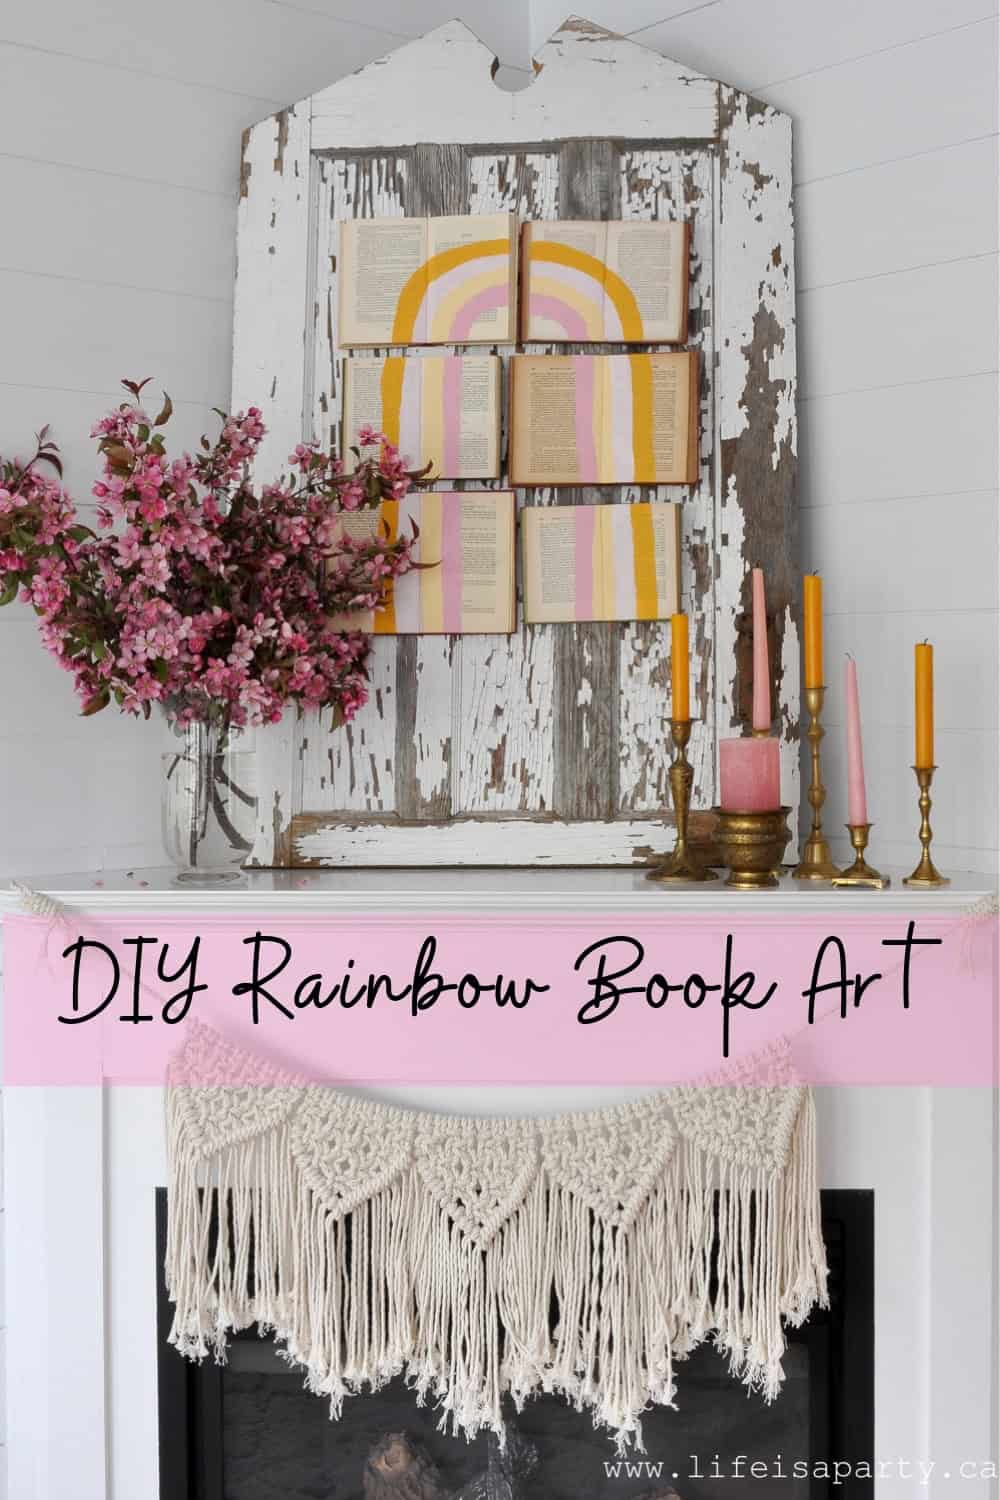
You might also enjoy our DIY Rainbow Book Art here.


Grace @ sense and simplicity says
What a great party - you had so many great ideas. I love the candles down the centre of the table and the paper lanterns. So cute that you even had the guests dress in a colour of the rainbow. The funny thing is I had a similar idea (although I haven't yet done a rainbow party) - you can see my post about it here http://gracie-senseandsimplicity.blogspot.ca/2013/06/a-rainbow-celebration.html
dnr says
Hi Onna, the smocks are from Dollarama. Hope this helps.
Dannyelle
Onna says
Adorable. Can I ask where you got the smocks?
Jocelyn says
So cute! I love this idea. So bright and colorful!
Karrie Curtis says
I love it! My favorite part is the smock basket! What a cute idea!
Marta @ petiteraisin.ca says
This is pintrest worthy! What an AMAZING party! Sorry to hear the weather didn't co-operate, but mama - up top for a high five! Unbelievable attention to detail...lucky 9 year old!
I'm also a savvy mama...found ya on the site - you should be a party planner!
.:Marta:.
petiteraisin.ca