• Skip to primary navigation
  • Skip to main content
  • Skip to primary sidebar
Life is a Party
  • Recipe Index
  • Parties & Entertaining
  • Subscribe
  • Free Resource Library
  • Back To School
menu icon
go to homepage
  • Recipe Index
  • Parties & Entertaining
  • Subscribe
  • Free Resource Library
  • Back To School
subscribe
search icon
Homepage link
  • Recipe Index
  • Parties & Entertaining
  • Subscribe
  • Free Resource Library
  • Back To School
×
Home » DIY & Crafts

DIY Woodland Mugs

Modified: Oct 22, 2024 · Published: Nov 18, 2014 by Dannyelle Nicolle-Ramjist · This post may contain affiliate links · 6 Comments

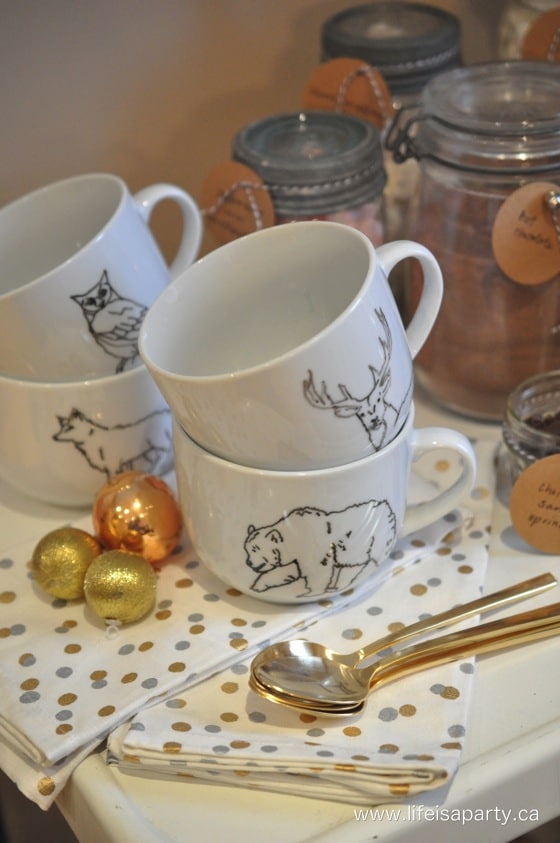
DIY Mugs: Woodland Mugs using carbon paper to transfer an image and a ceramic marker. So much better than sharpie marker mugs the don't last.

DIY Mugs: Woodland Mugs using carbon paper to transfer an image and a ceramic marker. So much better than sharpie marker mugs the don't last.

These DIY mugs are perfect for the a hot chocolate bar.  Use a ceramic marker and get much better long lasting results than a sharpie.

The Mugs

It snowed here yesterday.  That means time for hot chocolate.  I put together a sweet little hot chocolate bar on the bar cart.  It all started when I saw these oh so pretty mugs in the Christmas Chapters/Indigo catalogue.  Of course I had that moment that DIYer’s often have…I think I could make something like that.

woodland mugs

Chapters has a deer, bear, fox, and owl in their collection, and here’s my version.

Easy DIY Woodland Mugs

Materials:

  • plain white mugs
  • carbon paper
  • woodland images
  • pencil
  • ceramic marker

How To Make  DIY Woodland Mugs

I started with inexpensive dollar store mugs, and a ceramic marker.  The internet is flooded with sharpie mugs, but from what I’ve read  they’re very hit and miss.  I used the ceramic pen for my “give thanks” plates and they’ve been great, so I went with the ceramic pen again this time.

Since I’m not really an artist, and perhaps you’re not either, here’s my cheater way of doing the sketches.  Find an image on-line that you like.  I did an image search on “simple deer sketch” and then just found one I liked, right clicked to open image in a new tab, then selected print and adjusted my printing size so it would fit on my mug.

using carbon paper to transfer the outline of an image to the mug

Once you have a picture that you’re happy with and it is the right size, break out the good old fashioned carbon copy paper -memories of teachers using these magical sheets to make worksheets in grade one fill my mind.  Use a small piece and tape it, along with your picture on top of the mug.  Make sure you have the carbon paper on the right side so that when you write on it, a line goes through to your mug.  Then, use a pencil to outline your image, which should transfer it to the mug.

Trouble Shooting

I’m not going to lie to you and say this process was simple.  It was a little tricky.  I started out with much more detailed images, similar to the Chapter’s version, but they were too complicated for me.  I also started out just holding the papers onto the mug, but if the papers slip, the carbon copy lines rub off the mugs, since its a slippery ceramic surface.

When I used a simpler image, and taped the papers really carefully, and also removed them carefully so I didn’t rub any off or erase it, it worked.  Patience, patience.
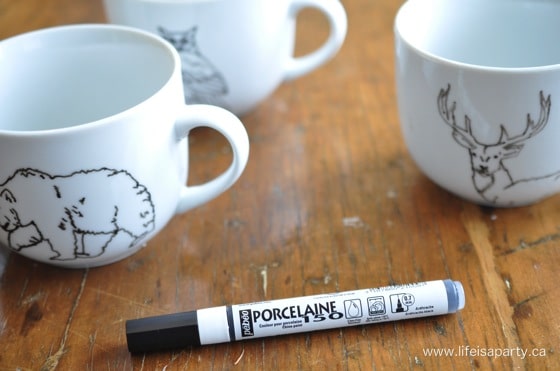
using a ceramic marker on mugs

Once the carbon copy is on the mug, use your ceramic marker to go over it.  Again I made a few mistakes.  The great thing about the markers is that when you’re working with them, you can wash them off with a little hot water and a scrub, and then start over again.  The bad part, you have to start over from the beginning again.  Once you’re happy with the image, my marker said to wait 24 hours, then bake in the oven (all the exact instructions will be on your marker).  Once they come out of the oven, the image is permanent.

baking diy mugs in the oven to set the marker

I really do like how they turned out and the Chapter’s version would have been around $50 for 4, and mine were $1.25 each for the mugs, and around $5 for the marker -so a fraction of the price at around $10.

hot chocolate bar

The Hot Chocolate Bar

I used my mugs in this fun hot chocolate buffet with some different flavours of hot chocolate mix, chocolate spoons, sprinkles, and marshmallows.

how to set up a hot chocolate bar cart

Yum.  My girls tried out the hot chocolate bar cart tonight, and I’m happy to say it got their seal of approval.
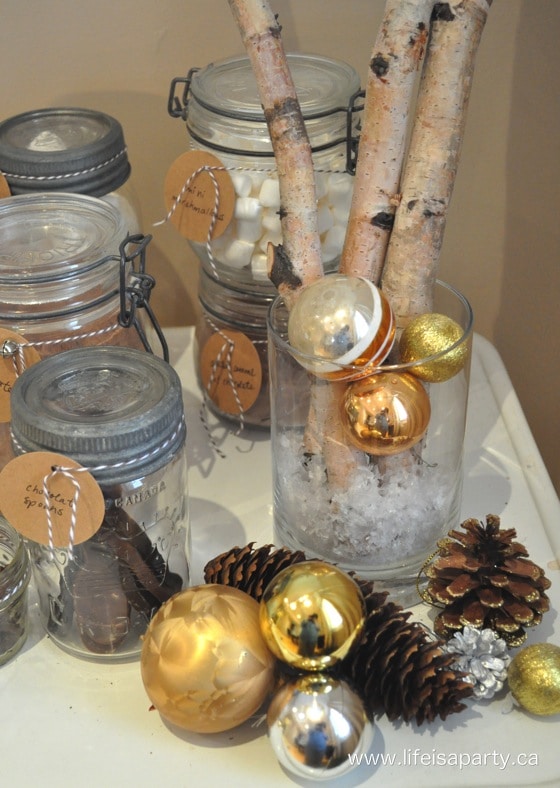
Christmas hot chocolate bar

I love how this little cart looks for the holidays, and that the hot chocolate and the woodland mugs will look good all winter long.

hot chocolate buffet ideas

DIY marker mug

With a DIY Woodland Mugs, life really is a party!

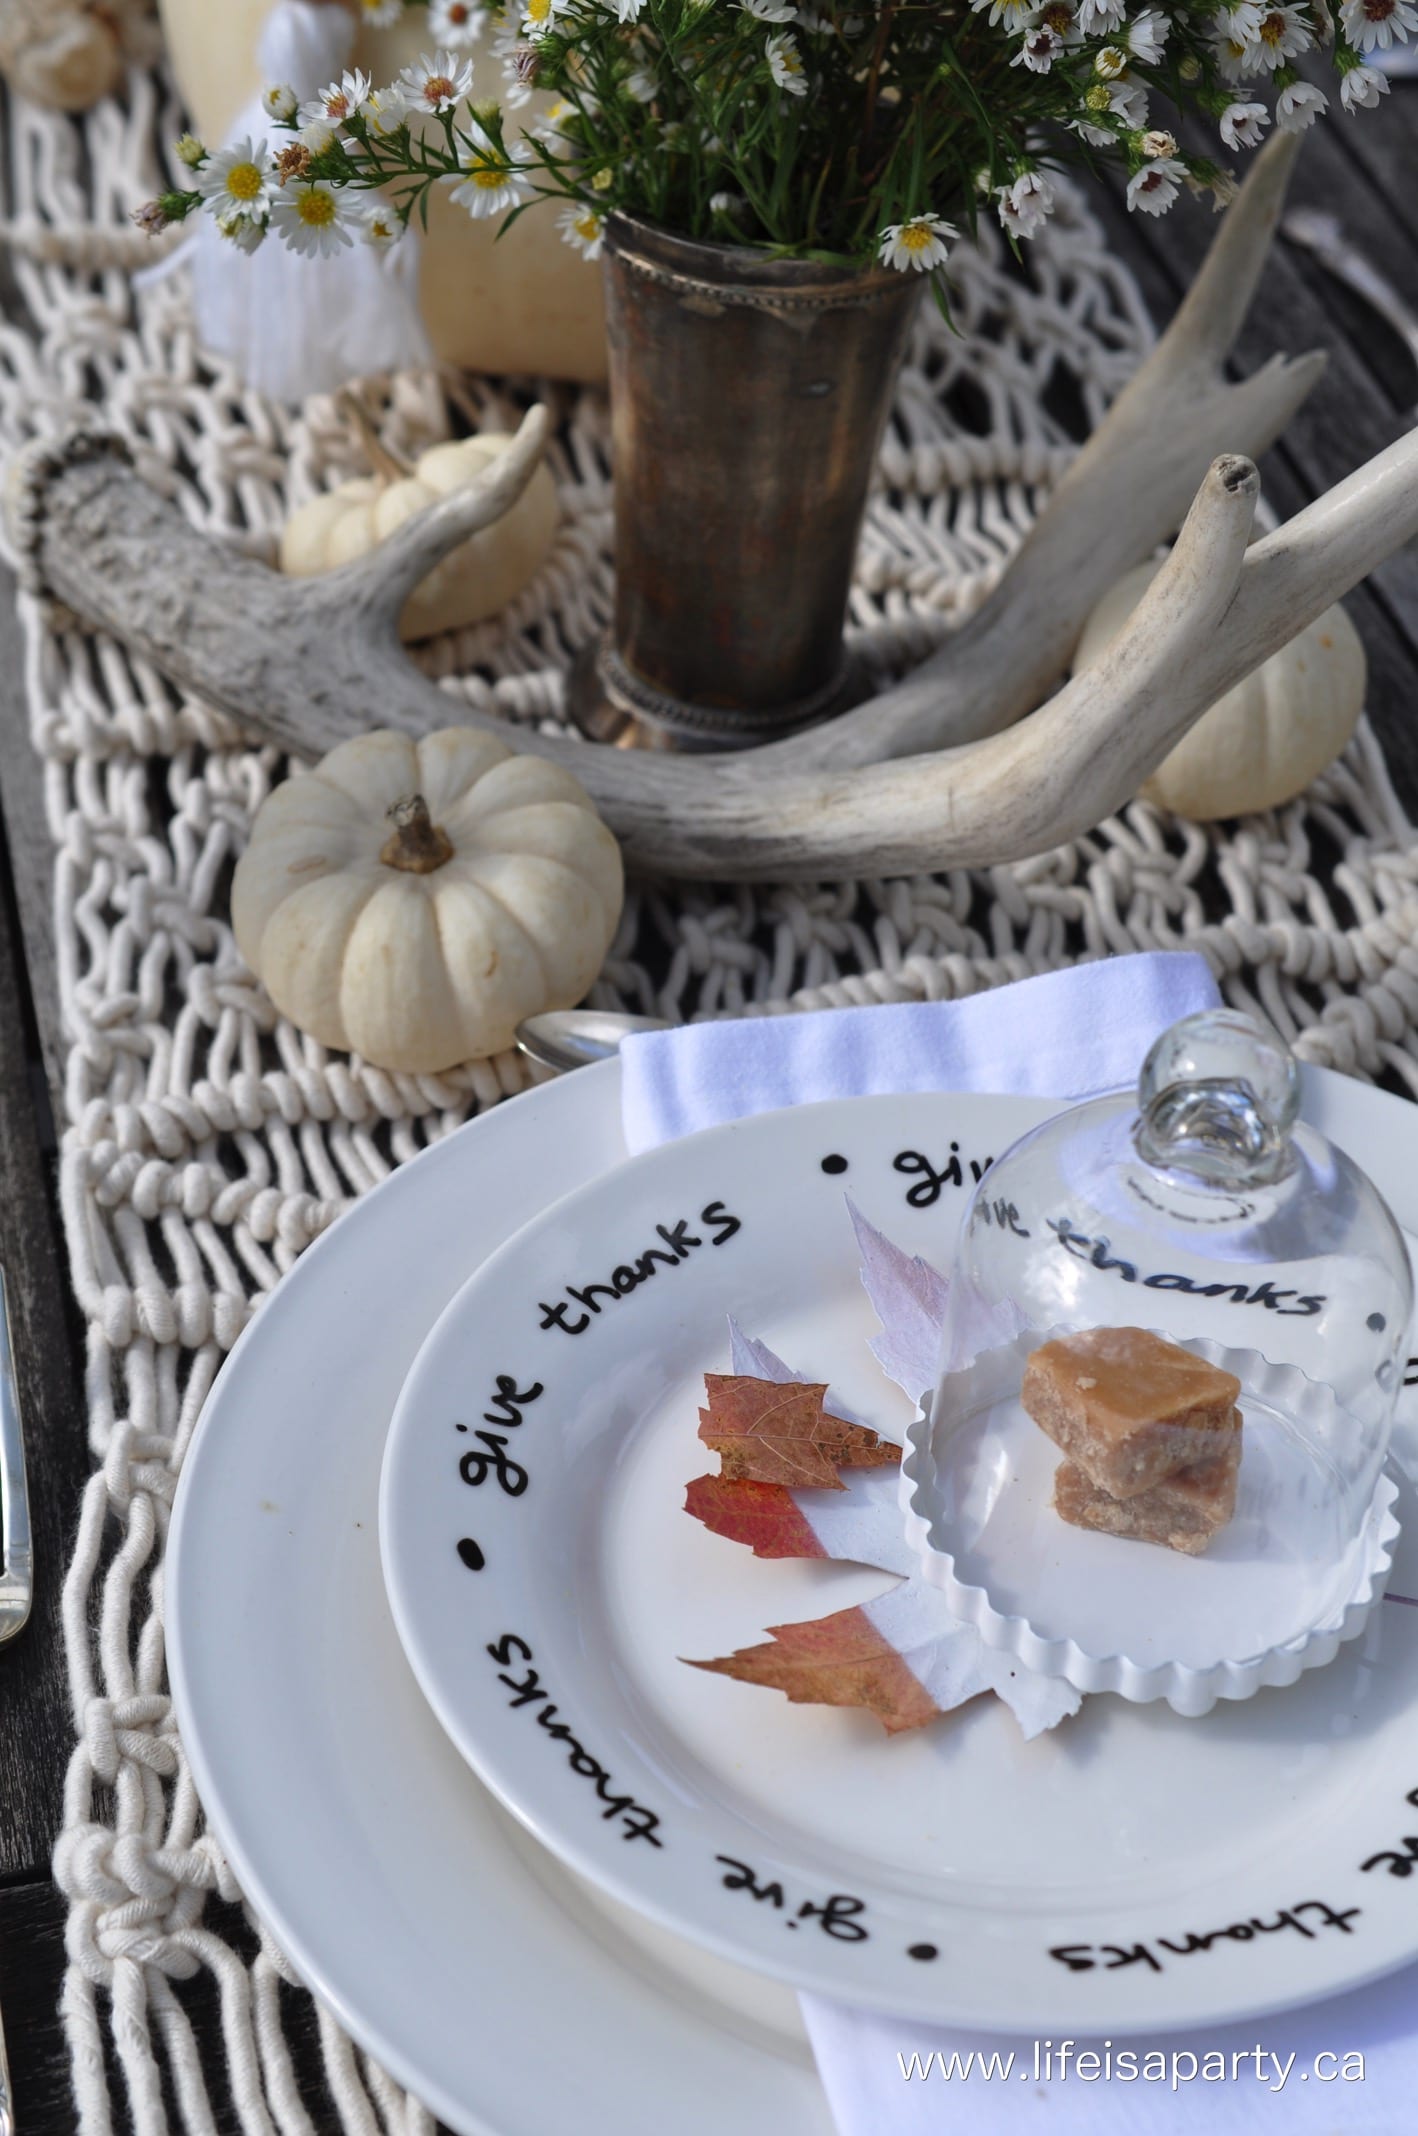
You might also like our DIY "Give Thanks" plates here.
Also check out our Ho Ho Ho Hot Chocolate Bar here.
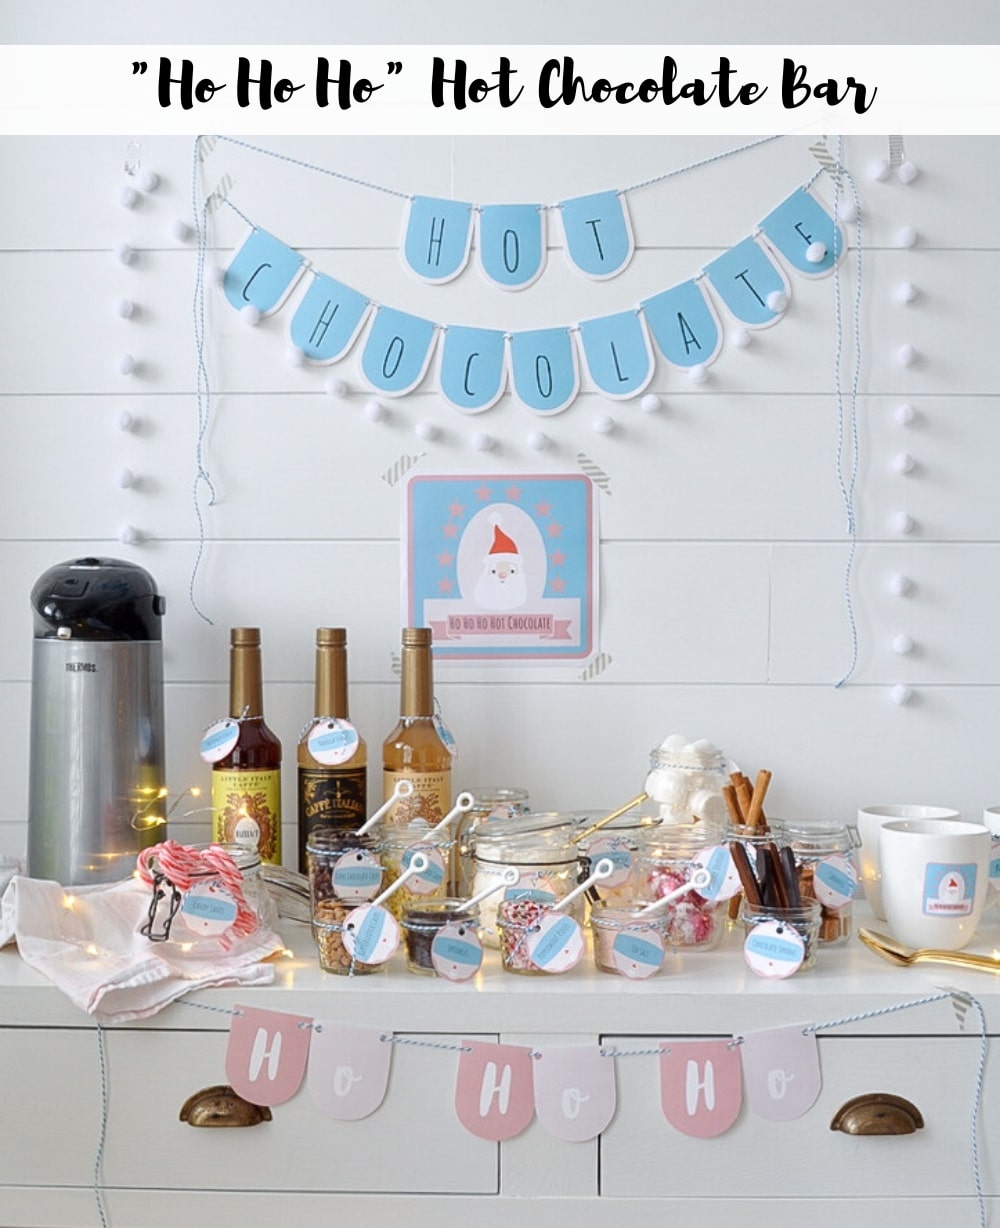
Ho Ho Ho Hot Chocolate Bar: set up the perfect Christmas hot chocolate bar with our printable package that includes labels, poster, bunting, and more.

More DIY and Craft Project Ideas

  • Everlasting gingerbread houses made from gingerbread salt dough.
    Easy Salt Dough Gingerbread Recipe for Houses and Ornaments
  • Cricut gingerbread decor felt gingerbread house banner and gingerbread canister with vinyl gingerbread houses
    DIY Gingerbread Decor Ideas To Make With Your Cricut
  • DIY paper Christmas cloche cricut
    DIY Paper Christmas Cloche Lantern with Free Cricut Pattern
  • DIY velvet acorn
    How To Make DIY Velvet Acorns

Reader Interactions

Comments

  1. dnr says

    September 26, 2018 at 12:23 am

    Diane, thanks so much. At least you'll know for next time. 😉
    Best,
    Dannyelle

  2. Diane Livingston says

    September 15, 2018 at 12:10 pm

    So much nicer than paint pens. WOW wish I had seen this a long time ago.

  3. dnr says

    December 07, 2014 at 6:50 pm

    Thanks Lisa!

  4. Lisa Green says

    December 07, 2014 at 5:45 pm

    The mugs are darling!

  5. dnr says

    December 06, 2014 at 9:25 pm

    Thanks Danielle, they're fun to make, enjoy!
    Dannyelle

  6. dadriscoll says

    December 06, 2014 at 5:36 pm

    Love these! I want to try and make these with my boys. x

Leave a Reply

Your email address will not be published. Required fields are marked *

Recipe Rating


Primary Sidebar

Welcome!

Life is a Party is all about helping you celebrate everyday with great food, entertaining and party inspiration, and seasonal crafts and home decor inspired by the holidays.

More About Dannyelle

Trending Recipes

  • Mac and cheese with panko breadcrumb topping.
    Best Homemade Mac and Cheese with Panko Breadcrumb Topping
  • Homemade iced capps in glasses on a wood table.
    Tim Hortons Copycat Iced Capp Recipe
  • Dirt Pudding no cream cheese in glasses with candy rocks, and fresh mint that looks like a little plant.
    Easy Dirt Pudding Recipe without Cream Cheese
  • Easy 3 ingredient coconut milkshake recipe.
    Easy Coconut Milkshake Recipe
  • Easy food processor scones on a plate with jam.
    Easy Food Processor Scones
  • Small batch pancakes for two.
    Easy Small Batch Pancakes For Two Recipe

Back To School Ideas

  • Back to school party ideas of table decorations, apple balloons, book garland, and smart cookies with glasses.
    Back To School Party Ideas
  • Back to School themed foods snacks and treats.
    Easy and Cute Back To School Themed Foods and Treats
  • Back to school snack mix trail mix recipe.
    Easy Back To School Snack Mix Recipe
  • Back to school free printables including bunting, pencil boxes, party hats and more all set up at a children's tablescape.
    Back To School Free Printables Pack
  • smart cookie party
    Smart Cookie Party
  • Book themed party with DIY decorations like book page wreath, mini book bunting, and book page table runner.
    Book Themed Party

Fall Ideas

  • Fall breakfast board
    Fall Breakfast Charcuterie Board
  • Halloween witch decorations
    Witch Halloween Decor
  • fall home decor
    Fall Decorating Ideas -Home Tour
  • Modern Boho fall mantel ideas.
    Modern Boho Fall Mantel Ideas
  • Homemade pink candy apples on a cutting board.
    How To Make Pink Candy Apples
  • Pink Halloween party and decorations with pink treats snack table.
    Pink Halloween Party

  • Subscribe
  • Recipe Index
  • Parties & Entertaining
  • Back To School
  • Free Resource Library

Footer

back to top

as seen in:

Better Homes and Garden Logo
American Farmhouse Style logo.
Apartment Therapy logo.

About

  • Privacy Policy
  • About

Subscribe

  • Sign Up! for emails and updates

Contact

  • Contact

As an Amazon Associate I earn from qualifying purchases.

Copyright © 2025 Life is a Party

Share484
Pin348
Post
Share484
Pin348
Post