DIY Pineapple Art: A tutorial for inexpensive art work, made with a dollar store wooden canvas, scrapbook paper, and Mod Podge -Pattern included.

This summer I've spotted lots of pineapples in home decor, and I'm falling in love with them. I especially love the bright colours I've been seeing them in. This DIY pineapple art is a really inexpensive art piece. It's perfect for a fun, colourful bit of summer whimsical decor.
Materials:
This month for the #12MonthsOfDIY challenge we got to work with Mod Podge, and that's what I used to create this piece. #MayModPodge
- ModPodge
- wood canvas
- stain cloths
- carbon paper
- scrapbook paper in pinks and greens
- ruler
- scissors
- pattern

How To Make DIY Pineapple Art:
1. Staining the Canvas
I started out with a wooden canvas, from the dollar store. To finish the wood, I applied a little stain to the unfinished wood. I used a stain wipe, and they're great because you can use one and re-seal the package for another time. They're easy to use, with no brush to clean up, just be sure to wear gloves -or wrap your hand in a plastic bag if you have no gloves, like me. 😉
2. Cutting the Scrapbook Paper
While your stain is drying, you can start cutting out your triangles. Use the pattern I've supplied here -you'll need about 35 pieces for the bottom, and about 22 for the top. I used different shades of green and pink, but any colour combo would work -traditional yellow, or maybe teal?

3. Transferring The Pattern
Once the stain is dry, use your carbon paper (remember your teacher using these when you were a kid, to make worksheets before the days of photocopiers?). Just tape it onto the wooden canvas, and tape the pattern on top. Use tape instead of just trying to hold it so that it doesn't move at all when your tracing with it.
Now, using the pattern, go over all the lines with a sharp pencil, and a ruler to transfer the pattern onto the wood. Once you've traced it all, remove the carbon paper and the pattern, and the pineapple grid should be on the wooden canvas.

4. ModPodge The Pieces
Now using the pattern as a guide, Mod Podge each triangle onto the wooden canvas.
Use a brush to apply Mod Podge underneath the paper as a glue and over the top of the paper as a sealer. The triangles aren't equal on all sides, so take care to line them up properly on the grid pattern. Don't worry too much if there's a few gaps, or if things don't line up perfectly, it won't be that noticeable when you're all finished.
I just applied the sealer top coat to the pineapple and not the wood around it, since I like the matte finish of the stain.

I also used a bit of glitter paper in mine for a little added sparkle.

This little pineapple art piece has summer written all over it!

With inexpensive DIY Pineapple Art, life really is a party!
More Inspiration
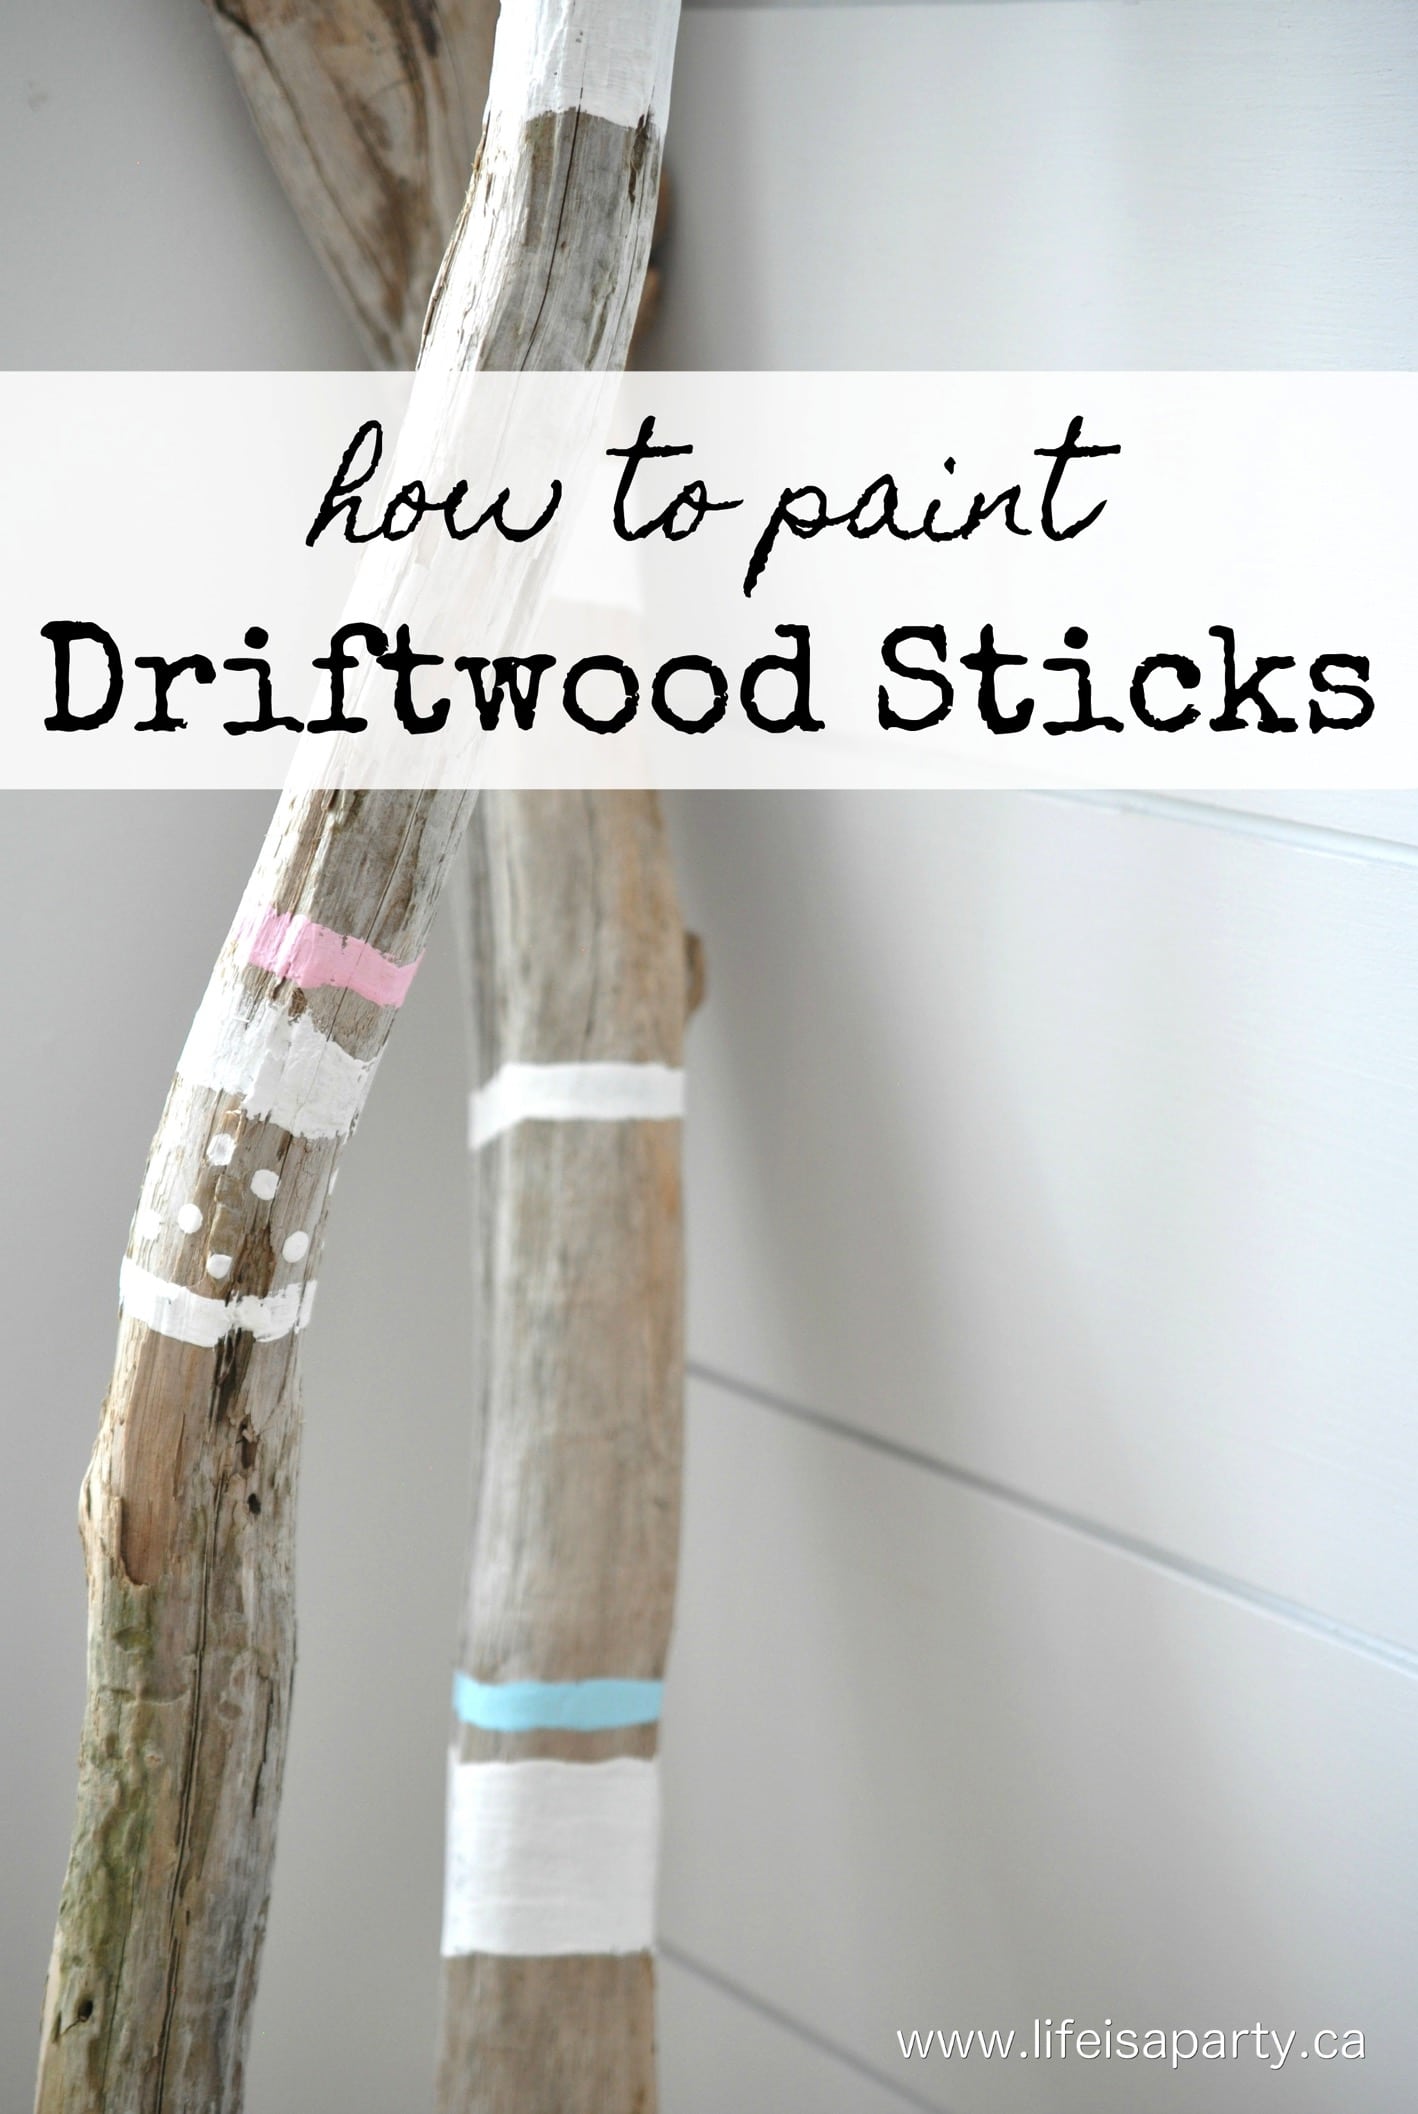
You might also like our Boho Painted Driftwood Sticks here.
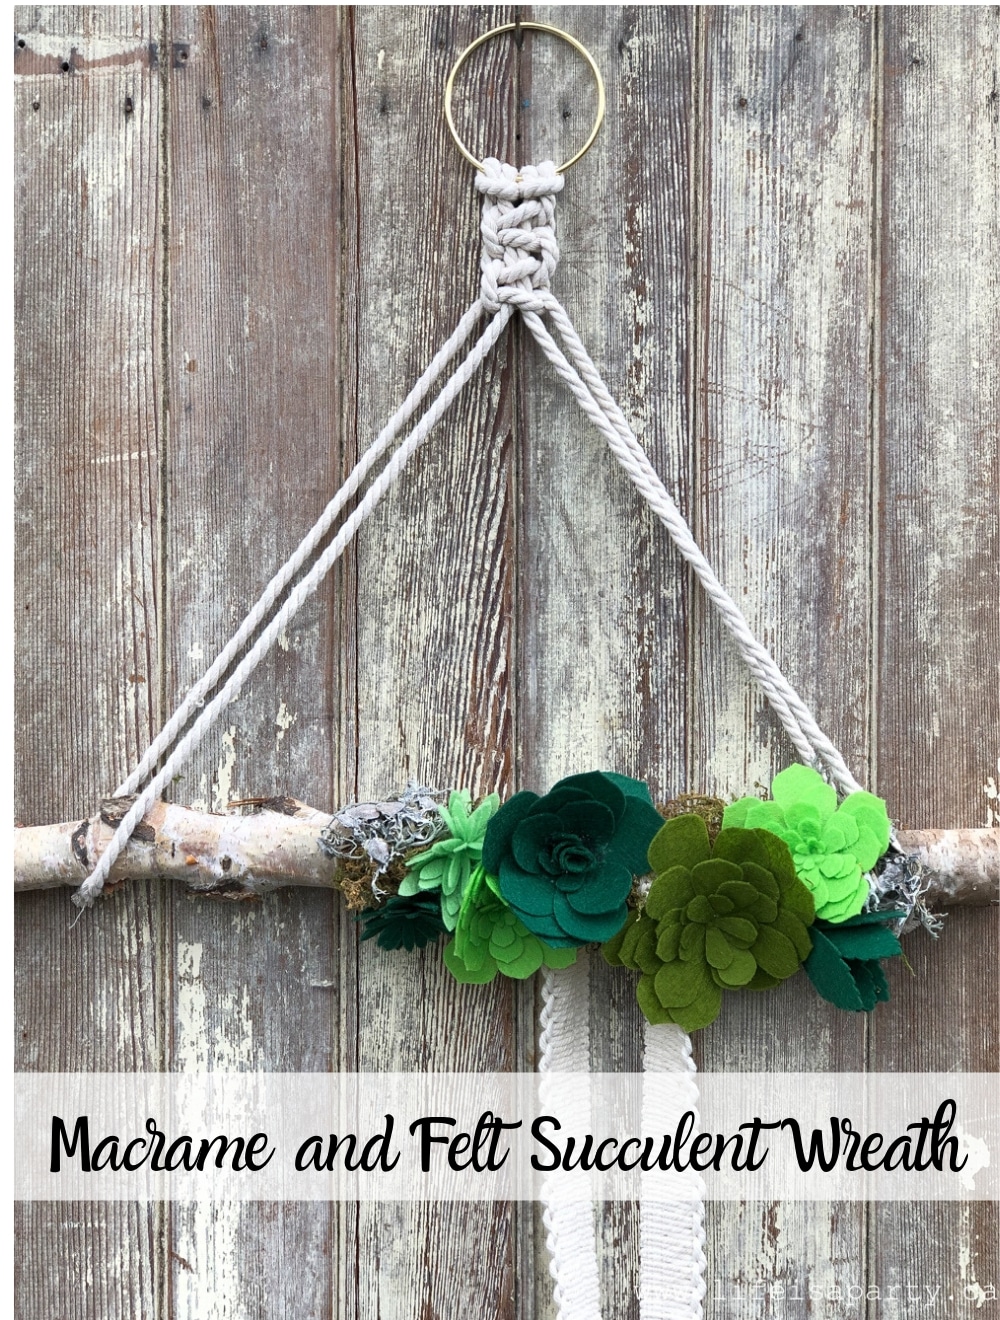
Also check out our Macrame and Felt Succulent Wreath here.
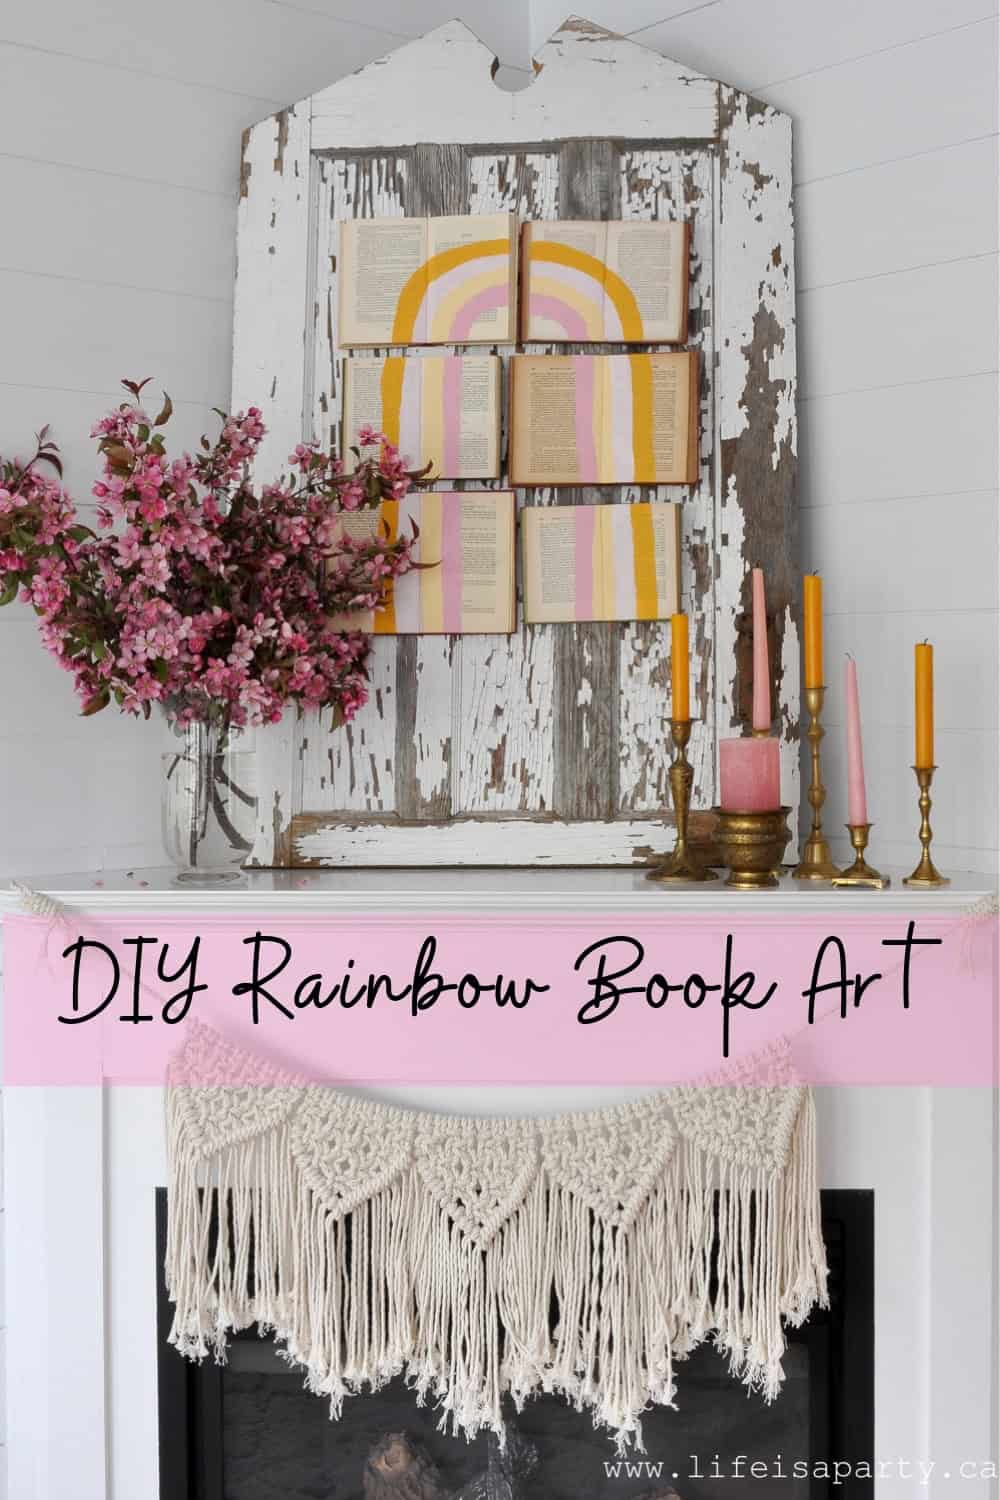
You might also enjoy our DIY Rainbow Wall Art here.


Jen @ Fresh Crush says
Super cute idea! I love pineapples too. 😉
dnr says
Love that idea, I'll be looking out for a picture of your project. It's the summer of pineapples, haha.
Dannyelle.
Sonja @SustainMyCraftHabit says
I actually have an old pineapple shaped cutting board that I've hung on my wall because I just can't part with it. Thanks for the idea...I'm going to add some fun, colourful paper to it!
dnr says
Thanks Joann, it's a lot of colour for this neutral girl, but defiantly fun for summer.
Dannyelle
Joann @ Woman In Real Life says
I am in love with this project! It's so pretty and fun and colourful! Love the inexpensive materials too. Great idea!
dnr says
Thea,
Thanks. The glitter paper still looked great and glittery after the mod podge, so glitter away, lol.
Dannyelle
dnr says
Heather,
A cup of tea helped, but I have to admit it was cold by the time I finished, lol.
Dannyelle
dnr says
Thanks Laurie,
Summer colour for sure, and who doesn't love a little glitter, right?
Dannyelle
dnr says
thanks Ariel, kind of fun and colourful for summer.
Dannyelle
dnr says
Christina, ...right, I really want one of the ceramic ones, but this is much cheaper. 😉
Dannyelle
Thea says
What a fun project! I love these kinds of crafts! It really looks like a mosaic. Your instructions were excellent. I do have a question. I see you used a glitter paper. How did it look after you put Mod Podge on it?
Heather @ New House New Home says
You make it look so simple!! But putting that pattern together would be quite complex - love it!!
Laurie @ Vin'yet Etc. says
This mod podge is pretty cool stuff, the projects you can make with it are kind of limitless, aren't they? I love what you did, it's such a neat way to add some colour (and a bit of sparkle) to say a summer tablescape, or your porch, fun!
Christina @ The DIY Mommy says
This is so fun! Pineapples are starting to grow on me... 🙂
Ariel says
This is a great take on the ever popular pineapple! Great idea 🙂