DIY Garden Ideas On A Budget -decorate your outdoor spaces on a budget with these easy and inexpensive project ideas using your Cricut.
Jump to:
Outdoor Spaces On A Budget
The weather outside is beautiful, and it's time to get into the garden. Today I'm sharing three DIY garden ideas on a budget to add a little life to your outdoor space without breaking the bank. These simple ideas are easy to make with your Cricut Maker, and add so much personalization to your garden space. I'll show you how to create easy garden art for your space, how to make personalized garden markers, and how to decorate your garden pots with fun says, all using your Cricut Maker. Don't have your own Cricut machine? In my area they're available for use at the local library in the makerspace, so that might be a great option for you as well.
How To Make Garden Art
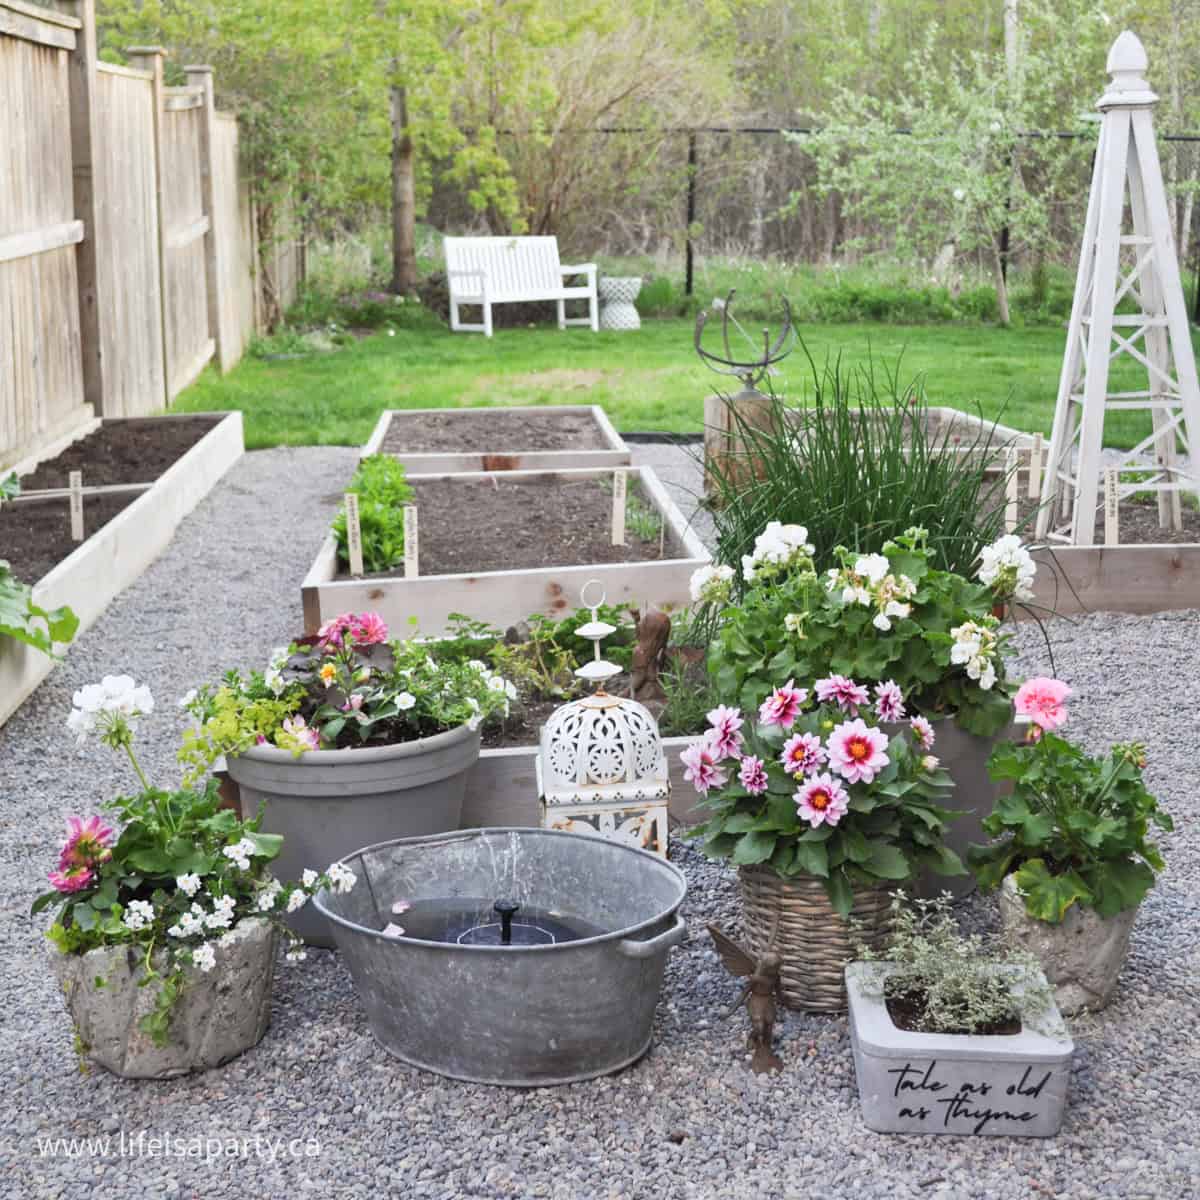
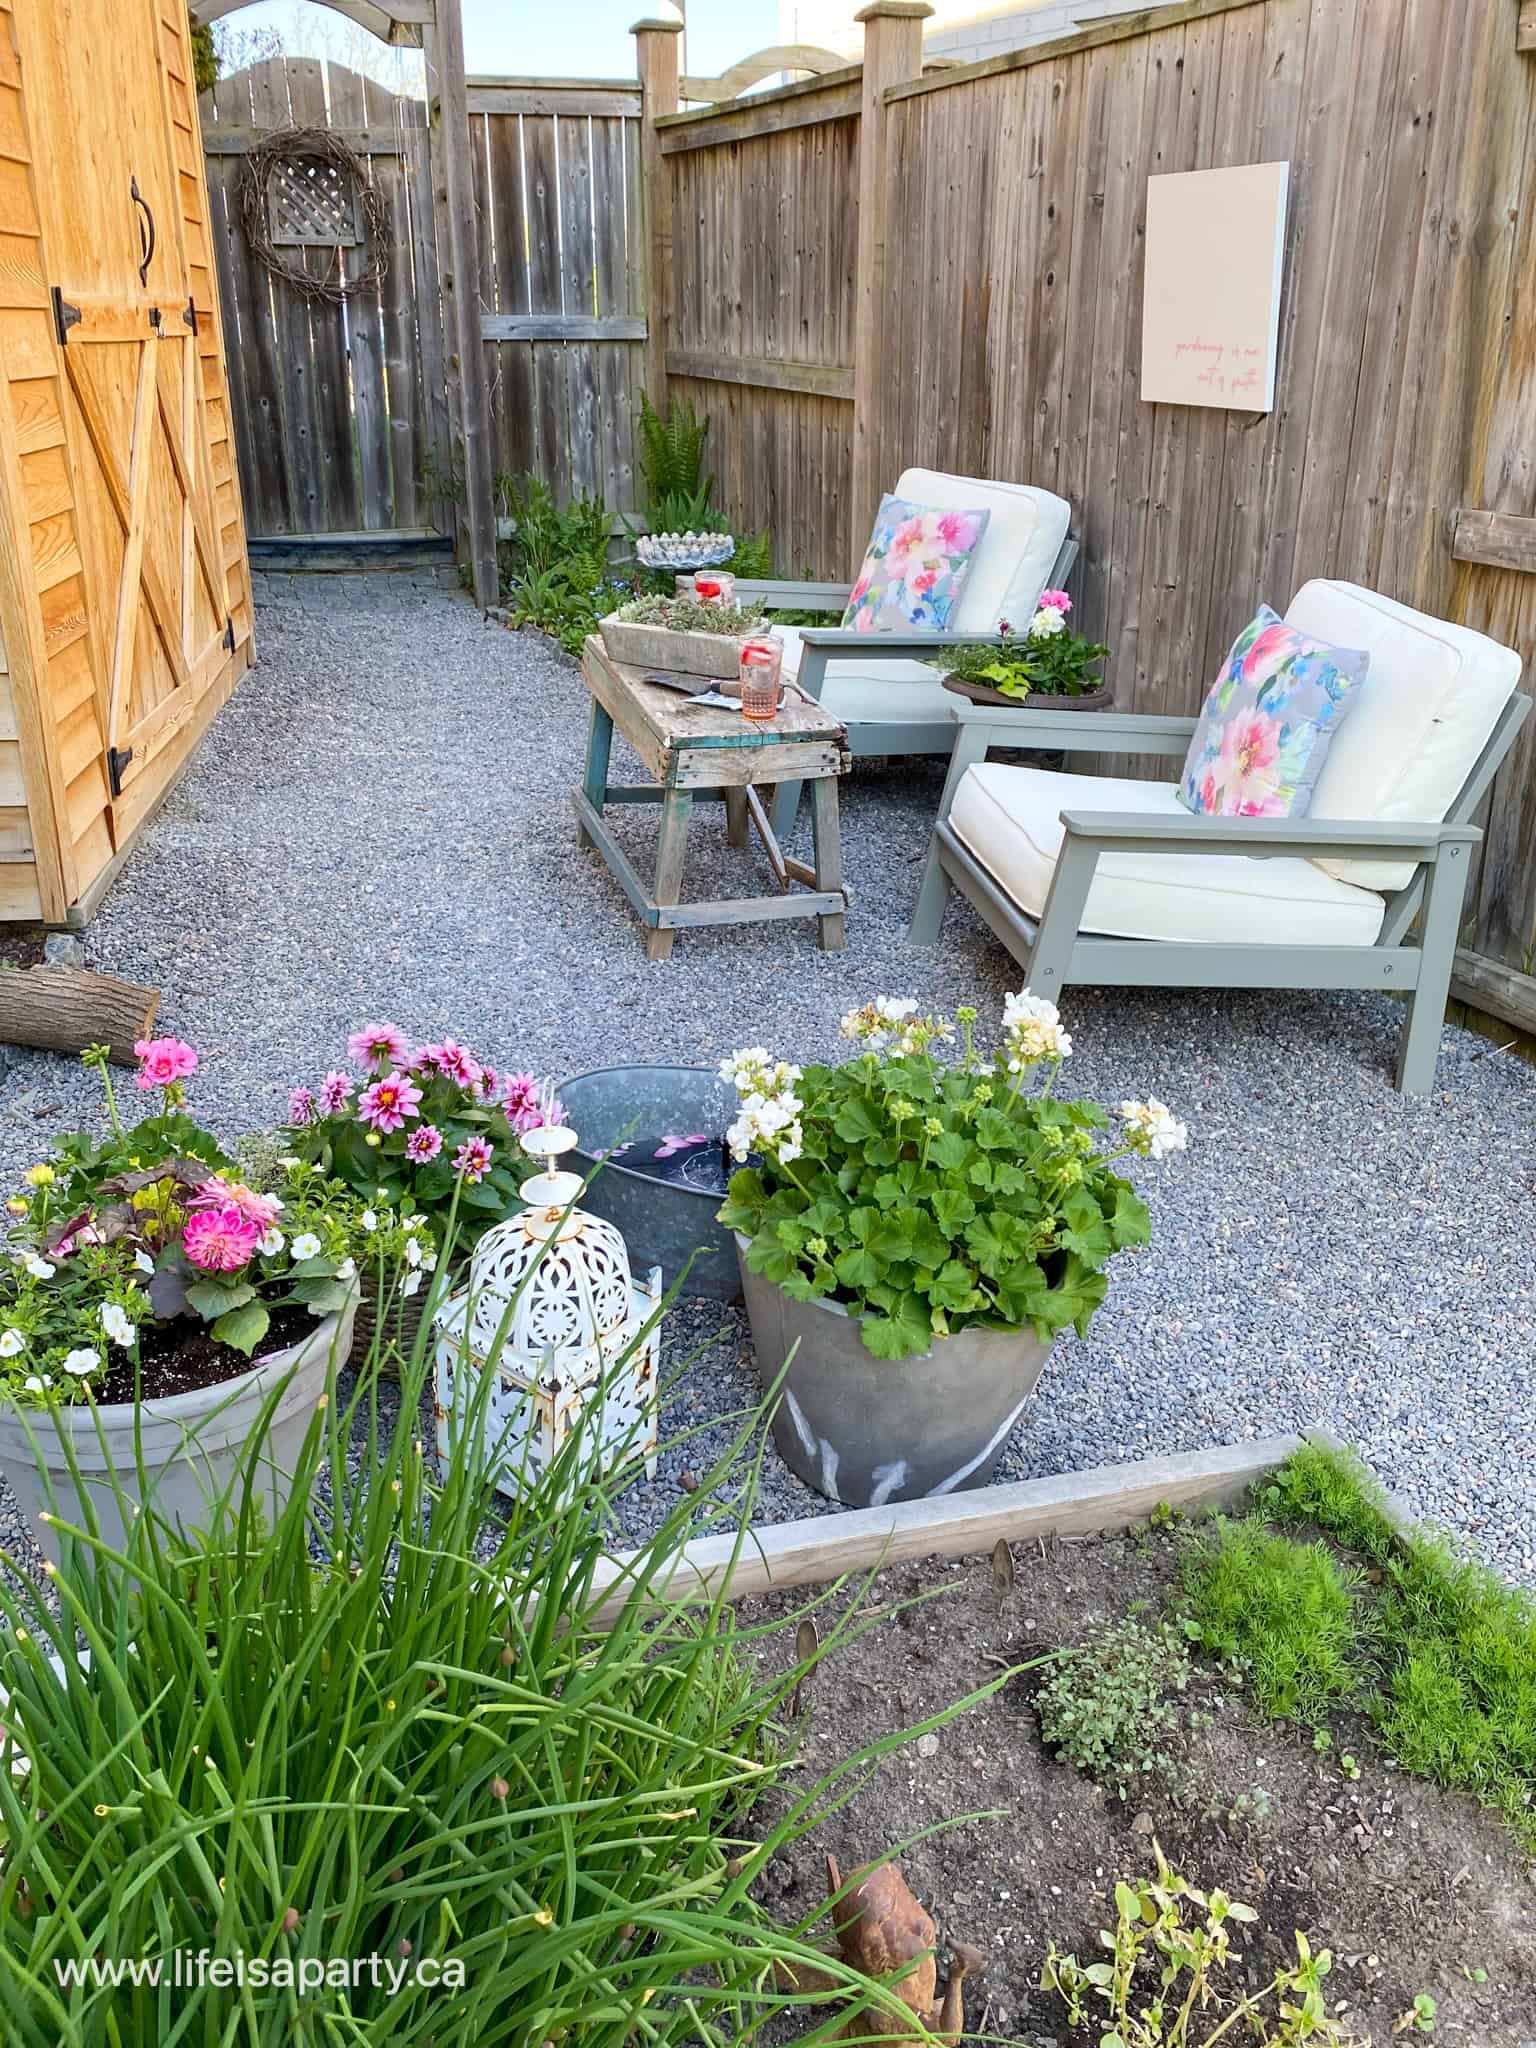
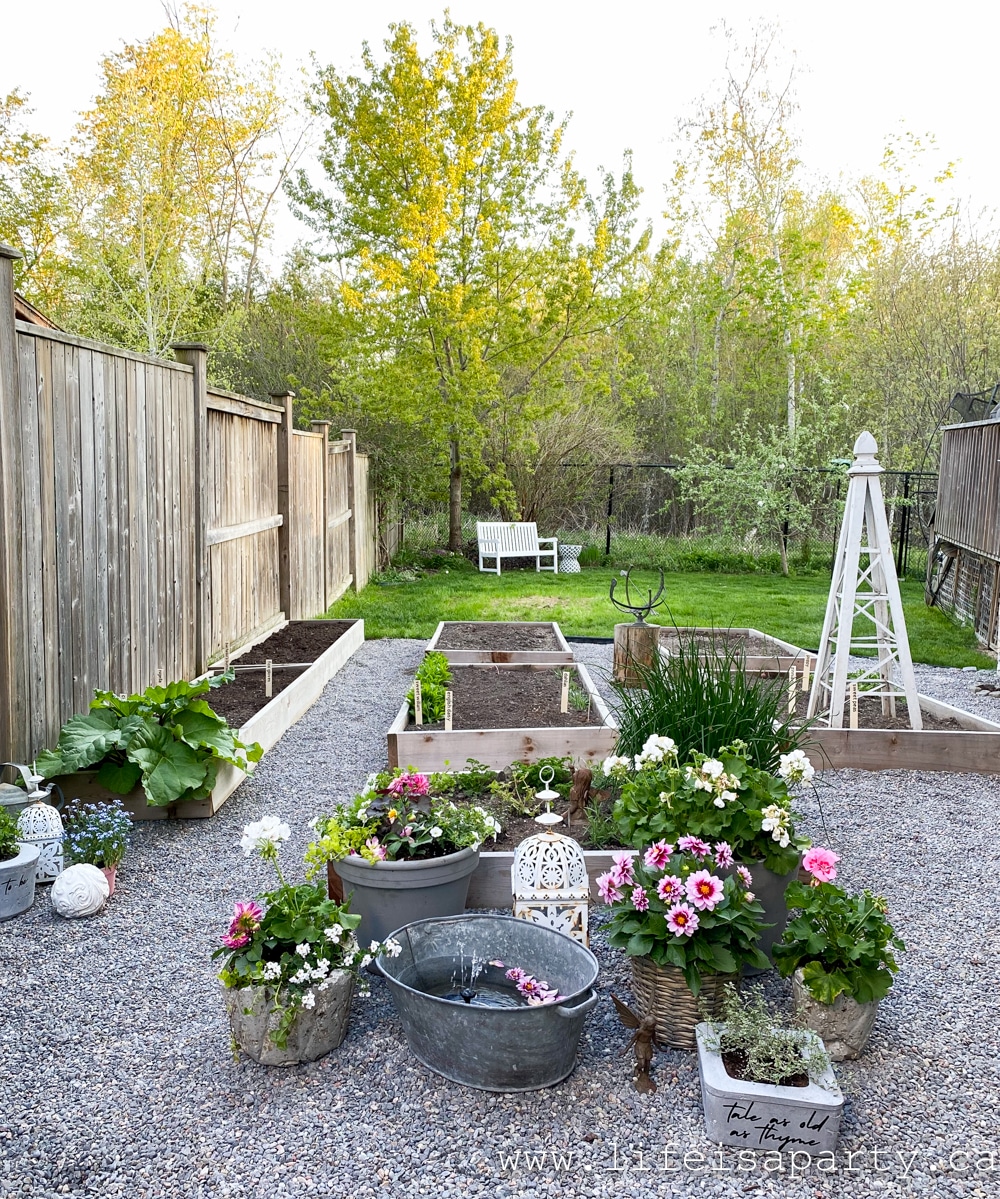
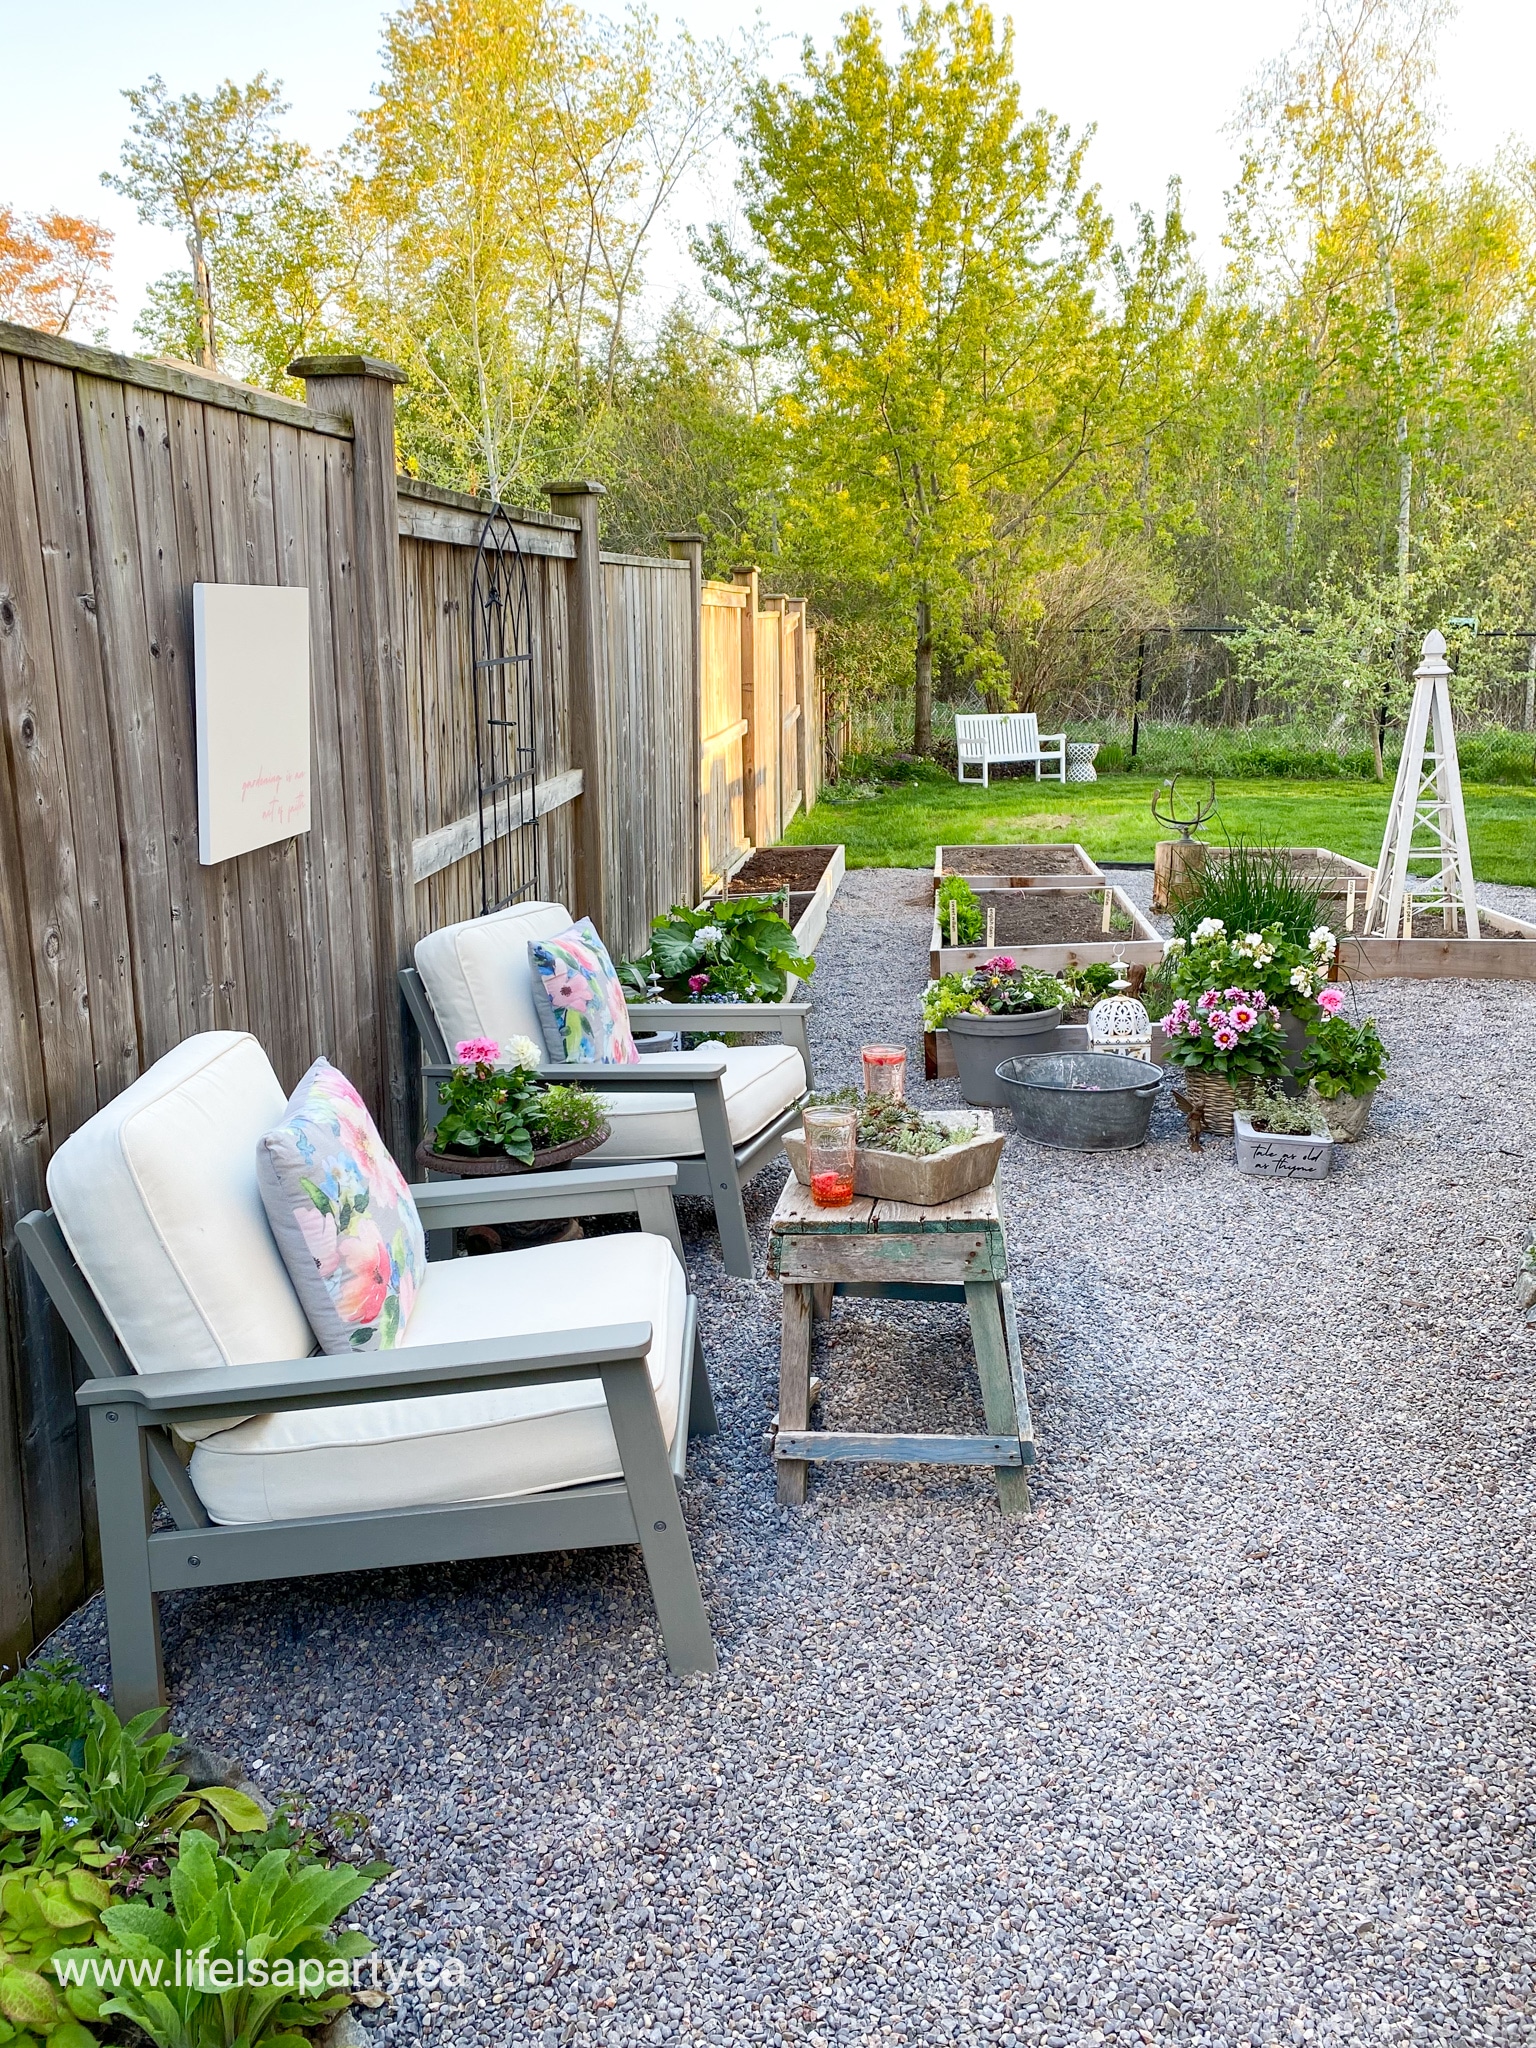
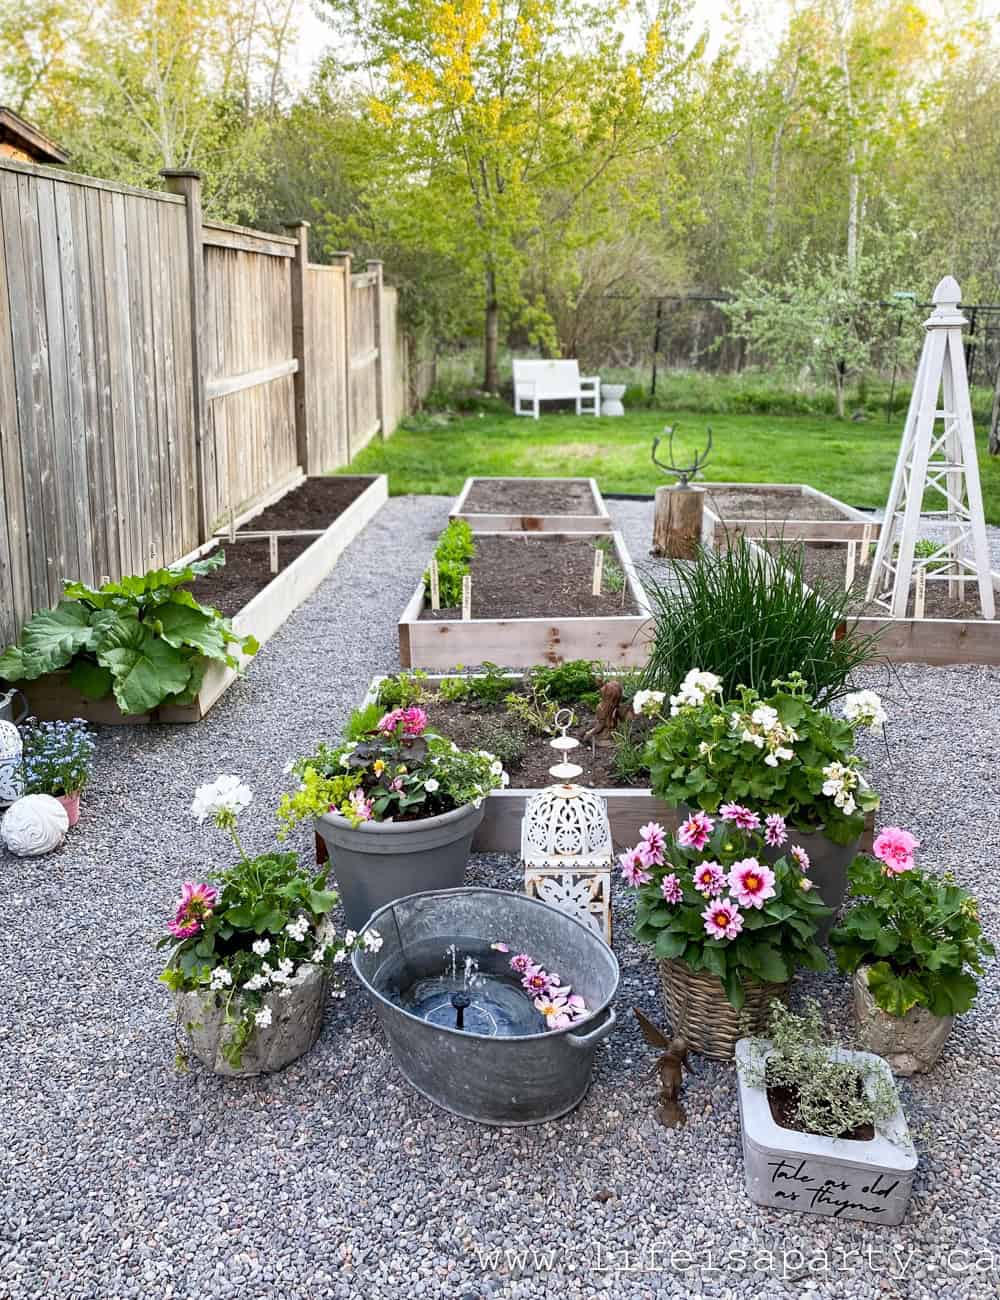
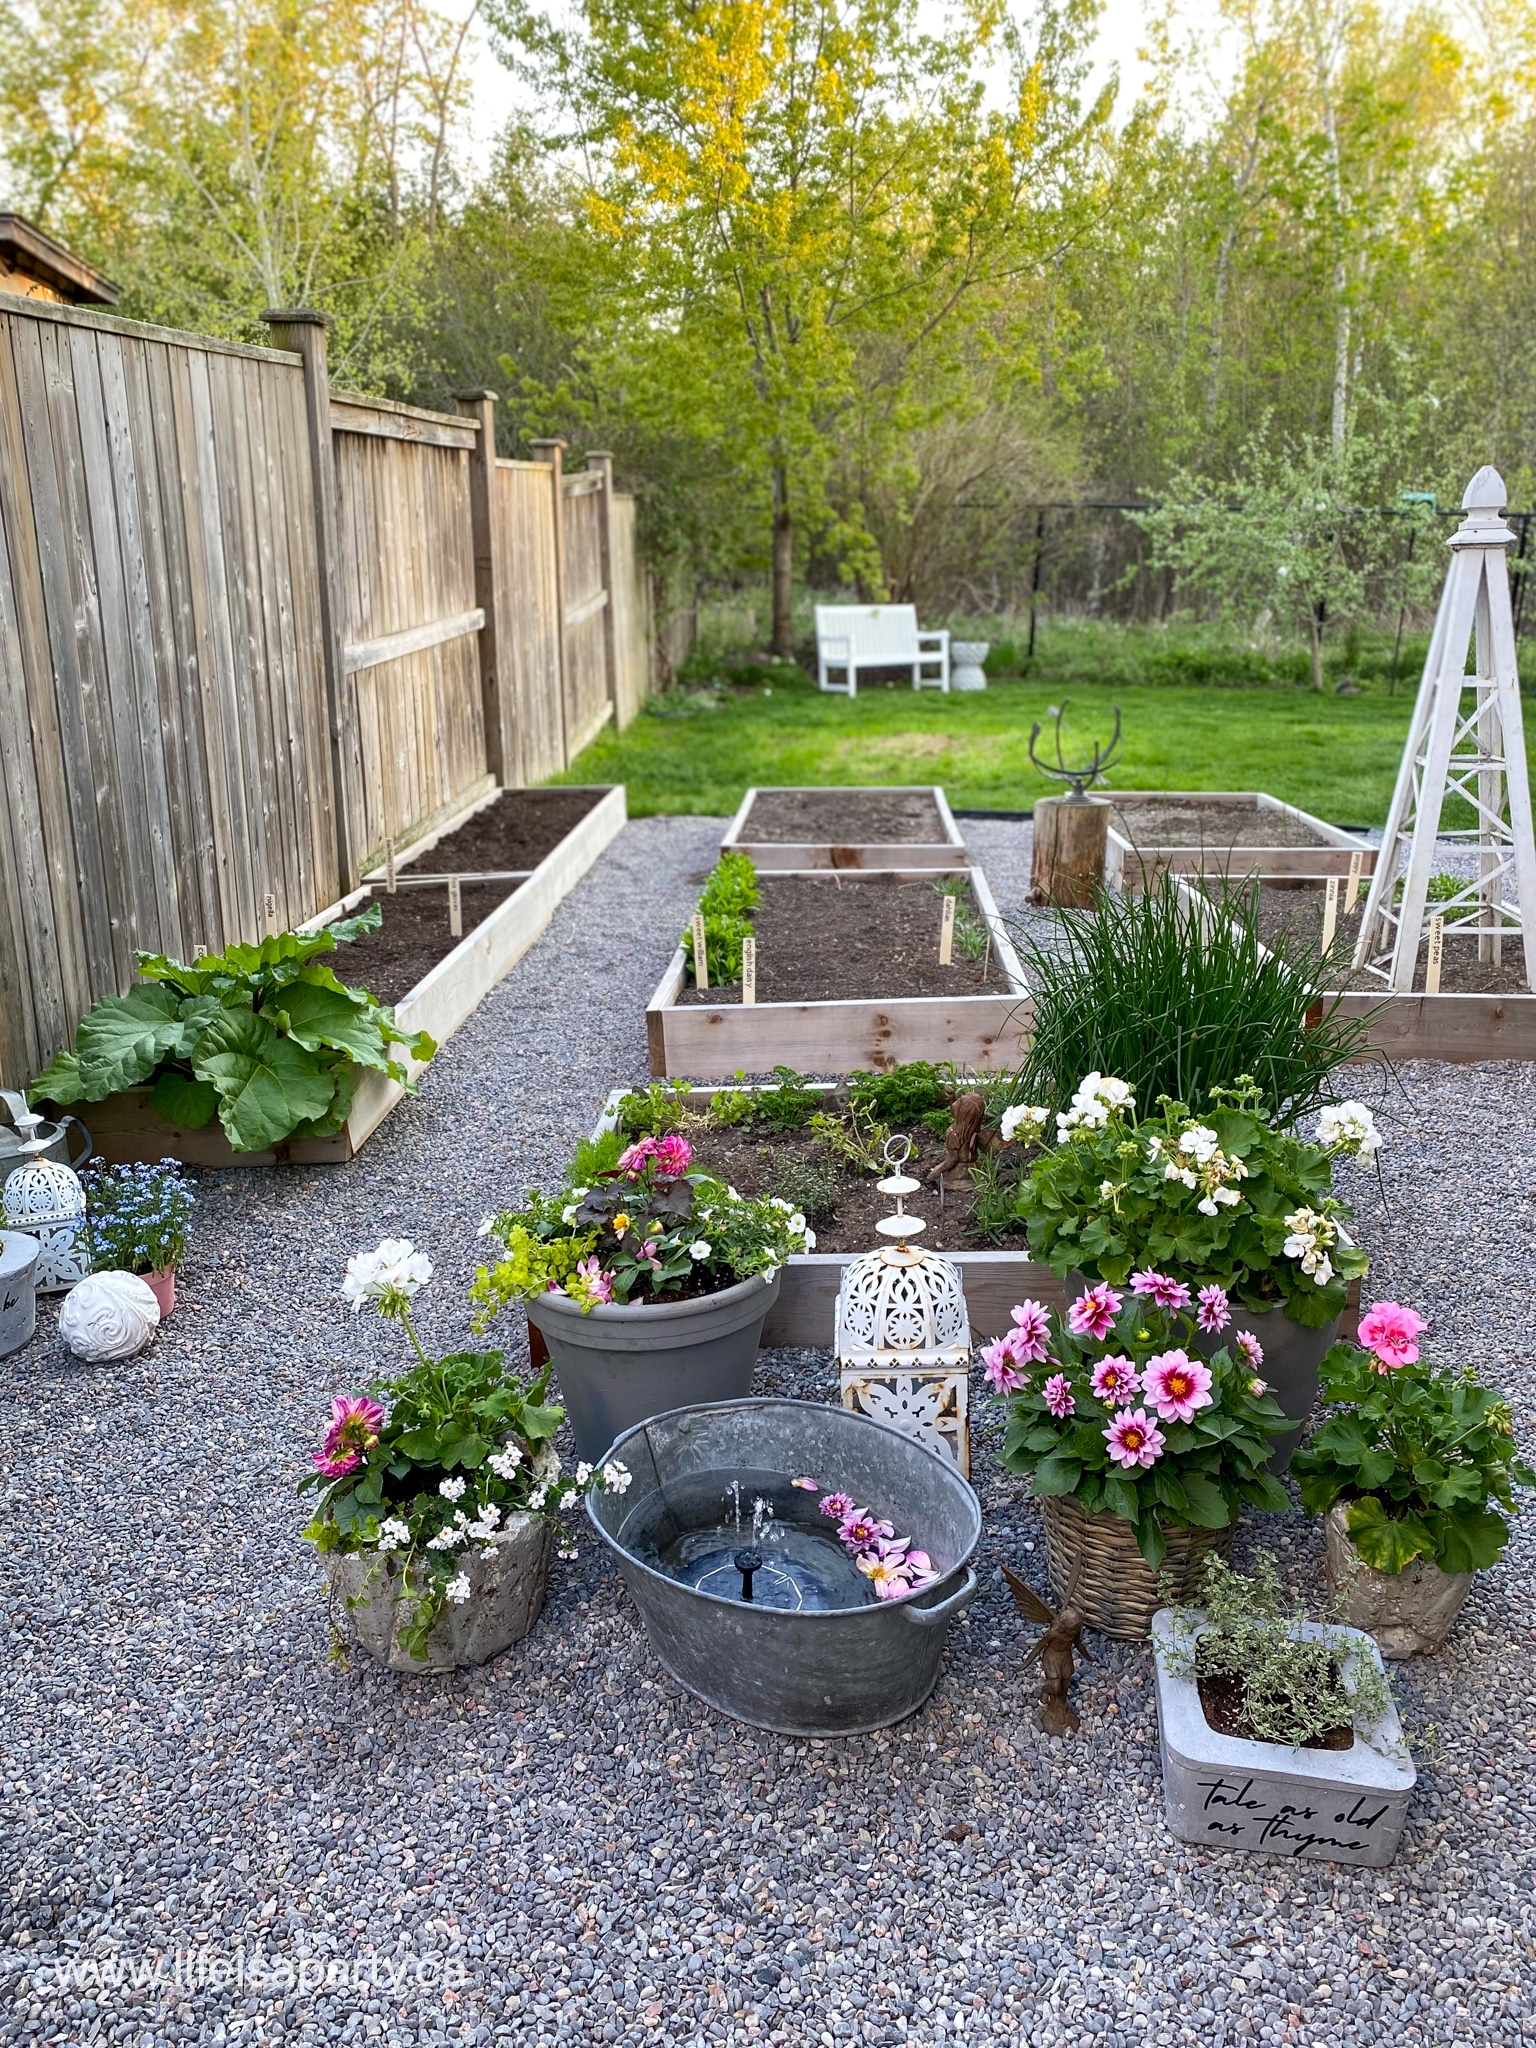
We worked on this area of our garden last spring, and took it from a somewhat boring and mostly unused side yard to a beautiful portager garden that we love to spend time in. Read all about the progress of making this garden here. When I was creating this space, I knew I wanted to include a little seating area so that we could really enjoy the herbs, veggies, and flowers growing here.
Why Add Outdoor Art?
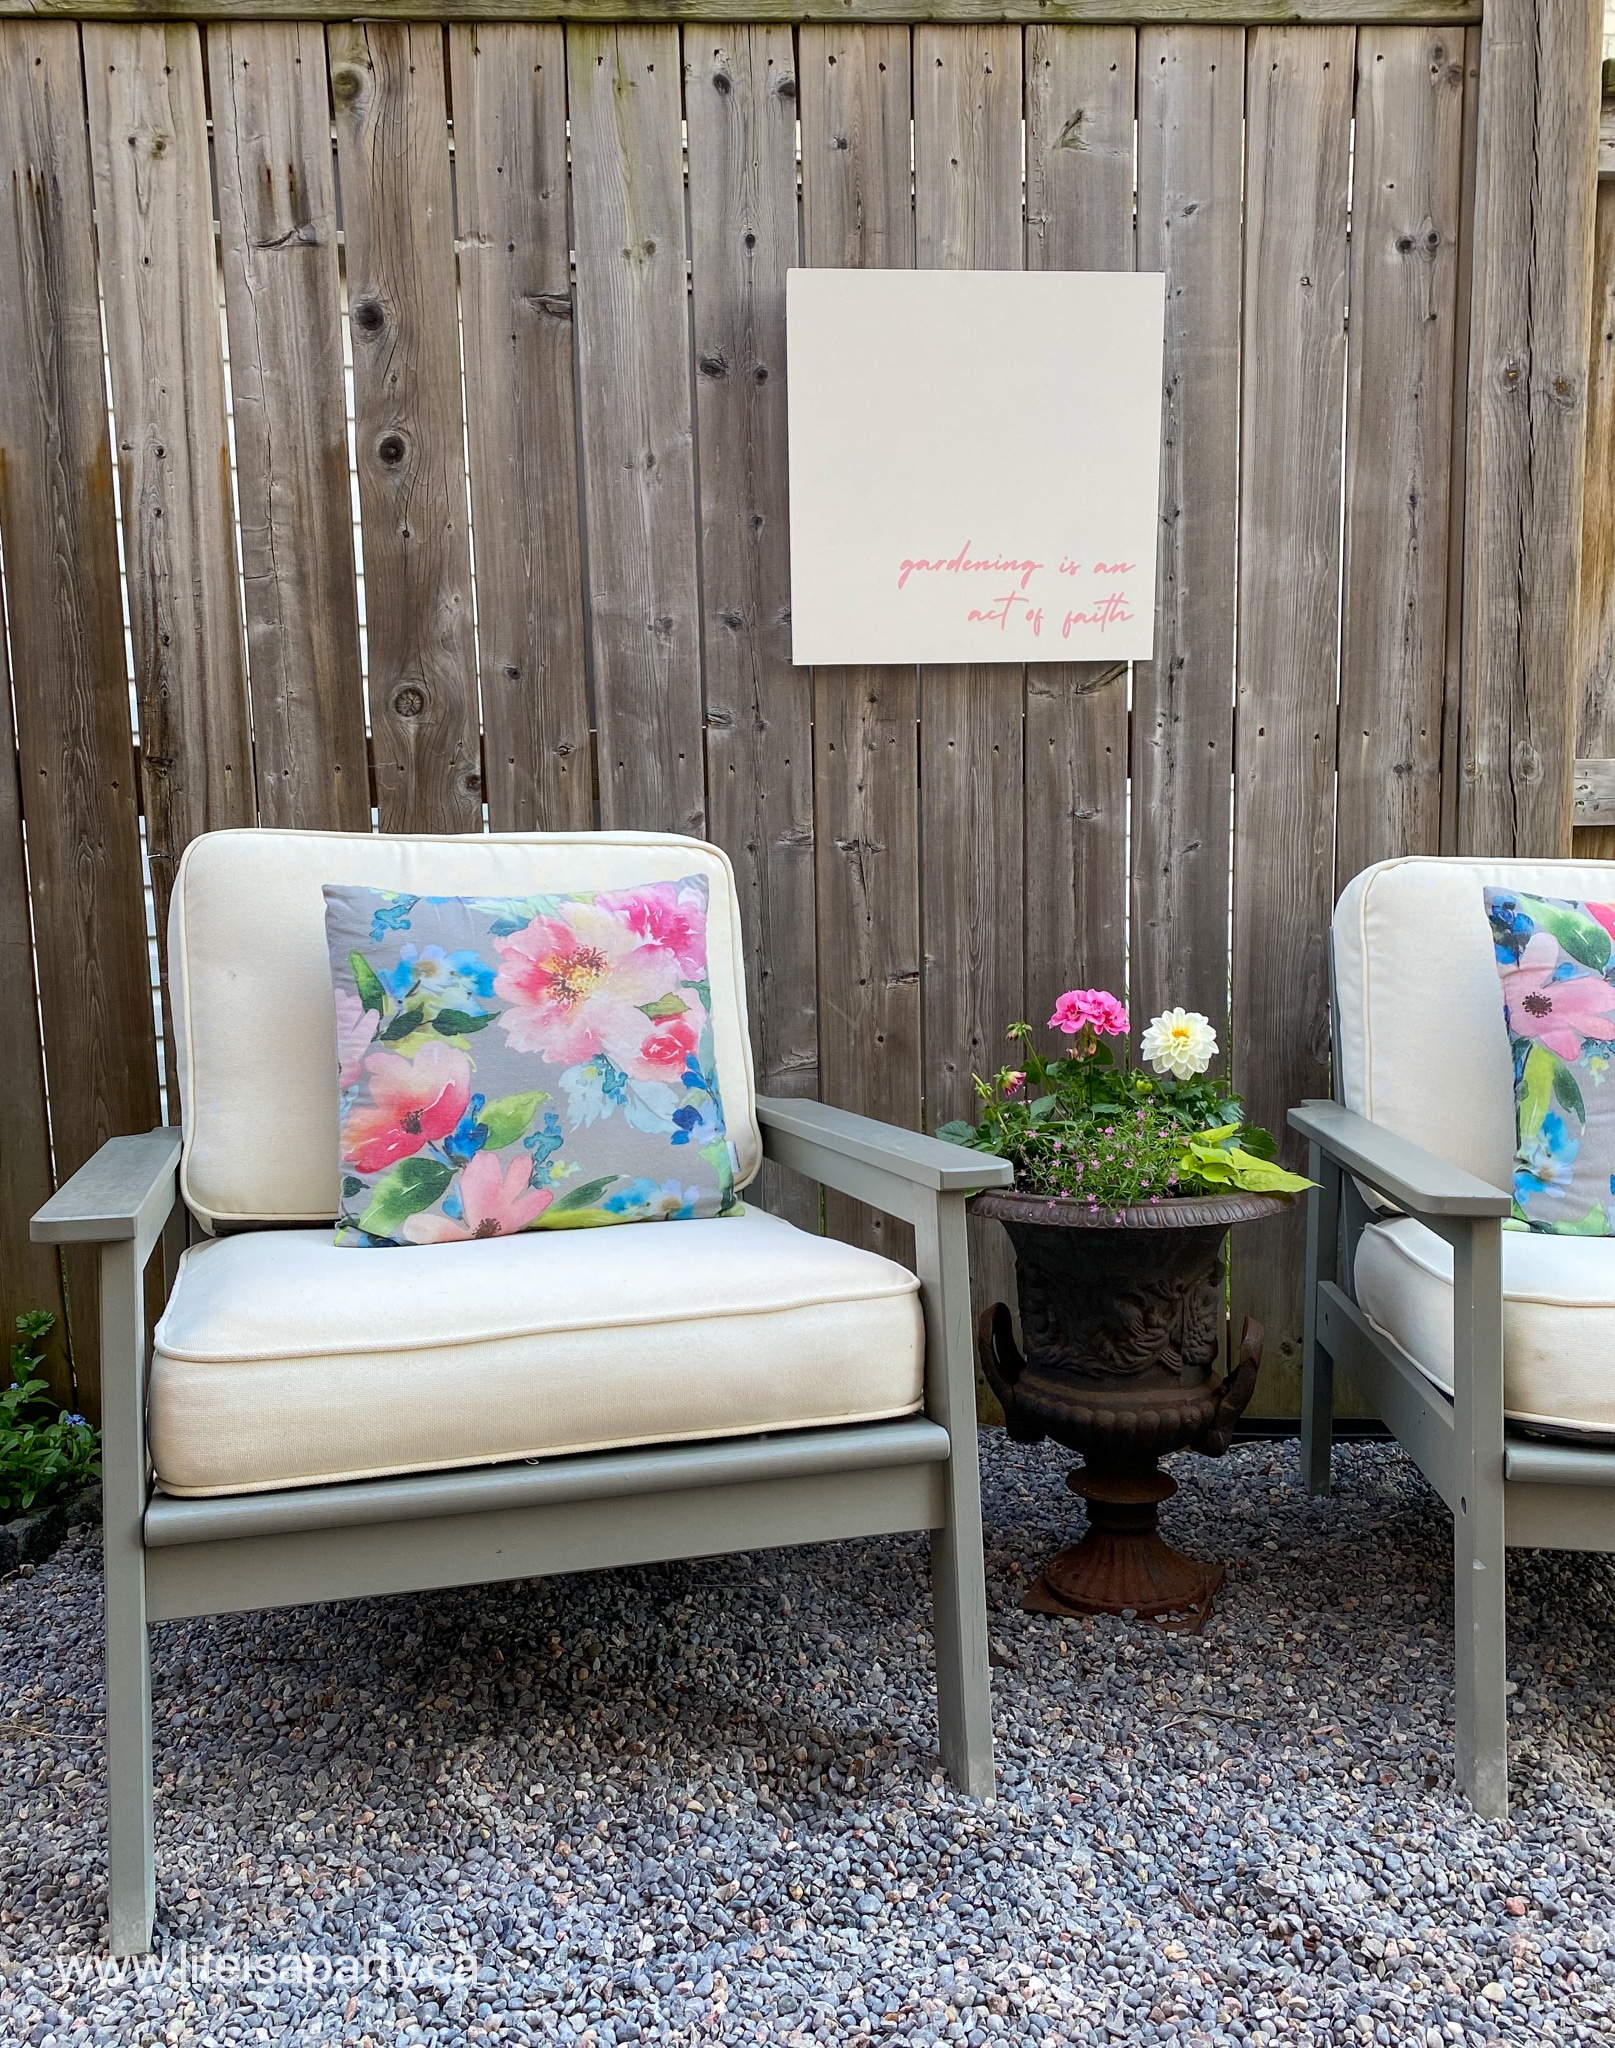
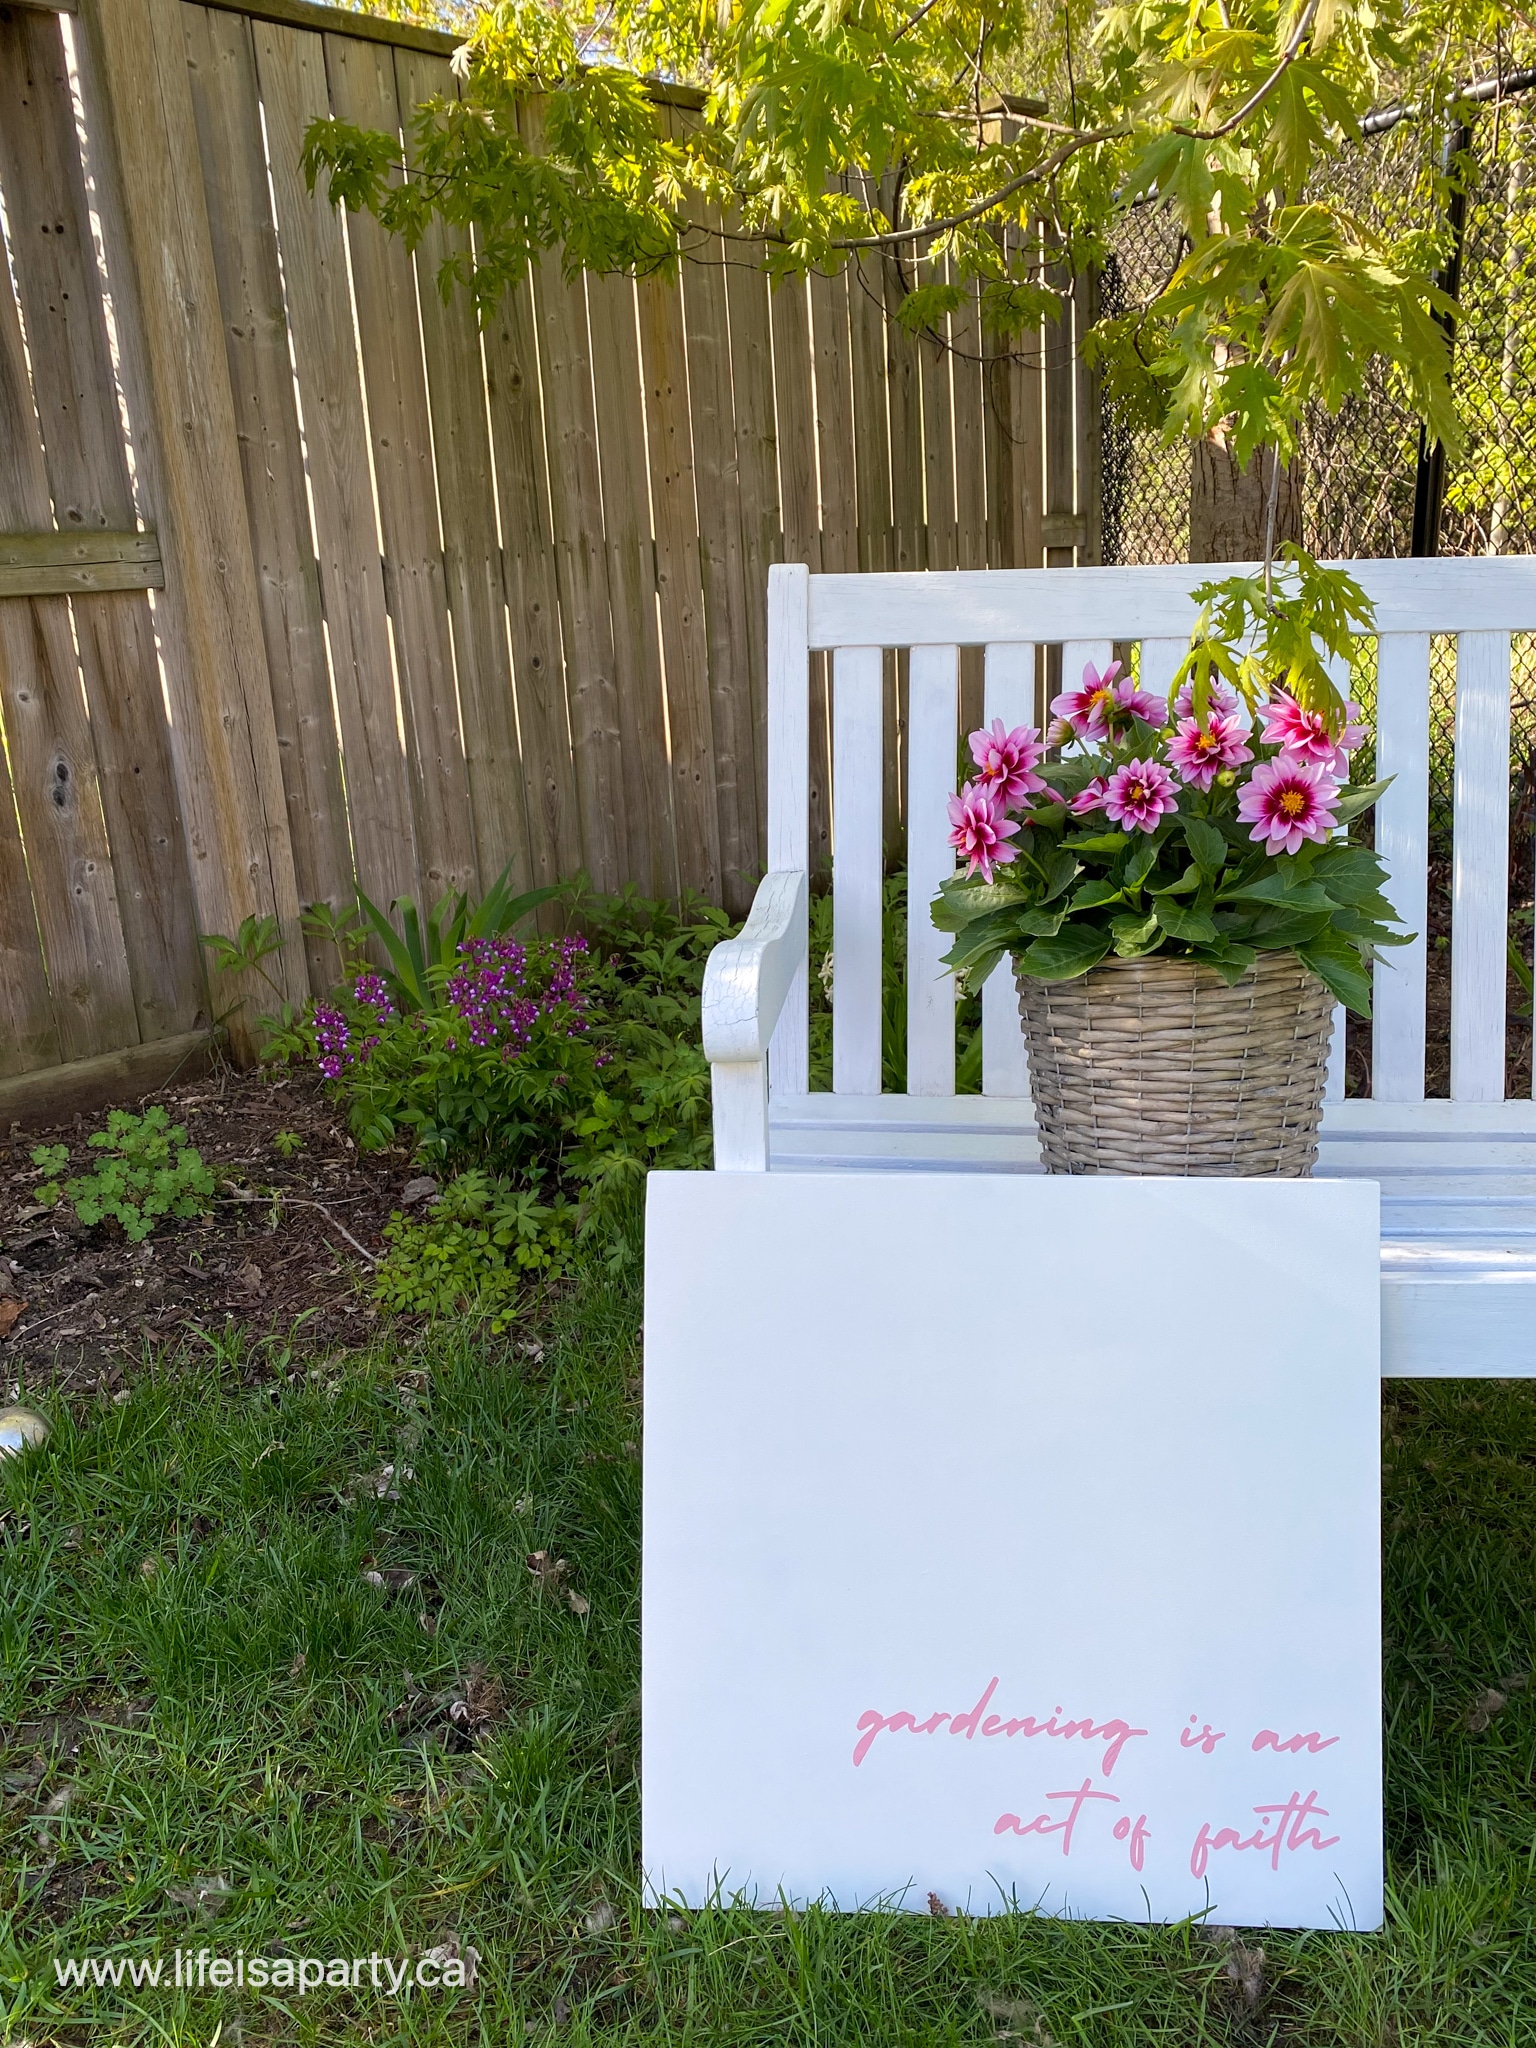
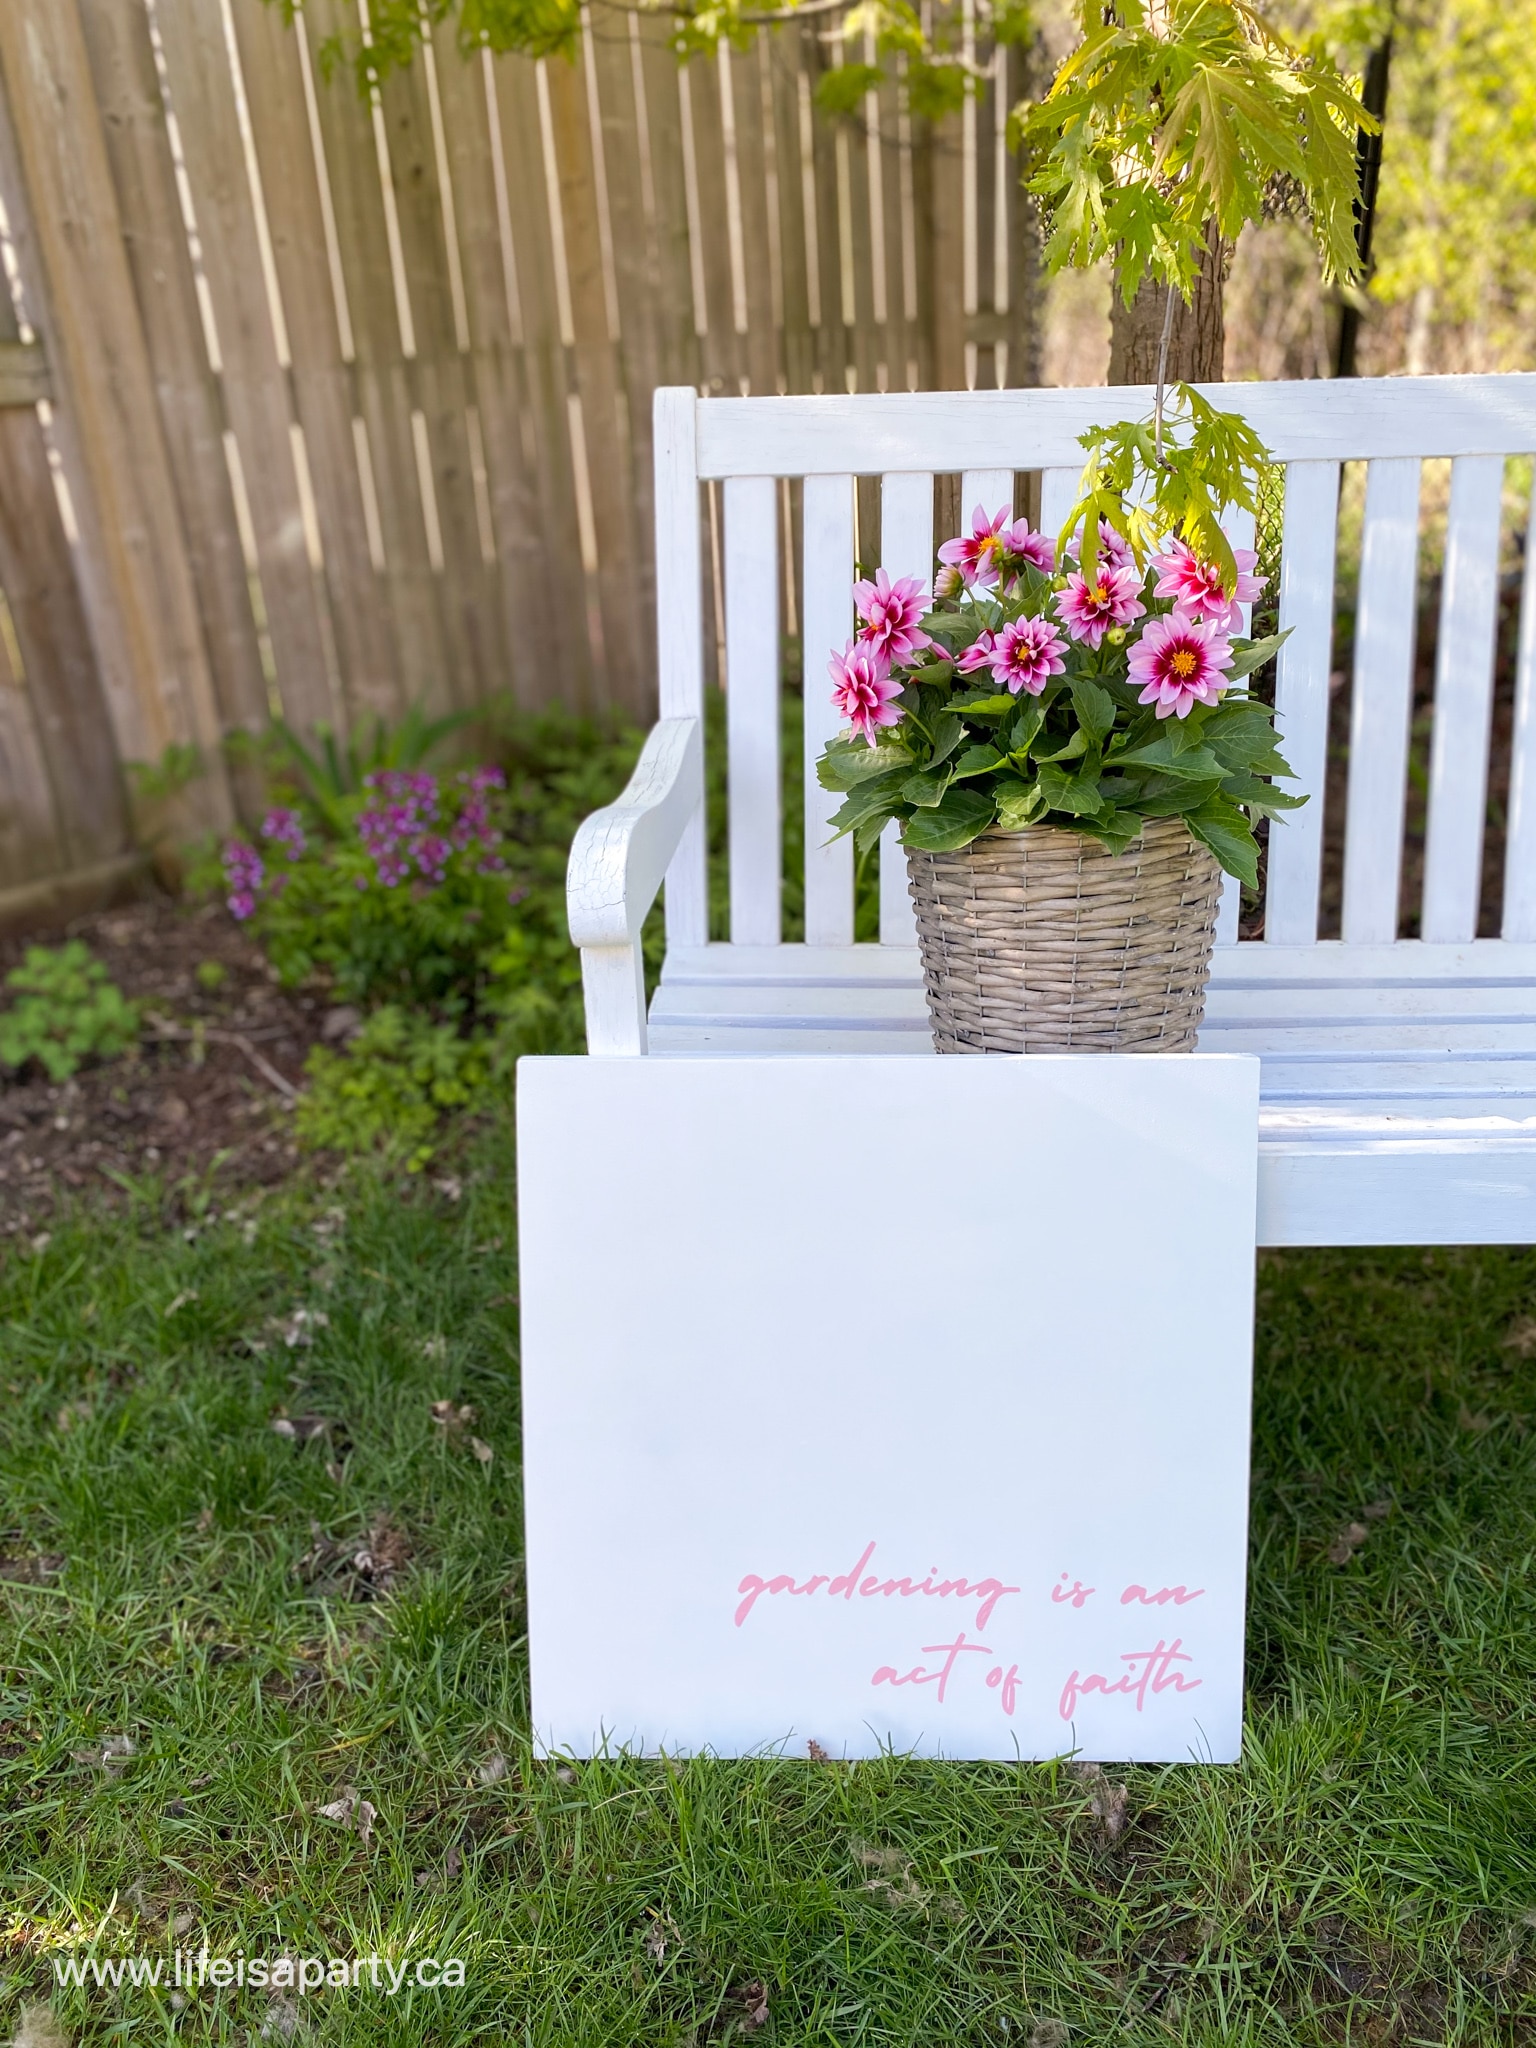
This little spot with the garden furniture has become a favourite for a cup of tea in the morning or a glass of wine in the evening. I wanted to add an outdoor art piece that could stand up to the weather all summer, and add a little more personality to this outdoor seating area. This is a great idea, if like me, you're dealing with a large privacy fence with wood boards as your background. The great part about a fence like this is that it adds walls to your outdoor room, and how do we treat walls indoors? We decorate them with art. So why not add outdoor art to the garden area too? It's a fun way to add a little interest to a boring fence without spending a lot of money. This would also be a great addition to large exterior walls that you wanted to add some interest to with DIY garden decorations.
Prepping The Board
We started out with some leftover MDF. We cut it to an 18" x 18" square size. You could use any wood you had on hand, like a board cut to size or a piece of plywood. You could even use old wooden pallets, by removing the pieces and nailing several together to make a large rectangle. Another inexpensive option is to look for an old wood sign at a thrift store and give it a makeover with a fresh coat of paint.
Next we painted it with some outdoor paint, to make it last longer outside. You want to find some outdoor paint for this project that's made for outdoor use. It will help the wood last longer in your outdoor area. We went with simple white paint to add some brightness. But you could choose a more vibrant color if you prefer to create a brilliant focal point.
For hanging, we screwed in two screws about ⅓ of the way from the top of the board, and strung some wire between them.
Free Cricut Cut File for Garden Art
You can find my cut file for this sweet garden art here for free. I didn't want my art to look too country or dated, so I chose a font I thought was more up to date, and also set it in the corner for a more modern look.
We used Iron-on Vinyl for this project. You could also use the Premium Vinyl, or the Outdoor Vinyl if you prefer. That's one of the great things about the Cricut, there are lots of material options that work on multiple surfaces.
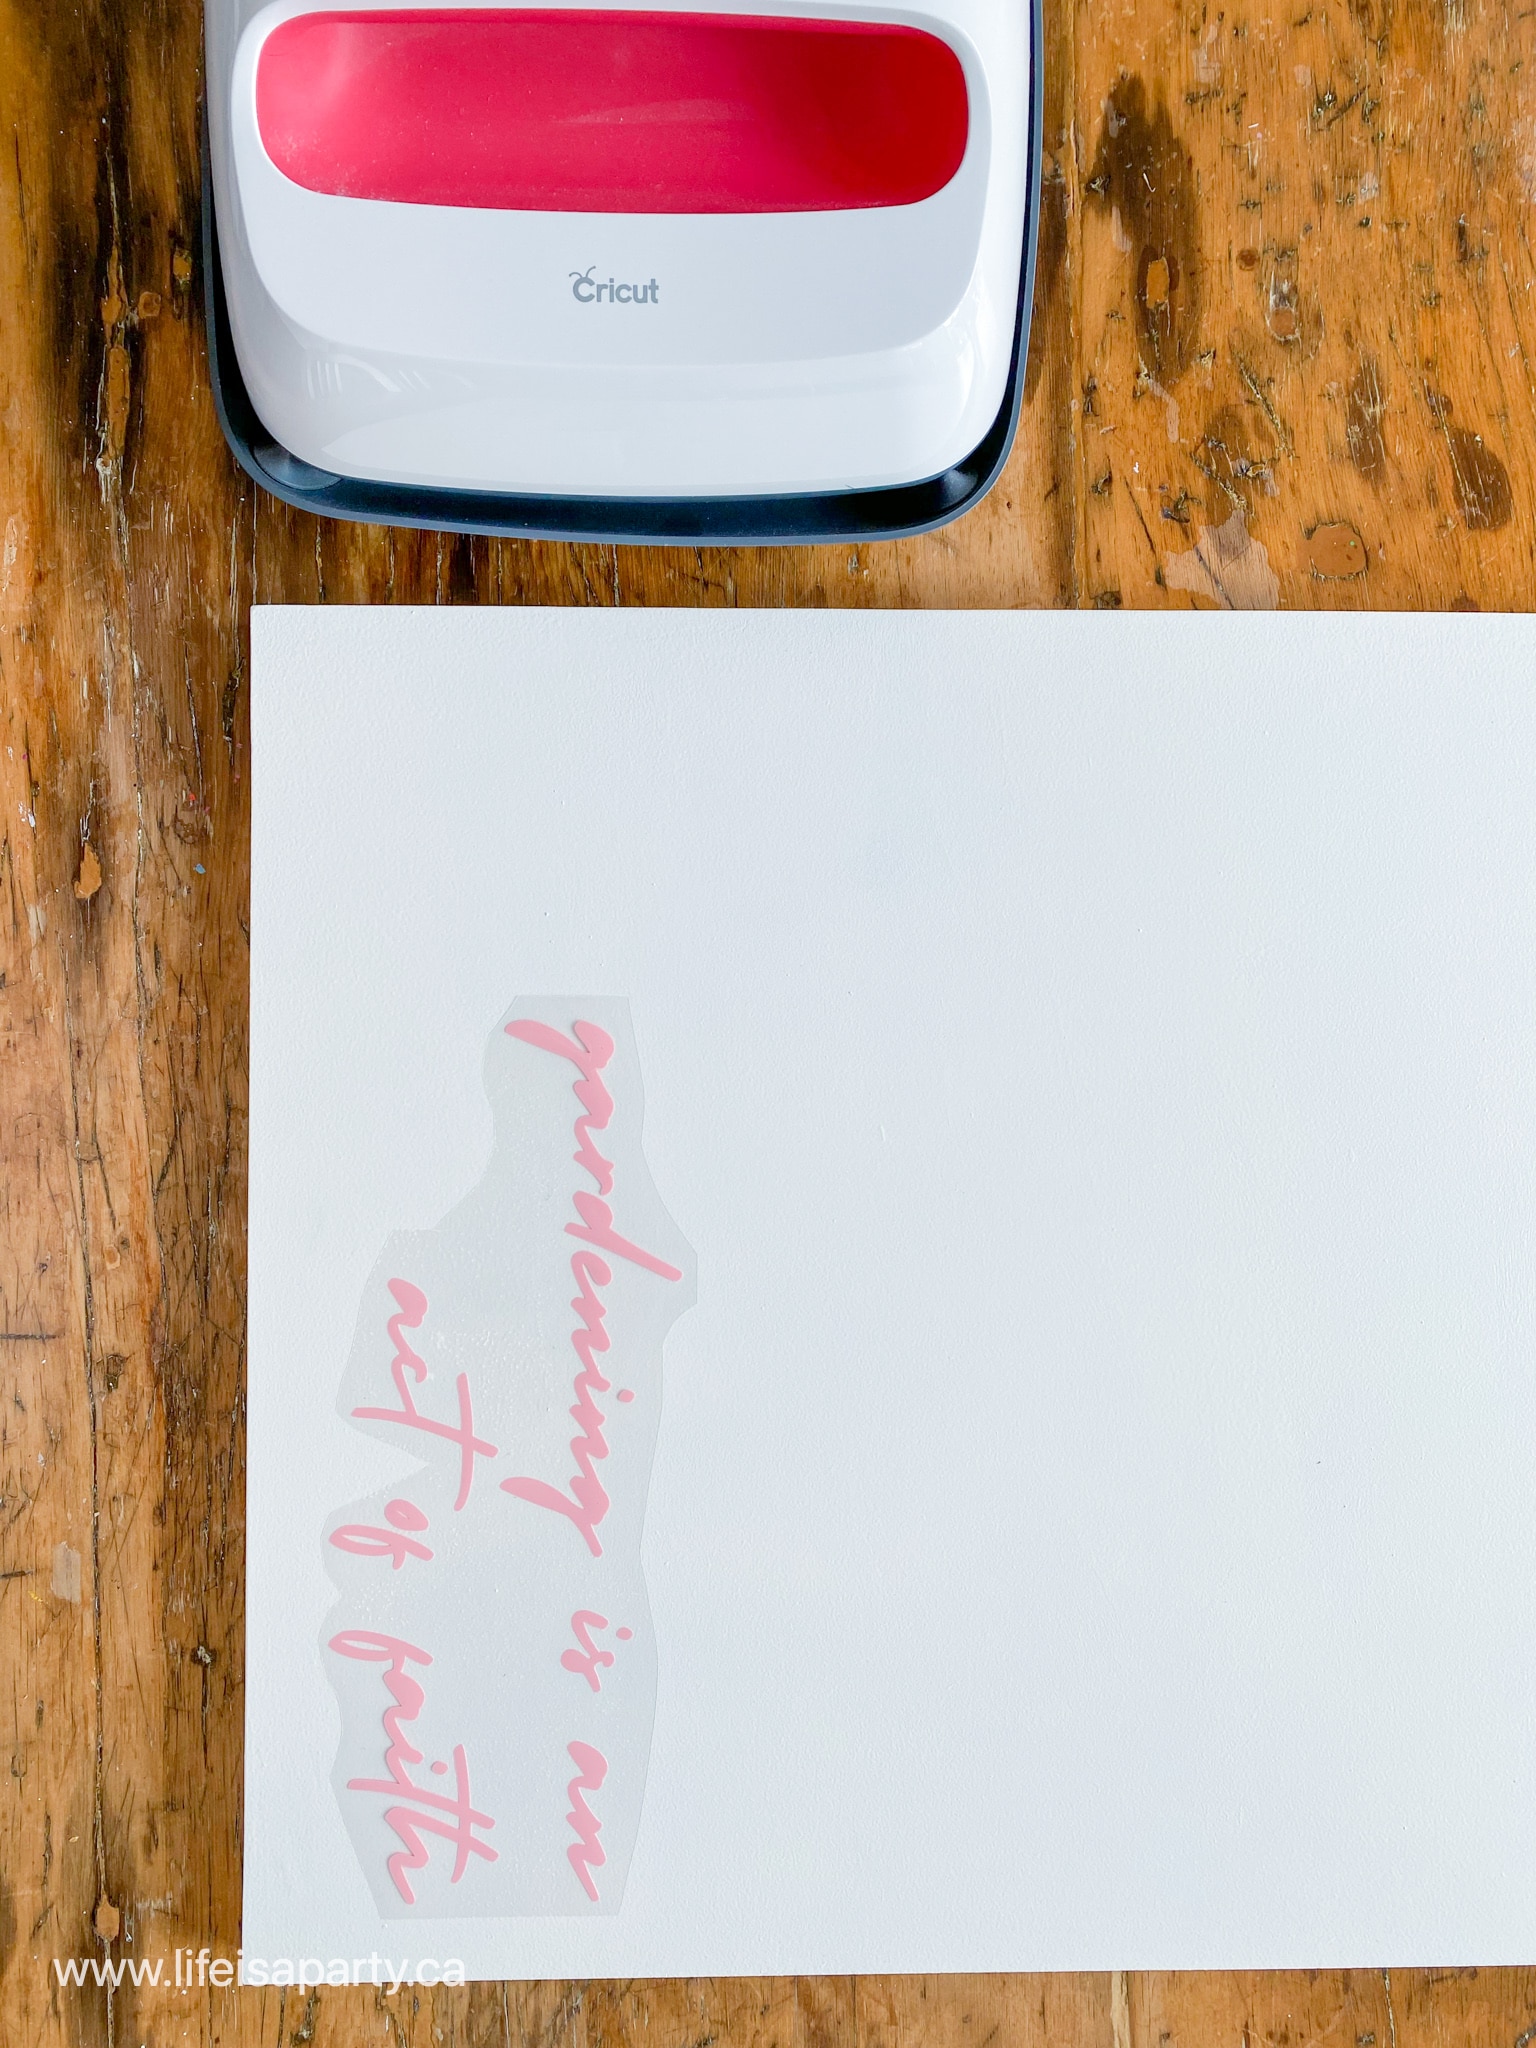
Remember when you're working with the Iron-on Vinyl to mirror your text before cutting out. Once the words are cut and weeded, refer to the Cricut heat guide to determine the settings for ironing on your Vinyl.
Once the piece is cool to the touch, remove the backing and enjoy your finished piece. The place where I hung my art is quite sheltered, but if the spot was more exposed I might add a clear polycyclic top coat to help protect it against the elements. I'll leave this artwork outside during the growing season, but store it indoors during the winter so that it will be protected from the elements.
I love how this simple DIY project turned out. It's one of the easiest ways to add a personal touch to this wonderful place and favorite spot.
DIY Budget Garden Markers
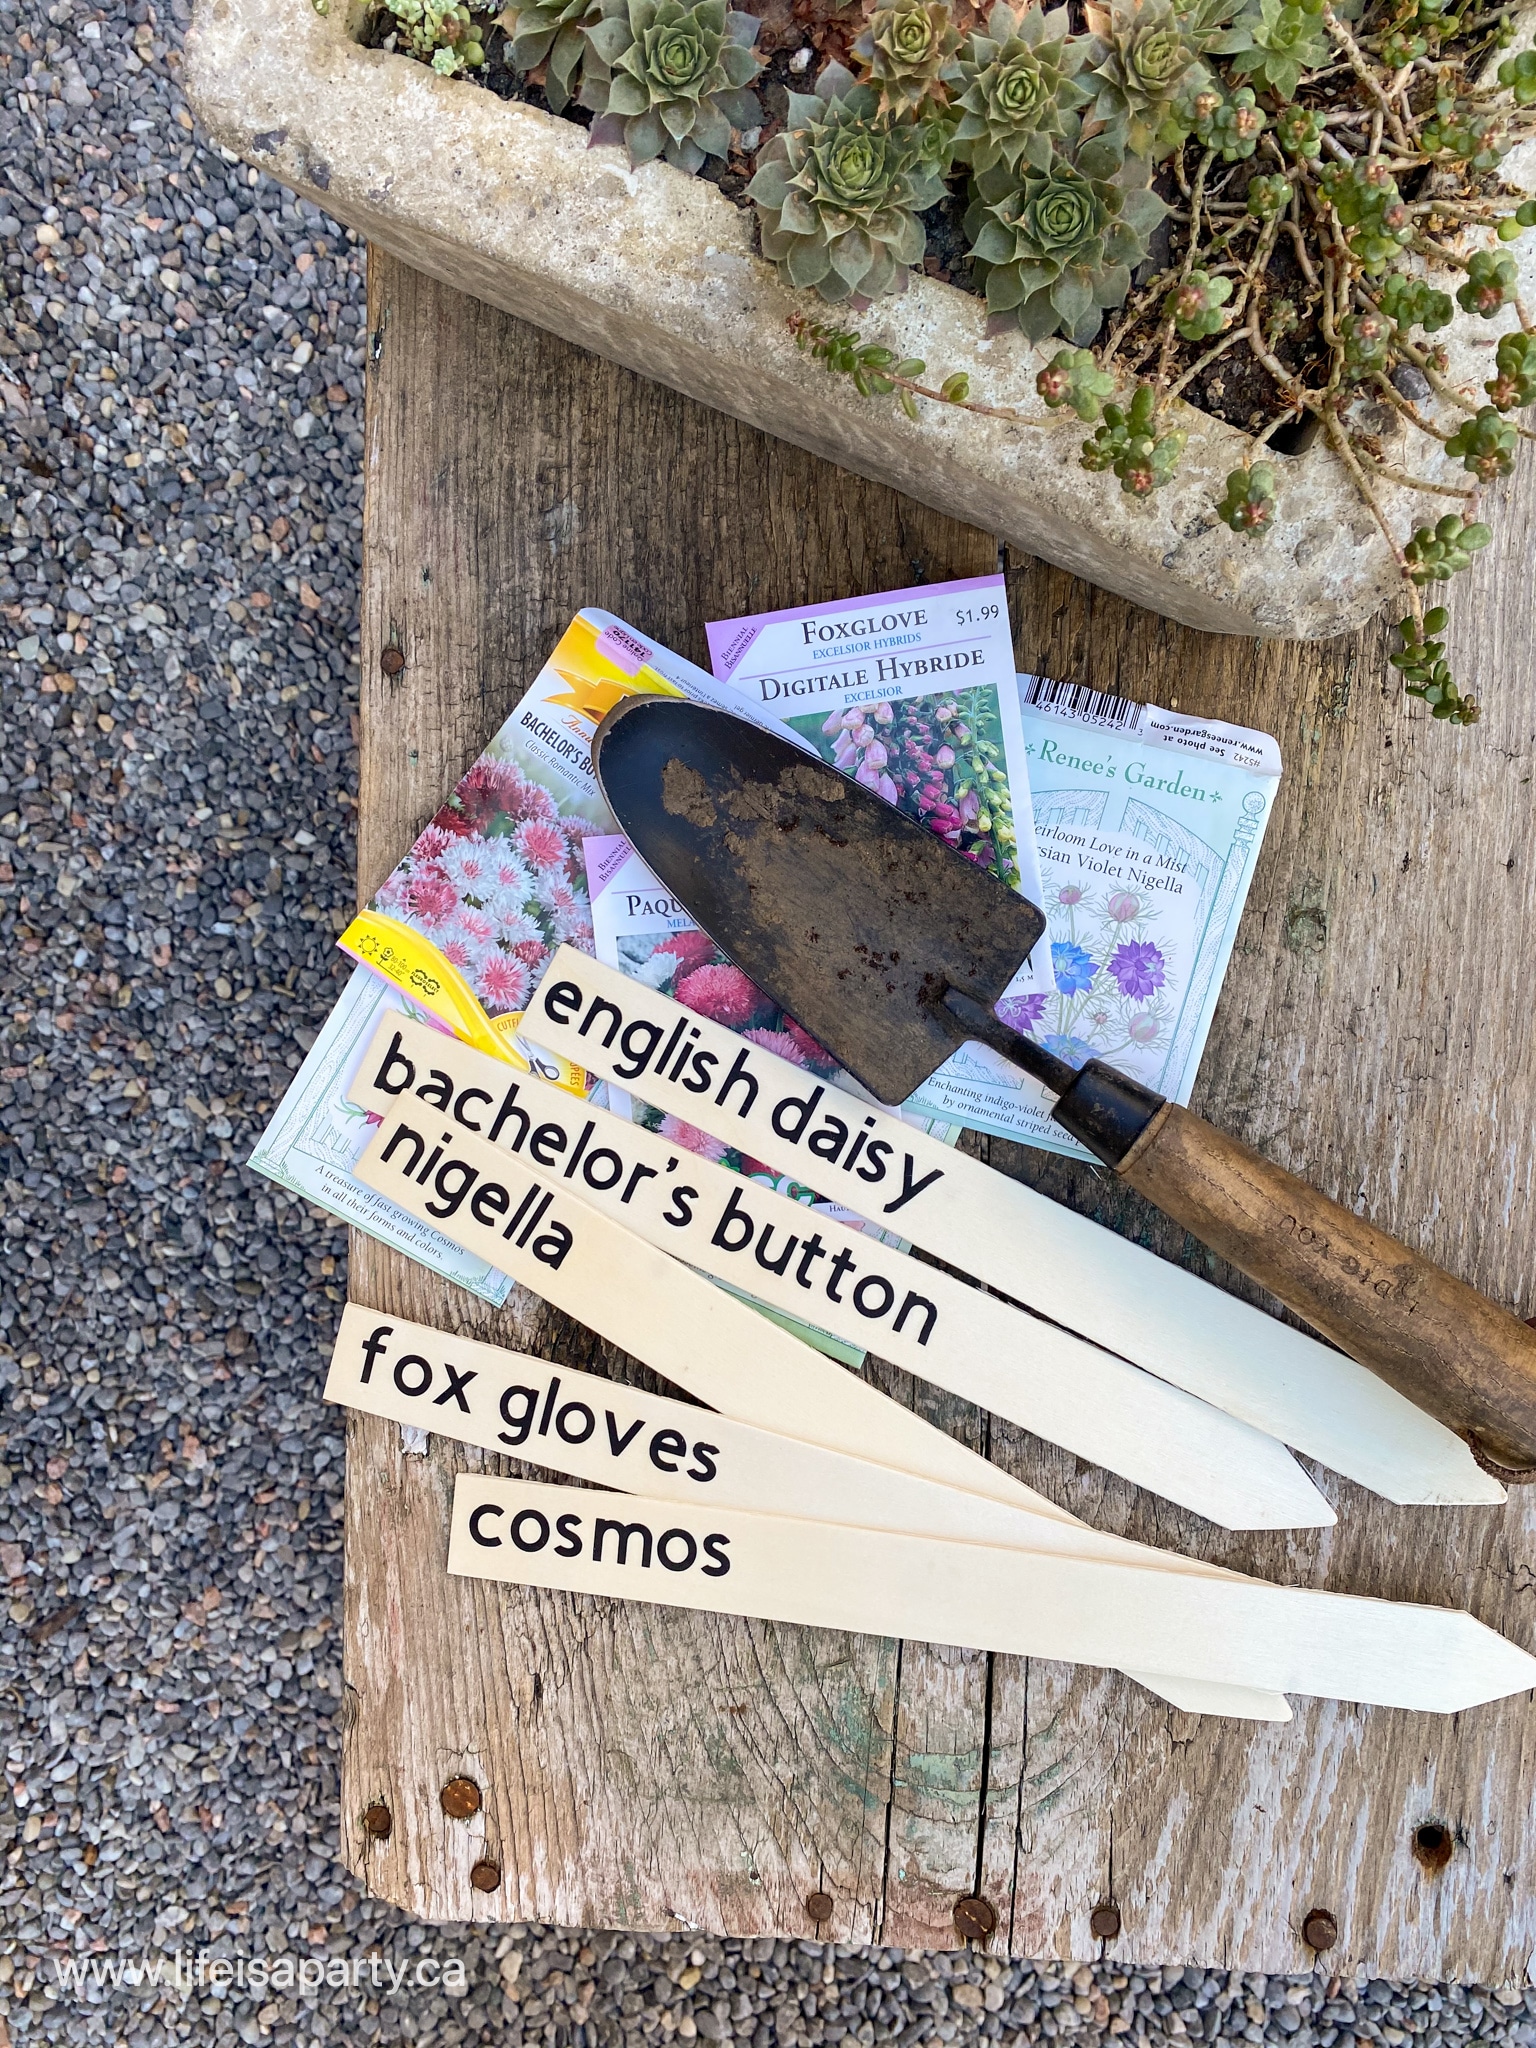
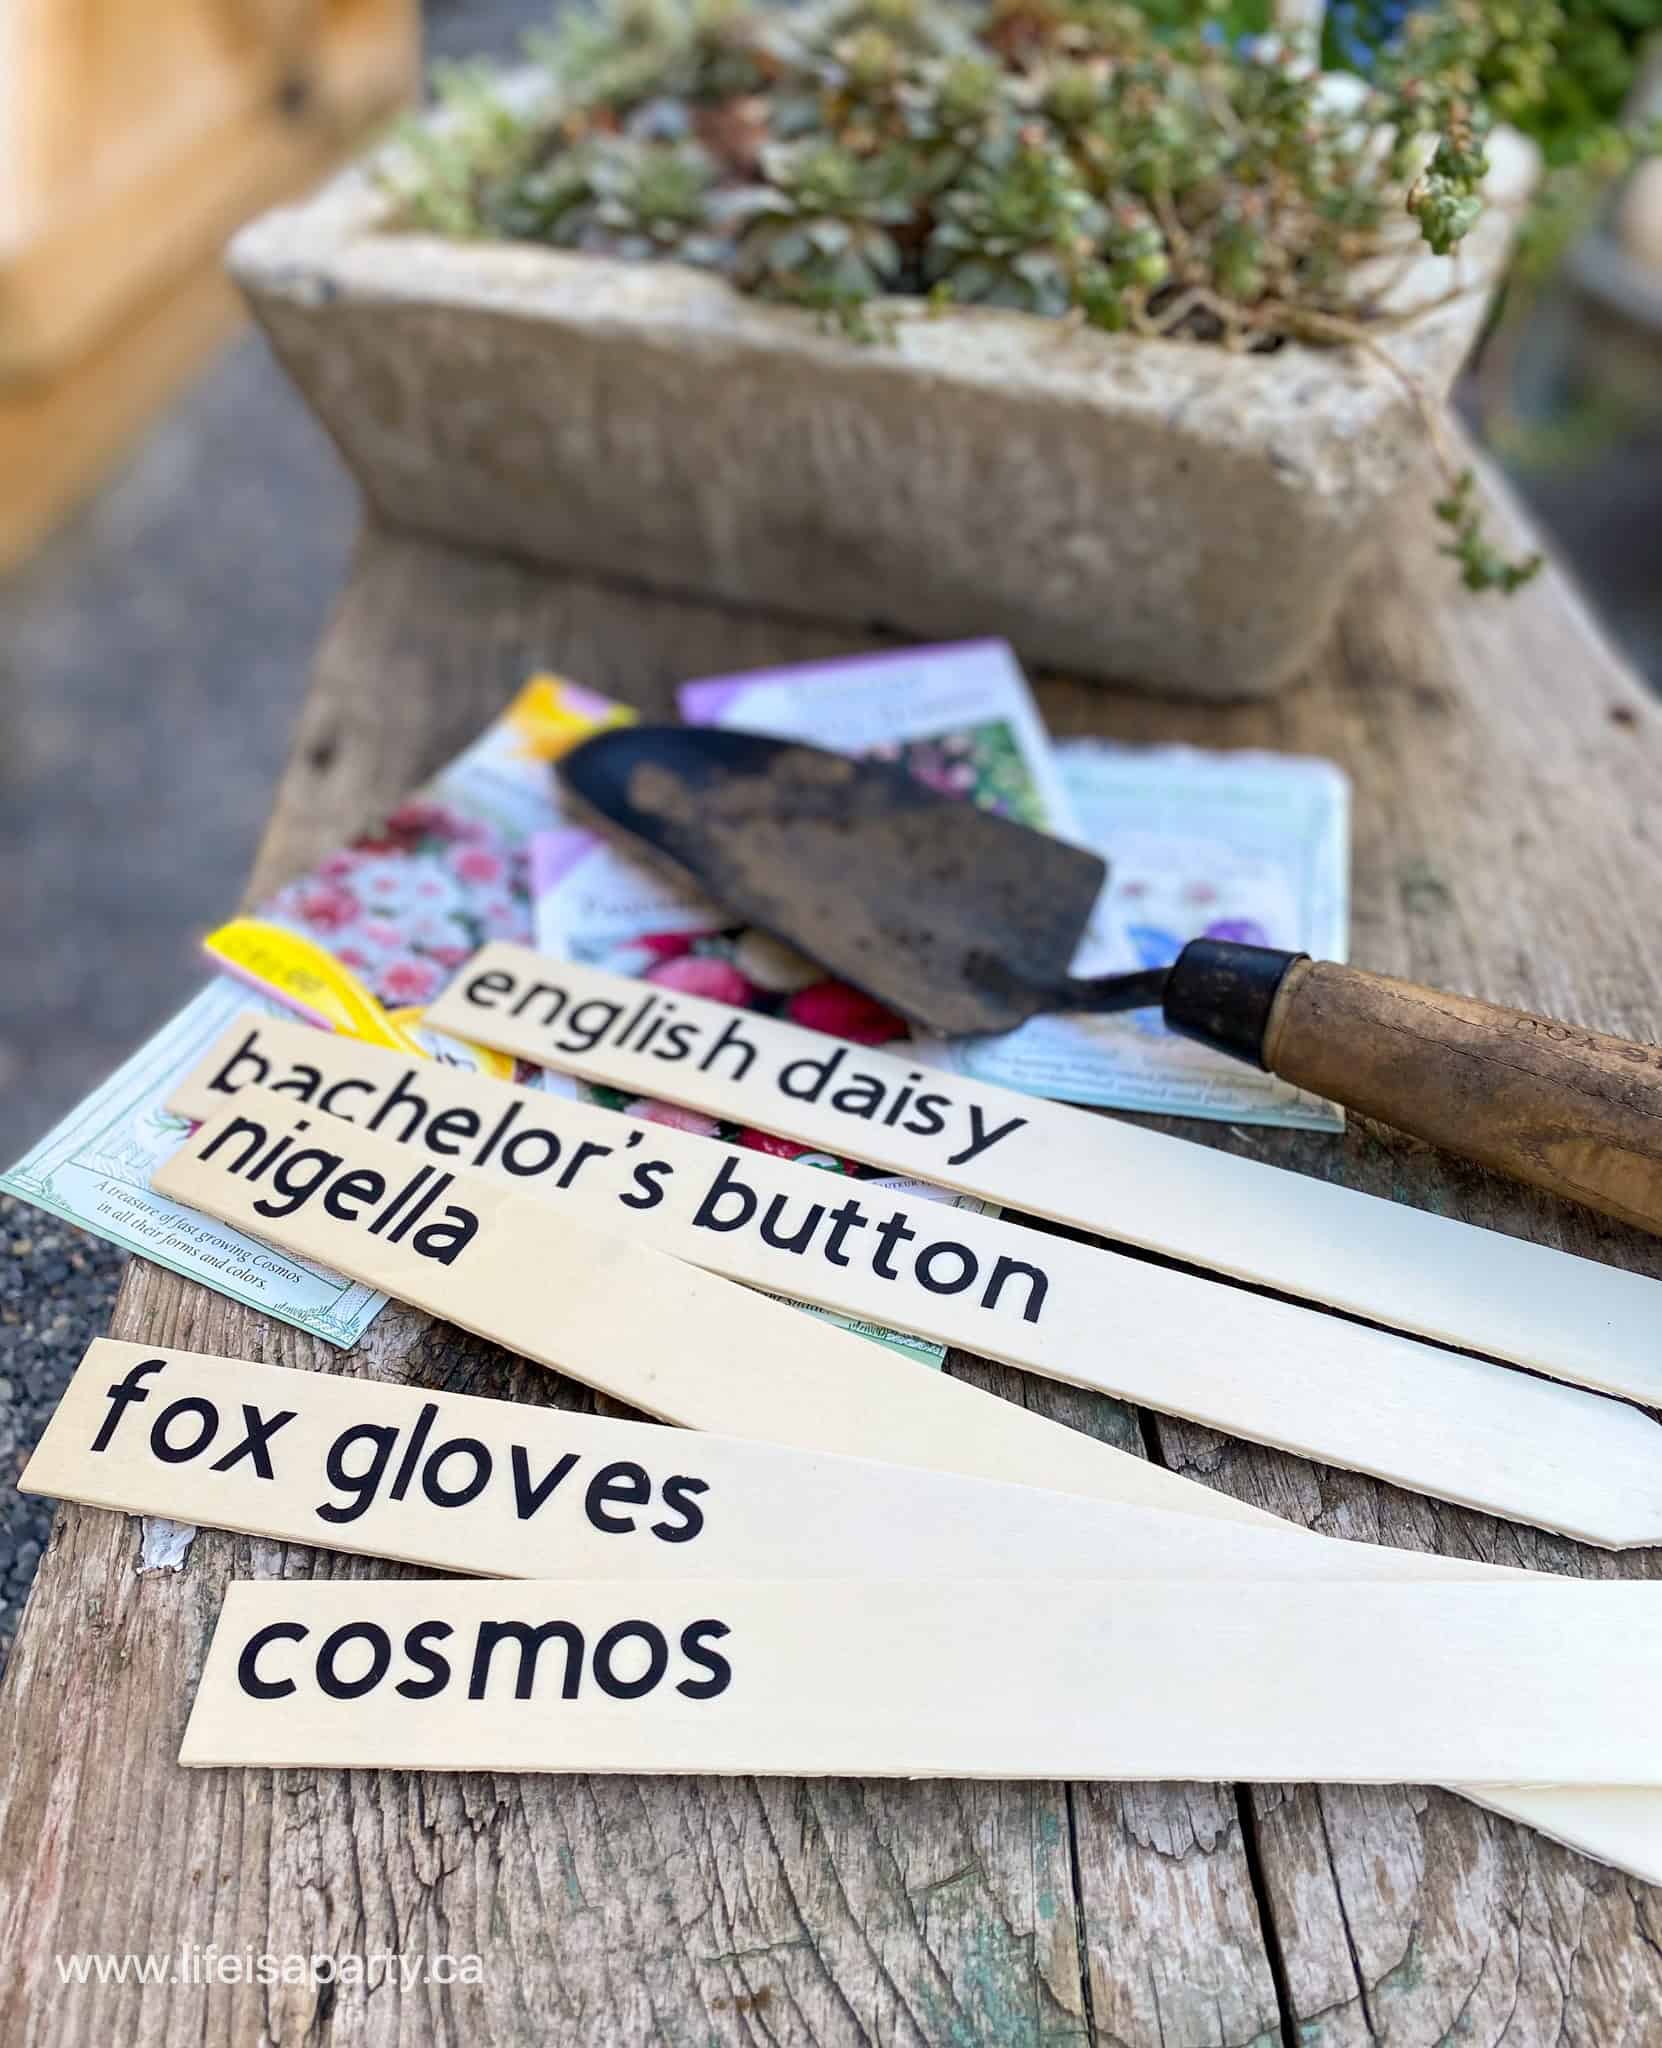
The next project I worked on for our DIY garden ideas on a budget, were these easy garden markers. They'd be great for veggies, herbs, or flower beds or use them in plant pots. We used them in our cut flower garden bed section. The seeds are all in and now we're just waiting for them to pop up. Here's how we made the DIY garden markers.
Materials:
- wood garden markers
- Premium Vinyl, permanent, black
- Cricut Maker
- label cut file here
- Cricut Weeder
- Easy Press
- Easy Press Mat
How To Make Cricut Garden Markers
Garden Markers
I picked up some blank wood garden markers at the dollar store -making this a really budget friendly project. I chose to leave my garden markers as unfinished wood, but you could give the a lick of paint with some outdoor paint first if you wanted to. If you couldn't find any wood garden markers, old paint sticks would work really well for the garden project too.
Labels
I used Cricut Design Space to create the text for the garden markers using the font Cricut sans, font size 50, to fit my markers. Once you have all the plant names added to your file, you're ready to cut them out -grab my free cut file with the names here and edit it with your own plant names. Remember with Iron-on Vinyl to place it shiny side down on the cutting mat, and mirror the text before cutting.
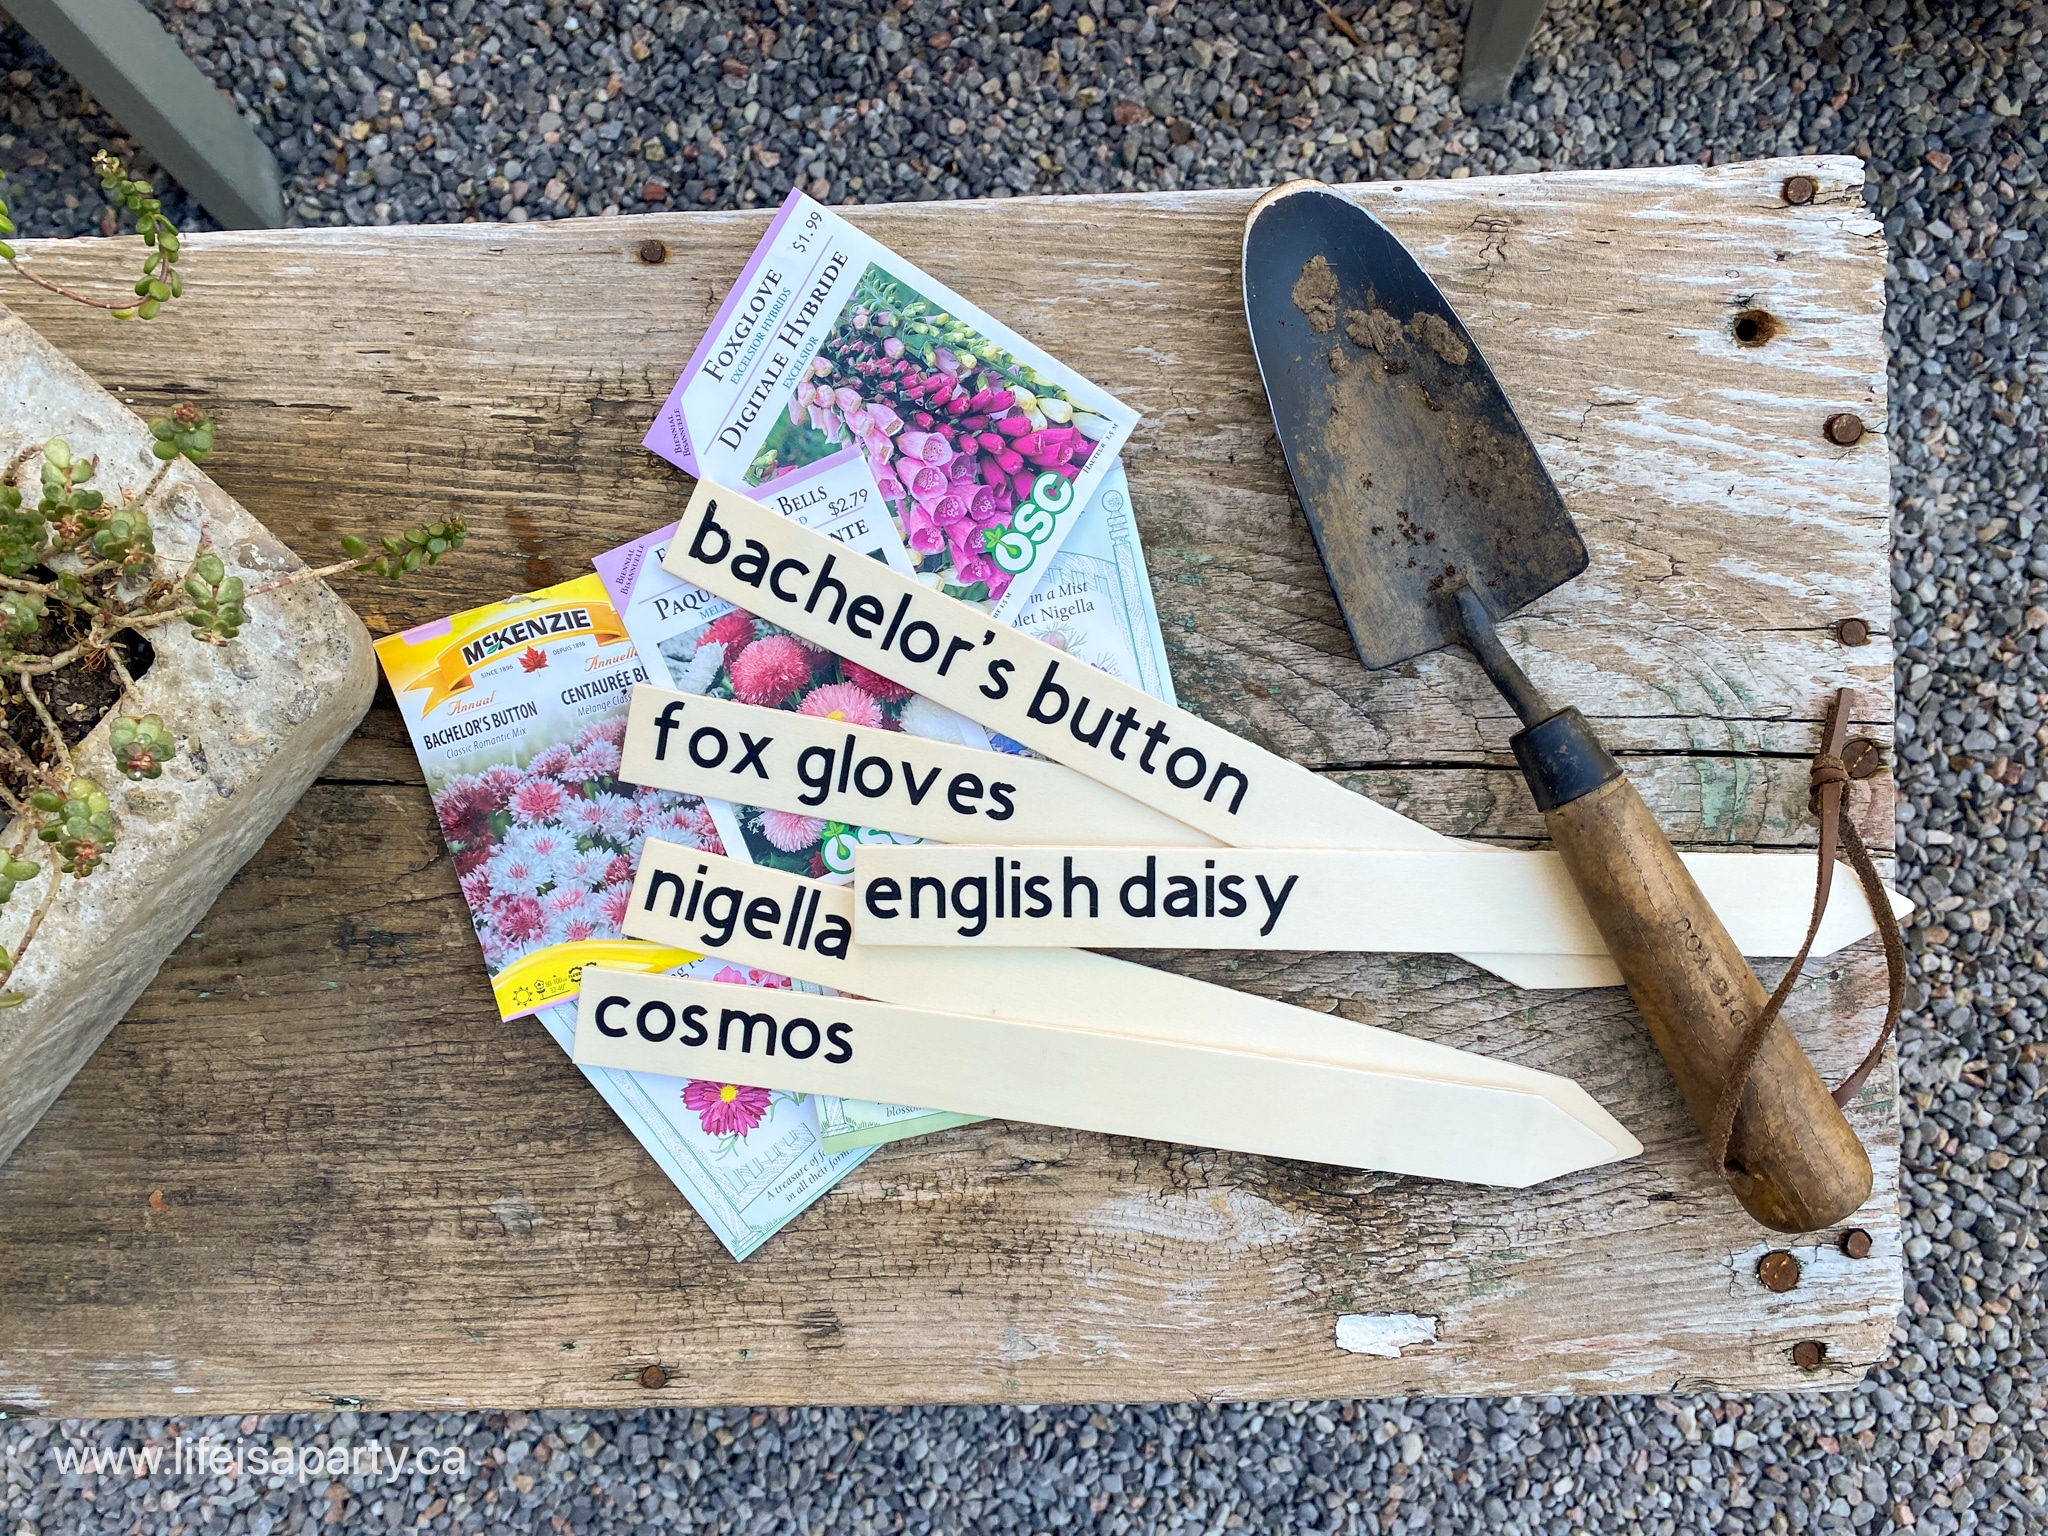
Once the labels are all cut out, cut them into individual words, and weed them using the weeding tool.
Applying The Labels
To iron them onto the wood garden markers, follow the guidelines in the Cricut heat guide. The times vary based on your material, and also which easy press, and mat you're using. I preheated the wood for 5 seconds, then pressed the Vinyl for 40 seconds at 300 degrees F. Once the piece is cool enough to handle, remove the backing. It's also a great idea to add a sealer to these wood garden markers to help protect the wood from the elements and help them last longer.
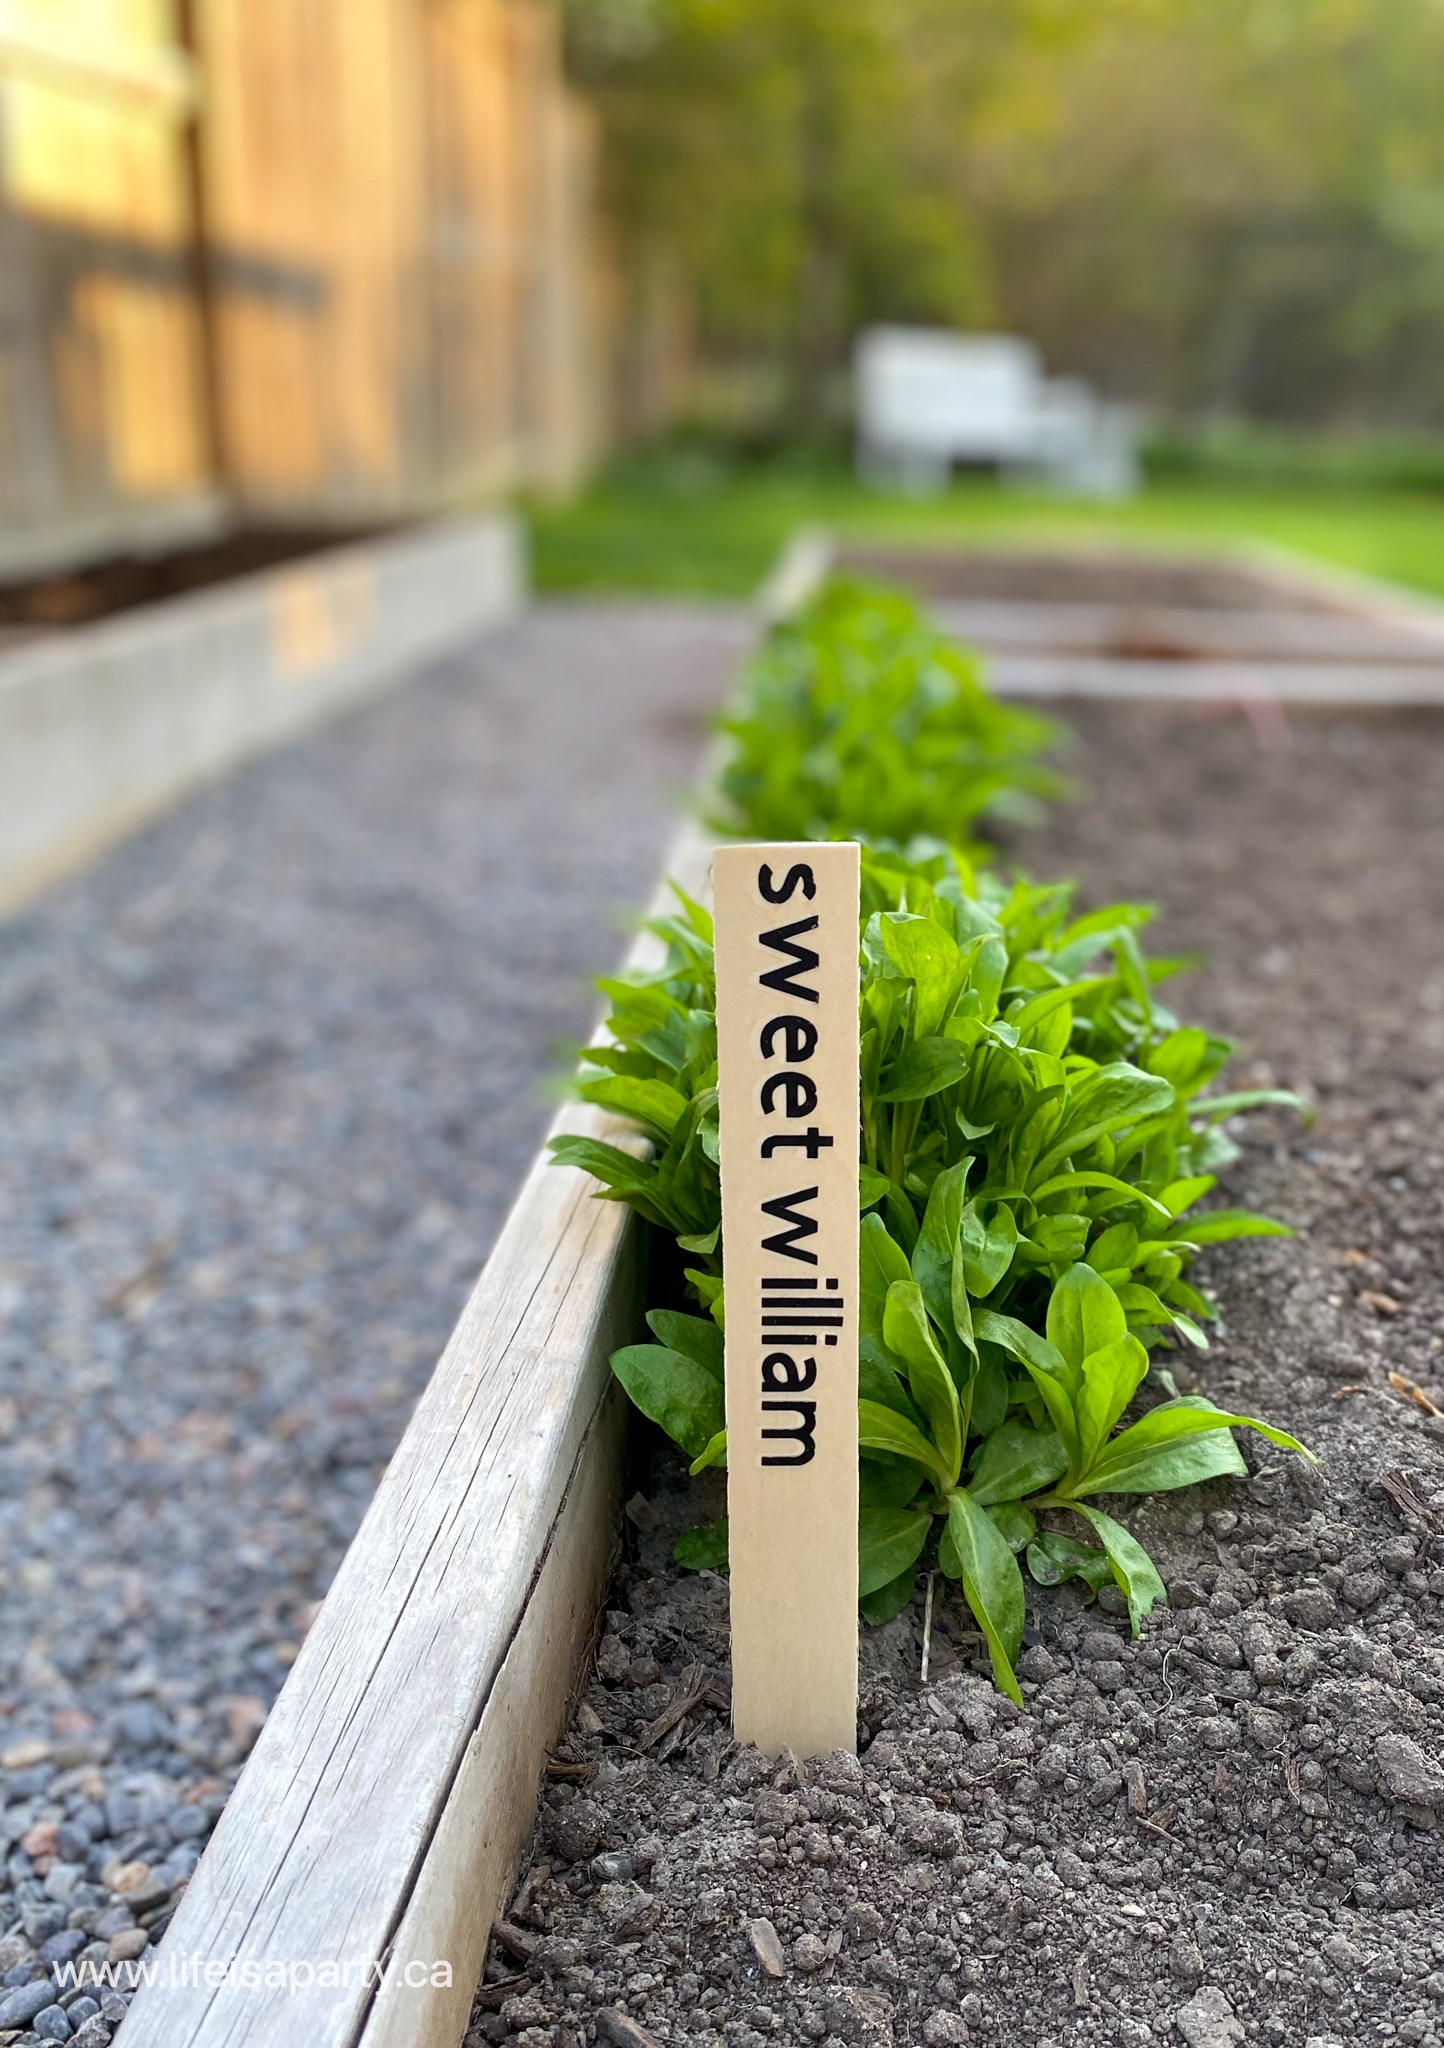
I love how these garden markers turned out, and I think I might buy another pack of them to add even more labels around my garden and in some flower pots. They're really simple and easy to read from a distance and they look really professional. I also love that they were very inexpensive to make.
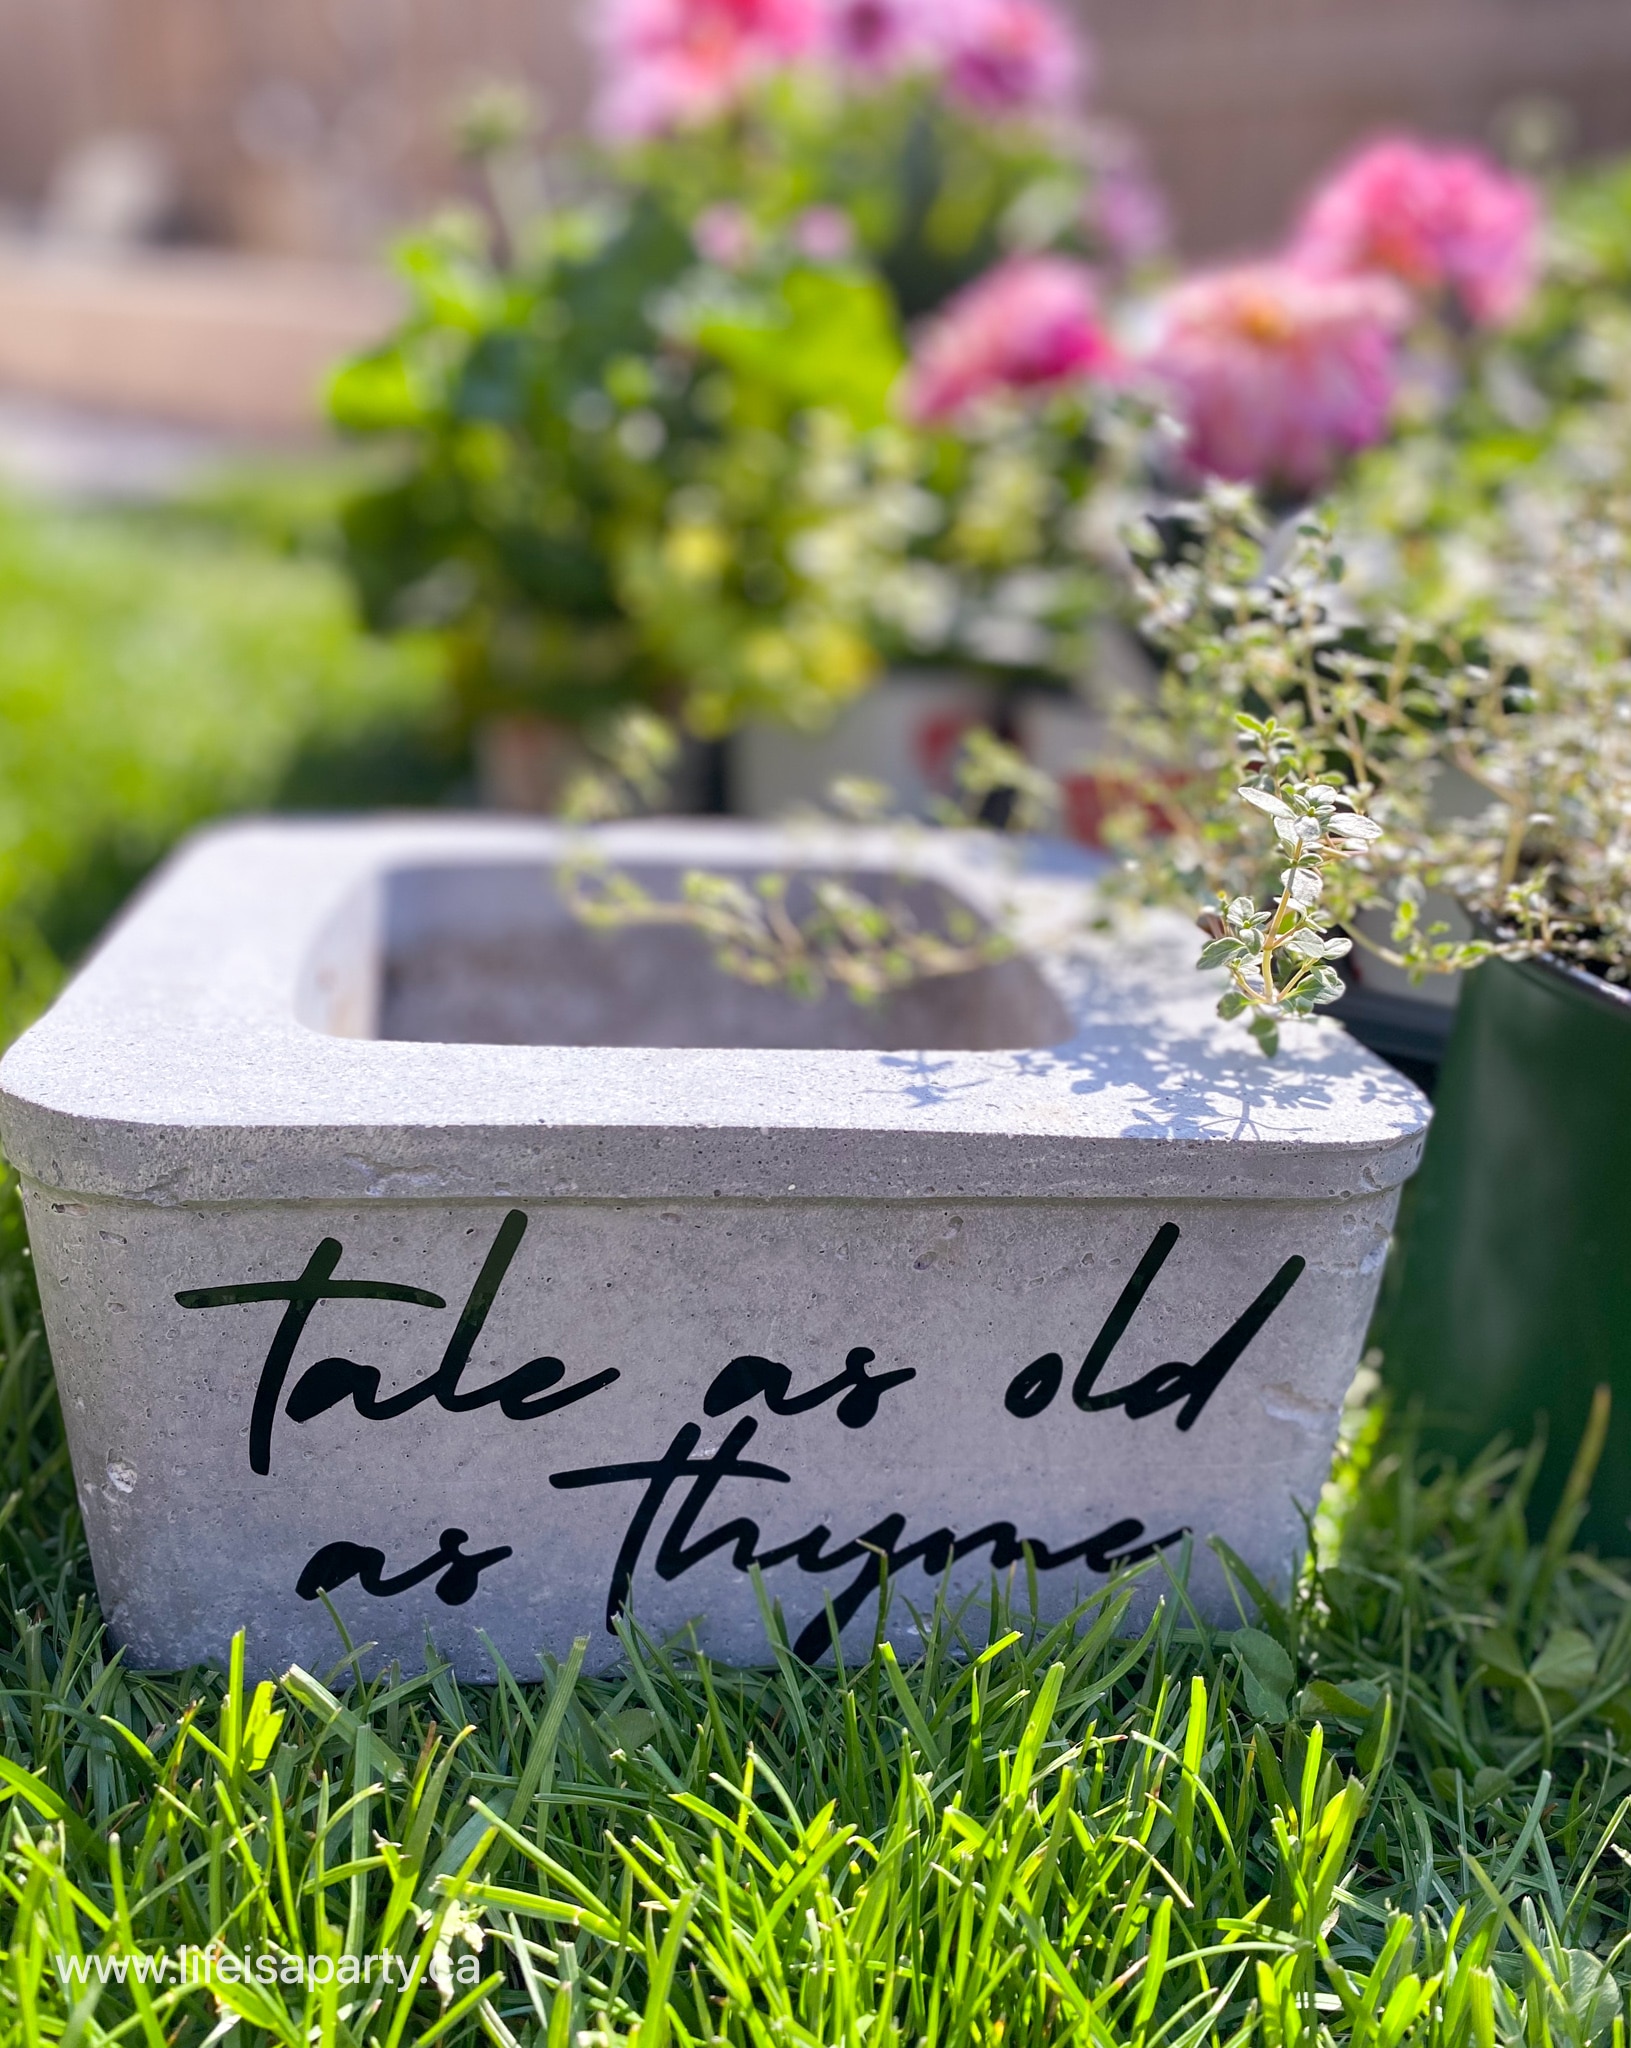
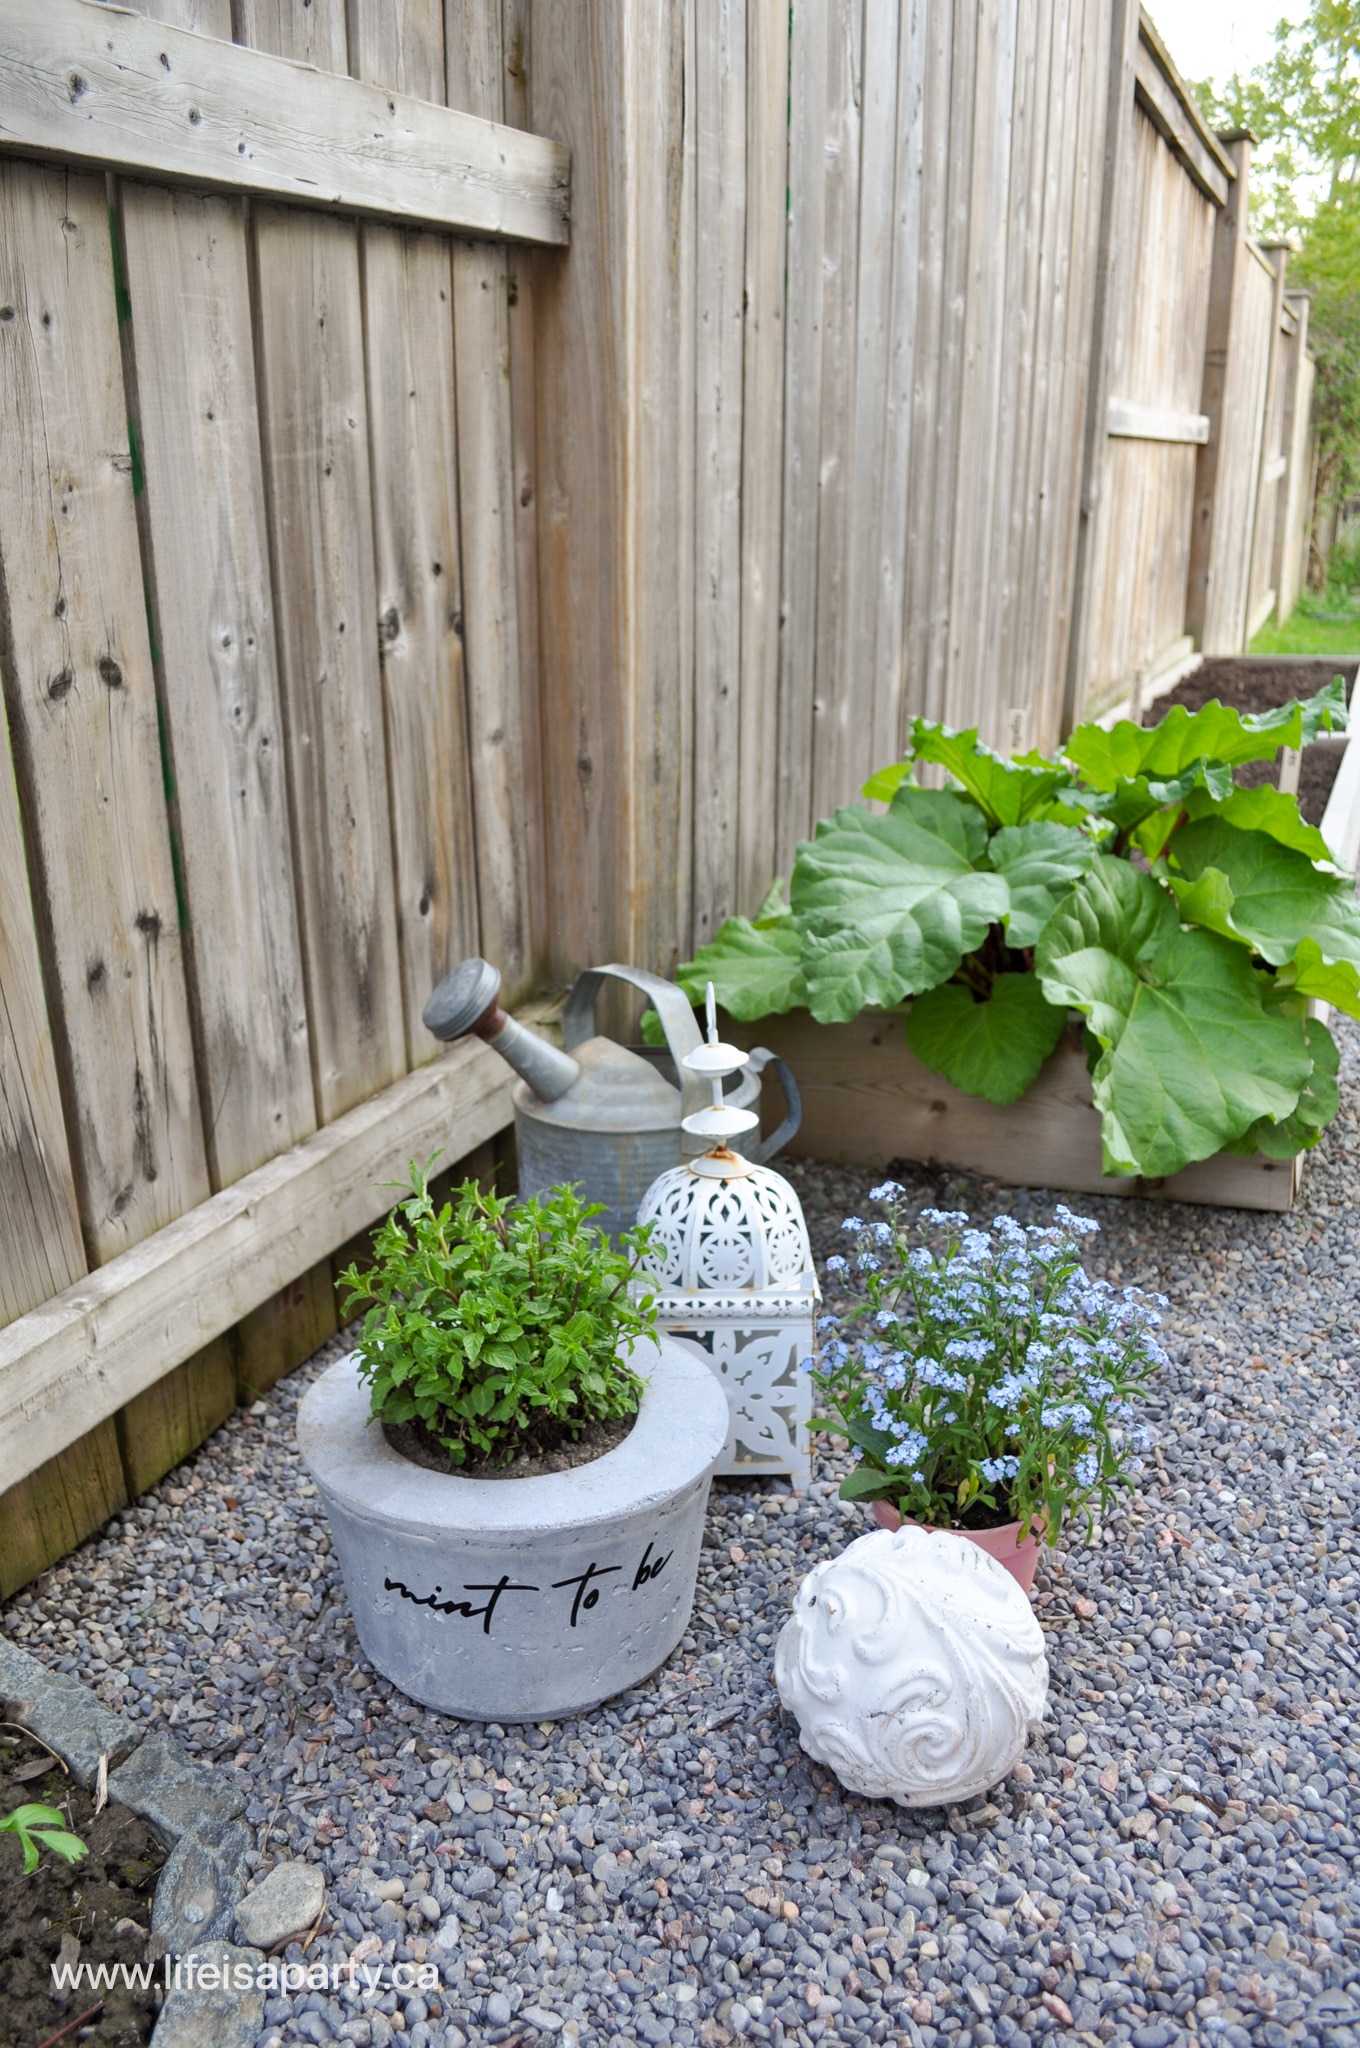
Personalized Garden Pots
I love adding pots of flowers and herbs to my garden space. It's so budget friendly to grow your own herbs to use in cooking too. I thought it would be fun to add a little more whimsy to the herb pots with these fun says.
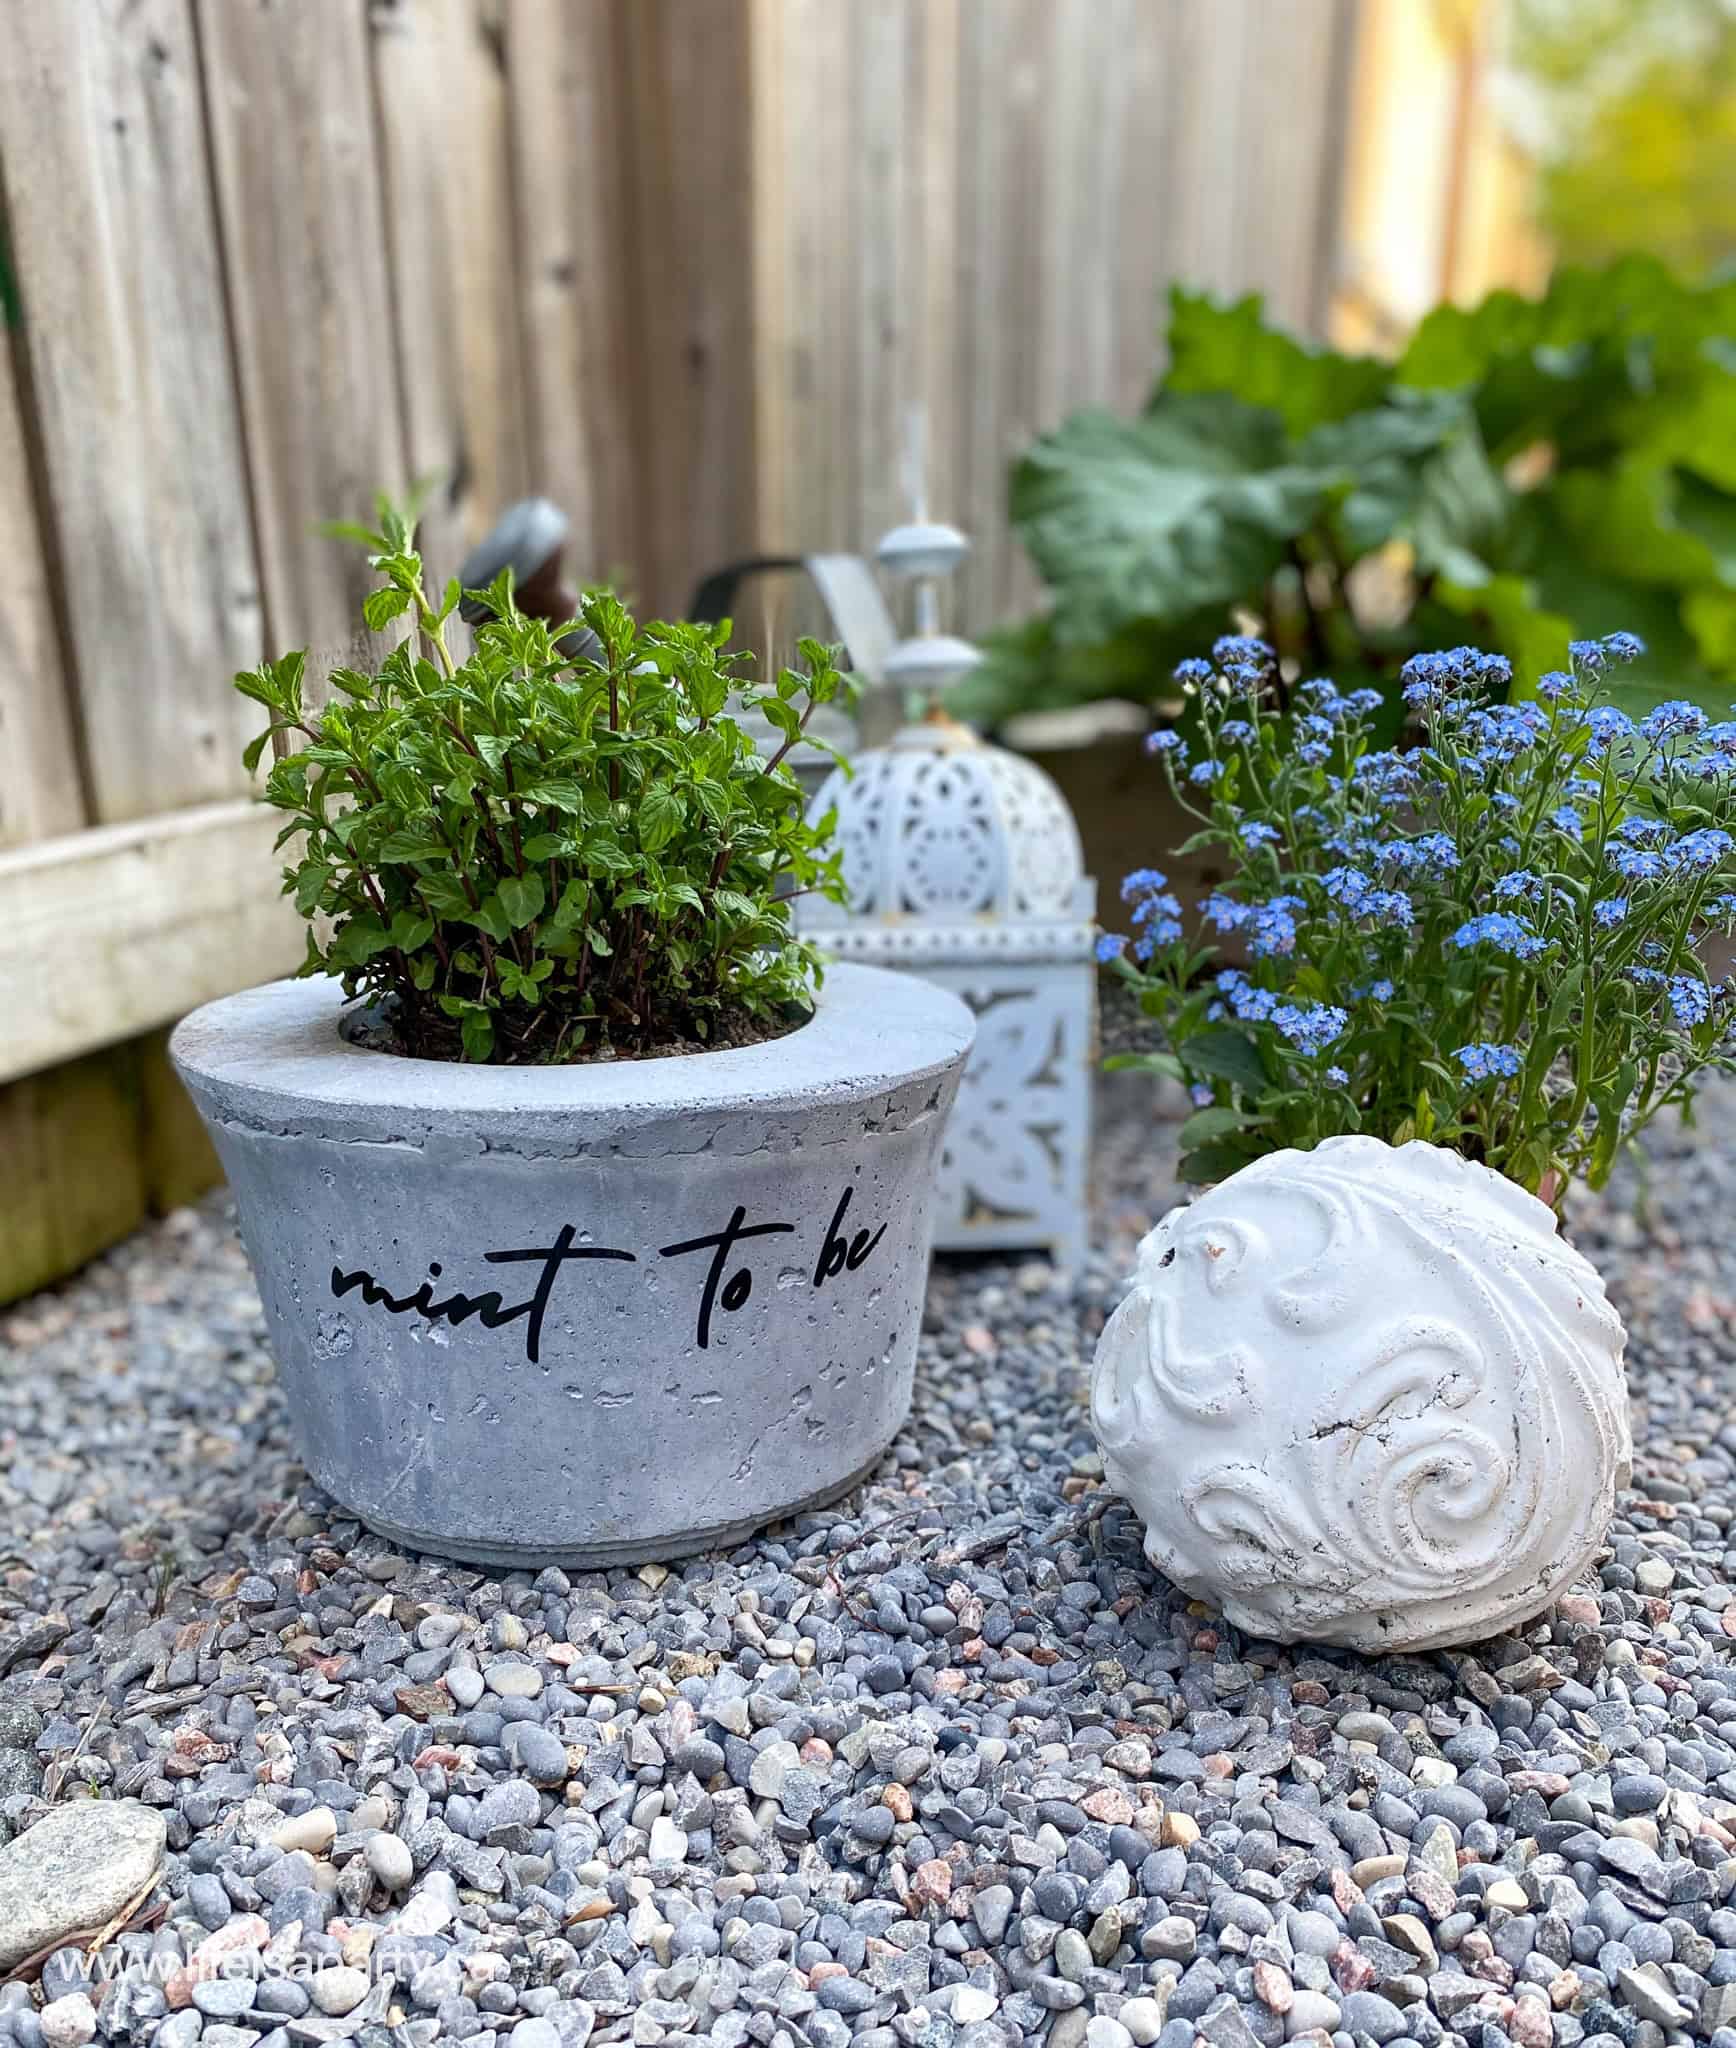
We actually made these simple concrete pots ourselves with some leftover concrete from this DIY Outdoor Concrete Table project. We had a little left over concrete mixed up, and instead of wasting it we found a few old containers -like a bin some nails came in, an old food container, and used them as moulds for these pots. You could also use these fun sayings on some terracotta pots in different sizes.
Free Herb Pot Cricut Cut File
To personalize them I created the "mint to be" and the "tale as old as thyme" labels in Cricut Design space -click here of the free herb pot Cricut cut file.
For this project I used Premium Vinyl, since it would be too difficult to use the easy press for a curved surface..
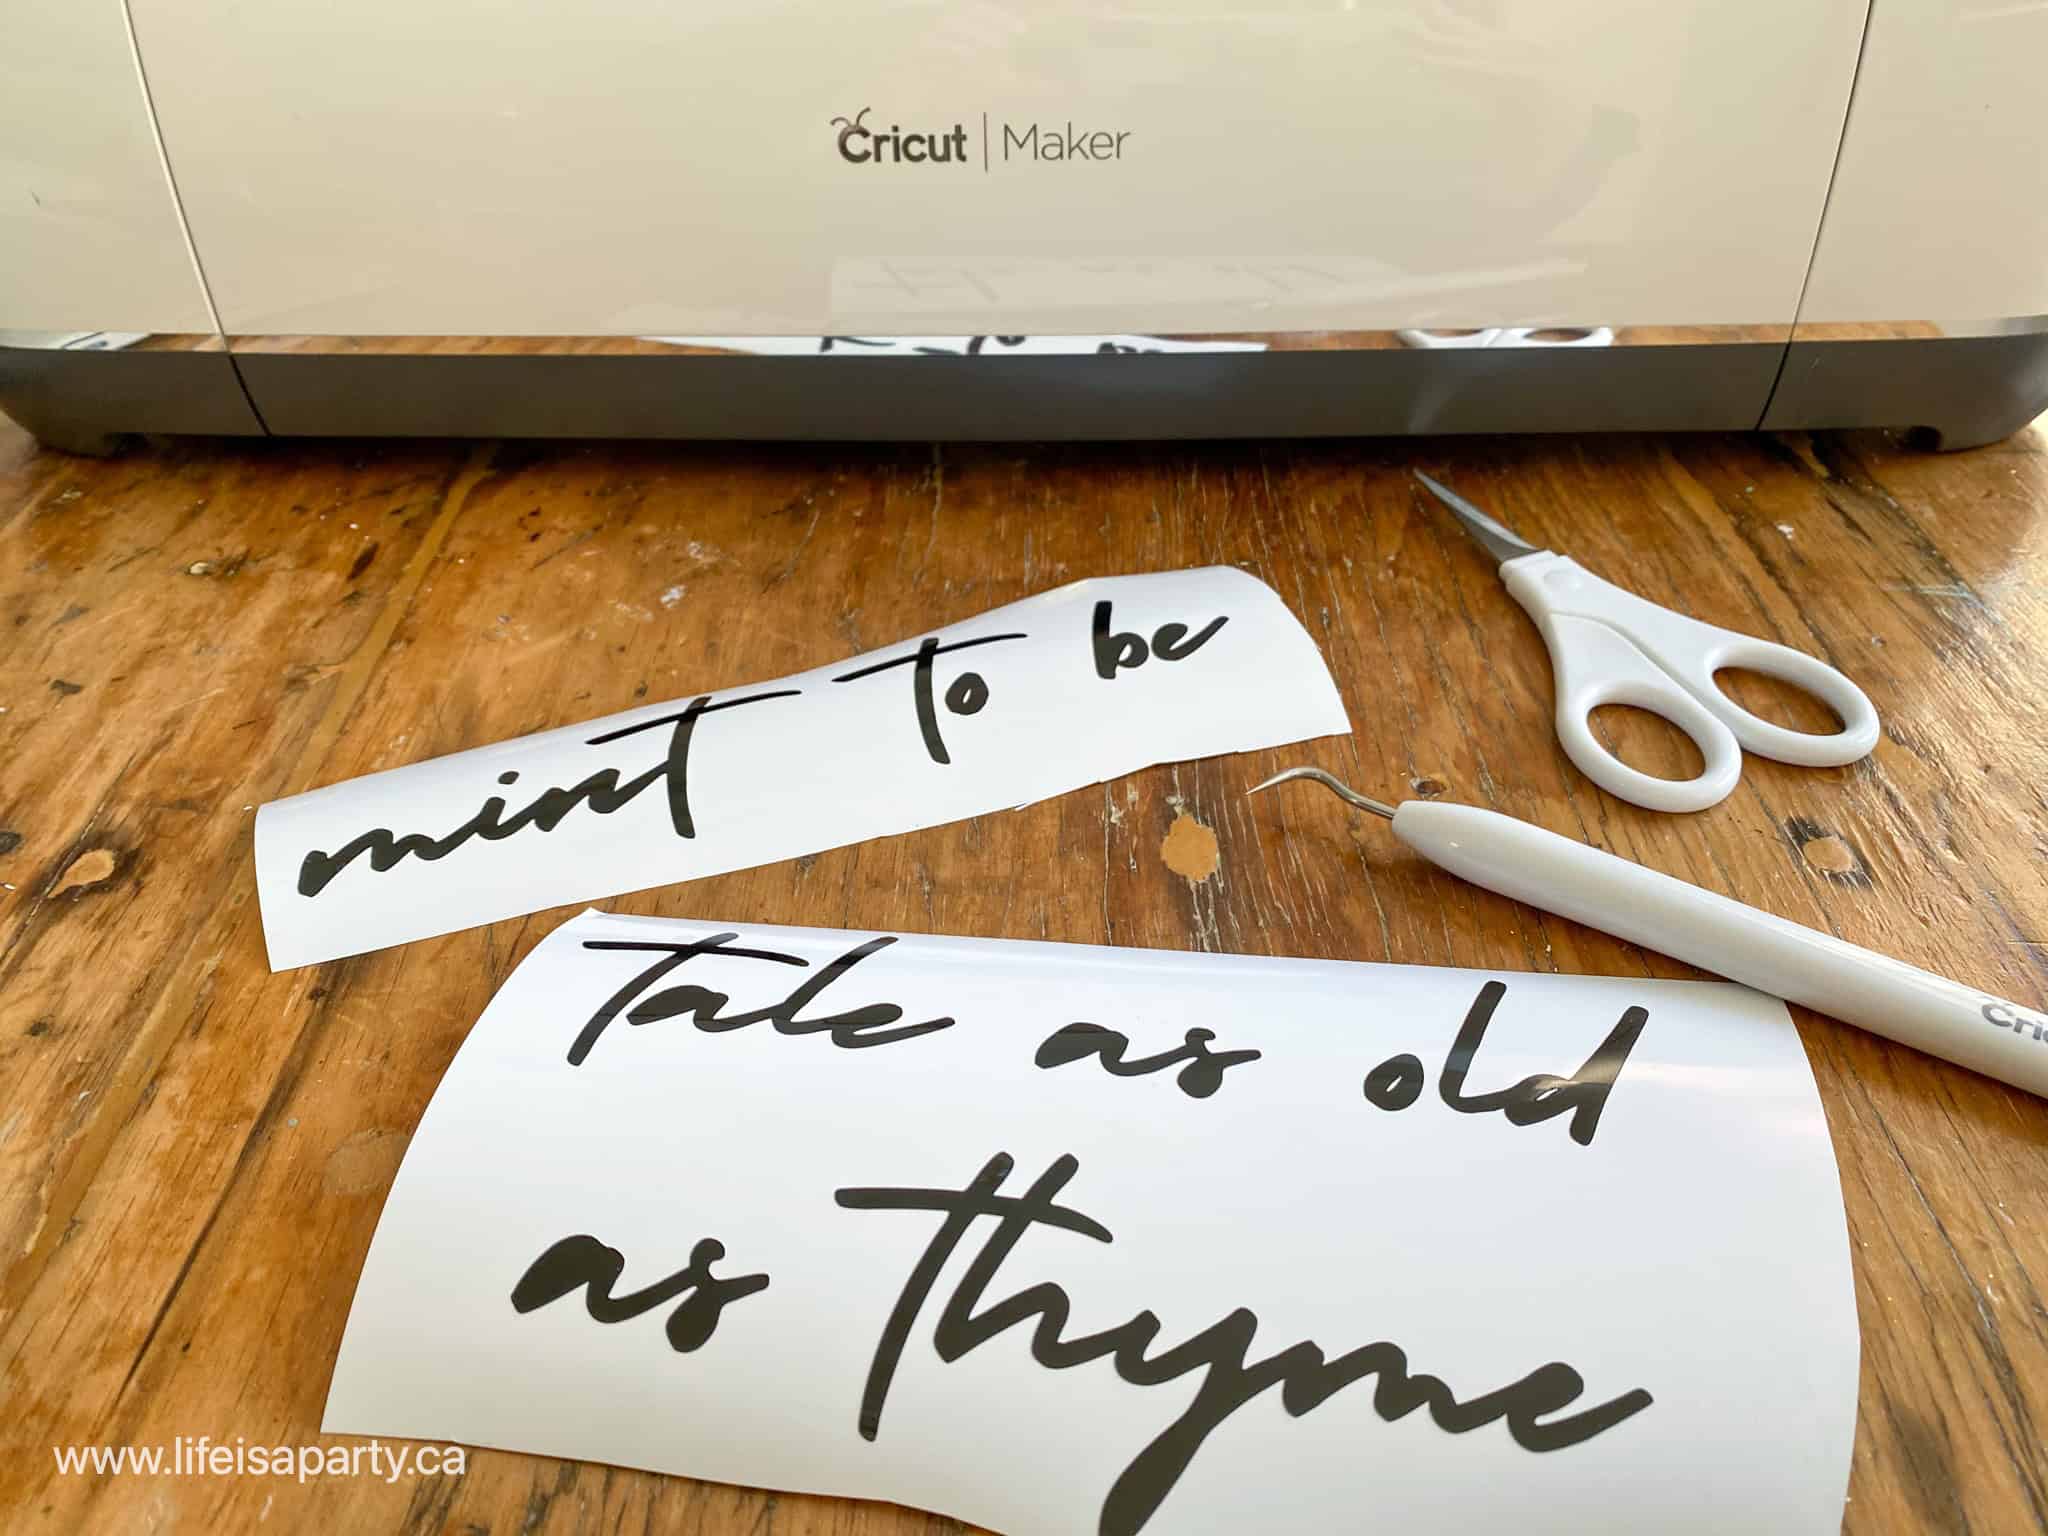
After cutting out the sayings and weeding them using the cricut tools, use transfer tape to apply the Vinyl to the garden pot.
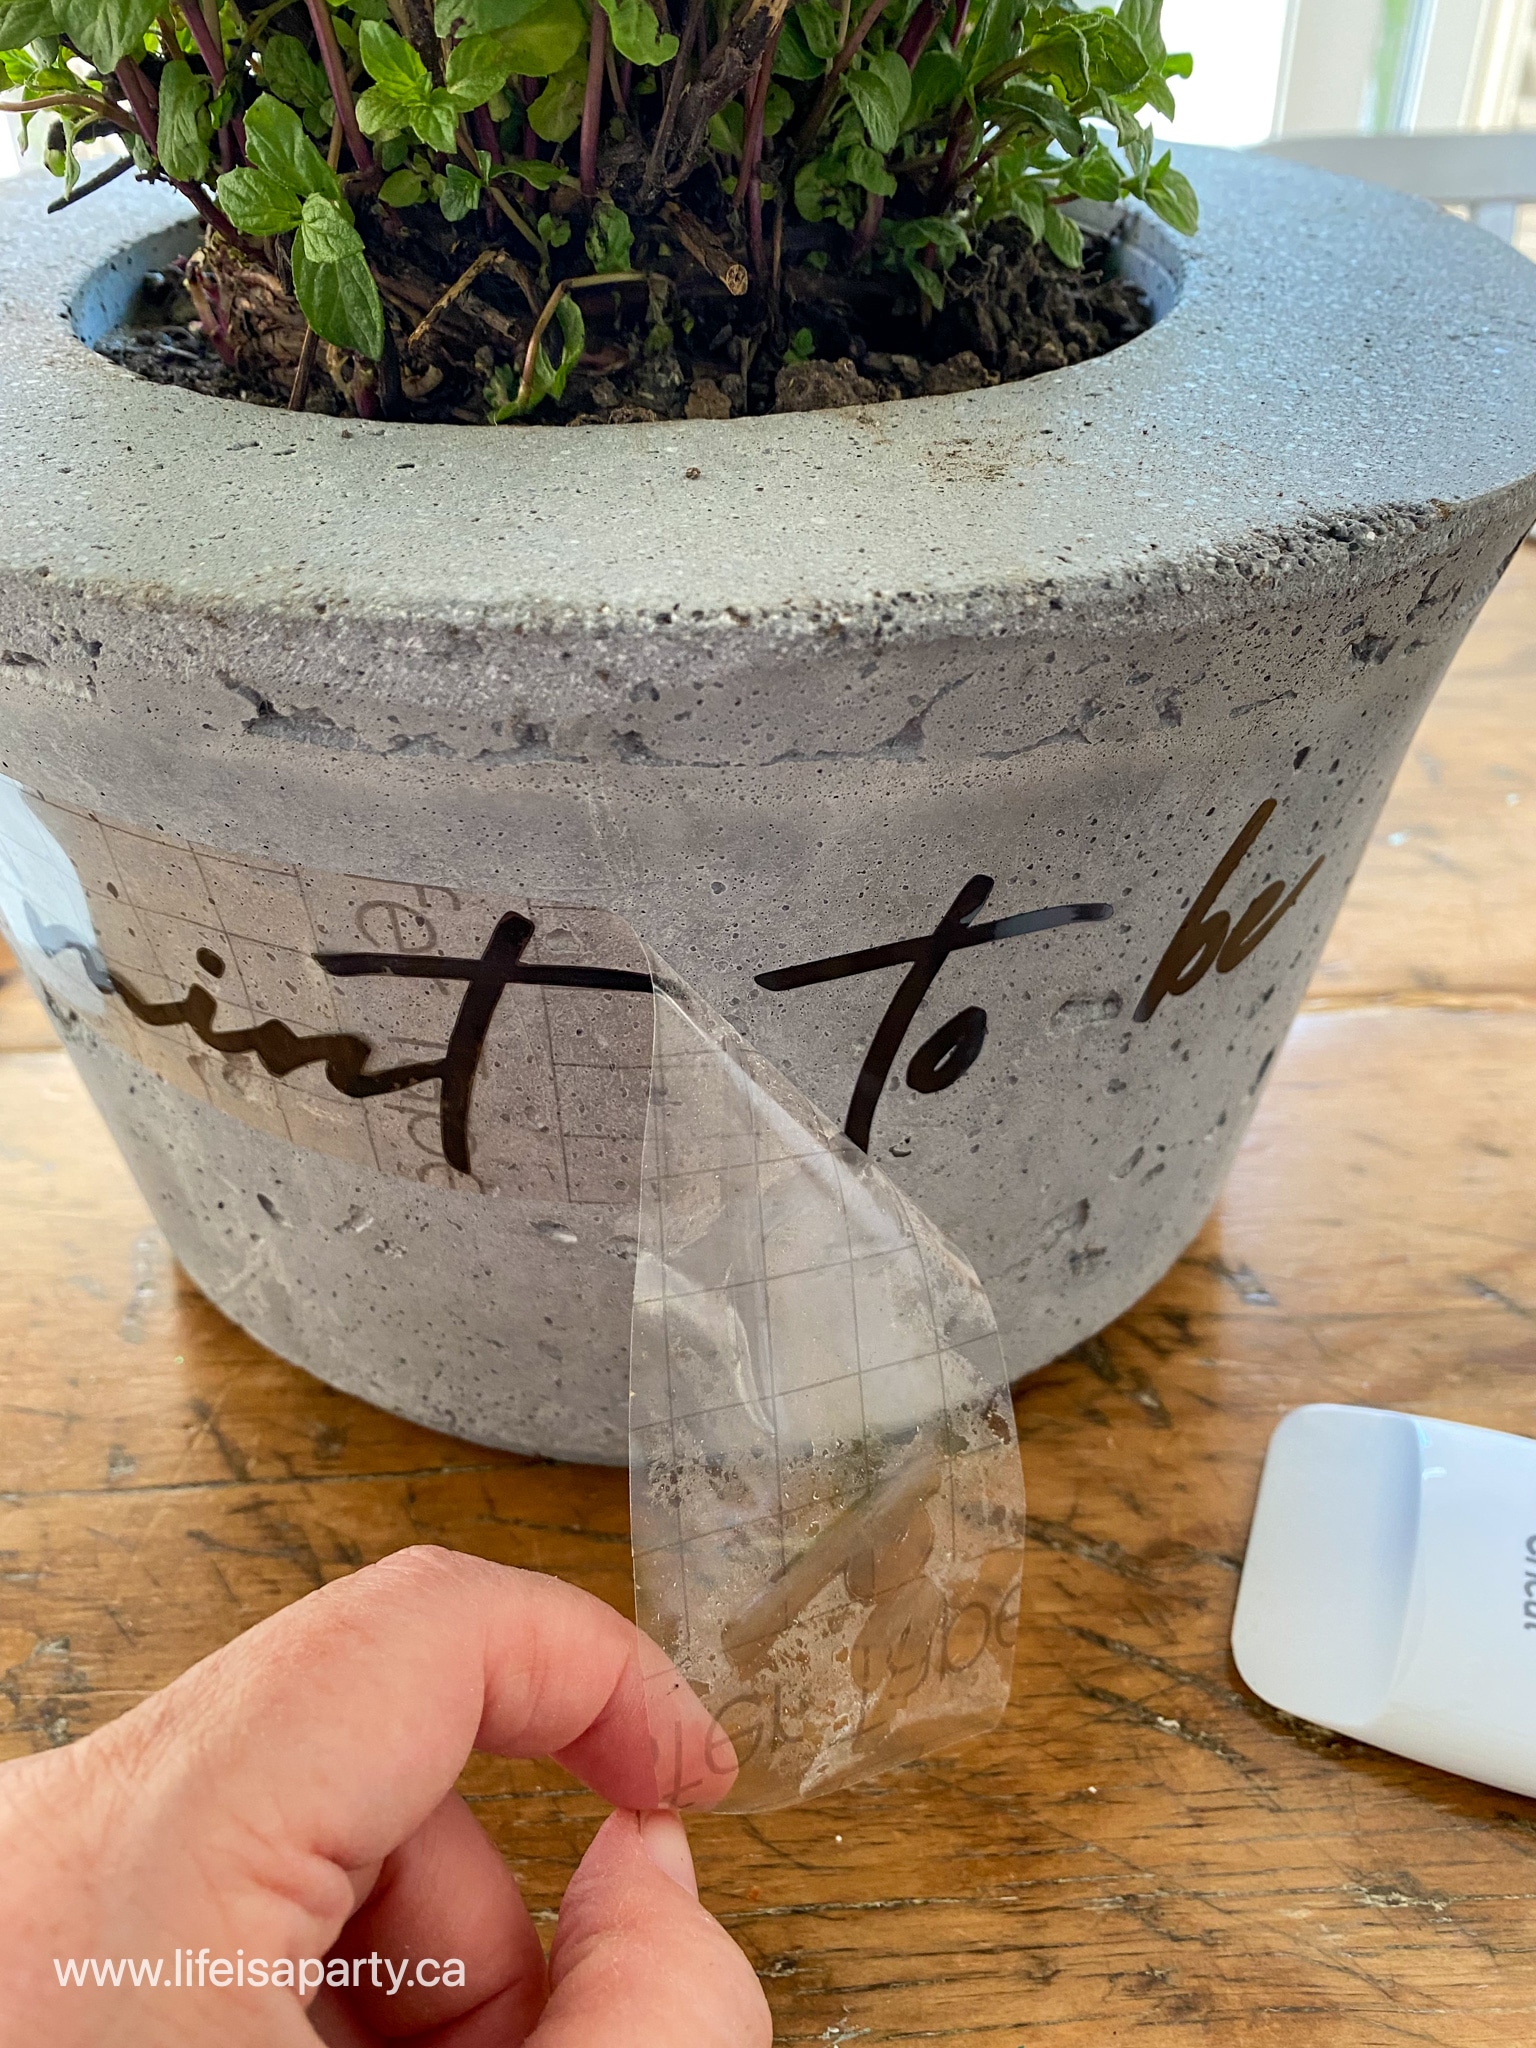
Choosing Your Pots
These will apply well to any smooth surface. They look great on the concrete, but would also work well on terra cotta, or painted terra cotta pots. This is a really easy way to reuse old items and give them a little new life.
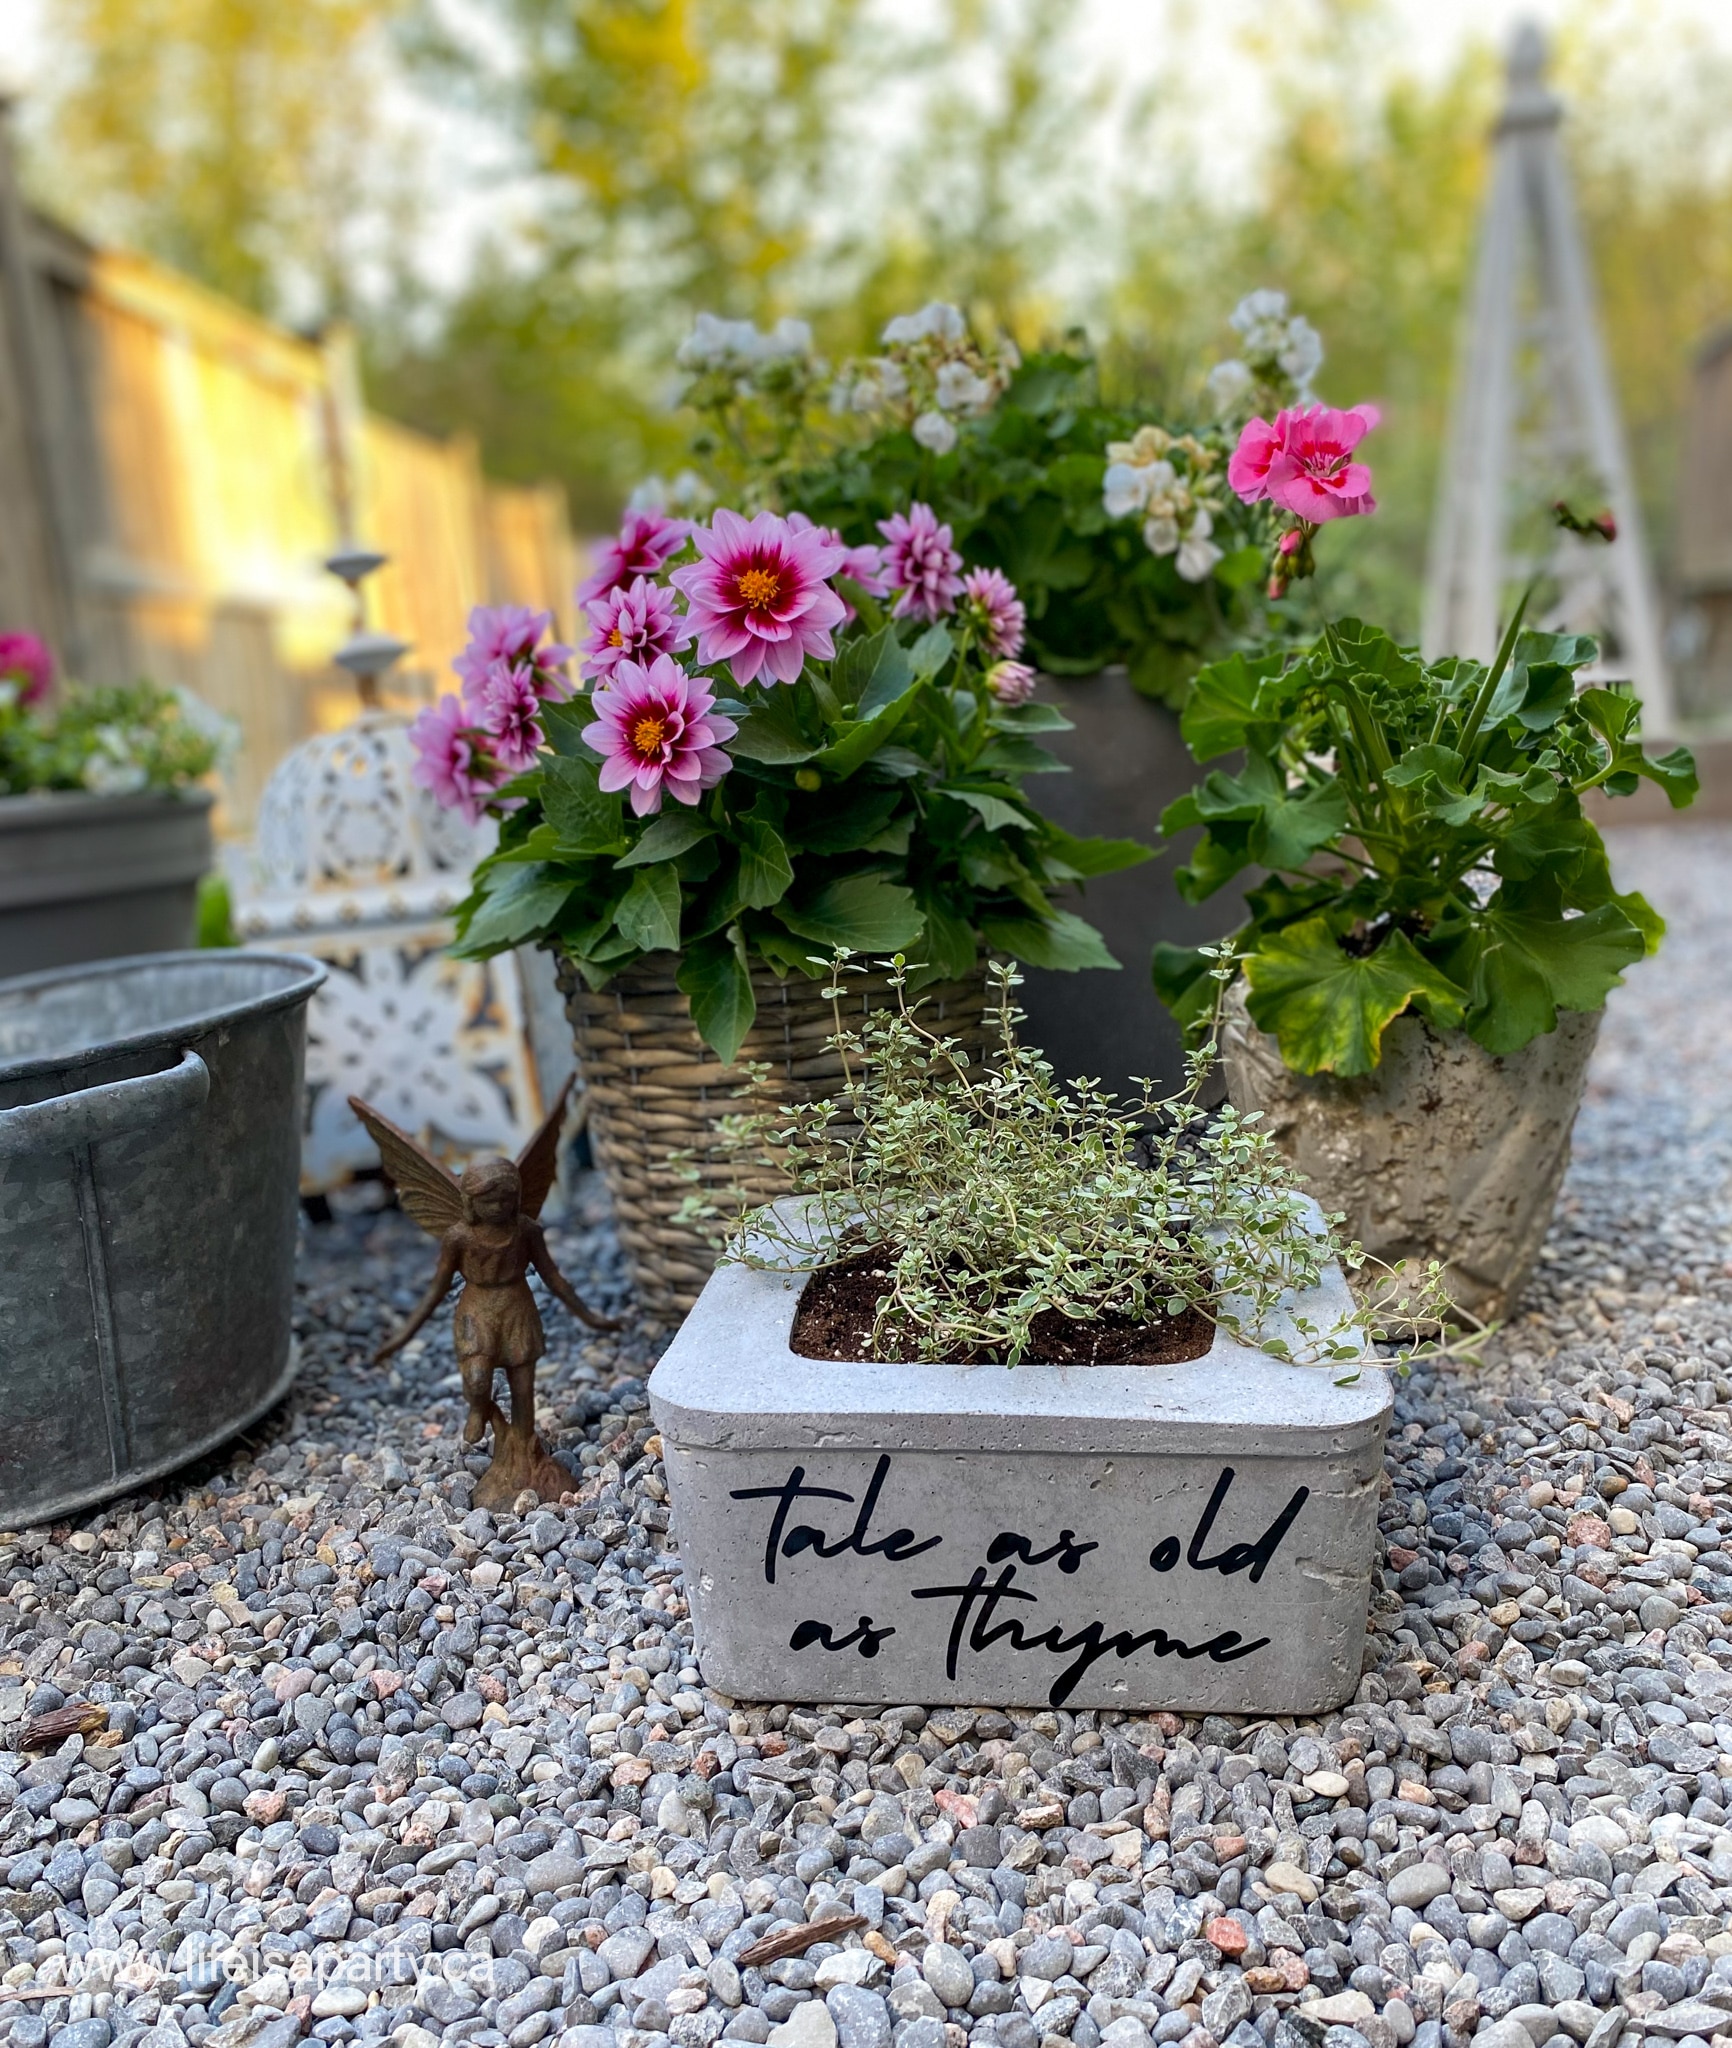
These little pots are a great way to add a fun bit of whimsy to a small garden.
Last year I had some issues with my mint in my main herb bed. It's a pretty aggressive little plant and wanted to take over. I knew this, and had purposely planted it in the garden still inside its plastic pot to try and contain it. But it grew out the bottom drainage holes and managed to spread into my vegetable garden. This time we're not taking any chances. Hopefully growing it in a concrete pot with no drainage holes is the perfect way to keep it contained.
These three creative ideas on a budget, were really fun to make, and an inexpensive way to add some personality to the garden. I love how I can use my Cricut Maker to add personalization and character to my garden decor ideas in a wonderful way but on a budget. I hope they've inspired you to get creative with your own garden décor and they some of these budget garden ideas in your space.
With these easy DIY garden projects on a budget, life really is a party!
This post is sponsored by Cricut. As always, all opinions are my own. Thanks for supporting the brands that make Life is a Party possible.
More Garden Inspiration
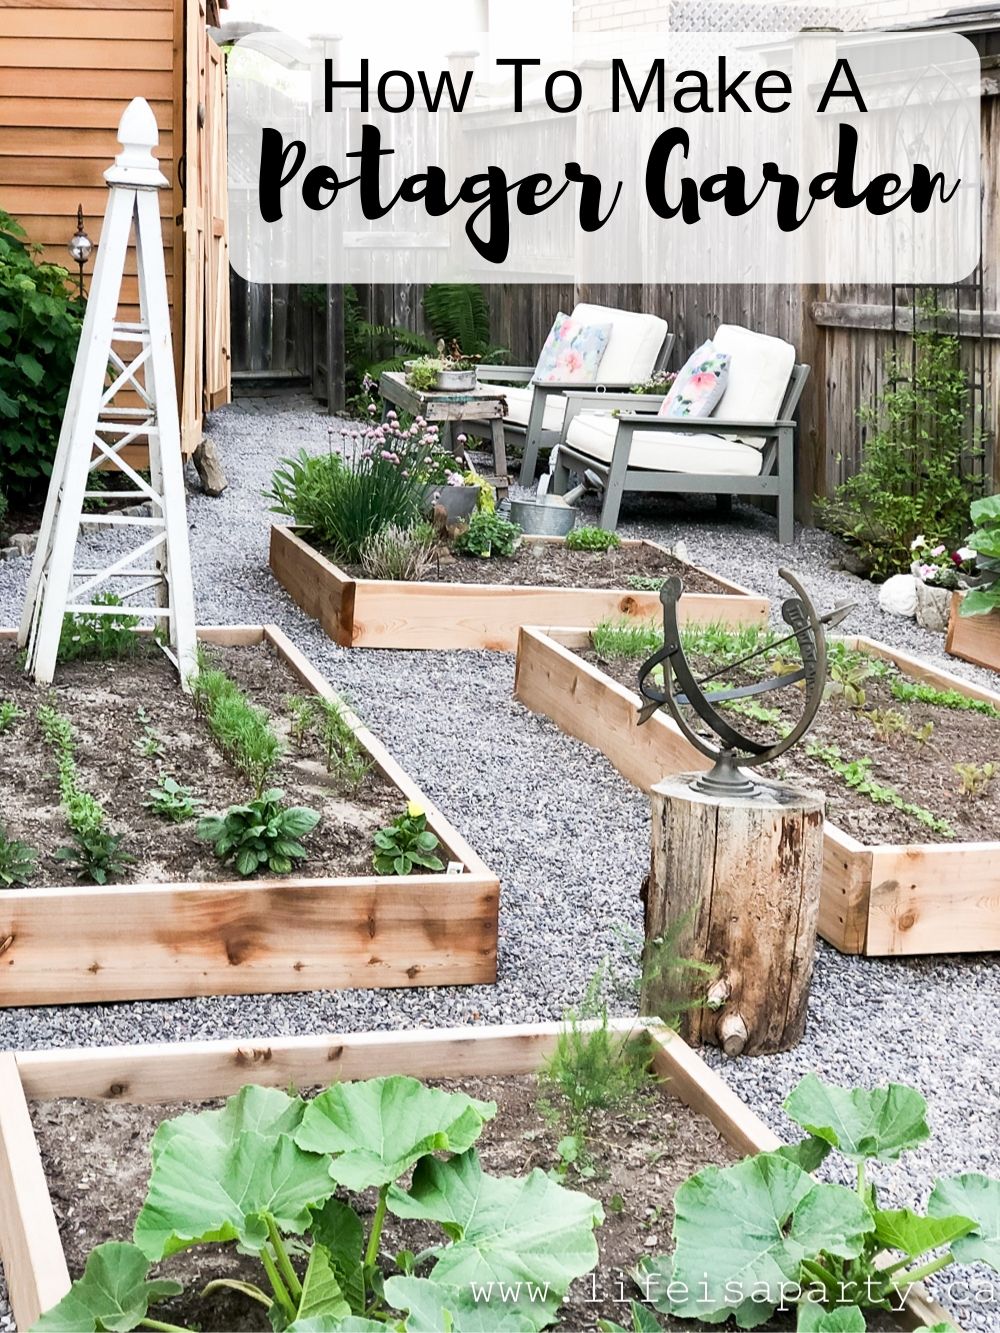
You might also like our How To Make A Portager Garden post here.
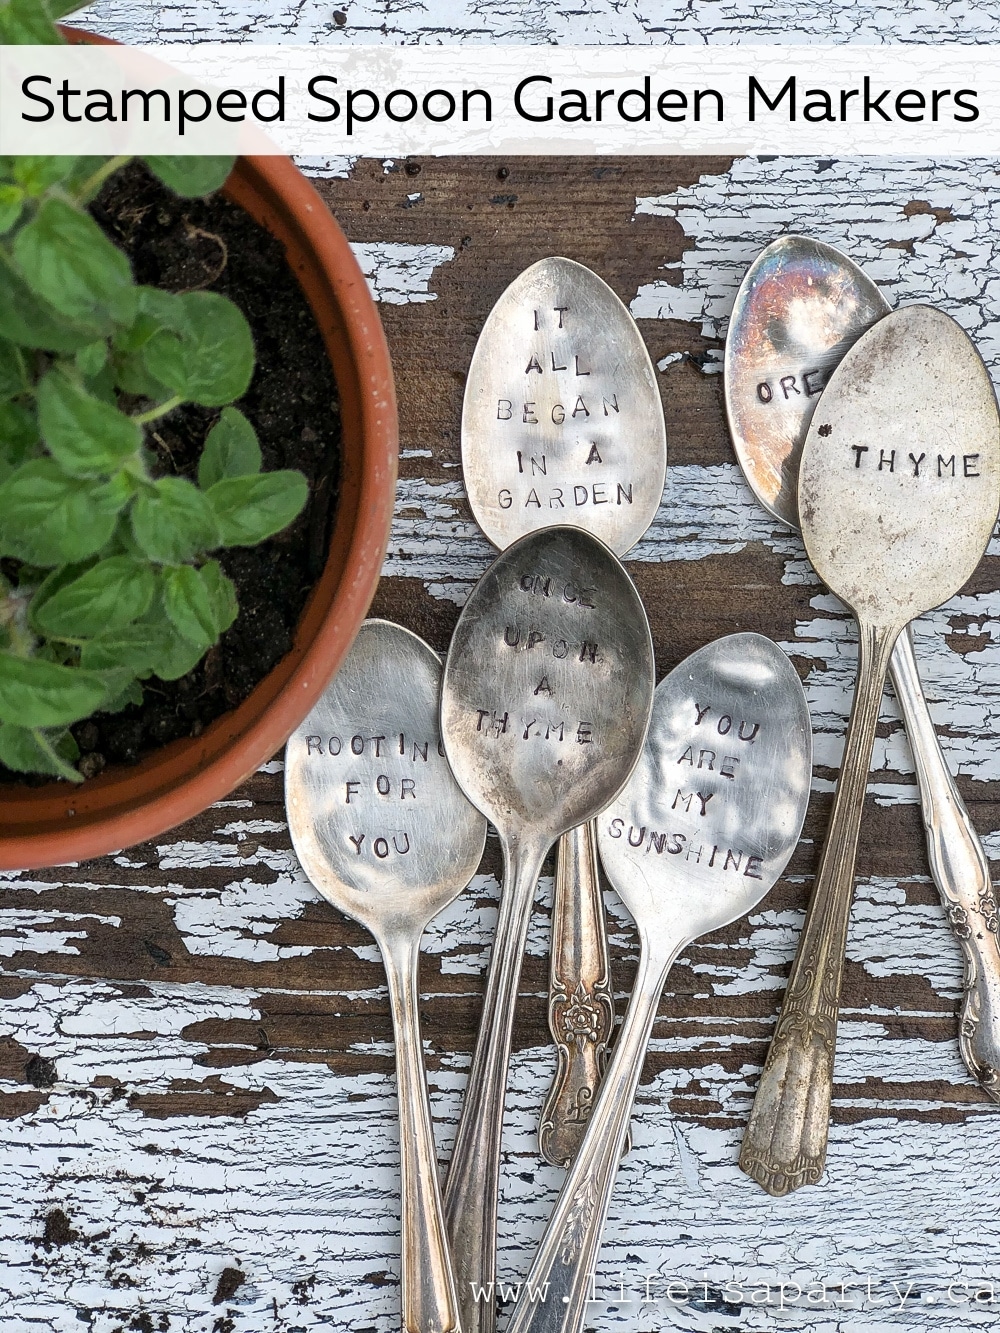
Also check out our DIY Stamped Spoon Garden Markers here.
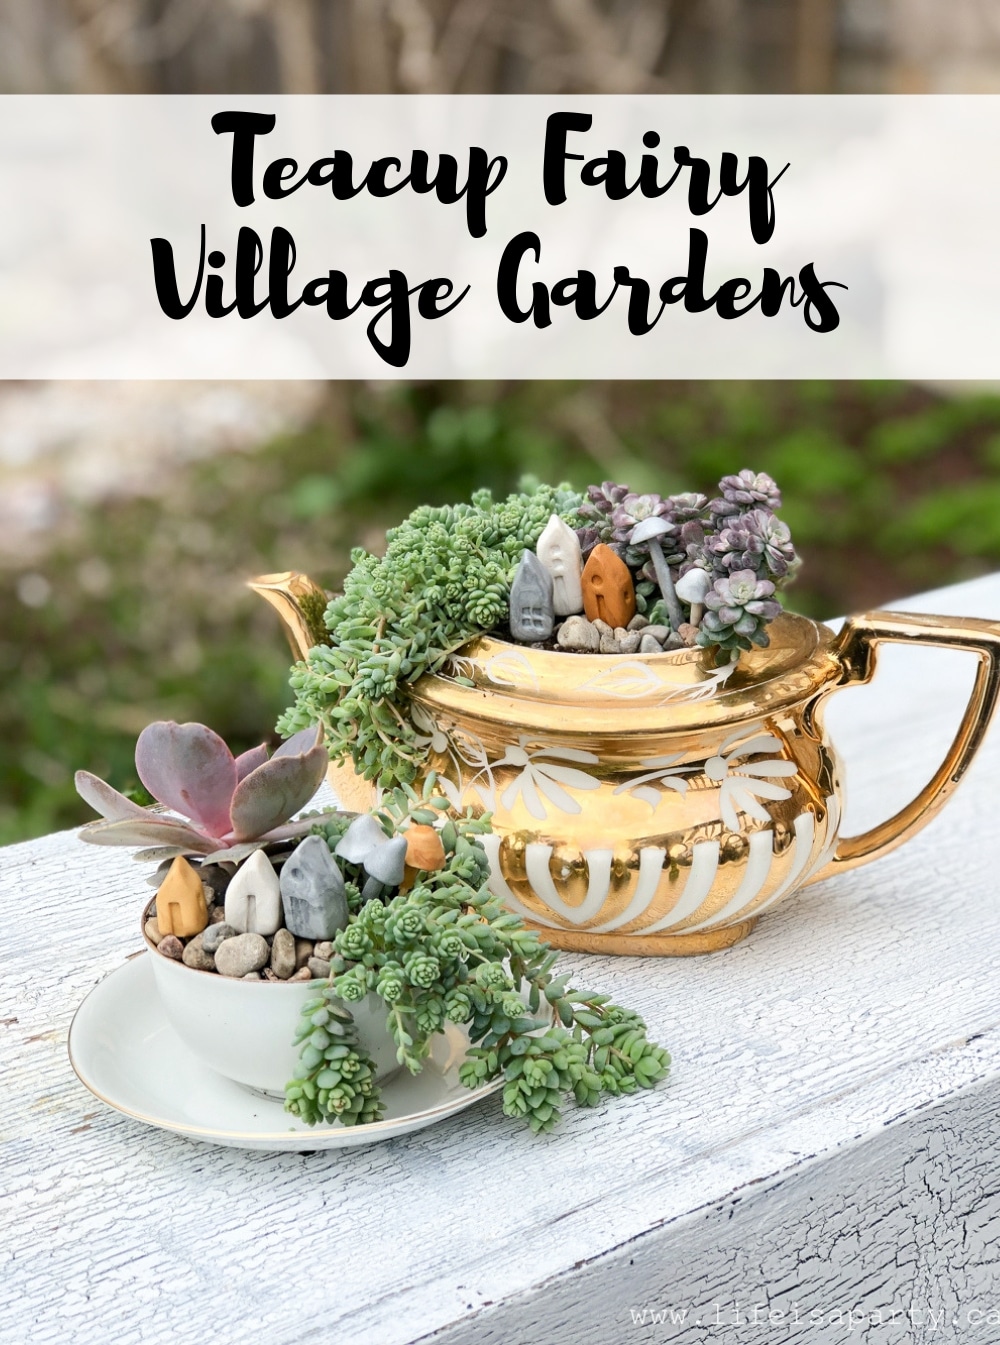
You might also enjoy Teacup Fairy Village Gardens here.


dnr says
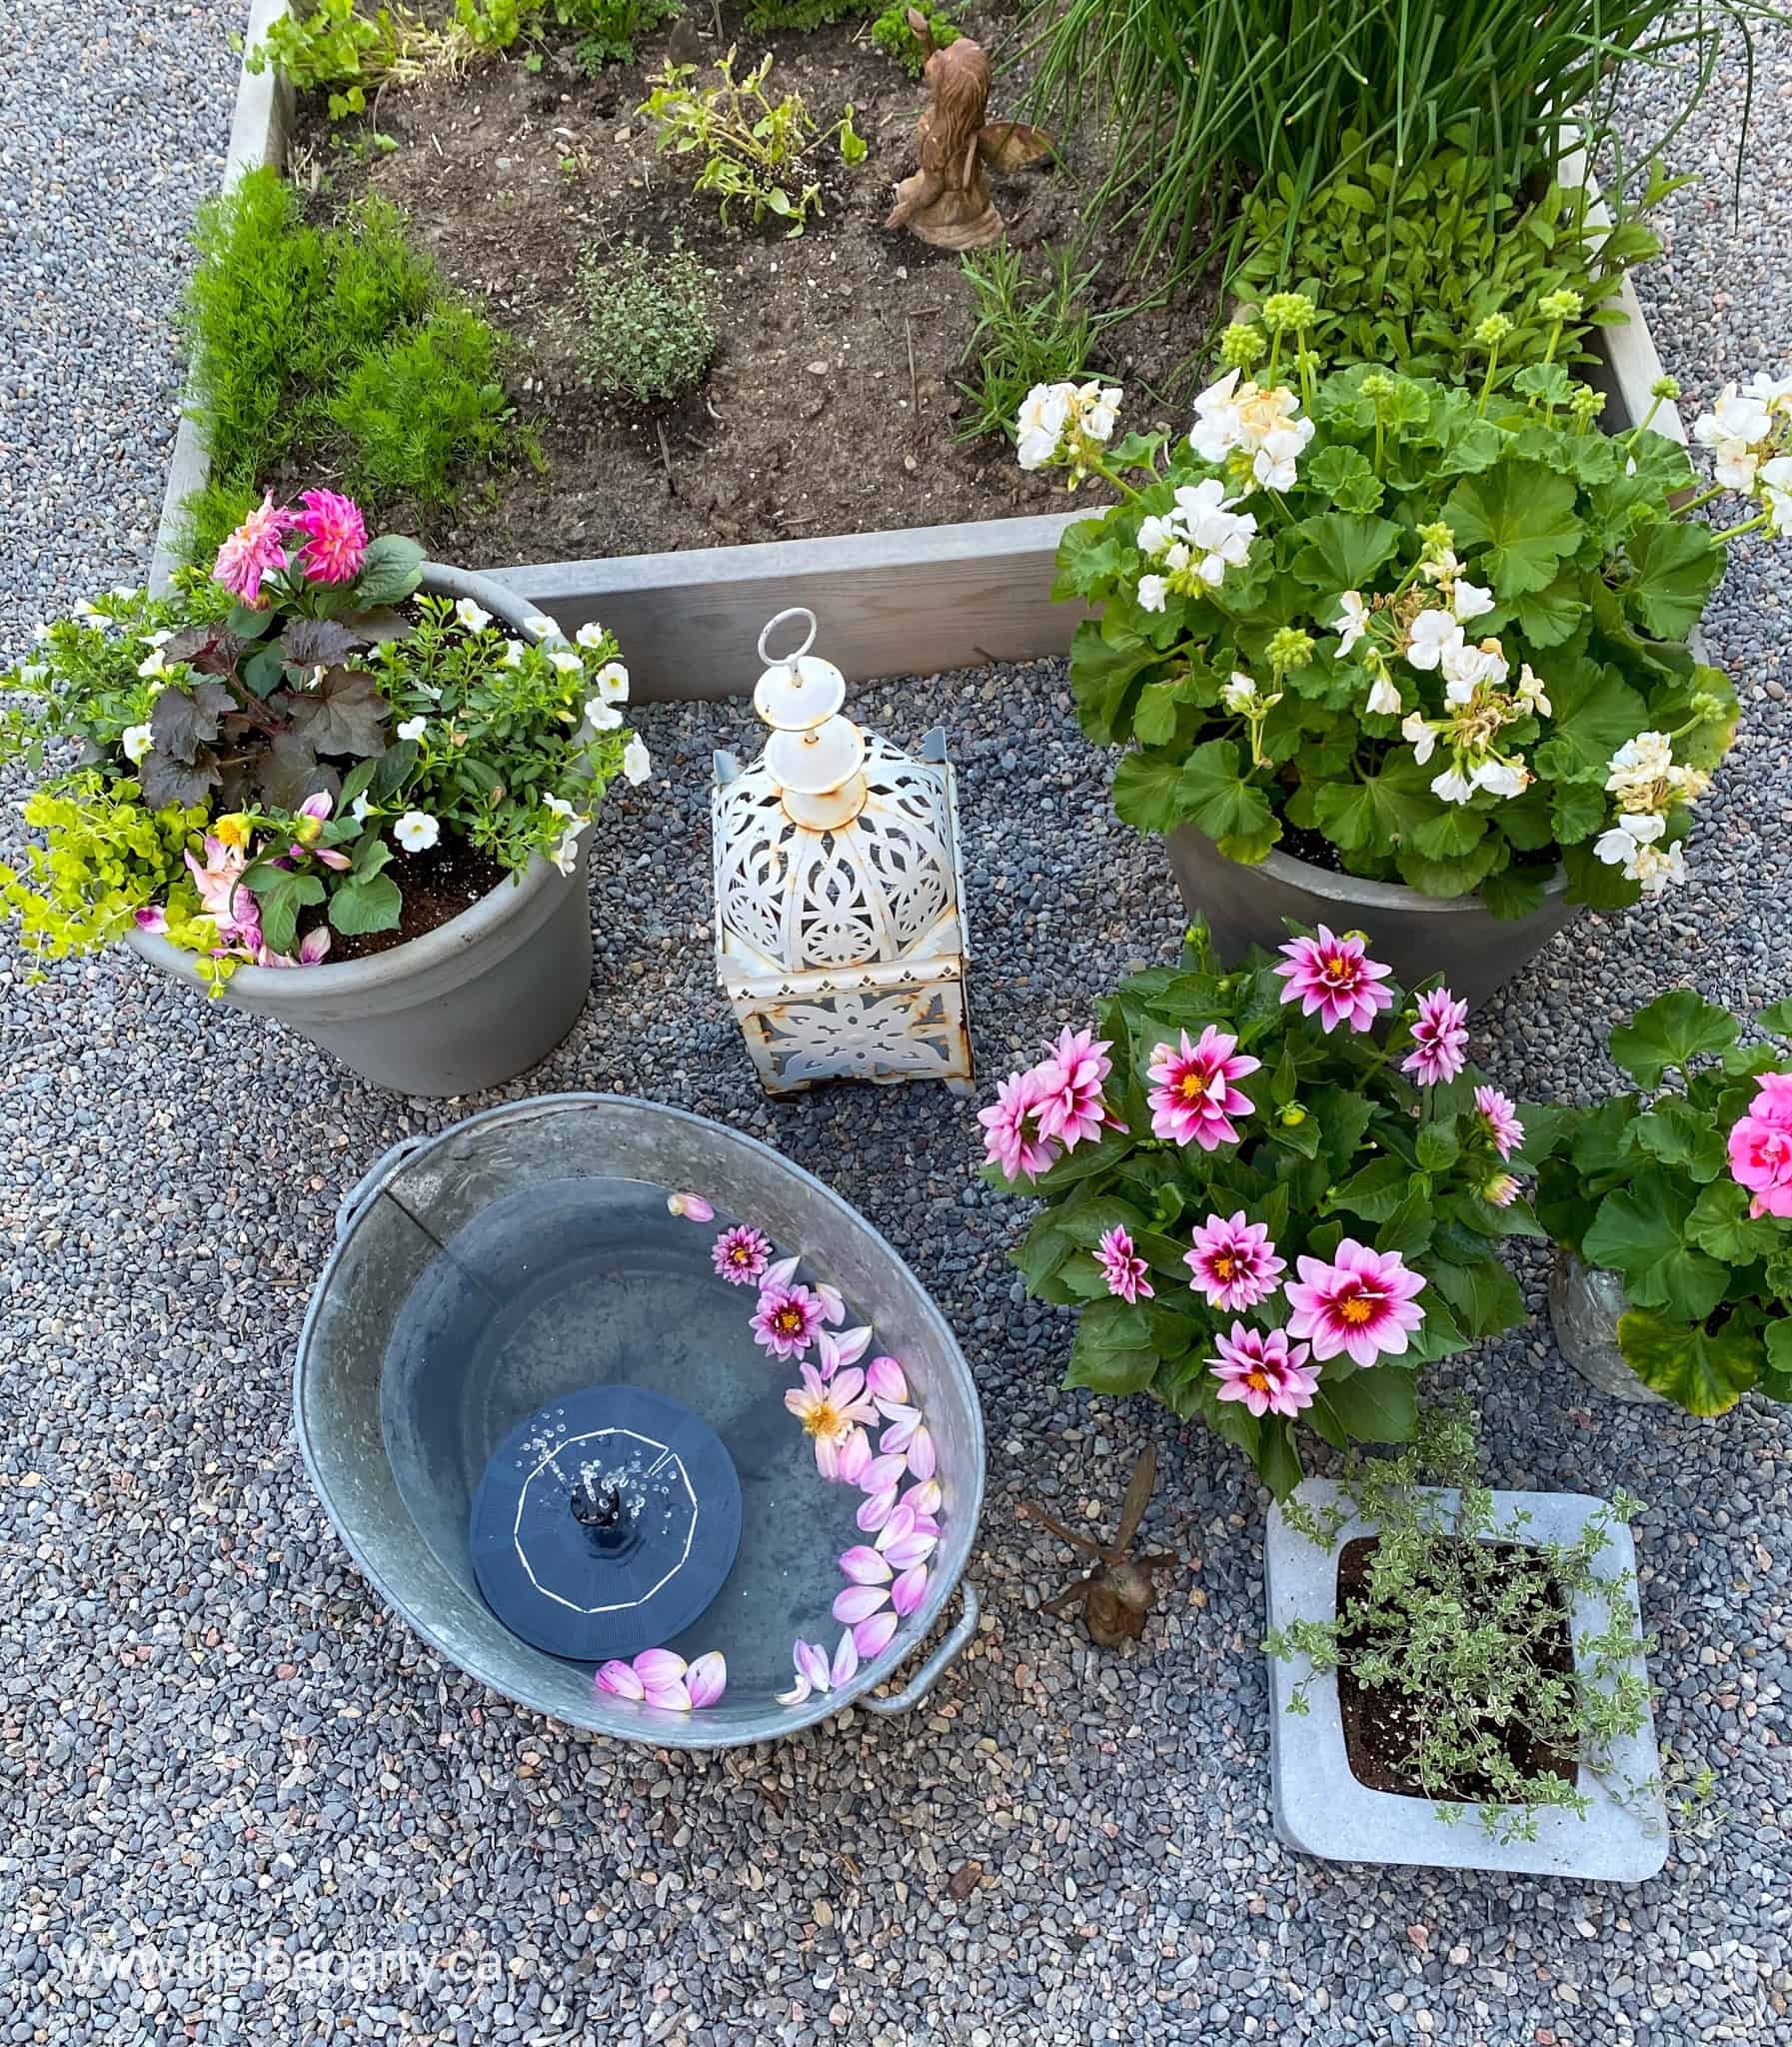
Susan, this is a solar fountain. It floats and charges itself with the sun so you can use it anywhere. I love mine.
Dannyelle
Susan Lindeman says
What is that little fountain thingy in the galvanized tub?