DIY Geometric Himmeli Pumpkin: Easy to follow instructions (with pictures) to make your own geometric pumpkins from spray painted straws.


I’m excited to share my Geometric Himmeli Pumpkin today, you might have noticed them on my Fall Home Tour. We’re seeing geometrics everywhere in home decor, they’re a real rising trend. So I thought it might me fun to try my hand at making some pumpkin inspired geometric himmeli shapes. I used inexpensive cocktail straws, wire, and spray paint for this project, and it turned out great.

These are the perfect addition to your home for fall, and a fun little project to do yourself.

The pumpkin is actually not difficult to make, it just involves a lot of steps. I’ve broken it down, with pictures to make explaining it a little easier.
Geometric Pumpkin Materials:
- Cocktail Straws (from the party store)
- Wire (I used 28 Gauge Beading Wire)
- Spray Paint (I used Gold and Copper)
- Ruler
- Scissors

How To Make A Geometric Pumpkin
1. First cut your straws to length. I cut the straws for the smaller gold pumpkin 5 cm long, and for the larger copper pumpkin 6 cm long. You need 31 straws to make one pumpkin.
Pumpkin Base
2. To make the base of your pumpkin, use one length of wire to connect five straws together and form a pentagon. Twist the two wires together to secure, and trim the wires to about a 3 cm tail.

To Create The Sides
3. Now, cut five new lengths of wire, about two measures from chest to the end of your hand each. String each wire through one of the pentagon straws, and leave about equal length tails from each side. I’ve shown below with a drawing of each wire in a different colour to give you a better idea.

4. Where the two tails come out together, string one straw over the two of them -for a total of five straws. Also, tuck the original tail from the pentagon into one of the new straw pieces so it’s hidden.

5. Add two new straws where the two wires come out, to form a Y; one wire through each one.

6. Pull the tops of the Y’s together to form 5 pentagons, and begin to make the pumpkin shape. Twist the wires together, pulling tightly where they meet to secure the shape. You should now have five pentagons together on a pentagon base.

7. Now you’re going to make 5 triangles at the top, by adding another straw horizontally to each of the spots where the two wires are. This time run one wire through the straw in one direction, and another wire through the straw in the opposite direction. Twist the wires together to secure.


To Make The Top
8. At the five spots where the two wires come together, add another straw and thread both wires through together in the same direction.

Geometric Pumpkin Stem
9. Now, push the straws down into the shape and where they all meet together, tightly twist all the wires together to form the stem of the pumpkin. Trim the wires to about 3 cm.

Spray Paint
10. Cover the wire stem with your last straw, trimming the straw slightly if you wish. Spray paint to finish.

You could paint these any colours to match your decor, but I did gold and copper since they’re both so hot in home decor right now, and perfect for fall.

With DIY Geometric Himmeli Pumpkins, life really is a party!
More Inspiration
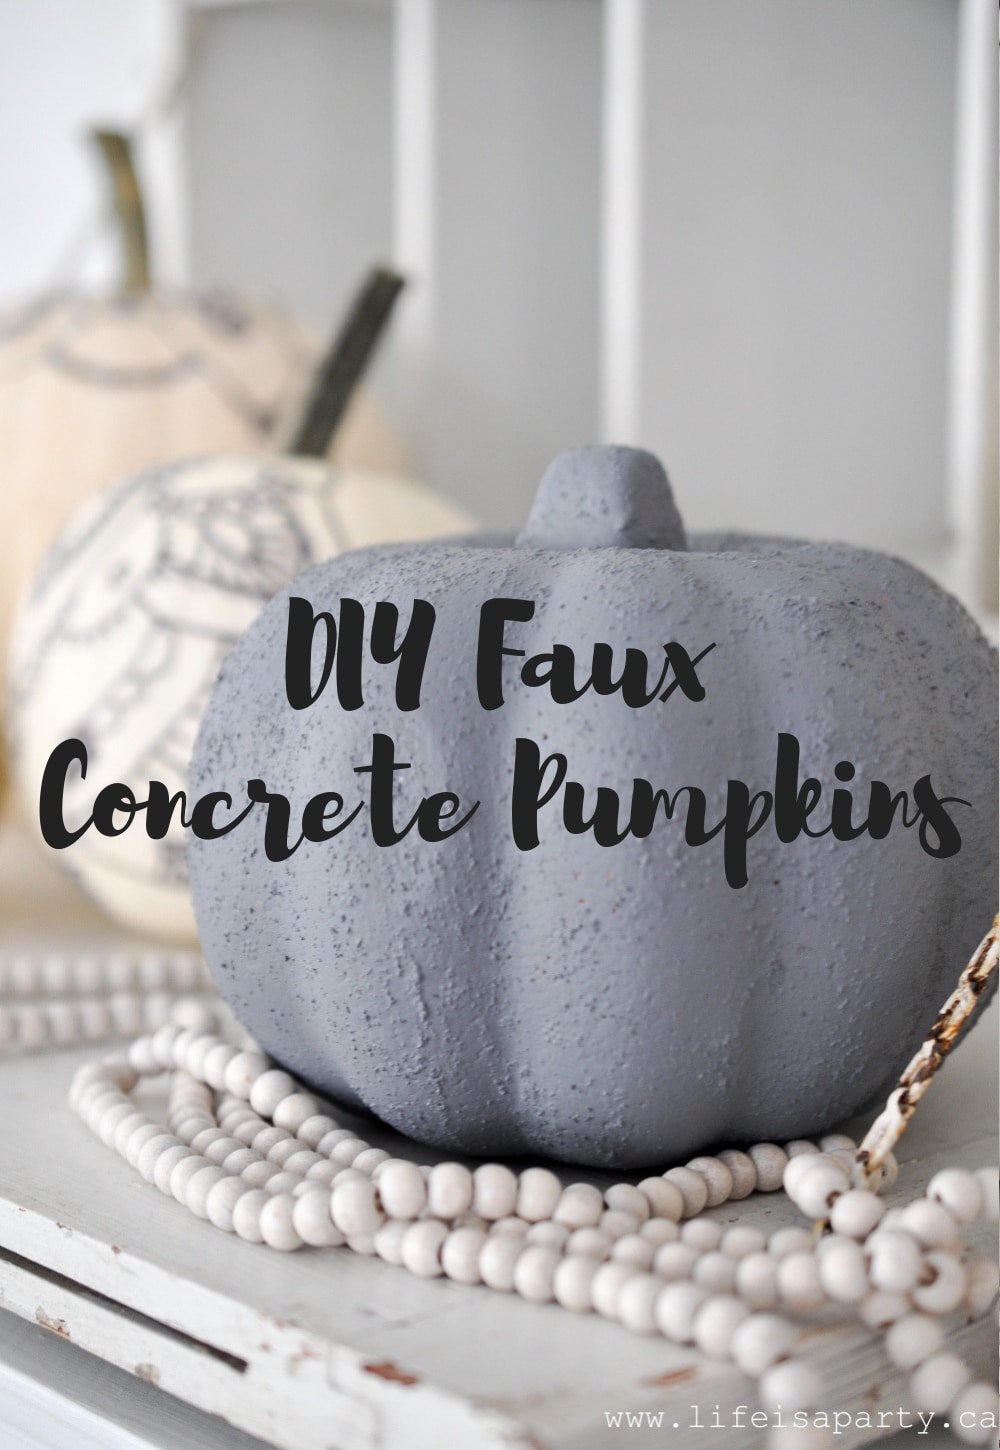
You might also like our DIY Faux Concrete Pumpkins here.
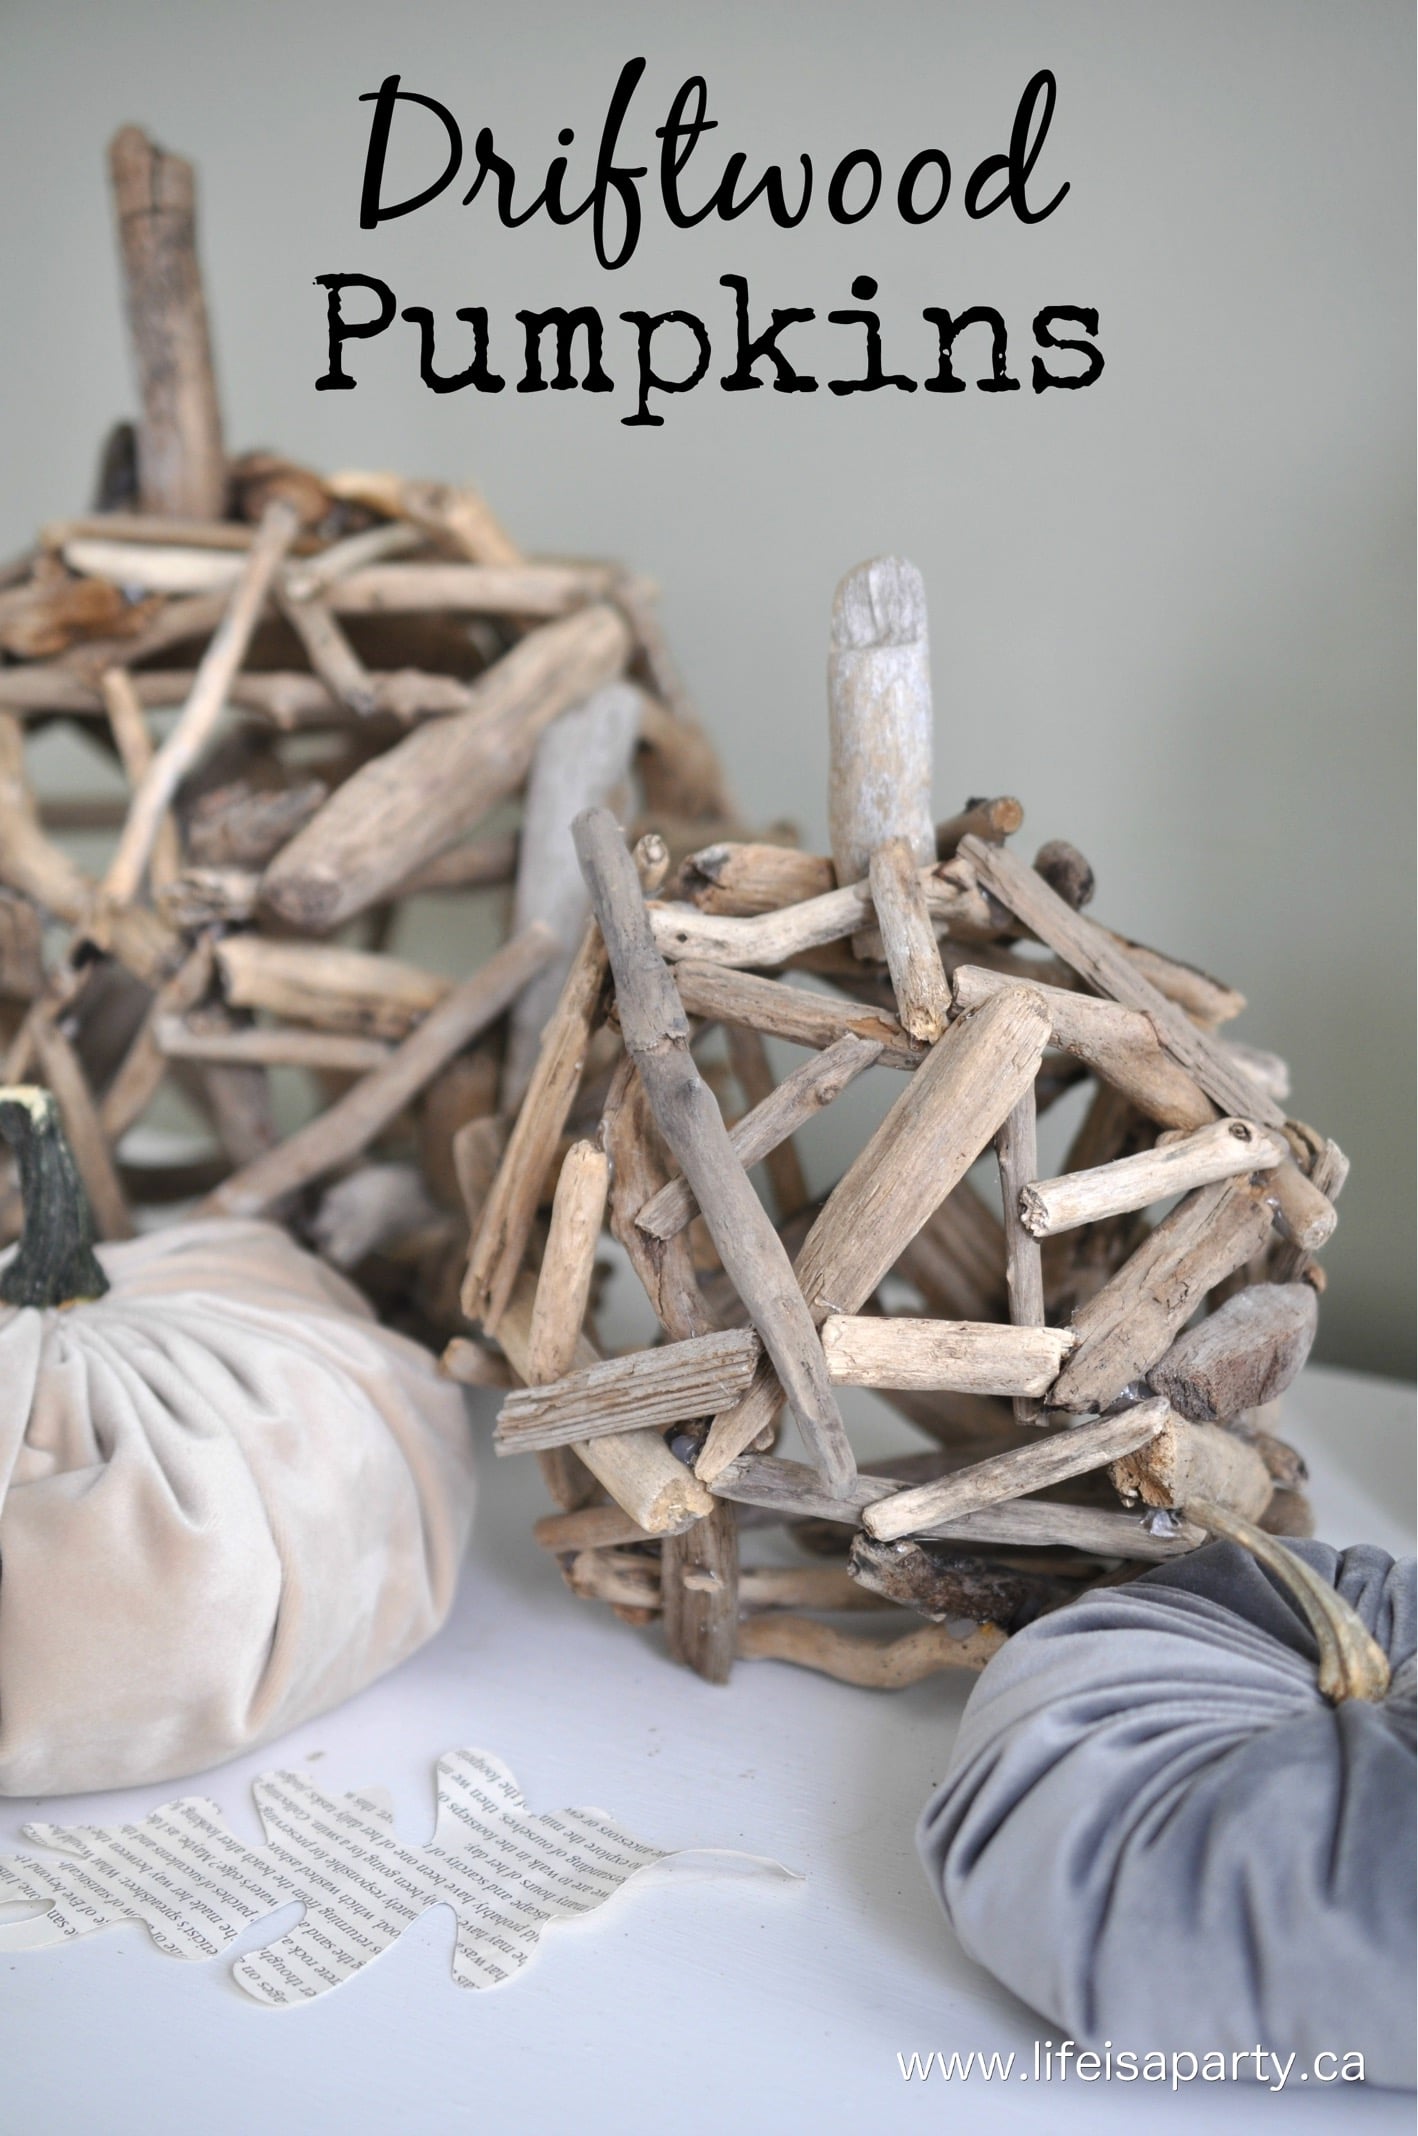
Also check out our Driftwood Pumpkins here.
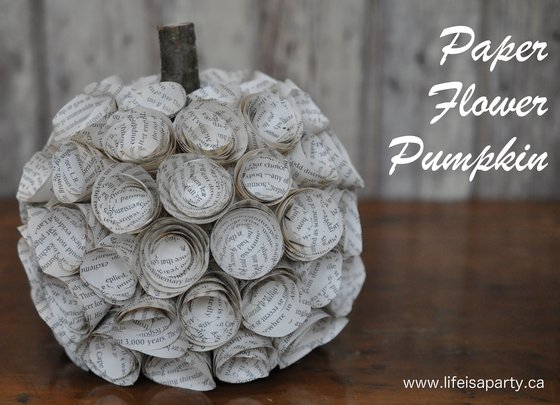
You might also enjoy our Paper Flower Pumpkin here.


Leave a Reply