How To Make Cement Easter Eggs: use some dollar store plastic Easter eggs, cooking spray, and cement for this easy and inexpensive DIY.
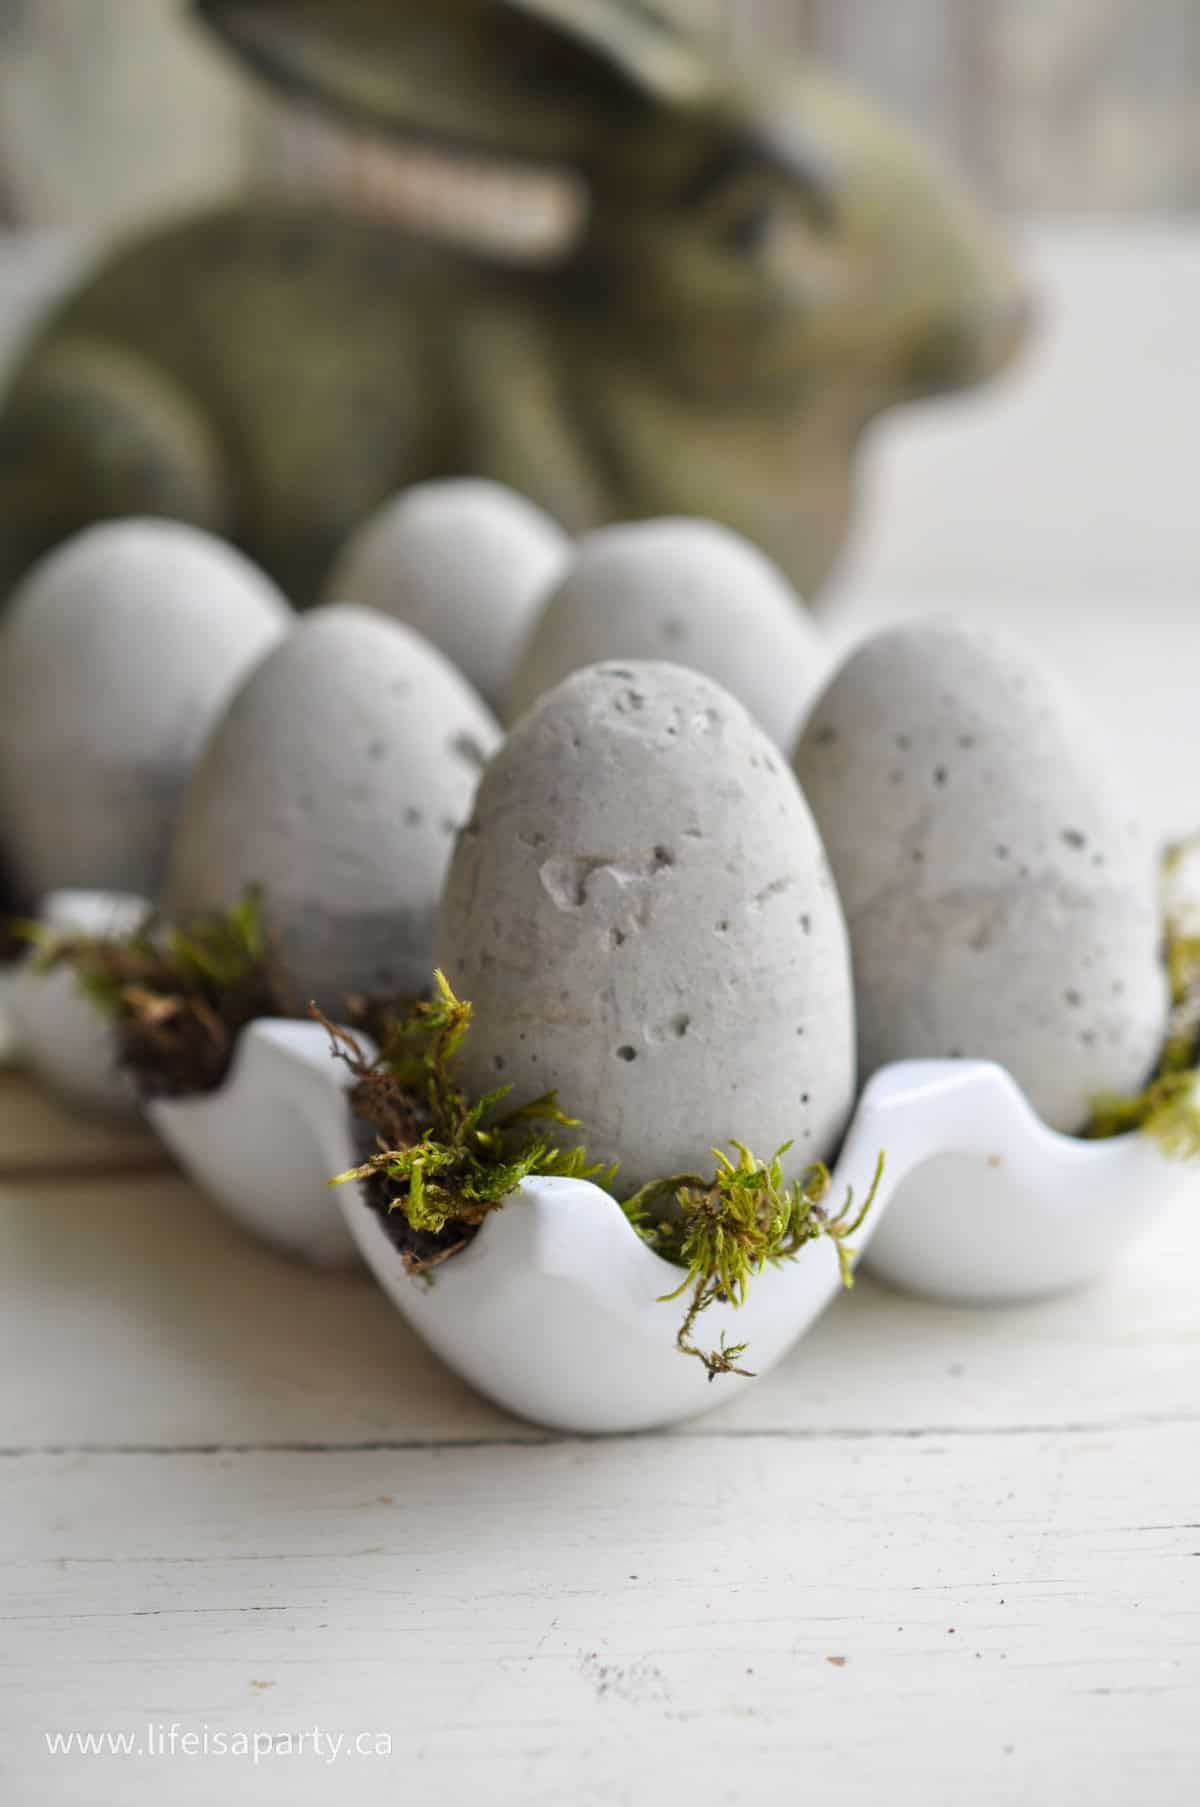
I thought it would be fun to make some Cement Easter Eggs to add into my spring decor. I love how they turned out, and they're pretty easy to make too. So lately I've been loving cement, and I love it mixed with some vintage pieces for that rustic feel, that helps keep things a little edgy and not too sweet. These are a great addition to any spring decor and they're really cute for Easter too.
Easter Egg Moulds
We used regular plastic Easter eggs from the dollar store as our cement moulds. These are really inexpensive and easy to find. It can be a little hard to get the set cement out of the plastic eggs. To help with that you want to make sure you spray the inside of the mould well with some cooking spray to help it not to stick to badly.
Even with cooking spray though, some of our eggs were really tricky to get out. We ended up breaking the plastic dollar tree eggs off of them, so don't count on being able to reuse the plastic eggs again after the un-moulding.
Using plastic eggs as the moulds also results in a ridge around the the centre of the egg, where the egg closes. These rough edges aren't too hard to remove, when you first remove the egg from the mould, before the cement is set really, really hard. There are a few different ways to remove the ridge, but they all require a little patience. The easy way is to use the edge of crafting knife to chip it away. You could also try using sandpaper.

Materials:
- Plastic Easter Eggs
- Cement Mix
- Drill
- Baking Spray

How To Make Cement Easter eggs:
1. Prepare Your Moulds
The first thing to do is to prepare your moulds. We used standard plastic Easter eggs. We began by drilling a large-ish hole in the top of the egg. Do this for each egg. I used an old egg carton to hold my moulds while we worked, since eggs don't have a flat bottom and won't stand up on their own.
Once the small hole is drilled, spray both sides of the inside of the egg mould with baking spray, this will make it easier to get your egg out later.
2. Mix Cement
Once your moulds are prepped the next step is to mix up your cement, making sure to stir it well so it's fully combined, and always work in a well ventilated area. You want your cement mixture to be not too dry, and not too wet of a consistency. If it's too dry add a some extra water a little bit at a time. If it's too much water it will be a goopy mess, so add some more cement mix to make it dryer.
3. Fill The Eggs
To fill your eggs start by filling each side of the mould separately, and then try to snap the bottom of the egg and the top of the top of the egg together. Working with the pointy end of the egg with the hole in the top, gently tap your full egg on a hard surface to try and get any air bubbles out of the cement mix. Now if there's any room at the top, use a plastic spoon to next pour a little more cement through the hole. I also used a lollipop stick to push some more in the small opening at the top, and tapped it down.

4. Un-Moulding
Now leave your full concrete Easter eggs to set overnight. Overnight seemed to be a good length of time. You want your cement to be set, but not set too hard yet. Once your cement is set it's time to take them out of the plastic container moulds.
This was the hardest part of the job.
A few came out easily, others were a little more tricky. Usually when you're opening these eggs, you squeeze it a little to pop it open, but when it's full of dry cement you can't squeeze it. I used a knife in the crack and pried them open. Two of the plastic egg moulds broke as I was removing them. I did get all six of mine out, and they all turned out great, it just took a little elbow grease for some. 😉

5. Sand and Smooth
Once the eggs are out of the moulds, you might want to use a little sandpaper or the edge of a knife to smooth out the bumpy surface where the egg shape clicked together. After a day of setting in the moulds the cement will still be soft enough when you take them out to scrap it smooth quite easily.
Equipment
- Plastic Easter Eggs
- Cement Mix
- Drill
- Baking Spray
Materials
- Plastic Easter Eggs
- Cement Mix
- Baking Spray
- Egg Carton
Instructions
- Prepare the Moulds
The first thing to do is to prepare your moulds. We used standard plastic Easter eggs. We began by drilling a large-ish hole in the top of the egg. Do this for each egg. I used an old egg carton to hold my moulds while we worked, since eggs don't have a flat bottom and won't stand up on their own.
Once the small hole is drilled, spray both sides of the inside of the egg mould with baking spray, this will make it easier to get your egg out later. - Mix Cement
Once your moulds are prepped the next step is to mix up your cement, making sure to stir it well so it's fully combined, and always work in a well ventilated area. You want your cement mixture to be not too dry, and not too wet of a consistency. If it's too dry add a some extra water a little bit at a time. If it's too much water it will be a goopy mess, so add some more cement mix to make it dryer. - Fill The Eggs
To fill your eggs start by filling each side of the mould separately, and then try to snap the bottom of the egg and the top of the top of the egg together. Working with the pointy end of the egg with the hole in the top, gently tap your full egg on a hard surface to try and get any air bubbles out of the cement mix. Now if there's any room at the top, use a plastic spoon to next pour a little more cement through the hole. I also used a lollipop stick to push some more in the small opening at the top, and tapped it down. - Un-Moulding
Now leave your full concrete Easter eggs to set overnight. Overnight seemed to be a good length of time. You want your cement to be set, but not set too hard yet. Once your cement is set it's time to take them out of the plastic container moulds.
This was the hardest part of the job.
A few came out easily, others were a little more tricky. Usually when you're opening these eggs, you squeeze it a little to pop it open, but when it's full of dry cement you can't squeeze it. I used a knife in the crack and pried them open. Two of the plastic egg moulds broke as I was removing them. I did get all six of mine out, and they all turned out great, it just took a little elbow grease for some. - Sand and Smooth
Once the eggs are out of the moulds, you might want to use a little sandpaper or the edge of a knife to smooth out the bumpy surface where the egg shape clicked together. After a day of setting in the moulds the cement will still be soft enough when you take them out to scrap it smooth quite easily.
You could also paint these with some acrylic paint, or tape off a section and paint it, or apply a sealer to the cement for more of a wet look. I kind of like these ones with a rougher look with the raw cement, so i left mine as they were.

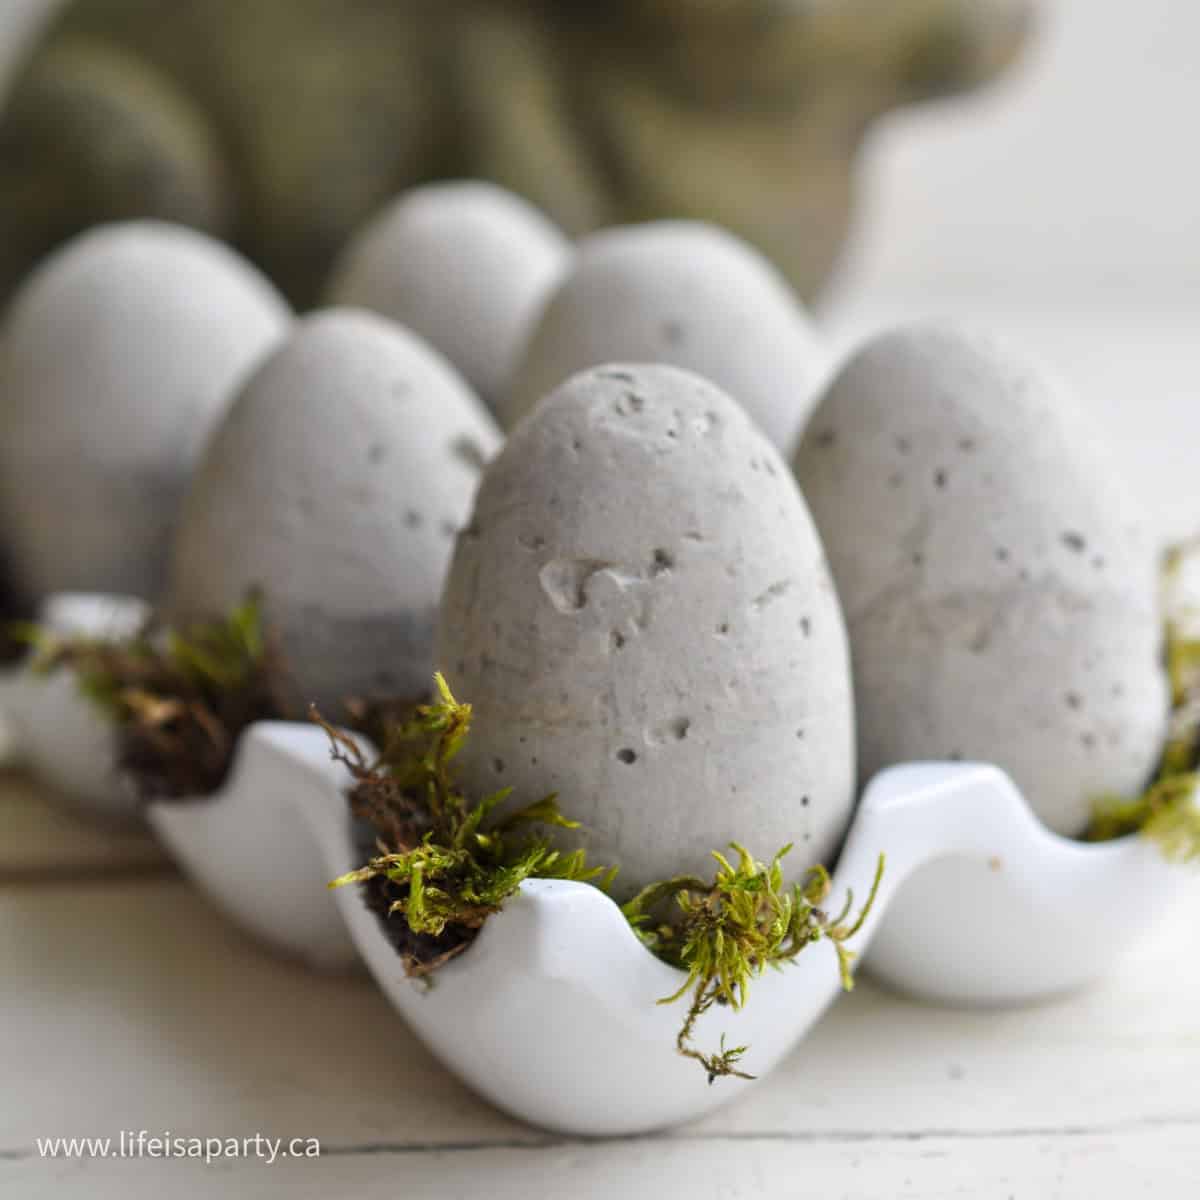
I'm loving how the Cement Easter Eggs look mixed with a little moss or in this rustic vintage metal basket. They're also really cute in a egg holder. They make a great addition to your Easter table as well. They could also be really cute in your garden for spring arranged with a garden bunny statue.
This is a pretty simple DIY project, and very inexpensive to make as well. You could look for different sizes of plastic eggs to use as your moulds and make a whole array of these cement eggs for spring.

With Cement Easter Eggs, life really is a party!
More Easter Egg Inspiration
Also check out our Nail Polish Marbled Easter Eggs here.

You might also like our Gold Leaf Easter Eggs here.


Barbara at Mantel and Table says
What a great idea Dannyelle! And they look so sophisticated and springy! Thanks for the great tutorial and tips - hope you have a lovely Easter!
dnr says
Charlotte, thank you and best of luck with yours.
Dannyelle
Charlotte says
Hi Danyelle. Thank you for the super easy tutorial. I love how yours came out. I am attempting mine this weekend.
dnr says
Rhonda, so glad you tried them. I hope they turned out great for you.
Dannyelle
Rhonda says
My first batch is hardening right now,I can’t even stand the wait.will let everyone know how they came out.
dnr says
Thanks Sabrina, Happy Easter to you too!
Dannyelle
Sabrina says
Ingenious idea! Love the look of them nestled into the moss in what seems to be a beautiful ceramic egg tray.
Happy Easter!