How to make Wood Bead Garland with Yarn Tassels: easy DIY for tassels and garland. Great way to add texture to home decor.

This is a really simple project, but really, really beautiful. As is so often the case. I want to share with you how to make a wood bead garland with yarn tassels. It's the perfect addition to your home decor. This easy craft adds texture and interest to your farmhouse decor. It's perfect for styling your coffee table, dining table, or using on a shelf or tiered trays. There's so many great different ways to use these garlands. They look great swaged over a mirror or fireplace mantel. Also try them as garland on your Christmas tree. Not only do the wood garland look great, they also just might be the easiest craft project ever.

Choosing Your Beads
We had fun choosing a bunch of different wood beads for this DIY project. Look for them at places like dollar tree or hobby lobby. I made several versions of our wooden bead garland using different sizes and styles of wooden beads. I think the garlands look great layered together. For some of the garland we used unfinished beads, and others had different colors of stain or varathane on them. We also used some very small beads about ¼ inch in diameter and then larger ones up to ¾ of an inch. Some of our beads were round, and then some were more oval is shape. I did use one kind of bead for each garland and didn't mix them together in one bead garland.
If you wanted to you could also stain your unfinished wood beads. Use a small amount of wood stain on lint-free cloths and rub it on to the beads. Add more layers for a darker look. If you're stain doesn't have a sealer in it you can add a spray version of a sealer to the stained beads for more glossy look if you wish.
Tassels
We also added yarn tassels to some of our wood garlands. You can add these to the ends, or space them out throughout your farmhouse wood bead garland. These add even more texture and interest to your beaded garland. I used yarn to make my tassels. The softness of the yarn against the hard wood beads is a great juxtaposition of materials.
I wanted to keep to my entire project neutral, so I used white yarn for my tassels, but you can use your choice of colors. This would be a great way to add pastel colors for spring, or pink for Valentine's Day, or red and green at Christmas. Or use yarn colors that match your home decor. Look for yarn at thrift stores for an inexpensive source.
You can also use jute twine for your DIY tassels for a more farmhouse look.


Equipment
- scissors
Materials
- small piece of cardboard
- yarn
- assorted wooden beads
- kitchen twine
- large darning needle
Instructions
- The first step is to string your wood beads together. We used some kitchen twine and darning needle. Tie the first bead at the end to secure it and then keep going until you've used all your beads, or it's at your desired length. We made ours about 3 feet long, but you can make your own garland as long or as short as you like. If your using a different kind of string and it's too thick to use with a darning needle, you can try adding some tape to the end of the string to make it stiff enough to easily thread the beads on, or even use a wooden skewer to help push it through the beads. When you get to the end of the garland, tie a knot around the final bead to secure it.
- To make the tassels, I used a small piece of cardboard and wrapped a piece of yarn around about 18 times. The size of your cardboard will determine your tassel's length, and the number of times you wrap it around will determine the fullness of the tassel.
- Once it's snipped use another small piece of yarn, about ½ inch from the top to bundle them all together. Tie the yarn bundle with a tight knot and your first tassel is finished.
- To add your tassels to the garland, just tie the top piece of yarn to the wood bead garland string with a knot and cut off the access string. We did about 6-8 tassels on the garland, evenly spaced throughout. You could also make larger tassels and place them just at the ends of the garland.


Making your own DIY wood bead garland with tassets is a really fun and easy project. It was rather therapeutic. It's also an easy way to personalize your decor by varying the sizes of beads, the yarn you choose, and the size of the tassels, and the finish of the beads. There's so many fun variations, it's the perfect DIY project.


This is a really great watching tv project, since string the beads takes a little while. We made a lot of different variations, with all different beads. I love the look of them as garland, or just adding interest to a centerpiece on a table. They make a great addition to your decor, and they're really easy to make.
With DIY Wood Bead Garland with Yarn Tassels, life really is a party.
More Inspiration
You might also like our DIY Twig Houses here.

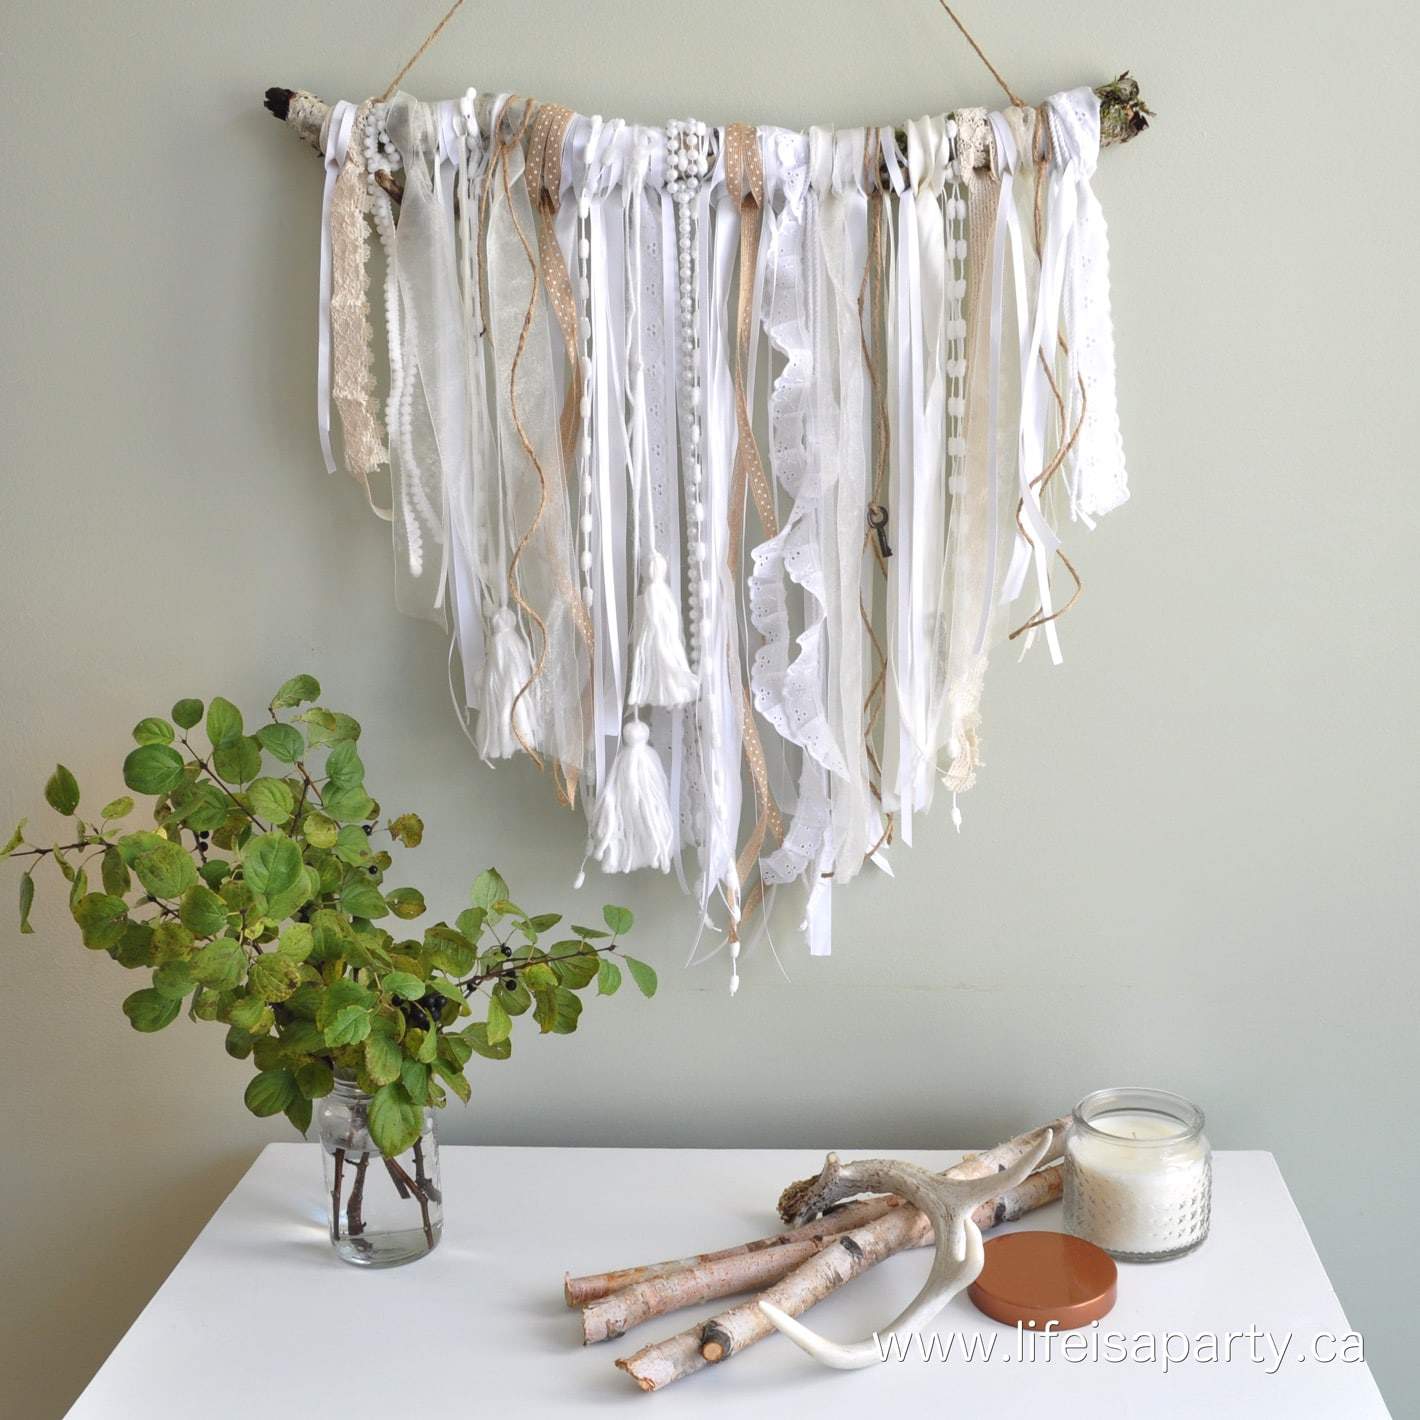
Also check out our Ribbon Wall Hanging here
You might also enjoy our DIY Mason Jar Oil Lamps here.


Leave a Reply
You must be logged in to post a comment.