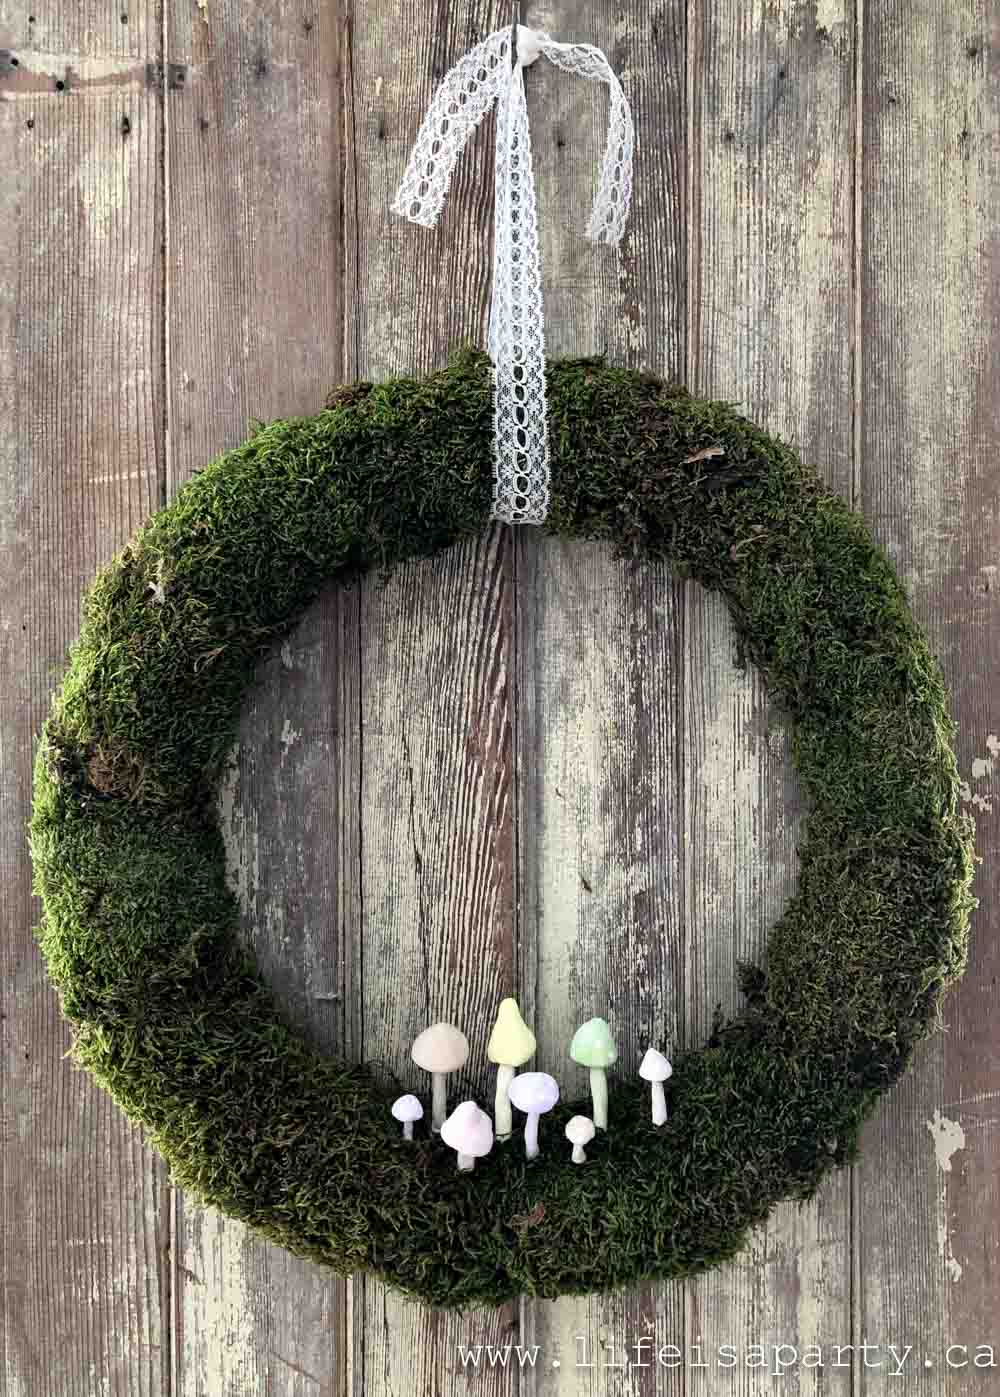
Mushroom Spring Wreath: DIY mushrooms made from air dry clay and painted pastel colours for spring on a moss covered wreath.

Jump to:
The days are getting brighter here, and spring is on its way. This Mushroom wreath is the perfect way to celebrate the arrival of warmer days.
Materials:
- air dry clay
- acrylic paint
- wire
- foam wreath form
- moss
- hot glue
- ribbon
How To Make A Clay Mushroom:
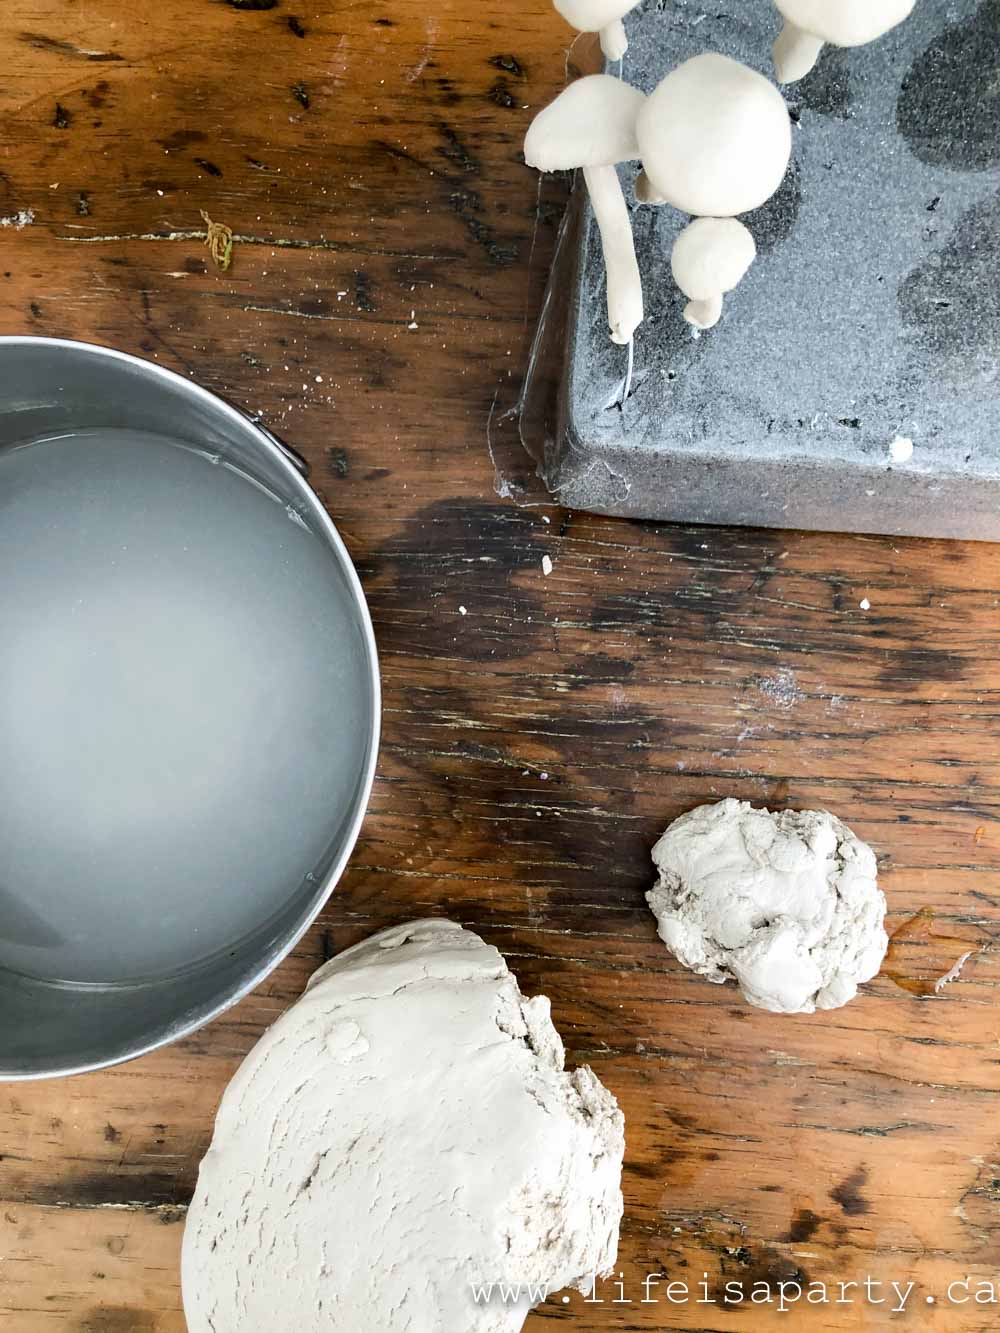
1. The first step to putting the wreath together is to make the mushrooms. I used some air dry clay to make mine. It was an open package that had been open a long time and was a little on the dry side, so I just submerged it in a little water, and worked it in my hands until it was pliable again.
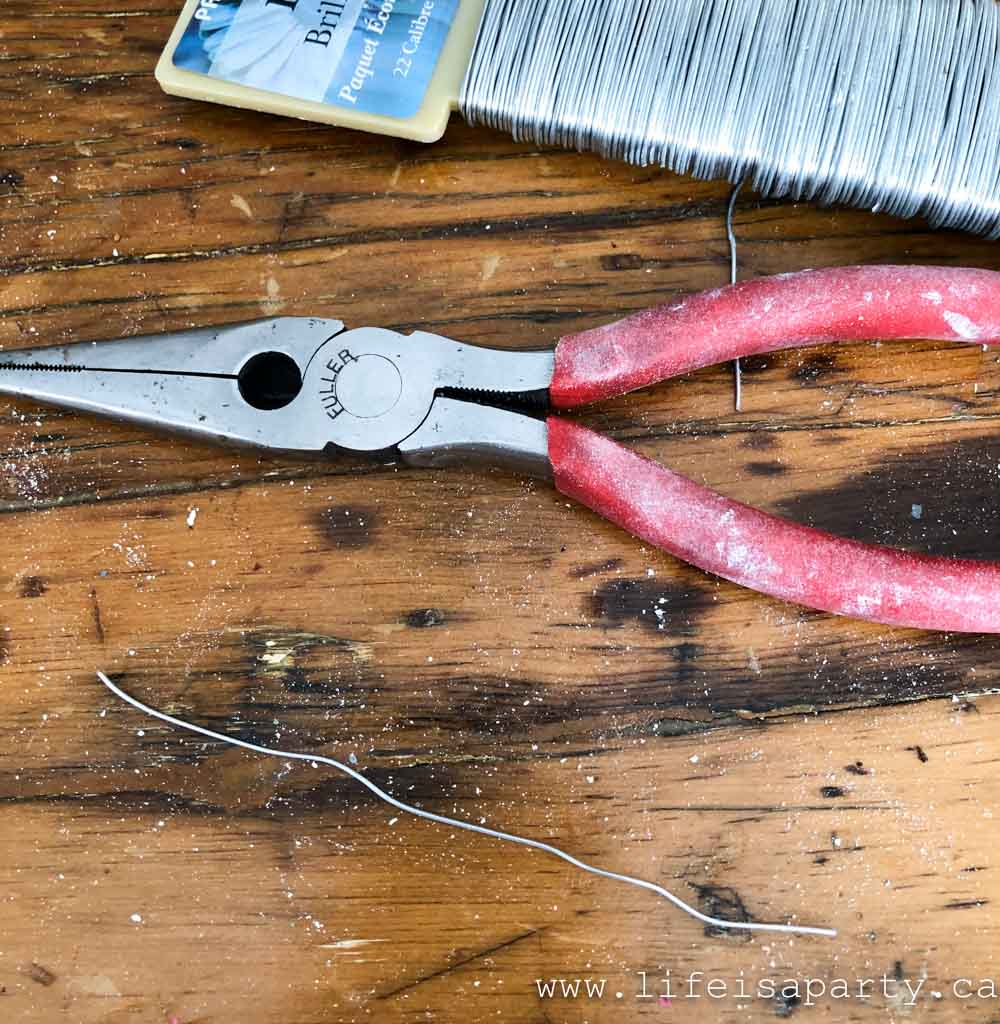
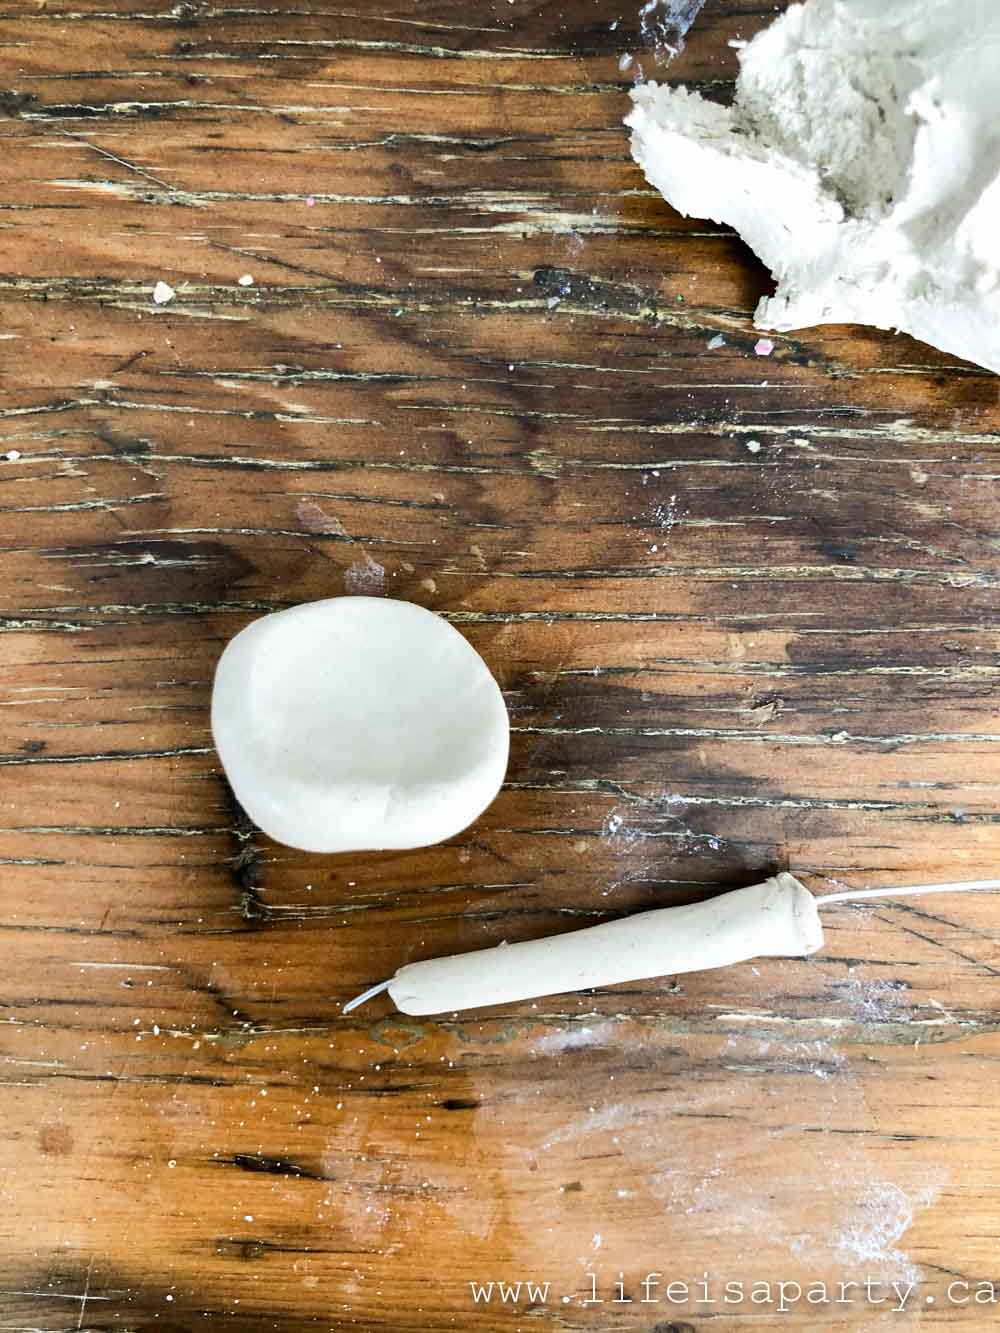
2. Cut a small piece of wire to form the base of the mushroom.
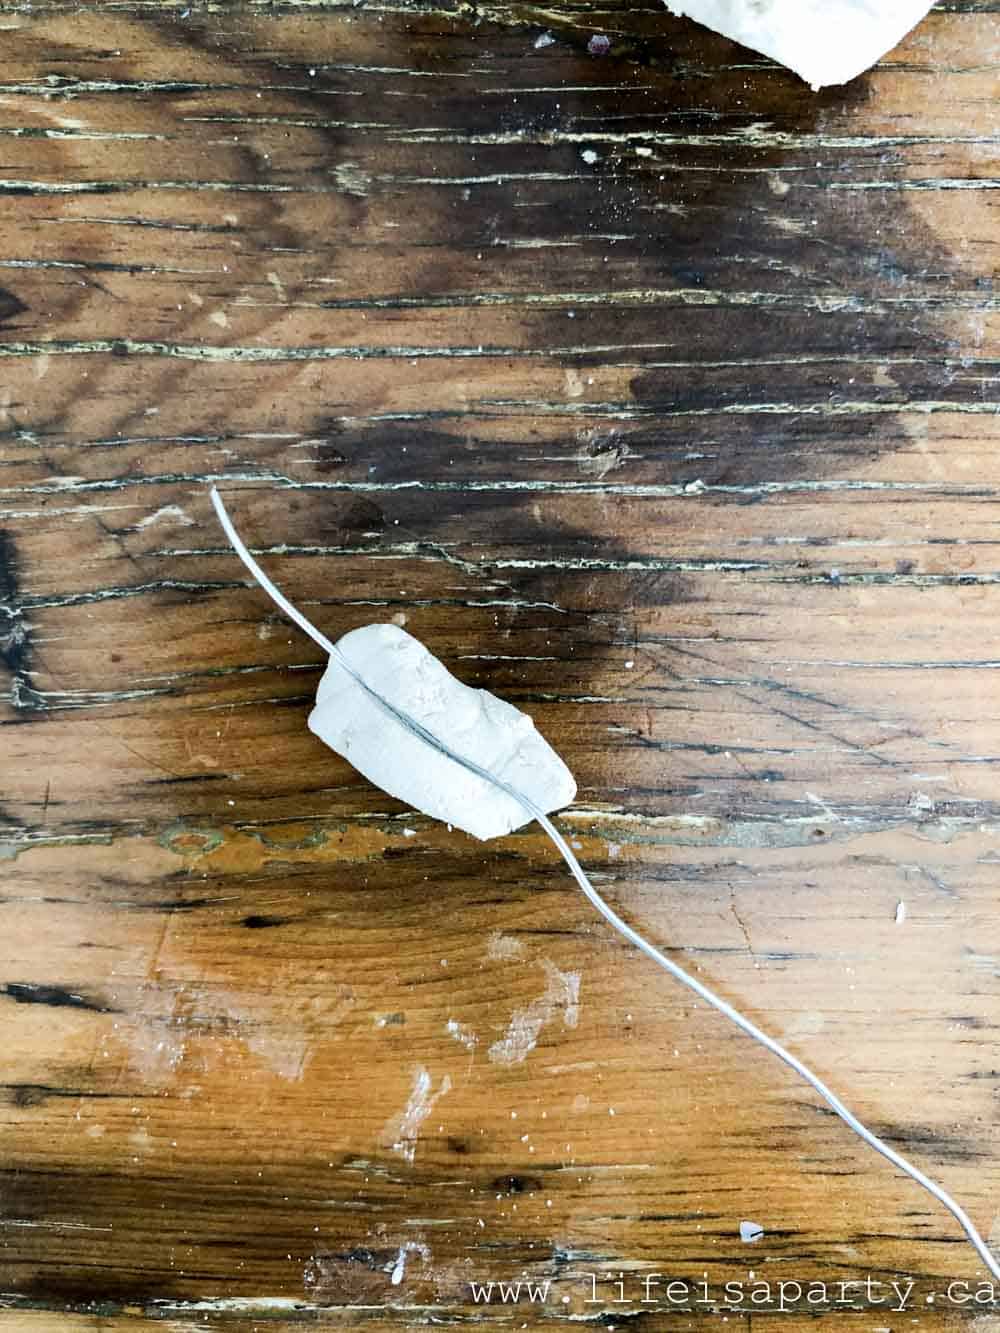
3. Working on a piece of parchment paper, or wax paper, wrap a small piece of clay around a piece of wire, rolling it on a flat surface or in your hands to form the long cylindrical shapes of mushroom stems. You want the wire on your own clay mushrooms stem to extend past the top so that it can poke into the mushroom cap, and extend past the bottom, so that it can be poked into the wreath.
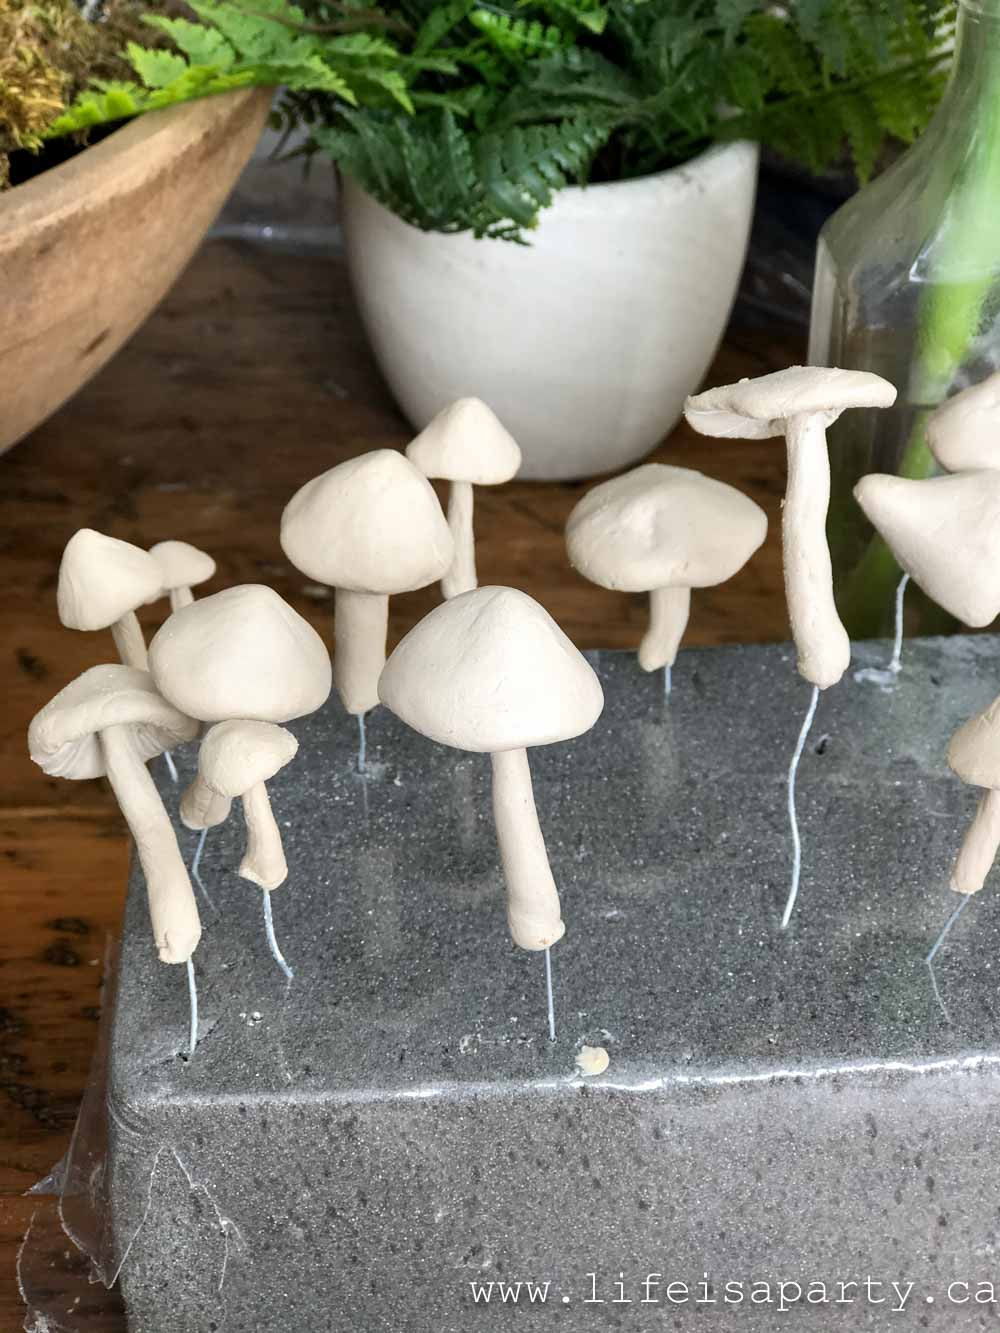
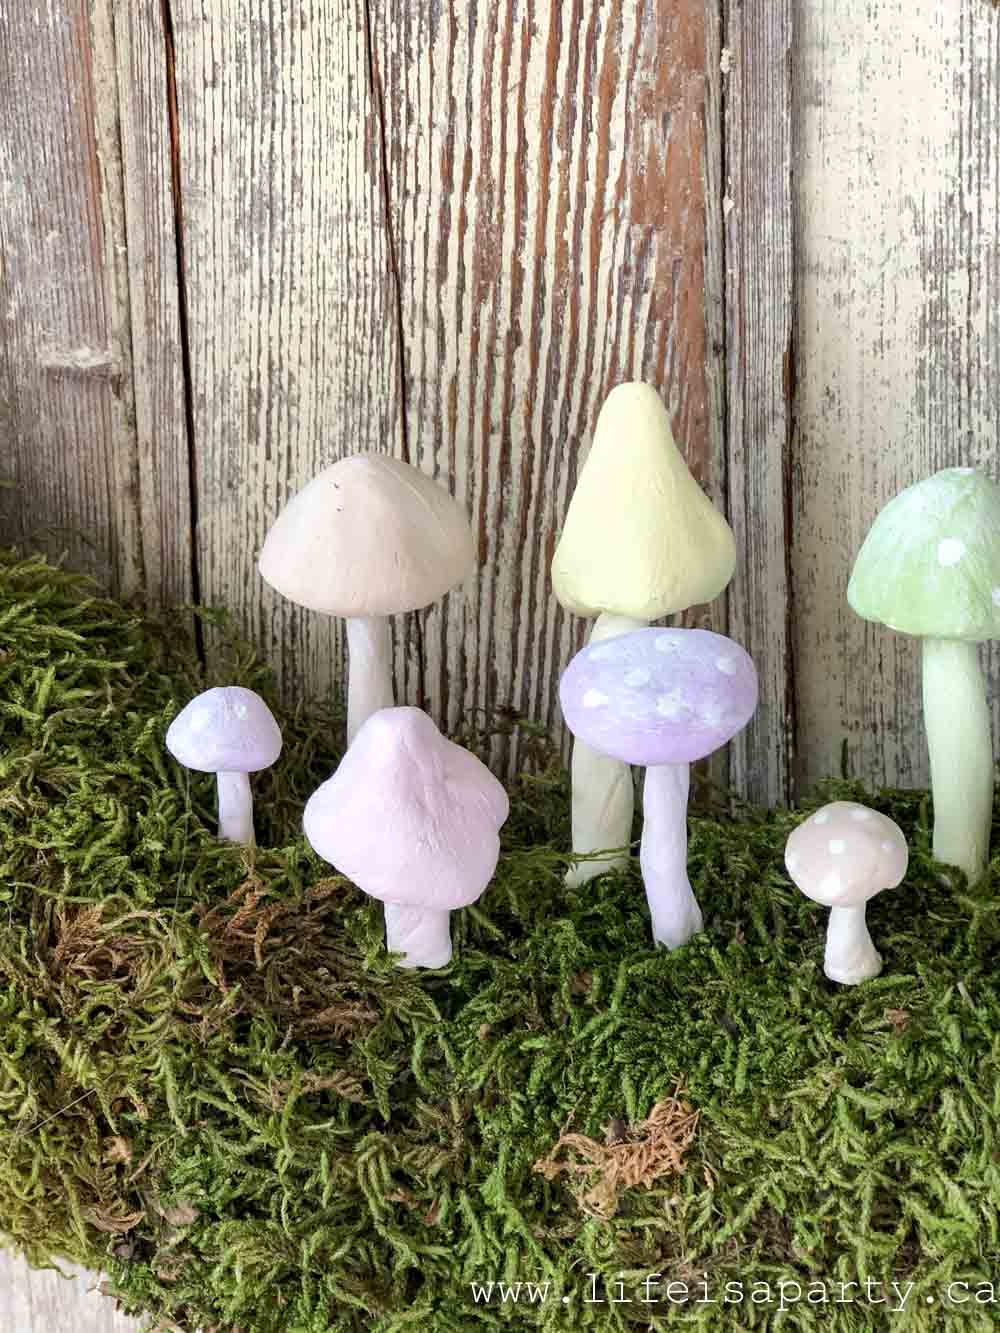
4. Then make the mushroom cap shape for the top using your fingers to smooth it and form a dome. Dip your fingers in a little bit of water and smooth out any small marks to create a smooth finish. Real mushrooms come in endless varieties of shapes. Some have tall pointy caps, some have a flat circular shape, and everything in between. Use a google image search to look at pictures a real mushroom as inspiration for the mushroom top shape and mushroom stalks. I also liked doing a variety of sizes, from quite tiny ones to larger ones.
5. If you want to, add some gills to the bottom of the mushroom top using another piece of wire to make indents.
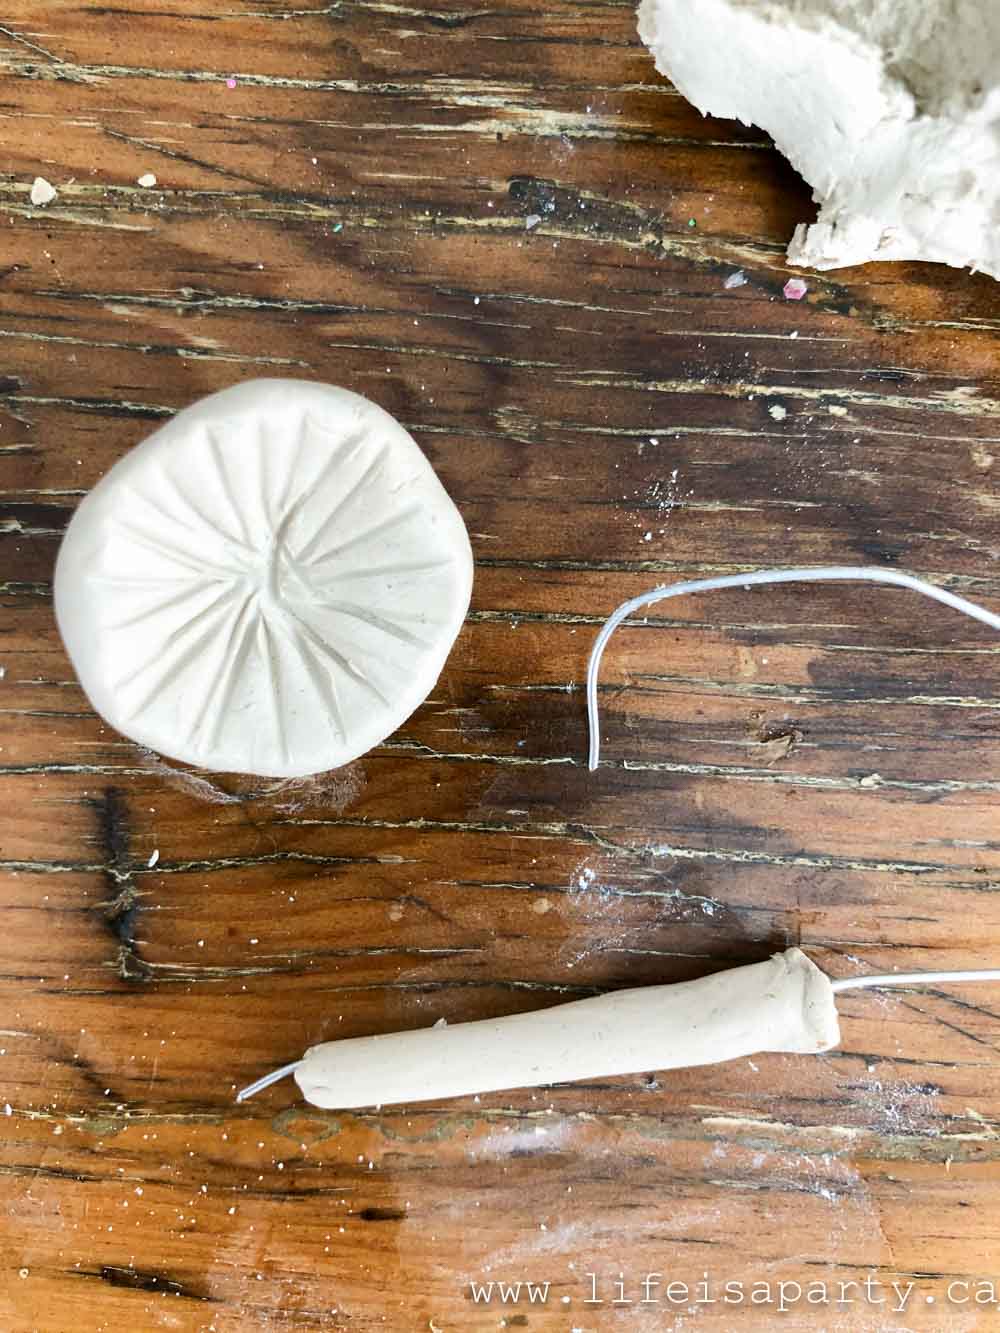
6. Attach the top of the mushroom cap onto the mushroom stem, taking care that the wire at the top of the stem doesn't poke through the mushroom dome. If the top is loose after it dries, add some glue to reattach it.
Use a block of floral styrofoam to poke the stems of the mushroom clay sculptures into so that they can dry overnight.
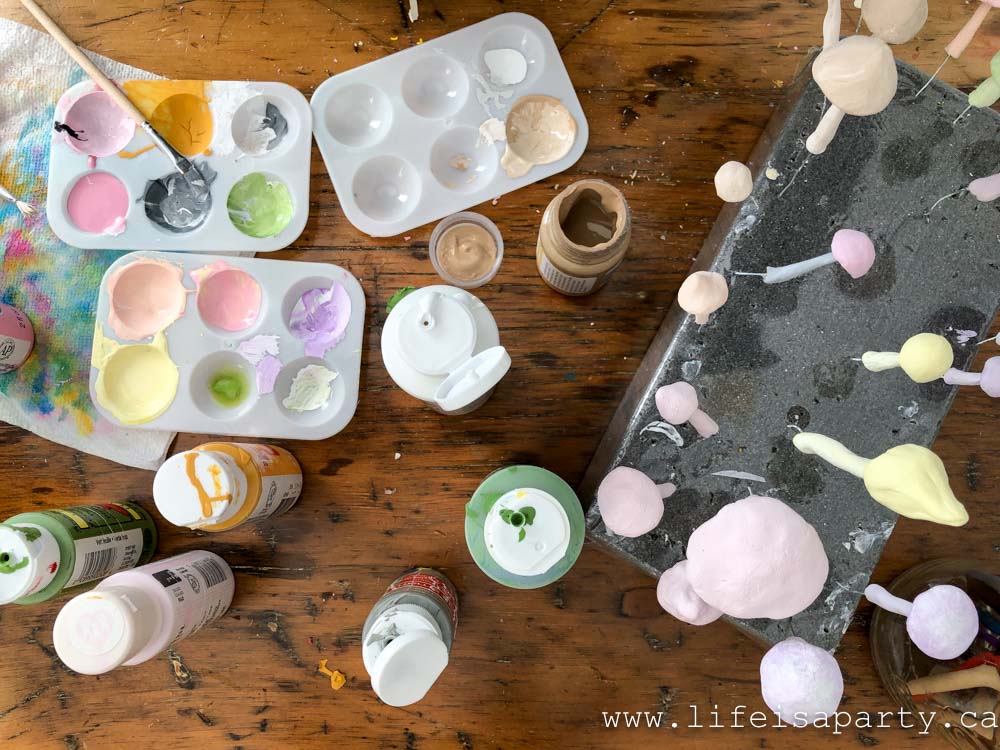
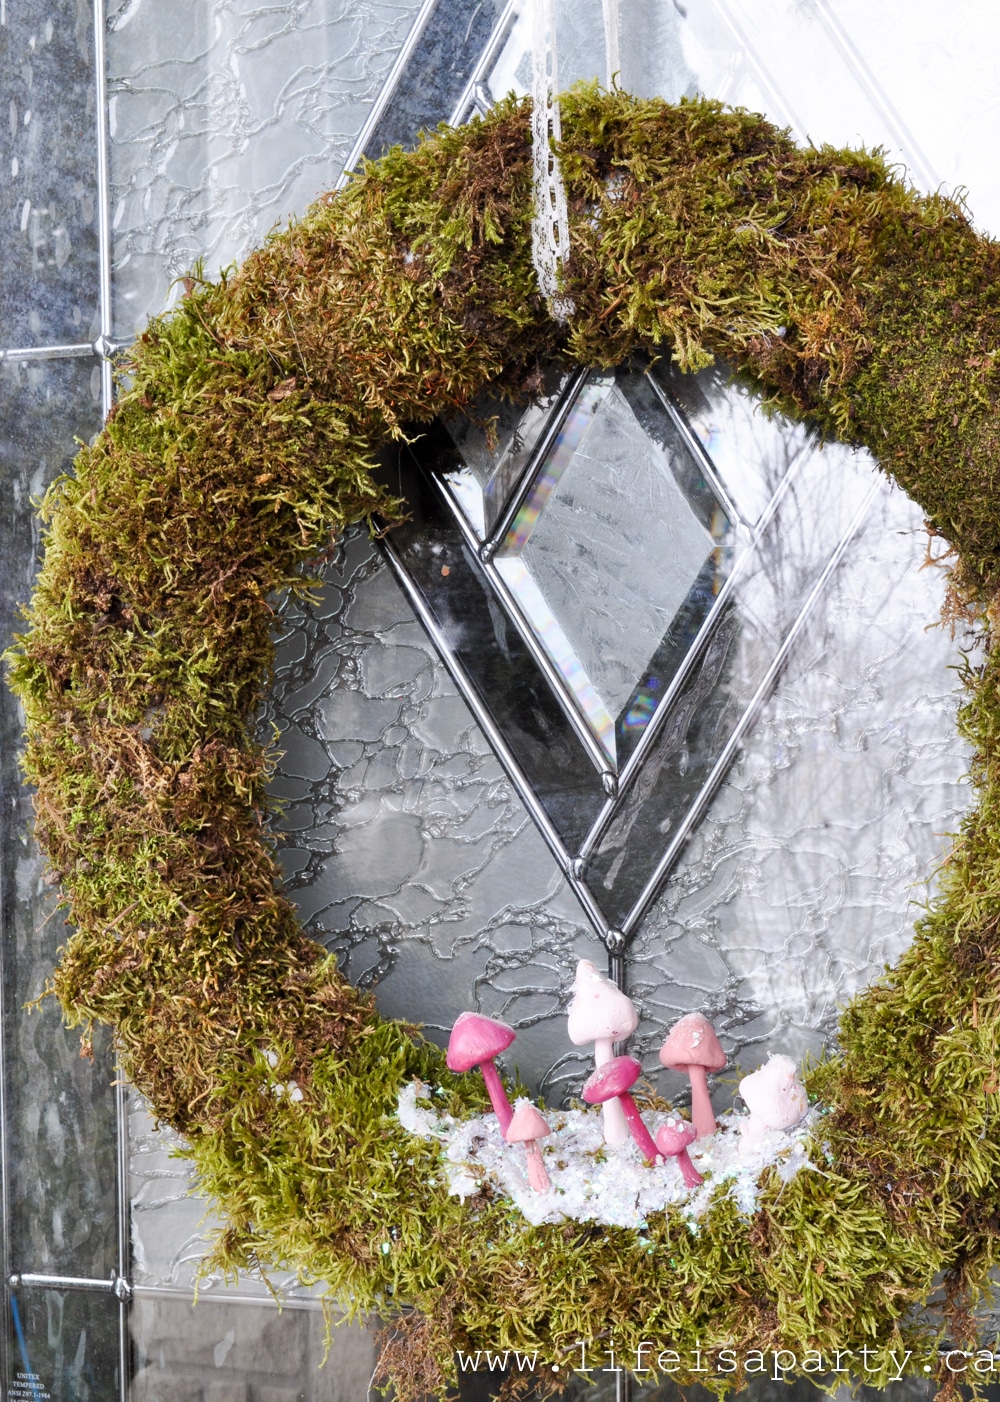
7. Once the mushrooms are dry, use craft paints to paint them. We used different colors of pastels for spring, and added tiny white dots with white paint to resemble the polka dots on red caps.
I liked the matte finish of the paint, but if you wanted to add a little shine, you could give them a coat of mod podge with a paint brush.
Moss Wreath
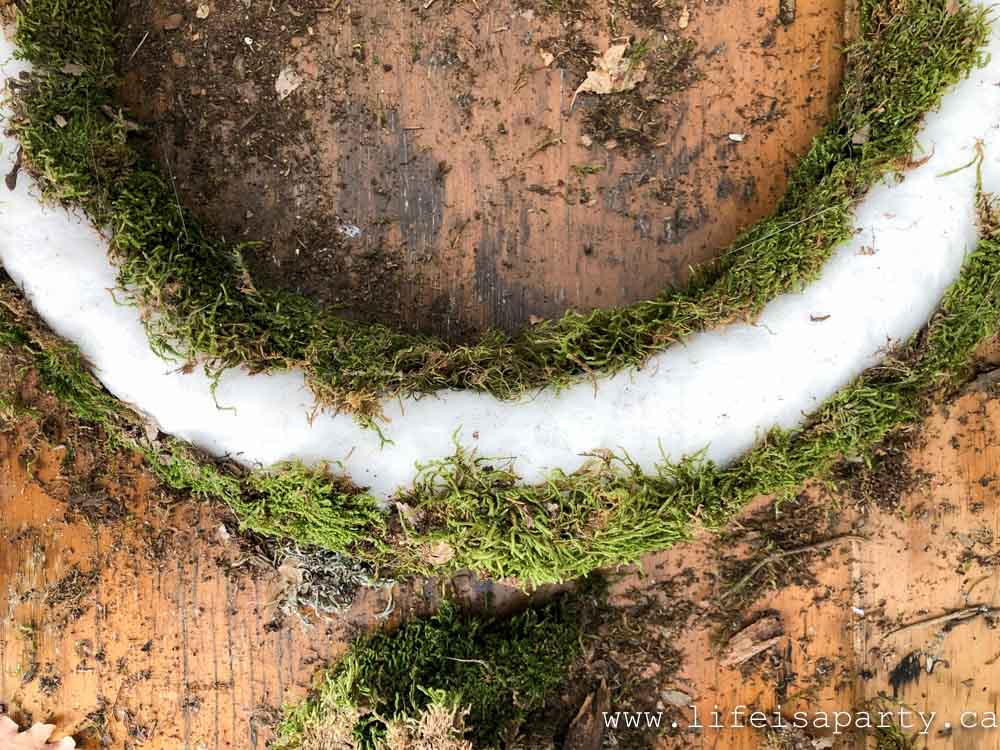
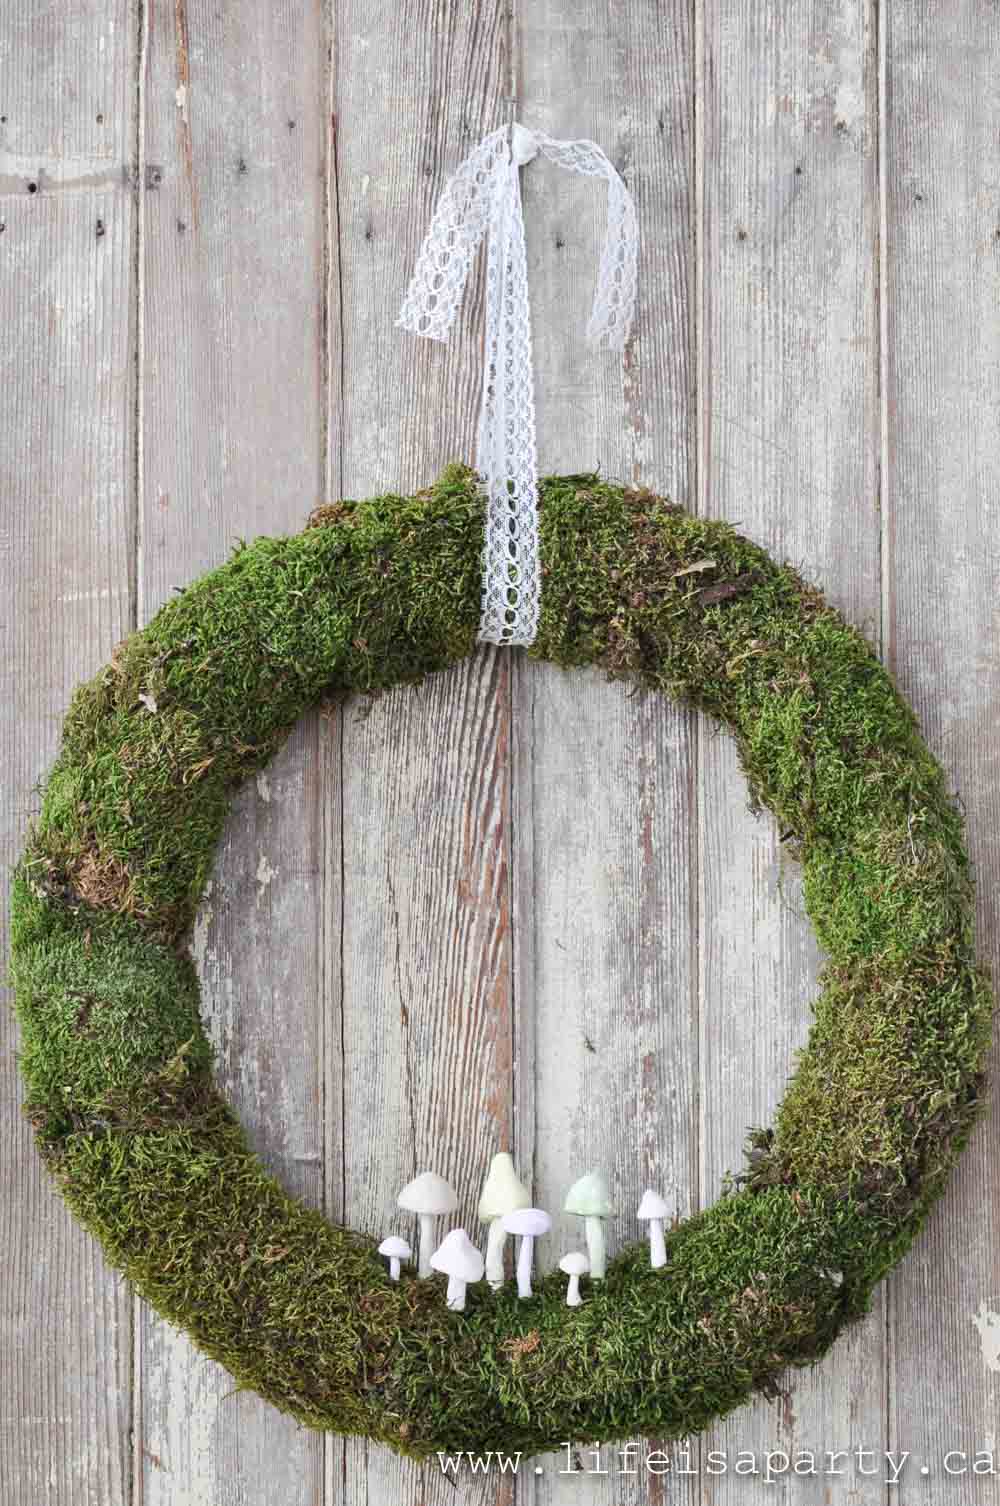
8. To create the wreath, start with a styrofoam wreath form from the craft store, and a couple bags of preserved moss.

Use a hot glue gun to attach the moss to the wreath. Feel free to leave the back plain, if it won't show when it's hung.
 9. Once the clay mushrooms have had enough drying time, poke the wire that's coming out of the bottom of the stem of the mushrooms into the moss covered styrofoam wreath to attach them. Feel free to add a little hot glue to the wire if you're worried about them wobbling.
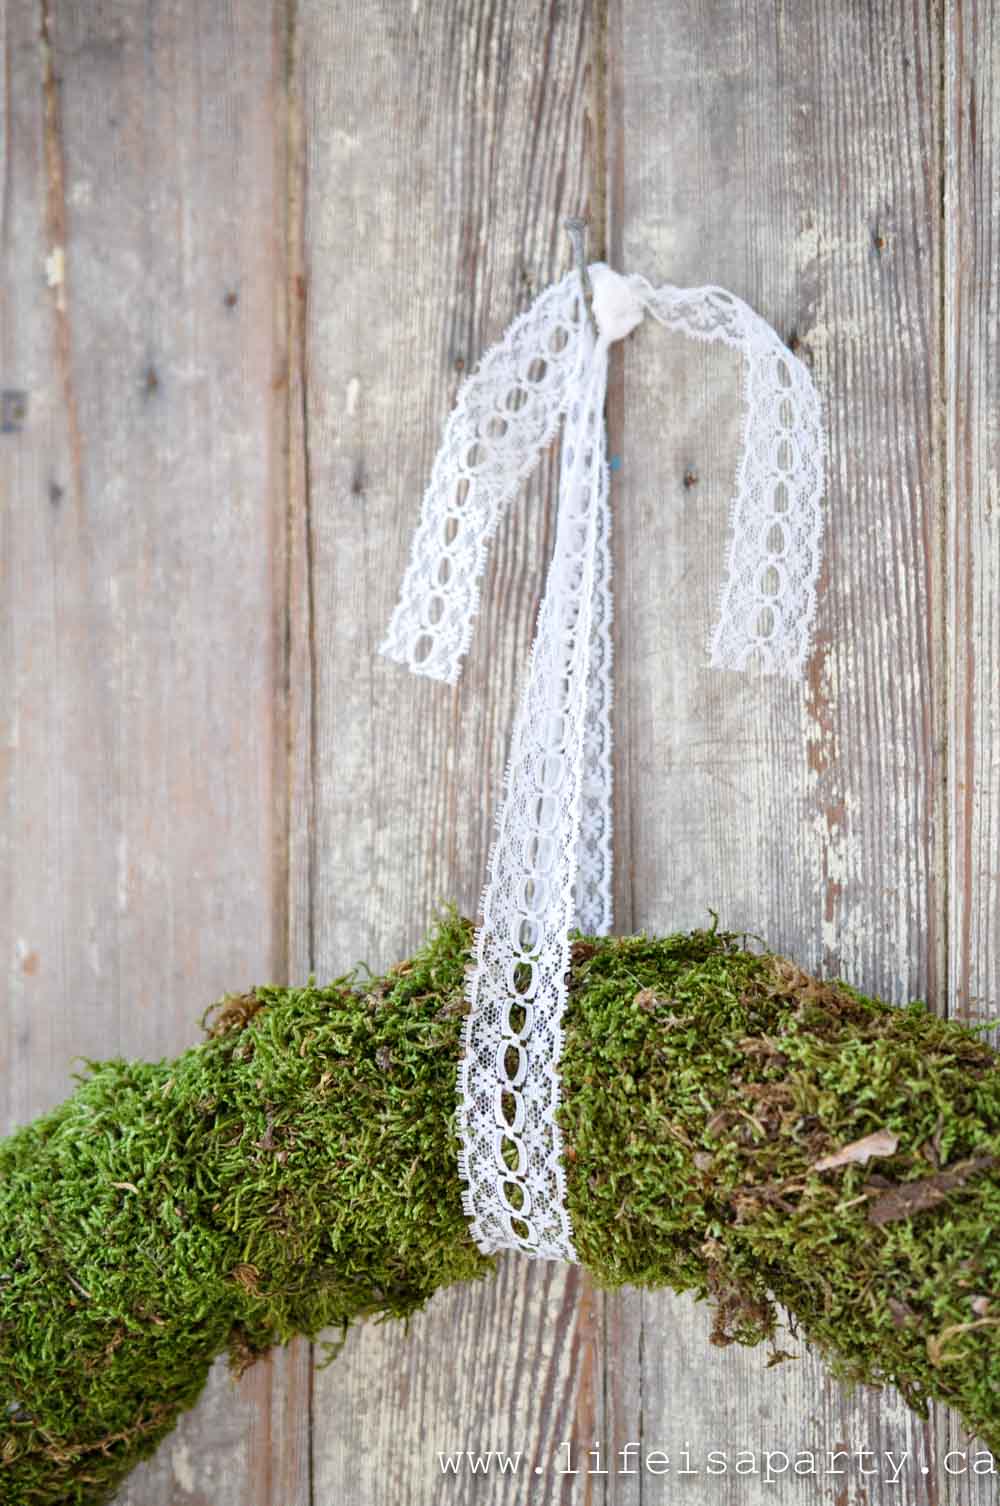
 10. Tie a ribbon around the top to hang the wreath.
 I love how the mushrooms turned out and the spot of whimsy they add to the wreath. One of the best parts about this easy craft is that you can be really creative with all the different mushrooms, making each on a unique size, shape and color.
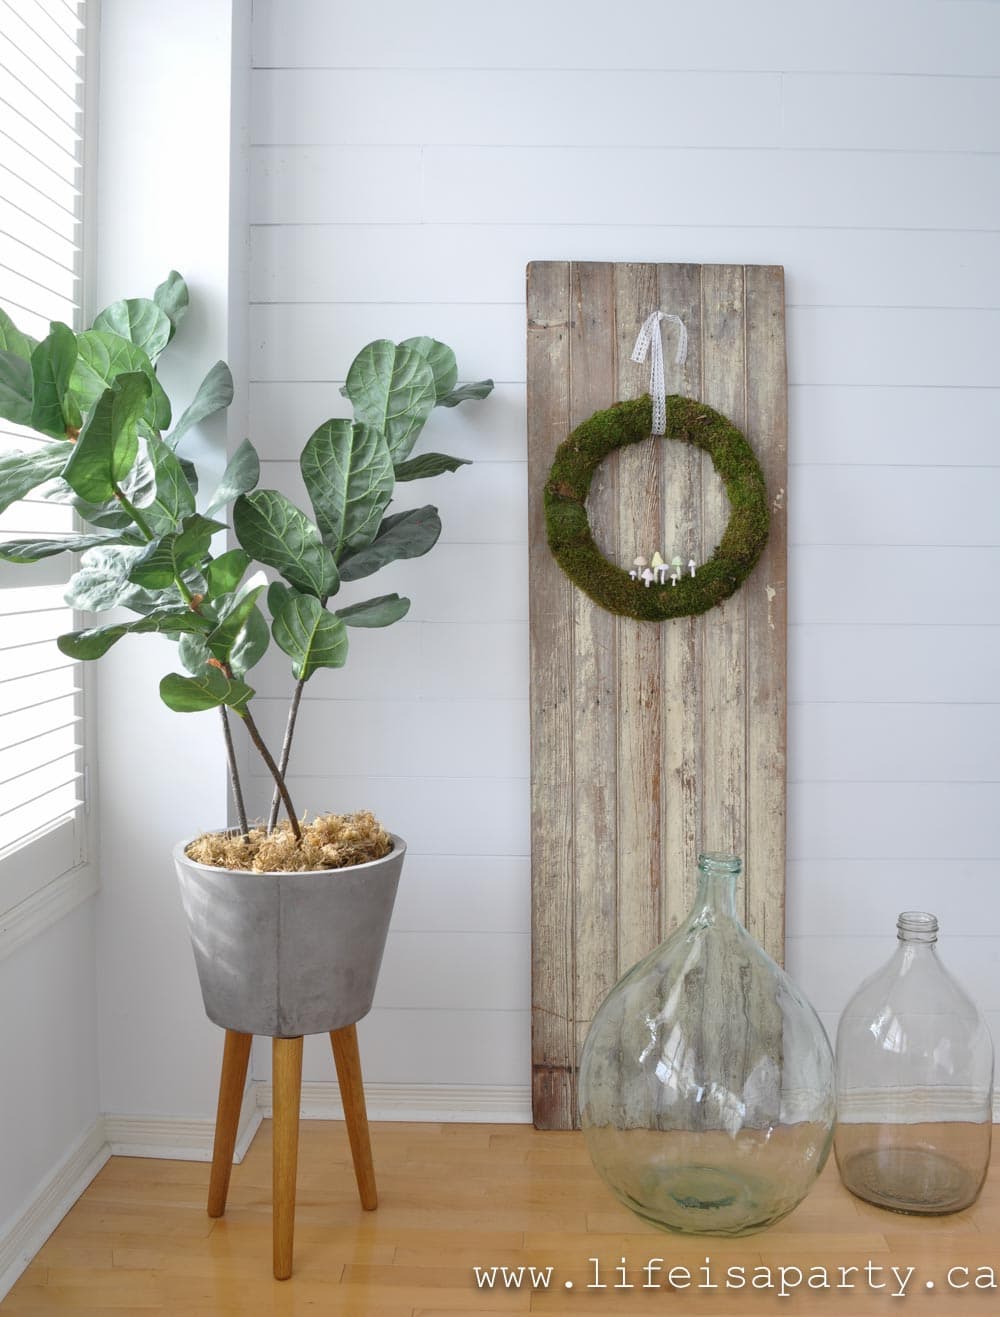
For Indoor Use
Keep in mind that the clay mushrooms not waterproof -if you were hanging the wreath in an exposed outdoor space, polymer clay mushrooms might be a better choice than the air dry clay ones. You could make them in the same way, but using polymer clay and baking them. Or add a layer of mod podge, or spray sealer to help protect them. The polymer clay version would also be a fun addition to a fairy garden, or poked into a real plant.
More Variations:
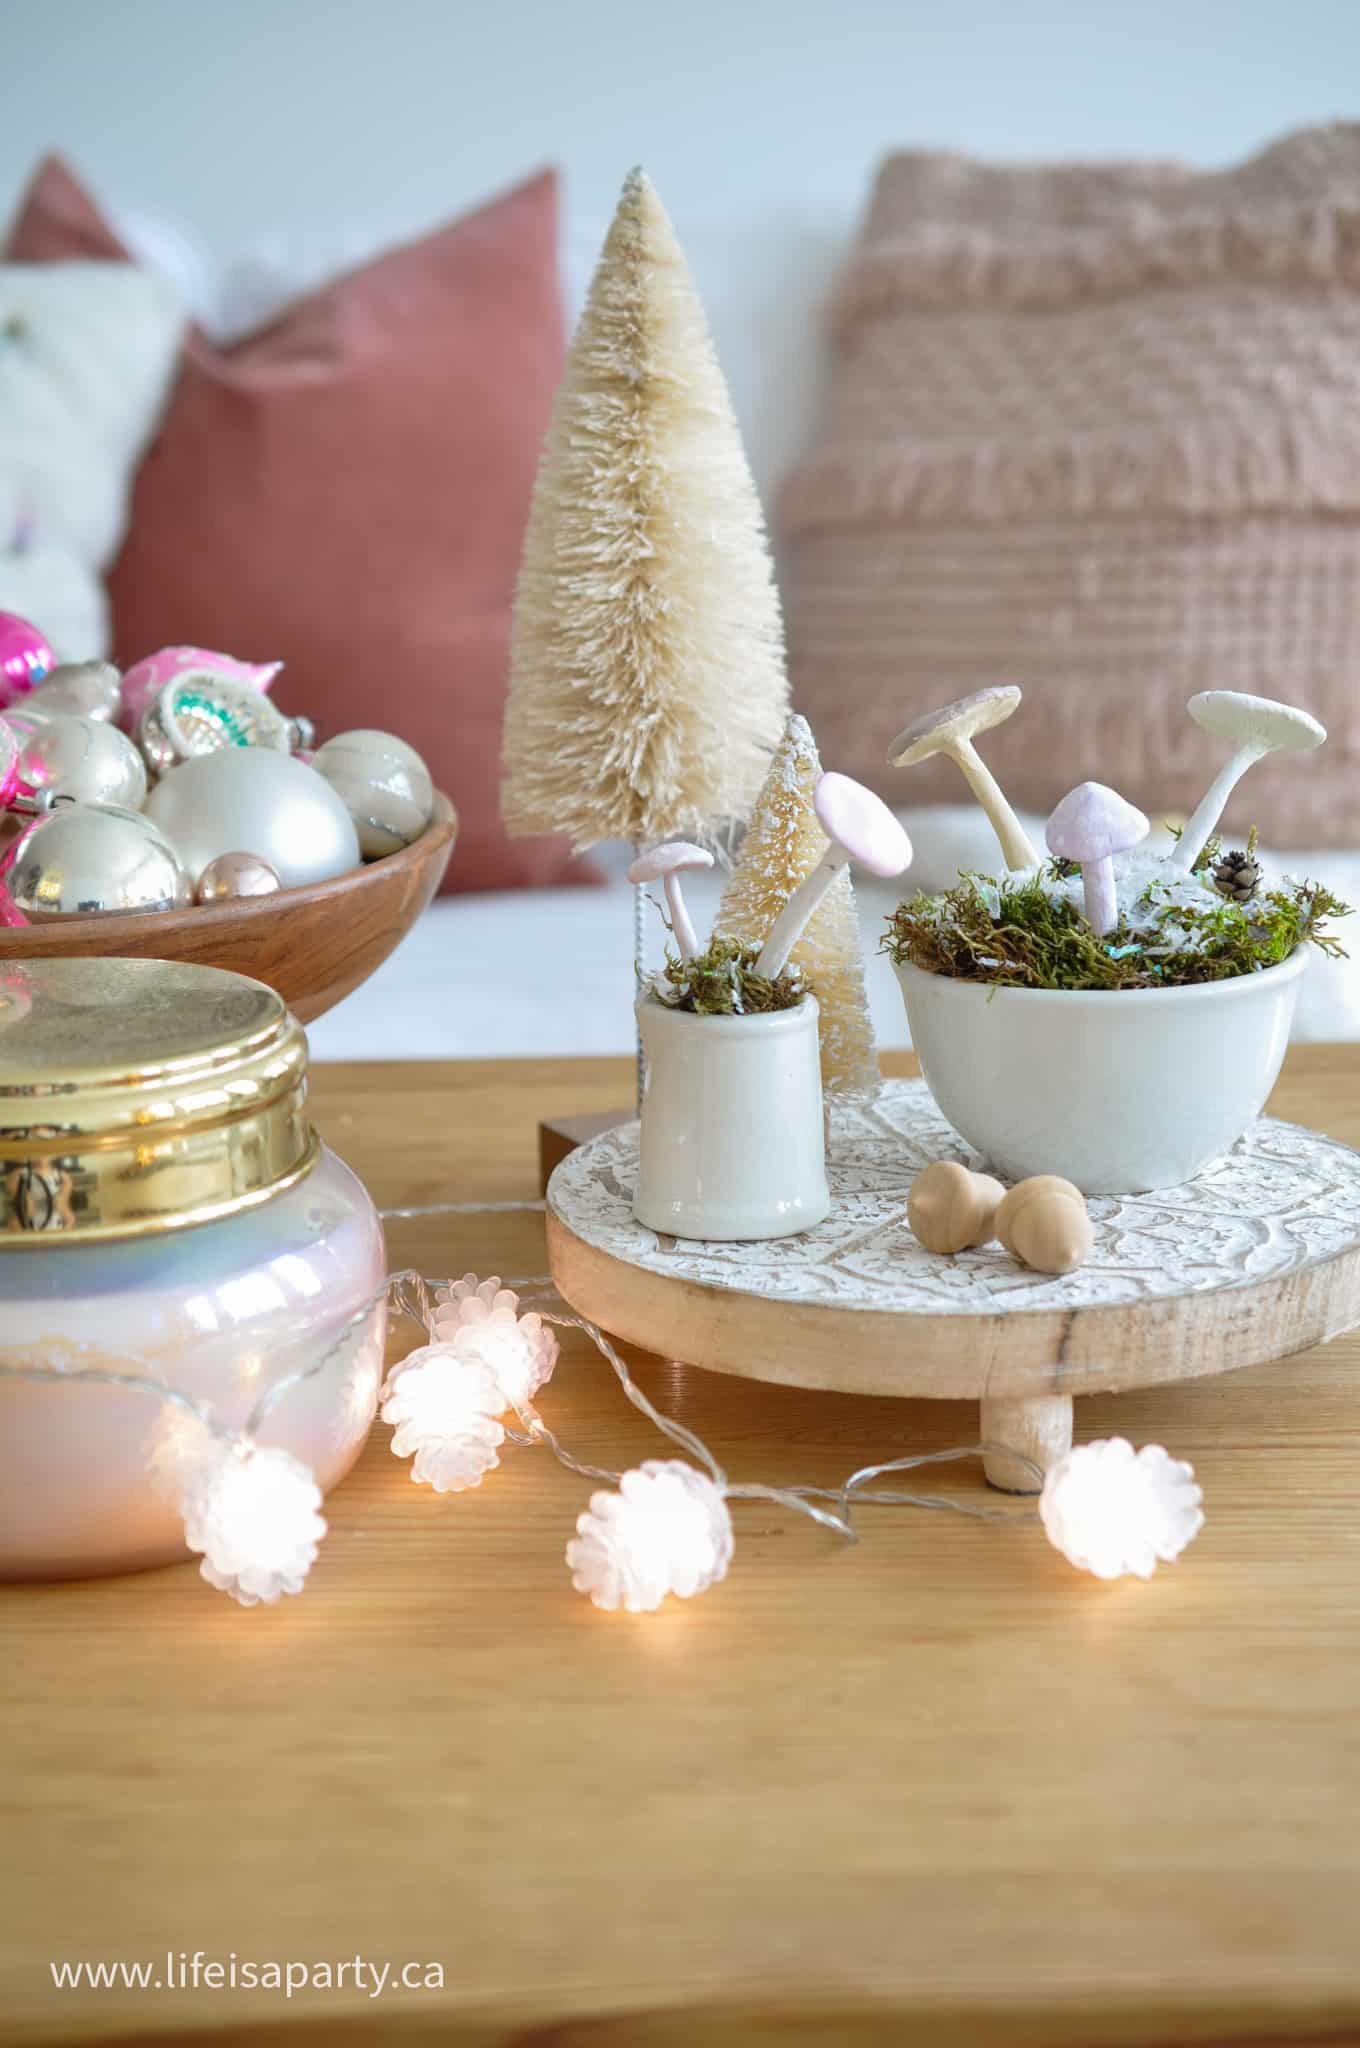
You could also add a string of battery powered fairy lights to your wreath as a great way to add a touch of whimsy.
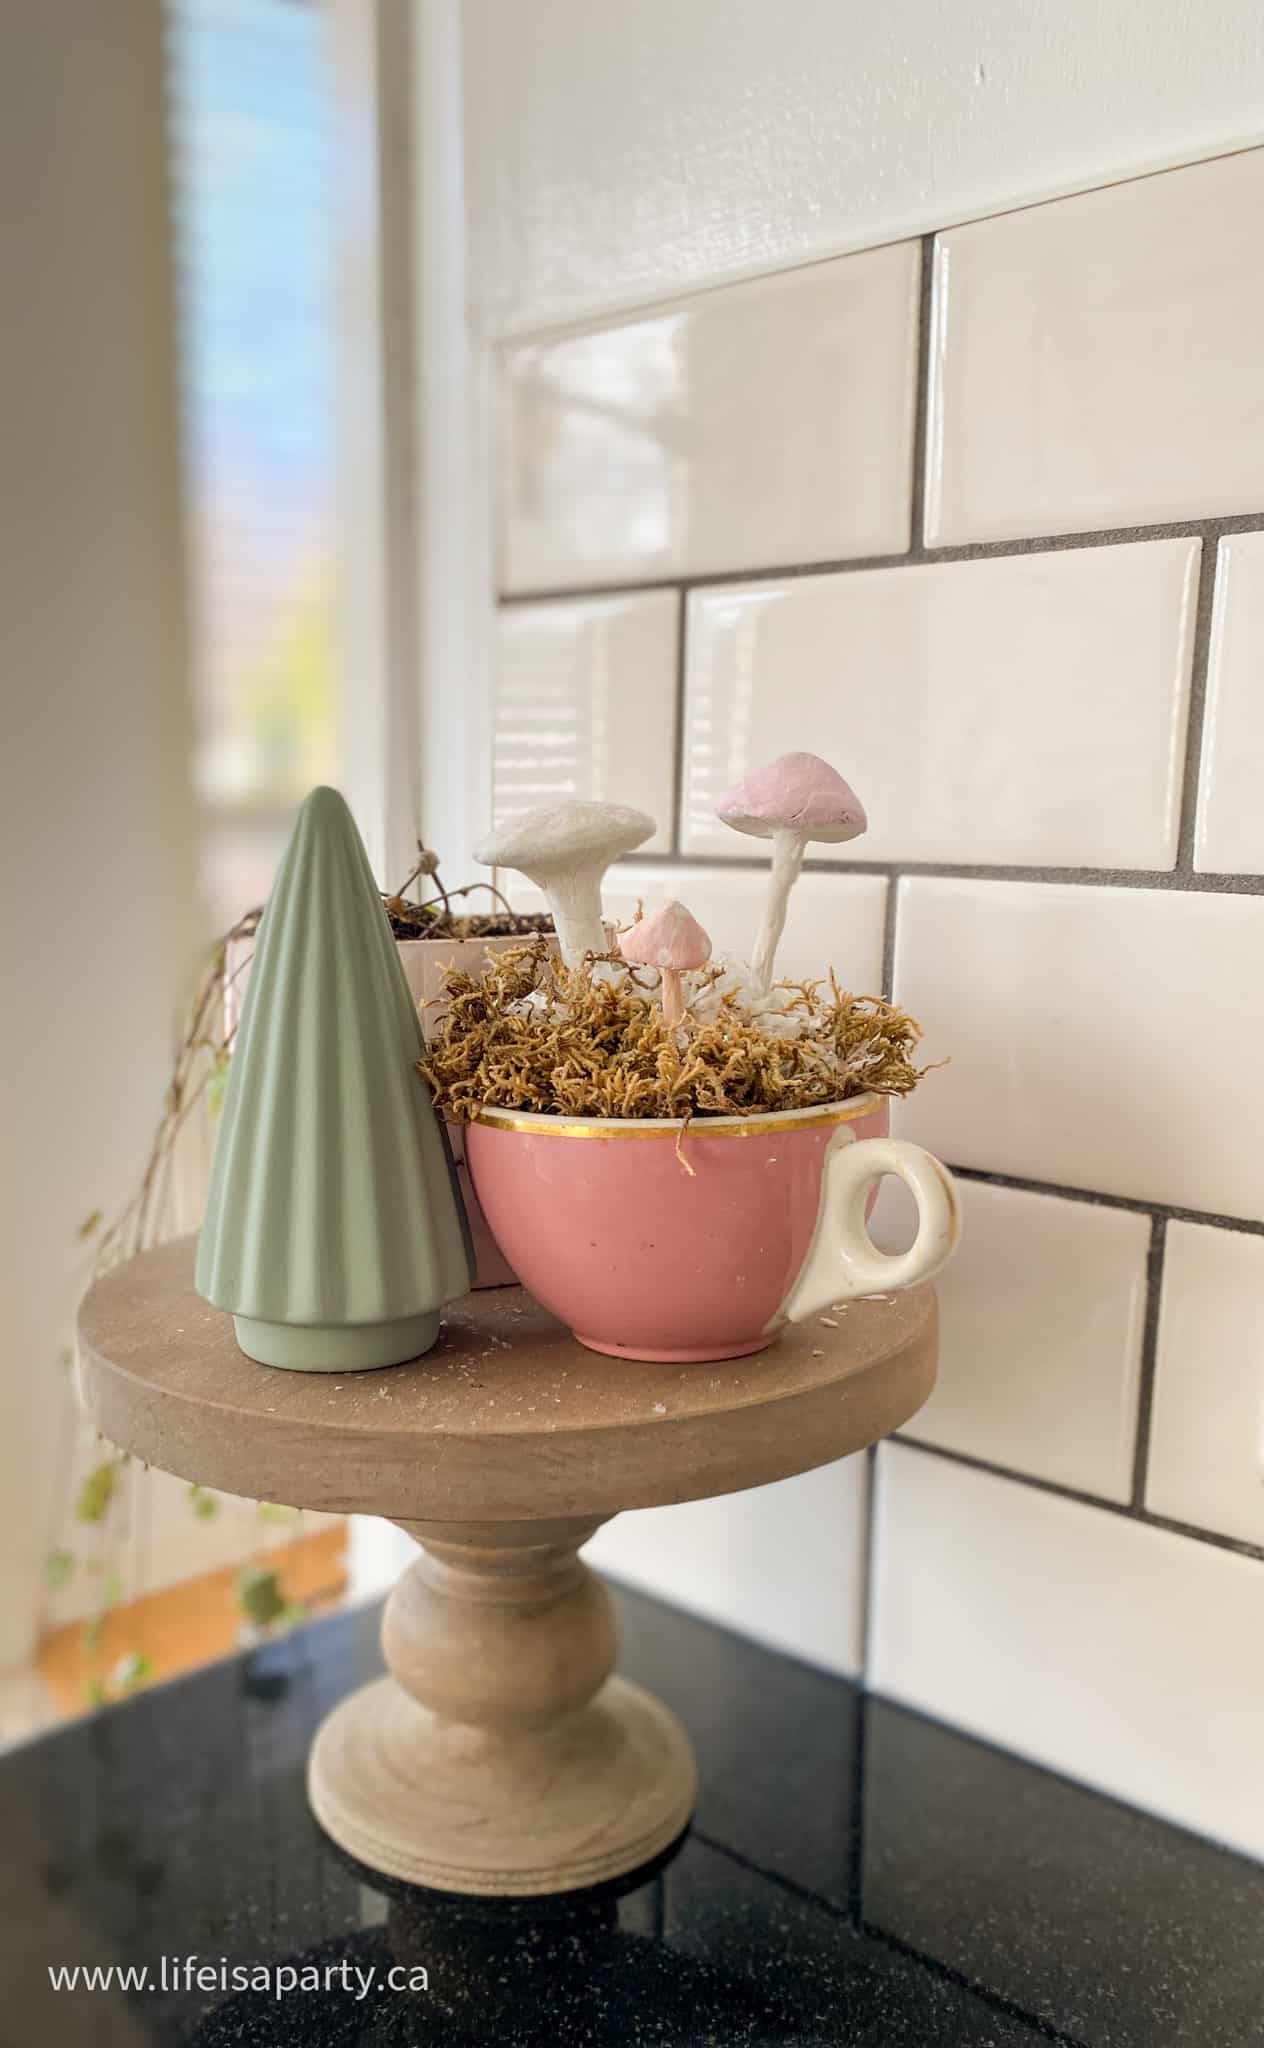
I've also used these mushrooms as decor. Drill a small hole in a piece of wood, and slot the wire into the hole to make a mushroom growing out of a piece of wood. Or put some floral foam into a bowl, teacup, or vessel and cover in moss and tuck some of the clay mushrooms into that.

Christmas Wreath
To make this wreath for Christmas, I painted the mushrooms in some deeper shades. Red would be great if you like traditional colors for Christmas. I then added some faux snow to the mushrooms and glitter for a snowy effect.
Christmas Ornaments
You could also make mushroom Christmas ornaments. Just make the wire shorter so that it's not poking out of the bottom of stem, and add an eye pin to the top for hanging. Once they're dry, add in some white spots with the end of a paint brush. You might also want to add glitter or glue some faux snow on top of your own clay mushroom ornaments. You can also add a ribbon to the top of your Christmas mushrooms to add them to your Christmas tree.

With a new Mushroom Spring Wreath, life really is a party!


Rhonda Hallstrom says
So cute!
Krista says
Wow! Those mushrooms are amazing. How creative you are. Thanks for sharing on the blog hop.
jen Hadfield says
OMG I am obsessed with those mushrooms. Cutest! I saved it to my Spring board!
xoxo
Ashley Stringfellow says
LOVE your moss wreath with the cute mushrooms. Now I want to add some to mine too! Pinned. xo
cassie bustamante says
I love this so much! You always create some of my fave projects! Love the woodsy vibe!