This roasted garlic butter is made in a stand mixer which whips the butter perfectly and breaks the roasted garlic into rustic golden pieces without pureeing it completely. You get a more beautiful and flavorful result than a food processor ever could with a fraction of the effort. Made with salted butter and a tested ratio of one and a half heads of roasted garlic per cup of butter, this is the easiest and most delicious roasted garlic compound butter you will ever make.
Quick Look
- 🧄Recipe: Roasted Garlic Butter
- ⏲️ Ready In: 1 hour including roasting and cooling time
- 👪 Servings: 16 tablespoons
- 🔪 Difficulty: Easy
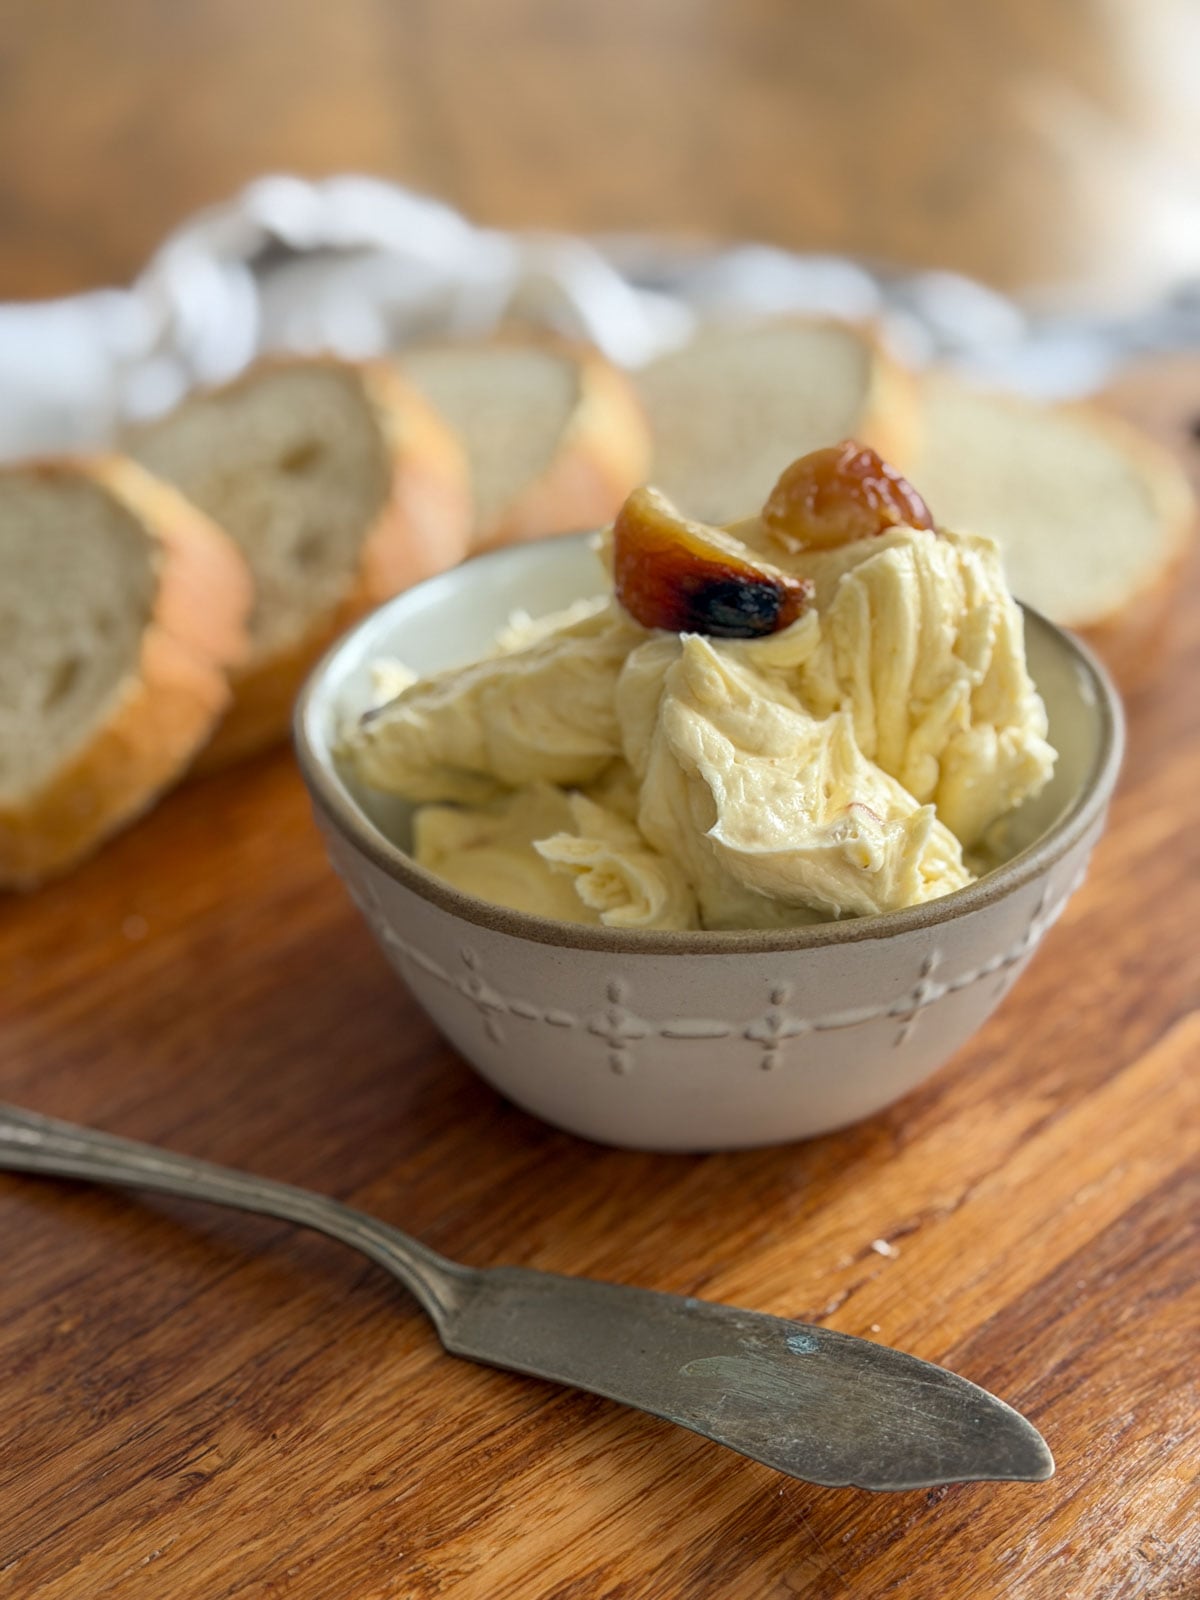
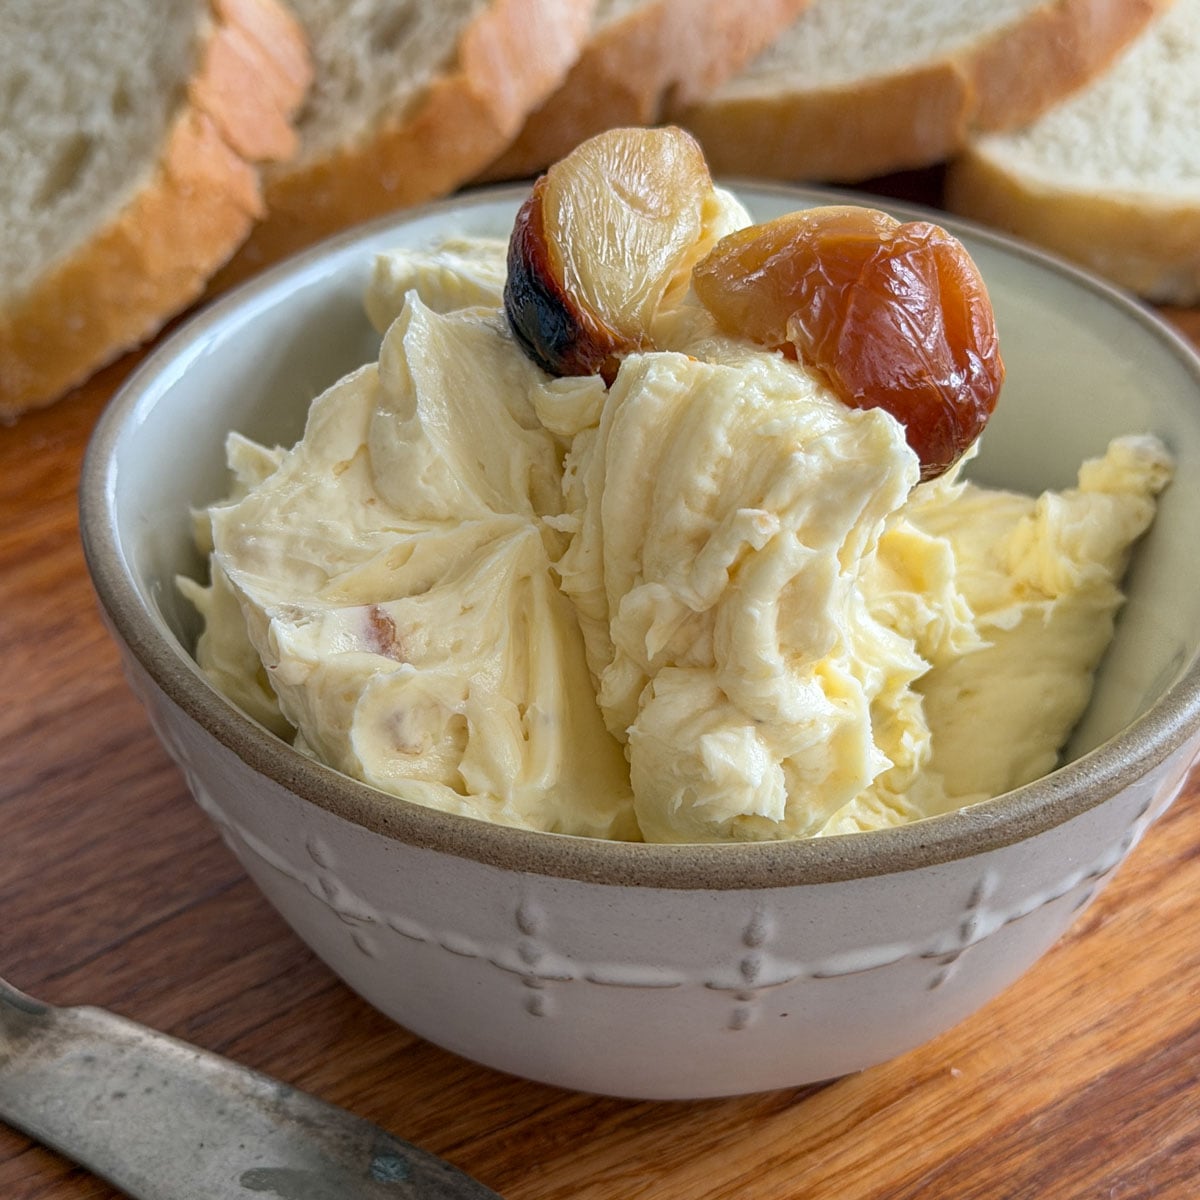
- 💭 Top Tip: Roast two full heads of garlic even though the recipe only uses one and a half. The extra roasted cloves make a beautiful garnish on top of the jar and are absolutely delicious spread directly on warm bread while everything cools.
Why You'll Love This Recipe
- Roasting completely transforms the garlic, harsh and pungent becomes deep, sweet, and caramelised.
- The rustic texture with visible golden garlic pieces throughout is a feature not a flaw.
- Made with salted butter so no additional salt is needed.
- Makes the most impressive homemade gift tucked into a jar with a handwritten label.
- Keeps in the refrigerator for 1 week, or the freezer for 3 months.
The Most Sophisticated Compound Butter You Will Ever Make
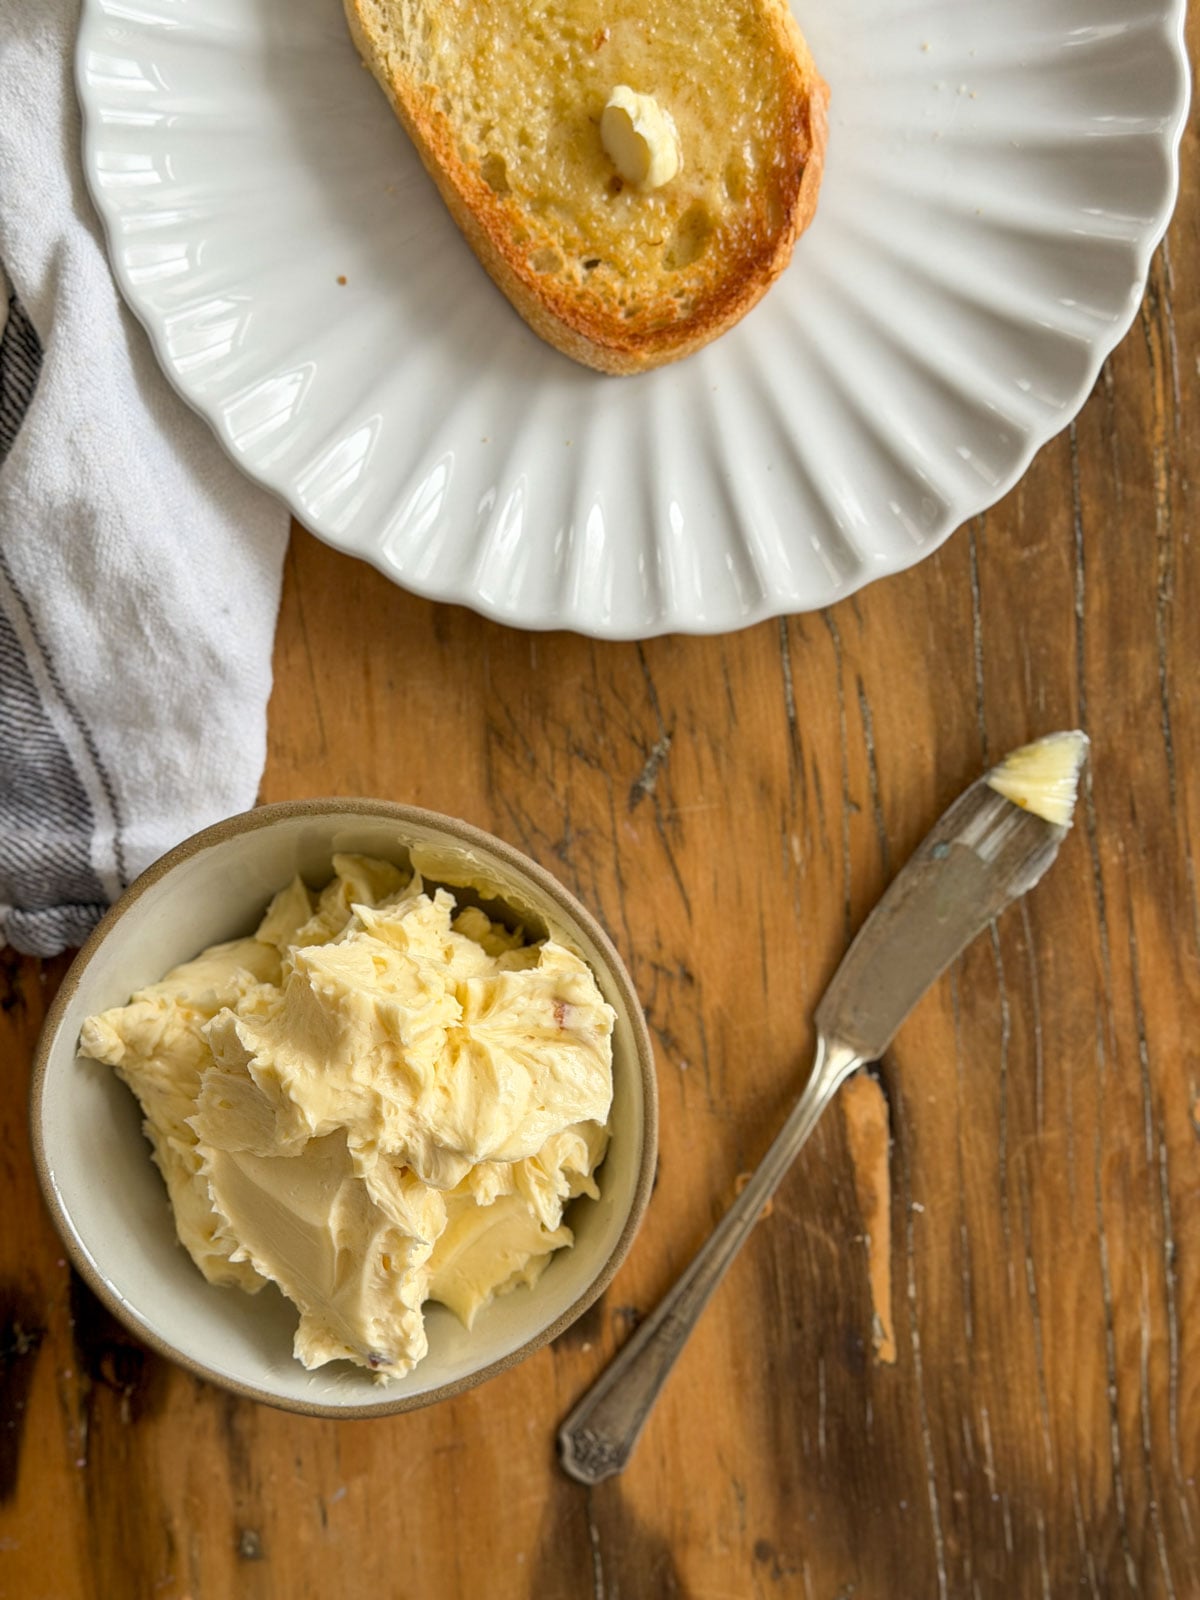
There is a reason roasted garlic butter was one of the first things to disappear at our bread and butter toast party. It is the kind of spread that makes a simple piece of bread taste like something you ordered at a restaurant. Rich, deeply savory, with a sweetness that raw garlic could never produce.
Most garlic butter recipes use raw garlic. Raw garlic has its place but it is sharp, pungent, and can easily overpower everything around it. Roasting changes garlic's character completely. The heat breaks down the harsh compounds and caramelises the natural sugars in the cloves, producing a butter that tastes mellow and complex rather than sharp and aggressive. You can use significantly more roasted garlic than you ever could raw and the result is deeper and more satisfying rather than overwhelming.
The other thing that makes this recipe different from most roasted garlic compound butters is the method. Many recipes call for blending everything in a food processor until completely smooth. We use a stand mixer instead, which whips the butter beautifully and breaks the roasted garlic into rustic pieces without pureeing it completely. The result is visible golden caramelised garlic pieces throughout the butter rather than a uniform smooth paste. Those little pieces are both beautiful to look at and delicious in every bite. It is a rustic result and the stand mixer produces it effortlessly.
We developed this recipe as part of a compound butter collection for our bread and butter toast party where guests built their own gourmet toasts all evening long. It was the butter that paired most beautifully with the savory toast combinations - particularly The Pomodoro with fresh mozzarella and tomato jam, and The Avocado with chili oil and everything bagel seasoning.
If You Love This Recipe You Might Also Like
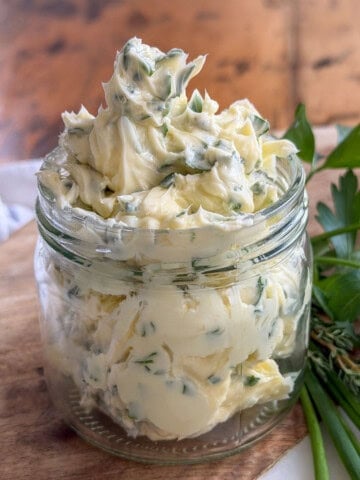
Our full compound butter recipes guide covers all six compound butters from the toast party with tested recipes and make-ahead timelines. If you love the garlic flavor profile you will also love our garlic herb compound butter which uses fresh raw garlic and herbs for a completely different but equally delicious result. And our butter board post shows you how to serve all six butters together as a stunning entertaining spread.
Ingredients
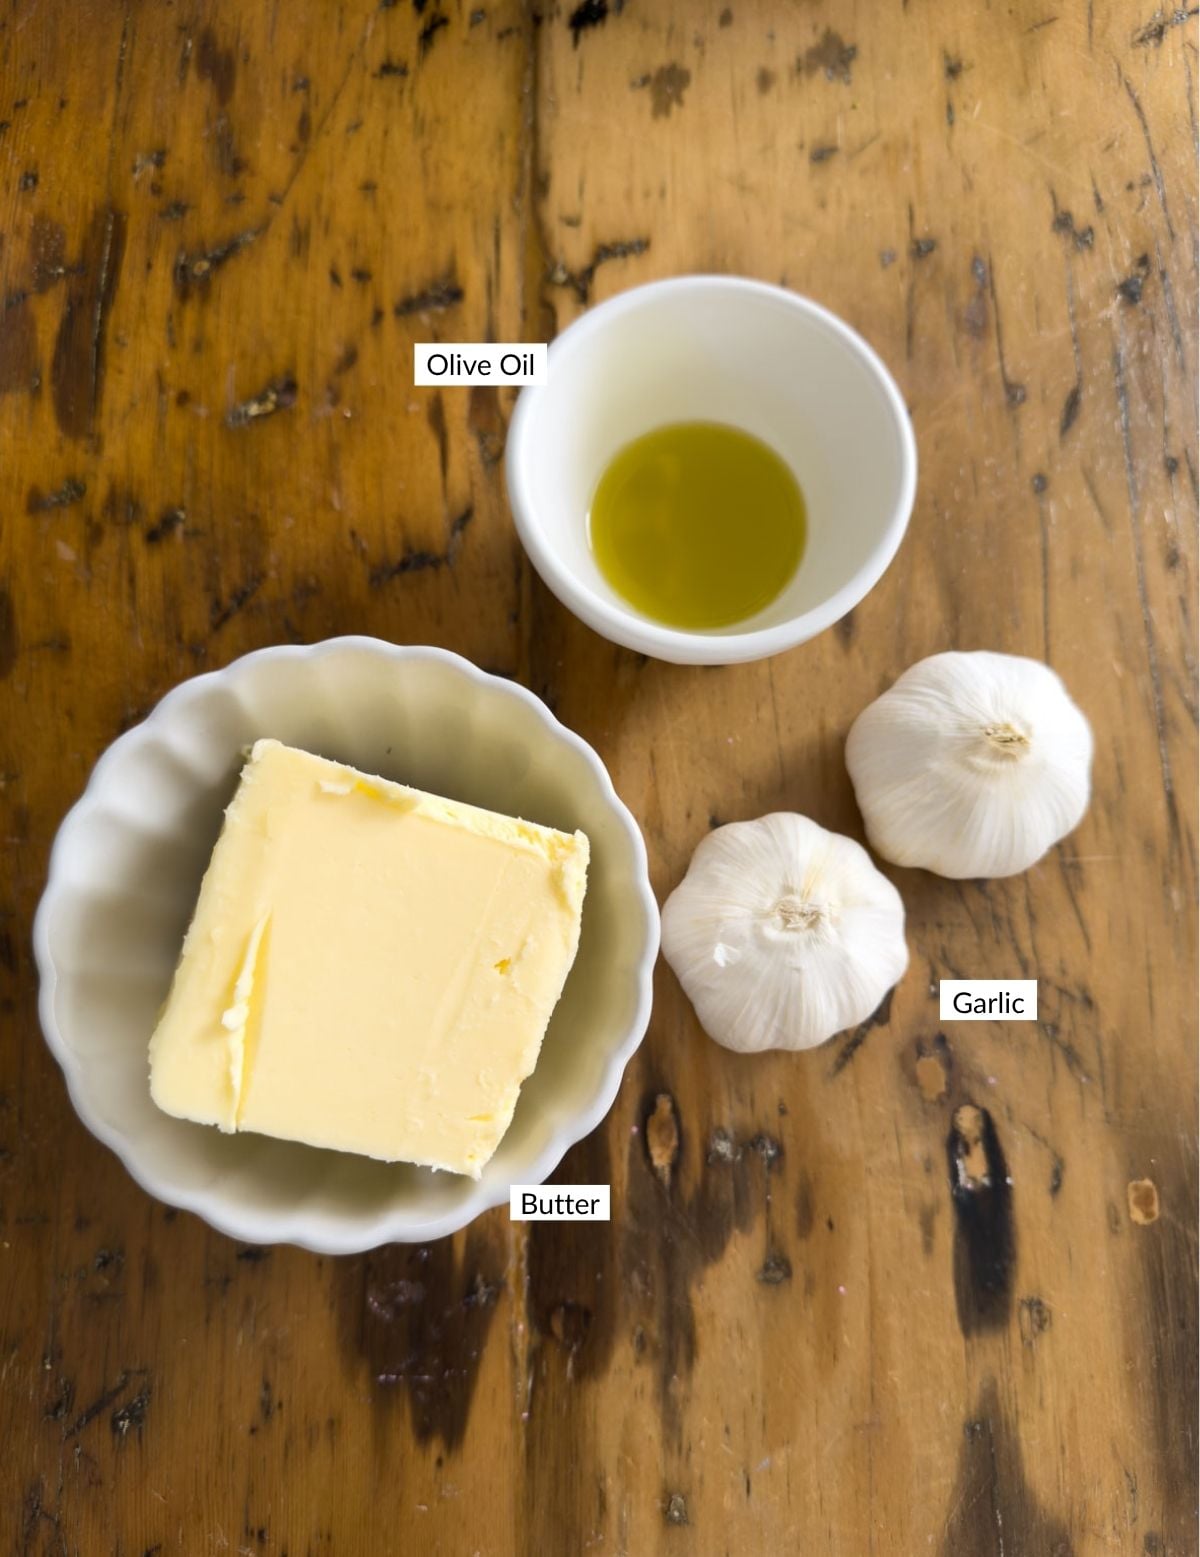
Here are a few notes on the key ingredients before you get started. Full quantities are in the recipe card below.
- Garlic: Two full heads of garlic go into the oven but only one and a half heads go into the butter. Roast both so you have enough for the recipe plus extra cloves for garnish and snacking. Look for firm heads with tight skin and no soft spots. Fresher garlic has more moisture which produces better caramelisation in the oven.
- Olive oil: Two teaspoons per head of garlic, drizzled over the exposed cloves before roasting. The oil helps the garlic roast evenly and adds a subtle richness to the finished cloves. A good quality olive oil makes a small but noticeable difference here.
- Salted butter: We used salted butter for this recipe. The salt beautifully balances the sweetness of the roasted garlic and gives the finished butter a more rounded and satisfying flavor. If you only have unsalted butter, add fine sea salt to taste.
How to Make Roasted Garlic Butter
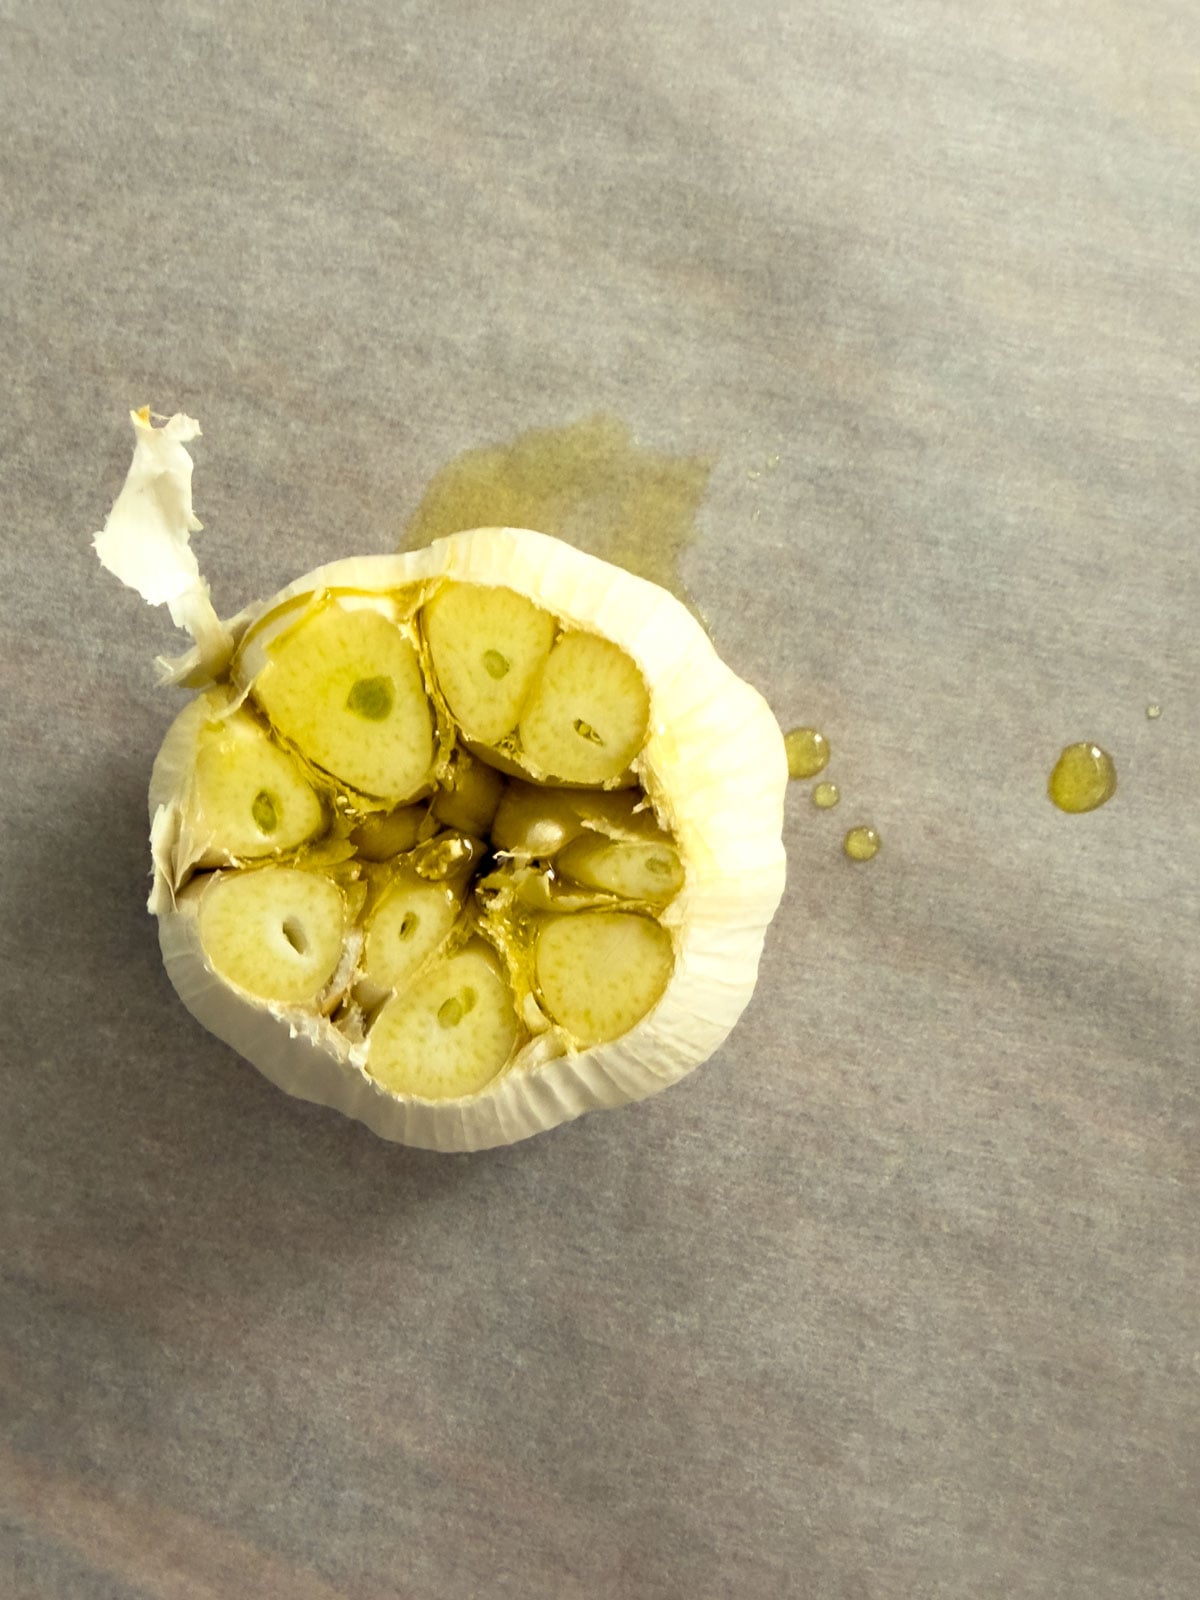
- Step 1: Preheat your oven to 400°F (200°C). Take both heads of garlic and slice approximately a quarter inch off the top of each head to expose the tops of the cloves. You want to see the cut surface of each clove clearly. This is what allows the olive oil to penetrate and the garlic to caramelise properly.
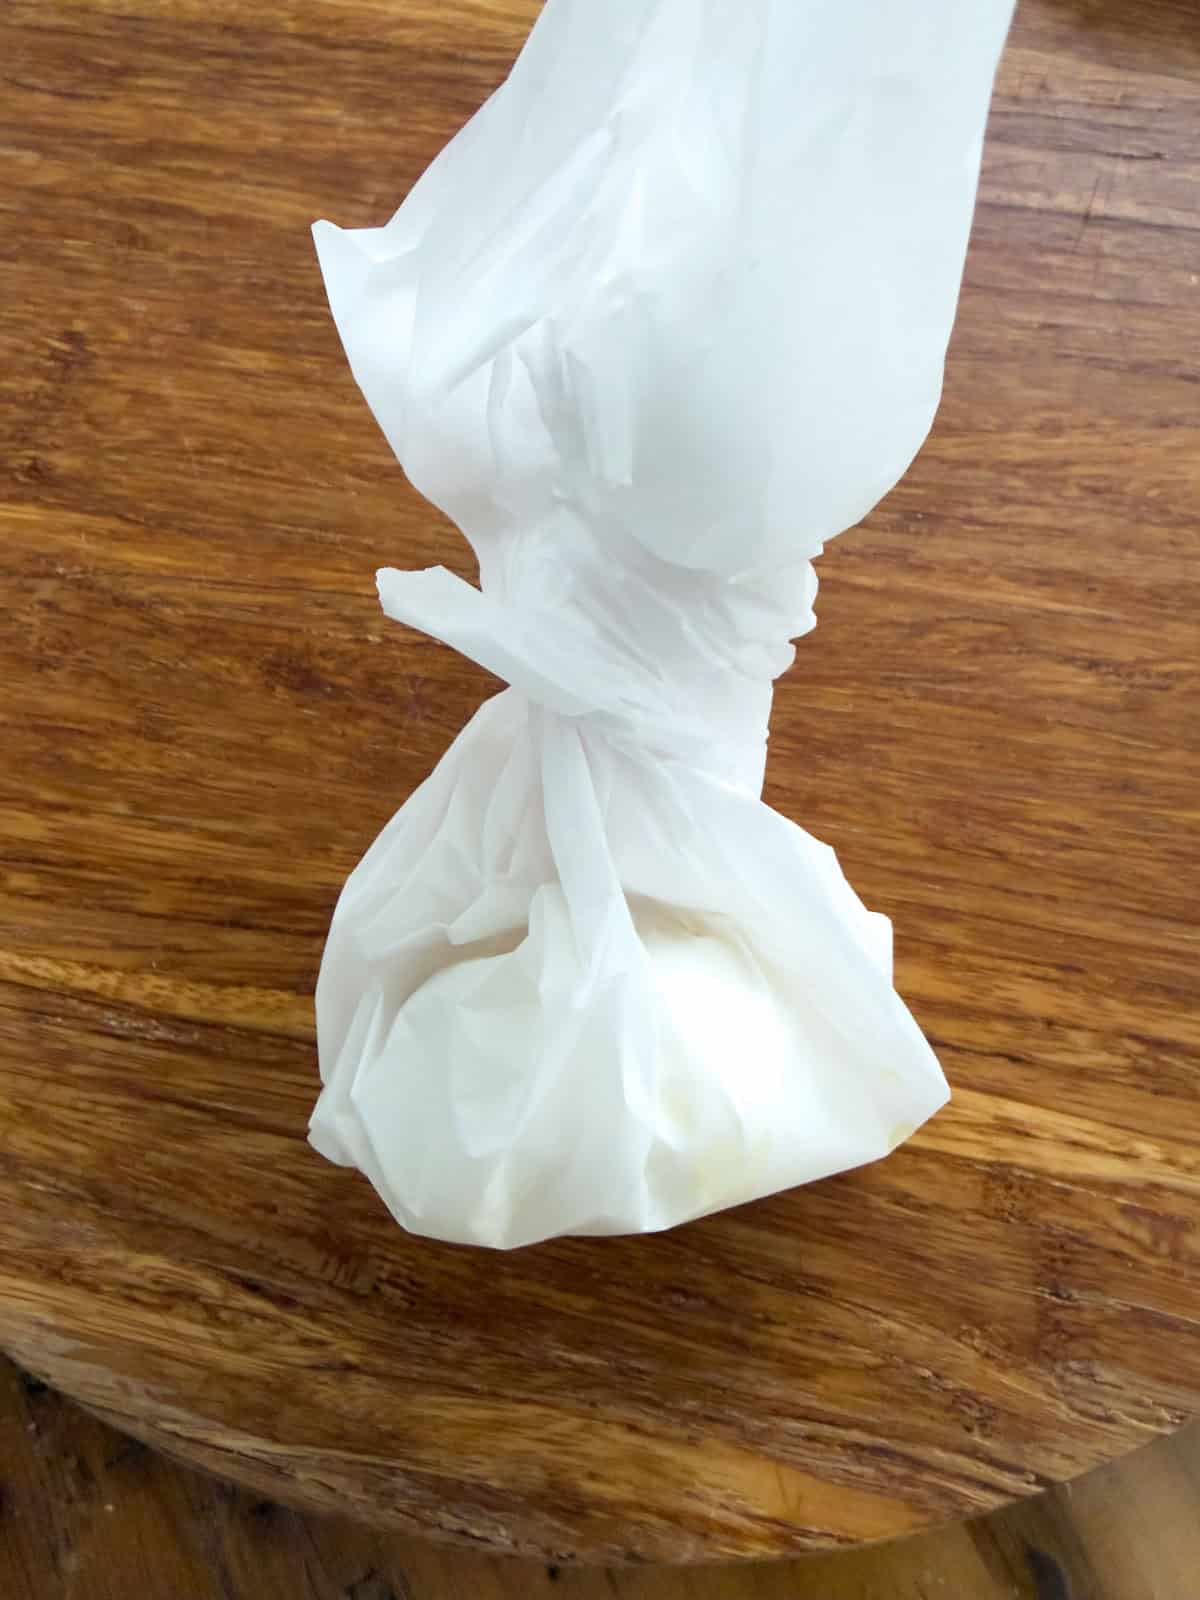
- Step 2: Place each head of garlic on a separate square of foil or parchment paper large enough to wrap it completely. Drizzle 2 teaspoons of olive oil over the exposed cloves of each head. Wrap the foil or parchment up and around each head, twisting at the top to seal completely. Place the garlic in the oven. The wrapping method steams the garlic as it roasts which produces the uneven caramelisation and slightly darker bits that give this butter so much of its depth and character.
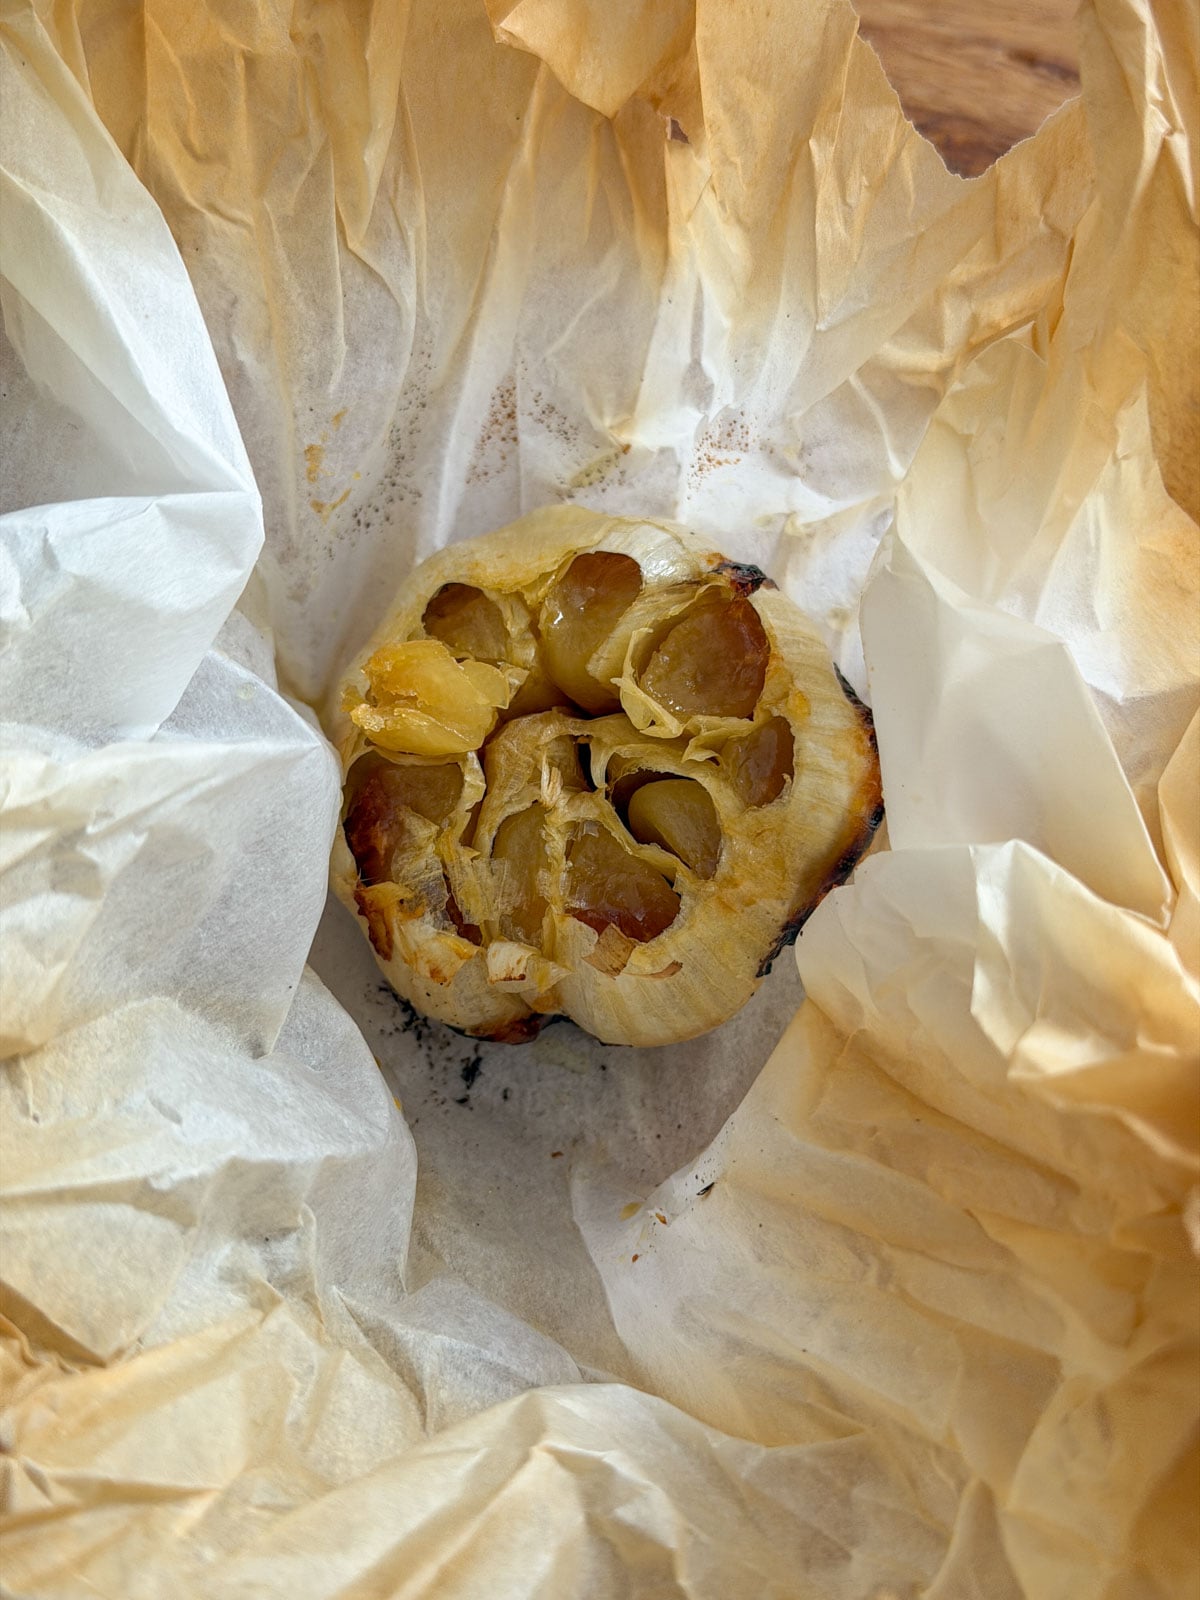
- Step 3: Roast for 40 to 50 minutes until the cloves are deeply golden, completely soft, and fragrant. The cloves should be soft when poked with the tip of a sharp knife and soft enough to squeeze out easily. Those darker caramelised pieces add complexity and depth to the finished butter. Remove from the oven and allow to cool completely before proceeding. Hot garlic will melt the butter.
- Step 4: Once the garlic is completely cool, hold each head over a bowl and squeeze firmly from the bottom, or use a knife to gently pull out each clove of garlic from the skin. The roasted cloves will pop out of their papery skins easily. You are looking for the equivalent of one and a half heads worth of cloves. Reserve the remaining cloves for garnish on top of the jar or to spread directly on bread alongside.
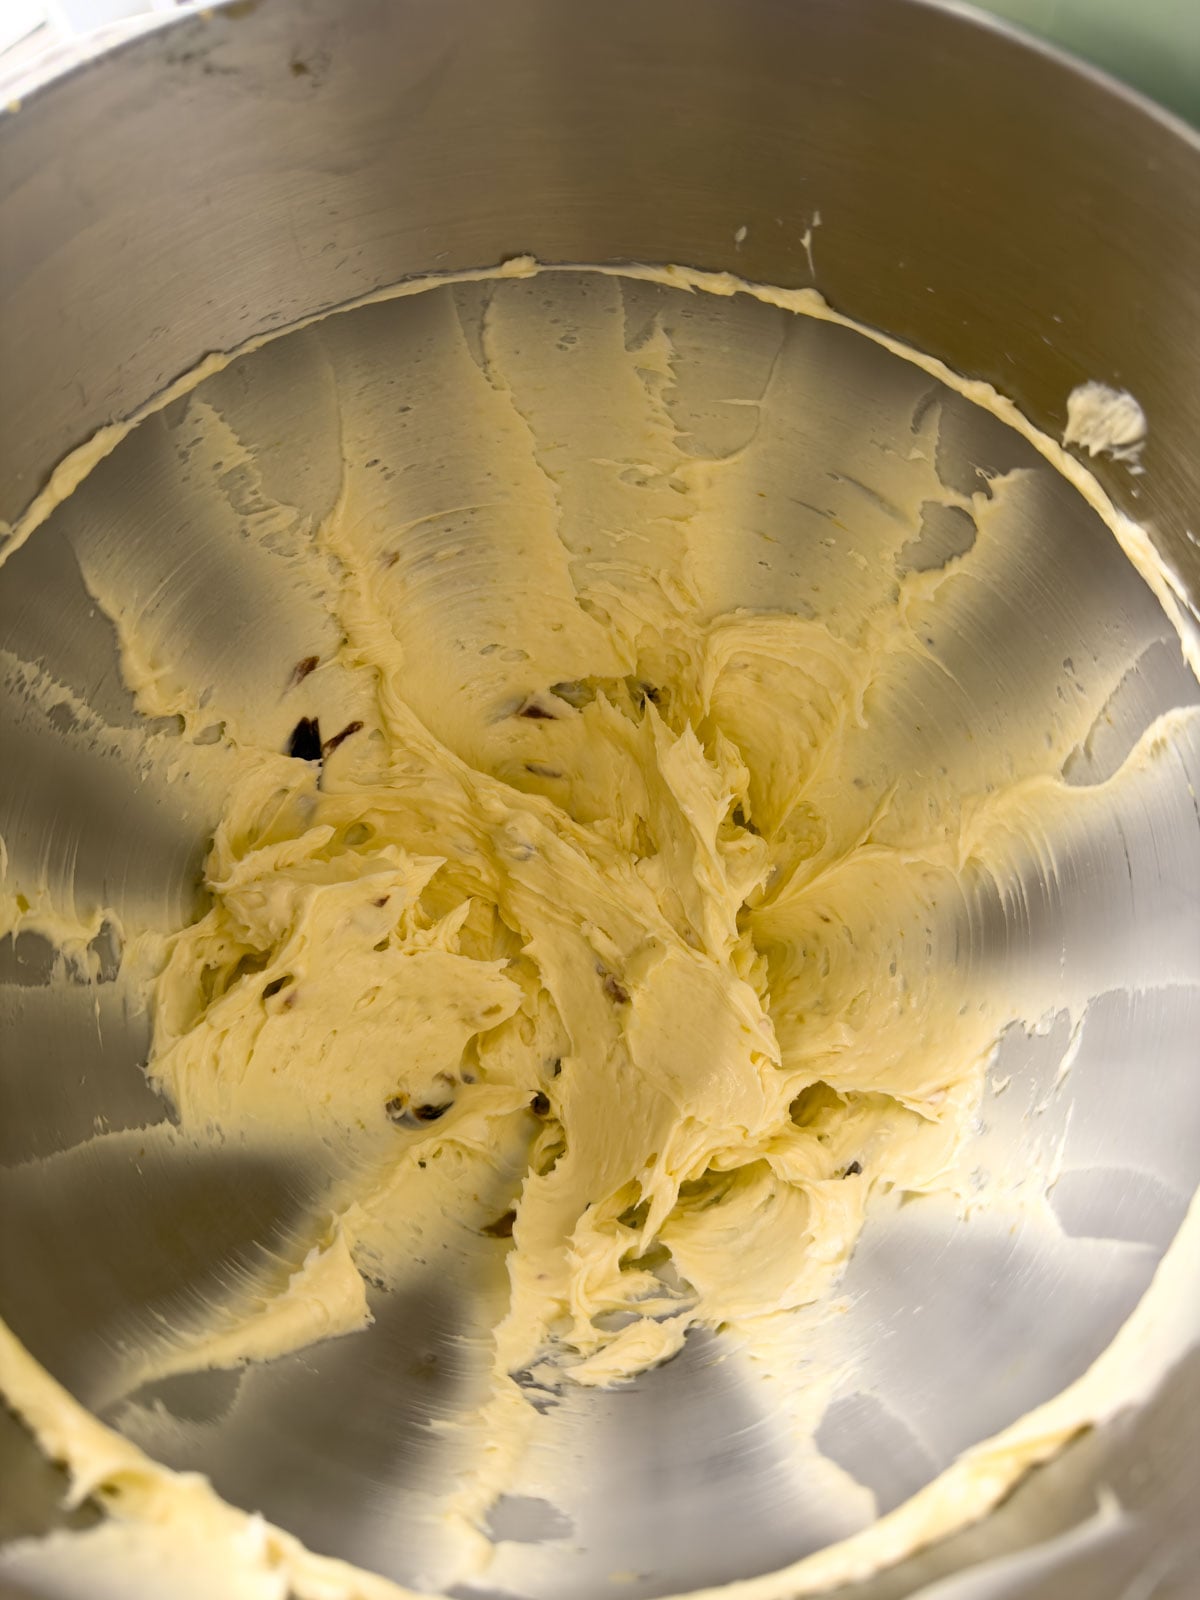
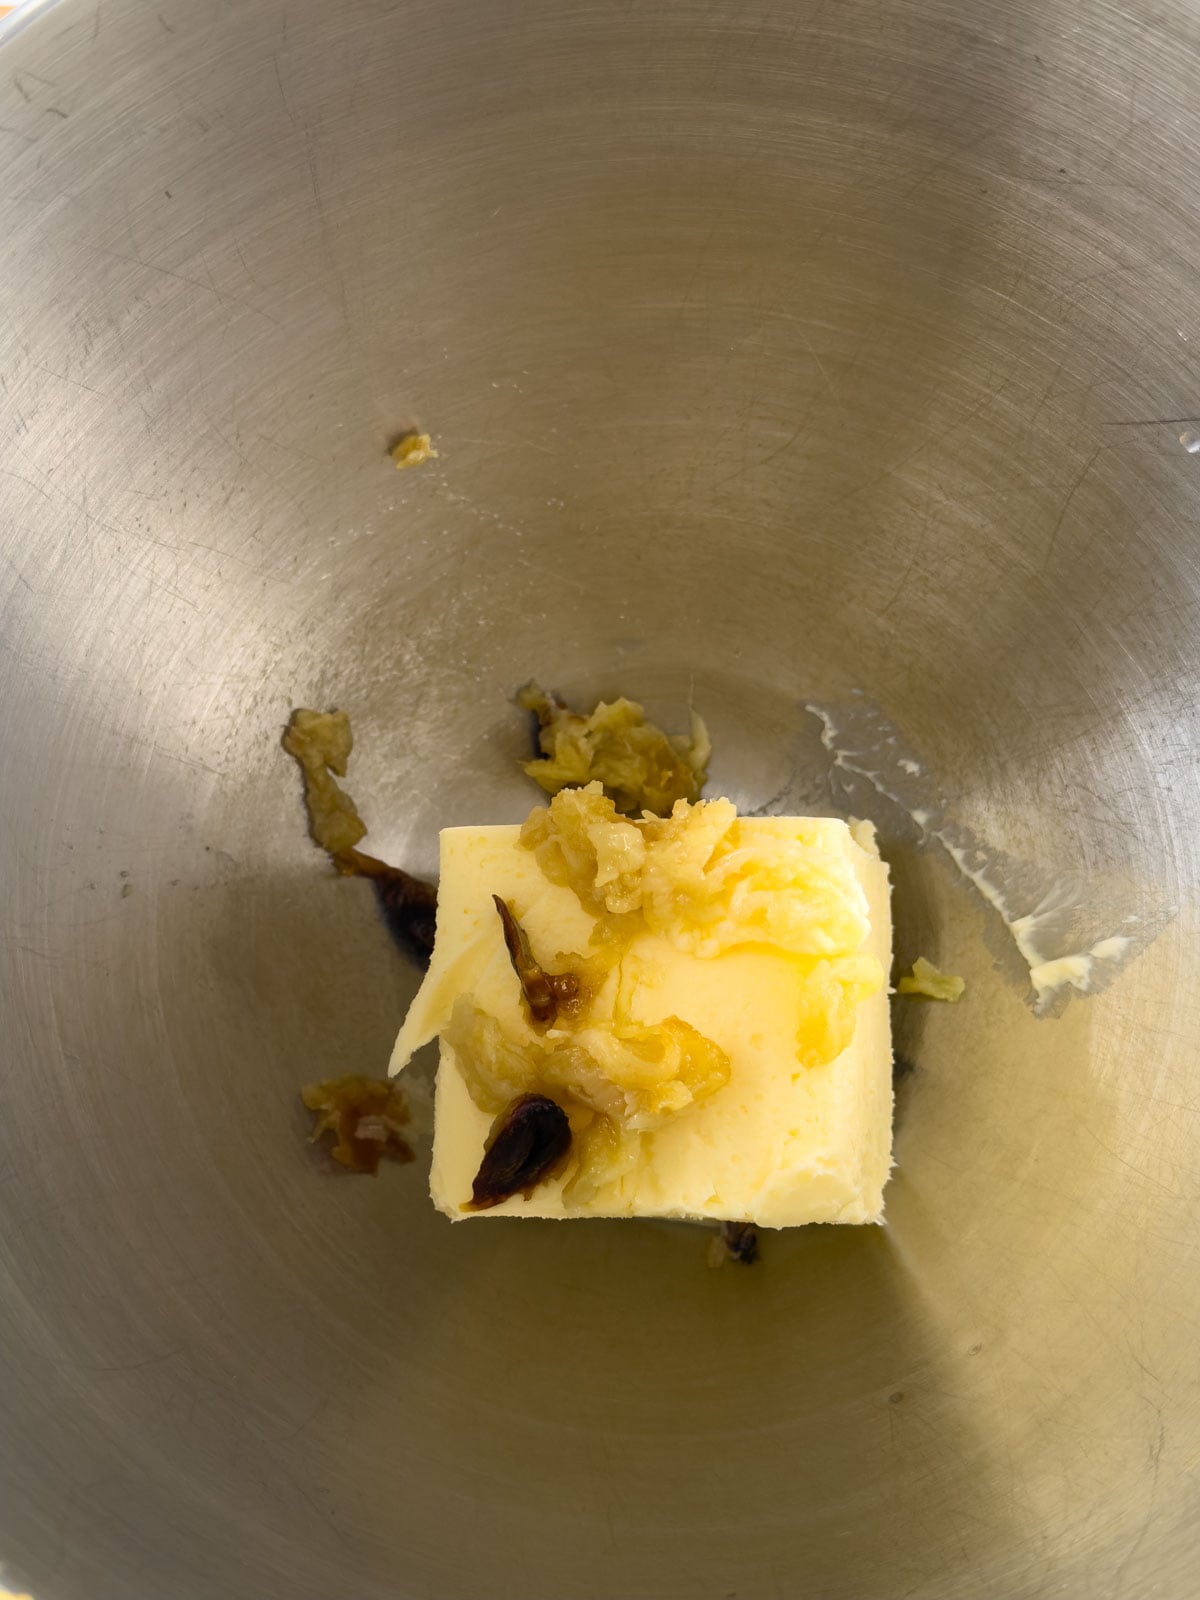
- Step 5: Place the room temperature butter in the bowl of a stand mixer fitted with the paddle attachment, or in a large bowl if using a hand mixer. Add the roasted garlic cloves. Mix on medium speed until the butter is whipped and the garlic is broken up and distributed throughout. The stand mixer whips the butter beautifully and breaks the garlic into rustic pieces without pureeing it completely. You want visible golden garlic pieces throughout rather than a completely smooth uniform paste.
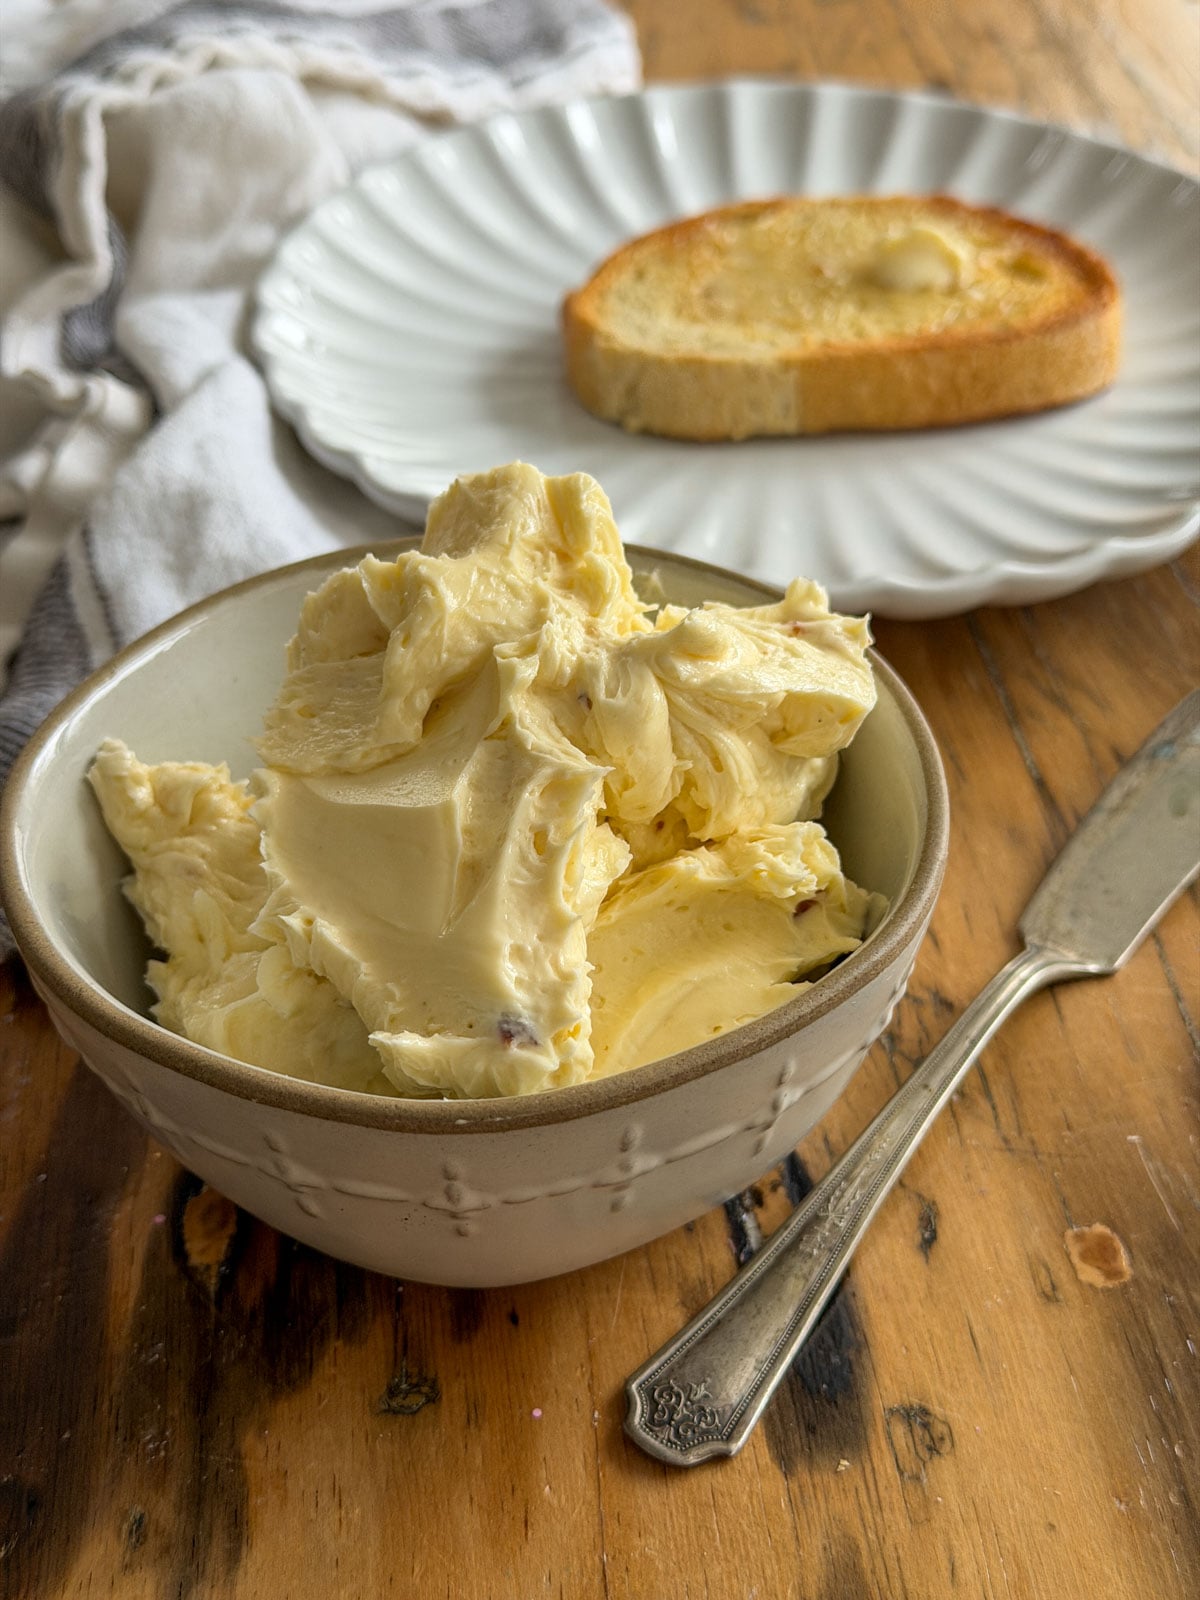
- Step 6: Taste the butter. The garlic flavor should be present, deep, and mellow rather than sharp. If you want more garlic add a few more of the reserved roasted cloves and mix again. Transfer to a clean jar, or form a log of butter in parchment paper. If desired, press a few whole roasted cloves into the top of the butter as a garnish. Store in the refrigerator. Remove about 30 minutes before serving so it softens to a beautifully spreadable consistency.
Expert Tip: The Garlic Must Be Completely Cool
- This is the most important practical note for this recipe. Hot or even warm roasted garlic will partially melt the butter when you mix them together, resulting in a greasy separated texture rather than a smooth spreadable butter. Be patient and allow the garlic to cool completely to room temperature.
- If you are in a hurry you can spread the squeezed cloves on a plate and refrigerate them for 15 minutes to speed up the cooling.
- This also means the roasted garlic can be prepared well ahead of time. Roast the garlic the day before, store the squeezed cloves in a small container in the refrigerator, and bring them back to room temperature before mixing into the butter. This is a great make-ahead strategy for party prep.
Frequently Asked Questions
Raw garlic is sharp, pungent, and can be quite aggressive in flavor. Roasting transforms it completely. The heat breaks down the harsh sulfur compounds and caramelises the natural sugars, producing a flavor that is mellow, sweet, almost nutty, and deeply savory. It is a genuinely different ingredient. You can use much more roasted garlic than raw in a recipe because it does not overpower. It enriches.
You can but the result will be different. A food processor purees the garlic completely into the butter leaving no visible pieces and producing a very smooth uniform result. The stand mixer whips the butter and breaks the garlic into rustic pieces without pureeing it completely. We prefer the rustic stand mixer result. Those visible golden pieces of caramelised garlic are beautiful in the jar and add delicious flavor in every bite. If you prefer a completely smooth result a food processor will give you that.
The garlic is done when the cloves are completely soft, deeply golden, and fragrant. You should be able to pierce through a clove easily with a knife or skewer with no resistance. Some darker caramelised edges are completely fine and desirable. If the cloves are still firm after 50 minutes give them another 5 minutes and check again. Larger heads of garlic may need up to an hour.
Absolutely and we strongly recommend it for entertaining. This butter keeps in the refrigerator for up to one week in the refrigerator. You can also roast the garlic a few days ahead and store the roasted garlic in the refrigerator until you are ready to make the butter. For longer storage freeze the finished butter for up to three months.
They are genuinely different recipes with different flavor profiles. Roasted garlic butter uses oven roasted garlic which produces a deep, mellow, sweet flavor. It is rich and sophisticated. Garlic herb compound butter uses raw fresh garlic which is sharper and more pungent, combined with fresh herbs for a bright and herby result.
Our favorite pairings are warm crusty bread, sourdough toast, focaccia, and baguette slices. It is also wonderful melted over roasted vegetables, stirred into mashed potatoes, spread on corn on the cob, or served with steak.
Up to a week in the refrigerator. Up to three months in the freezer. Remove from the refrigerator 30 minutes before serving to soften to a spreadable consistency.
More Compound Butter Recipes You Will Love
If you try this roasted garlic butter or any other recipe on my blog please leave a star rating and let me know how it went in the comments below. Thanks for visiting today!
Recipe
Roasted Garlic Butter
Video
Ingredients
- 1 cup butter room temperature
- 2 heads garlic
- 4 teaspoons olive oil
Instructions
- Preheat oven to 400°F (200°C). Slice a quarter inch off the top of each garlic head to expose the cloves. Place each head on a square of foil or parchment paper large enough to wrap completely.2 heads garlic
- Drizzle 2 teaspoons of olive oil over the exposed cloves of each head. Wrap the foil or parchment up and around each head twisting at the top to seal. Place in the oven.4 teaspoons olive oil
- Roast for 40 to 50 minutes until cloves are deeply golden, completely soft when tested with the tip of a sharp knife. Remove from oven and cool completely to room temperature.
- Hold each cooled garlic head over a bowl and squeeze firmly from the bottom to pop out the roasted cloves. Or use the tip of a knife to work out each individual garlic clove from the skin. Use the equivalent of one and a half heads worth of cloves in the butter. Reserve remaining cloves for garnish.
- Place softened butter in the bowl of a stand mixer fitted with the paddle attachment or a large bowl if using a hand mixer. Add the roasted garlic cloves and mix on medium speed until the butter is whipped and the garlic is broken up and distributed throughout with visible golden pieces remaining.1 cup butter
- Taste and adjust. Add more reserved roasted garlic cloves if desired. Transfer to a clean jar. Garnish with a few whole roasted cloves pressed into the top if desired. Store in the refrigerator. Remove 30 minutes before serving to soften to a spreadable consistency.
Notes
- If using unsalted butter add fine sea salt to taste in Step 5.
- The roasted garlic can be prepared a few days ahead and stored in the refrigerator. Bring back to room temperature before mixing into the butter.
- Some uneven caramelisation and darker bits on the roasted garlic cloves are completely fine and desirable. They add complexity and depth to the finished butter.
- Store in an airtight container in the refrigerator for up to a week. Freeze for up to three months.

Leave a Reply
You must be logged in to post a comment.