Spray Painted Wicker Furniture Makeover: learn how to spray paint wicker furniture with tips for the very best results on this beginner level project.
Jump to:
Give new life to old wicker pieces with a fresh coat of paint. We used spray paint to give our outdoor furniture a makeover. Learn how to spray paint wicker furniture.
So one Tuesday morning, yes it was for sure a Tuesday since that's garbage day on my street, I noticed these poor abandoned wicker chairs. They were set out at the curb waiting for someone with a little vision…or the garbage truck. Lucky for them, I came by before the garbage truck and I saw the potential in this old rattan furniture. Sure they were a little discoloured, a little past their prime, but nothing a few cans of spray paint couldn't fix. I knew they'd be perfect for our #12MonthsOfDIY challenge for June -spray paint.

I love spray paint, and these great little chairs are the perfect example of why spray paint is such an easy way to transform so many things.
Makeover Materials:
- old wicker chairs
- semi-gloss white spray paint
Spray Painted Wicker Furniture Makeover:
Getting Started and Prepping Your Surface
I didn't really need to do anything to prep these chairs. They were already weathered and a bit rough probably from being outside a long time. This natural wicker furniture had not been previously painted, so there was no old peeling paint to worry about.
If your piece of furniture was previously painted, your first step would be to make sure that there was no flaking paint. You might use a wire brush to remove any old paint, but take care not to damage the furniture piece.
If you're wicker garden furniture was dirty it might be a good idea to wash it with some warm water or use an air compressor as a great way to remove any loose dirt. If you have a lot of dust build-up you could also try washing it with a pressure washer, which could also help remove any old paint or loose dust. You don't want to paint wet wicker, so be sue to factor in some drying time.
Our chairs were in great shape, the wicker wasn't cracked or coming apart or broken anywhere. This is definitely something to consider before painting to make sure the project is worth it.
Why Spray Paint?
You can paint wicker furniture with different paints, so how do you choose your type of paint for the project?
Regular outdoor paint would work fine, but to get even coats of paint and an even finish you would need a stiff brush to get into all the nooks and crannies and a lot of patience. That's why we choose spray paint as the best option. Its the quickest and best way to get a great paint job on a surface like wicker. If you have a spray gun this would be a great project to use it for. But even without your own spray gun, you can use spray paint for a great finish.
Setting Up To Paint
Spray paint should be used in a well-ventilated area because of the paint fumes. You will also want cover the area under the furniture with a plastic drop cloth. And you may want to consider if there is a breeze in your work area. Spray paint can have what's called over spray where the paint marks things around it, or is carried onto the surfaces of things around what your painting by the wind. One of the first things you want to do before actually beginning spray painting is to make sure there's nothing in the area that can be damaged by over spray.
Many Light Coats of Spray Paint
One last thing before you begin painting, after prepping the actual outdoor wicker furniture surface, and after preparing the area is to shake your spray paint cans. There will be instructions on the side of the spray paint can telling you how long you need to shake the paint. Be sure to follow the manufacturer's instructions. A diy project can be ruined by skipping this simple but important step. Use your watch to actually time the three minutes, or whatever time is suggested to make sure you shake it long enough.
The name of the game when spray painting is many, many light coats rather than trying to do one heavy one. A heavy coat will create runs in the paint. So be patient, and do lots of light coats until you have the coverage you want. Don't worry about the coverage of the first coat of spray-paint. Let the first layer dry and add more with a second coat, continuing until you're happy with the coverage, and being sure to give it some dry time in between each coat.
Spray Paint From Every Angle
Also with wicker because it is a woven material, you need to spray from lots of different angles to get into all the grooves. So flip them over, turn them on their side, and flip them around to get all the nooks and crannies with a good layer of paint.

You will need more than one can of spray paint to give two chairs a new coat of paint. It took 4 cans of semi-gloss white to cover our wicker outdoor pieces. It was about $30 worth of paint, but all in all, since they were free, it was a pretty good investment. They still had an Ikea sticker on the bottom, they were originally $39 from Ikea.

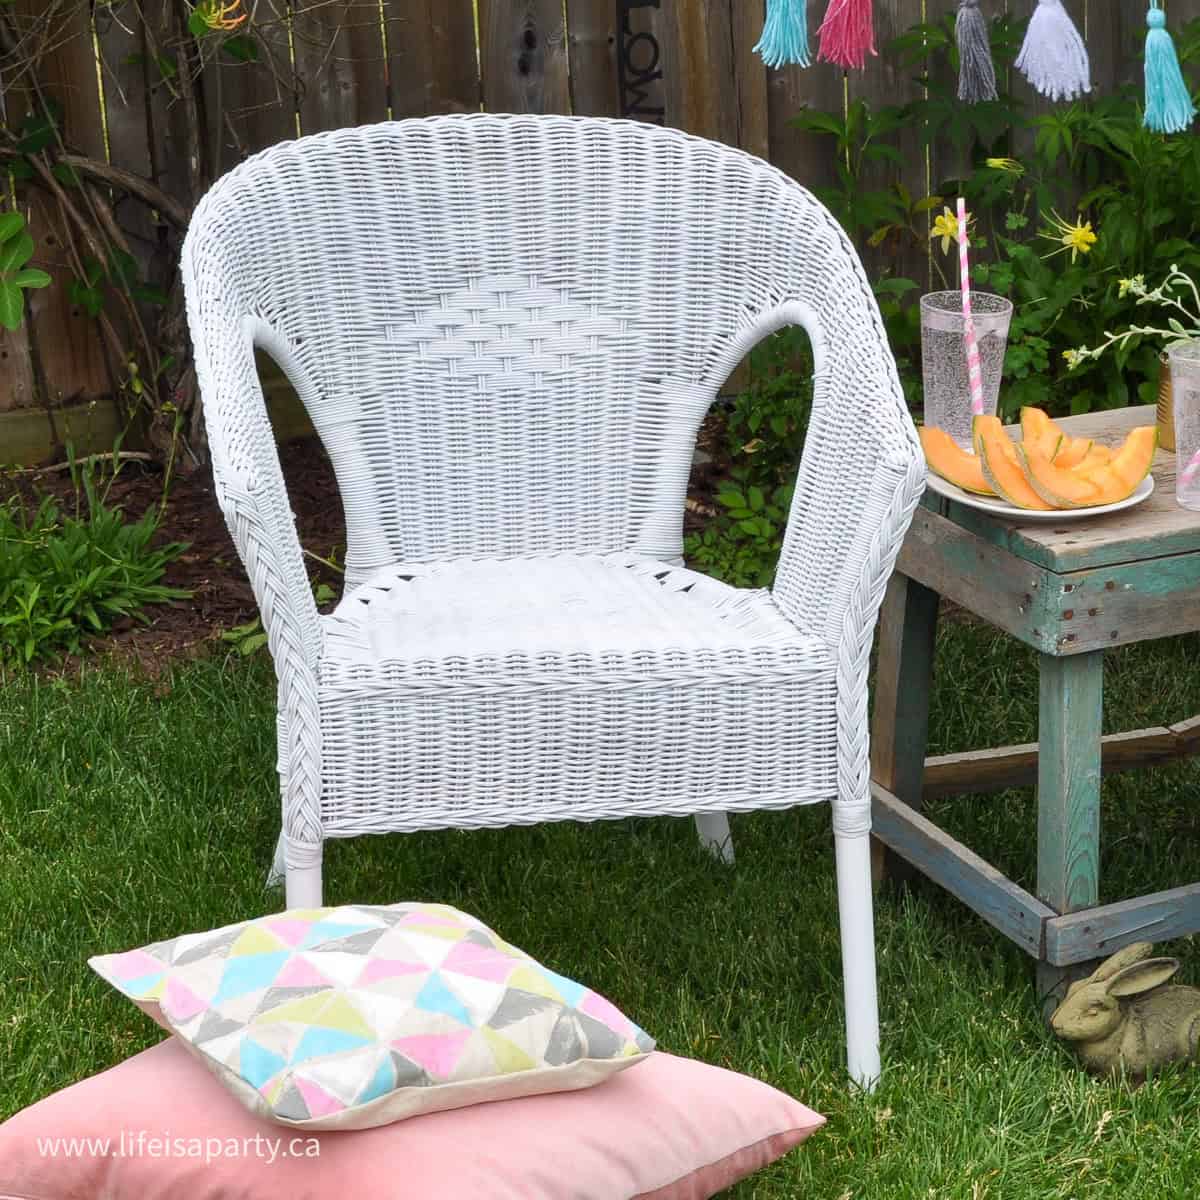
Cozy Outdoor Setting Area
I put the chairs with their new paint job in the corner of my yard. I'm spending lots more time out here lately since we have a brand new puppy. I thought this was the perfect project to add him posing in the corner, so you could "meet" him, although he doesn't know "stay" yet so it was a little tricky, lol.

Oscar is a 10 week old Havanese puppy, who we've had with us for about a week and half now. We're busy training him…or at least trying, which means lots of time in the garden for potty breaks. This little corner has a bit of shade and these little chairs with their fresh paint are the perfect spot to sit when we're out there.

I added a simple yarn tassel bunting, and these pretty geometric stamped pillows -see how to make them here. Now it's the perfect little spot to sit.

With a Spray Paint Wicker Chair Makeover, life really is a party!
More Inspiration
You might also like our Spray Paint Cutlery and Vase Makeover here.

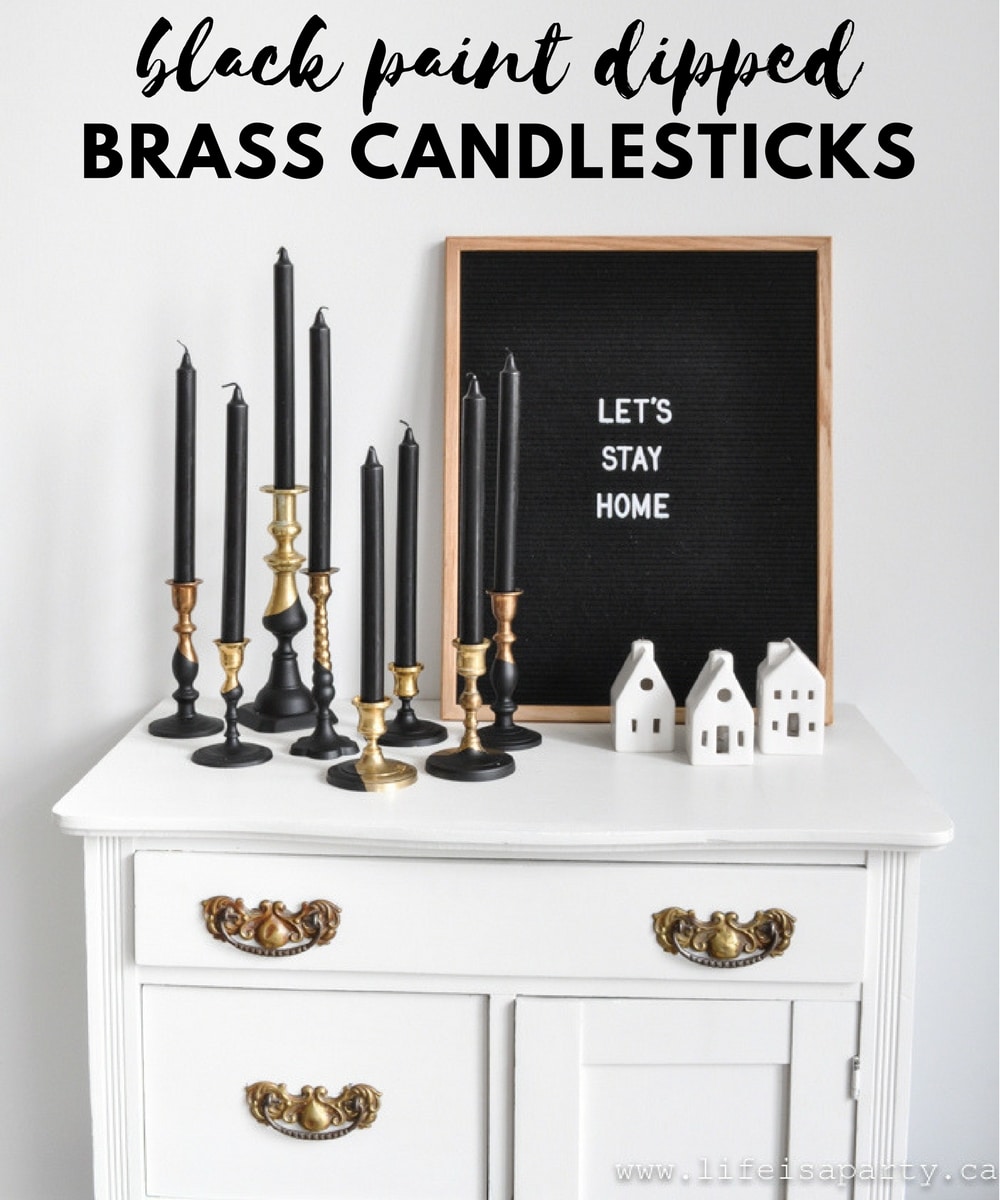
Also check out our Black Paint Dipped Brass Candlesticks here.
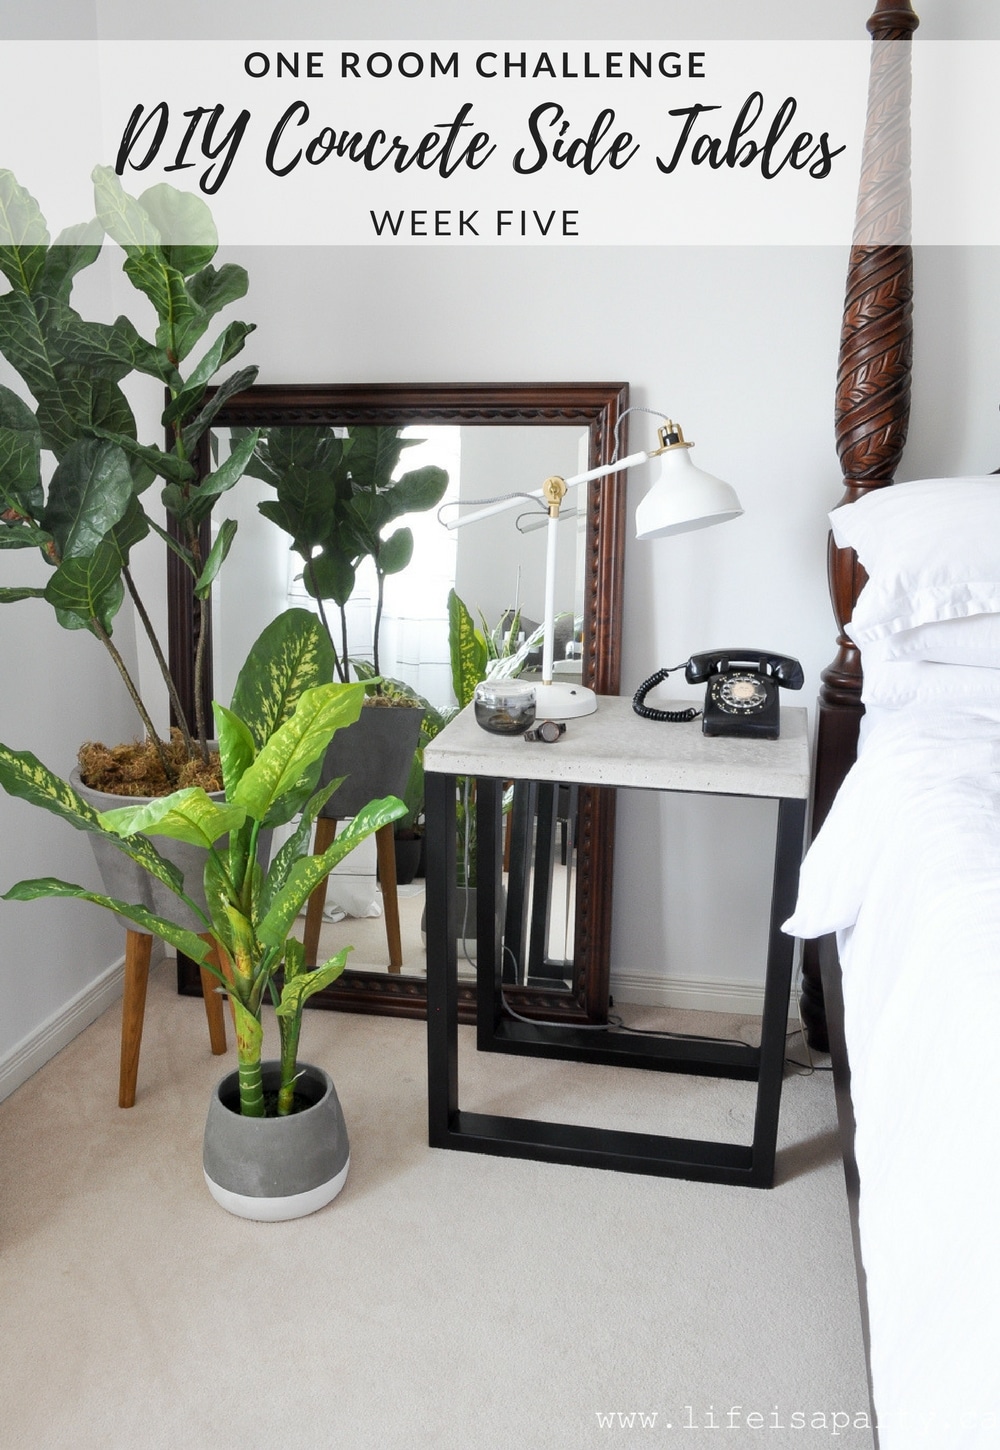
You might also enjoy our DIY Concrete Side Table post here.


dnr says
Joann, Yes, make a tassel bunting, so easy. I picked up most of the wool at a yard sale and made the tassels. It's been hanging outside for a couple weeks now and is still looking great.
Dannyelle
Joann says
Thank goodness you came along and saved these lovely chairs from landfill. They look great. Congrats on your new family member - he's super cute. I love the tassel bunting! I want to do one for my yard now!
Ariel says
These look like a prime candidate for a spray paint job! Great choice, the final product is lovely!
Sonja @SustainMyCraftHabit says
Such a great curbside find! Most people would certainly overlook them but you've made them look brand new. Great save:).
Thea says
What a score Dannyelle! I am so impressed that you had the foresight to grab them before the sanitation department showed up and made them into totally new pieces of furniture for the backyard. I love your advice and how you explained it so well to make lots of light coats. Brilliant and thank you!
Laurie @ Vin'yet Etc. says
Those chairs that beyond adorable puppy and that tassel garland, what a sweet little spot to sit and adore that little guy! Nicely done!
dnr says
Thanks Jen, you never know what you'll find on garbage day. 😉
Dannyelle
Jen @ Fresh Crush says
I'm so glad you saved those chairs! They look so fresh now -- great job!