If you've been searching for how to sharpen Cricut blade, you've probably heard about the aluminum foil method. While it may clean your blade, it doesn't truly make it sharp again. In this guide, I'll walk you through the easy, proven way to restore your Cricut blade's cutting edge using items you already have at home.

Jump to:
- Why Does Everyone Say To Use A Ball Of Aluminum Foil?
- Why are your cuts better afterward then?
- How Can You Sharpen A Cricut Blade With Household Items
- A Word Of Caution
- Materials:
- How To Sharpen Your Cricut Blade With Vim Cleanser
- How Many Times Can You Sharpen A Cricut Blade Like This?
- Can You Use This Method For Other Cricut Blades?
- Frequently Asked Questions
- More Cricut Posts
There is a very popular "tip" in the Cricut community that you can sharpen your Cricut blades using a sheet aluminum foil.
Spoiler alert, this doesn't actually sharpen the blade at all.
So why doesn't it seem to work and why do so many Cricut crafters swear by it? We'll answer that along with how to sharpen your Cricut blade with some common household items.
Many Cricut crafters like to save money and instead of replacing dull blades with a new blade whenever they stop cutting well, they want to sharpen the old blades. I'm all for it. Who doesn't like to save a little money, and reuse old materials?
The fact is that I have often had to put a replacement blade in my Cricut machine, and would love to be able to sharpen them instead. After a while, a used blade will get dull, especially when cutting thicker materials. You will notice with intricate cuts in things like paper and cardstock that it can start to pull and tear on the Cricut mat when the blade becomes dull. Or you may find that the different materials don't cut all the way through to the cutting mat when the blade is dull.
You might also like our Beginner's Guide to Cricut Mats, The Best Way To Clean A Cricut Mat, and How To Make a Doormat with Cricut and Vinyl Iron-On.
Why Does Everyone Say To Use A Ball Of Aluminum Foil?
Many Cricut experts advise users to use a ball of aluminum foil to sharpen their dull fine point blades. With this method, you are supposed to plunge your blade carefully into a foil ball over and over to sharpen it.
Cricut users aren't the only ones who swear by a sheet of aluminum foil to sharpen a blade. Lots of people use this tin foil technique for sharpening scissors too, and swear by it. This is probably where Cricut users got the idea of using aluminum foil.

The truth is that cutting aluminum foil or punching a blade into a piece of aluminum foil doesn't really sharpen the blade. So why do so many users say it works?
If you think about sharpening a blade of a knife, you need to drag the blade along something abrasive, at the right angle, on both sides to restore the dulled edge of the metal. The same is true of a Cricut blade. The Cricut brand blade is in fact a very tiny knife. It has a tip on the end of two sharpened edges.
When you cut through a aluminum foil ball it is in fact, if anything, you're probably dulling the blade, and wearing off the sharp edge, because it is quite a hard material.
Why are your cuts better afterward then?
If aluminum foil in fact does not work to sharpen a Cricut blade, why do so many people swear by it?
The act of plunging the blade into foil may be cleaning the blade. If there is any debris from cutting sticky materials like adhesive vinyl, or glitter, or any dirt on the blade, then the friction caused by cutting through the aluminum foil is likely cleaning it off. So it may in fact genuinely feel like a better cut afterward, but this is because the blade is cleaner, not sharper.
It's probably ok to occasionally use the aluminum foil method to clean your blade, but doing this every time you cut, like some Cricut experts suggest is probably dulling your blade rather than sharpening it.
How Can You Sharpen A Cricut Blade With Household Items
If you think of your Cricut blade as a teeny tiny knife, you will realize you need to sharpen it in the same way you would sharpen a knife blade. You can use a method similar to sharpening a straight edge razor.
Remember seeing this method in the movies? A barber would use a strap of leather and pull the blade along it to sharpen it before shaving a man's beard. There was another section of the sharpener that had an abrasive substance on it, and it acts as a very fine sandpaper that restores the edge on the blade.
Because a straight edge razor isn't used to cut anything more coarse than a beard, the blade doesn't generally nick, or roll, it just loses its edge with wear. By pulling it away from the cutting edge on a slightly abrasive surface the edge is restored. In the same way a Cricut blade loses its edge with wear. It too can be restored by being pulled away from the sharp edge on a flat, slightly abrasive surface.
If you're interested in a detailed demonstration and explanation of this check out this video from a professional knife sharpener -Joe Calton, who applies his knowledge to sharpening his wife's dull Cricut blades.
In order to sharpen the Cricut blade with easily accessible household materials, the video recommended creating an abrasive surface from regular toothpaste. It also mentioned how the toothpaste cleaned teeth, by containing the fine abrasive that acts as a polish.
I had trouble with the toothpaste method. Mine was gummy rather than abrasive.
Then I remembered how Vim cleanser has a fine grit to it, and drys with a powdery residue sometimes. I ended up using Vim cleanser to create my abrasive surface, and it worked perfectly.
A Word Of Caution
A word of caution, you will need to find the best angle to sharpen your Cricut blade. You want to pull along the existing edge to restore it.
Too much pressure in the wrong place may damage the edge.
With a large knife it's quite easy to see and feel that you are holding the knife at the right angle. This is much trickier with the teeny tiny cutting edge of the Cricut blade. But, if your blade is dull and destined to be thrown out anyway, you have nothing to lose by trying this method.
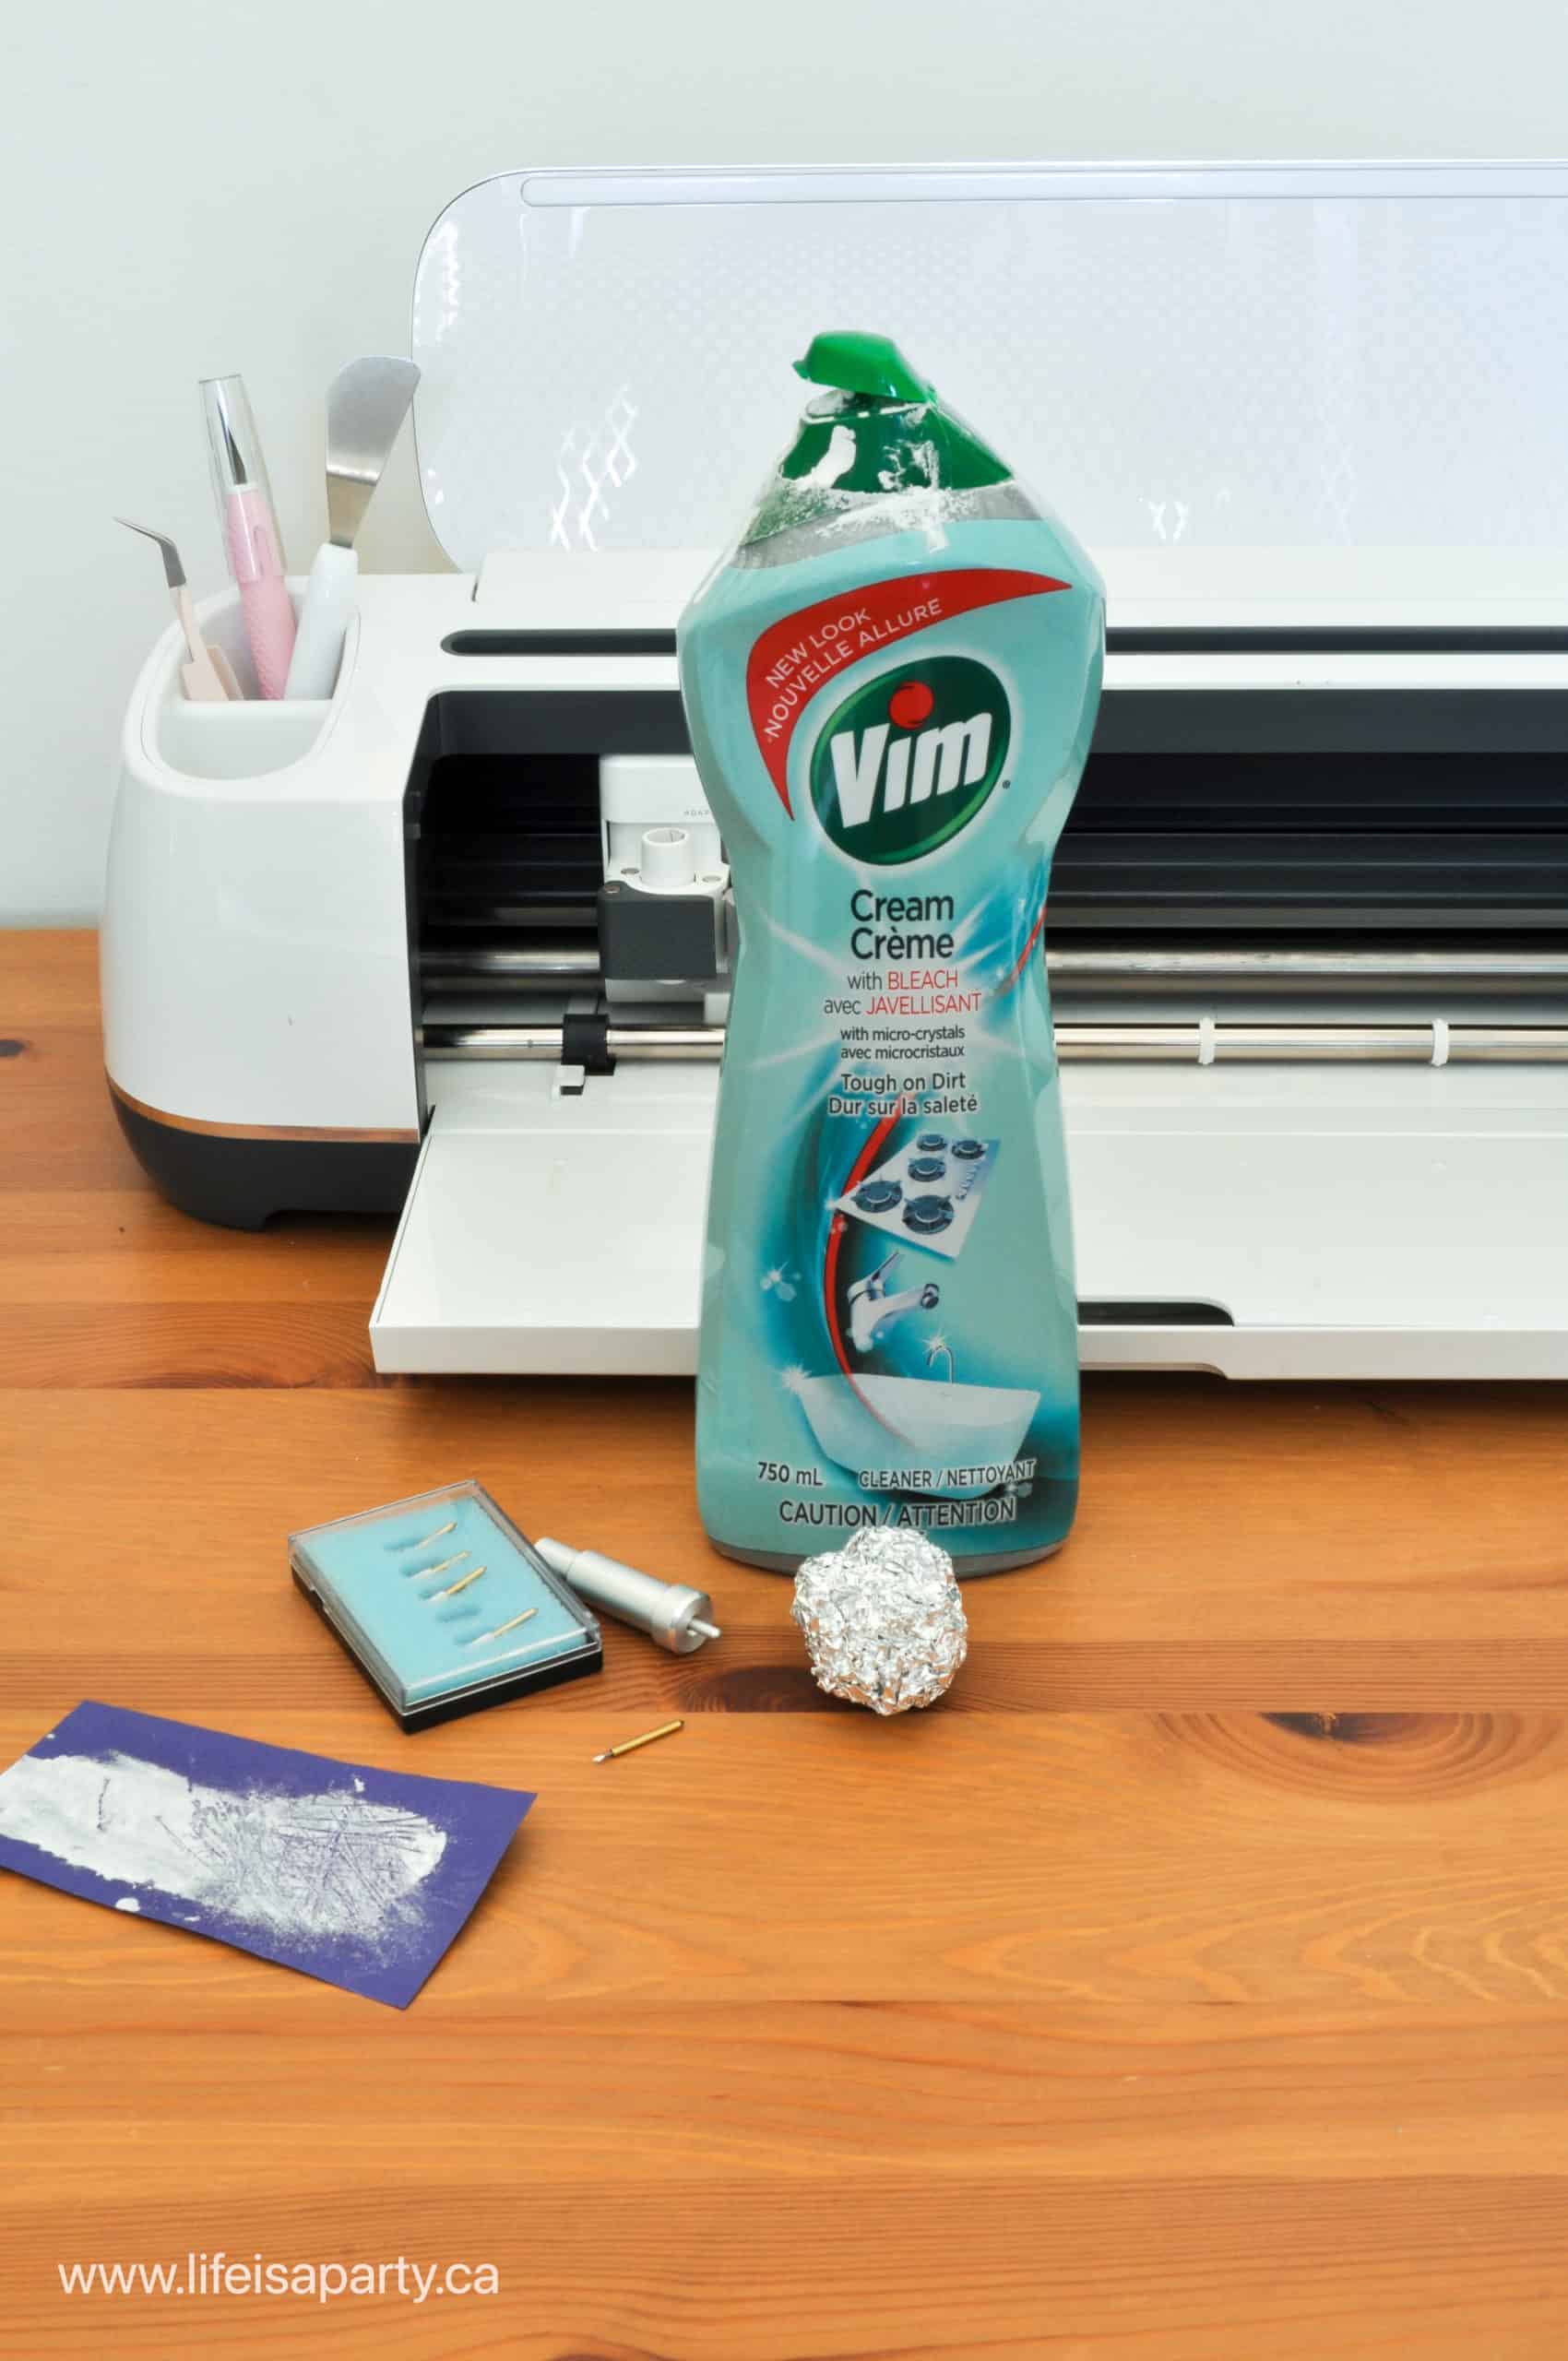
Materials:
- mild abrasive material like toothpaste or Vim cleanser
- natural light
- piece of paper
- small pliers
- dull fine point Cricut blade
- magnifying glass
How To Sharpen Your Cricut Blade With Vim Cleanser
Watch our YouTube video below for a demonstration.

1. First, apply a tiny amount of Vim cleanser to a piece of clean paper in a smear, and allow it to dry. You can hurry up the drying process by using a hairdryer. The cleanser will act as an abrasive to create a rough surface to sharpen the blade, almost like a very fine sandpaper.
I did also experiment with toothpaste first, which was recommended in the video I linked above. The brand I was using didn't dry very well. It remained gummy on the paper, and I found it hard to work with. A different brand of toothpaste might have worked. I remembered that Vim cleanser can leave a dry powdery residue and decided to try it. It worked really well for me.
2. Once the cleanser is dry, you are ready to sharpen the blade. First remove the blade from the quickswap tools housing. Even a dull blade is sharp enough to cut yourself, so do take care. You may want to use some pliers to remove it from the fine point blade housing.
3. Find a spot next to a window, with good natural light. You may also like to use some magnifying glasses. Even an inexpensive one from the dollar store will help you see the blade edge more clearly.
Holding the blade in your fingers, or with some small pliers, drag the blade away from the cutting edge at the same 45 degree angle as the cutting edge. Do this about 15 times on each side of the blade. Take care to hold the blade at the same angle as the existing blade edge. You can use a magnifying glass to look at your blade as you go. This will help ensure the angle is working and the blade is being sharpened.
4. When you are finished you can make a test cut, and insure you have a sharp blade. If not, you can continue to sharpen it until it makes nice clean cuts again.
How Many Times Can You Sharpen A Cricut Blade Like This?
You could sharpen the blade like this over and over again. Essentially, until the blade becomes too short, you can re-sharpen as many times as you like. This method will greatly expand the average useful life of a premium fine point blade.
Can You Use This Method For Other Cricut Blades?
About 90% of the time most Cricut users will use the premium fine-point blade. It cuts a lot of different materials like paper and vinyl. But there are lot of different blades for Cricut machines too. Some of the different types of cricut blades are the deep point blade, the wavy blade, the cricut joy blade, the cricut knife blade, bonded fabric blade, perforation blade, and the cricut rotary blade. These blades are all for getting the best cuts out of a variety of different materials. Many of the blades use the quickswap housing adaptive tool system, to make switching blades as simple and easy as possible for Cricut machine users.
You can use this method to sharpen your deep-point blade. Instead of holding the blade at a 45 degree angle like the fine point blade, the deep cut blade has a steeper blade angle of 60 degrees. It is also made of stronger steel and may be harder to sharpen with this simple method. I wouldn't try this method on any other Cricut blades.
I hope you try this method of sharpening your Cricut blade. It really helps to extend the life of your blades, and save you money. It's definitely worth a try. It is an easy method that uses simple household materials that most people will have on hand.
Frequently Asked Questions
No. It may be cleaning your blade which may improve it's performance, but it does not sharpen it.
You can resharpen your fine-point blade and your deep-point blade. Remember that the angle of the blade is 45 degrees for the fine-point and 65 degrees for the deep-point blade.
You can resharpen it over and over, until the blade becomes too short to work with.
Yes! Sharpening your Cricut blades can extend their life significantly and save you money. Since it only takes a few minutes and requires inexpensive household items, it's definitely worth trying before buying a replacement.
If you try Sharpening Your Cricut Blade or any other idea on my blog please let me know how it went in the comments below. Thanks for visiting today!
More Cricut Posts


How To Sharpen A Cricut Blade
Equipment
- small pliers
- magnifying glass
Materials
- mild abrasive material like toothpaste or Vim cleanser
- dull fine point Cricut blade
- small piece paper
- natural light
Instructions
- First, apply a tiny amount of Vim cleanser to a piece of clean paper in a smear, and allow it to dry. You can hurry up the drying process by using a hairdryer. The cleanser will act as an abrasive to create a rough surface to sharpen the blade, almost like a very fine sandpaper.I did also experiment with toothpaste first, which was recommended in the video I linked above. The brand I was using didn't dry very well. It remained gummy on the paper, and I found it hard to work with. A different brand of toothpaste might have worked. I remembered that Vim cleanser can leave a dry powdery residue and decided to try it. It worked really well for me.
- Once the cleanser is dry, you are ready to sharpen the blade. First remove the blade from the quickswap tools housing. Even a dull blade is sharp enough to cut yourself, so do take care. You may want to use some pliers to remove it from the fine point blade housing.
- Find a spot next to a window, with good natural light. You may also like to use some magnifying glasses. Even an inexpensive one from the dollar store will help you see the blade edge more clearly.Holding the blade in your fingers, or with some small pliers, drag the blade away from the cutting edge at the same 45 degree angle as the cutting edge. Do this about 15 times on each side of the blade. Take care to hold the blade at the same angle as the existing blade edge. You can use a magnifying glass to look at your blade as you go. This will help ensure the angle is working and the blade is being sharpened.
- When you are finished you can make a test cut, and insure you have a sharp blade. If not, you can continue to sharpen it until it makes nice clean cuts again.


Dannyelle Nicolle-Ramjist says
This is such an effective and easy way to actually sharpen a Cricut blade and really extend its life and save money!
Summertime saga APK says
Great tips on sharpening the Cricut blade! I never knew it could be such a simple process. Can't wait to try this out and see how it improves my cutting results. Thanks for sharing!
Dannyelle says
Wow, thanks for the detailed ideas. I was mainly sharing for someone who wants to do this at home with no fancy equipment, but thanks for all the expert advice.
All the best, Dannyelle
Eli Griggs says
Leave the household 'cream' on the shelf and spend a few dollars on a piece of Yellowstone or"peach" sharpining compound, from a dedicated woodworkers store, such as Woodcraft or an even finer compound of green chromium oxide, with a grit of 8000.
All blades must be without rolled edges or chips missing, etc.
It may pay dividends to use a sharping stone, such as a ridged extra fine, continue coating diamond stone on a 'thick' metal substrate to do a light sharping of mostly sharp blades, of any type, before using any honning compound of any type.
Drag your blade at the correct angle, say five times on a single side then reverse to the other side of the blade and repeat.
Do this a half dozen or so times, and make sure that you have removed any metal/foil that sharping may have left on the edge of cutter, before honing.
Hone on a wood block of the correct size for the smooth leather piece you've made with some yellow or white glue and, most importantly, do no ever roll the cutting edge up, as you finish the sweep of the blade on the honing block.
Make sure and, you can do this as slowly as you like, lift the blade stright up, so the fresh edge never touches down again at the end of each stroke, dulling or rolling over the extra fine edge you are creating.
Do no try to make microbevels on the tiny blades, you only want to have two surface angles coming together as one, to form the sharpest edge possible.
Learn how little honing compound you need to apply to your leather hone, as too much will prevent a good honing action/result and wipe the tip of the blade clean of any residue compound before you reinstall or put the blade up, as it can leave a wax based streak on your material.
I make Japanese style woodcuts using Japanese and Swiss knives and gouges and I rehone frequently while carving a hardwood block, simply to have the cleanest cutmark possible and, I recommend you hone you circuit edges after every project sheet, to make the most of your expensive materials and to make the fine detail in your machine cuts, every time.