Use regular eggs to create your own mini eggshell planters. They're perfect for spring decor, or as an Easter decoration.

Jump to:
Why We Love This Project
- Is there anything more perfect for spring or Easter than eggs and spring bulbs? They're so cute!
- This project is inexpensive since we upcycled our egg shells.
- When you're done you can plant the bulbs in your garden for next year and compost the eggshells.
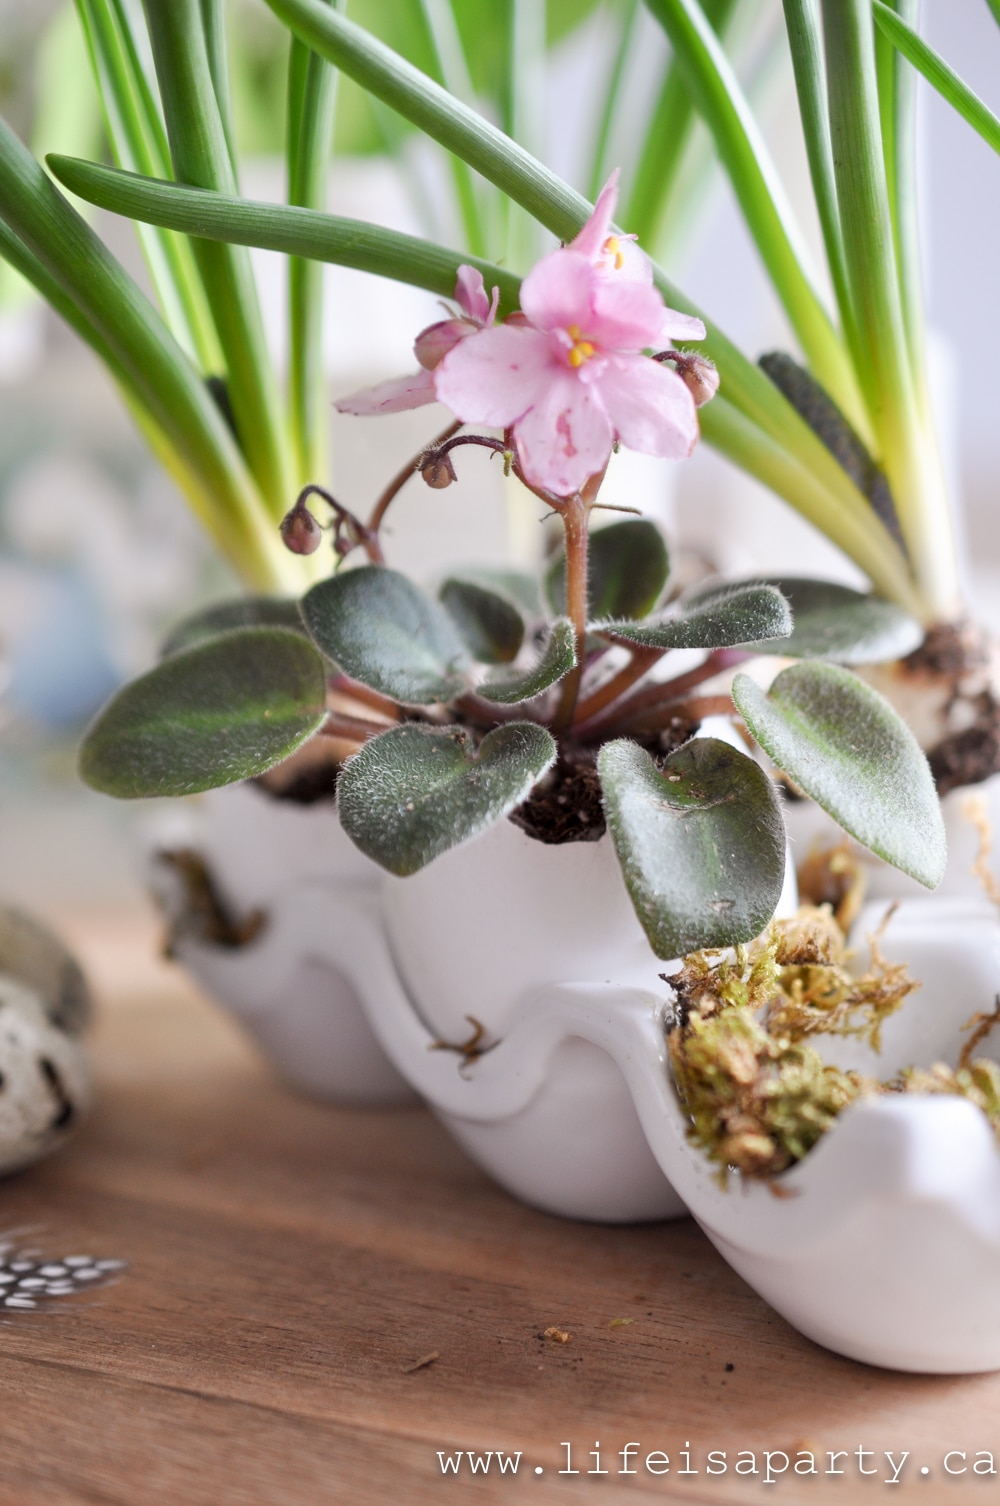
Spring is one of my very favourite seasons. Living in Toronto, the winters can seem long, and they're pretty cold and snowy, so spring is always so welcome when it finally arrives. And even if the weather is still cold outside, we can make spring come a little early with a few spring projects inside.
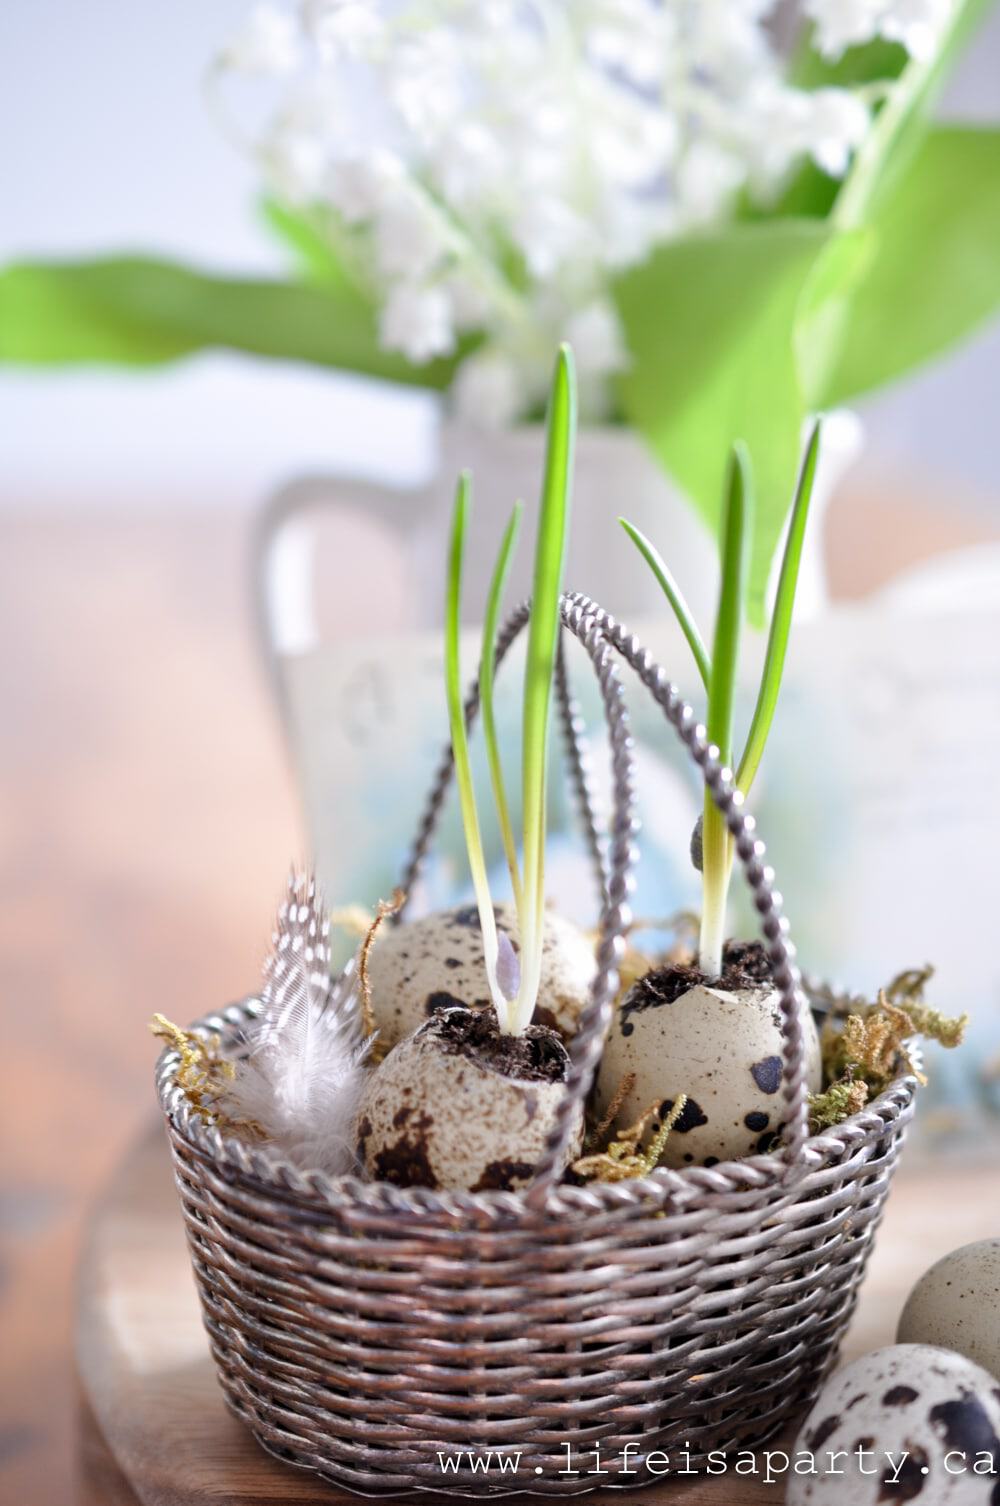
Spring bulbs are such a great way to welcome the new season. I thought it would be fun to use some real eggs as little bulb planters.
Materials:
- Regular Eggs -save your eggshells. Try to crack them about ⅔ up from the bottom if you can. Just rinse them out with some warm water and let them dry.
- Quails Eggs -I found these at the grocery store in the egg section, they may have been a special Easter product. You can also look for them on-line in your local area. They're sometimes avaiable at farm stores, or farmer's markets.
- Spring Bulbs -we used spring bulbs in most of our eggshell planters. Keep in mind that they need to be small enough to fit into the eggshells so look for things like grape hyacinths, mini daffodils, or crocus bulbs.
- Mini African Violets -we also used a mini African violet. These come in lots of pretty colors. Look for one in blub, with lots of buds so you can enjoy it for longer.
- Garden Soil -all purpose garden soil is fine for this project.
Variation:
These would also be really beautiful made with brown hens eggs, or if you were lucky enough to find some blue hens eggs.
You could also dye the eggs to create your own soft blue eggs. Any pastel colour would be beautiful for this project. Pinks, and greens and blues and yellows would all be lovely. I like the simplicity of the white too.
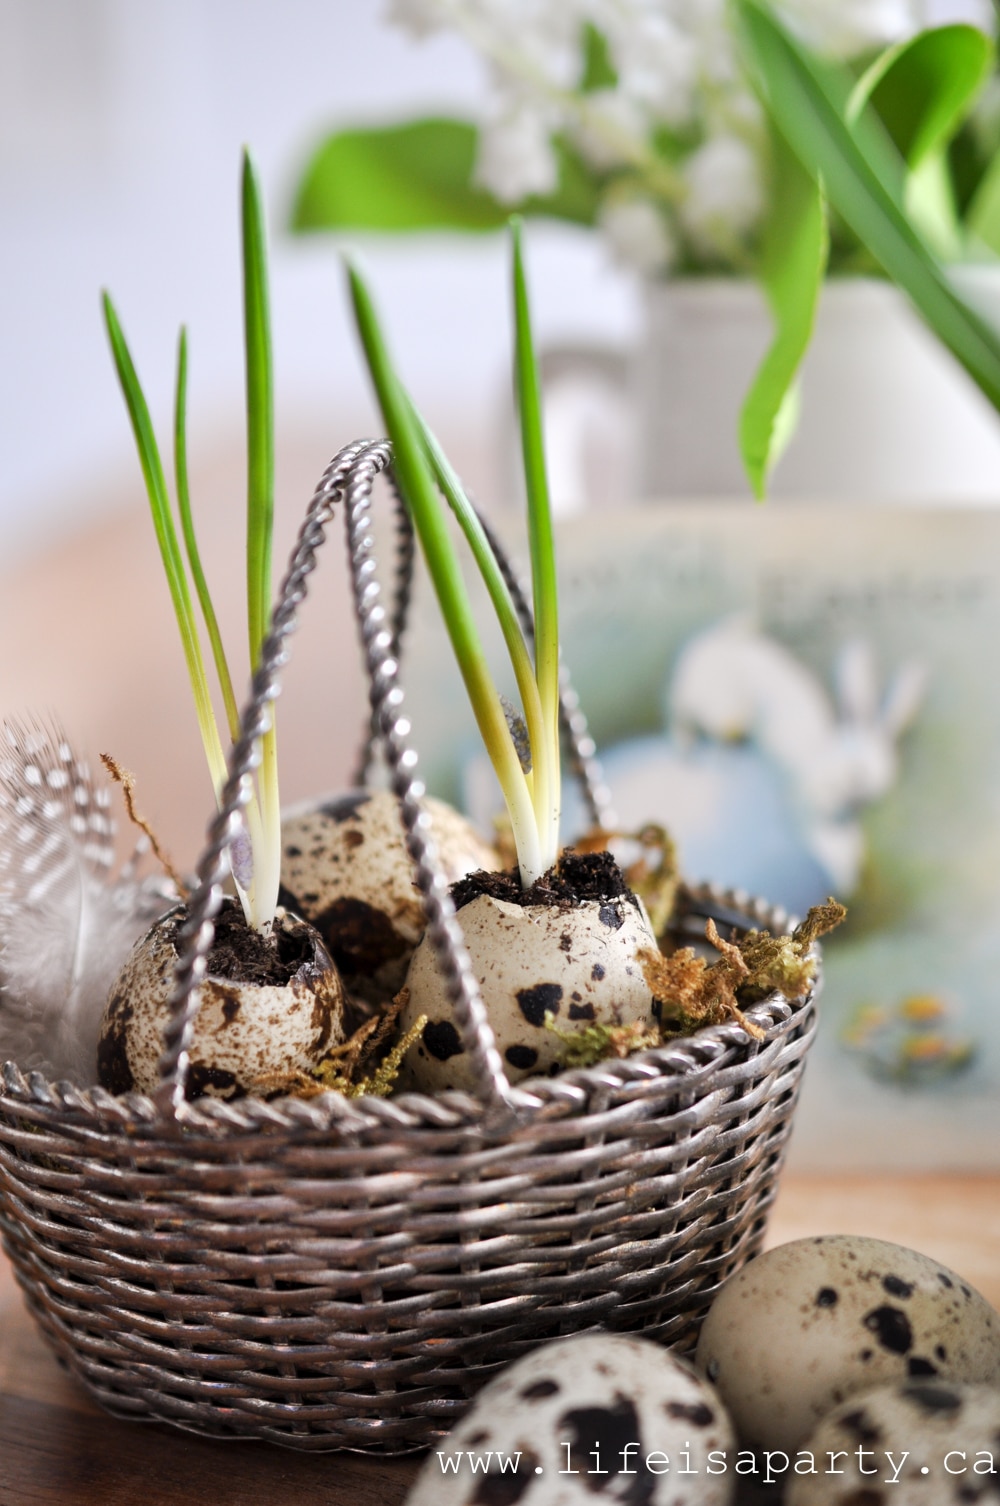
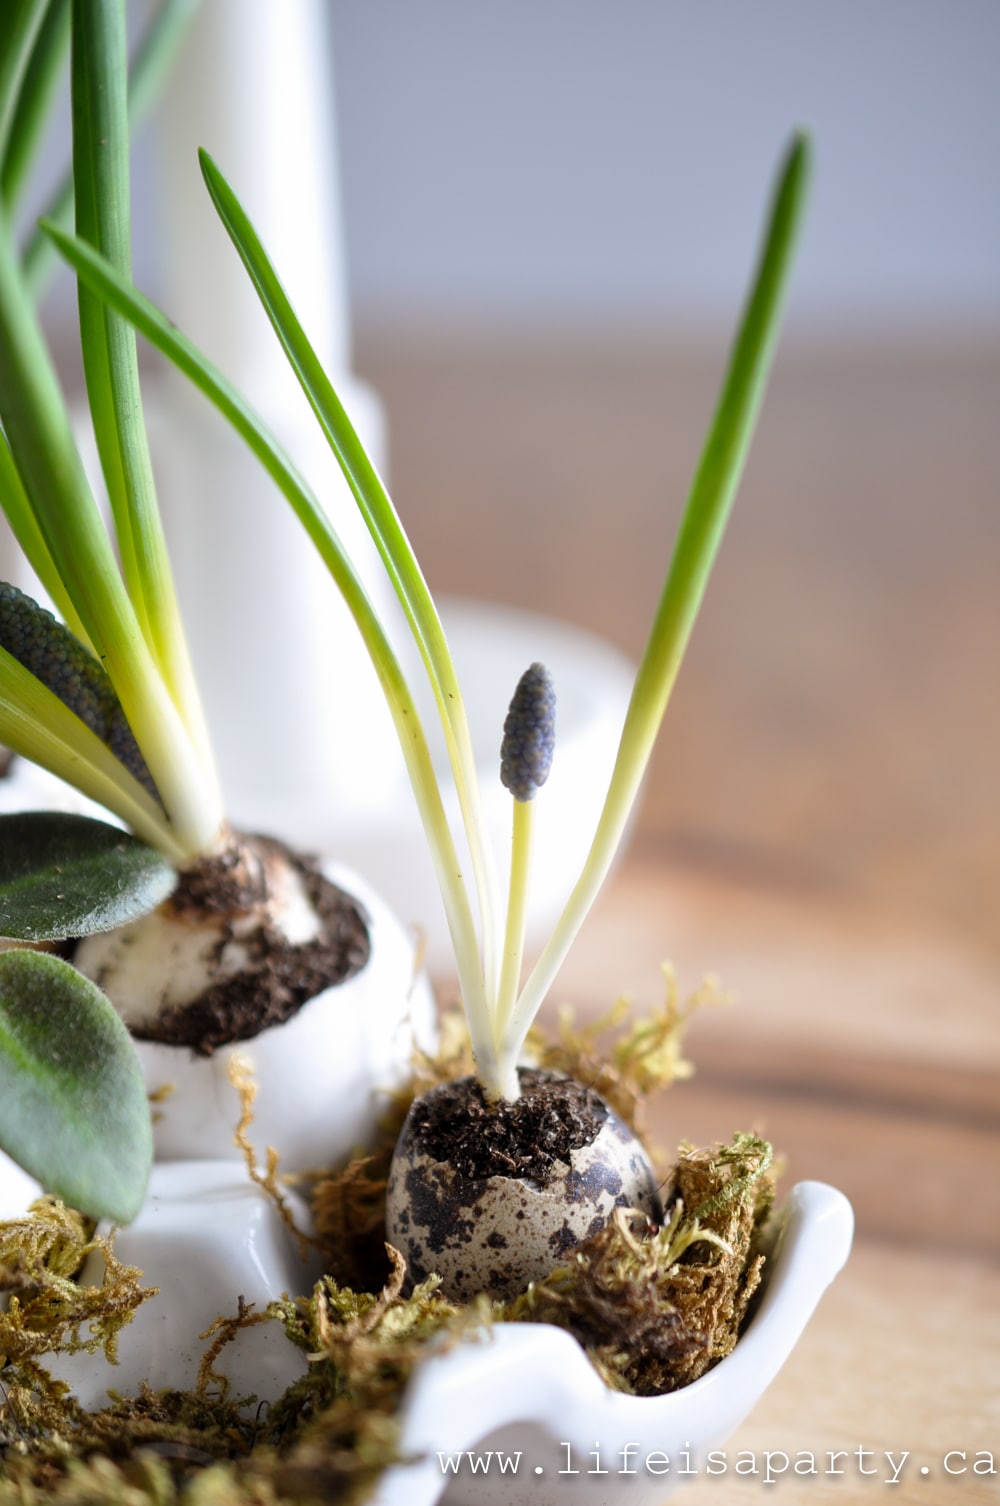
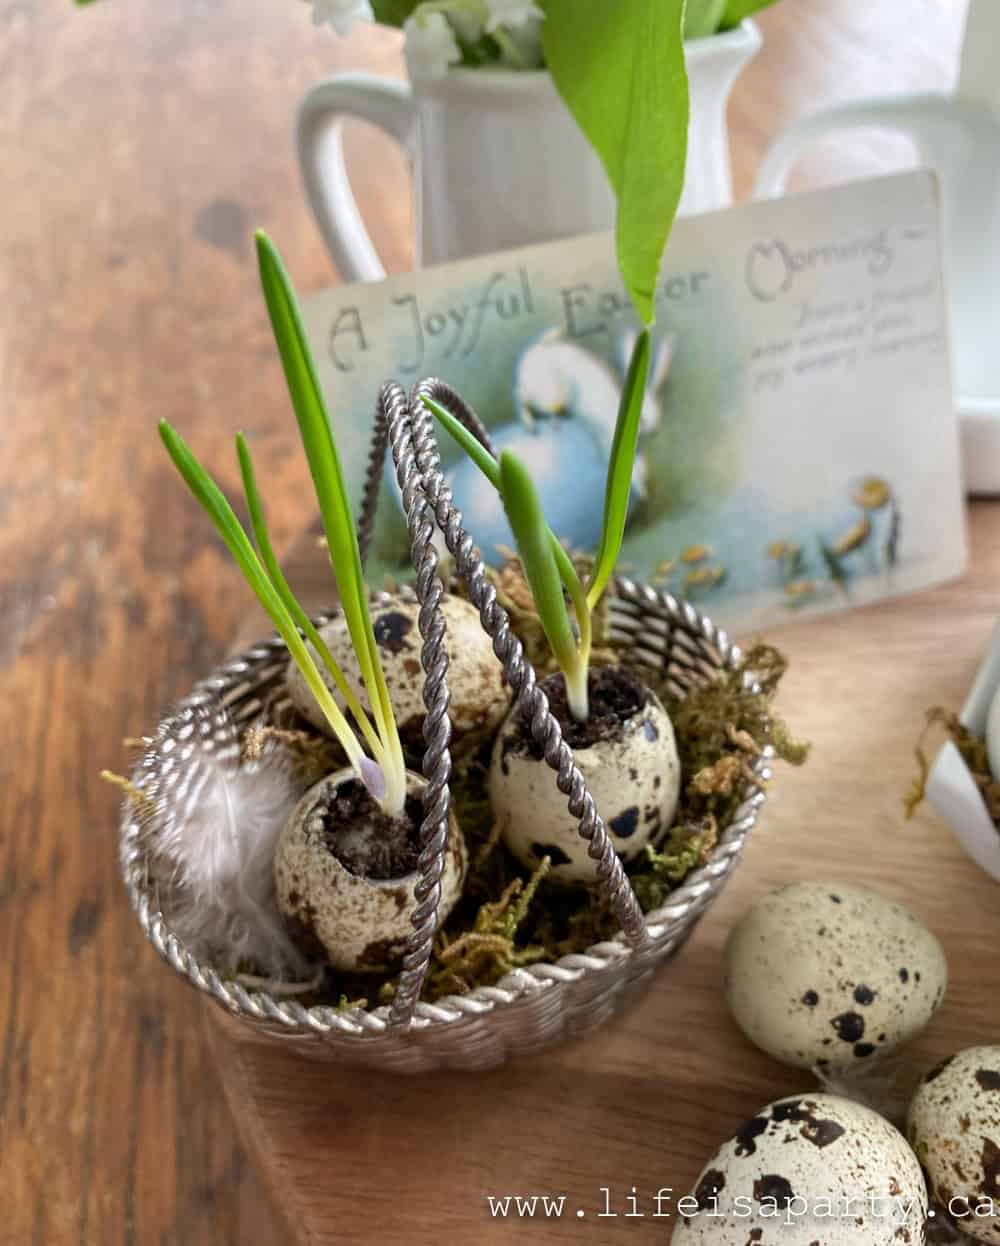
I was lucky enough to find fresh quail's eggs at my local supermarket and they were such a fun way to add some variation to this project. Just remember that the quail's eggs are really tiny, and you will need very small bulbs to fit inside. We used the grape hyacinth bulbs for the quail's eggs.
We used bulbs and plants in our eggshells, but you can also try using cut flowers and use them as eggshell vases. They look so pretty for spring. This would be a great option for the quail eggs especially because they're so small. Just be sure to look for tiny flowers for them, like baby's breath or other flowers often used as filler in bouquets.
How To Make An Eggshell Planter
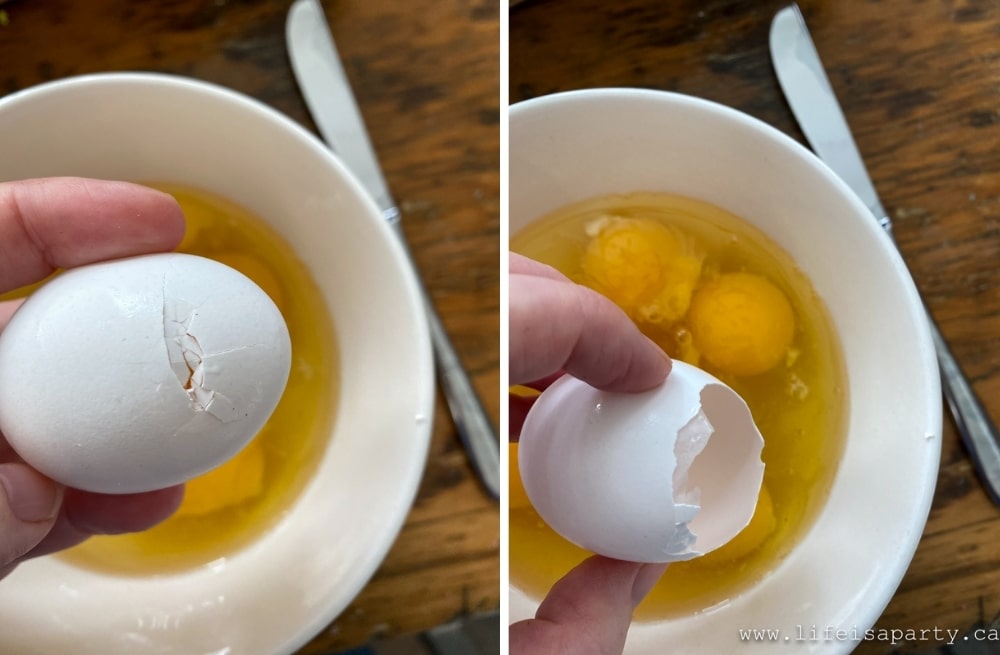
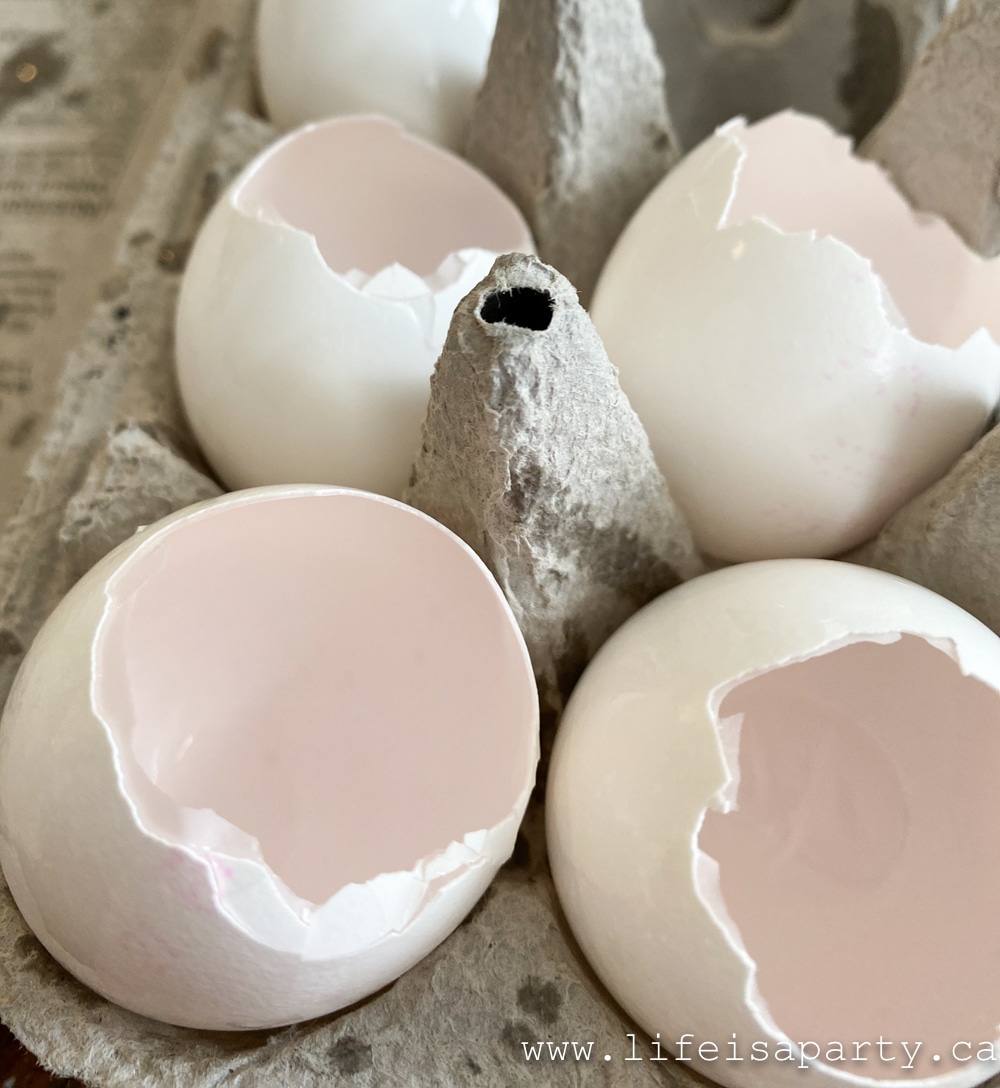
1. To begin with, use the back of a table knife to crack the egg ⅔ from the large end of the egg. Then use your fingers to remove the top, and empty the yolks into a bowl. If the opening isn't large enough, you can use your fingers to break off a little more of the shell to widen the hole and make it large enough for the bulb.
2. Rinse the egg shells with some water to clean to them off.
Removing A Date Stamp
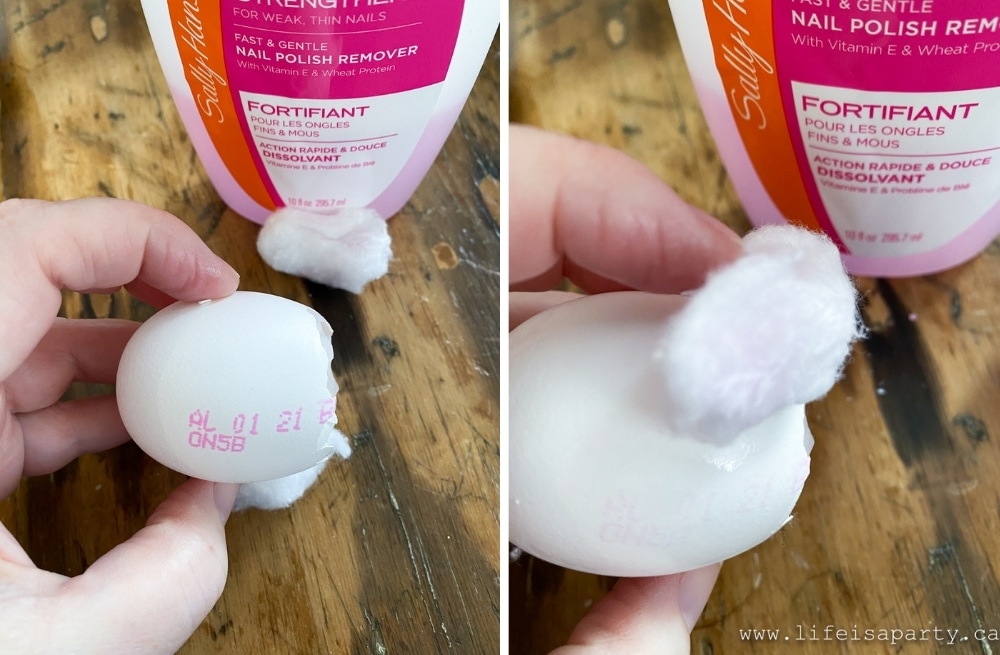
3. Some of the eggs we used had some date stamps on the eggs in pink ink. We used some nail polish remover on a cotton ball to remove it. It didn't come off completely, but lightened enough to not be noticeable.
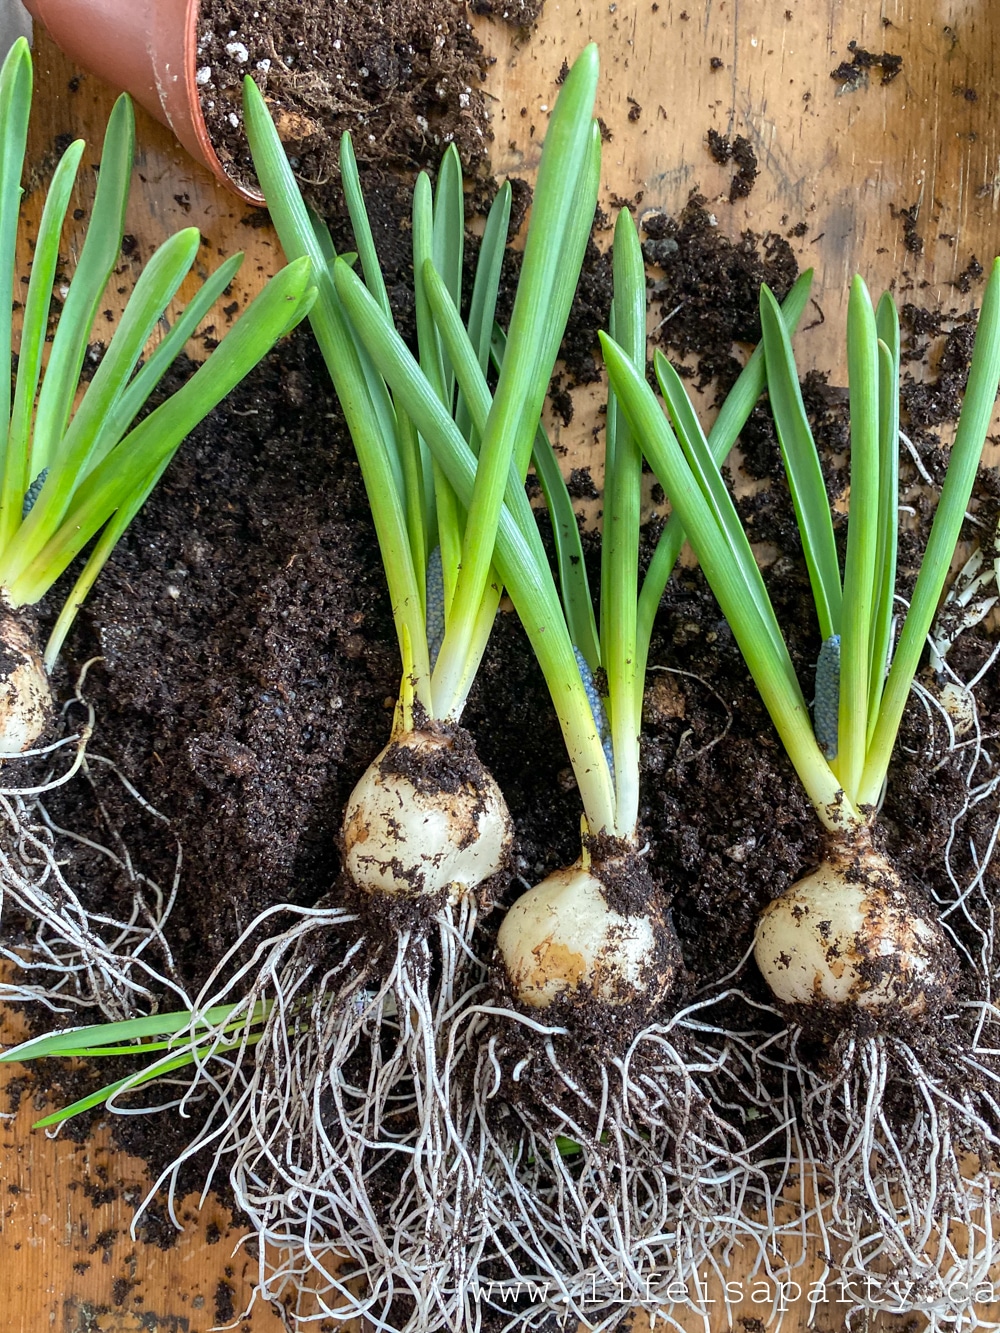
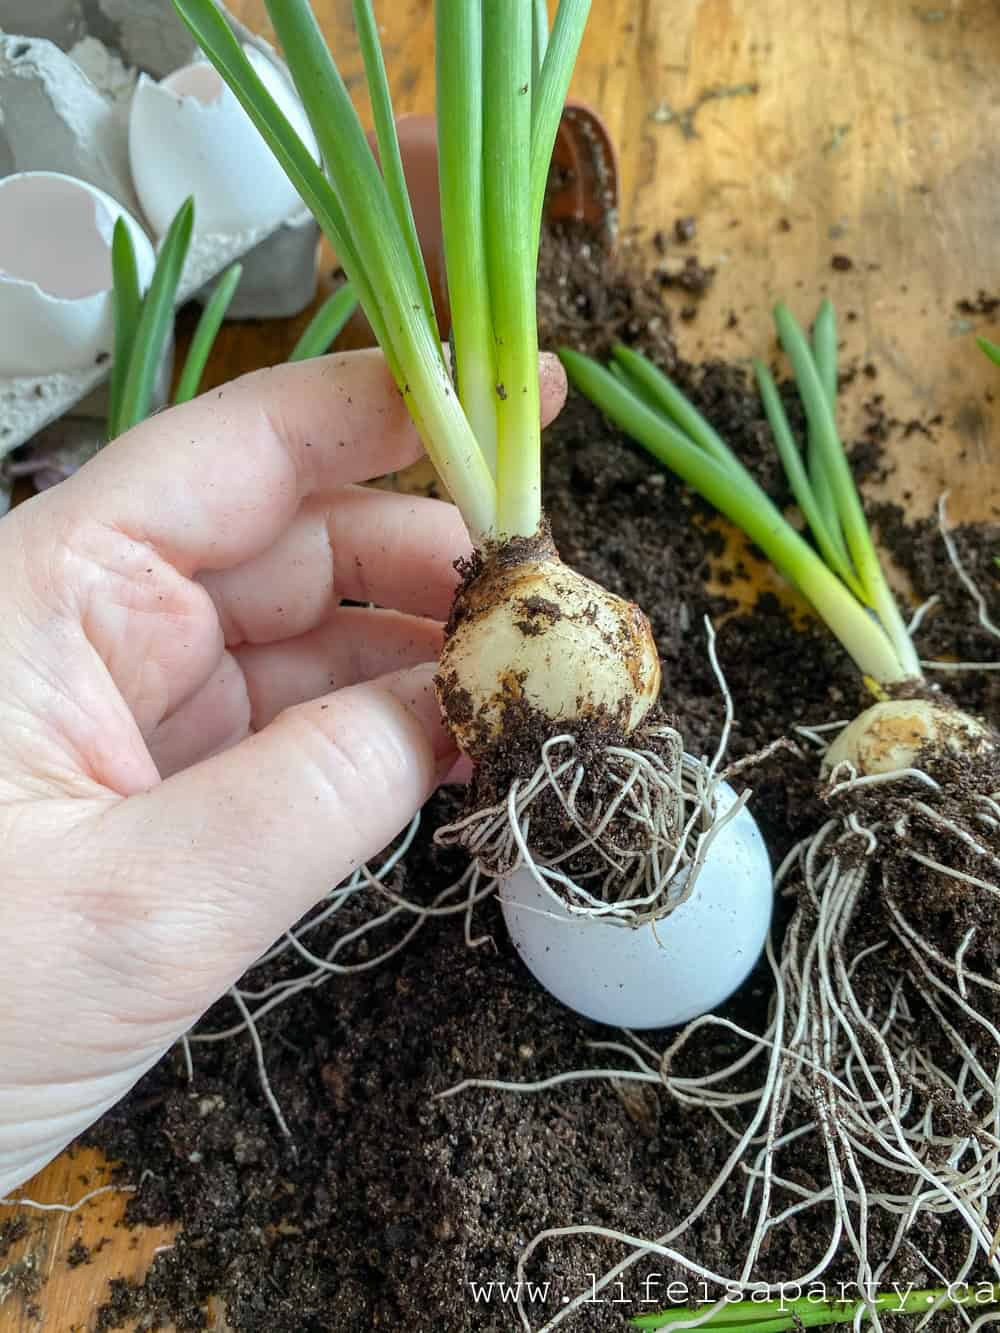
4. Next, remove the grape hyacinths from the pots and slowly and carefully knock off as much dirt as you can, and use your fingers to untangle the roots and gently pull them apart.
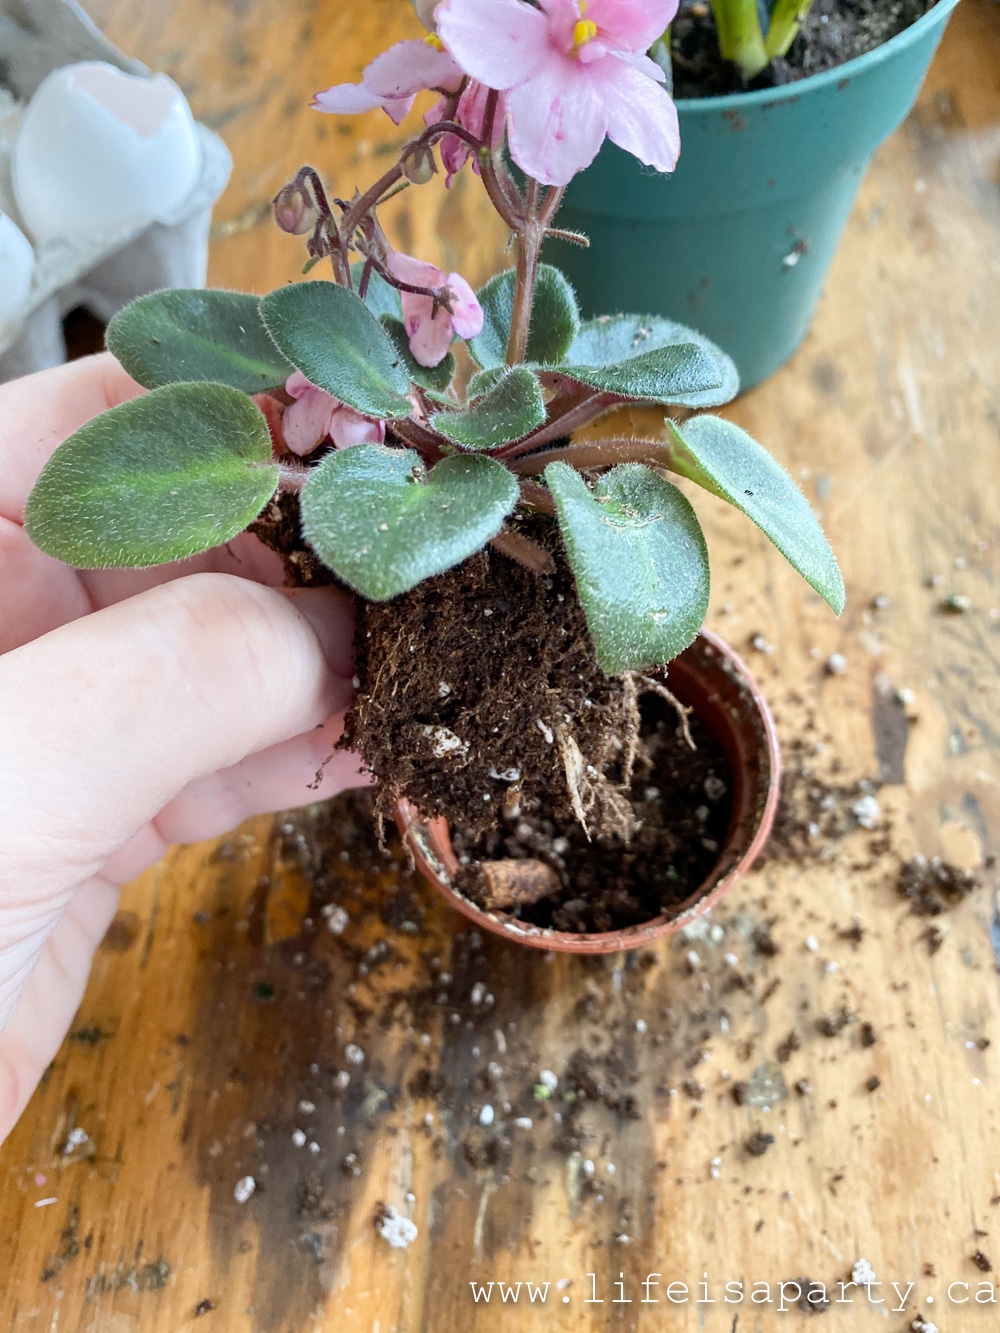
For the African violet for planting, remove it from the pot. Use your fingers to gently remove enough soil from the roots so that it's small enough to fit into the empty eggshells.
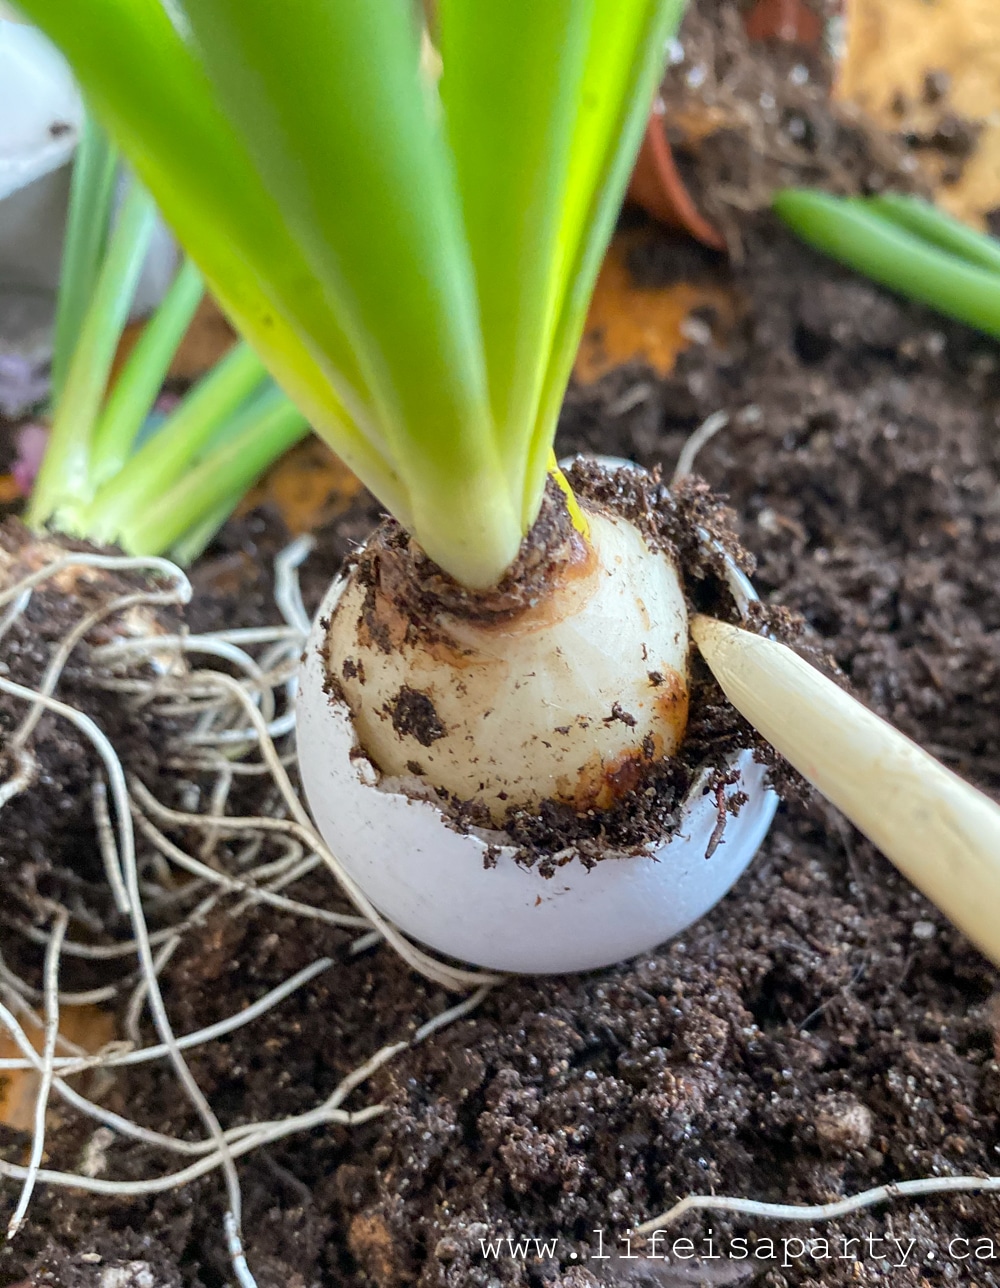
We found one grape hyacinth bulb was about the perfect size for a chicken egg planter.
For the African violet, we had to remove a lot of the soil around it to fit it inside, so be sure to look for quite small ones.
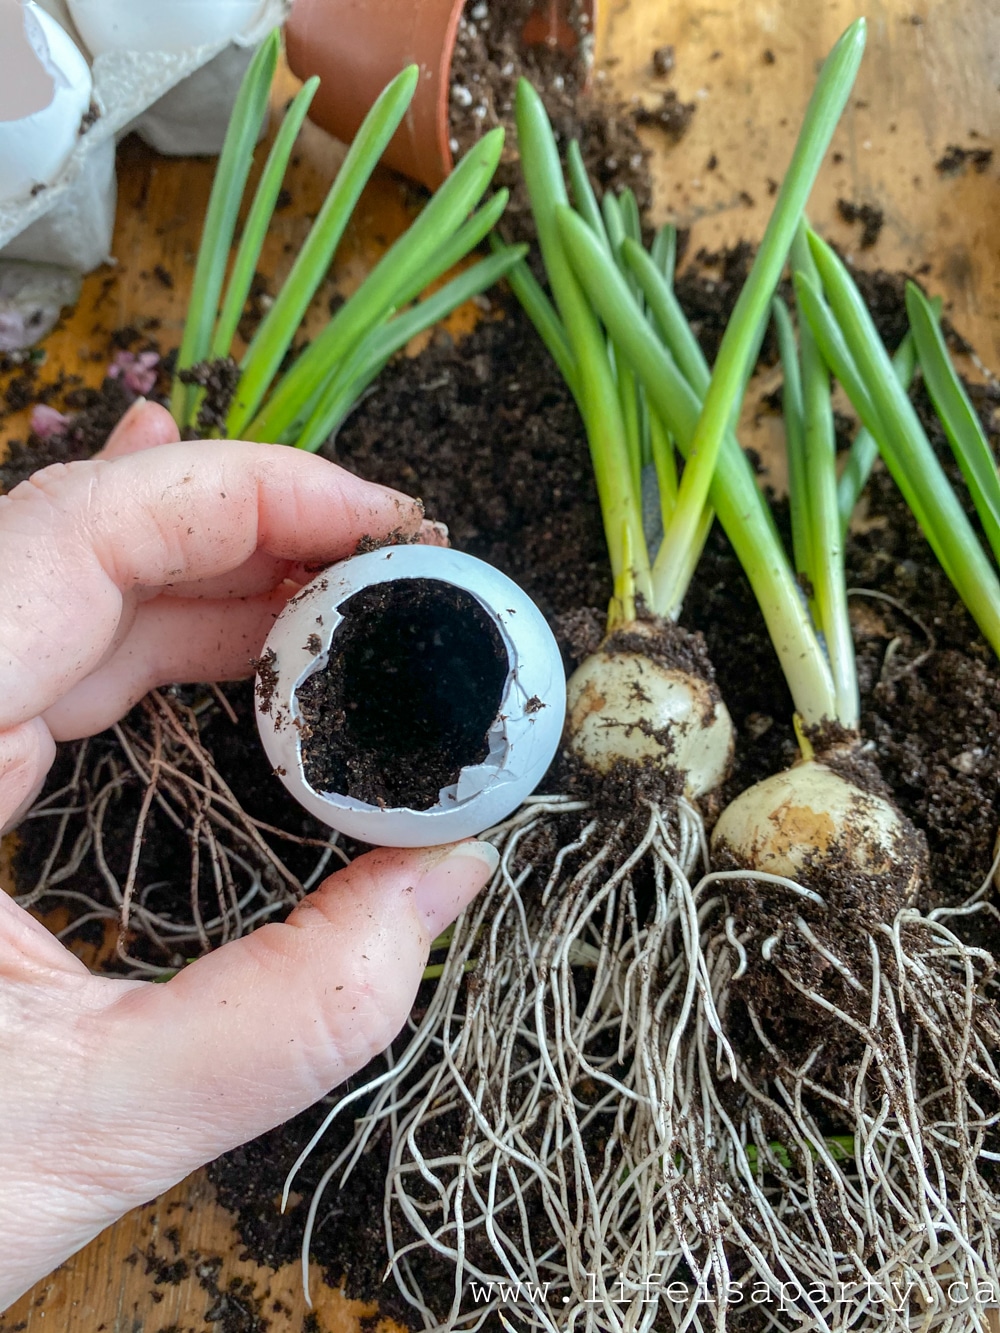
5. Now you're ready to plant the plants in the eggshell pots. Add a little of the soil that you removed from the pots earlier into the bottom of the eggshell. Add the plant into the egg planter, working carefully to make sure the roots are all tucked in.
Fill in any spaces around the plant with more soil. For the grape hyacinth bulb you can use something small like a very small spoon, pencil or wooden skewer to help push the soil in around the bulb.
Watering Your Plants
Water your bulbs occasionally, or use a spray bottle to mist the bulbs.
Displaying Your Eggshell Planters
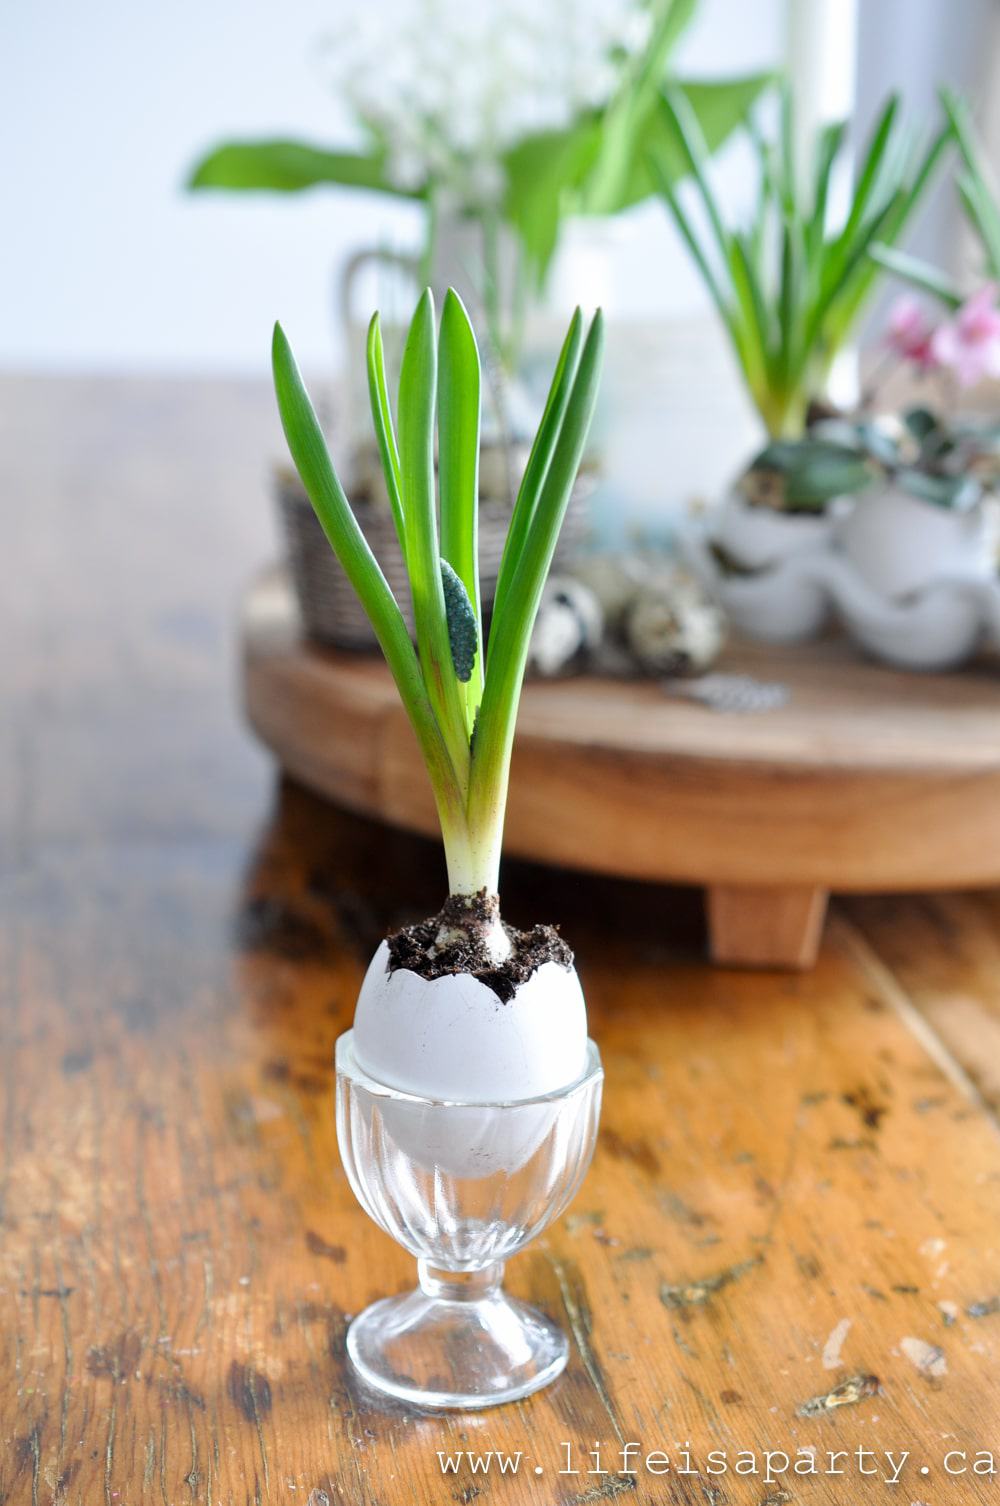
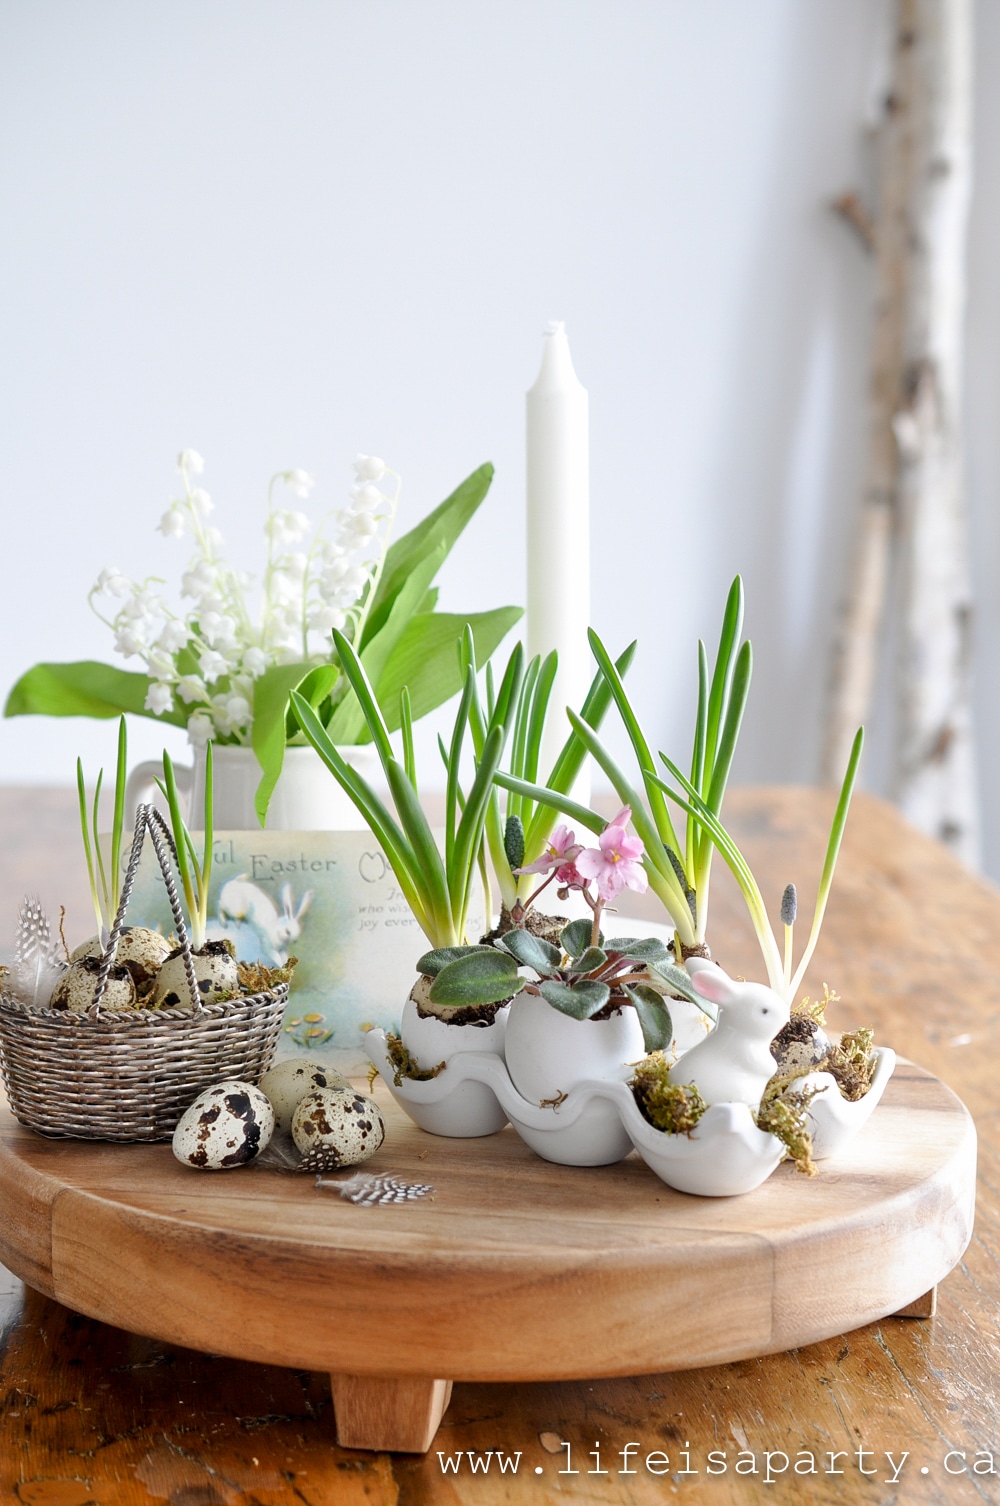
Display your eggshell planters in an egg carton or egg cups. They're the perfect addition to your spring decor for a natural look.
Replanting Your Bulbs
After the grape hyacinths bloom, you can save the bulbs and plant them in your own garden and they will flower again in your garden the following spring. Be sure to compost the eggshell and soil.

Eggshell Planter
Materials
- 6 eggs
- 5 grape hyacinth bulbs
- 1 miniature African violet
- egg carton or egg cups
- Optional: quail eggs and nail polish remover
Instructions
- To begin with, use the back of table knife to crack the egg ⅔ from the large end of the egg. Then use your fingers to remove the top, and empty the yolks into a bowl. If the opening isn't large enough, you can use your fingers to break off a little more of the shell to widen the hole and make it large enough for the bulb.
- Rinse the egg shells with some water to clean to them off.
- If your eggs have a date stamp on the shell, use some nail polish on a cotton ball to remove it.
- Next, remove the grape hyacinths from the pots and slowly and carefully knock off as much dirt as you can, and use your fingers to untangle the roots and gently pull them apart. For the African violet for planting, remove it from the pot. Use your fingers to gently remove enough soil from the roots so that it's small enough to fit into the empty eggshells.
- Now you're ready to plant the plants in the eggshell pots. Add a little of the soil that you removed from the pots earlier into the bottom of the eggshell. Add the plant into the egg planter, working carefully to make sure the roots are all tucked in. Fill in any spaces around the plant with more soil. For the grape hyacinth bulb you can use something small like a very small spoon, pencil or wooden skewer to help push the soil in around the bulb.
Video
Notes
This is a fun project for the whole family to enjoy making together. It's great to do anytime in the spring, as an Easter display or as part of your earth day projects.
With these easy DIY eggshell planters, life really is a party!
More Spring DIY Craft Inspiration
Frequently Asked Questions
They were in my grocery store egg department around Easter time. You can also find them sometimes at Farm shops, or Farmer's Markets. Look on-line to see if they're available in your area.
We used grape hyacinths in the quail eggs. Look for a pot of them with many bulbs and choose the very smallest ones for the quail eggs.
The bulbs should flower for about a week. If you're making it for a party or get together ahead of time, be sure to choose bulbs that aren't fully open. And remember to water or mist them occasionally.
If you try making these Eggshell Planters or any other ideas on my blog please let me know how it went in the comments below. Thanks for visiting today!




neha says
I really like this eggshell planter, will definitely try.
dnr says
Jo-Anna, thanks so much. I can't wait to get into the garden again!
Dannyelle
Jo-Anna Rooney says
I love these Dannyelle! I've always wanted to try to make them...they're just so pretty and a great way to start gardening early!