DIY Fall Subway Art -tutorial on how to make your own subway art, make it with custom words and phrases, any size, any colour.
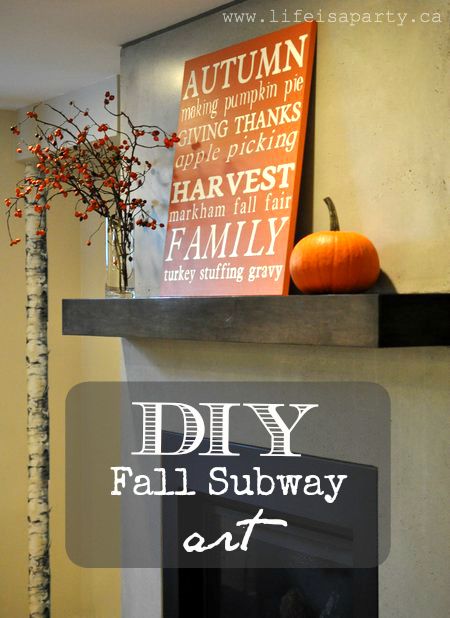
I love the look of subway art, so today I'm sharing my DIY fall subway art with you. I've seen them everywhere, and it was finally time to give it a try myself. I wanted a large orange piece of subway art for my family room, with fall words on it.
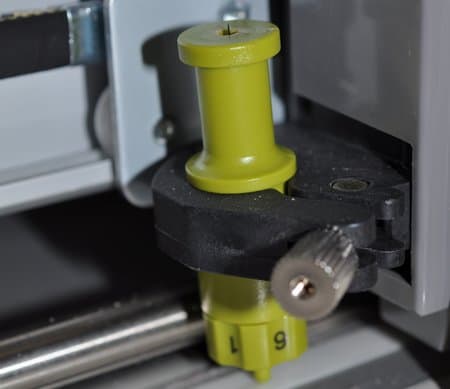
I researched the steps involved -there's lots of ways to make one of these babies, but I decided to use my Cricut to cut vinyl letters. I was inspired by Shelley's version at House of Smiths, see it here, and did something similar.
Materials:
- plywood base
- Cricut
- Cricut vinyl
- transfer tape
- white paint
- orange paint
How To Make DIY Fall Subway Art
The Base
First things first. I thought about trying it with pallet wood, but thought the vinyl letters would stick way better to a good old piece of plywood. I went rummaging in my sister-in-law's basement and struck gold. I found a perfect piece, even the right dimensions, and free for the taking! I gave it a couple of coats of white paint, just some I found in the basement.

Prepping The Vinyl Words
The next step was the lettering. I used my Cricut machine, and used Design Space to design my words. Because this piece is so large I used my 12 x 24 mat, and did two, to create a 24 x 24 piece of art.
I made sure to burnish it all really carefully with a credit card before cutting. It didn't come out perfectly so I fixed up a few spots with an exacto knife.
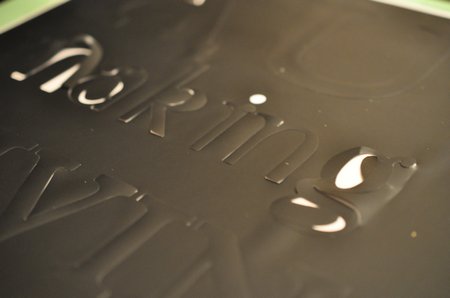
Next step was weeding the letters -a little time consuming with a piece this large, but pretty easy.

The next step was applying the transfer tape. The purpose of the transfer tape is apply all the letters at once, instead of one by one. It makes it easier to keep everything lined up and spaced evenly. It's relatively easy, and I am glad I used it, it did mean all the words were perfectly lined up when I applied them to the plywood. I drew a few straight guidelines with pencil on the painted plywood, and used the transfer tape grid to line things up.
Next I was supposed to burnish the letters to the wood with a credit card, and then peel off the transfer tape. The tape came off with the letters. Fail. It was really fiddly getting them off of the tape and onto the plywood board. Play around with the angle at which you peel it back.

Paint Over The Vinyl
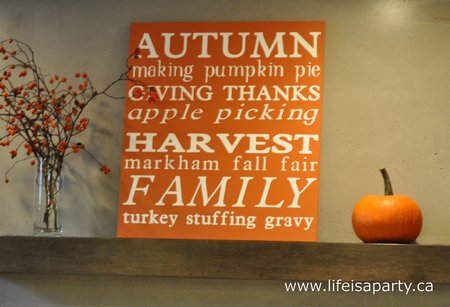
Finally the letters were all lined up and on the plywood and it was time to paint! I found some miss-tinted paint in the clearance section at the hardware store for $1.50 -score! I tried to make sure the letters were down on the board really securely before painting over them in the orange. I did three coats of paint.
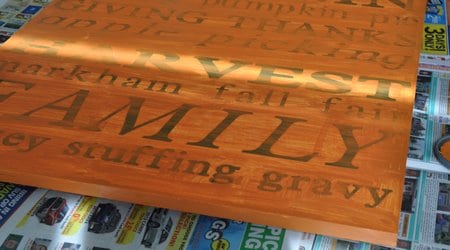
When the paint was still tacky, and not quite dry I used a little tool to pull off the vinyl letters.

When the letters were all off, it was magic time!
It looked amazing, and was worth all the fiddly steps to get there. I heart it.

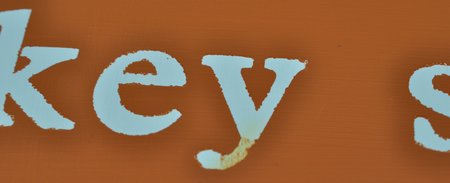
I did get some seepage under some of the letters, but we'll call it rustic. You could touch these up with a little of the white paint.
I thought about sanding it a little to make it more rustic, but then went with the old, less is more, leave well enough alone, and decided to leave it.
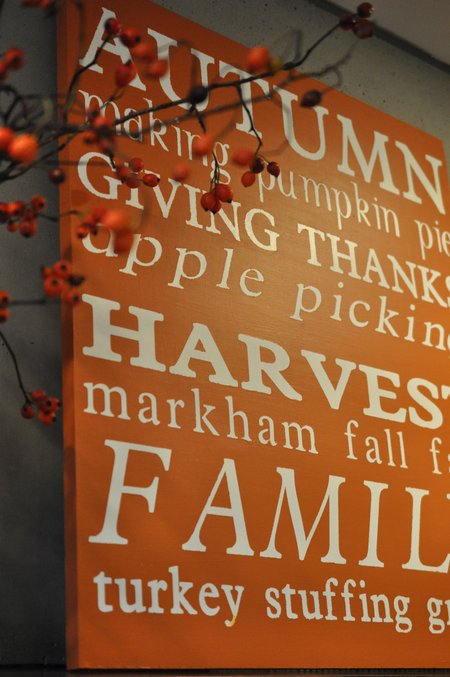
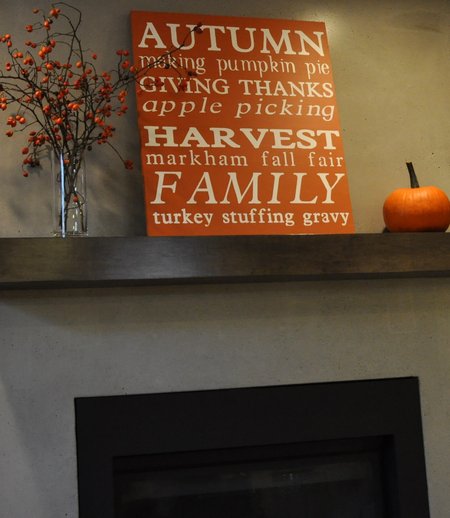
I put it in my family room. I really love it, especially the personal touch of being able to use words that are special to our family, like the near-by fair I've been going to since I was a kid.
Would I do it again? Not anytime soon, but I have to say I do really like how it turned out, so give me time to forget how many steps were involved and I just might.

With personalized fall subway art, life is a party!
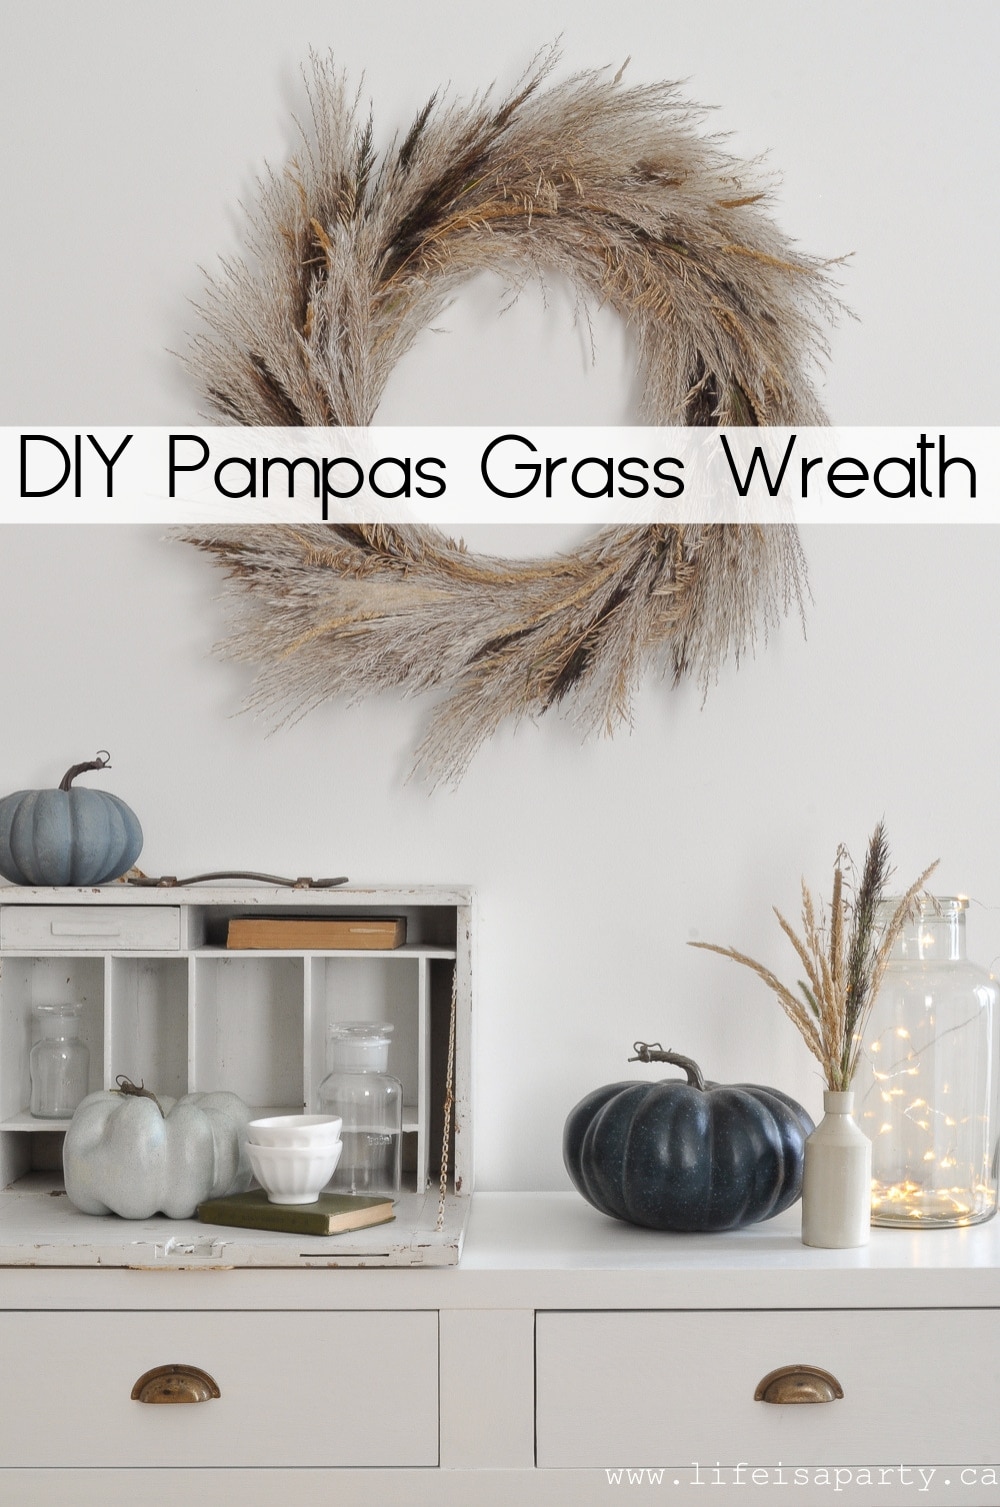
You might also like Pampas Grass Wreath here.
Also check out our DIY Copper Wreath here.

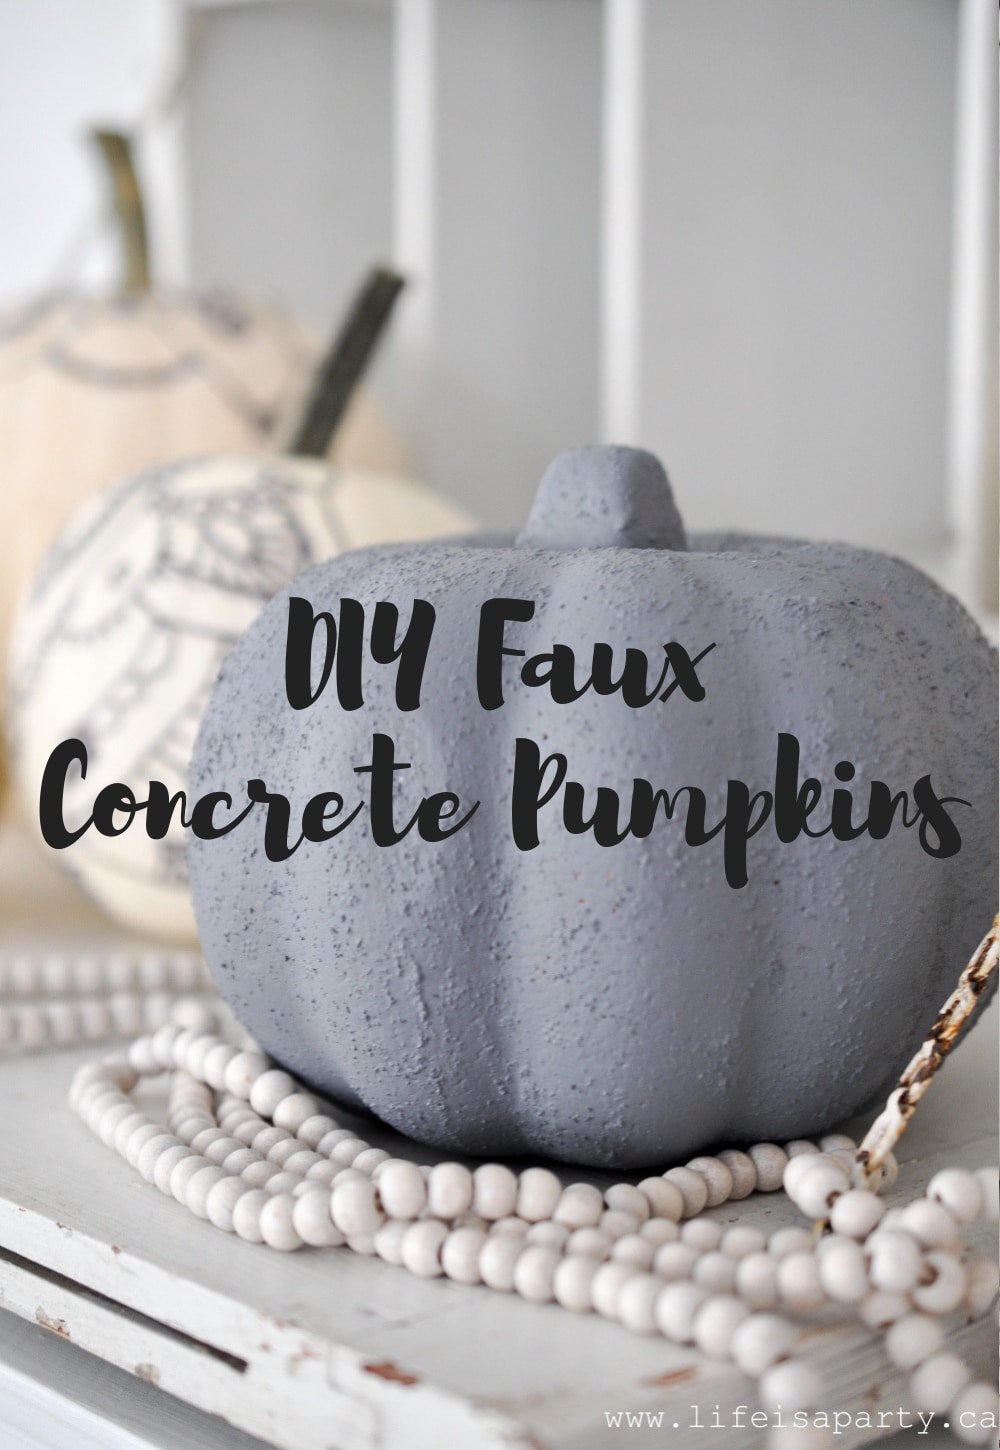
You might also enjoy DIY Faux Concrete Pumpkins here.


Lisa (aka Mama B) says
Love that sign!
Shelley says
Your subway art looks fantastic! You did such a great job!!! 🙂
Thank you for the mention, I'm honored.
xoxo
amy says
Oooh, I love this! Great color, great words, and it looks gorgeous on your mantle! I'd be thrilled if you'd share it at my party {I have a Michaels gift card giveaway there too}! http://www.oneartsymama.com/2012/09/shine-on-fridays-47-and-michaels-gift.html
Kara @ where happy begins says
This is awesome. Thanks so much for sharing!
Dalia says
Love this! I love how you showed the process, love, love. Thank you for sharing. Hopping by from The 36th Ave.
Kristy Life-n-Reflection says
Love this Fall Subway art, well thought out and the color is perfect!
Claire says
So glad you persevered because the sign looks fantastic! I spotted the word Markham in The 36th Avenue's features and then looked up to see the blog address. I knew I had commented here before!
Vinyl lettering can be very frustrating to transfer. I always have better luck with Contact paper because I find vinyl kind of greasy so it slides around a lot. Lately I've been using Scotch Blue Delicate Surfaces tape instead of transfer tape and it works pretty well. I haven't seen it in many Canadian stores yet but I found it at Home Depot.
Happy Fall!
Taryn @ Design, Dining + Diapers says
Yours turned out beautifully and looks so great on your mantel. I'm getting ready to start my first subway art project soon and I really enjoyed your tutorial, thank you so much for posting it. 🙂
The 36th AVENUE says
Love it! I am featuring you tomorrow... Thank you for sharing!
Ashley C. @ Dirt Stains and Paint says
It looks great! I just did my first attempt at a painted subway art sign too, so I know all too well the millions of steps it really takes. But it's worth it in the end!
LUCY says
Clean and beautiful...I don't usually go for orange but this is really pretty and it looks very classy...thank you so much for sharing...xo Lucy
Dan Ryan says
Markham fair sounds like fun times