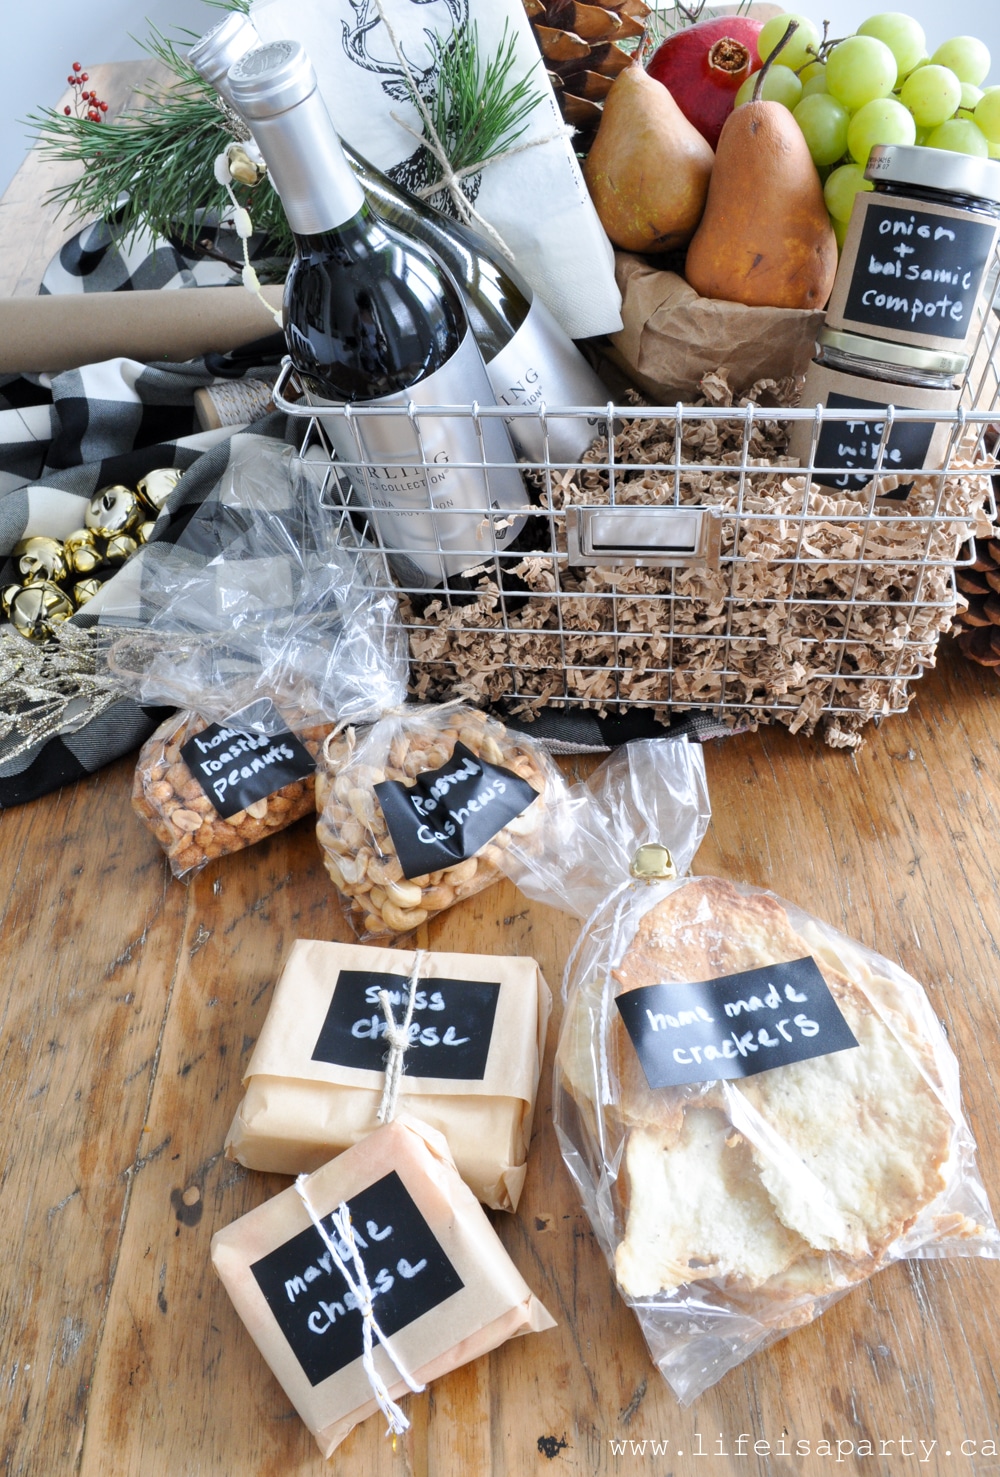
A wine and cheese basket is the perfect gift for any occasion, and making your own lets you customize it while keeping costs down. My secret? Repackaging store-bought items so everything looks cohesive and expensive, even when you've shopped at the grocery store, or bulk store.

Jump to:
- Quick Look
- Why You'll Love This Wine and Cheese Basket
- Materials You'll Need:
- The Secret to a Cohesive Look: Repackaging
- How to Assemble Your Wine and Cheese Basket
- The Special Touch: Homemade Gourmet Crackers
- Recipe
- Wine and Cheese Basket Tips
- When to Give a Wine and Cheese Basket
- Frequently Asked Questions
- More Gift Basket Ideas
Quick Look
- 🕒Time: 15 minutes shopping + 20-30 minutes assembly time
- 📋Skill Level: Beginner-friendly
- 💲Cost Range: $30-60 depending on wine selection
- 🎁Best For: Hosting gifts, housewarmings, holidays, thank-yous, birthdays
Why You'll Love This Wine and Cheese Basket
- Looks Expensive, Costs Less -The repackaging trick makes bulk bin finds and dollar store items look gourmet and curated.
- Totally Customizable -Tailor everything to the recipient's taste, dietary needs, and your budget.
- Quick to Assemble -Under an hour from start to finish, even with homemade crackers.
- Works for Any Occasion -This versatile gift fits holidays, housewarmings, birthdays, or simple thank-yous.
- Reusable Container -The basket itself becomes a useful item the recipient can enjoy long after the goodies are gone.
I've been making wine and cheese baskets for years, and they're always a hit. The key is using quality store-bought basics and adding one special touch that makes your basket stand out. If you have an extra 25 minutes, I'll show you how to make homemade gourmet crackers that transform your gift from nice to unforgettable. But even without the crackers, this simple assembly formula creates a professional-looking basket that gets rave reviews every time.
Creating your own wine and cheese basket gives you so much more than buying pre-made. You can customize everything to match the recipient's taste, work within your budget, and add personal touches that show you care. Plus, it's surprisingly quick to put together.
A homemade basket feels more thoughtful than grabbing something off the shelf. You're curating an experience, not just buying a gift.
Looking for more creative gift ideas? Check out our Breakfast in Bed Gift Basket, DIY Hot Chocolate Mix, Bag of Sunshine Care Package, and Ice Cream Sundae Kit.
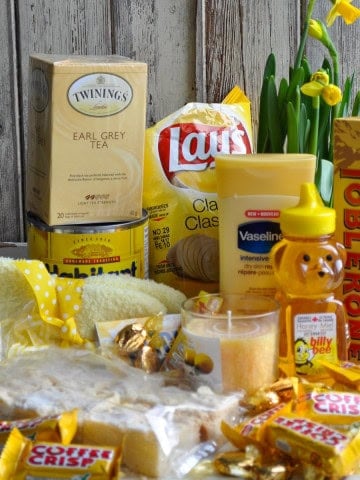
Materials You'll Need:

Here's your shopping list for a beautiful wine and cheese basket. Mix and match based on your budget and the occasion.
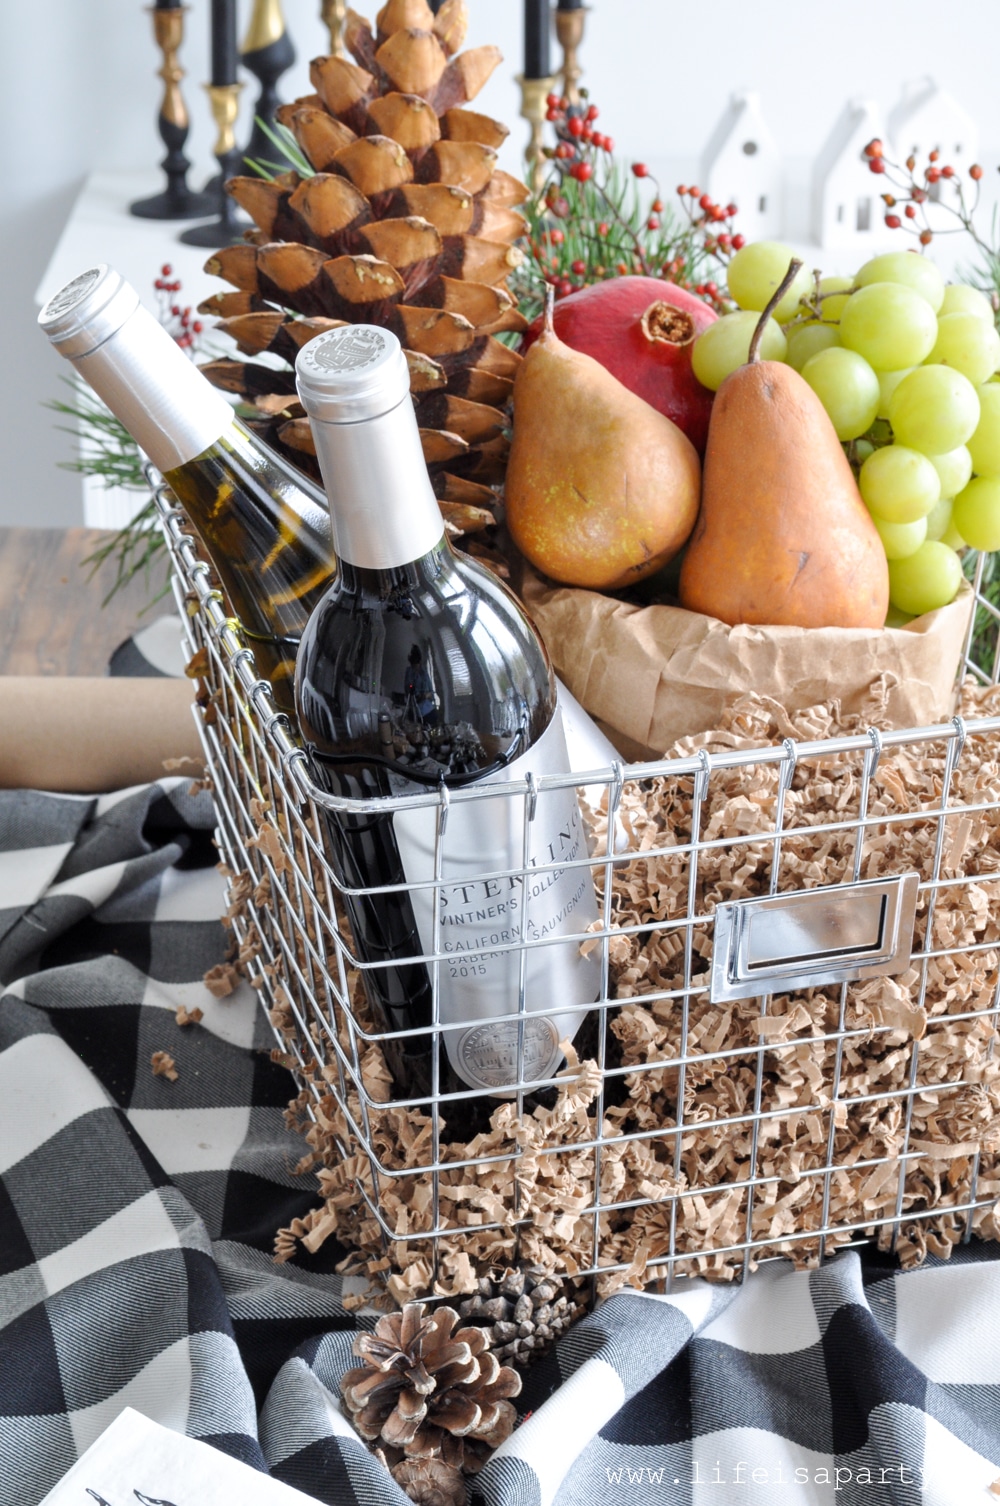
- The Basket or Container: Start with a sturdy base. A wire basket, wooden crate, wicker basket, or decorative metal bin all work perfectly. I love using a basket the recipient can reuse for storage or serving. You can find great options at dollar stores, thrift shops, or home goods stores.
- Repackaging Supplies (The Secret Weapon): This is what makes your basket look cohesive and expensive, even when you've shopped budget-friendly stores. Look for Cello bags in various sizes, Chalkboard Sticker Labels and a Chalkboard Maker, Parchment paper for an artisan look, and Twine or Ribbon like natural jute twine, baker's twine, or thin black ribbon. All of these supplies are available at dollar stores, making this trick incredibly budget-friendly.
- Wine Selection: Choose one or two bottles based on what you know the recipient enjoys. Red wine pairs beautifully with aged cheeses, while white wine complements softer varieties. When in doubt, pick one of each. You don't need to spend a fortune. A mid-range bottle (around $15-20) shows thoughtfulness without breaking your budget.
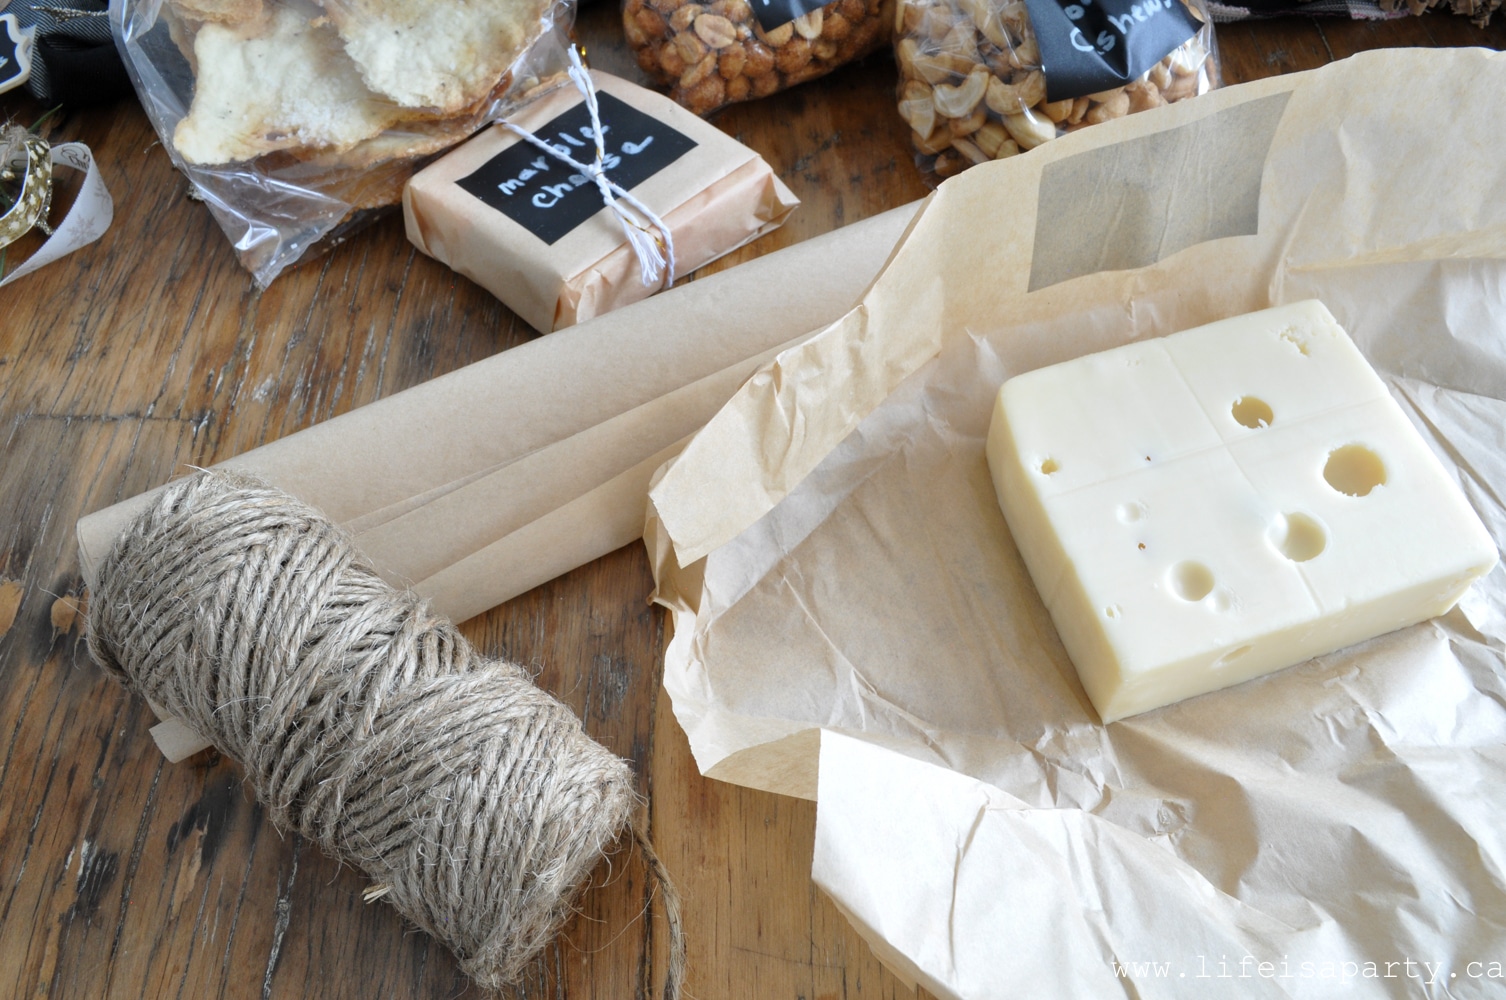
- Cheese: The cheese is the star of any wine and cheese basket. Pick 2-3 different varieties to give options. Consider including a Firm Cheeses like a Swiss, aged cheddar, gouda, or manchego. Semi-Soft Cheeses like havarti or muenster add creaminess. And Specialty Cheeses such as blue cheese or an herb-crusted variety make your basket feel gourmet.
- Crackers: You'll need something to pair with the cheese. Store-bought water crackers, flatbreads, or artisan crackers work wonderfully. Look for interesting varieties like everything seasoning, rosemary, or black pepper. Or make our easy homemade flatbread crackers -recipe below.
- Fresh Fruit: Add color and freshness with seasonal fruit. Grapes, pears, apples, and pomegranates all pair beautifully with wine and cheese. Choose fruit that's in season, depending on when you're giving your gift.
- Nuts: Cashews, almonds, or honey roasted peanuts add crunch and pair well with wine. Buy from the bulk bins to save money, then package them in small cello bags with your coordinating labels. This simple repackaging trick makes budget-friendly nuts look gourmet.
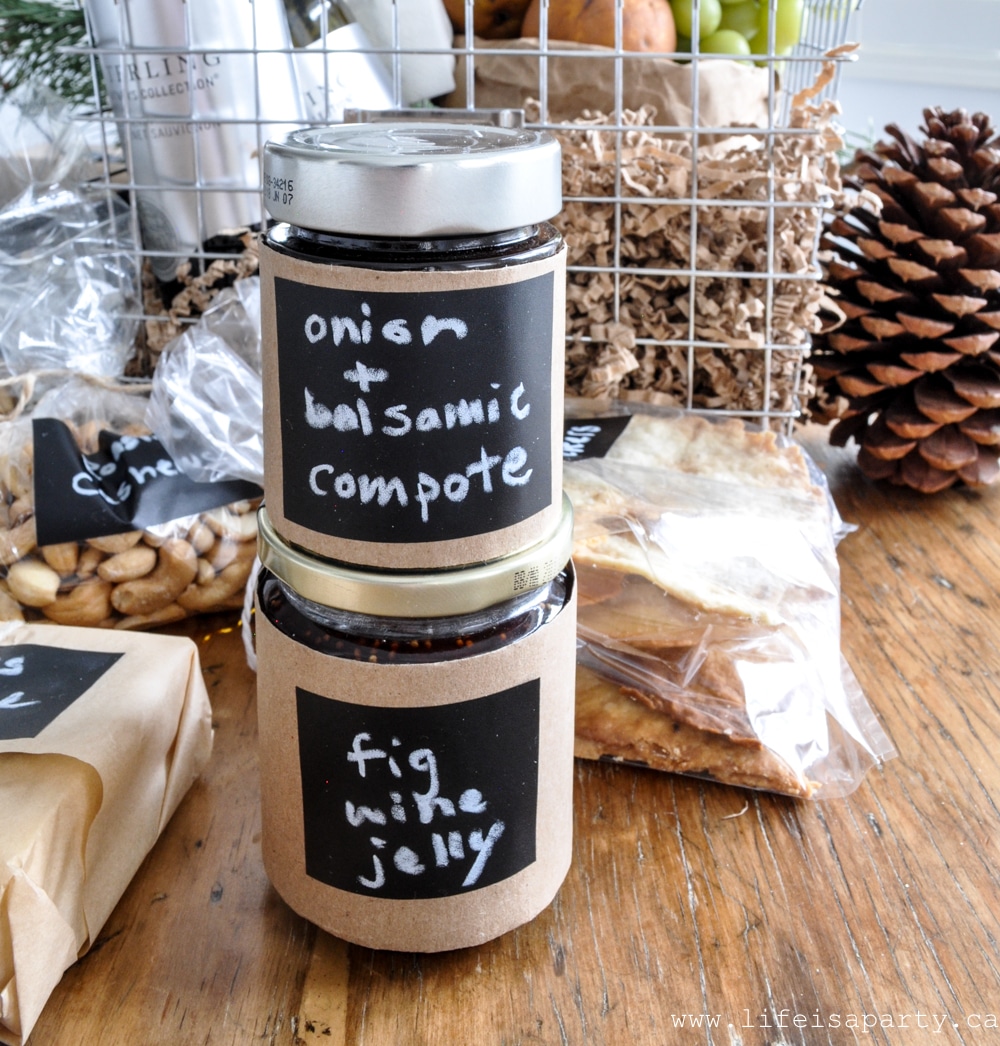
- Chutneys or Jams: Fig jam, onion chutney, or balsamic preserves complement cheese perfectly. These small jars add gourmet flair.
- Pretty Napkins: Some napkins tie the whole gift together. Choose a pattern that matches the occasion, cloth or paper napkins are a welcome addition.
- Basket Filler: Use some Kraft paper shred, tissue paper, or a kitchen towel to provide cushioning and make everything look polished.
The Secret to a Cohesive Look: Repackaging
Here's the trick that takes your wine and cheese basket from homemade to professionally curated. Repackage your store-bought items so everything coordinates beautifully.
When you buy nuts from the bulk bin, crackers from the grocery store, or grab items from different shops, they come in mismatched packaging. That's fine for your pantry but not for a gift. The solution is simple and costs just a few dollars at the dollar store.
- Transfer everything into clear cello bags. Nuts, crackers, chocolates, and any loose items get their own bags. This instantly makes everything look intentional and put-together.
- Add coordinating labels. I love using chalkboard sticker labels with a chalkboard marker. You can write what's inside in pretty handwriting, and these labels tie everything together with a cohesive look. Regular printed labels work great too.
- Wrap cheese in parchment paper tied with twine. This gives an artisan, farmhouse feel that looks expensive. It takes 30 seconds per cheese. It also allows you to elevate cheese from the grocery store, or divide up a large package from stores like Costco.
How to Assemble Your Wine and Cheese Basket
Now comes the fun part. Here's how to arrange everything so your basket looks professionally done.
Step 1: Prepare Your Base
Line your basket with kraft paper shred or crumpled tissue paper. This creates height and cushions items. If you're using a kitchen towel as filler, fold it loosely and tuck it into the bottom.

Step 2: Place the Wine
Position your wine bottles at the back or center of the basket. These are your tallest items, so they anchor everything else. If you're worried about stability, you can nestle the bottles into the filler material.
Step 3: Add the Cheese
Wrap your cheese in parchment paper for a polished look, then place it near the wine. The parchment keeps everything clean and adds a charming artisan touch.
Step 4: Fill in With Extras
Now arrange your crackers, fruit, nuts, jams, and napkins around the wine and cheese. Vary the heights and textures so everything is visible. Tuck smaller items into gaps.
Play with the arrangement until nothing is hidden and the basket feels full without being crammed.
Step 5: Add Finishing Touches
This is where your basket goes from nice to wow. Tie a ribbon around the wine bottle neck, add a sprig of greenery, or attach a small ornament. These tiny details make a big impression.
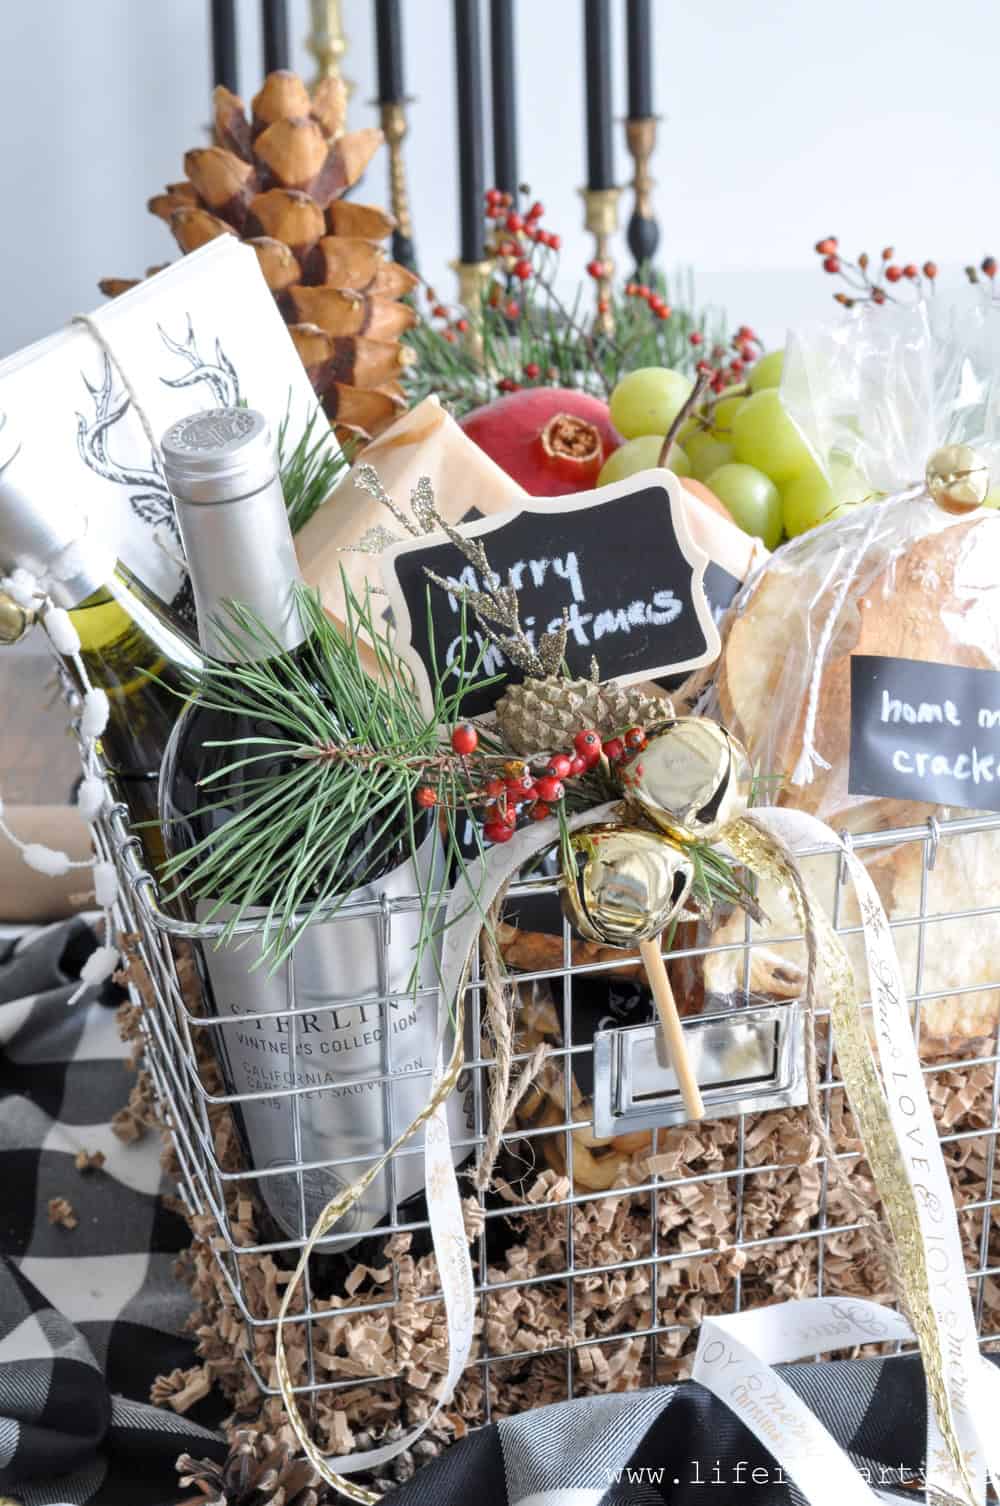
For holiday baskets, I love adding gold leaves and a jingle bell to the wine. It takes 30 seconds but makes the whole gift feel festive.
The Special Touch: Homemade Gourmet Crackers
Want to make your wine and cheese basket truly memorable? Add homemade crackers. I know it sounds fancy, but these come together in 25 minutes using pantry staples you probably already have.
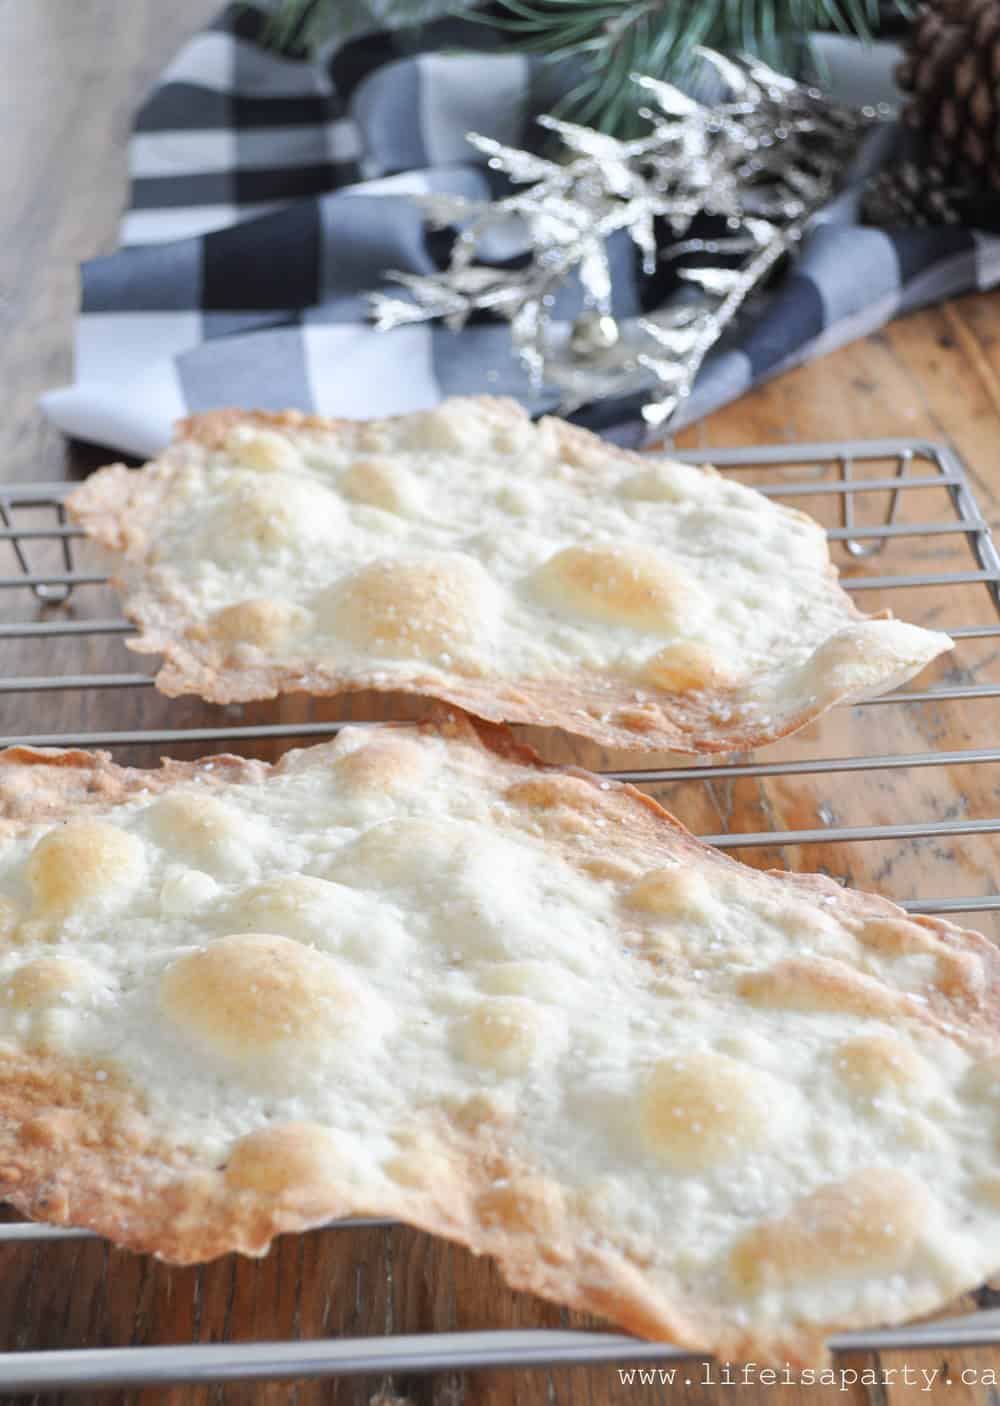
These crackers have been my secret weapon for years. Everyone is amazed when they learn you made crackers from scratch, but honestly, they're easier than most cookie recipes.
Flavor Variations: Try fresh herbs like rosemary or thyme instead of pepper. You can also add parmesan cheese, sesame seeds, or everything bagel seasoning.
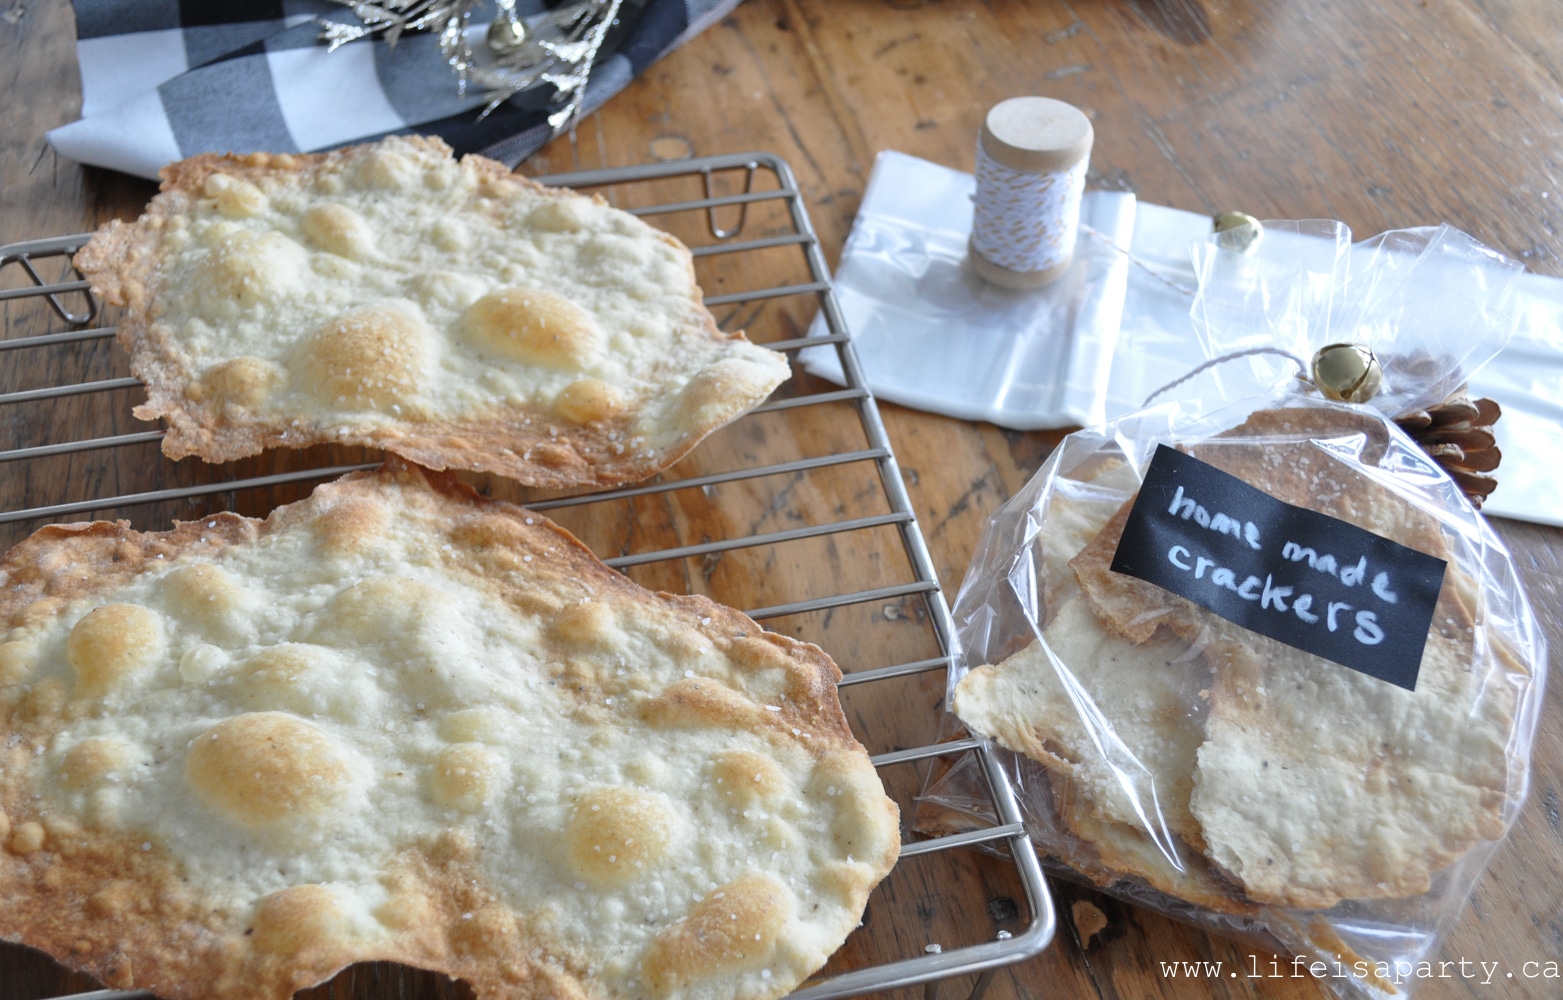
Package your cooled crackers in a clear cello bag with one of your coordinating labels. This makes them match the rest of your basket perfectly. Store them in an airtight container so they stay crispy until you're ready to assemble your gift.
Recipe

Ingredients
- 1 ¾ cups all-purpose flour
- ½ teaspoon of coarsely ground black pepper
- 1 teaspoon baking powder
- ¾ teaspoon salt
- ½ cup water
- ⅓ cup olive oil plus more for brushing
- Flaky sea salt
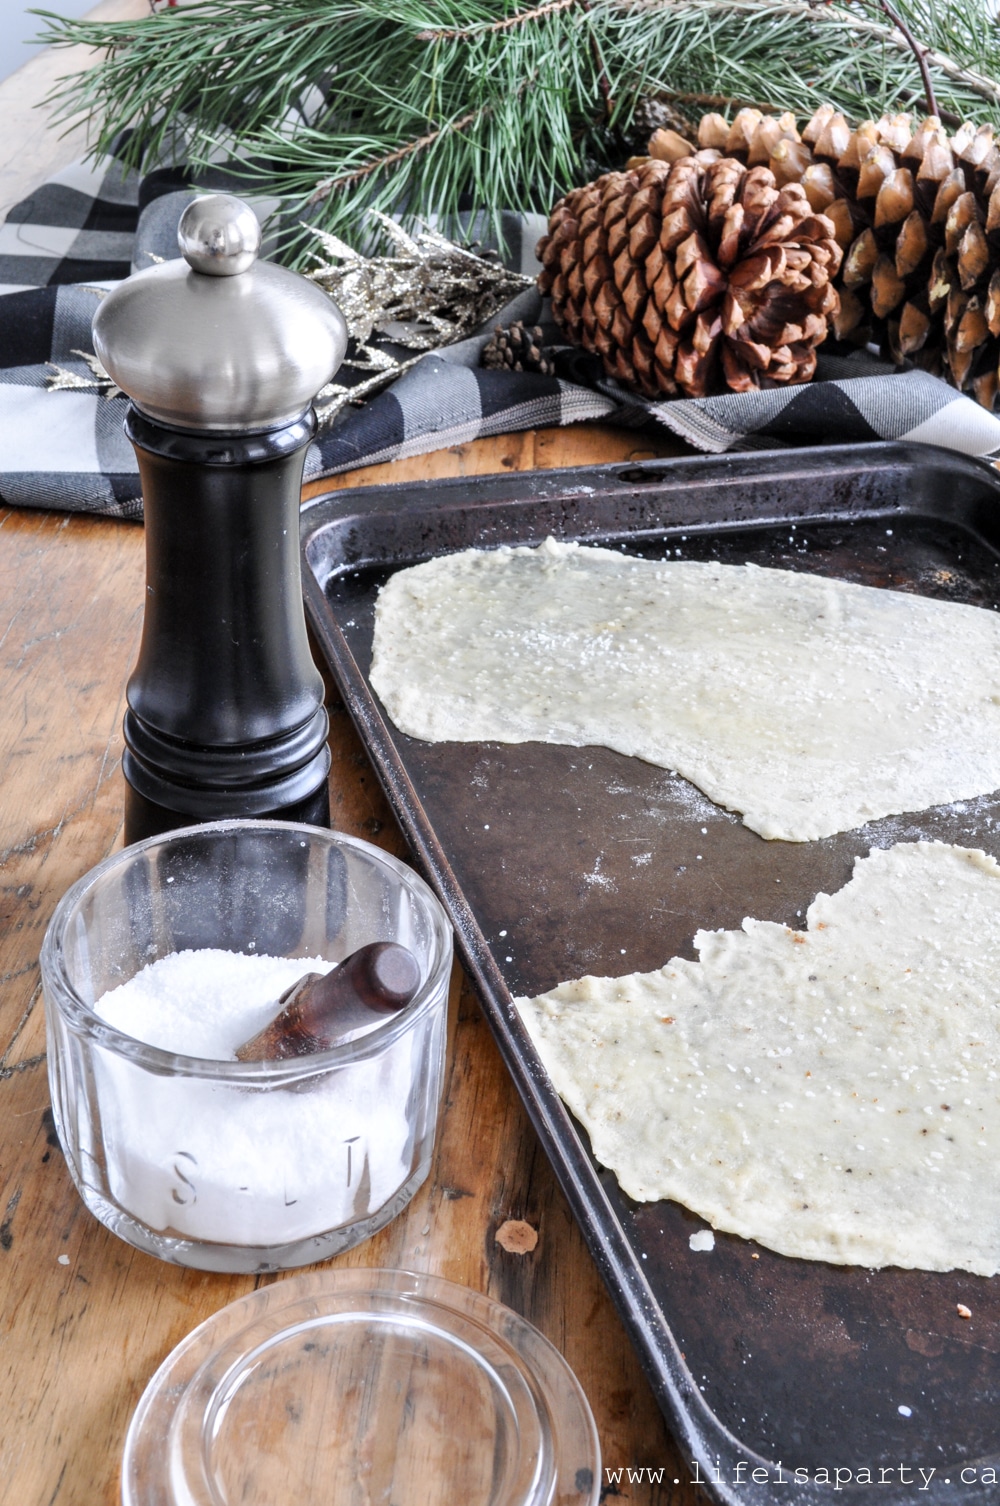
Instructions
- Preheat your oven to 450°F
- Stir together flour, baking powder, salt, and pepper in a medium bowl. Make a well in the centre, and add the water and oil. Stir together with a wooden spoon until a dough forms.
- Knead dough gently on a floured work surface 4 or 5 times. Divide dough into about 6 equal pieces and roll out each piece into a rustic long baton shape. The dough should be very thin. Lightly brush top with additional oil and sprinkle with sea salt and a little more pepper if you like. (Roll out dough on parchment and transfer sheet and all to the baking sheet, or just spray baking sheet with cooking spray and bake directly on baking sheet.)
- Bake in batches, until flatbread crackers are pale golden and browned in spots, 8 to 10 min. Flatbread crackers can be made 2 days ahead and cooled completely, then kept in an airtight container at room temperature.
Notes
Nutrition
Wine and Cheese Basket Tips
- Repackage for a Polished Look -Don't skip the repackaging step. Transferring bulk items into cello bags with coordinating labels is what makes your basket look professionally curated instead of thrown together. It's the difference between "nice gift" and "wow, where did you get this?"
- Plan for Refrigeration -Be sure to let the basket recipenant know that this gift basket contains items that need to be refrigerated. If you notice the basket sitting out, offer to place the items that it in the refrigerator.
- Match the Occasion -Tailor your basket to fit the event. Holiday baskets can include seasonal touches like cinnamon sticks or pine sprigs. Summer baskets might feature lighter wines and fresh berries.
- Consider Wine Preferences -If you know the recipient loves red wine, focus there. For non-drinkers, swap wine for sparkling cider or juice, or include options.
- Budget Smart -You don't need to buy everything at specialty stores. Dollar stores carry excellent basket fillers, and grocery stores often have great cheese and wine selections, look for sales, and buy at the bulk food store, or places like Costco.
- Make It Personal -Add a handwritten note or include items that reflect inside jokes or shared memories. That personal connection matters more than any price tag.
When to Give a Wine and Cheese Basket
This versatile gift works for so many occasions:
- Hosting gifts for holiday parties or dinner invitations
- Housewarming presents for new homeowners
- Thank you gifts for teachers, neighbors, or coworkers
- Birthday celebrations for wine lovers
- Sympathy or thinking-of-you gestures
A well-made wine and cheese basket shows thoughtfulness without being overly personal. It's that sweet spot gift that works in almost any situation.
Frequently Asked Questions
It depends on what you include. Firm cheeses like cheddar or gouda can stay at room temperature for a few hours during gift giving. If the basket includes soft cheese or fresh fruit, the recipient should refrigerate it as soon as possible. Crackers, nuts, and shelf-stable items last much longer.
Absolutely. Swap the wine for sparkling cider, lemonade, or gourmet soda pop. The basket concept works beautifully with any beverage the recipient enjoys.
Firmer cheeses like aged cheddar, gouda, manchego, or Swiss work best because they handle room temperature better and have a longer shelf life. If you're delivering the basket immediately, you can include softer varieties like brie or havarti.
You can create a beautiful basket for $30 to $60 depending on your wine selection. The repackaging trick makes budget-friendly items look expensive, so you don't need to overspend to impress.
Yes. Make them up to 2 days ahead and store in an airtight container. They stay crispy and fresh when properly sealed.
No. You just need basic kitchen tools you already have -a mixing bowl, wooden spoon, rolling pin, and baking sheet.
More Gift Basket Ideas


If you try this wine and cheese basket or any other gift ideas from Life is a Party, please let me know how it went in the comments below, and be sure to give the recipe a star rating too. Thanks for visiting today!
Dannyelle Nicolle-Ramjist says
These are so easy to make and such a wow gift that everyone always loves!
dnr says
Thanks so much Cyn.
Dannyelle
Cyn Gagen says
I would love to receive a gift like this - it's sure to really delight any recipient this holiday season. And I can't wait to try your cracker recipe. Yum. #client