How NOT to Sew a DIY Clutch: Inexpensive, fairly easy, and really cute, learn from my mistakes and sew the perfect fold-over clutch.
Jump to:
I wouldn't call myself a person who sews. I do own my Grandma's old sewing machine, I can sew a straight line and I do have the web…so what more could you need to sew your own DIY clutch, right?
Patience…the answer to that rhetorical question is patience.
And indeed if you have an old sewing machine, can sew a straight line, have the Internet and patience you can sew your own fold-over clutch -even if you've never sewn one before.
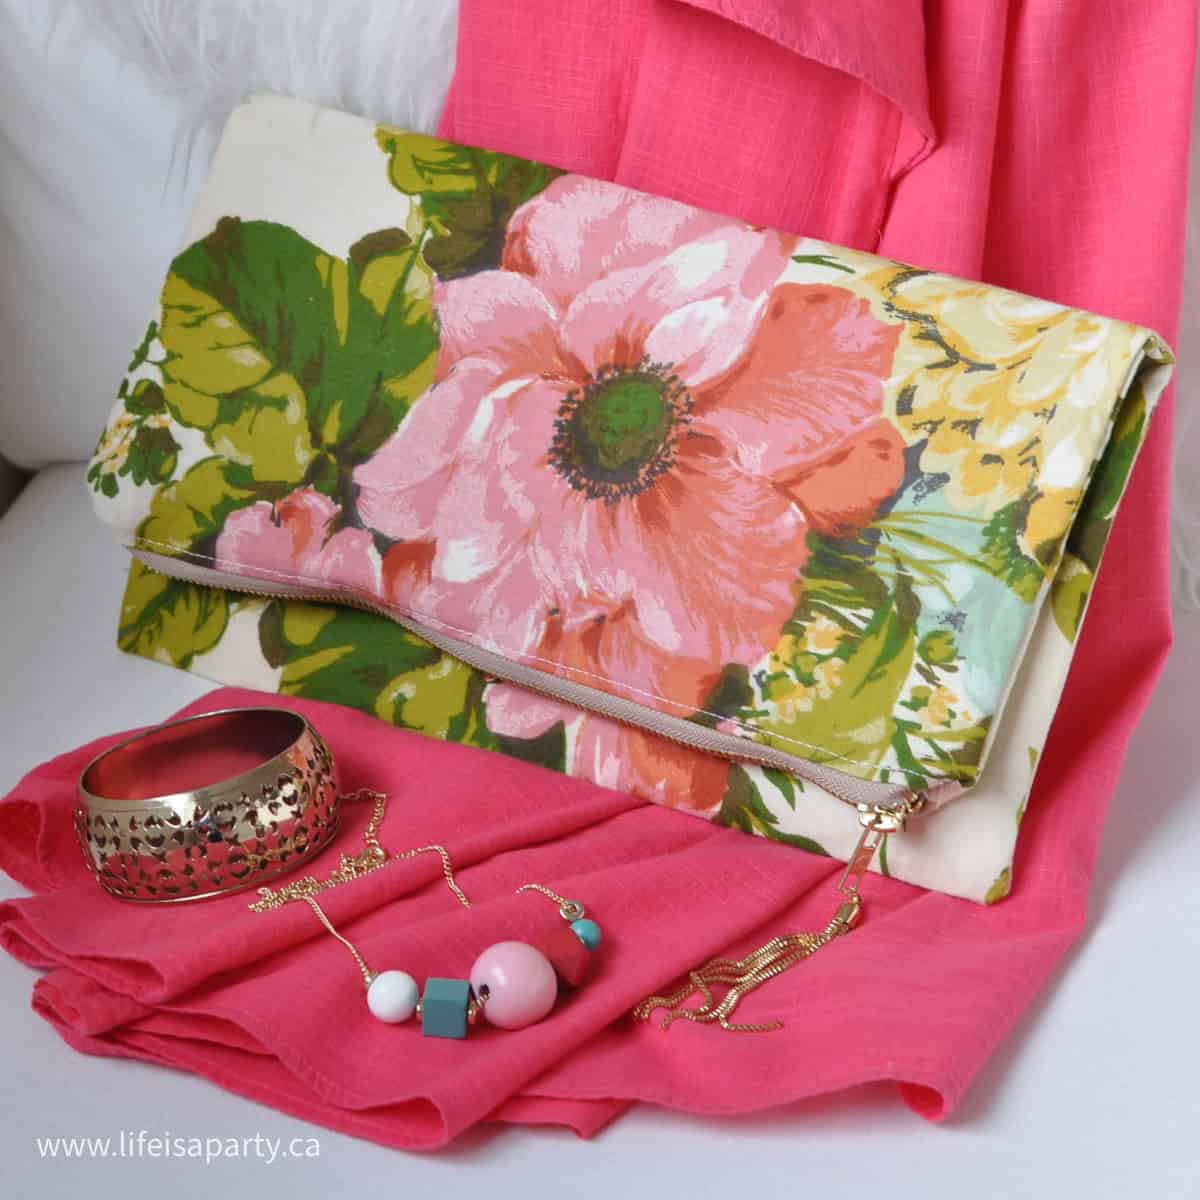
I have a family wedding to attend in a couple of weeks, and it's an excuse for this stay at home mom to put together a cute outfit. I ordered a cute little coral/pink dress with a flutter sleeve -I thought it'd be nice to wear a little colour for spring. And once I saw the dress, I thought the outfit could use a little fun pattern to liven it up. I had an old vintage pair of curtains that I bought years ago, at an auction and have used the fabric for a few projects over the years because it's so pretty, and bold, and vintage feeling. I thought it would be the perfect hit of pretty pattern to go with the dress and decided I'd like to make it into a cute little fold-over clutch.
So, I did some research on-line to find out how to do it. There are lots of great tutorials and videos on-line. I knew I wanted a zipper, which I'd never sewn before, and for it to be a fold-over clutch.

How To Add A Zipper To A DIY Clutch
Unfortunately, I couldn't find a chunky gold zipper in the right length -in fact chunky gold zippers were in rather short supply at the fabric store. But I managed to find one that I thought would work, if I could shorten it. I also picked up ½ meter of green cotton broad cloth at the fabric store to use as the purse liner. Both items came to only about $5 so I figured I had nothing to lose. 😉
I looked at a few tutorials, but mainly used Rachel's from DIY in PDX. The major difference was that she made her's from leather and mine was fabric. I also made mine a little bit bigger -14x14 inches.
How To Shorten A Zipper
I searched for tutorials on how to shorten a metal zipper and found this one -and I liked her accent. 😉 I did what she said and succeeded in shortening my zipper to 14 inches. And then I went on to Rachel's tutorial, and got ready to sew my zipper into the bag. I found though, that my new zipper was too long, once I added the little end pieces onto it, like she had. I realized I wanted my finished zipper piece to be 14 inches, so I undid the end pieces, and re-shortened my zipper to about 13 inches, to accommodate the end pieces. No problem, first attempt there's bound to be a few re-dos.
My real major mistake came next -and was a little comical. I was ready to sew the zipper onto the fabric. I sewed the zipper in and realized I'd done it backwards, so that the zipper pull was on the inside of the bag. Whoops. So I undid that and re-sewed it in the right direction.

The next step was to sew the sides of and the bottom of the bag and liner together. I found it a little difficult to work out what to do with the edges of the zipper at the top. You're supposed to tuck them into the liner side seam. They didn't come out perfectly, but I guess they're ok for a first attempt.
Limp Clutch
At this stage the bag was almost finished. I used the gap in the liner to turn the purse inside out. It looked pretty good. Except…it was limp. Very limp, floppy in fact.

I had read earlier on some tutorials about interfacing, but having never used it before I was a little unsure, and thought that the weight of the vintage fabric which was a little heavier and the liner together might be enough to do the trick. Um, no. Not enough.
I started racking my brain about how to make it stiffer. I inserted some light weight cardboard for a try. It kind of worked…except didn't because it was noisy and creased at the fold over, but it at least made me feel like this project was salvageable.
Fusible Interfacing
So off to the fabric store I went again. I bought some fusible interfacing, the thickest one they had. You iron it on, so I figured I could iron it inside, without having to re-sew the entire purse. I got enough to line the vintage fabric and the liner, worried one thickness might not be enough. It was about $7 for a .8 of a metre. I cut it to fit the inside of the vintage fabric and ironed it on. It was easy to do, and after doing just the vintage fabric and not the liner also like I planned originally, I felt like it was stiff enough.

I felt really glad that it worked, and the green liner looked great too.

DIY Clutch Finishing Touch
Last but not least, I added the finishing touch - a pretty gold metal tassel, from a necklace, but you could look for one in the jewelry making department of the craft store.

I love it now that it's done. I only cost me about $12 dollars to make and I still have about half of the materials left.

I also picked up a cute necklace, so now all I need is a cute pair of gold shoes.

With a fun little DIY clutch finally finished, life really is a party!
More Inspiration
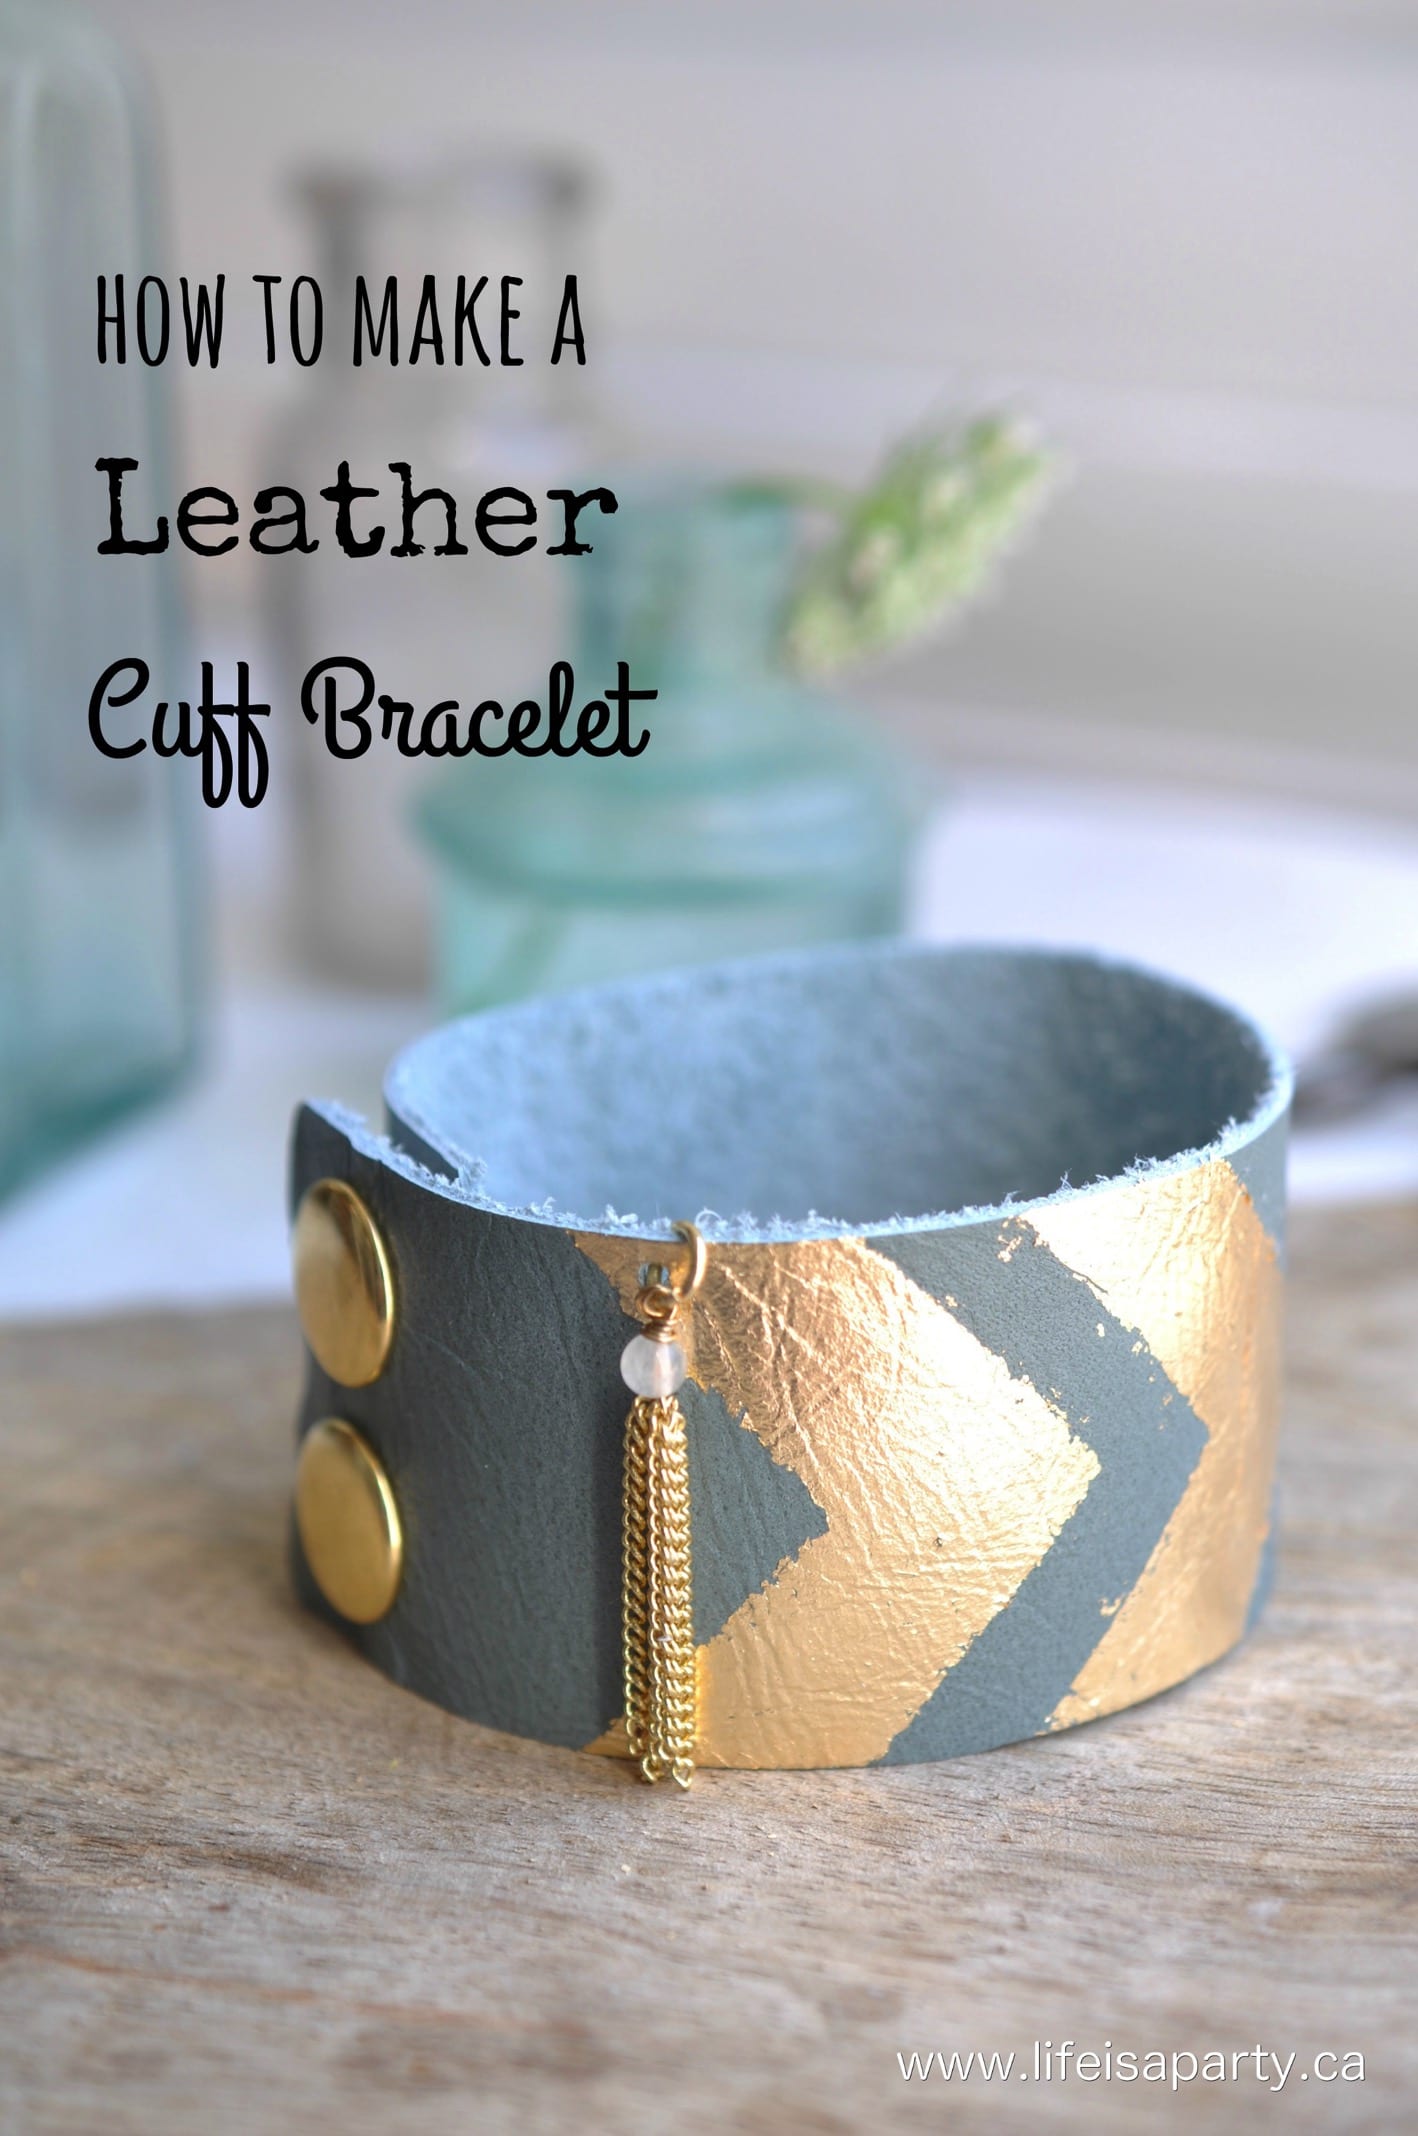
You might also like our Leather Cuff Bracelet here.
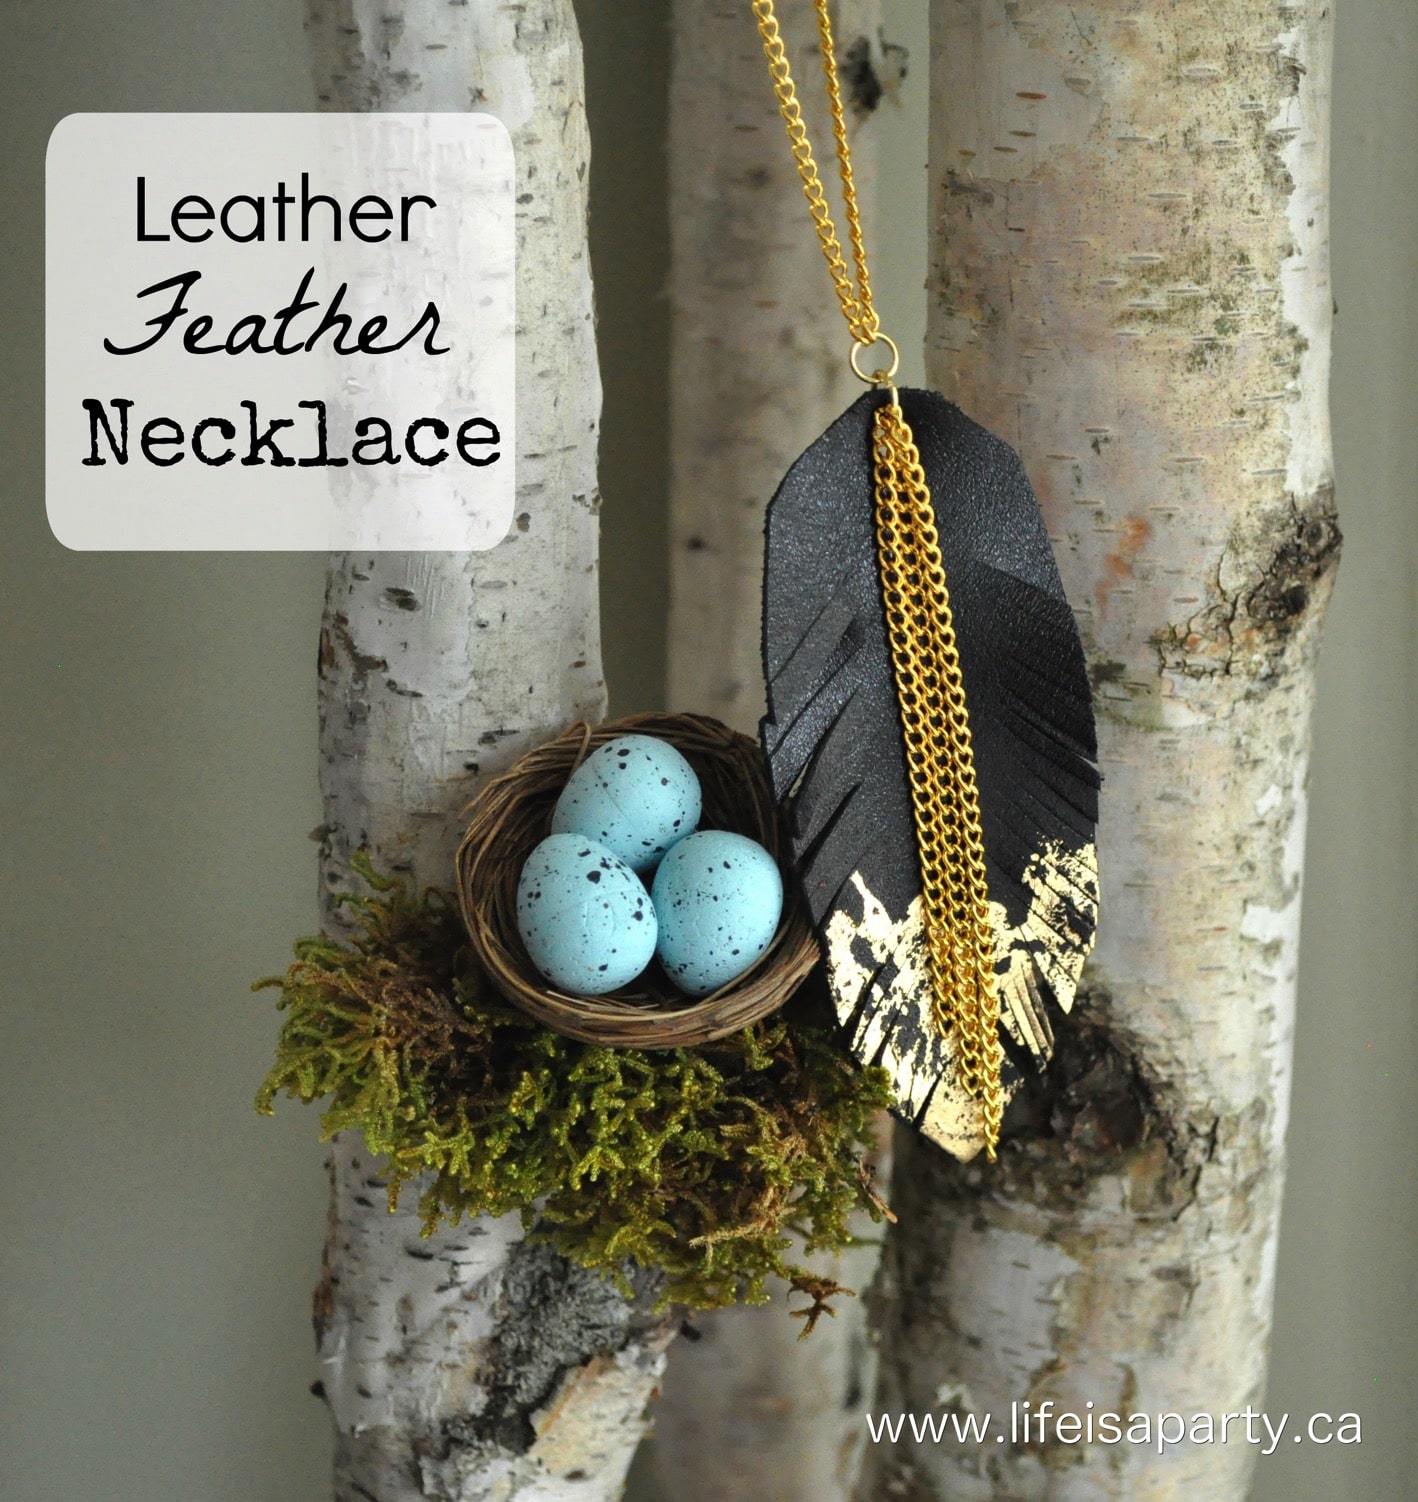
Also check out our Leather Feather Necklace here.
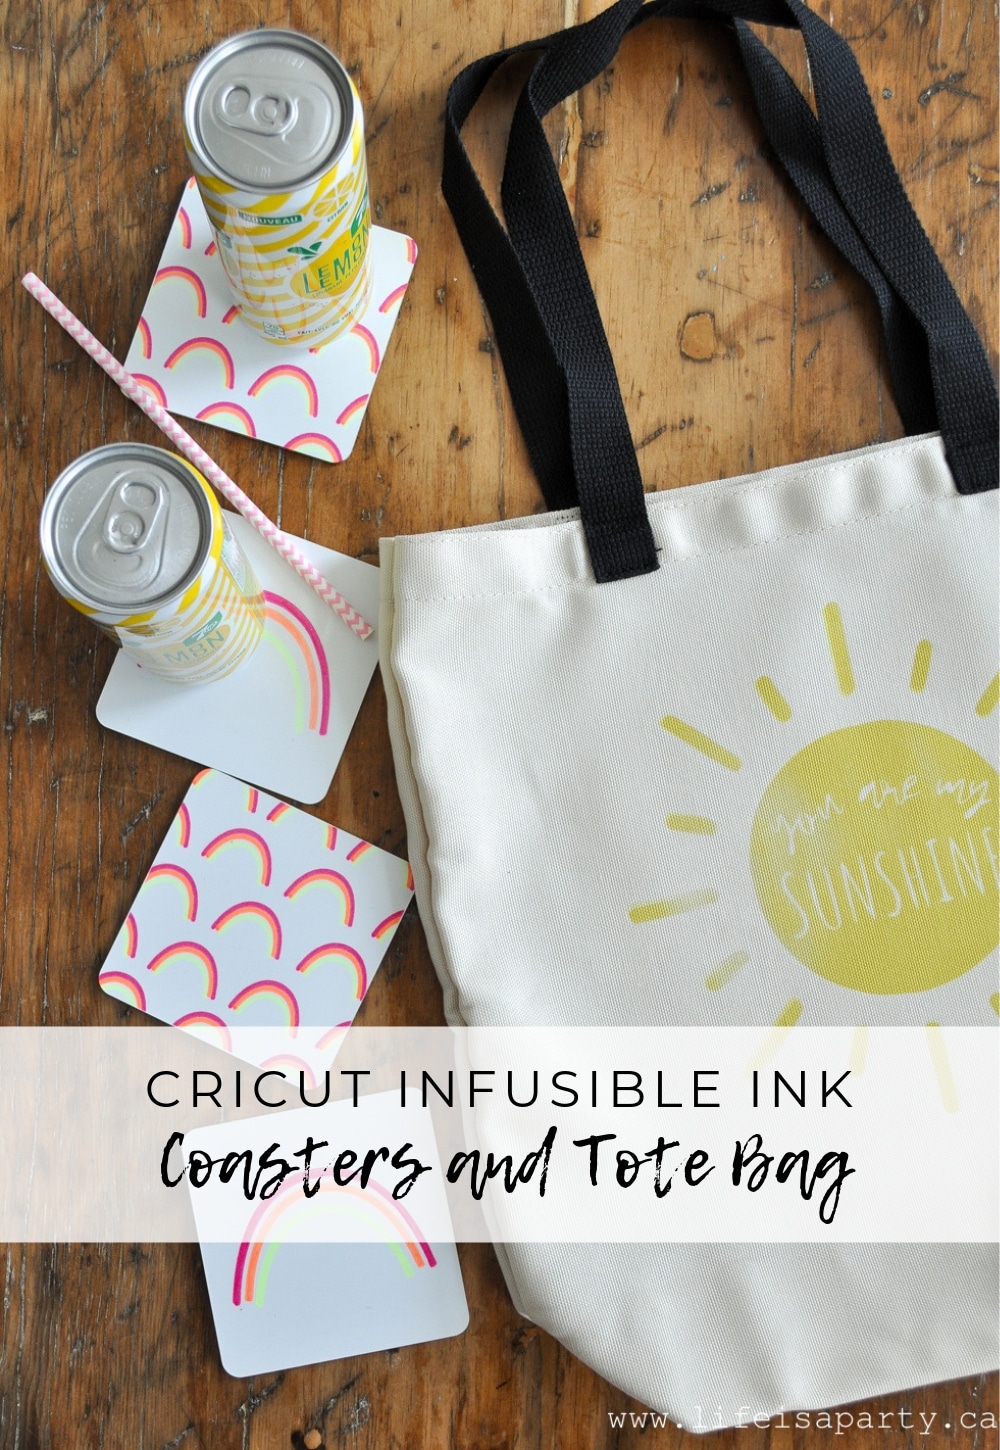
You might also enjoy our Cricut Infusible Ink Coasters and Tote Bag here.


dnr says
Thanks Donna! Happy sewing.
Dannyelle
Donna M says
Greetings Dannyelle;
First: what a cute, great name you have. Love it. Second: love your fabric and your clutch. You did a great job. Thanks for sharing it.