How To Make A Leather Cuff Bracelet: Create an amazing bracelet yourself, tutorial for adding snaps, gold leaf detail, and a tassel.

Jump to:
Today I'm sharing how to make a DIY Leather Cuff Bracelet. After a little experimenting, I'm thrilled with how it turned out. These were really fun to make, and are the perfect project for wearing as a fun accessory. These also make a great gift for someone special. These leather cuffs turned out so beautifully that they'd be a great handmade product to sell as well.
You can create these bracelets in any color, different widths, and use different metal finishes for the snap. You also have the option of adding gold leaf -or silver, or copper, or rose gold as well as a little tassel. There's so many ways to change and customize these for lots of different leather bracelet options in lots of different variations.
You might also like our Toy Felt Cookies.

There's different ways of making leather cuff bracelets, and different closure methods you can use. Our leather cuff is closed with snaps. The snaps are easy to find at fabric or craft stores, and the kit makes it easy to apply them. I like this way of making cuffs because it's not difficult to create and easy to put on and remove when you're wearing it.

Leather
We used some colored crafting leather pieces for our cuffs. I had several different types of leather in many colors and thicknesses to choose from. Buy leather scraps from the local craft store or on-line. These packs usually come with lots of different colors, weights, and finishes of leather to choose from. Our leather was super soft, and the end product is really comfortable to wear. You could make this from faux leather, but very thin leathers, whether real or faux won't work as well as a medium weight.
Some people like to use an old belts for this project. Look for them at the thrift store and give old leather belts new life with this DIY. The only thing to consider when choosing a belt to upcycle for your own leather cuff bracelets is that the leather isn't too thick and stiff. The bracelets are more comfortable to wear if the old leather belt is soft. It's also more difficult to add the snaps to thick leather.
Materials:
We used a variety of materials for this project including:
- leather
- sharp scissors
- disappearing ink marker
- snaps
- leather hole punch
- gold leaf adhesive
- gold leaf
- tassel charm
How To Make a Leather Cuff Bracelet:
The leather I used is from Leather Hide Store, they have an amazing leather selection. The colours of the leather were Sea Glass and Sea Mist for this project. I learned a few things along the way and ended up making a couple, so here's how I made them, along with a few tricks and tips. 🙂

Cutting Out The Leather
The first step is deciding on the width of your cuff. I wanted a fairly wide cuff and cut mine out 4 inch wide, and measured the length to fit my wrist. You can vary how wide your cuff is. A width of 2-3 inches is a option too. You can vary the length of the bracelet depending on your wrist size. You need some overlap for the snaps, so you'll want to add about an inch or two to accommodate the snaps.
I used a disappearing marker to mark everything out on my leather. I highly recommend this method, because it doesn't leave any marks on the finished project. Just cut out the flat leather with sharp scissors, and try to slightly round the four corners. You could use a cutting mat and rotary blade or craft knife, but I felt like I had better control with sharp scissors.
Some people recommend using your Cricut machine to cut out your DIY cuff bracelets, but I think that it's more effort for this project than it's worth. The leather piece is just one rectangular strip, and not difficult to cut out with sharp scissors. It doesn't take a lot of time to do it by hand. If you were making these cuffs to sell and had to cut out many many, then it might be worth doing it on your Cricut machine.

Punch A Hole In The Leather
The next step is to punch out the holes for your snap closure in the piece of leather you cut out. I marked mine at 1 cm in from each side, and added two in a row. I used a leather punch from the craft store, which worked great to punch my holes for the snap closures in the end of the leather cuff. On my first attempt I tried using the fabric punch that comes with the snaps, but it really didn't work well, so it's worth getting the leather punch.

Snap Closures
I picked up my snaps at the fabric store. The snap kit comes with all the pieces you need to attach them. Follow the directions on the back of the package. You'll need a hammer to install them, but it's pretty easy. Make sure you have your snap tops on the right side of the fabric, and the back closures on the back of the bracelet.
On my first attempt, I had the metal piece that you use underneath upside down. The indent on the first snap attempt was a bit too small for the snap, and marked it on the bottom part. On my second attempt I used the other side and it worked perfectly, so be careful to follow the directions really carefully and use the setting tool properly.

Add A Tassel
I wanted to add a fun tassel to the side of the bracelet, so I picked one up a tassel. Look for tassels in the jewellery making section of hobby stores. This part is completely optional , but I thought it was a fun addition. To attach it, I punched a small hole, close enough to the edge of the leather so that the tassel would still hang nicely.
Then I used needle nose pillars to attach the tassel with a jump ring. Then…I removed it to do the gold leaf, so the second time around I did this step after the gold leaf.

Gold Leaf
The gold leaf addition is optional as well. You could use gold leaf like I did, or try silver, copper, or rose gold. I added a chevron pattern to mine, but stripes would be so much fun too. To add the gold leaf chevrons to the end of the bracelet, I used special gold leaf adhesive you can find at the craft store, and imitation gold leaf. I created my pattern with washi tape -taking care to make them as even as possible. Then, I applied the adhesive with a small paint brush all the way to the edges of the leather. I waited 10 min, for the adhesive to get tacky, and applied the gold leaf.
Lastly, I removed the washi tape. On my first bracelet, I worked on the tape placement the night before, and the next day finished the bracelet up with the gold leaf. When I removed the tape, it damaged the leather. I think it was only because it had been on over night and really stuck. On my second attempt the next time I had no problems.

Lastly I added the tassel back on.

Equipment
- sharp scissors
- leather hole punch
Materials
- leather
- disappearing ink marker
- snaps
- gold leaf adhesive
- gold leaf
- tassel charm
Instructions
- Decide on the width of your cuff. We used 4 inches wide. Measure the length of your wrist and add an inch or so for your snap closures. Mark out your rectangle with disappearing ink marker. Cut out your rectangle with sharp scissors.
- Punch two holes with your leather punch for the snap closures, about 1 cm from the edge on each side of your bracelet.
- Follow the instructions on the snap kit to install the front and back of 2 snap closures.
- Optional: Use tape to mark out a pattern for the gold leaf, and apply the gold leaf adhesive. Let set for 10 minutes, according to the package instructions, and then apply gold leaf on top, and buff off with a soft cloth.
- Optional: Lastly add a small hole for a tassel, and attach to the bracelet with a jewelry jump ring
I really, really like how the final product turned out, and it makes me want to keep experimenting with a different type of leather, different colors, and different widths. This is such a great simple way to make leather accessories. If you are a person who sells handmade goods, I think these would be a great item to sell. They were relatively easy to make, and look so fantastic.


With a DIY Leather Cuff Bracelet, life really is a party! Happy crafting
More Ideas
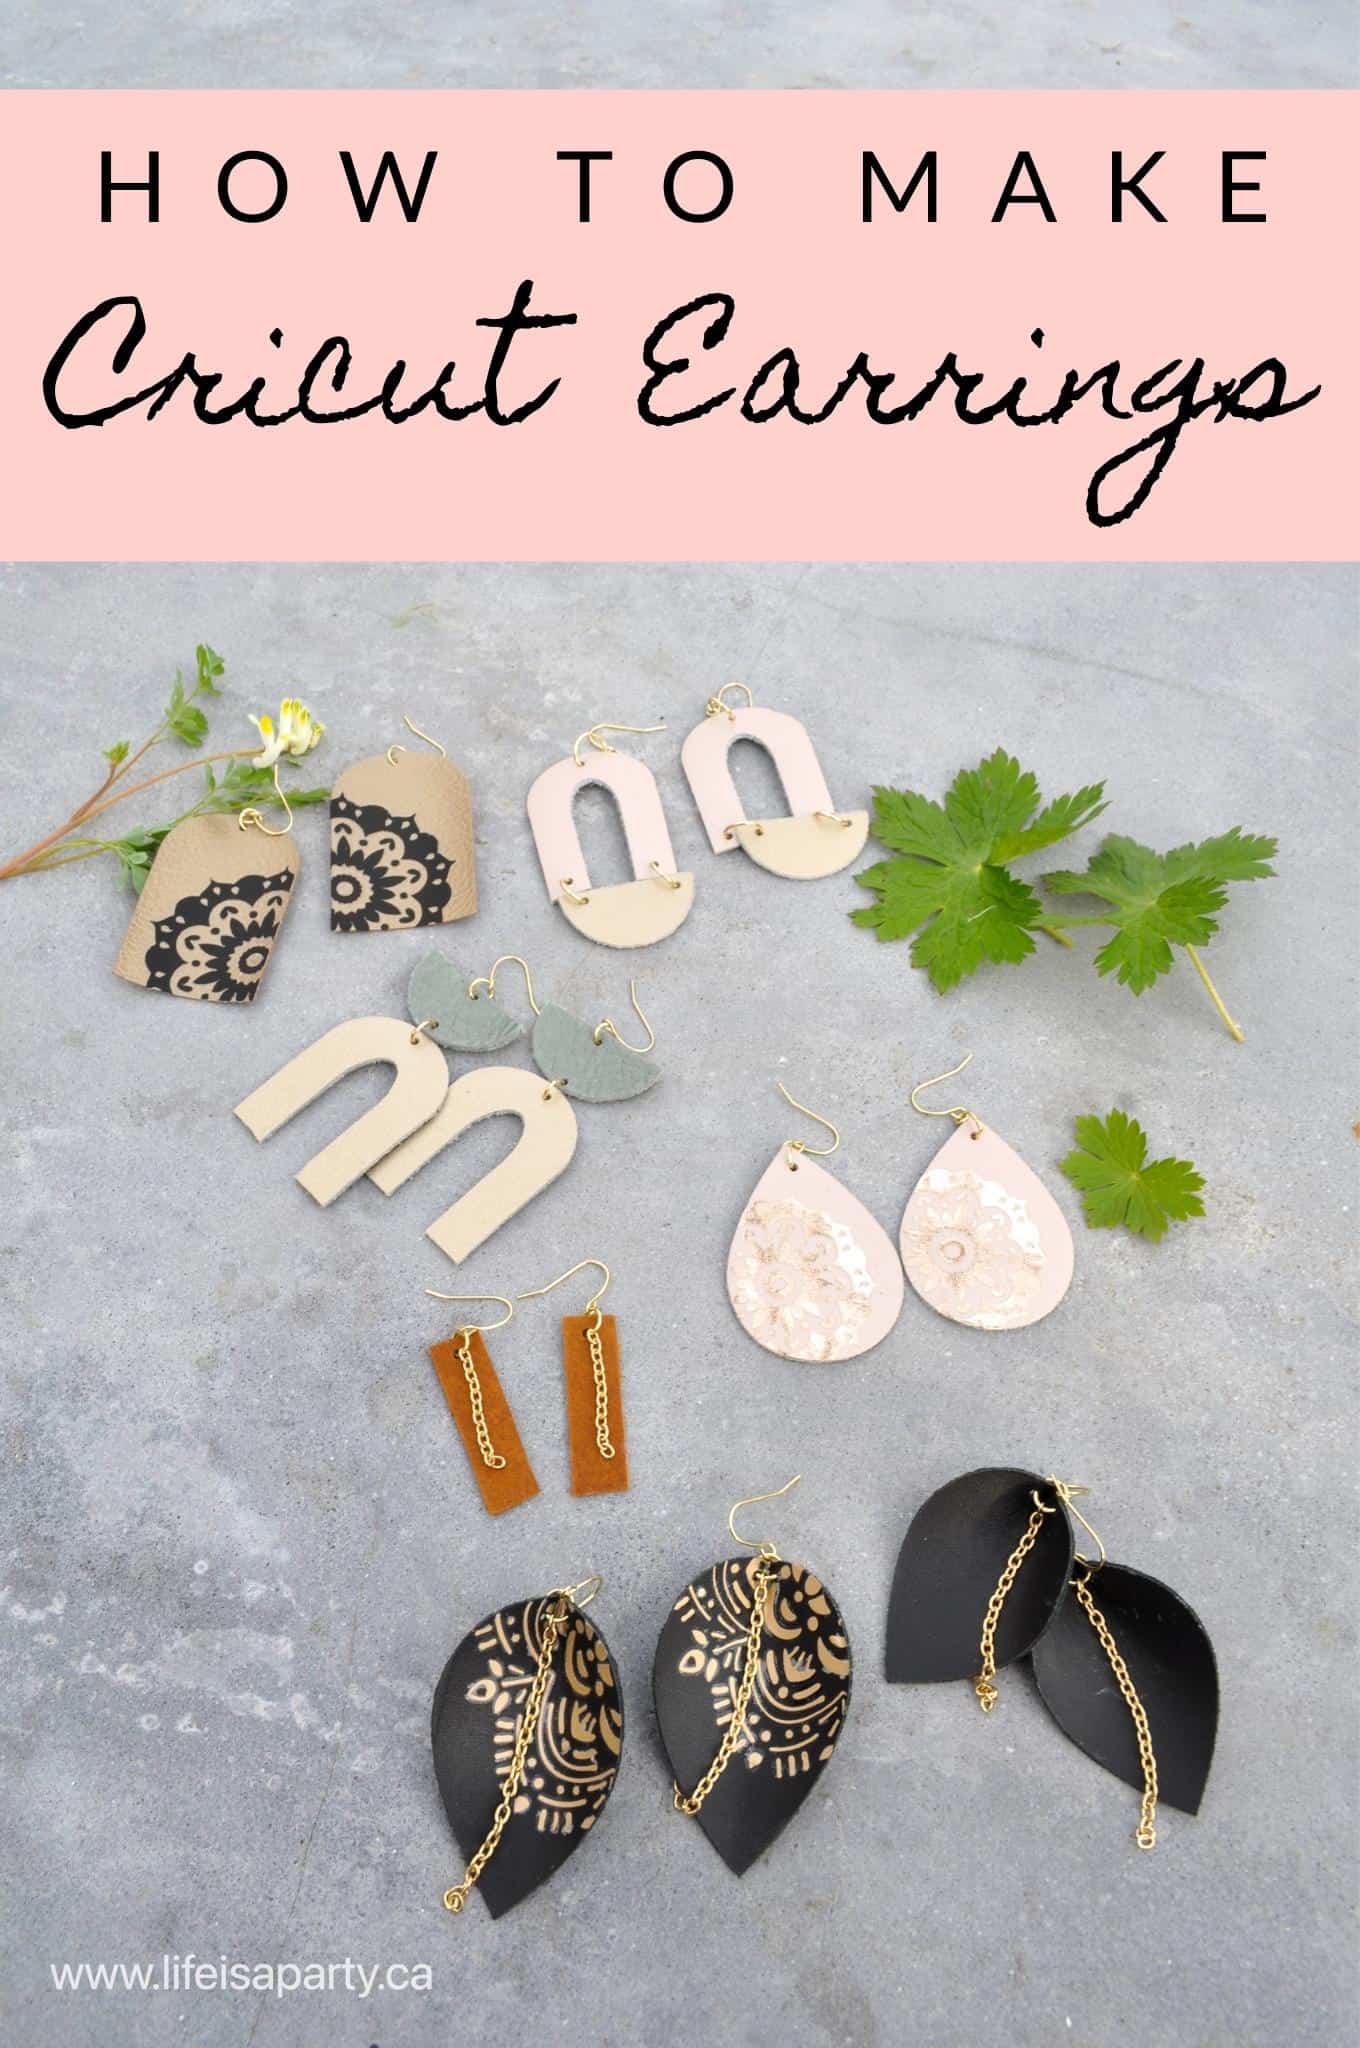
You might like our How To Make Cricut Ear Rings Tutorial here.
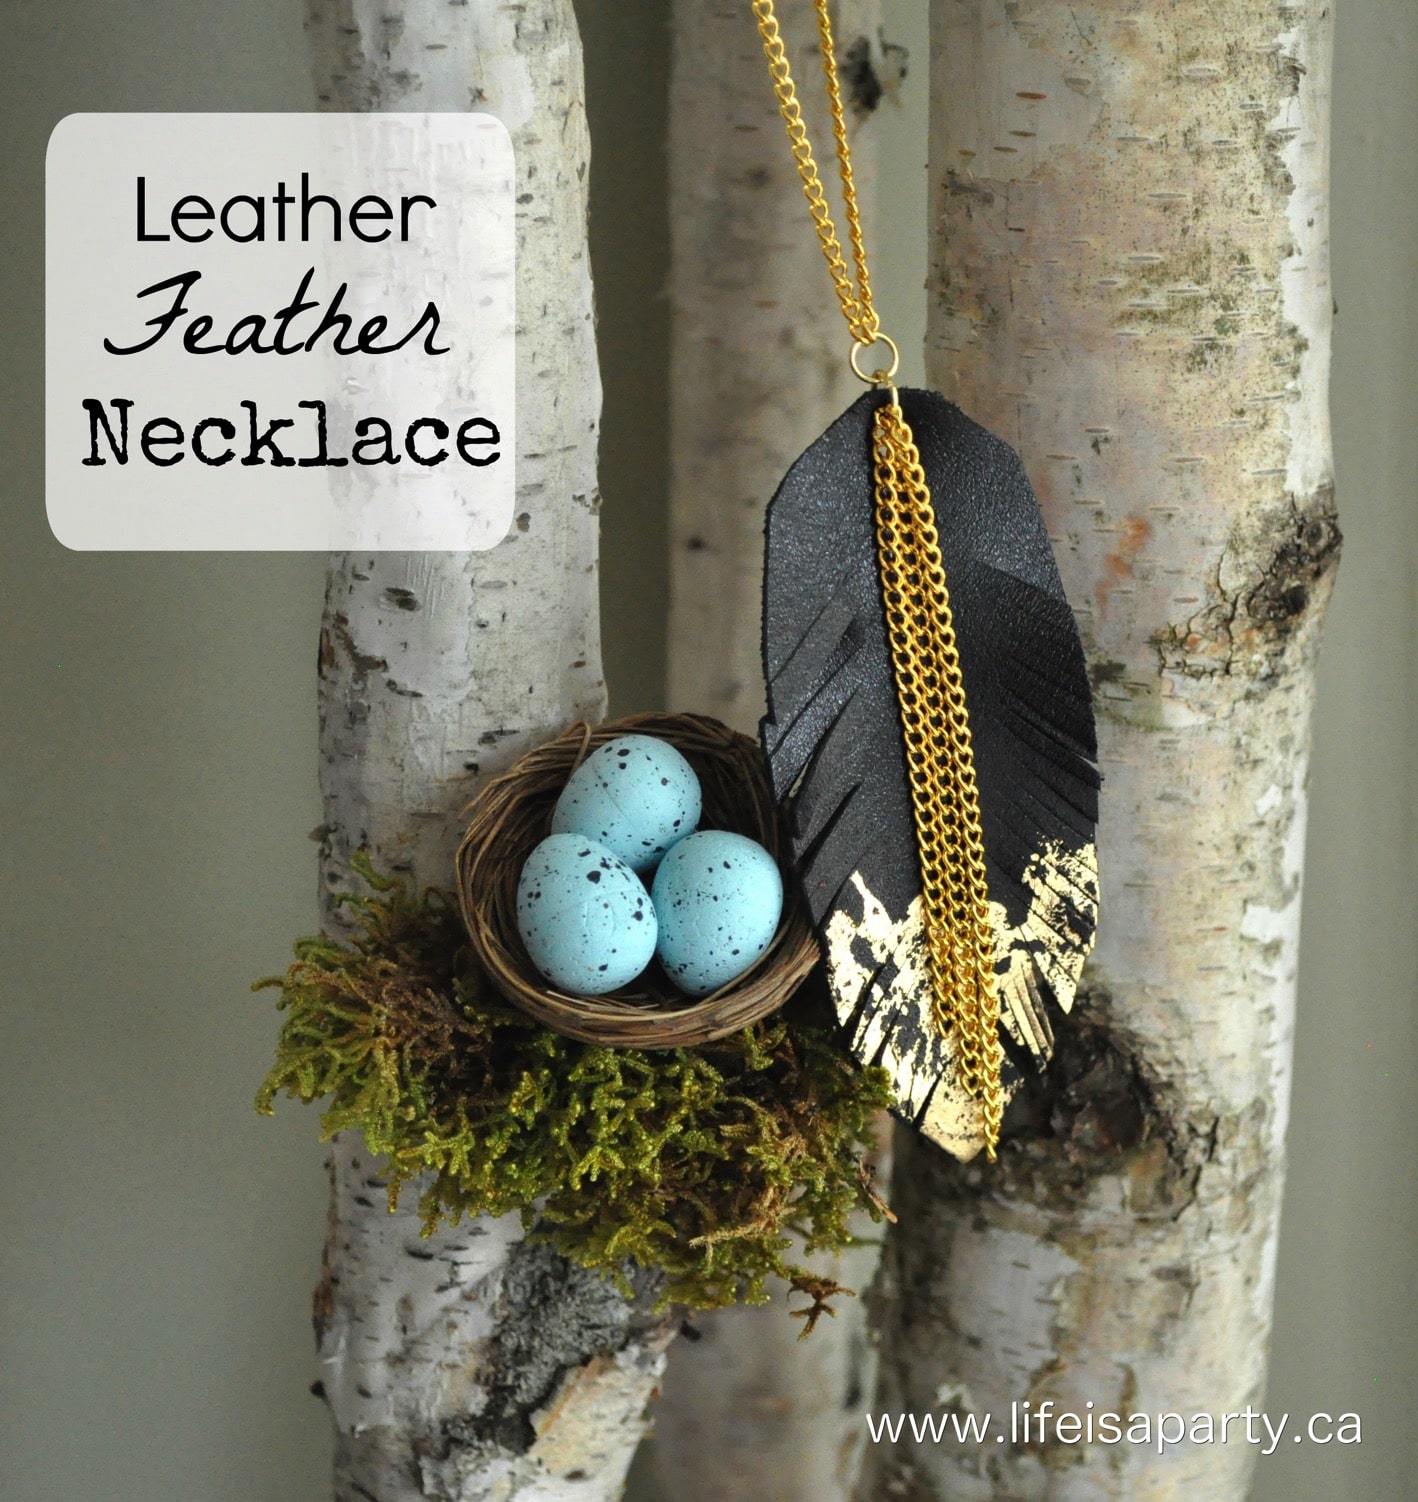
Also check out our Leather and Gold Leaf Feather Necklace Tutorial.
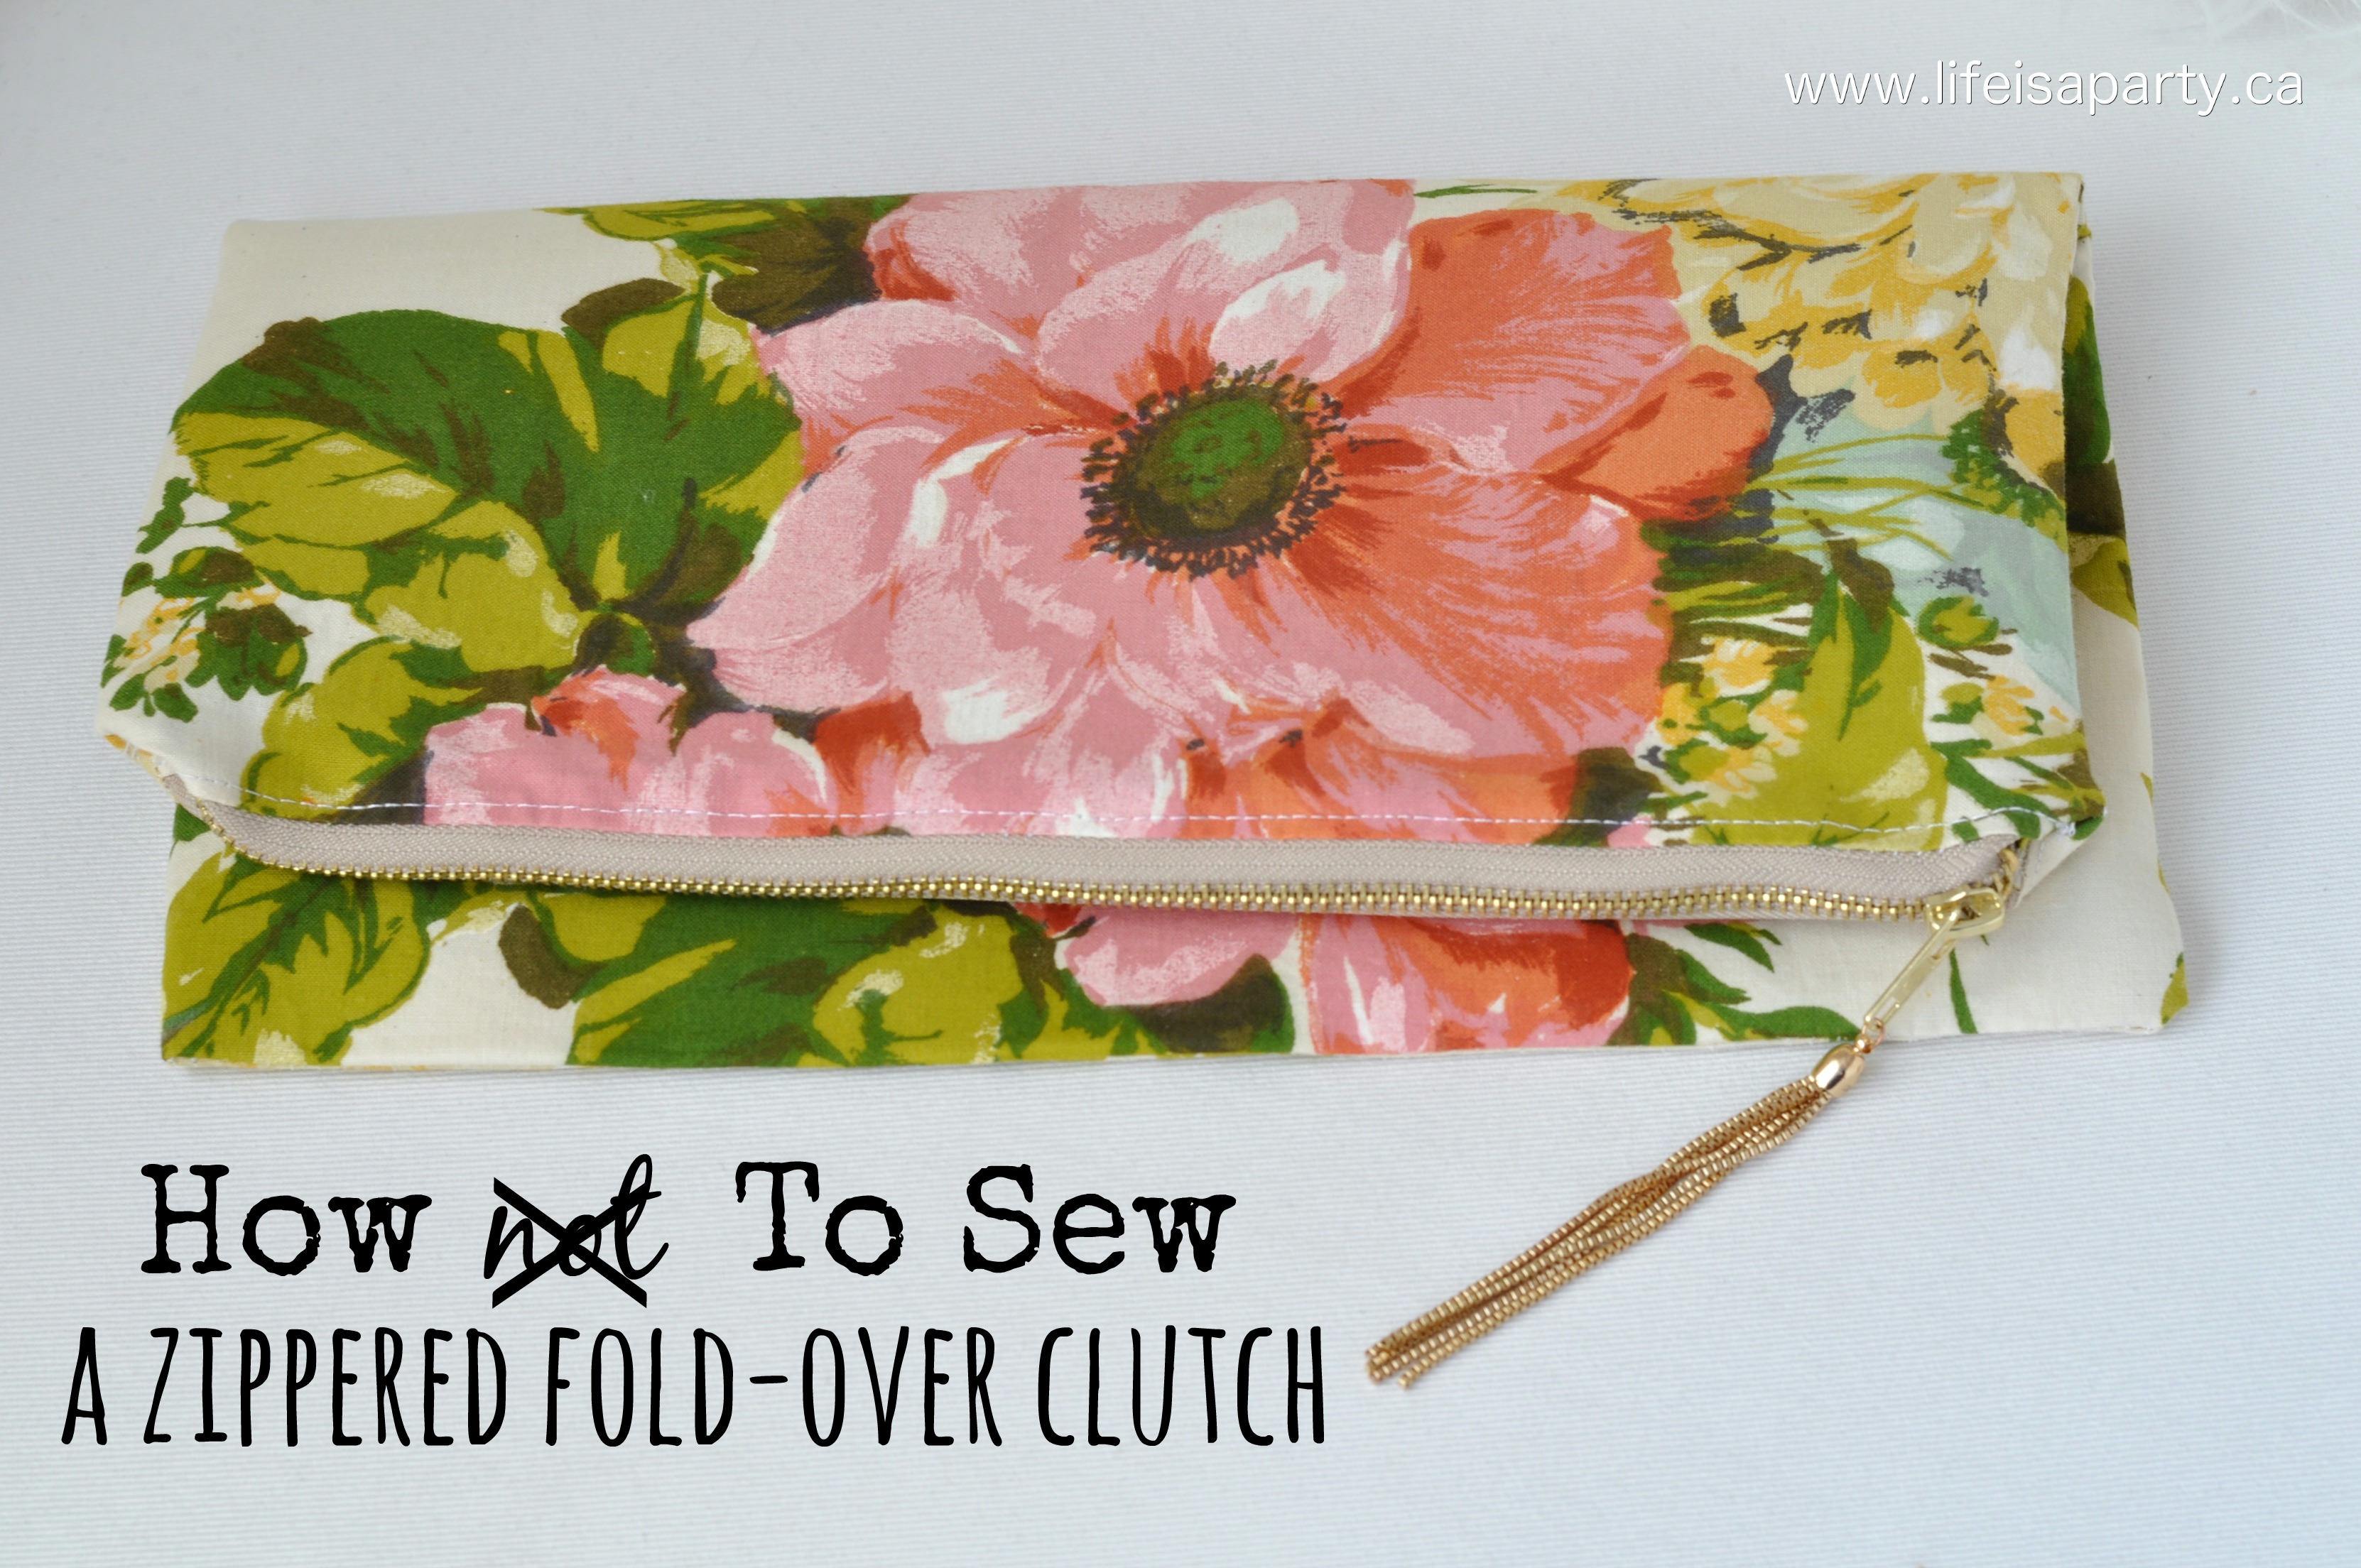
You might also like our How Not To Sew A Zippered Fold Over Clutch Purse.


dnr says
Kathy, thanks so much. Good luck with your bracket, I'd love to see a picture of your finished one.
Best,
Dannyelle
Kathy says
Loved your cuff bracelet, was looking at making some earlier today, then ran across your instructions. Definitely going to give it a try. Just started making leather/faux leather earrings, bracelets will be a nice addition. Thank you for the inspiration.
Angela says
Beautiful bracelet Dannyelle!