How to make a DIY Fairy House from a dollar store birdhouse and an old seed package. These are perfect for your fairy garden.

Jump to:
Why We Love This Craft
- Obviously if you want fairies to live in your garden, you need to bulid them a beautiful house to live in.
- We used a simple dollarstore bird house for our base and transformed it.
- It's a great way to up-cyle your seed packages.
We love fairy gardens around here. Check out how to make a fairy garden here, and our teacup fairy garden here, plus our teacup garden here, for some inspiration for getting started. And you will love our fall fairy garden too.
If you haven't had the pleasure of discovering fairy gardens yet, then you're in for a treat. These little miniature gardens are the cutest. And I promise if you build one, the fairies and garden sprites will come and move into your garden.
One thing is for sure when you're making your own fairy garden, you are going to need a little house for the fairies to live in.
Materials:
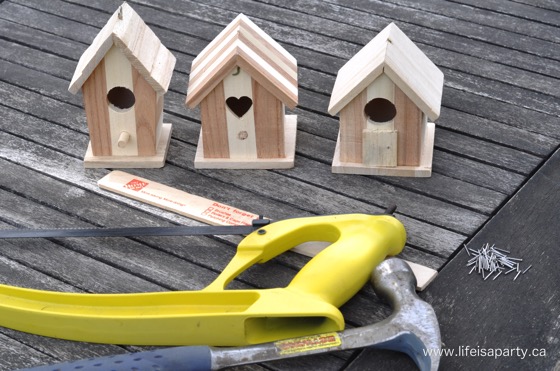
- Birdhouses: There are lots of different ways to make fairy houses. Some people like to use a broken terra cotta pot. Others like to use natural materials, like using pine cones as roof shingles, and rocks to create stone houses. I like using a simple little dollar store birdhouse as the base for my fairy houses. The birdhouses are inexpensive and easy to find. They come in different sizes. When it comes to fairies though, smaller is usually better.
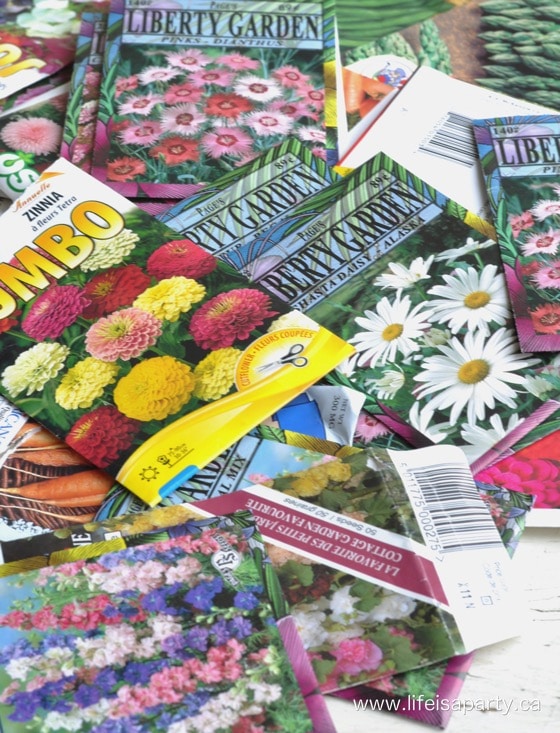
- Seed Packages: I'm not a hoarder…I just like to keep useful things, in case I need them. One of those things has been old seed packages. They're just so pretty, I knew I could use them for something and using them to decorate a DIY fairy garden house was the perfect thing.
If you didn't have any leftover seed packages, you could look for some inexpensive seed packages at the dollar store. Another option is you could look for free vintage printable versions online, then just print them and use them.
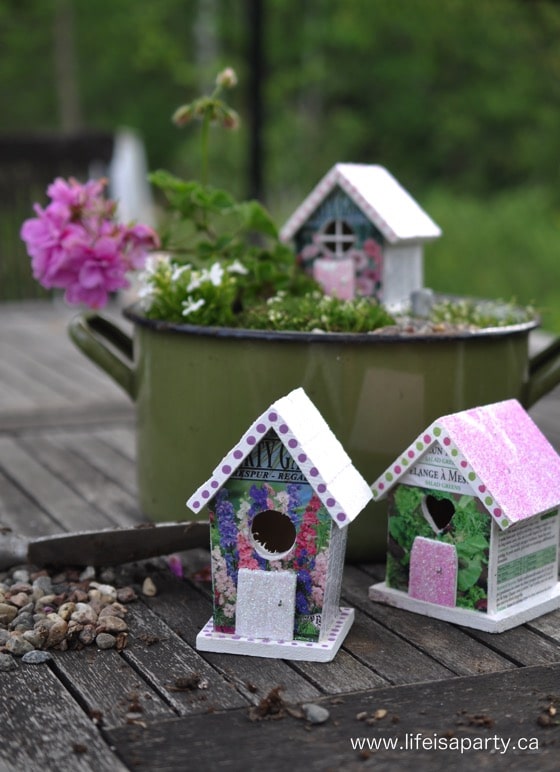
DIY Fairy Houses:
Prepping The Birdhouses
1. Start by removing the bird perch from your bird house, with a small saw. Then cut the end off of a paint stick to make a door for your fairy house. Some People like to use craft sticks or popsicle sticks to make their fairy door, but I found the paint sticks work really well, since they're the perfect width and a little bit thicker wood.
As soon as the perch is removed from the little birdhouse, it's start looking more like a fairy house immediately.
Paint
2. Paint the tiny house roof and edges with craft paint.
I used white paint for my fairy house, but you could use any color you like for yours, or choose something that coordinates with your seed packages.
Adding The Seed Packages
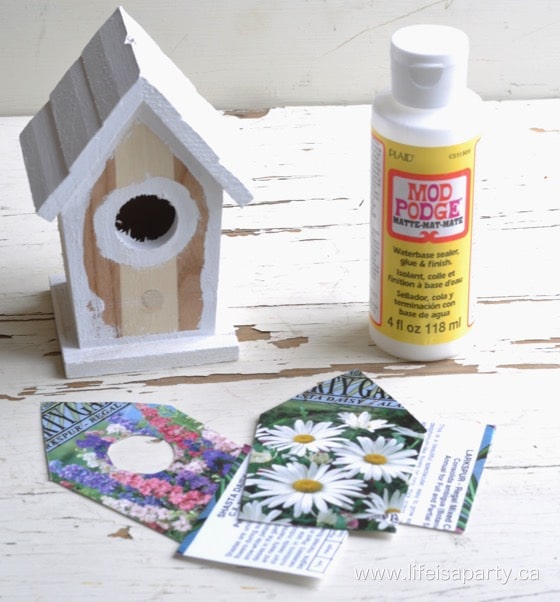
3. Cut out and modge podge the seed package onto your own fairy house.
This part might be a little tricky if kids are trying to do it. I found it helpful to crease the seed package around the edges of the fairy house, and then use those crease lines as a guide to cut it out with scissors. I found scissors were the best way for me to cut it out, but you could also use a utility or craft knife for this step.
The Fairy Door
4. Paint the door and add glitter.
Choose any color for your door that you like. You may want it to contrast with the seed colour package, so that it will stand out more. It's optional to add glitter, but it's a fun way to add a little sparkle to your fairy house.
Adding Glitter
5. Coat the roof with mod podge and sprinkle with glitter (after the seed packages have dried).
Mod Podge will help to seal and protect everything, especially for an outdoor fairy garden, where the house will get wet.
6. Nail the fairy garden door to the house using a tiny finishing nail and leaving it slightly raised to resemble a door knob, or use a hot glue gun to attach it and a thumb tack as the door knob.
The door is such a great finishing touch to the fairy house.
Window Detail
7. Optional: Cut toothpicks to create a window, hot glue in place and paint white.
This is a fun little detail to add interest to your fairy house.
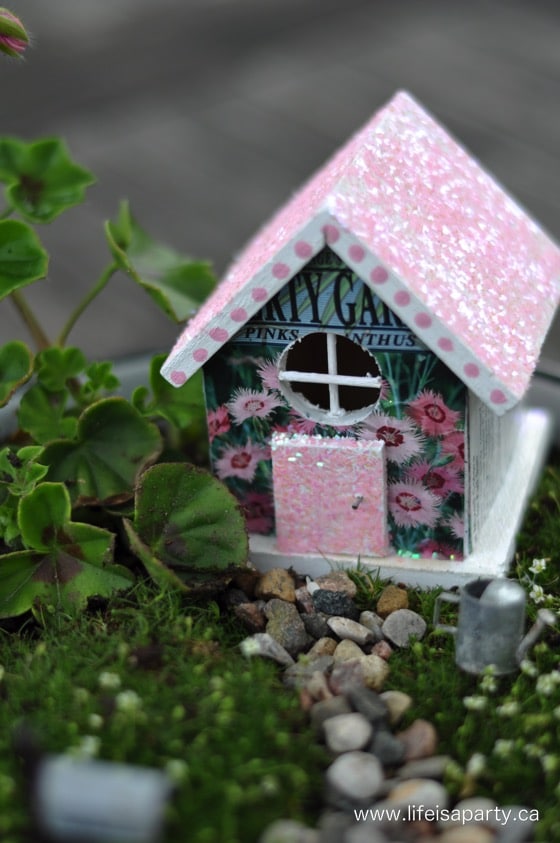
8. Create a fairy garden and insert your fairy house, along with small fairy plants, and garden decor like a miniature picket fence, solar-powered garden light, or small stones to create a path to the fairy door.
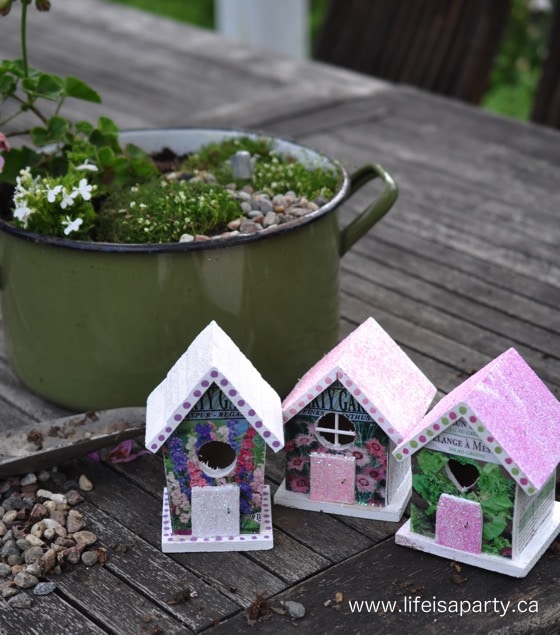
Making The Fairy Garden
You can add all kinds of fun creative little details in your fairy garden. Make a fairy pathway out of wood slices, or small stones, add fairy lights, or tiny furniture to your own cute little fairy garden in your own backyard.
We found a cute fairy sized watering can and added to a little lawn of Irish moss.
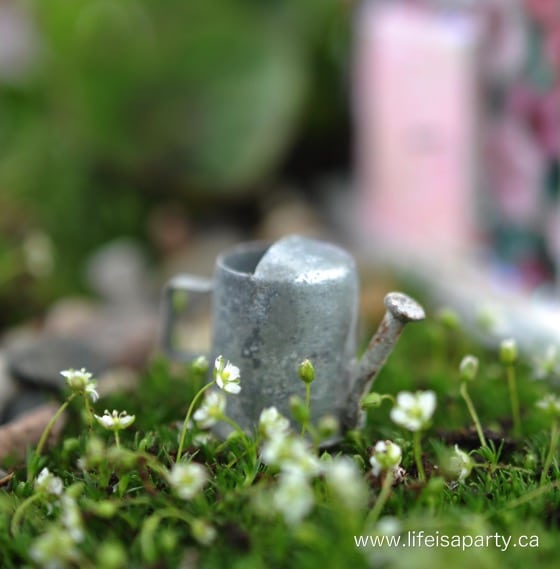
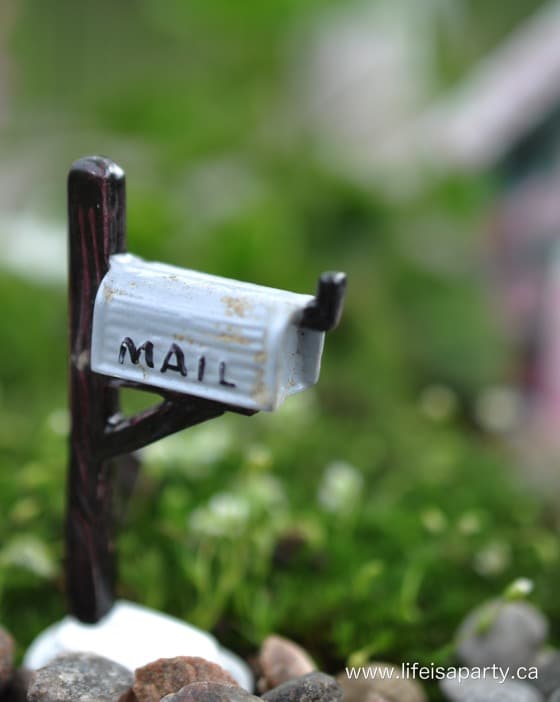
At the end of the little pea gravel path is a sweet little mailbox. I found the watering can at a dollhouse miniature store, and the mailbox is from a craft store. The best part is that they had so many cute things to add to a mini garden. You can even look at dollar stores for cute miniature garden accessories. Or make your own out of polymer clay, odd craft materials, or recycled materials.
I also love making a few different fairy garden houses and setting them up like a fairy garden village in a grouping of different large terra cotta pots, or garden planters.
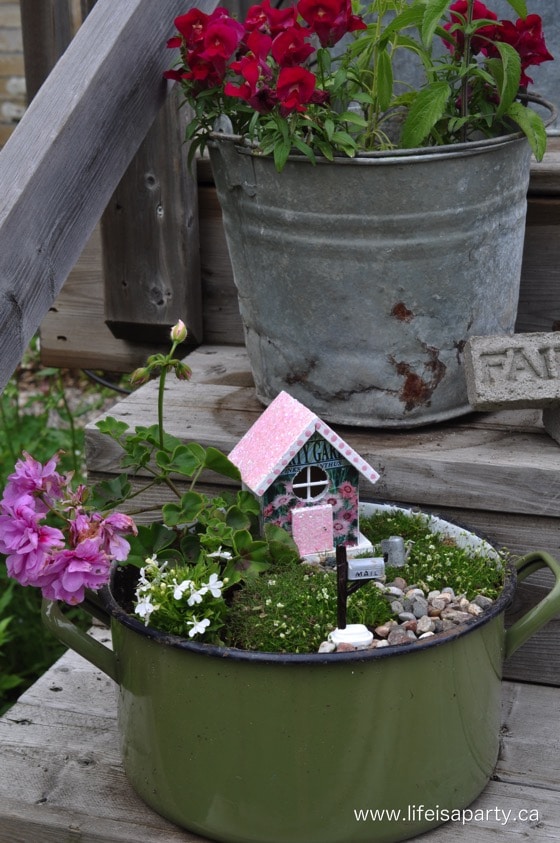
I put this simple fairy garden on our deck stairs, along with some other pots for us to enjoy this garden area all summer. This project was so much fun. My favorite part was arranging everything together. This is a great creative project, that kids will enjoy doing too. Change the colours, seed packages, and glitter colors for lots of variations for your miniature project. There's so many different ideas that you can incorporate into your own fairy garden house fun craft.
Frequently Asked Questions
Yes, these should last a season easily. Bring them in the winter. If you want them to last longer, give them a few coats of clear protective spray before adding the to the fairy garden.
These are from the dollar store. Look for them in early spring.
Look for fairy garden accessories at the dollar store, craft stores -including the miniature doll house accessories section, and plant nurseries.
More Fairy Garden Ideas
If you try making one of these DIY Fairy Garden Houses or any other idea on my blog please leave a star rating and let me know how it went in the comments below. Thanks for visiting today!

Equipment
- small saw
- hot glue gun
Materials
- small wooden birdhouse
- paint stick
- finishing nail
- old seed packages
- mod podge
- acrylic paint
- glitter
- toothpicks
- hot glue
Instructions
- Start by removing the bird perch from your bird house, with a small saw. Then cut the end off of a paint stick to make a door for your fairy house. Some People like to use craft sticks or popsicle sticks to make their fairy door, but I found the paint sticks work really well, since they're the perfect width and a little bit thicker wood.
- Paint the tiny house roof and edges with craft paint.
- Cut out and modge podge the seed package onto your own fairy house.
- Paint the door and add glitter.
- Coat the roof with mod podge and sprinkle with glitter (after the seed packages have dried).
- Nail the fairy garden door to the house using a tiny finishing nail and leaving it slightly raised to resemble a door knob, or use a hot glue gun to attach it and a thumb tack as the door knob.
- Optional: Cut toothpicks to create a window, hot glue in place and paint white.
- Create a fairy garden and insert your fairy house, along with small fairy plants, and garden decor like a miniature picket fence, solar-powered garden light, or small stones to create a path to the fairy door.


dnr says
Thanks Christina
Christina @The DIY Mommy says
These are so adorable! I LOVE the idea of the seed packets on the fairy house!
dnr says
Virginia, I'm imagining you doing these with all your pretty paint colours! Would be beautiful. Thanks for stopping by.
dnr says
Thanks Thea, happy decoupaging! 😉
Virginia Fynes says
Soooo sweet! My kids love gettin those little bird houses, perfect idea
Thea says
Dannyelle, this is an absolutely adorable and clever idea! I love how your bird houses turned out. I have saved my seed packets and have no idea why. I am now inspired to use them in decoupage! Nicely done!
dnr says
Thanks Kendra. DIY is definitely the cheaper way to make a fairy garden, you'll have to give it a try. 😉
Kendra @ www.joyinourhome.com says
Such a cute fairy garden, Dannyelle! I've wanted one but can't justify the prices of stuff! Fun being a part if this blog hop with you!