How To Make A Miniature Fairy Garden In A Jar: Tutorial using polymer clay to make adorable mushrooms and a fairy house, and then arrange in a teeny, tiny glass bottle.

I saw these little jars or bottles at the dollar store one day, and thought they'd be perfect for a little, teeny, tiny Miniature Fairy Garden in a Jar. I love how they turned out, and they were a lot of fun to do one afternoon with my little girls.

We each made one, making a sweet little trio. They look great as a centre piece on the table, someplace where someone might notice them as they sit, since they're so teeny, weeny.

I was inspired by Pixie Hills mushrooms and miniature houses, if you don't know this blog then you're in for a treat! I made mine out of polymer clay, and it worked great.

Fairy Garden in a Jar Supplies:
- Polymer Clay
- straight pins
- matchstick
- moss
- tiny rocks
- small glass bottles
- white glue
How To Make a Fairy Garden in a Jar:

Mushrooms
Start out with your polymer clay, we used red, white, beige, and pink made by combining red and white. Knead your clay to soften it, and then use a very small amount to make the mushroom stem around the straight pin. The straight pin will make the finished mushroom stronger and easier to work with. Slowly work your clay around the pin, rolling and shaping it with your fingers. Once the stem is made, make a little mushroom cap and press it onto the stem. Feel free to change the shape, and colours of the mushrooms and even add spots of white clay to some.
Houses
The houses are made by making little rectangles, then an angled roof by pinching and shaping with your fingers. Lastly use a matchstick's square end to make window and door indents.

We inserted our mushrooms into a piece of fruit to keep them upright while we baked them. Bake your clay according to the manufactures directions, based on the thickness. We did ours about 5 min. Then let the baked clay pieces cool a little.
Putting The Fairy Gardens Together
Next, you're ready to put your garden together, with moss on the bottom as a little base. We glued our houses in with white glue. The mushrooms were a little long, so I used some wire cutters to shorten them a little.

Fitting everything in the jar is a little fiddle-ly. I found tweezers helpful for this step.

Remember it doesn't have to be perfect. Add in some tiny rocks too, if you like.

I also found the tweezers helpful to wipe the inside of the jar with a tiny piece of damp paper towel, to remove the moss residue at the top.

This is the perfect rainy day summer activity…or maybe just any day.

With a sweet little Miniature Fairy Garden in a Jar, life really is a party!
More Inspiration
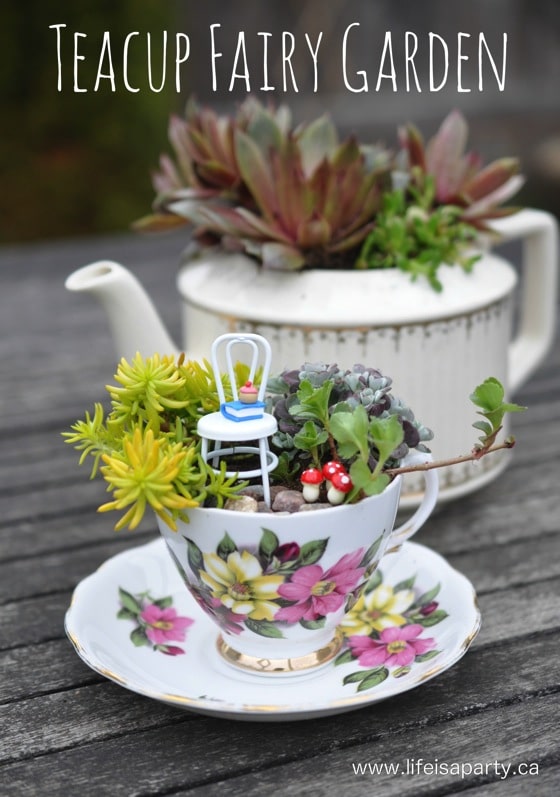
You might also like our Teacup Fairy Garden here.
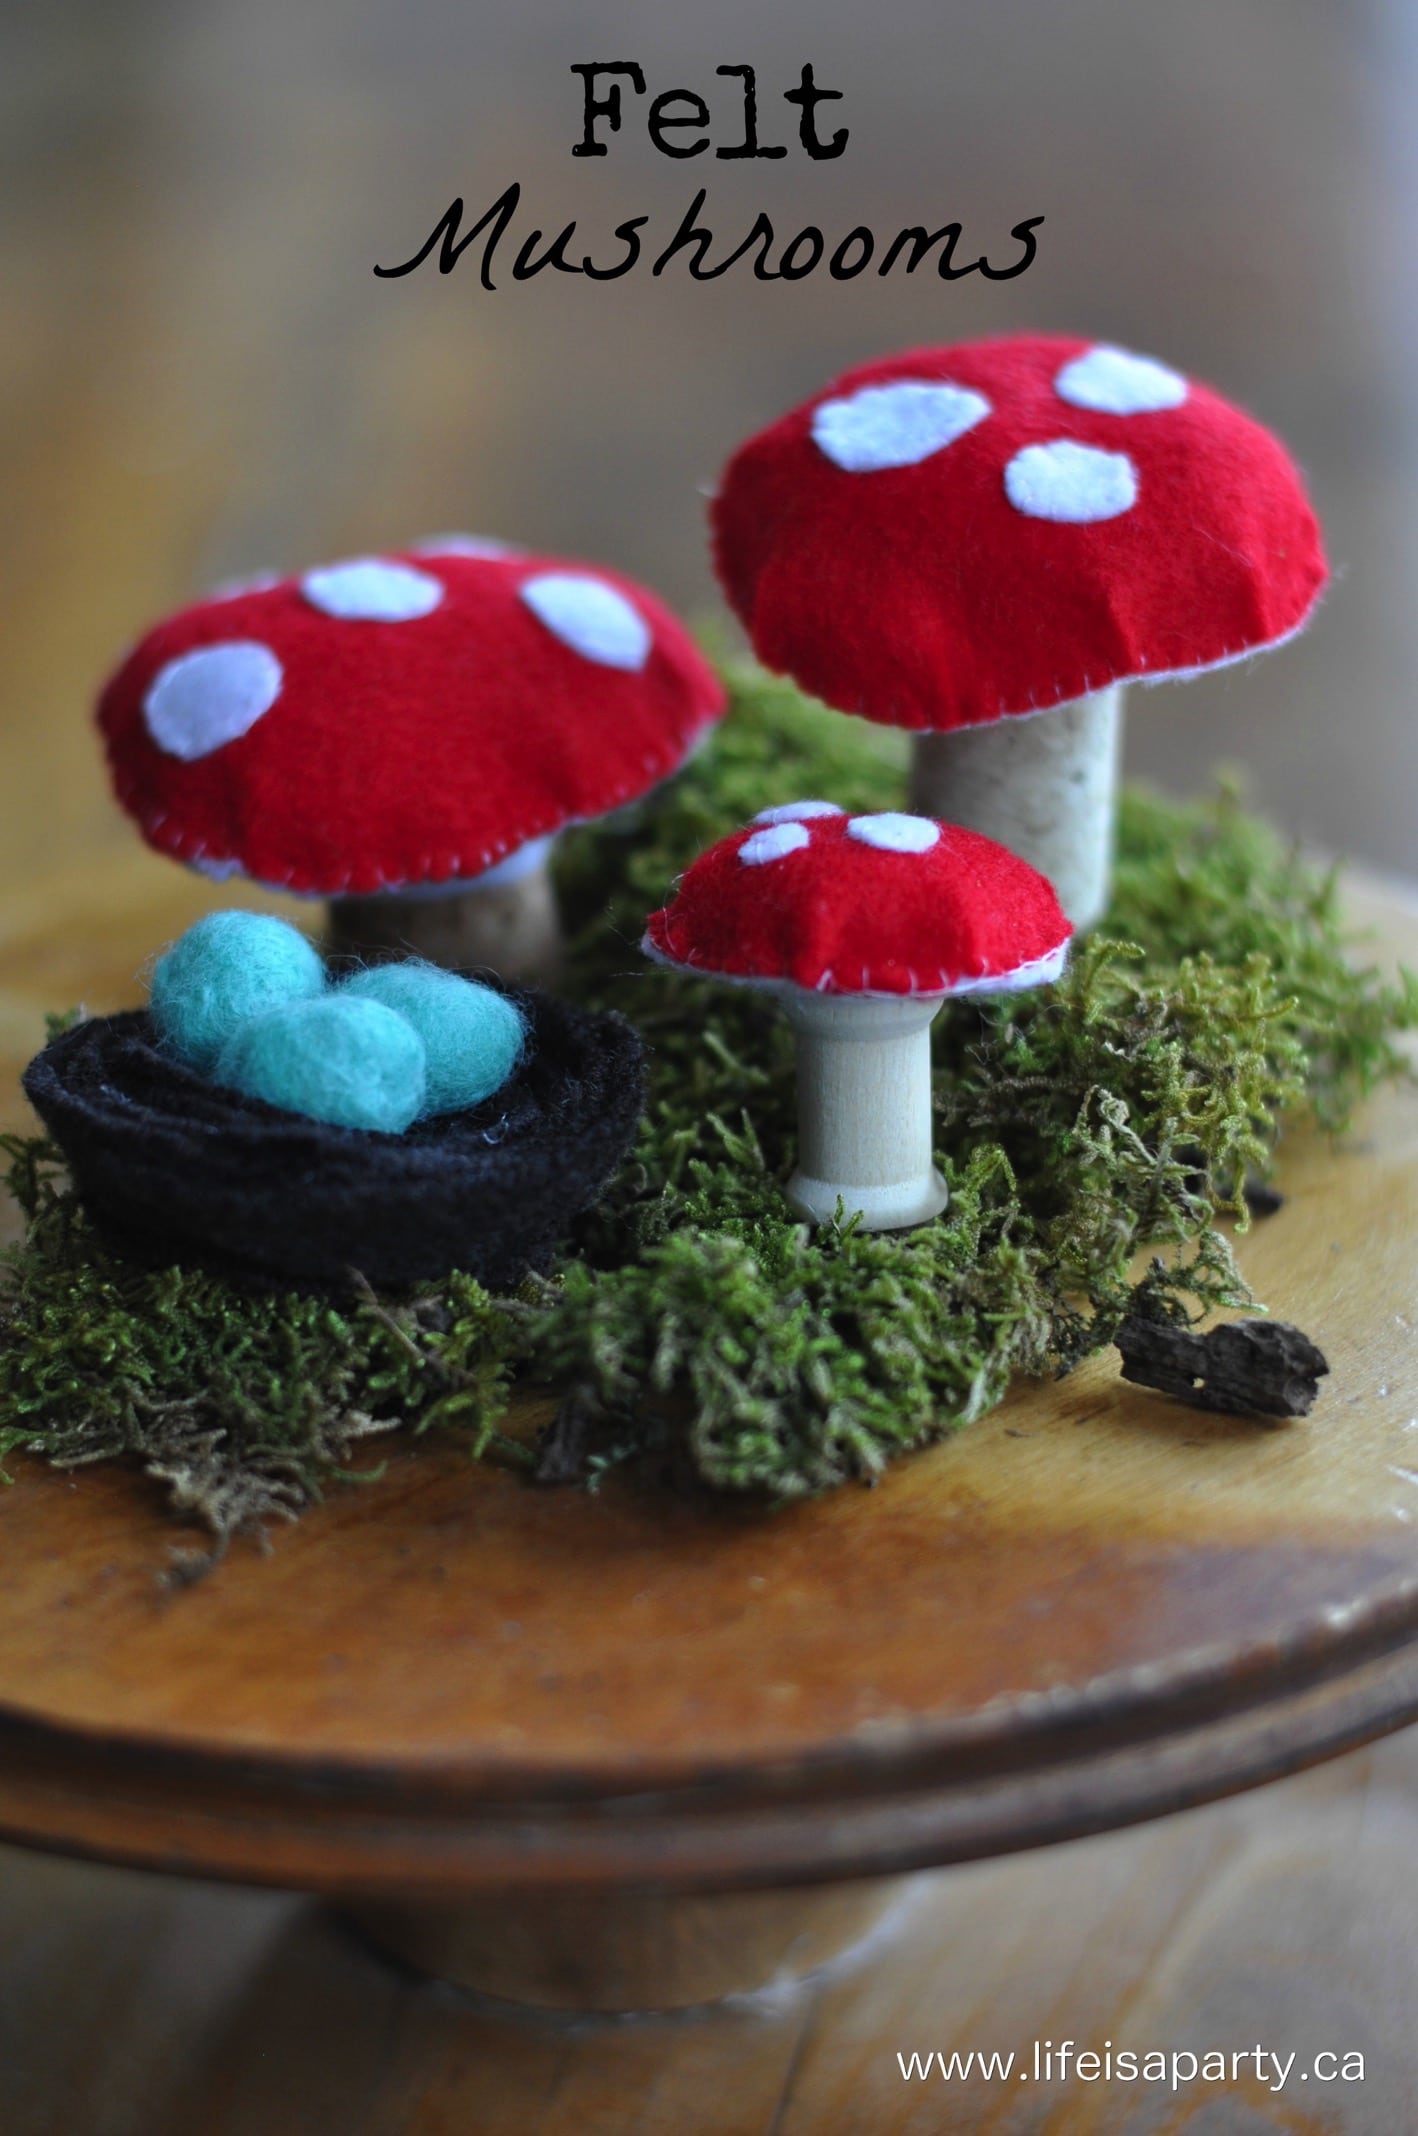
Also check out our Felt Mushroom Tutorial here.
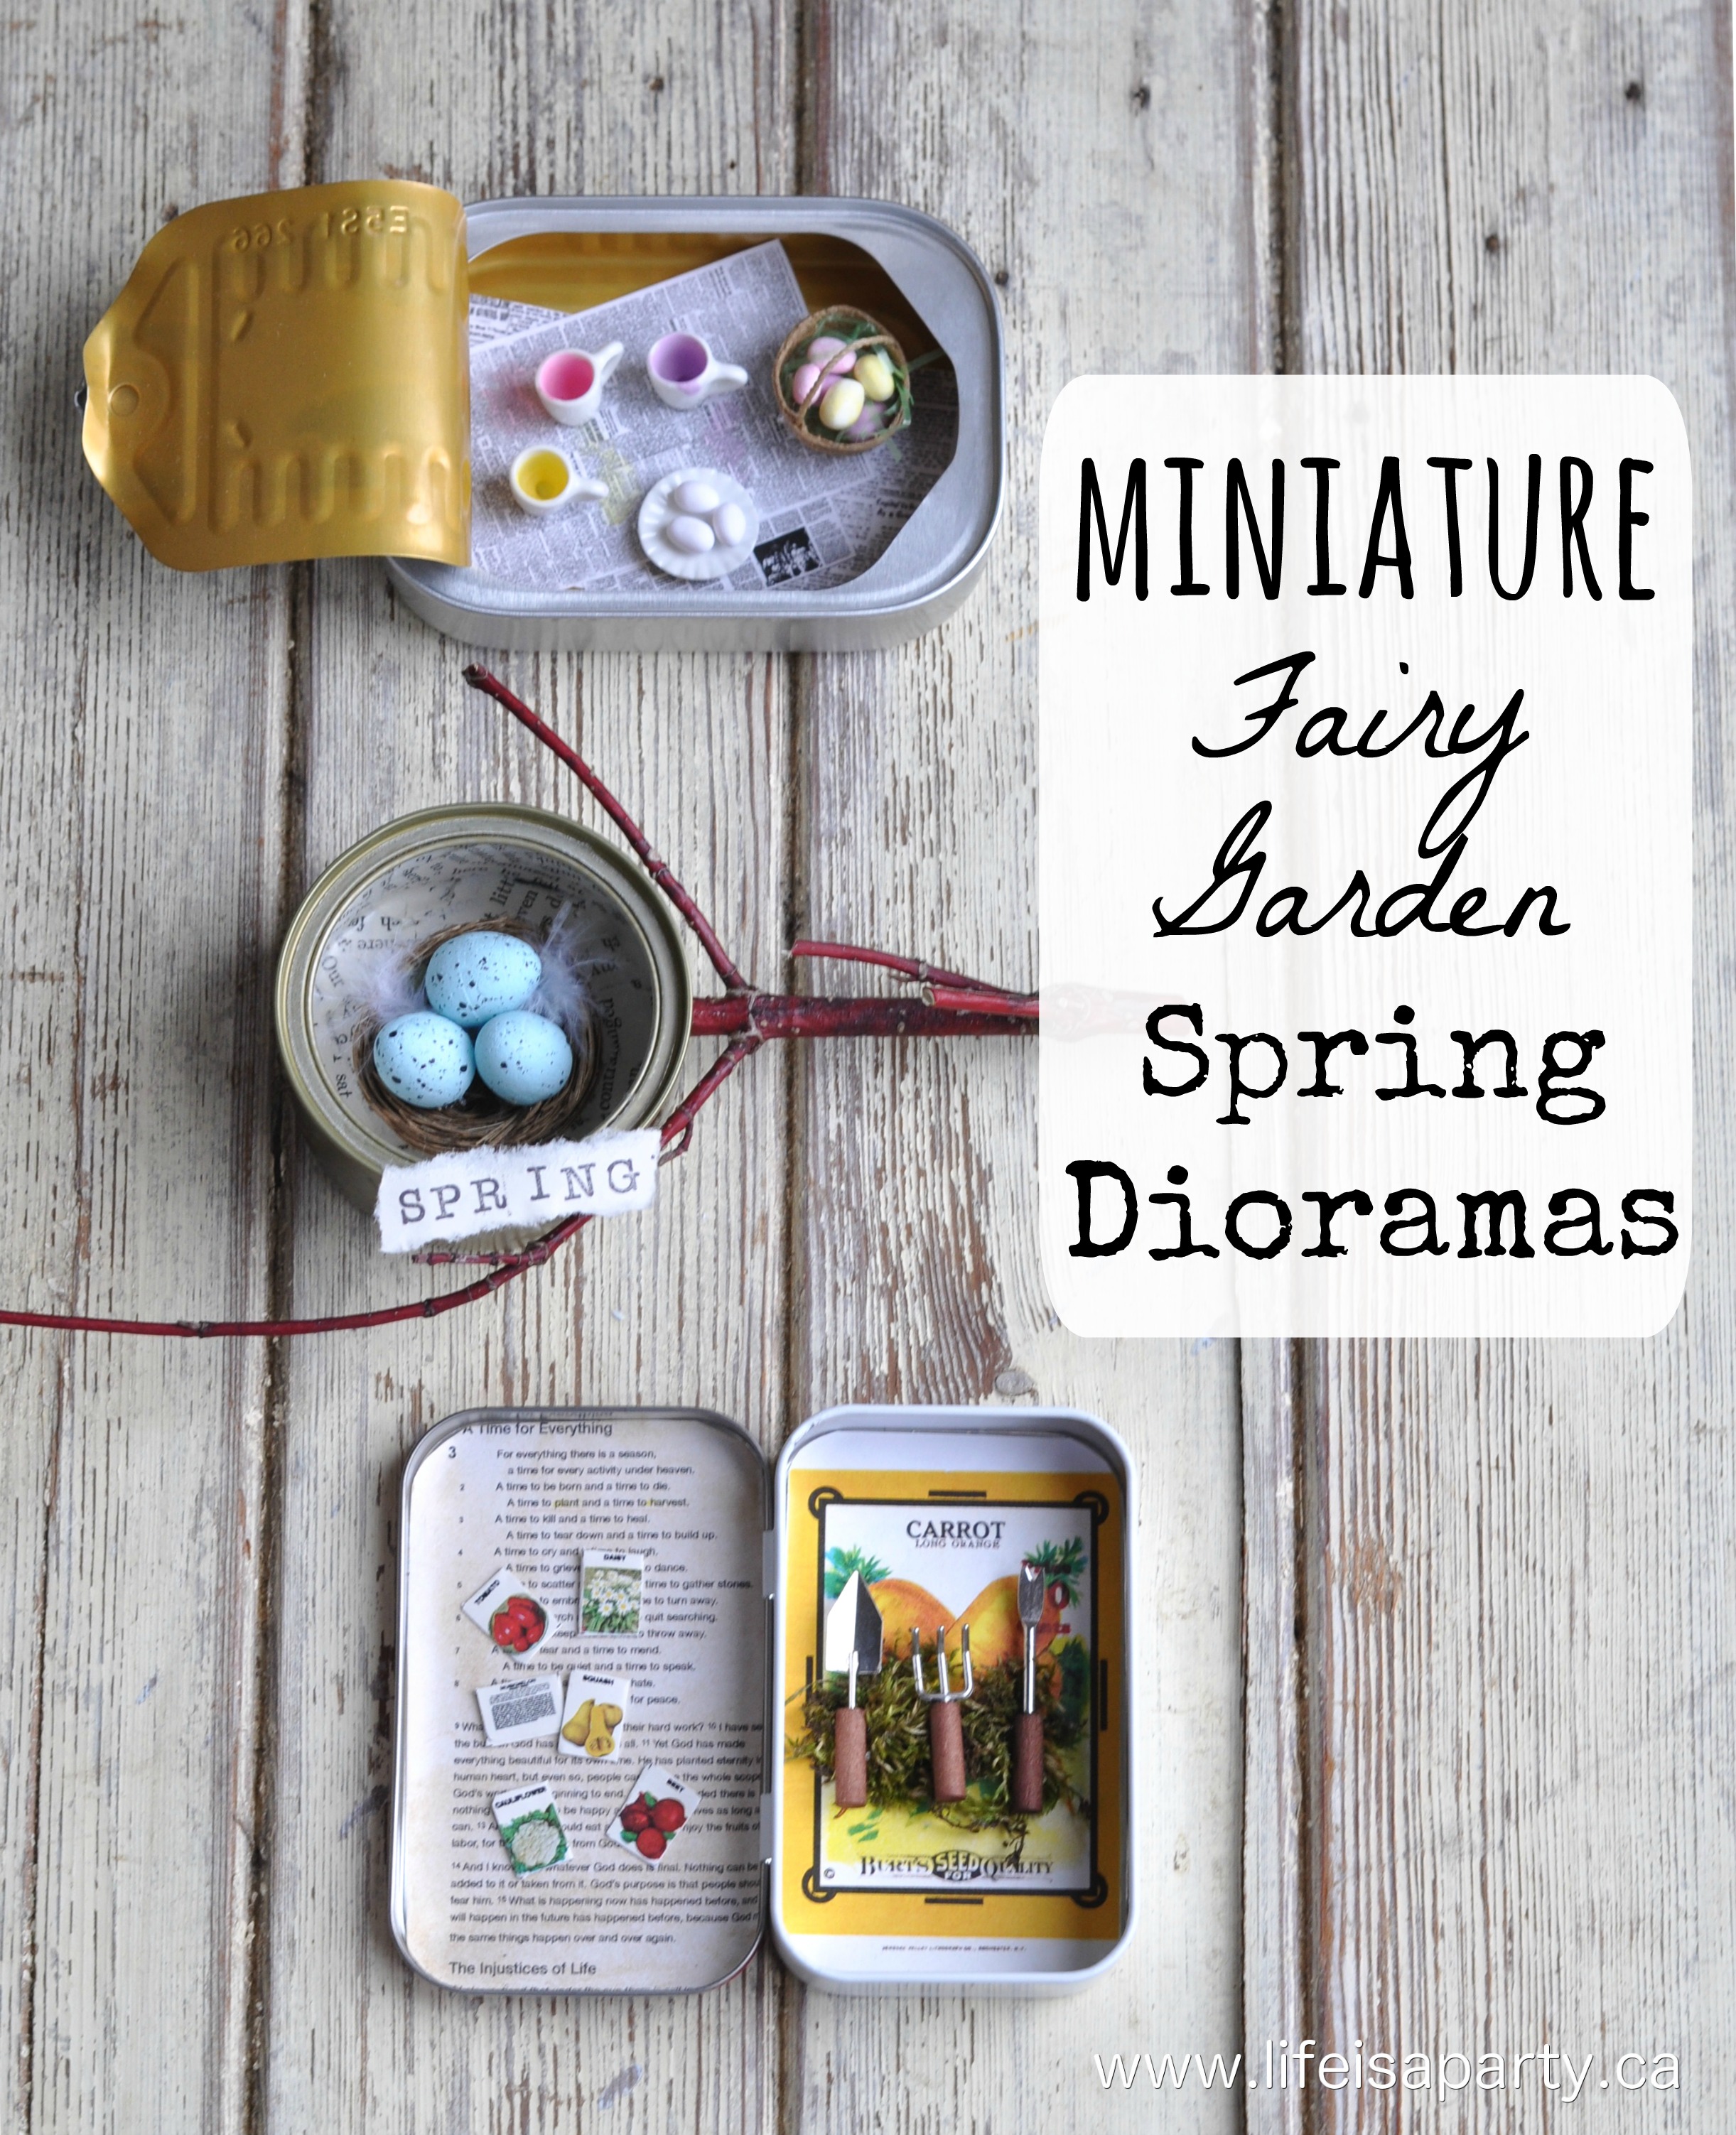
You might also enjoy our Miniature Fairy Garden Dioramas here.


dnr says
Julie,
Thanks so much, so glad you like them.
Dannyelle
Julie Kitchener says
Thanks for sharing! what a great idea they are gorgeous!!!!