Polymer Clay Christmas Village: DIY miniature polymer clay houses and trees make a decorative miniature Christmas village.

Jump to:
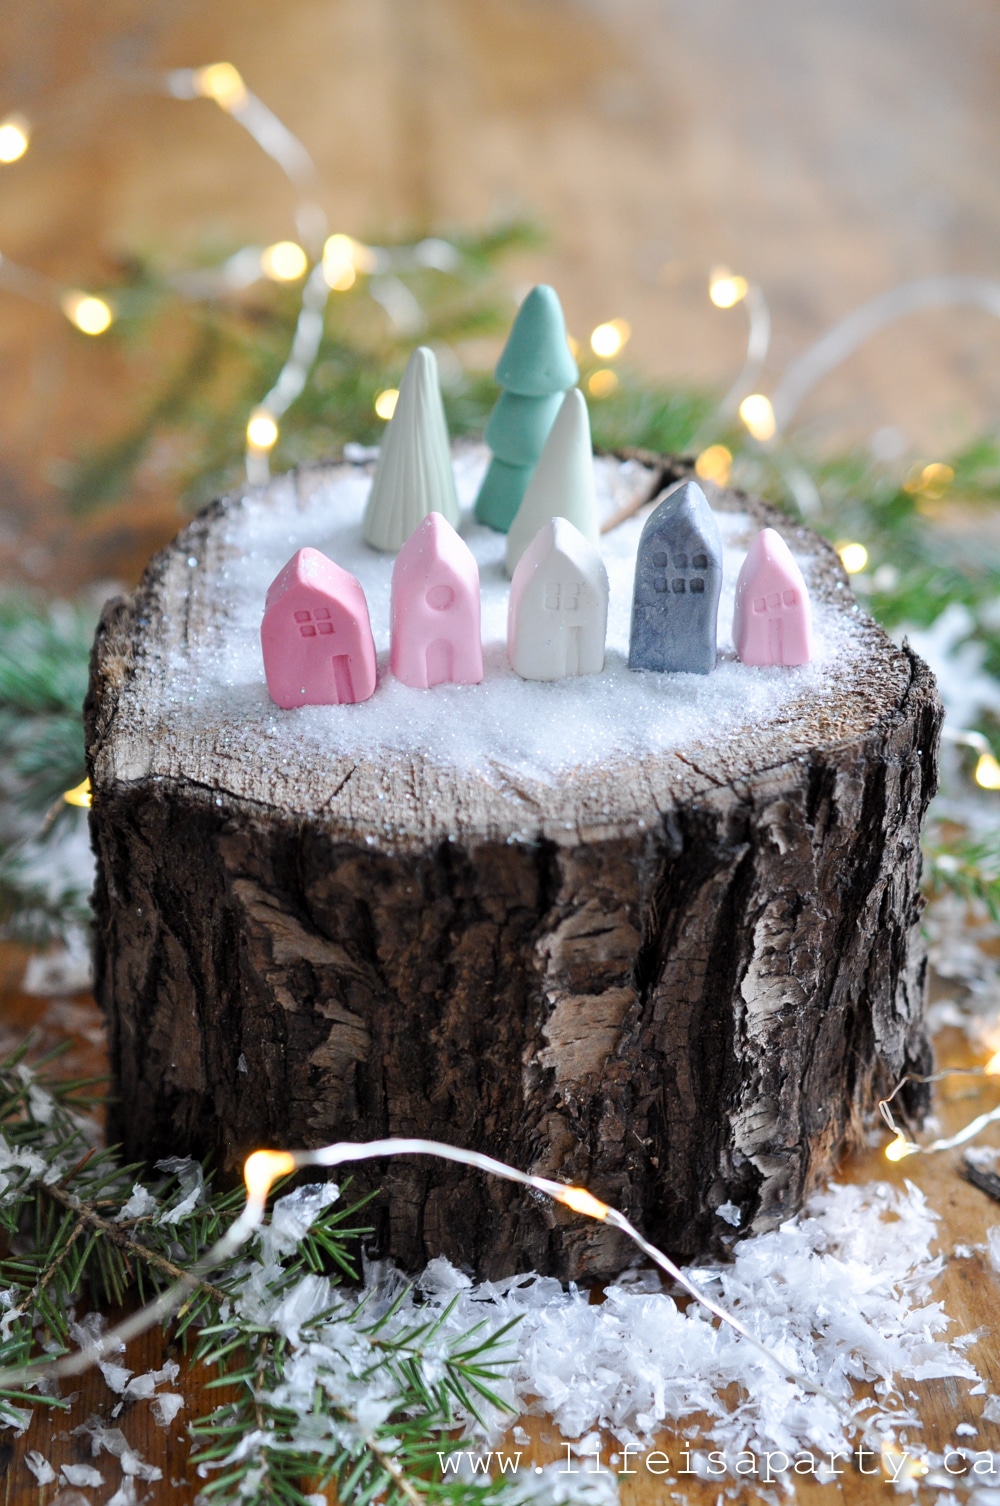
This polymer clay Christmas village is such a fun DIY for the holidays. And it's one of my favorite polymer clay ideas for a Christmas project. Everything miniature is always so cute. And Christmas villages are a favourite of mine. I used polymer clay to make this one. It's a really simple DIY and you could make it in any colour to fit your decor.
This DIY is really simple to make. These little houses were actually inspired by some miniature ceramic houses I saw and thought I could make my DIY version with polymer clay. I love decorating this time of year. This village of polymer miniature houses turned out so sweet. You will love getting these out every year.
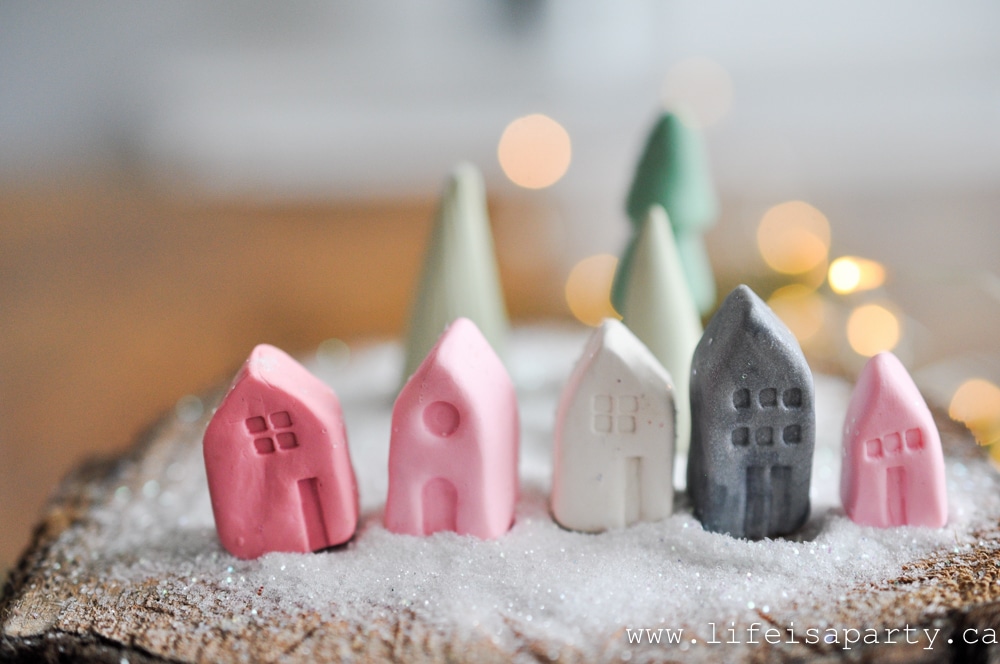
I used some pretty pinks, but this would be beautiful all in white, or any colours to match your Christmas decor.
Polymer Clay
If you're new to the world of polymer clay, I think you'll love using it. I love working with polymer clay, because it's easy to work with, and you can be so creative with it. It's inexpensive and readily available. Look for it at your local craft store. It's easy to work with. You can make any different shapes, and you can combine clay in different colors to make any clay projects.
Materials
- polymer clay
- matchstick
- lollipop stick
- knife
- parchment paper
- baking tray
Forming Your Polymer Clay Houses
Start by kneading a small piece of polymer clay. It's best to work on a piece of parchment paper, because the colour from the clay tends to leave residue on a work surface and transfer to the next colour you work on. Take care to make sure your hands and tools are clean when you switch colours too.
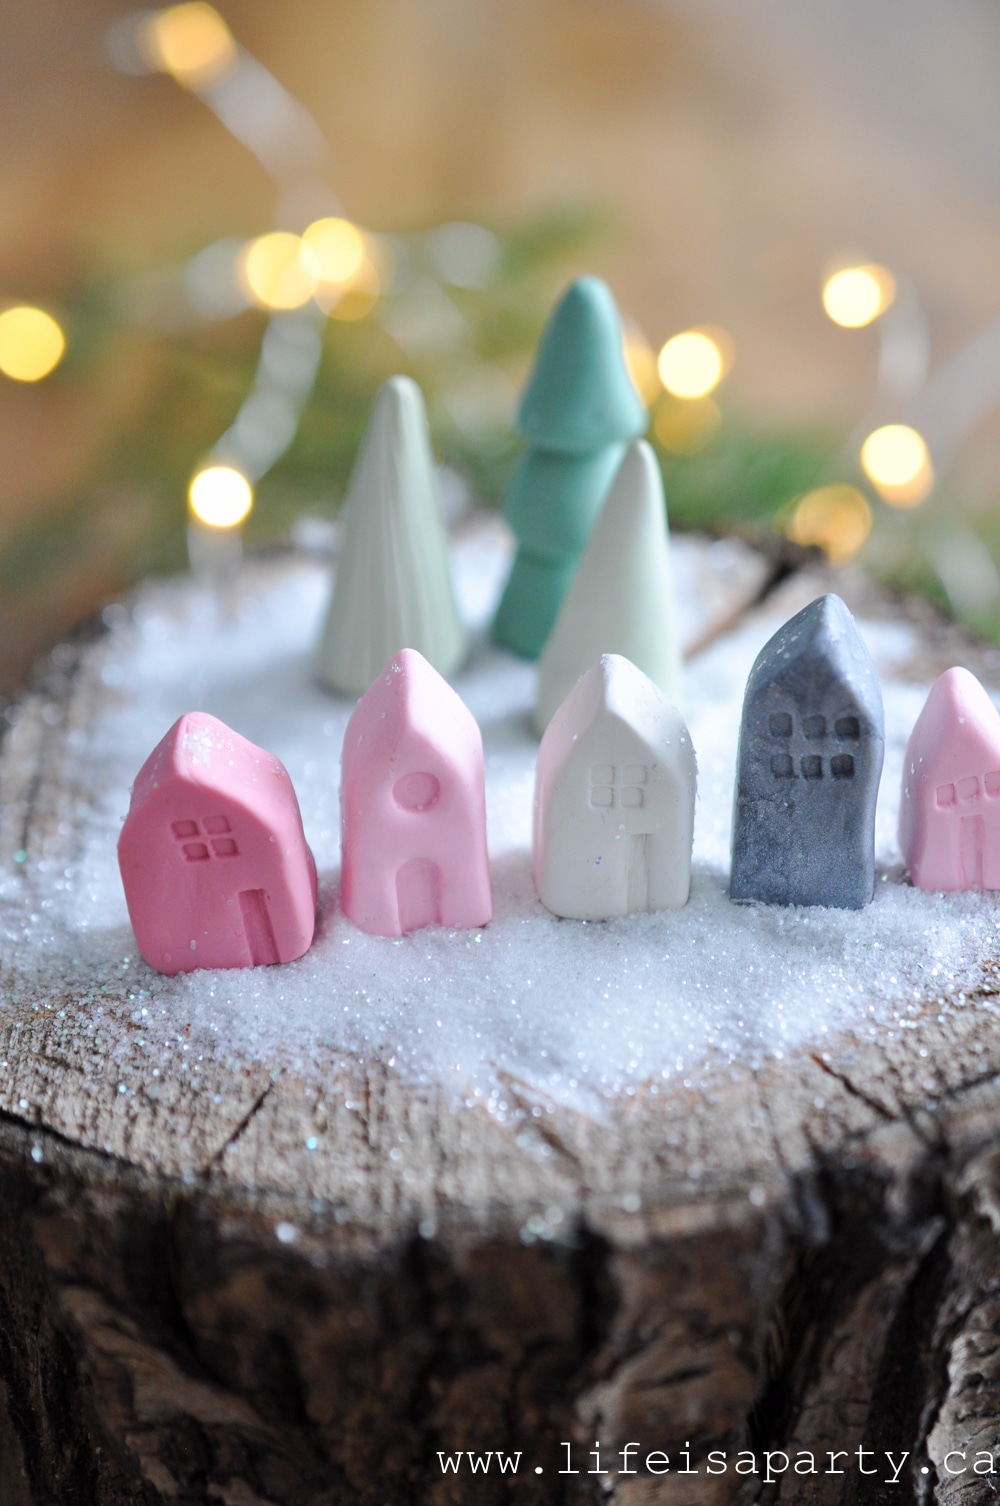
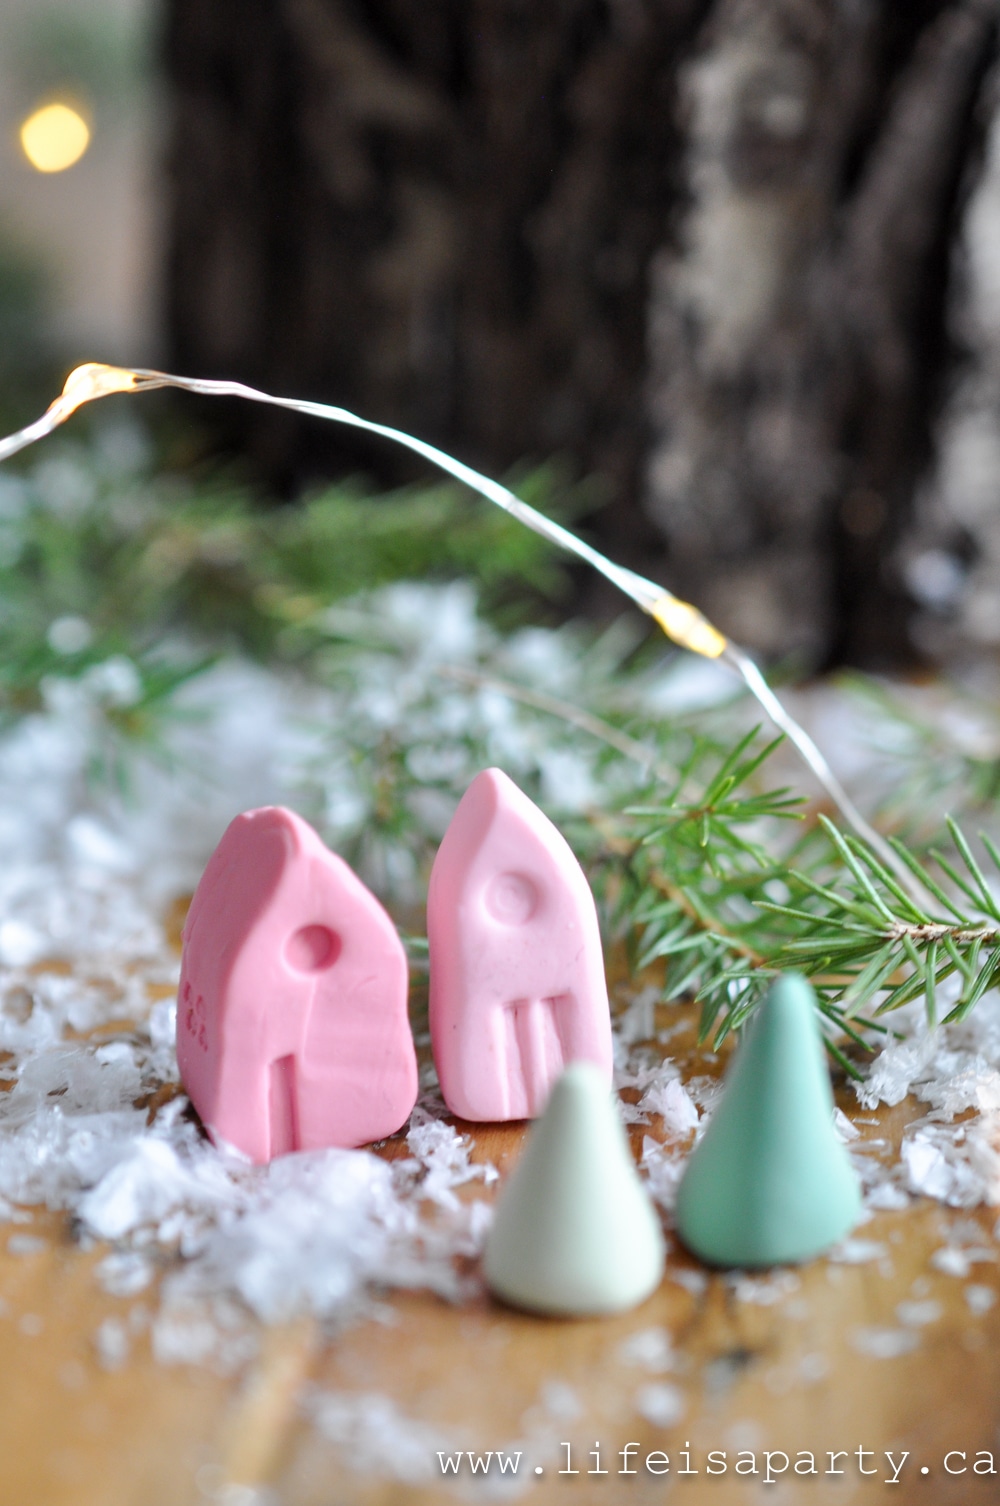
Begin my kneading your clay and softening it. Use your fingers to form a cube shape for the base of the house and then flatten the top into a roof to make your polymer clay miniature house. Try to make the houses slightly different sizes, some shorter, some taller, some wider, some smaller for variation. Mine were about 1-1.5 cm wide, and about 2 cm tall at the peak of the roof.
Adding Details
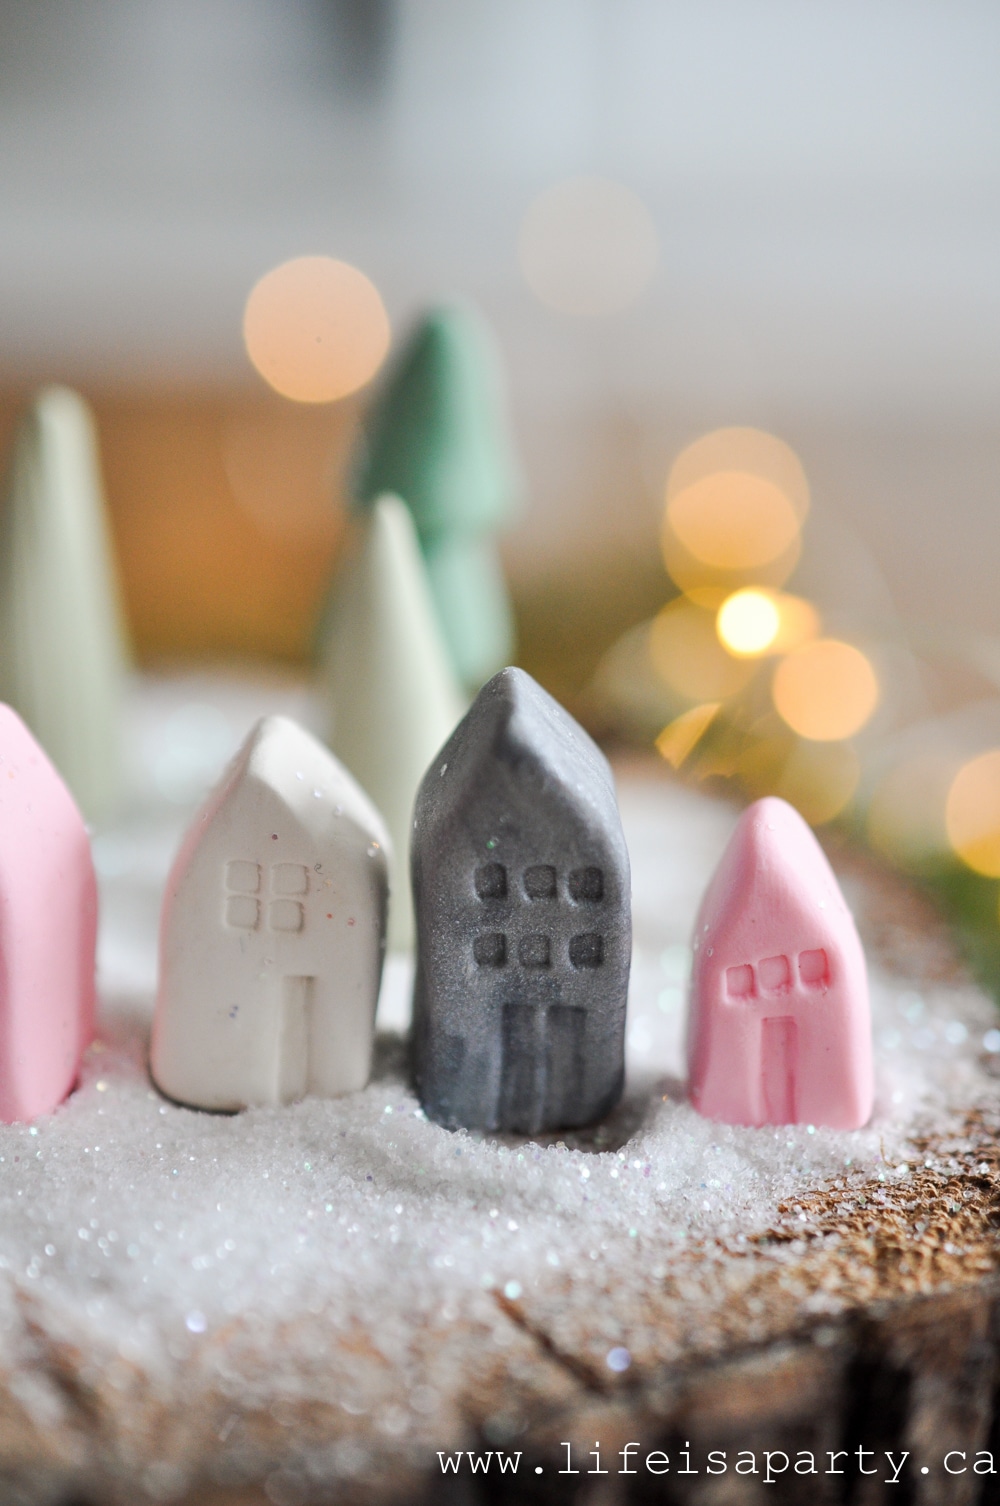
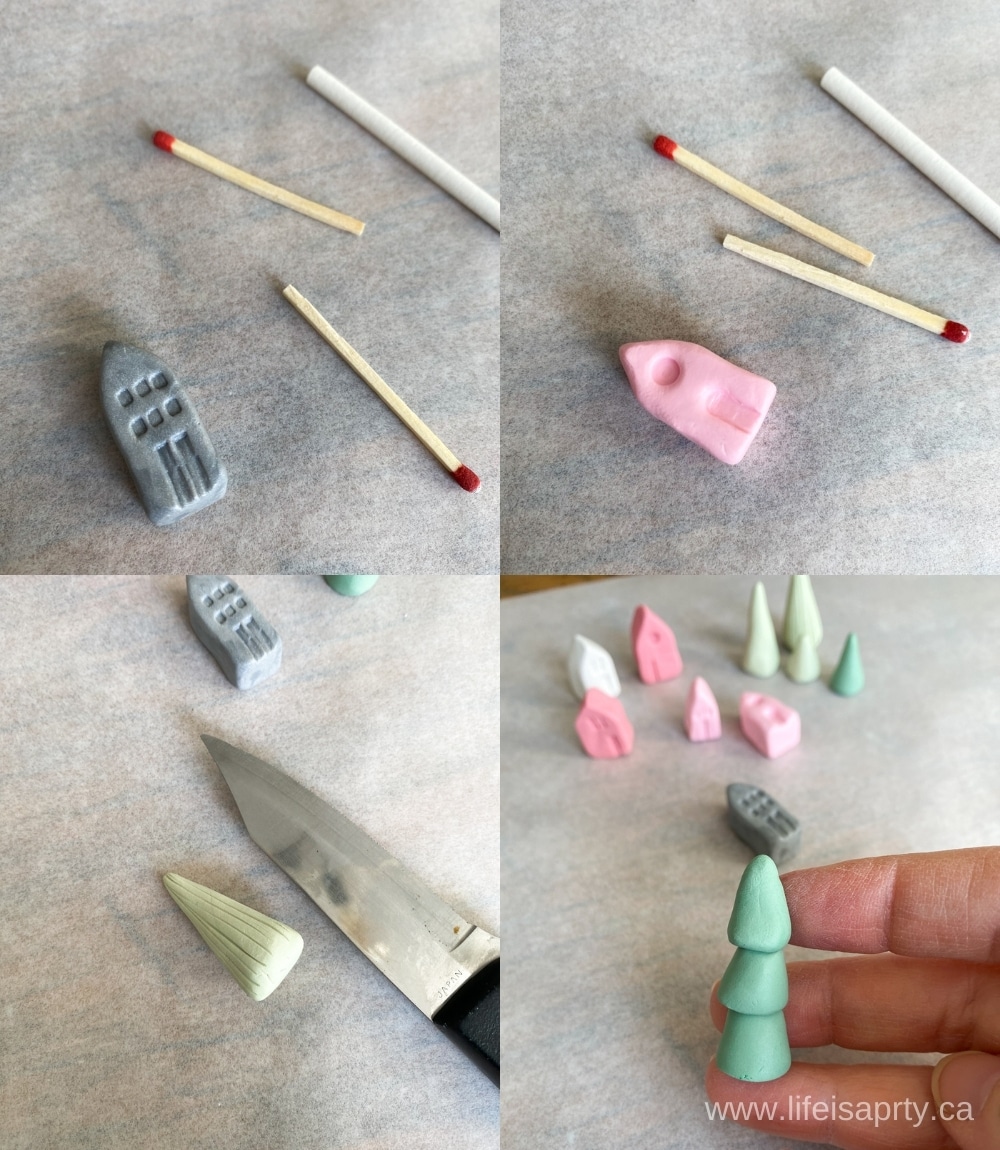
To add the details of the windows and doors use the end of a matchstick. One small square for a window, or four small squares together, or a line of three.
For the round window, use the end of a lollipop stick.
To make the doors, use the side of a matchstick. Or two together for double doors.
To make the rounded door, use a lollipop stick to make the round top, and the matchstick to make the straight section.
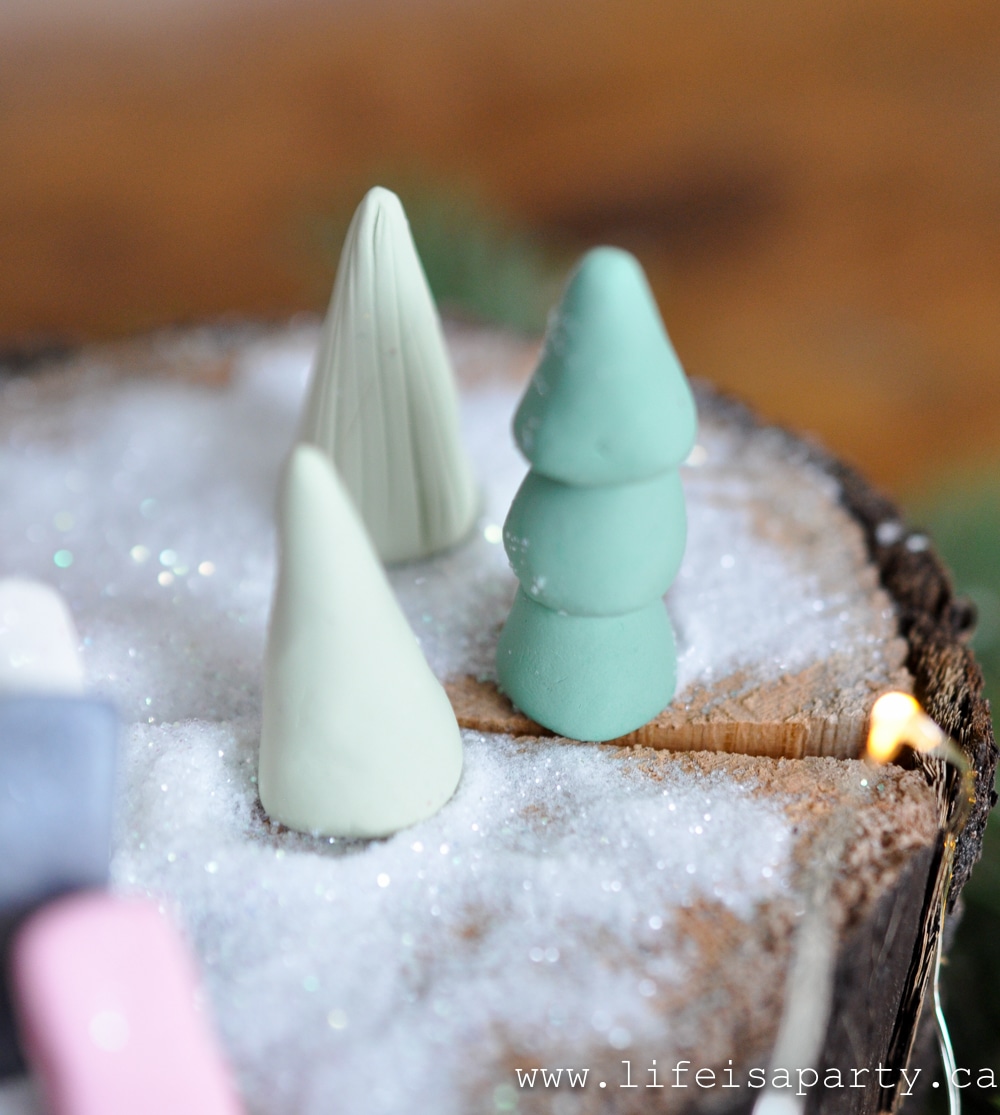
To make the trees, I used some green polymer and rolled it into a cone shape. On one I added a line detail with the straight side of a knife. Another was formed with three cone pieces stuck together.
If you're not happy with the design, just knead it again and start over. Once you're happy with the design, you're ready to bake it in your home oven.
Baking The Polymer Clay
Follow the instructions for baking for your particular brand of polymer clay, the package directions are on the side. I used sculpey clay and it was 15 min. at 375 per ¼ inch of polymer clay. I have used a toaster oven in the past and accidentally burned it, so I recommend a regular oven. Cover a baking tray with parchment and bake the pieces as directed.
After they cool they're ready to set up into a village.
Equipment
- home oven
Materials
- polymer clay
- matchstick
- lollipop stick
- knife
- parchment paper
- baking tray
Instructions
- Working on a piece of parchment paper, because the colour from the clay tends to leave residue on a work surface and transfer to the next colour you work on. Take care to make sure your hands and tools are clean when you switch colours too. Begin my kneading your clay and softening it. Use your fingers to form a cube shape for the base of the house and then flatten the top into a roof to make your polymer clay miniature house.
- Make different houses in slightly different colors, and different sizes; some shorter, some taller, some wider, and some smaller for variation. Make them about 1-1.5 cm wide, and about 2 cm tall at the peak of the roof.
- To add the details of the windows and doors use the end of a matchstick. One small square for a window, or four small squares together, or a line of three. For the round window, use the end of a lollipop stick. To make the doors, use the side of a matchstick. Or two together for double doors. To make the rounded door, use a lollipop stick to make the round top, and the matchstick to make the straight section.
- Make trees using green polymer clay and roll it into a cone shape.
- Bake the clay according to the package directions, in your oven, on a parchment lined baking tray.
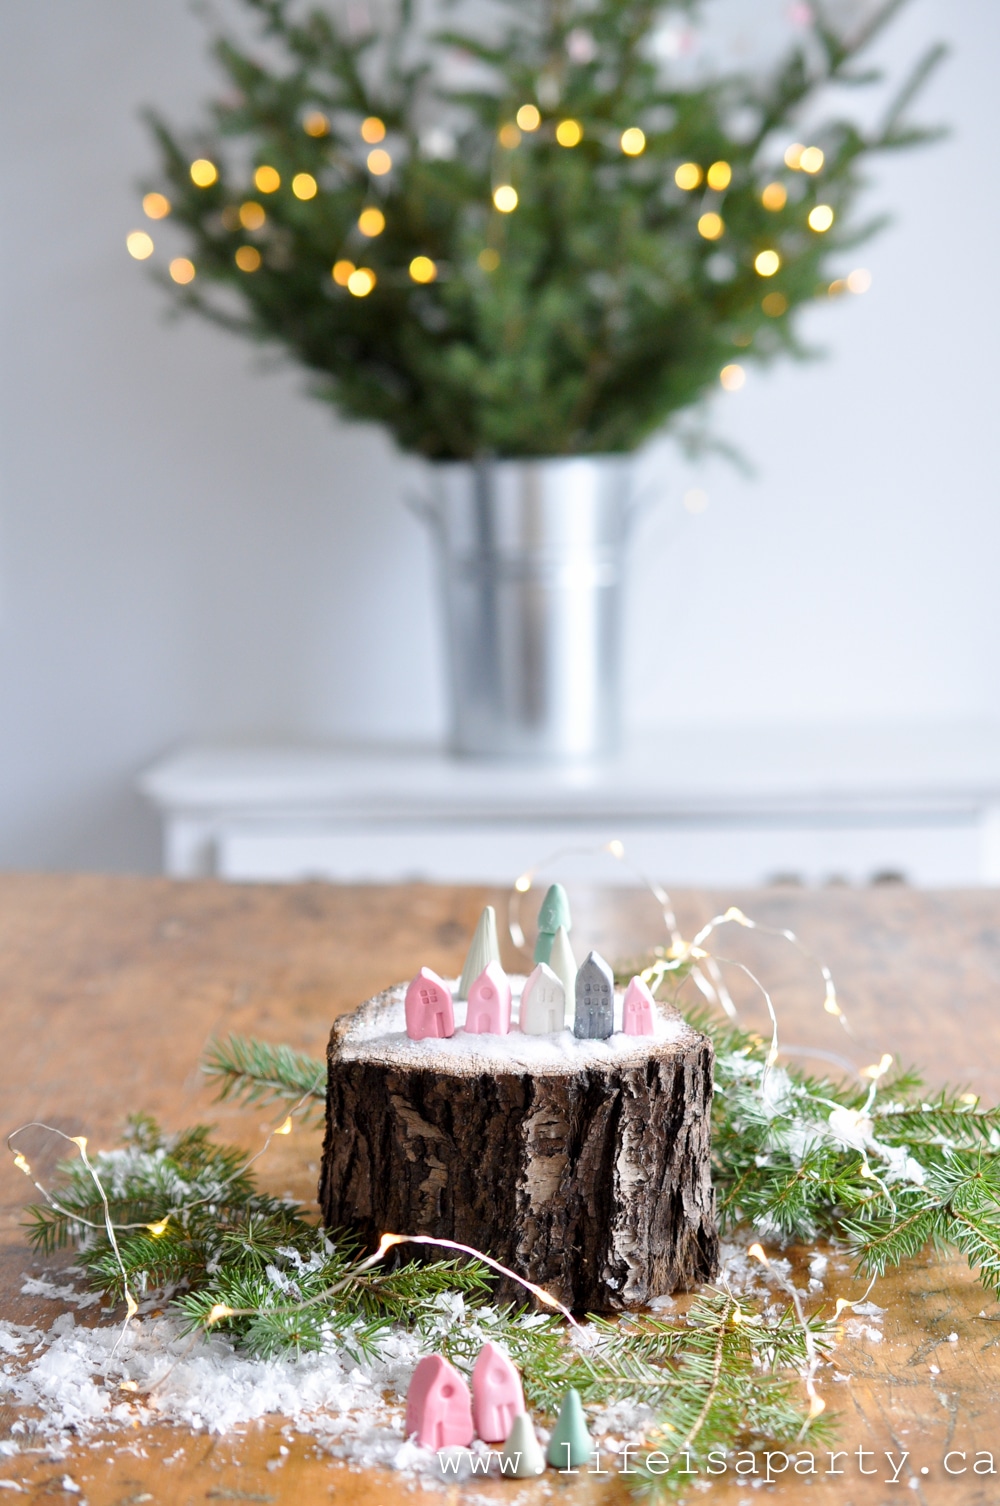
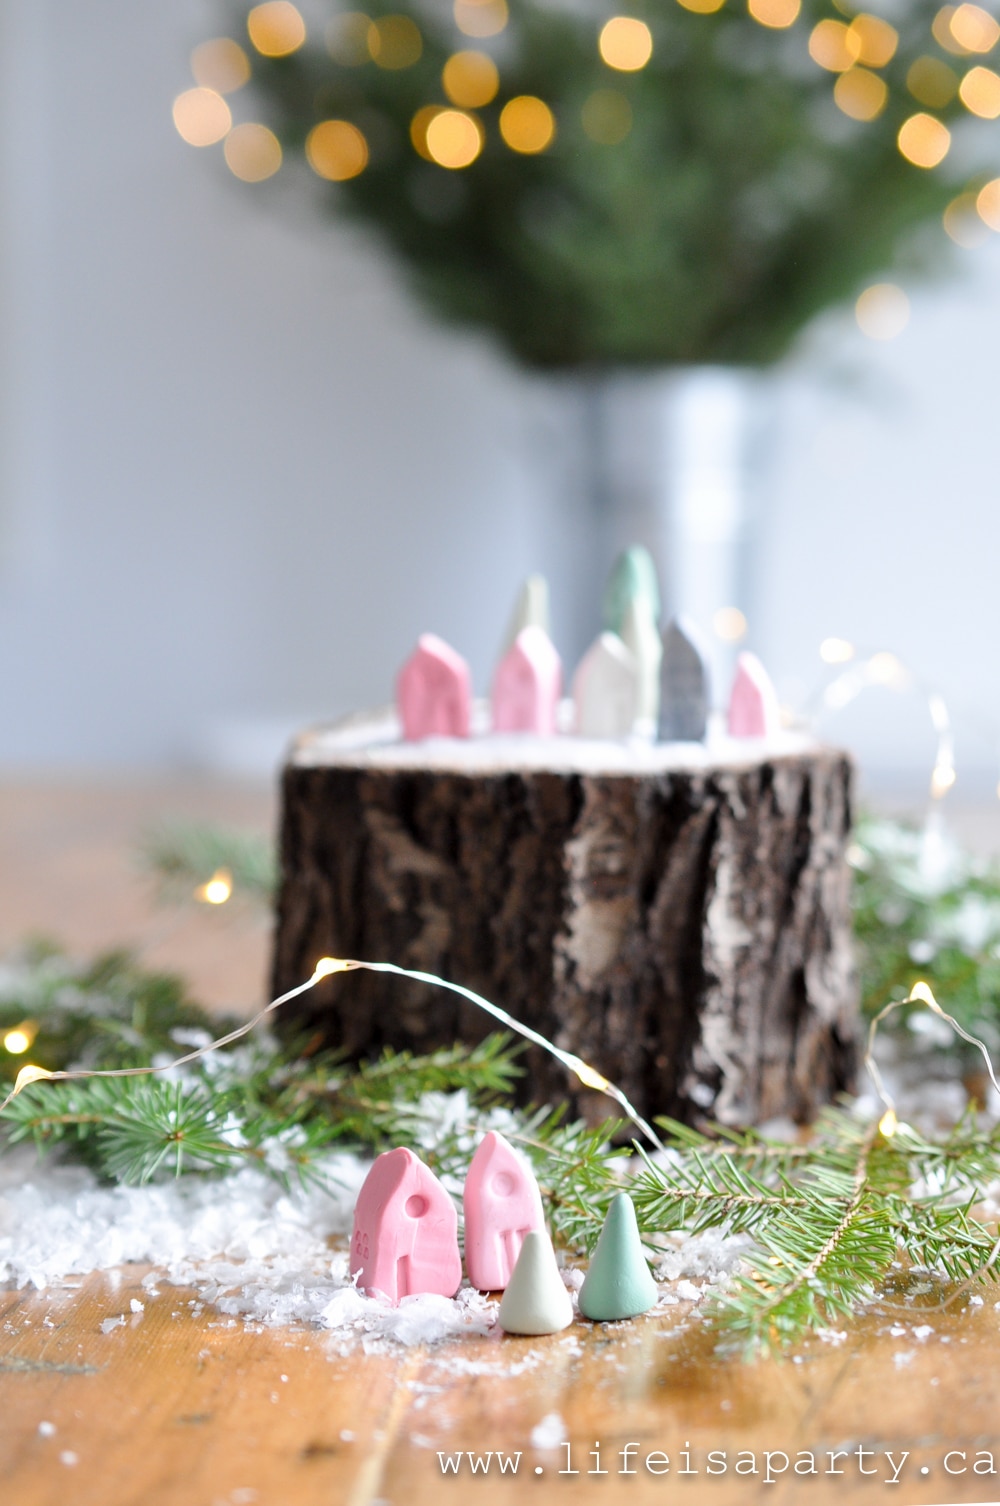
- Once cool arrange your village and sprinkle with glitter or faux snow.
I set mine up on a old log piece and used some white glitter as snow. They'd be perfect on a little window sill, or a small shelf. Best positioned somewhere where you can appreciate their tiny size. This project didn't take much time to make at all, and it turned out so cute. This would make a lovely handmade gift for anyone on your list. Make the polymer clay house village in their favorite colors to personalize it.
With a polymer clay house village all ready for Christmas, life really is a party.
More Christmas Project Inspiration
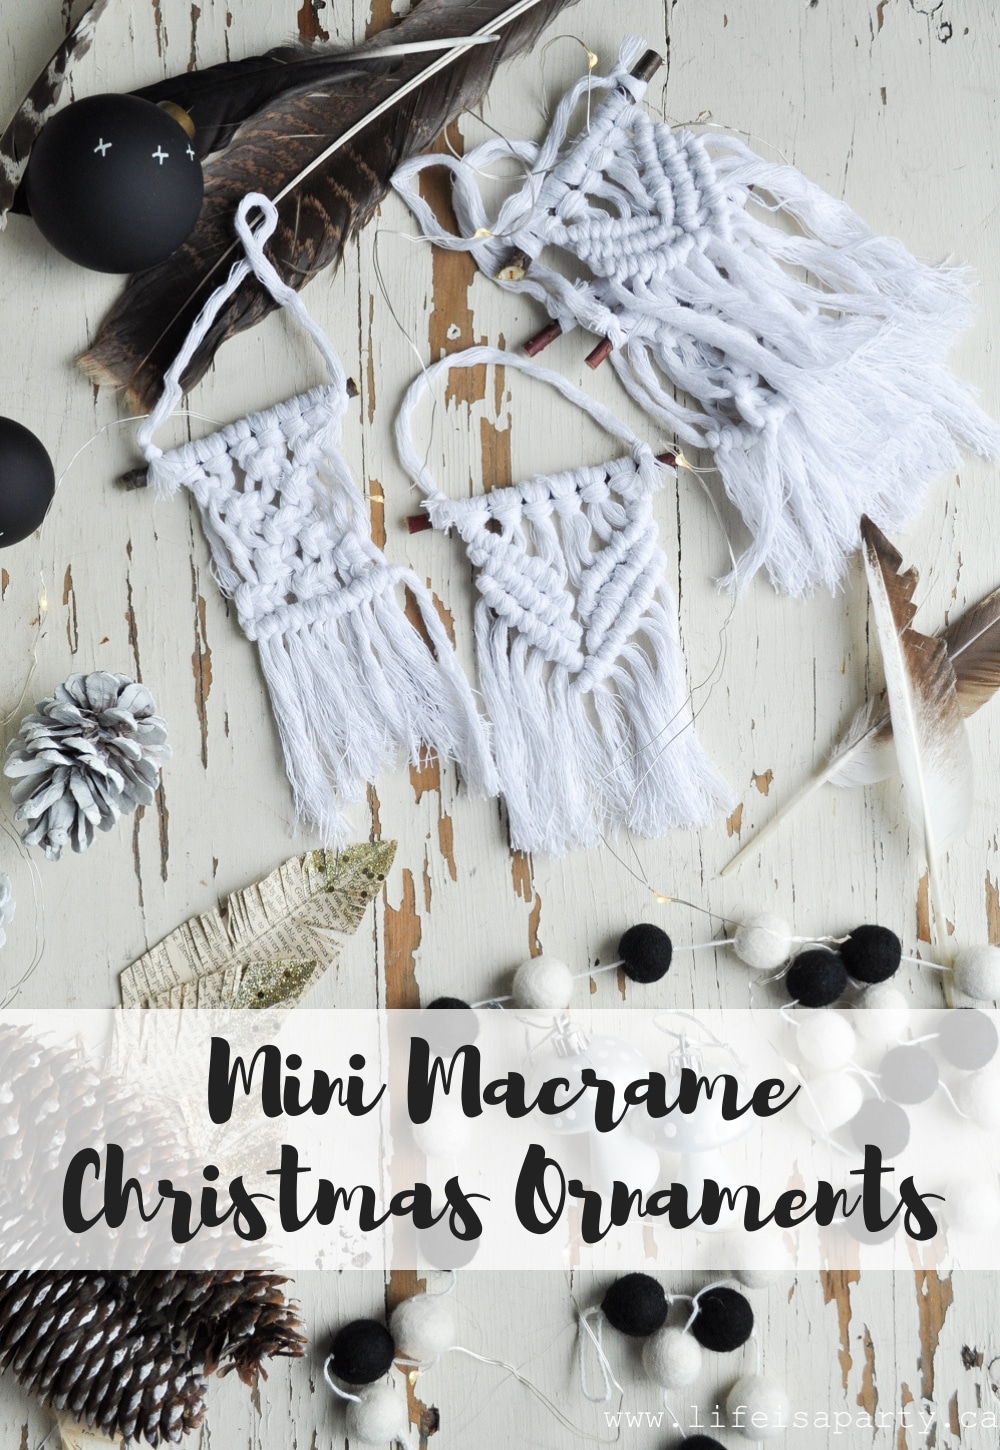
You might also like our Christmas Macrame Ornaments here.
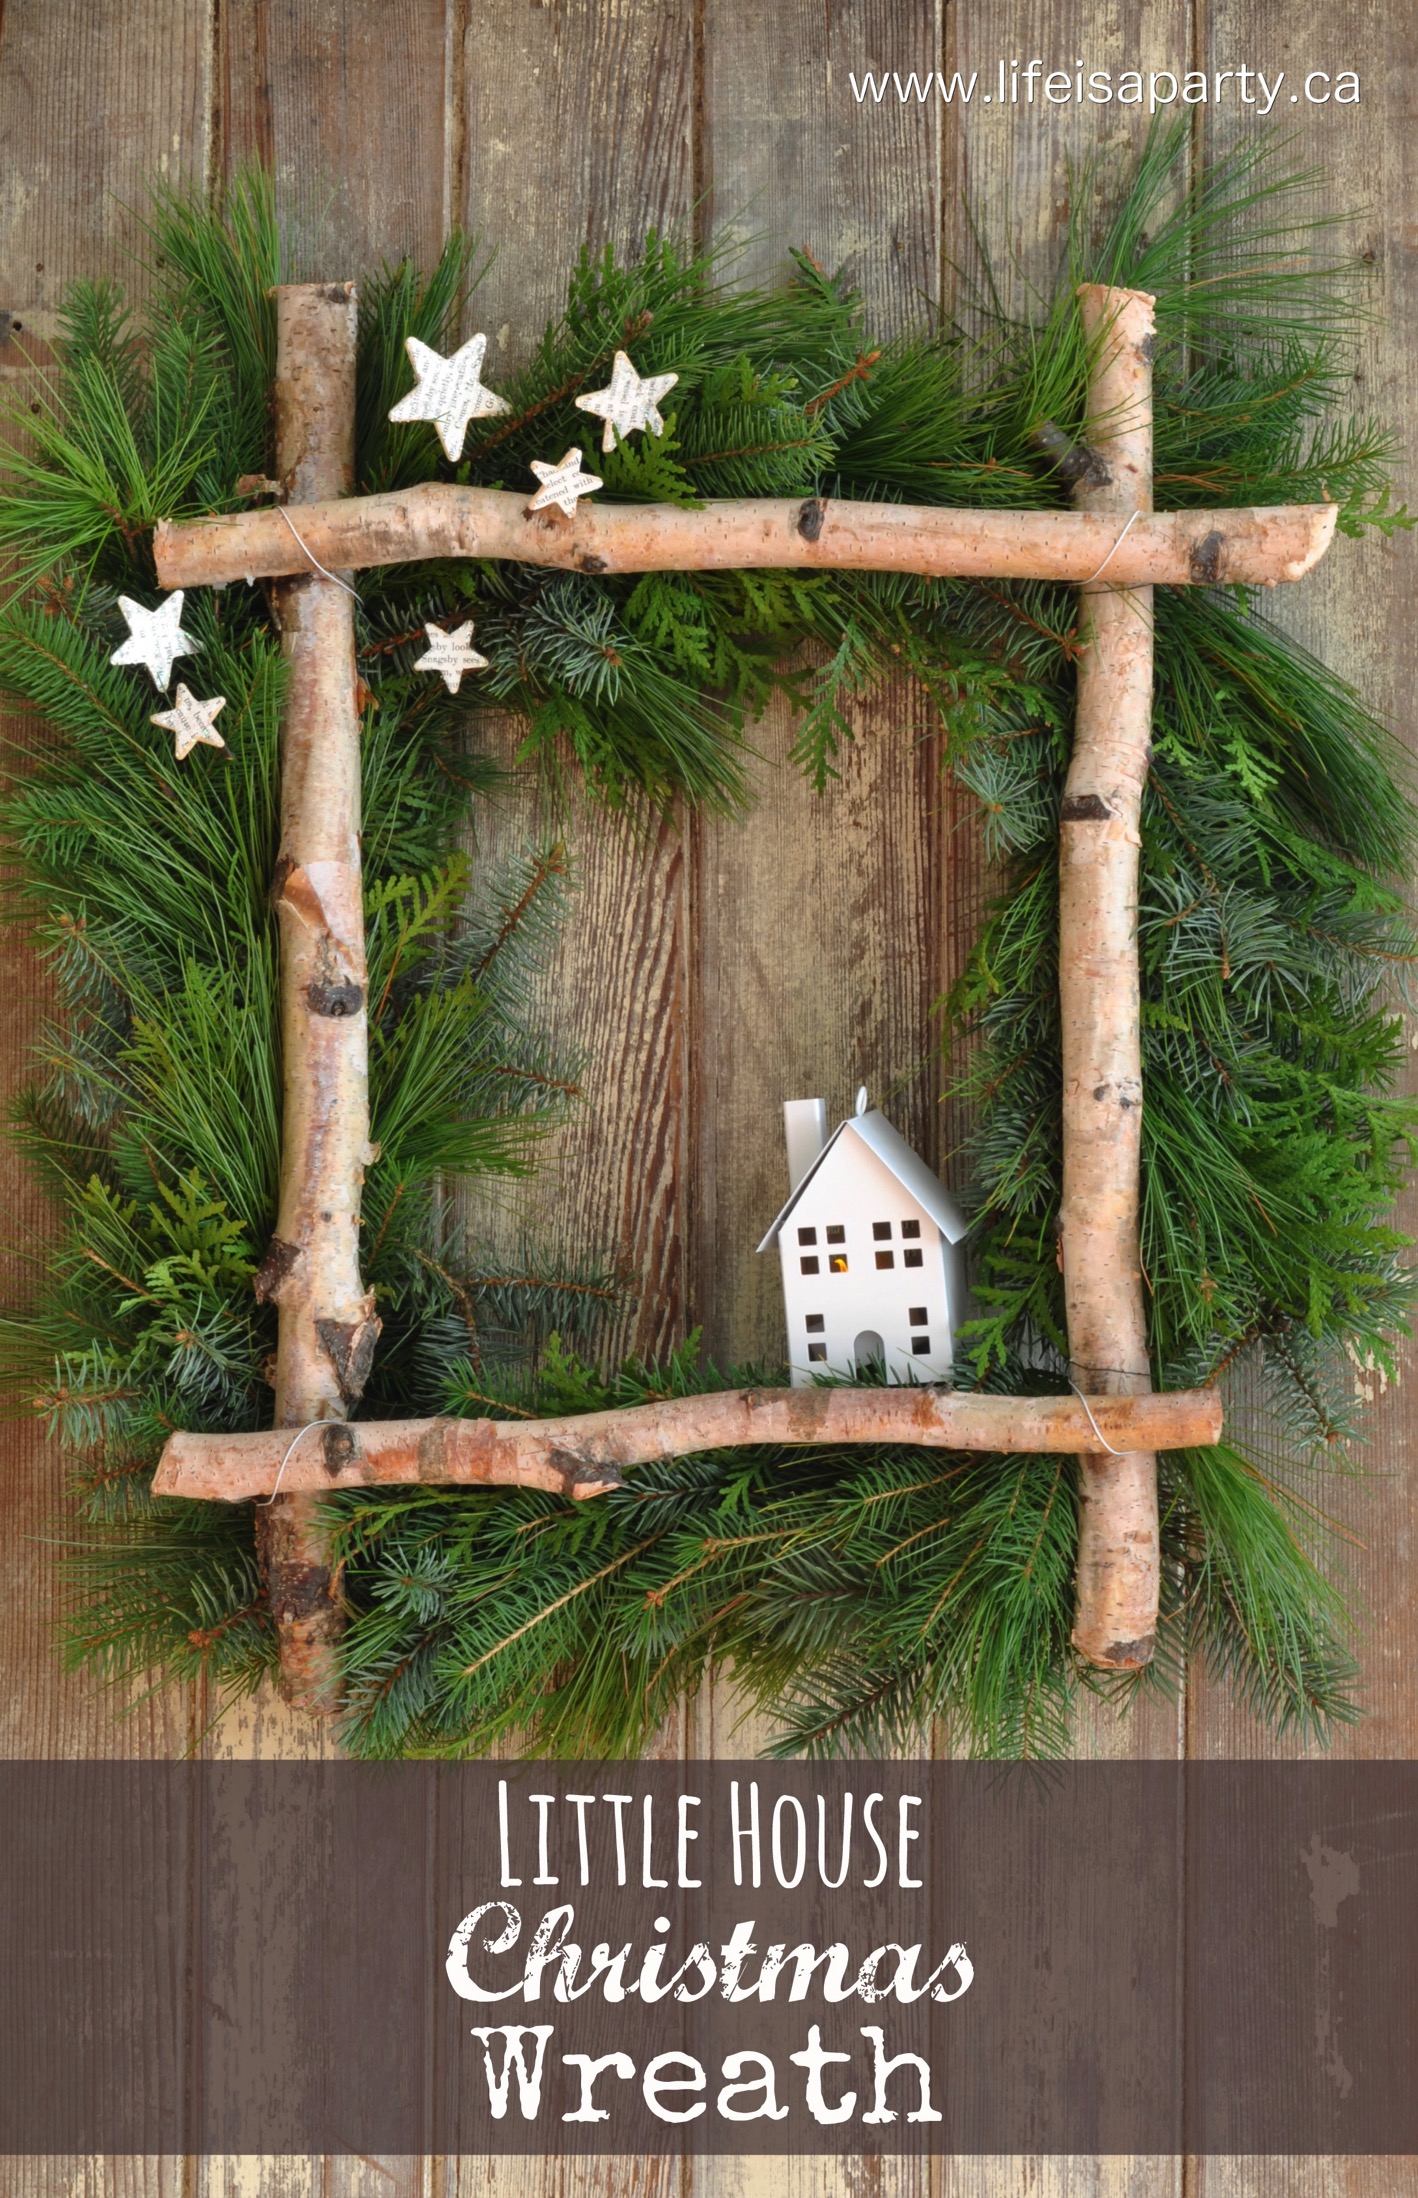
Also check out our Christmas Wreath here.
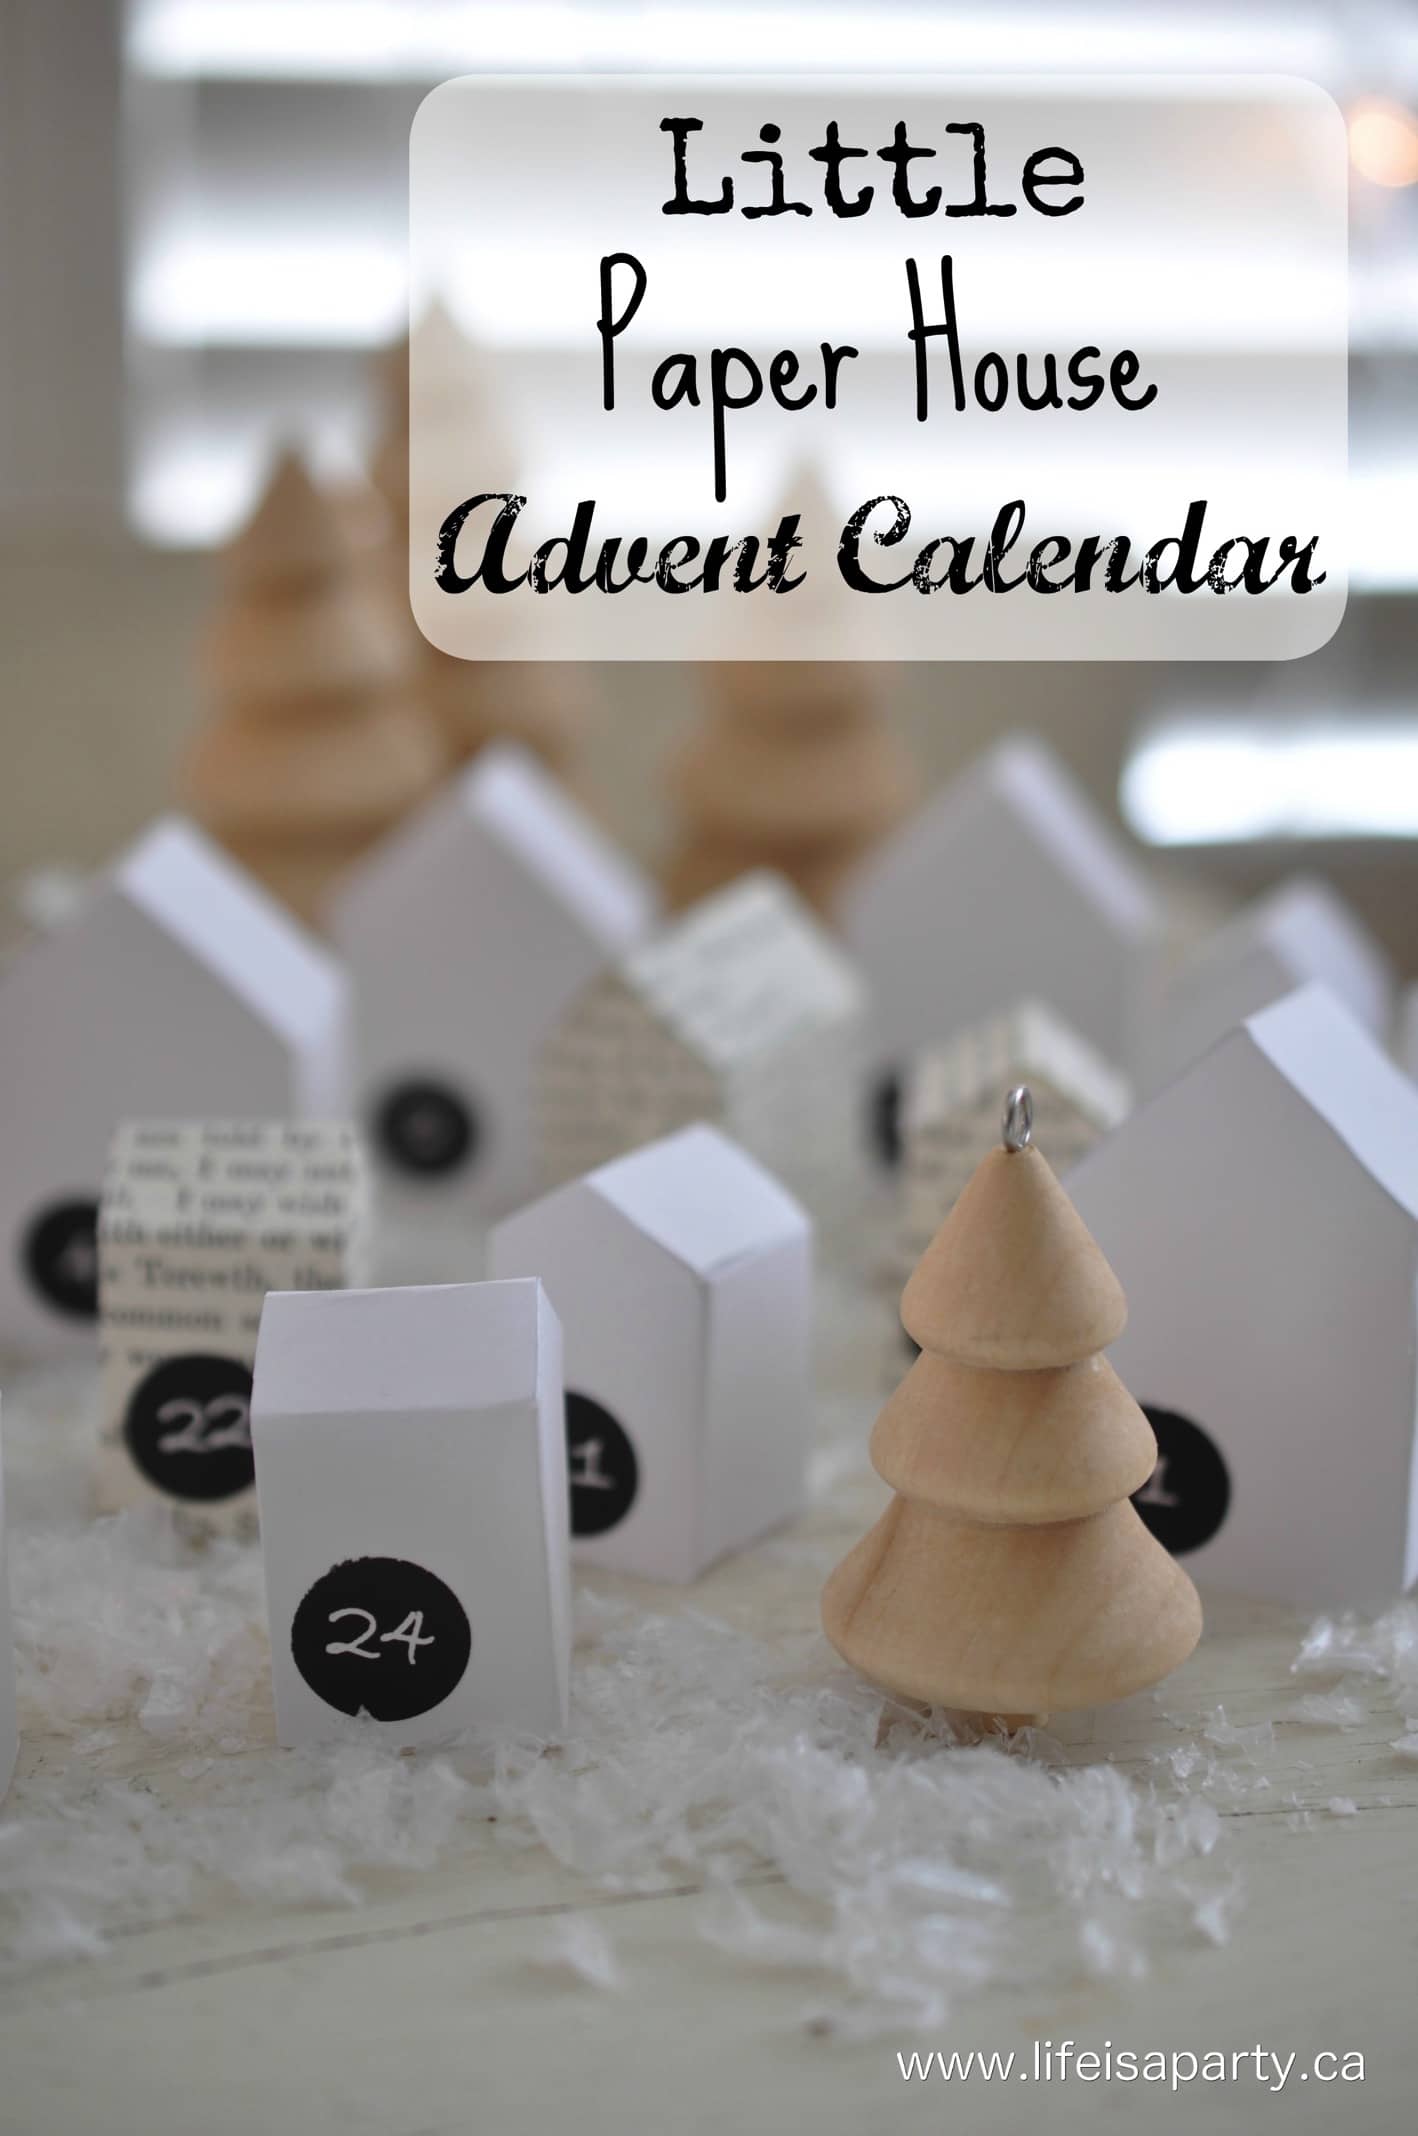
You might also enjoy our DIY Paper House Advent Calendar here.


Joni Gonzales says
OMG these are so cute! I think I found my family's Christmas craft this year. My kids are grown but we still try to do at least one craft together each Christmas. Thank you!
Jenn says
So fun! I love the colors!
Kelly Radcliff says
Oh my word these little house are just darling! I love them and can't wait to try this...I too love anything mini!