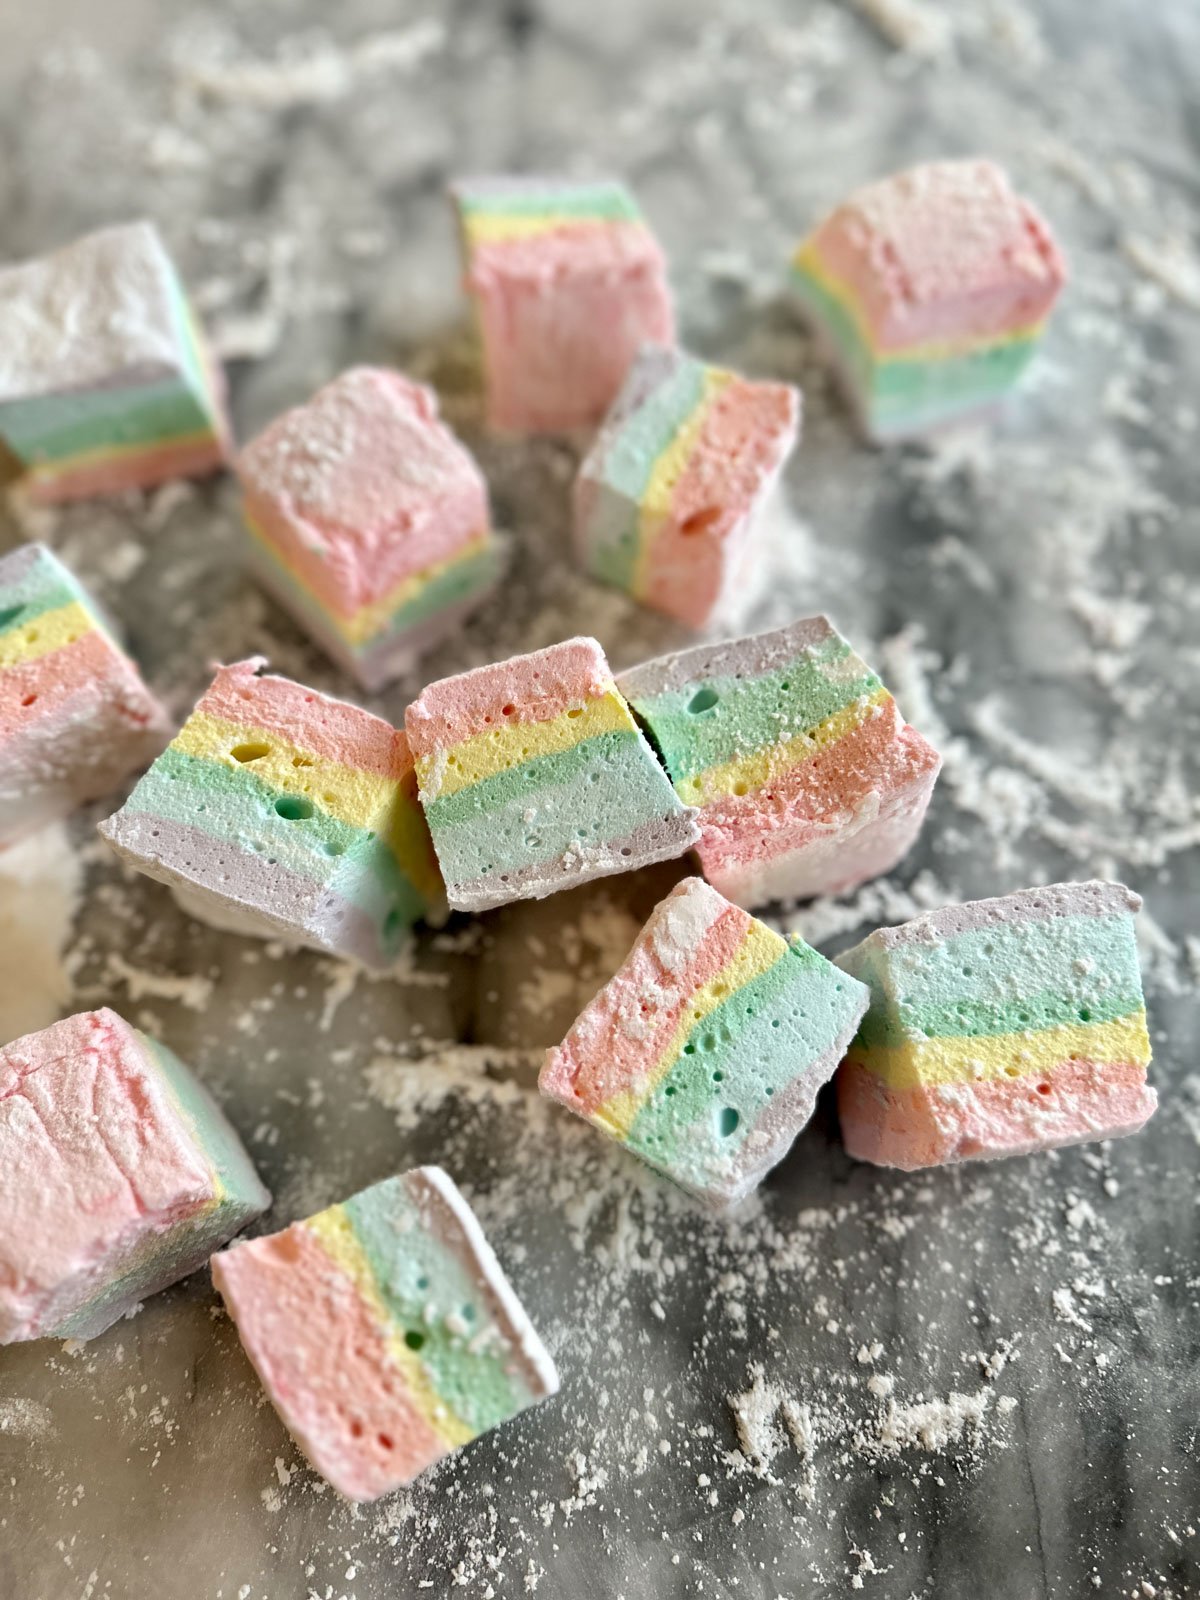
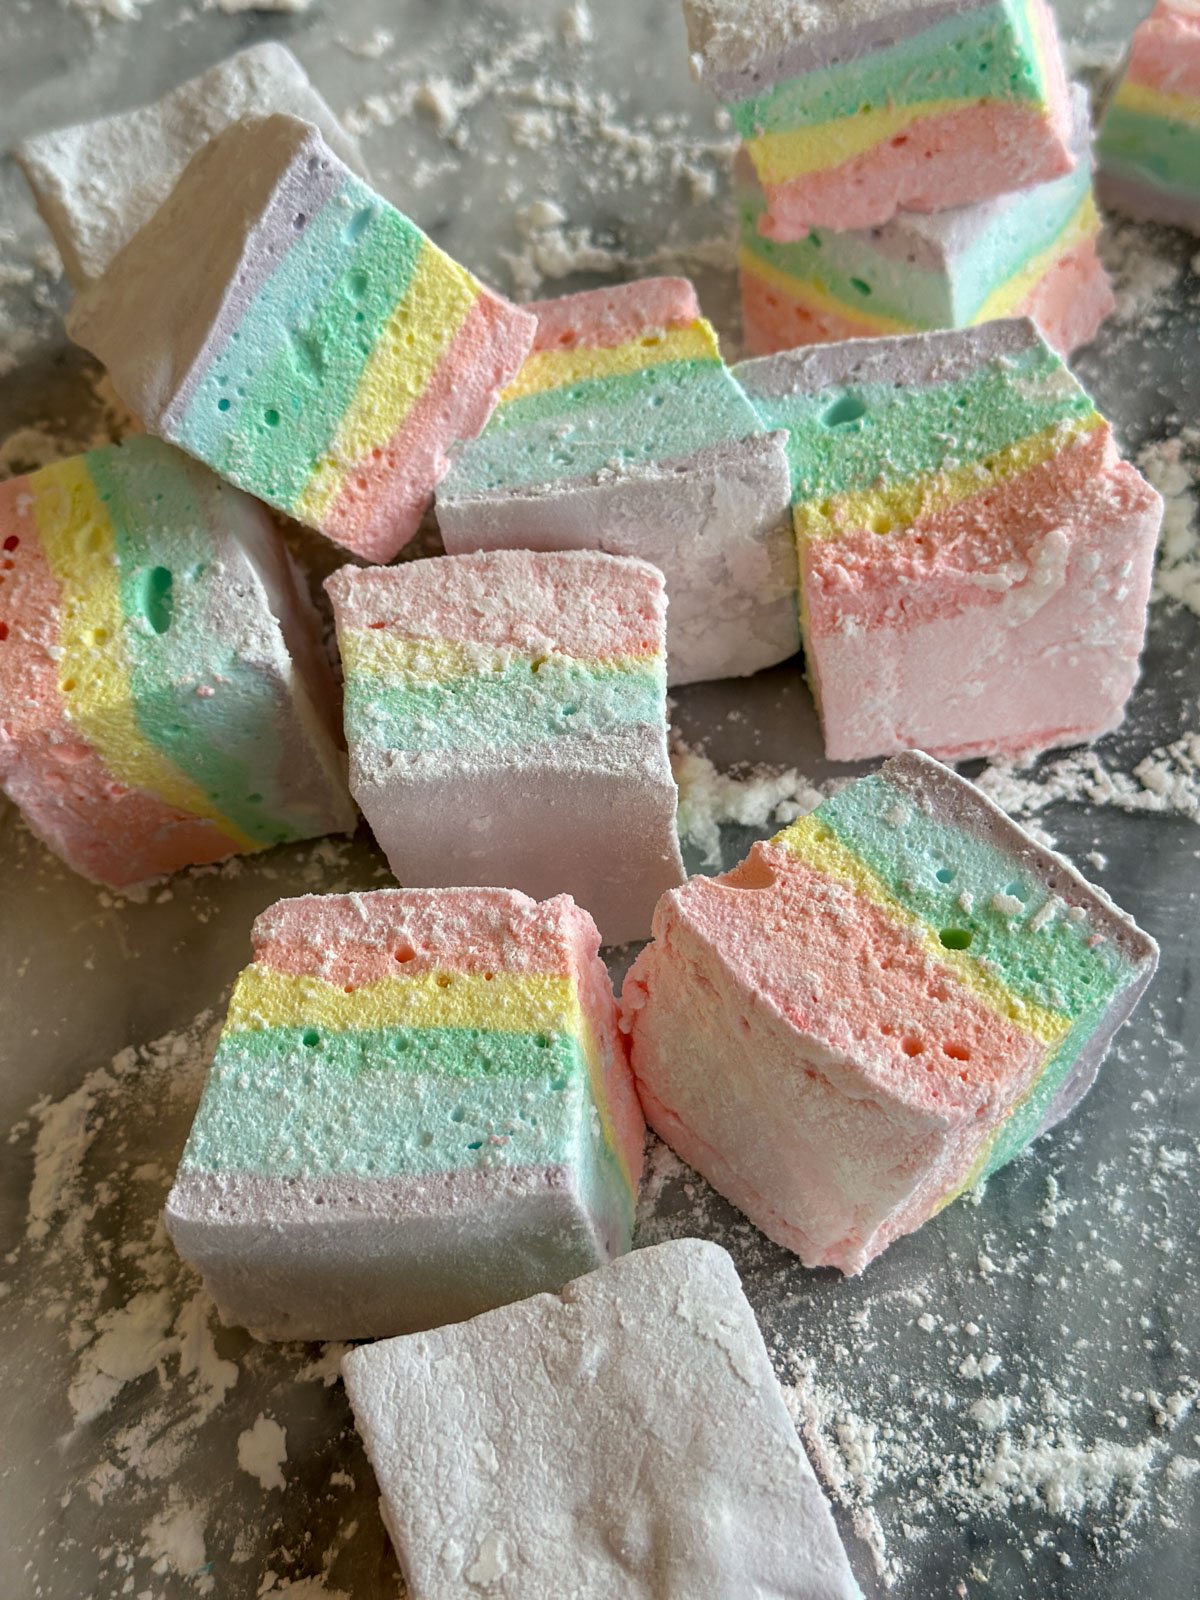
These homemade rainbow marshmallows are soft, fluffy, and absolutely beautiful with their pastel layered colors. If you've never tried a homemade marshmallow you will love their amazing melt-in-your-mouth texture and flavor. And they're not difficult to make, as long as you have a stand mixer and candy thermometer.
A Quick Look At The Recipe
- ✅ Recipe Name: Rainbow Marshmallows
- 🕒 Ready In: About 6 hours 30 minutes (30 minutes active, 6+ hours setting time)
- 👪 Yields: 36 marshmallows (cut into 1.5 x 1.5 inch squares)
- 📖 Dietary Info: Gluten-free, no artificial flavors, homemade
- ⭐ Why You'll Love It: Soft, fluffy homemade marshmallows with beautiful rainbow layers.
Why You'll Love These Rainbow Marshmallows
- Actually doable -If you can use a candy thermometer and a stand mixer, you can make these!
- Beautiful rainbow layers -These are perfect for St. Patrick's Day, Pride, Easter, Spring, Rainbow Party, Art Party, just about anytime really.
- Control what goes in -No preservatives or artificial flavors added.
- Great for gifting -Look gorgeous in clear jars or cellophane bags as party favors, or in a basket.
Jump to:
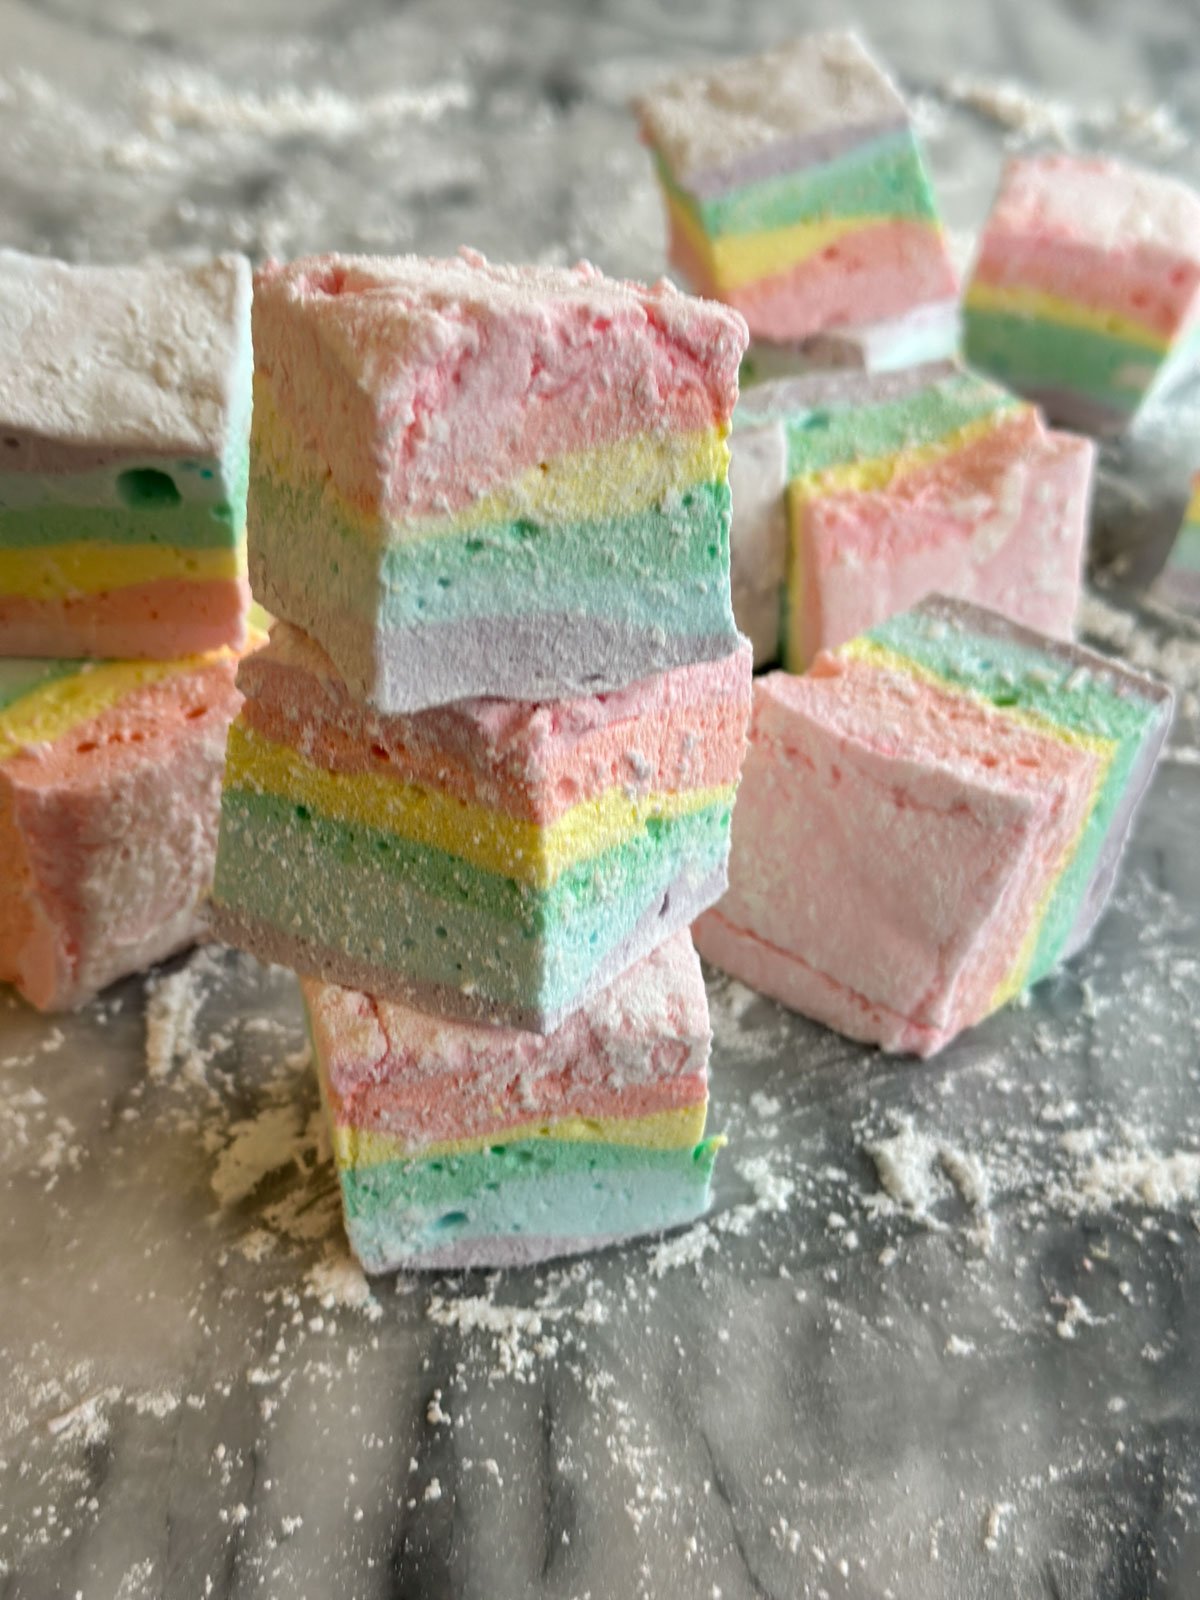
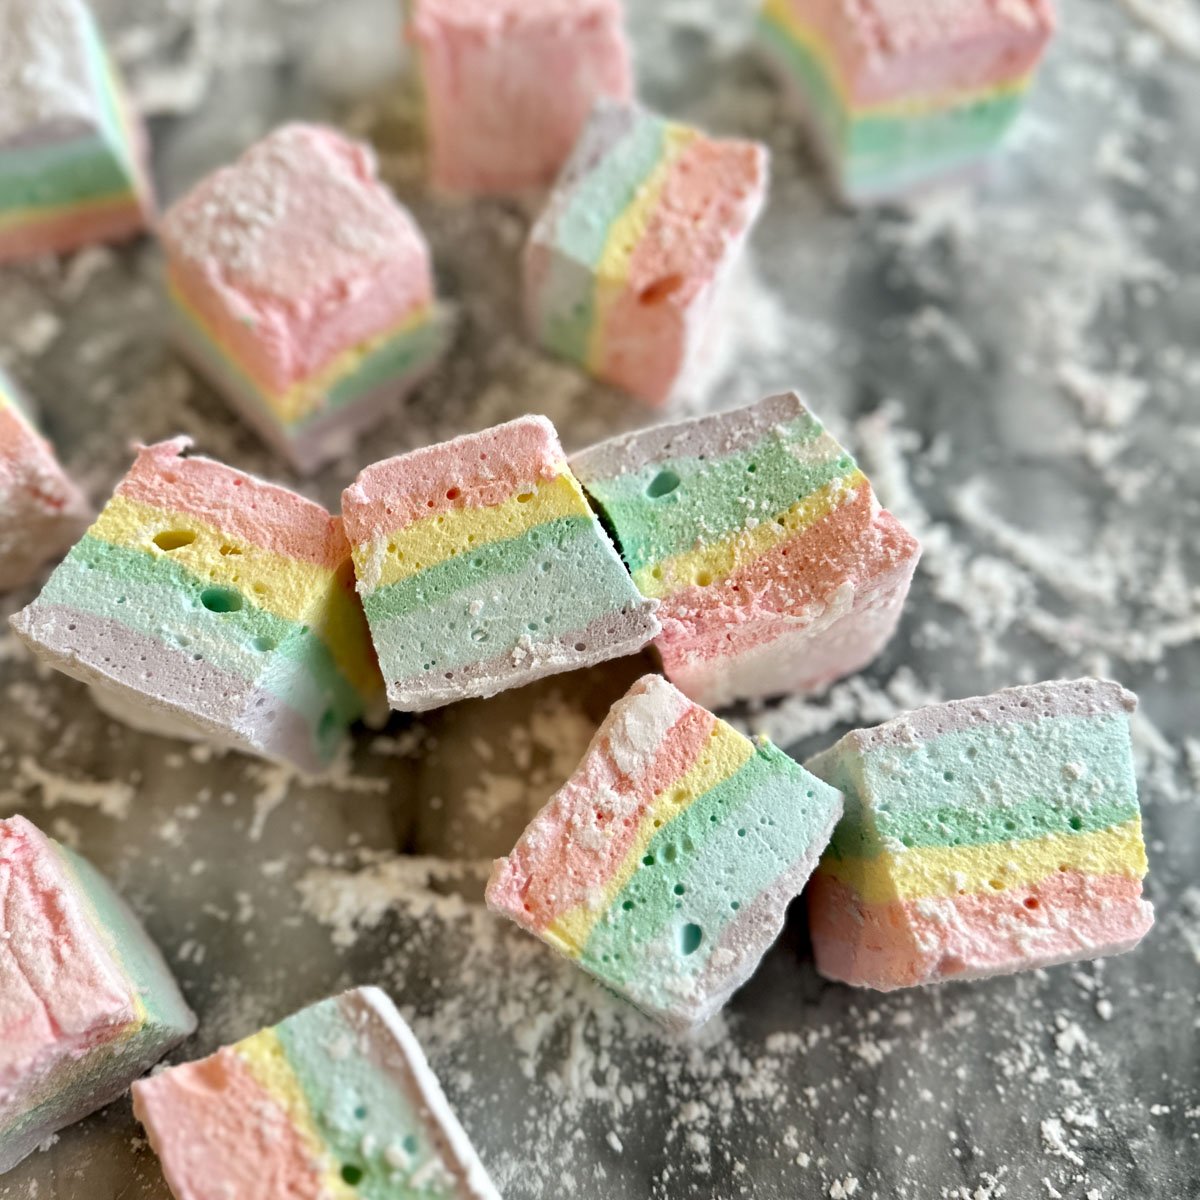
Homemade marshmallows are in a completely different league from store-bought. They're softer, fluffier, and melt in your mouth. I originally made these for St. Patrick's Day, and the rainbow colors were perfect for the leprechaun and pot of gold theme!
I've been making homemade marshmallows for years, and this rainbow marshmallow recipe is one of my favorite variations. You make one batch of marshmallow fluff, divide it into six portions, color each one, and layer them in the pan. The result is gorgeous pastel rainbow layers that look impressive but are totally doable.
These rainbow marshmallows are perfect for St. Patrick's Day parties, and Easter celebrations, or anytime you want something cheerful and homemade.
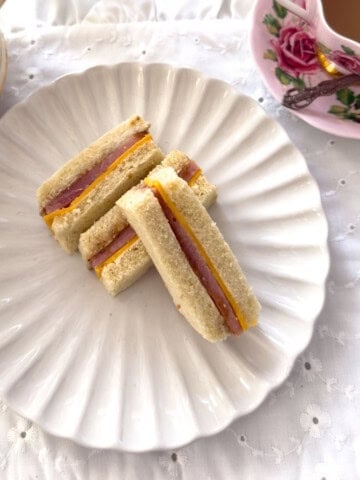
If you love marshmallows, you might also love my Homemade Marshmallow Mug Toppers for another fun marshmallow variation. Also check out our Coffee Marshmallows, Strawberry Marshmallows, and Bailey's Marshmallows.
Ingredients
Exact measurements in the recipe card below.
- Gelatin: You'll need 3 packages of unflavored gelatin powder. This is what gives marshmallows their signature bouncy texture. Store gelatin in a cool, dry place.
- Granulated Sugar: Creates the sweet base and helps achieve the right consistency when cooked to the proper temperature.
- Light Corn Syrup: Helps prevent crystallization and keeps the marshmallows soft. Don't substitute with golden syrup in this recipe, since we want the clear color as a base so we can use food coloring to achieve our rainbow colors.
- Vanilla Extract: Adds that classic marshmallow flavor. You could also use almond extract for a different twist.
- Food Coloring: I use regular liquid food coloring in red, yellow, and blue, and mixed them to create orange, green, and purple. The liquid food coloring is ligter and helps create the soft pastel rainbow. For more vibrant, saturated rainbow colors, use gel food coloring instead. Start with just a toothpick amount of gel since it's very concentrated.
Equipment
- Candy Thermometer: This is not optional. You need to heat the sugar syrup to exactly 240°F. Make sure the thermometer is cliped onto the side of the pot and not resting on the bottom of the pot for an accurate read.
- Stand Mixer: The marshmallow mixture needs to be whipped for 10 to 12 minutes. A stand mixer with a whisk attachment is essential. You can make this with a hand mixer, but you will be holding it for a very long time.
- Fine-mesh sieve: For sifting the coating mixture evenly.
- Sharp knife or pizza cutter: For cutting the set marshmallows into squares.
How to Make Rainbow Marshmallows
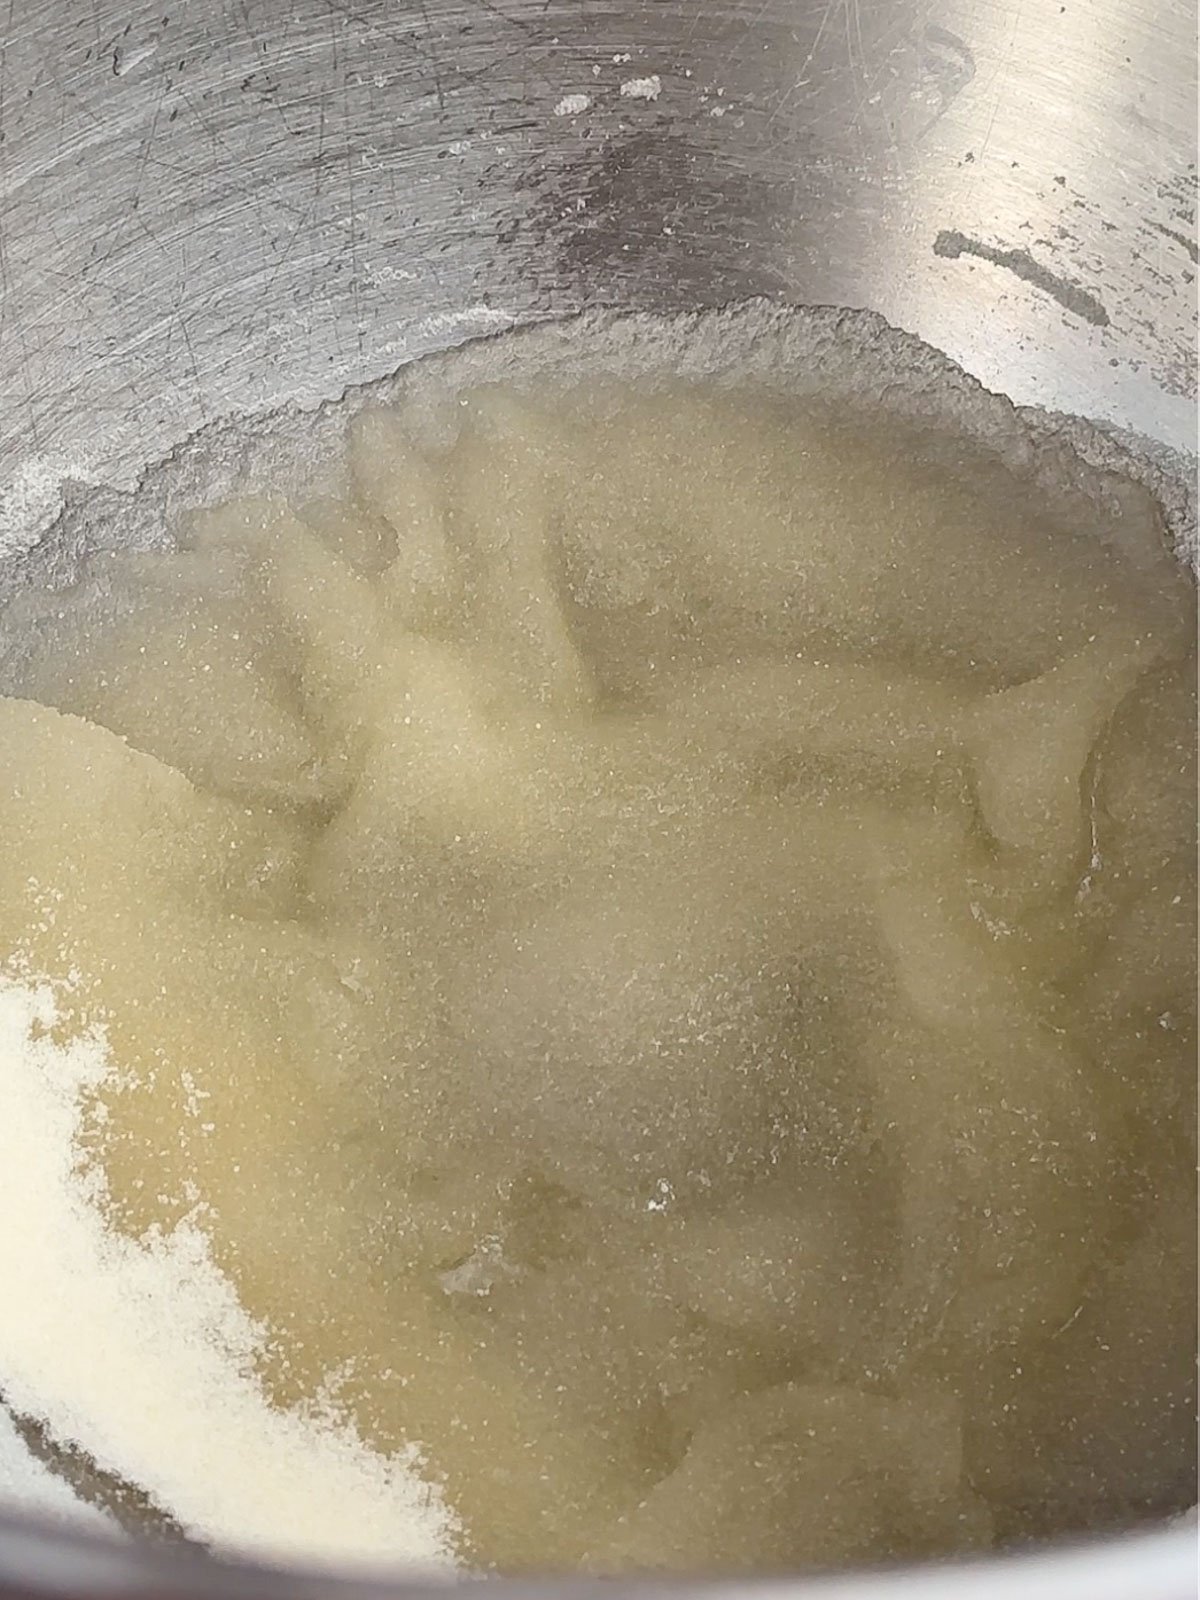
- Step 1: Bloom the gelatin. Pour ½ cup cold water into the bowl of your stand mixer and sprinkle the gelatin over top. Let it sit while you make the syrup.
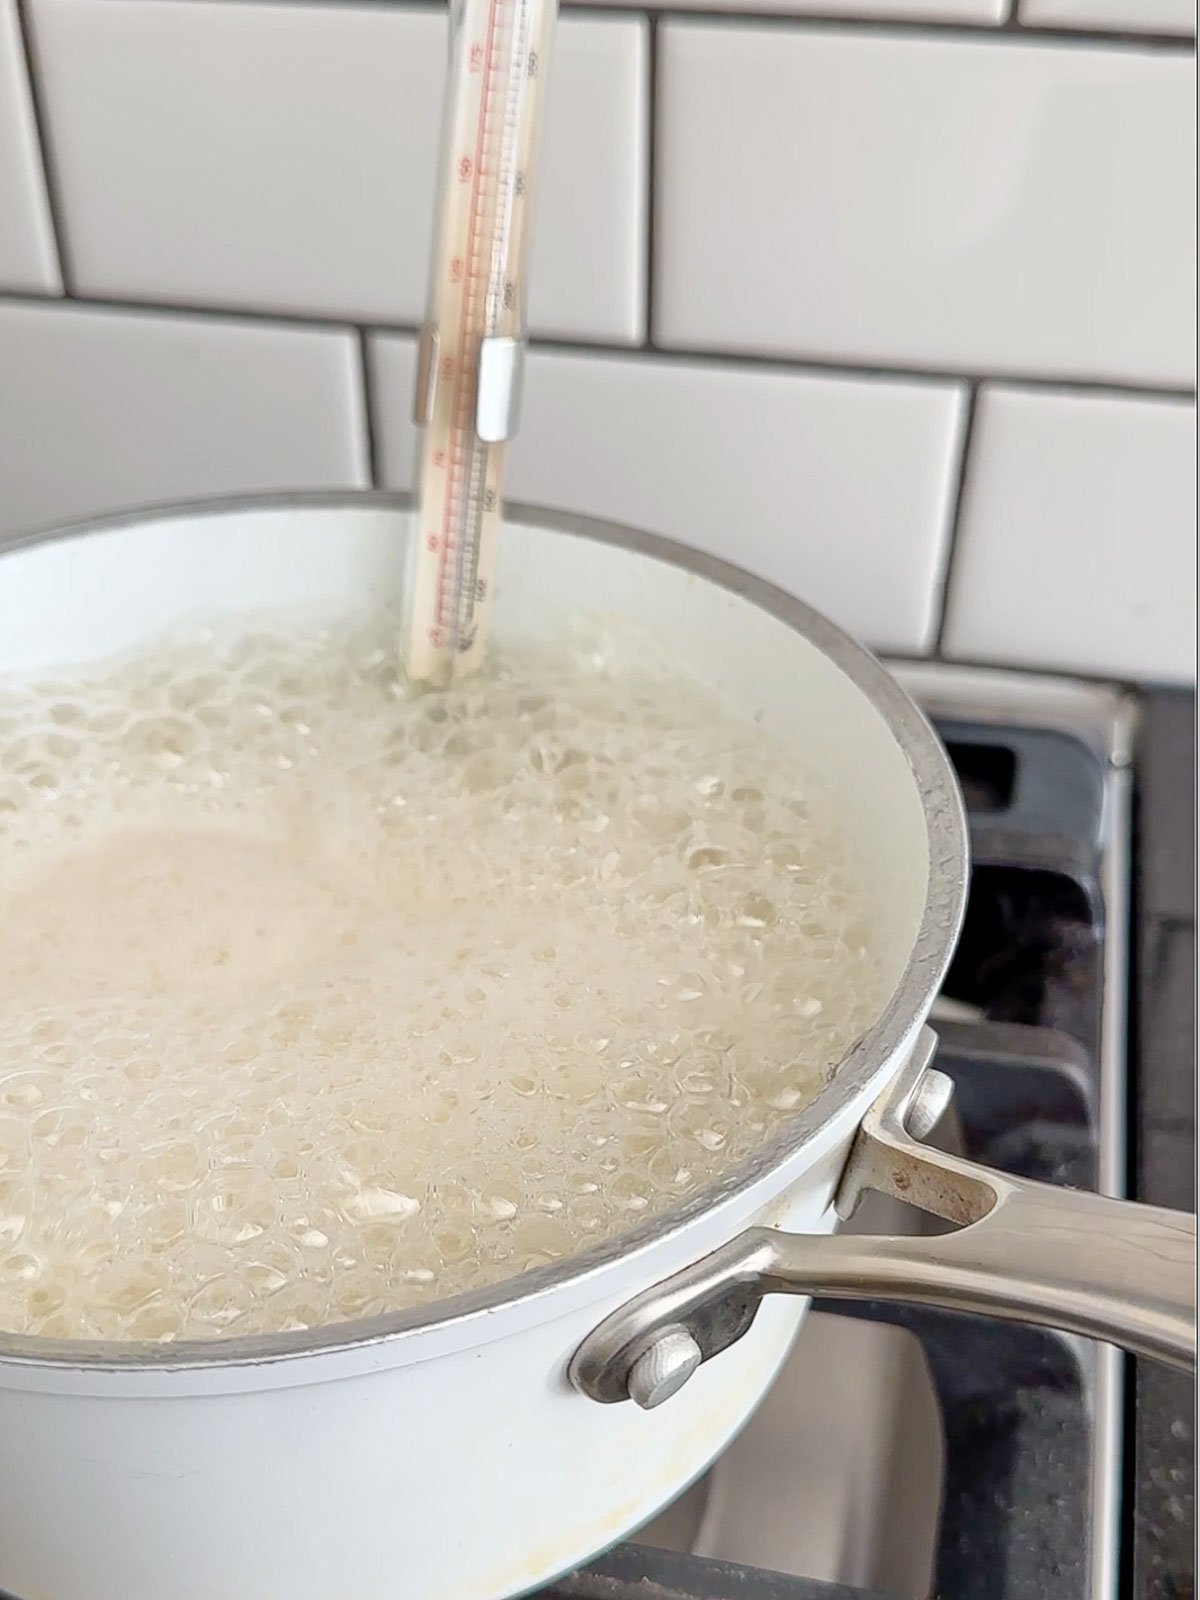
- Step 2: Make the sugar syrup. In a medium saucepan, combine the sugar, corn syrup, and ½ cup water. Cook over medium heat, stirring until the sugar dissolves. Stop stirring once it starts boiling. Clip your candy thermometer to the side of the pan and cook until it reaches exactly 240°F. This takes about 7 to 10 minutes.
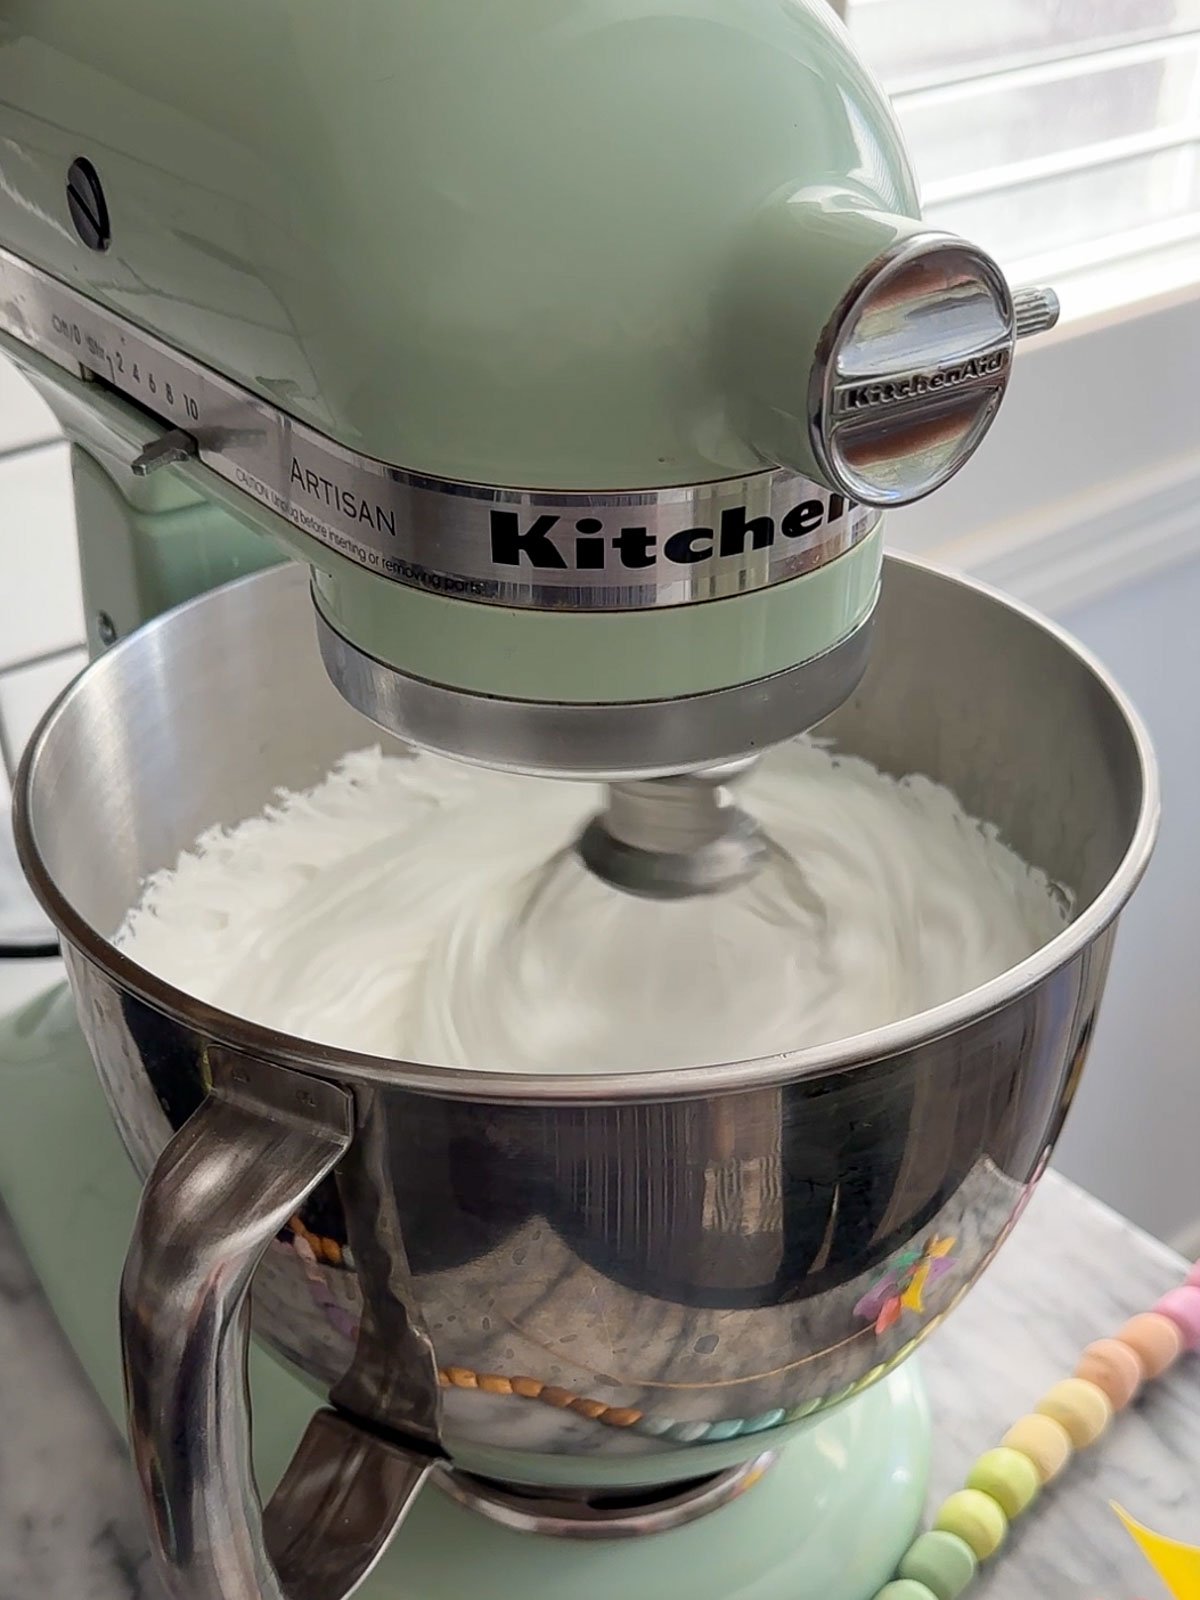
- Step 3: Whip the marshmallows. With the mixer on low speed, carefully pour the hot syrup into the bloomed gelatin. Increase speed to high and whip for 10 to 12 minutes, until the mixture is very thick, glossy, and white. Add vanilla in the last minute of mixing. While the marshmallows are whipping prepare your pan. Spray a 9x9 inch baking pan with baking spray. Combine the powdered sugar and cornstarch and sift a generous layer over the bottom and sides. Reserving the leftovers.
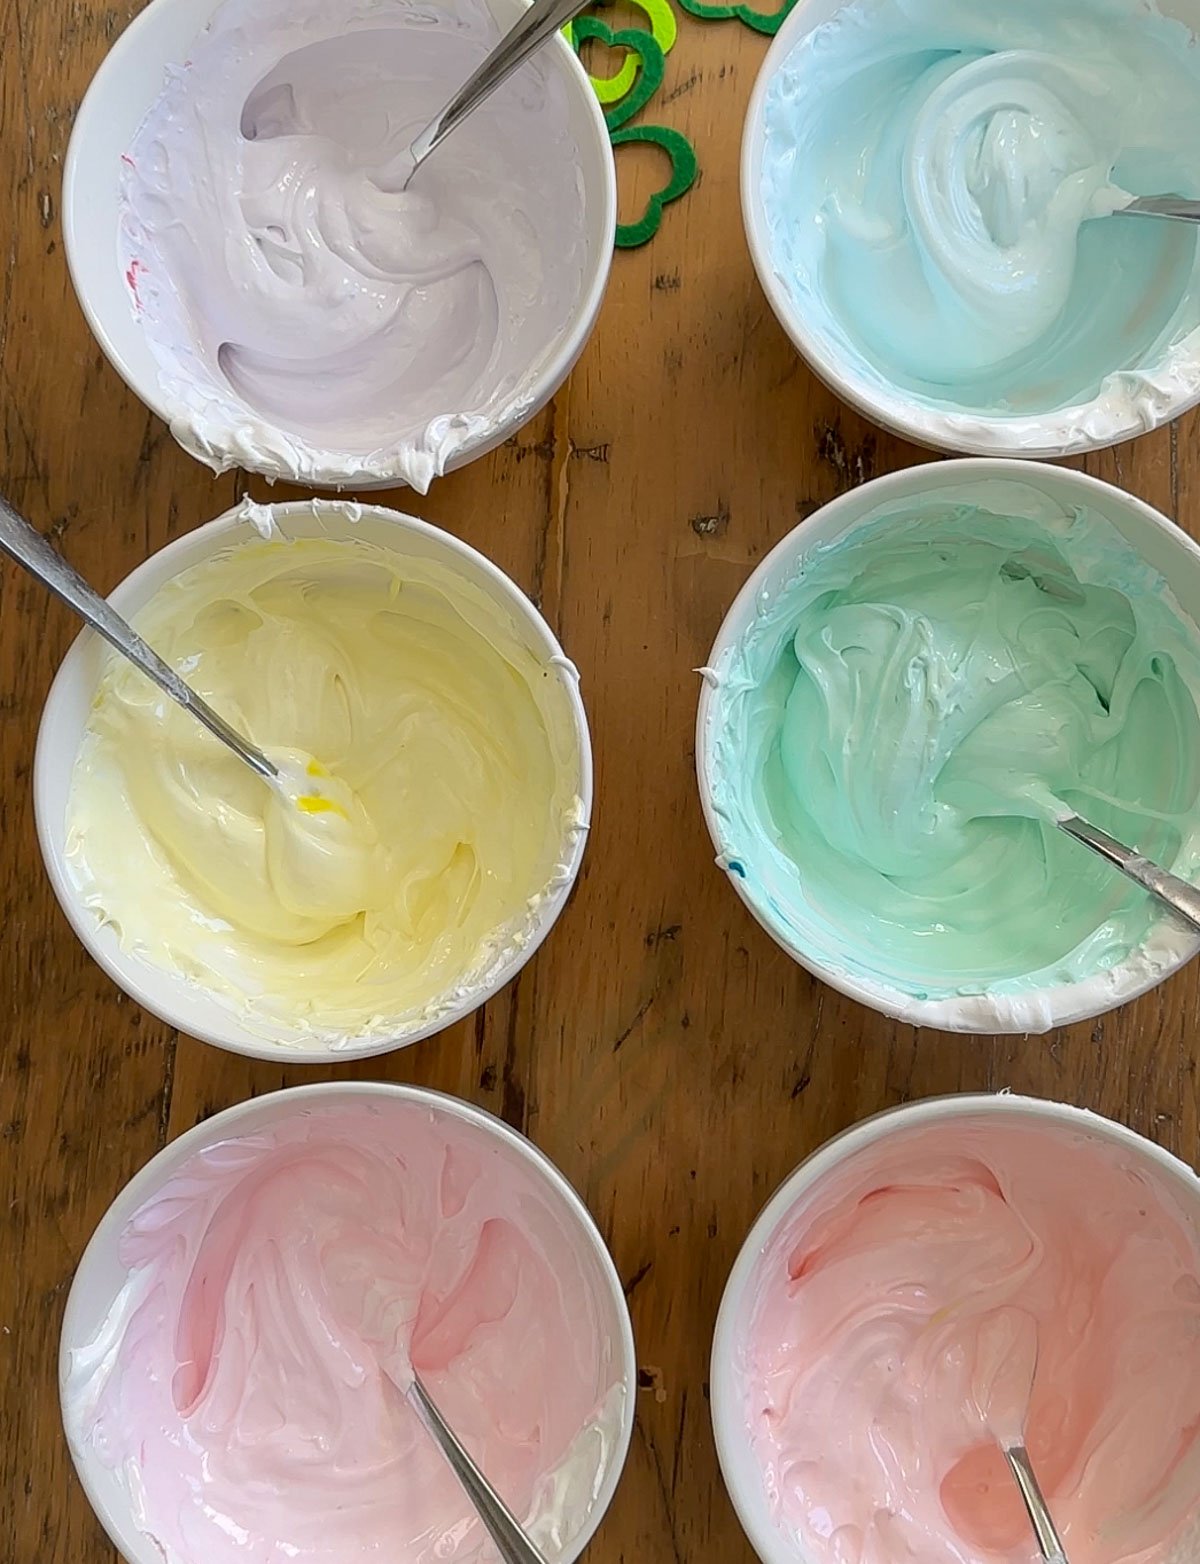
- Step 4: Divide and color. This is the only tricky part! You need to work quickly while the marshmallow mixture is still warm and easy to stir. I had my daughter help me with this step, which made it much easier. Divide the marshmallow fluff evenly into 6 bowls. Add a few drops of food coloring to each bowl: red, orange (mix red + yellow), yellow, green (mix blue + yellow), blue, and purple (mix red + blue). Stir each color until evenly distributed, working fast before the mixture starts to set.
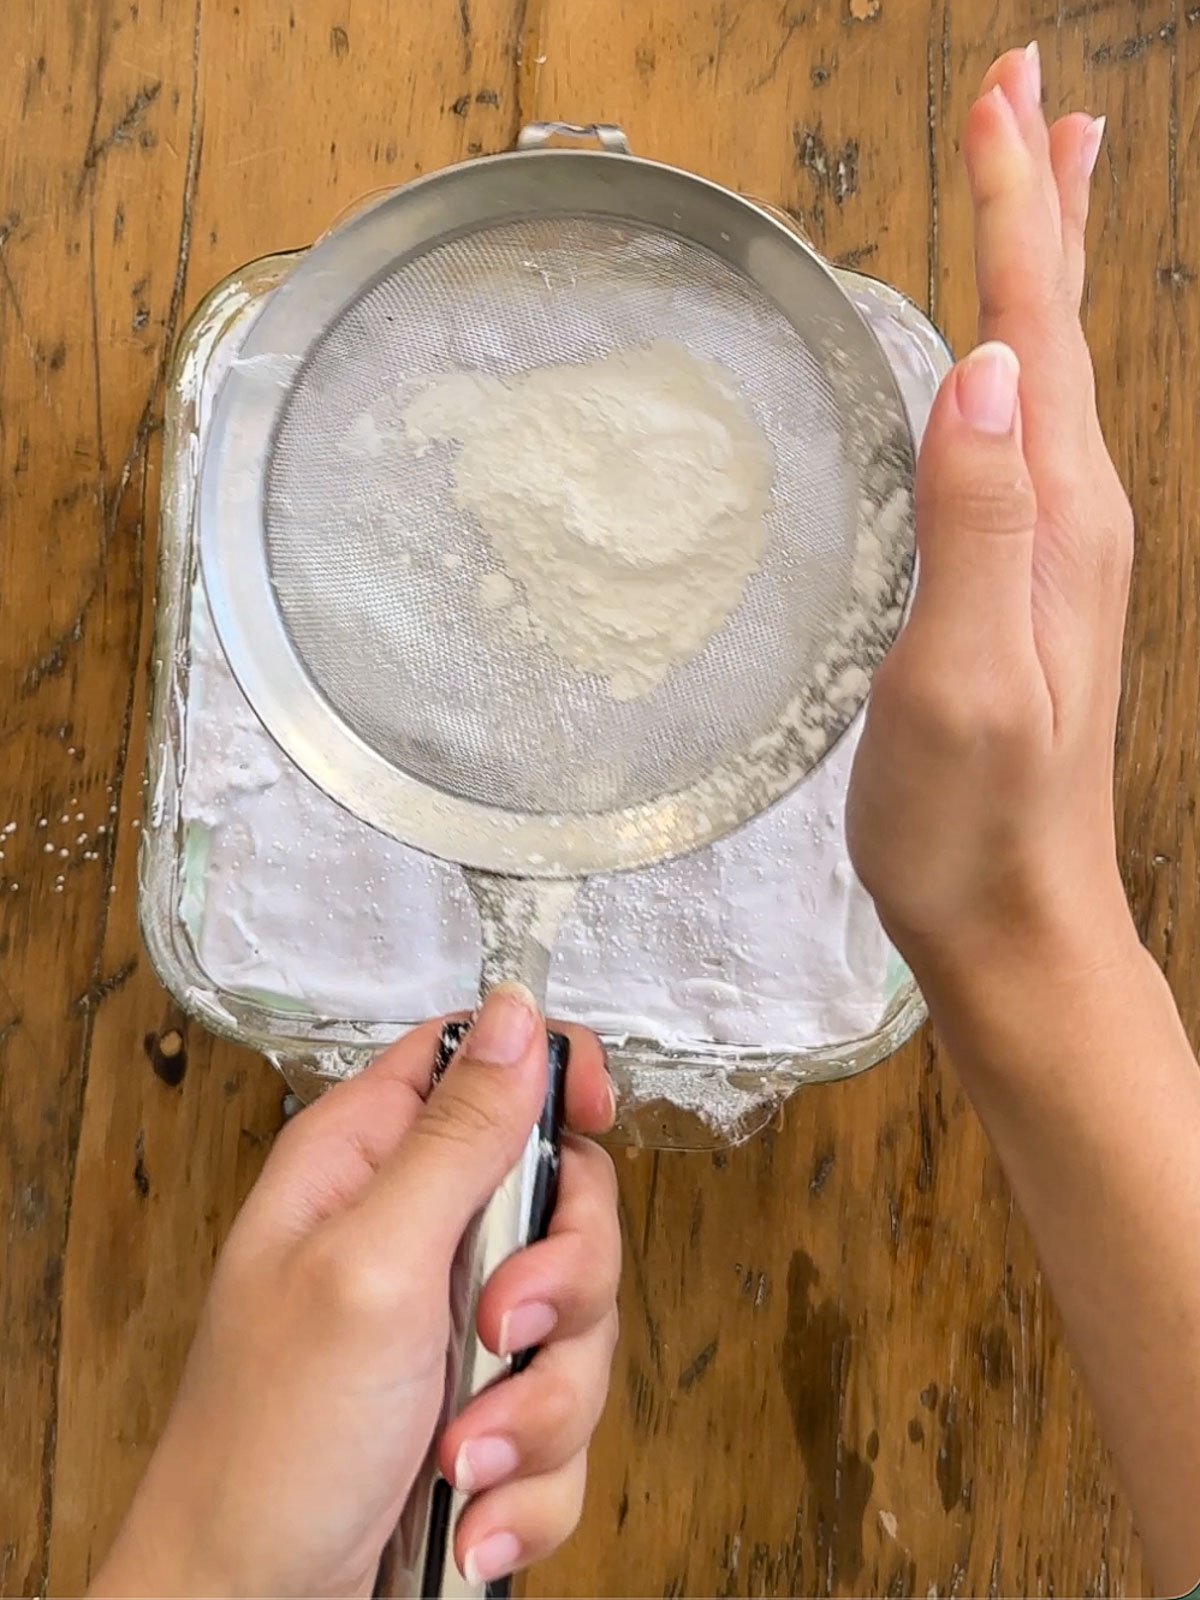
- Step 5: Layer the rainbow. Starting with red, then orange, yellow, green, blue and ending with purple spread each color evenly in the prepared pan. Work quickly. Sift more of the coating mixture generously over the top. Let the marshmallows set uncovered at room temperature for at least 6 hours, or overnight for best results.
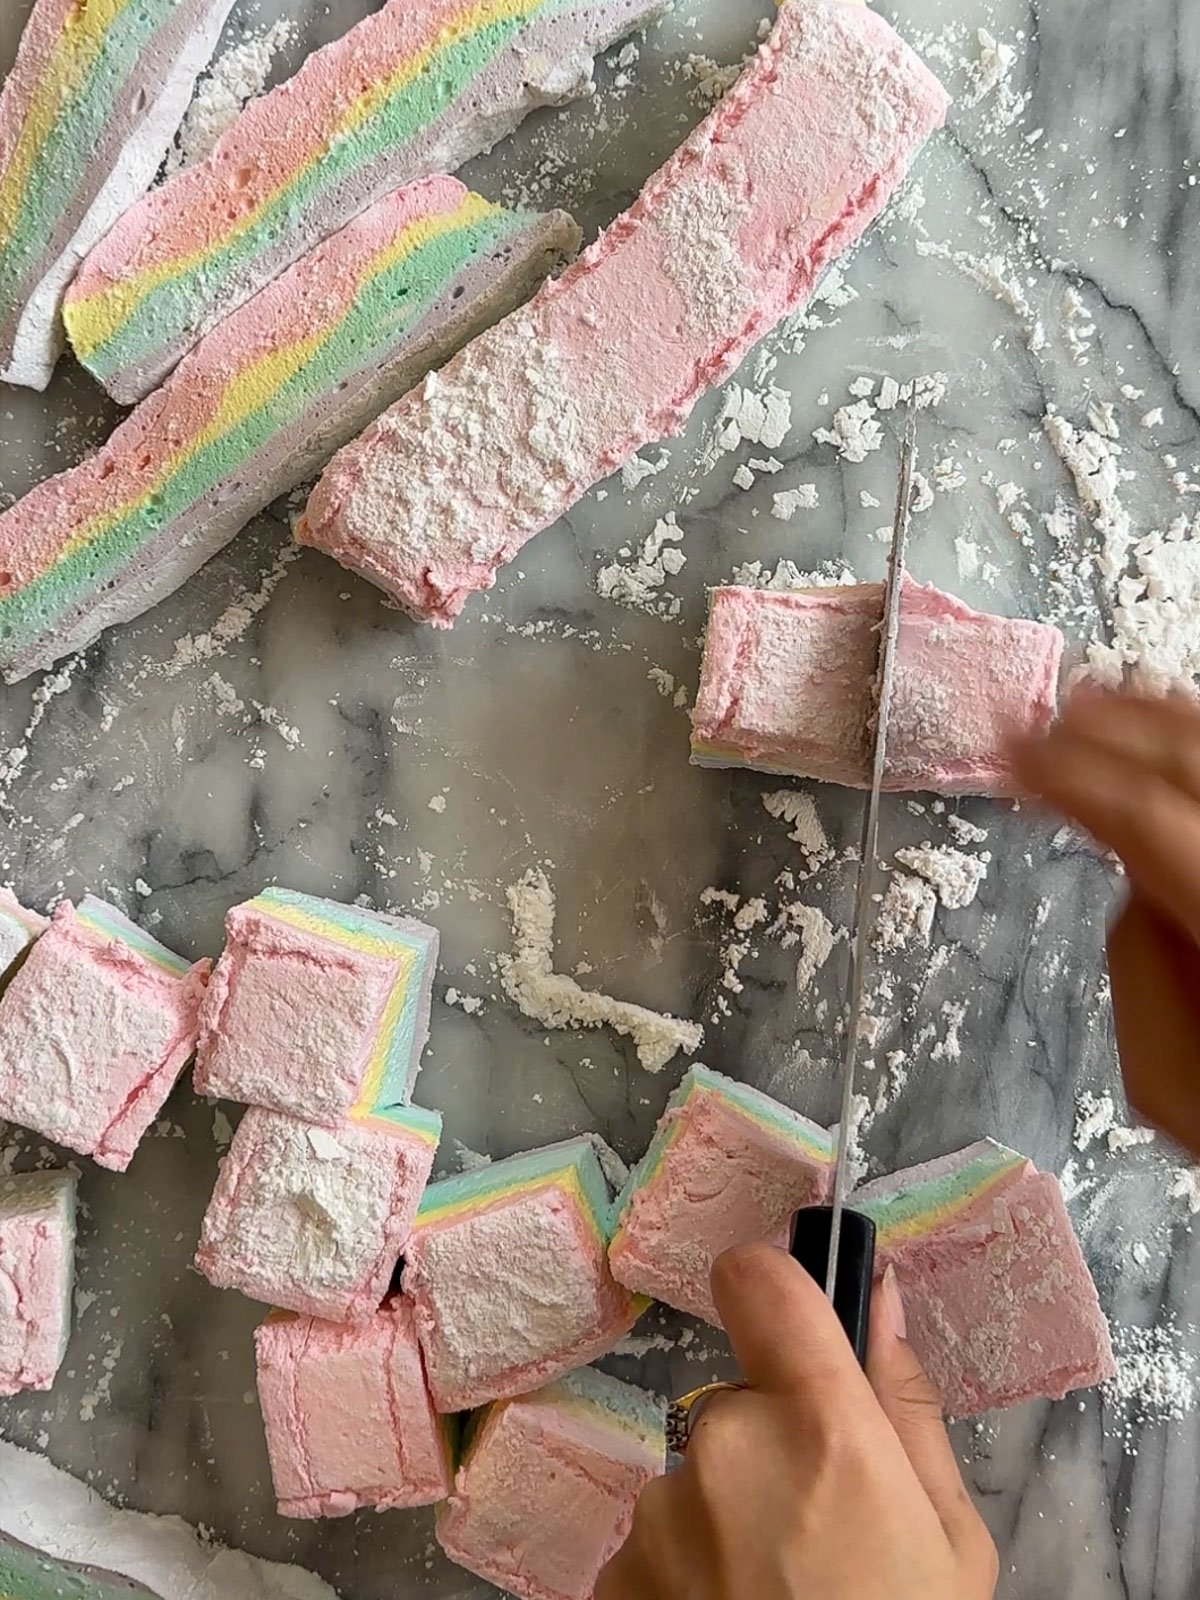
- Step 6: Cut and coat. Turn the marshmallow slab out onto a cutting board lightly dusted with the coating mixture. Using a sharp knife or pizza cutter sprayed in non-stick baking spray. Cut into 1.5 x 1.5 inch squares. Toss each marshmallow in the coating mixture to cover all the sticky sides. Store at room temperature in an airtight container.
Expert Tips
- Temperature matters. Don't skip the candy thermometer. If your syrup doesn't reach 240°F, your marshmallows will be too soft and sticky. If it goes over, they'll be tough. This is the most common mistake.
- Work quickly when layering. The marshmallow mixture starts to set as soon as you stop whipping. This is the only tricky part of the recipe! I had my daughter help me divide and color the batches, which made it much easier to work while the mixture was still warm and easy to stir. If you're working alone, have everything ready before you start.
- For vibrant rainbow colors, use gel food coloring. Liquid food coloring creates pretty pastels (like in my photos), but gel food coloring gives you bold, saturated rainbow hues. Start with a tiny amount on a toothpick since gel is super concentrated.
- Whip for the full time. It really does take 10 to 12 minutes for the mixture to reach full volume. Don't stop early. You need those stiff peaks.
- Coat your cutting tools. Spray your cutting tools with non-stick baking spray. If they become sticky during cutting, wash them in warm soapy water, and respray.
- Let the marshmallows set completely. Don't cut them too soon. The full 6 hours (or overnight) is necessary for them to hold their shape properly.
Variations and Serving Ideas
Color schemes: Instead of full rainbow, try:
- Green and white for St. Patrick's Day
- Pink and white, or blue and white, for baby showers or pink and blue for a gender reveal
- Pastels for Easter
- Red, white, and blue for summer
- Your school or team colors
Flavor variations: Swap the vanilla for peppermint extract (amazing in hot chocolate!), almond extract, lemon extract, or a few drops of rose water.
Shaped marshmallows: Use cookie cutters to cut shapes instead of squares. Hearts, stars, shamrocks, and flowers work great.
Chocolate dipped: Once cut, dip the side of each marshmallow in melted chocolate and let set on parchment paper.
Serving ideas: Float them on hot chocolate, use for s'mores, package in clear jars with ribbon for gifts, or add to dessert boards.
Storage
- Best storage method: Keep marshmallows in an airtight container at room temperature. Layer them between sheets of parchment paper to prevent sticking. A glass or plastic container with a tight-fitting lid works perfectly.
- How long they last: Homemade rainbow marshmallows stay fresh for up to 3 weeks when stored properly. They're at their absolute best within the first week.
- Can you freeze them? Yes! I experimented with freezing these and they were totally fine. Freeze in an airtight container for up to 3 months. Thaw at room temperature before serving.
- Gifting storage tips: If packaging these as gifts, store them in cellophane bags tied tightly with ribbon, or layer them in small mason jars.
Frequently Asked Questions
Yes. The sugar syrup must reach exactly 240°F for the right texture. Too low and your marshmallows will be sticky and won't hold their shape.
A hand mixer will work, but be prepared. You'll need to hold it steady for 10 to 12 minutes. It's doable but tiring.
Absolutely! Gel food coloring works great and gives more vibrant colors. Use a toothpick to add tiny amounts since gel is very concentrated.
Stored in an airtight container at room temperature, they'll keep for 3 weeks. They're at their best within the first week.
Yes! Use cookie cutters lightly coated with the powdered sugar mixture. Shamrocks are perfect for St. Patrick's Day, or try hearts or stars.
The most common reason is that your sugar syrup didn't reach the right temperature. Make sure it hits 240°F. Also, make sure you whipped it for the full 10 to 12 minutes.
These are perfect for making ahead! Make them 1 to 2 days before you need them. Just store them in an airtight container between sheets of parchment paper.
Yes, I experimented with freezing these and they came out perfectly. Just make sure they're well coated in the powdered sugar mixture, and freeze in an airtight container, like a ziplock bag. Thaw at room temperature.
More Marshmallow Recipes You'll Love


If you make these rainbow marshmallows, please leave us a rating and let us know how it went it the comemnts below. Thanks for visiting life is a party today!
Rainbow Marshmallow Recipe
Recipe
Homemade Rainbow Marshmallows
Equipment
- candy thermometer
- stand mixer
- sharp knife, pizza cutter, or cookie cutters for cutting marshmallows
- wire sieve for adding powdered sugar coating
Ingredients
- 3 x 7 g packages unflavoured gelatine 3 x 7 grams = 21 grams total
- 1 cup very cold water divided
- 1 cup white corn syrup
- 1 ½ cup white sugar
- ¼ teaspoon salt
- 1 teaspoon vanilla
- ½ cup cornstarch
- ½ cup powdered sugar
- non-stick cooking spray
- 1-4 drops per bowl liquid food coloring
Instructions
- Pour ½ cup cold water into the bowl of a stand mixer fitted with the whisk attachment. Sprinkle gelatin evenly over the water and let sit while you make the syrup.3 x 7 g packages unflavoured gelatine, 1 cup very cold water
- In a medium heavy-bottomed saucepan, combine sugar, corn syrup, salt, and remaining ½ cup water. Cook over medium heat, stirring until sugar dissolves. Once boiling, stop stirring. Clip a candy thermometer to the pan and cook until the mixture reaches exactly 240°F, about 7 to 10 minutes.1 cup very cold water, 1 cup white corn syrup, 1 ½ cup white sugar, ¼ teaspoon salt
- With the mixer running on low speed, pour the sugar mixture down the side of the bowl slowly into the gelatine. Once the sugar mixture is all added, turn the mixer on high speed. Let the mixture whip for about 12-15 minutes, until the outside of the bowl is lukewarm and no longer hot, and the mixture is light and fluffy. In the last minute, add the vanilla to the mixture. While the marshmallow is whipping, prepare your pan. Combine the powdered sugar and cornstarch. Spray the pan with non-stick cooking spray. Use a sifter to cover the bottom of the sides of the pan with the powdered sugar mixture.1 teaspoon vanilla, ½ cup cornstarch, ½ cup powdered sugar, non-stick cooking spray
- Working quickly while the mixture is still warm and easy to stir, divide the marshmallow mixture evenly among 6 bowls. (This is the tricky part! Having someone help makes it easier.) Add food coloring to each bowl: red (2 to 4 drops), orange (mix red + yellow), yellow (2 to 4 drops), green (mix blue + yellow), blue (2 to 4 drops), and purple (mix red + blue). Stir until color is evenly distributed.1-4 drops per bowl liquid food coloring
- Starting with red, spread the colored marshmallow evenly in the prepared pan. Add the next color on top and continue with all colors in rainbow order (red, orange, yellow, green, blue, purple). Sift a generous layer of the coating mixture over the top. Let sit uncovered at room temperature for at least 6 hours or overnight.
- Turn the marshmallow slab out onto a cutting board lightly dusted with coating mixture. Using a sharp knife or pizza cutter sprayed with non-stick cooking spray, cut into 1.5 x 1.5 inch squares. Toss each marshmallow in the coating mixture to cover all sticky sides. Store in an airtight container at room temperature.
Video
Notes
- Don't skip the candy thermometer. Accurate temperature is crucial
- Work quickly when dividing and coloring since the mixture sets fast as it cools
- For more vibrant colors, use gel food coloring
- Coat your knife with non-stick cooking spray while cutting to prevent sticking
- Can be frozen for up to 3 months in an airtight container
Dannyelle says
These are so beautiful, but also the soft and fluffy texture make them totally delicious! Love these.